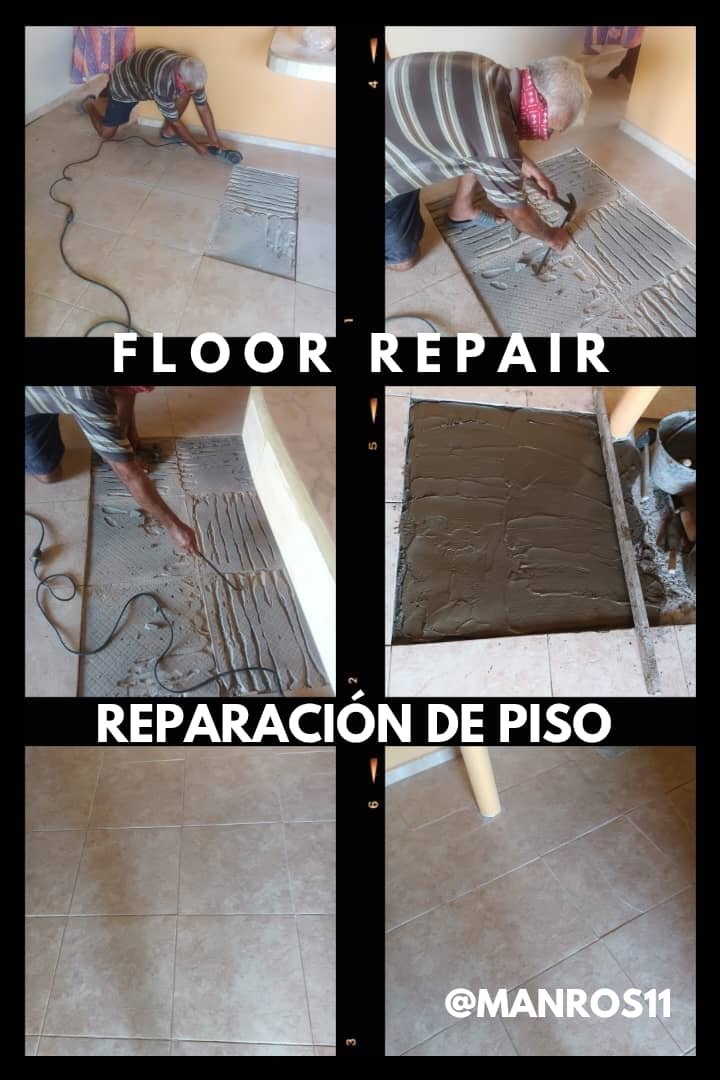


Hello friends of hive I hope you are very well I want to share with you a repair I did on a ceramic floor in a friend's house, this floor was bulging several ceramics 12 in total, this could happen because the thickness of glue that was applied was very thick and were air pumps which caused this problem.
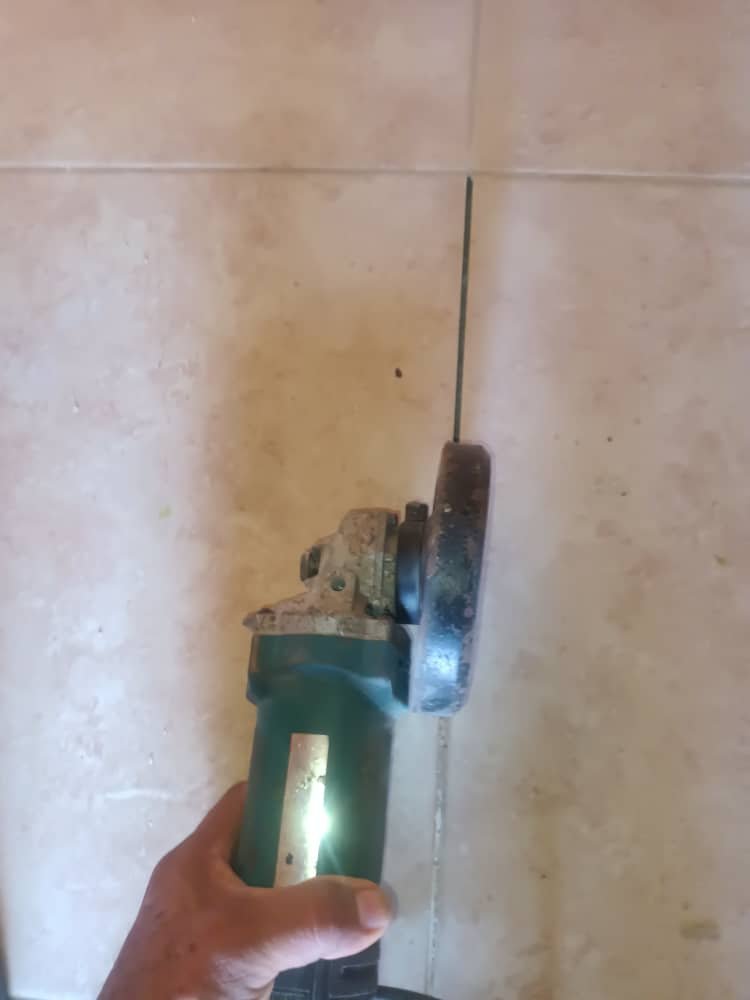
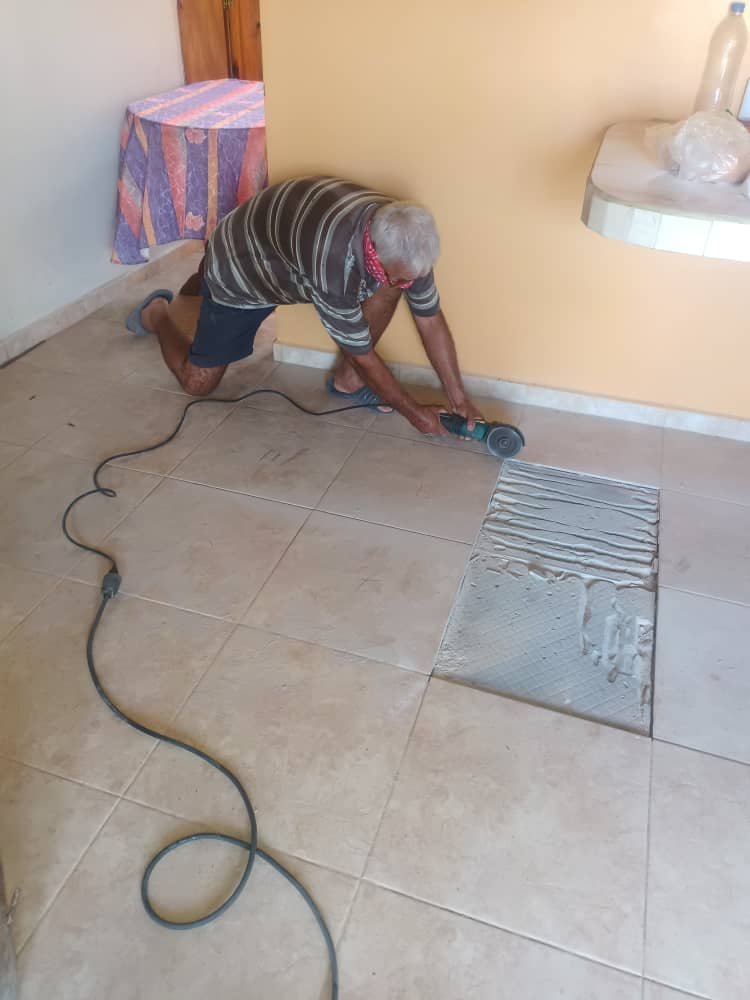
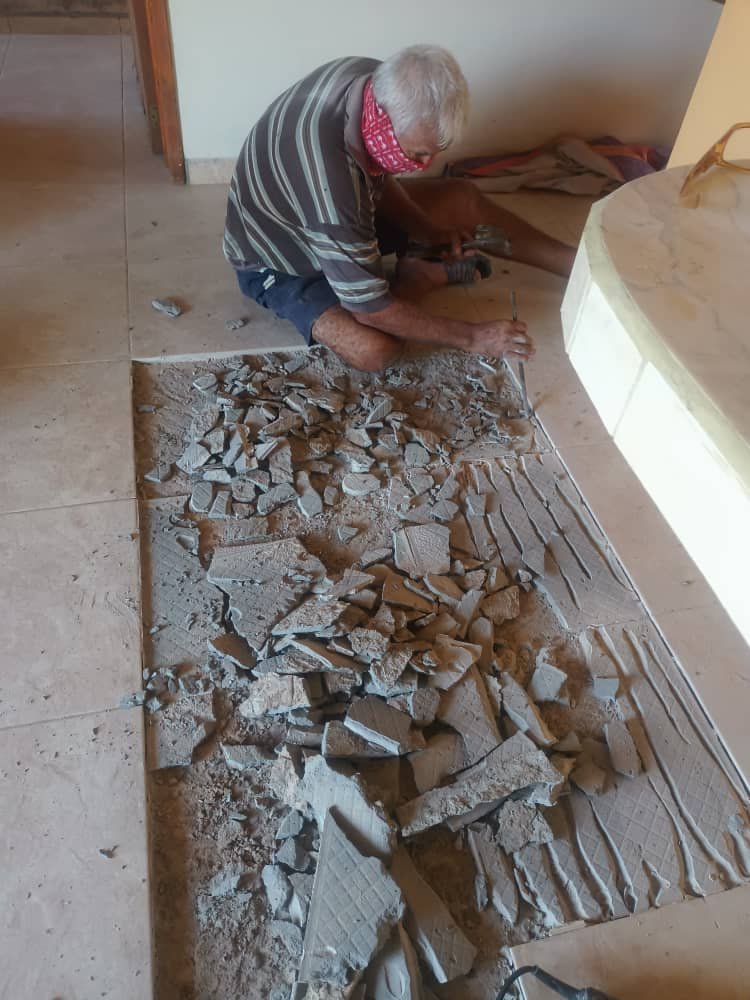
The first thing I did was to take off the ceramics, for that I used a grinder to try to remove the ceramics without breaking them since we did not have ceramics to replace them, unfortunately some of them were already broken, three in total.
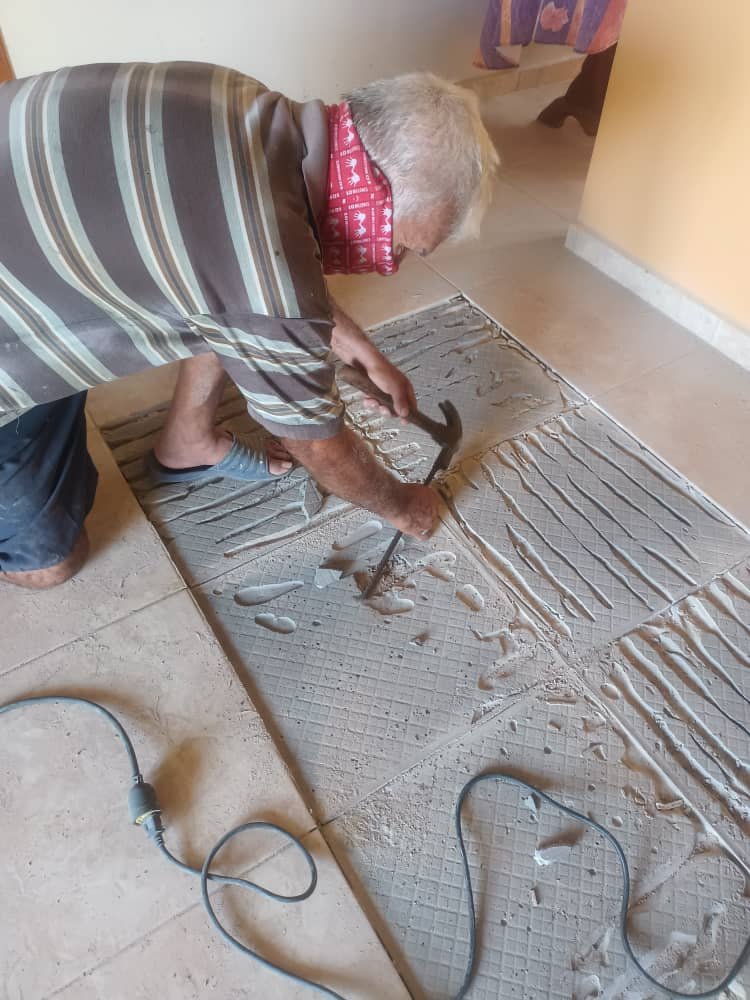
After removing the ceramic pieces that were bulging I proceeded to remove the excess glue material for that I used a chisel and a hammer.
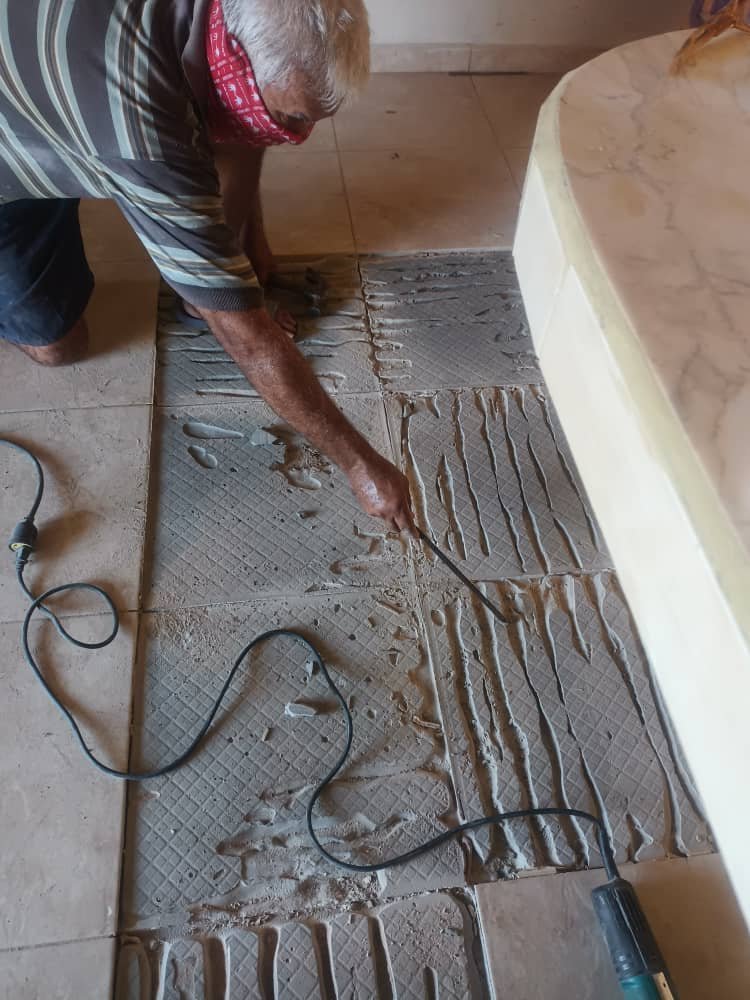
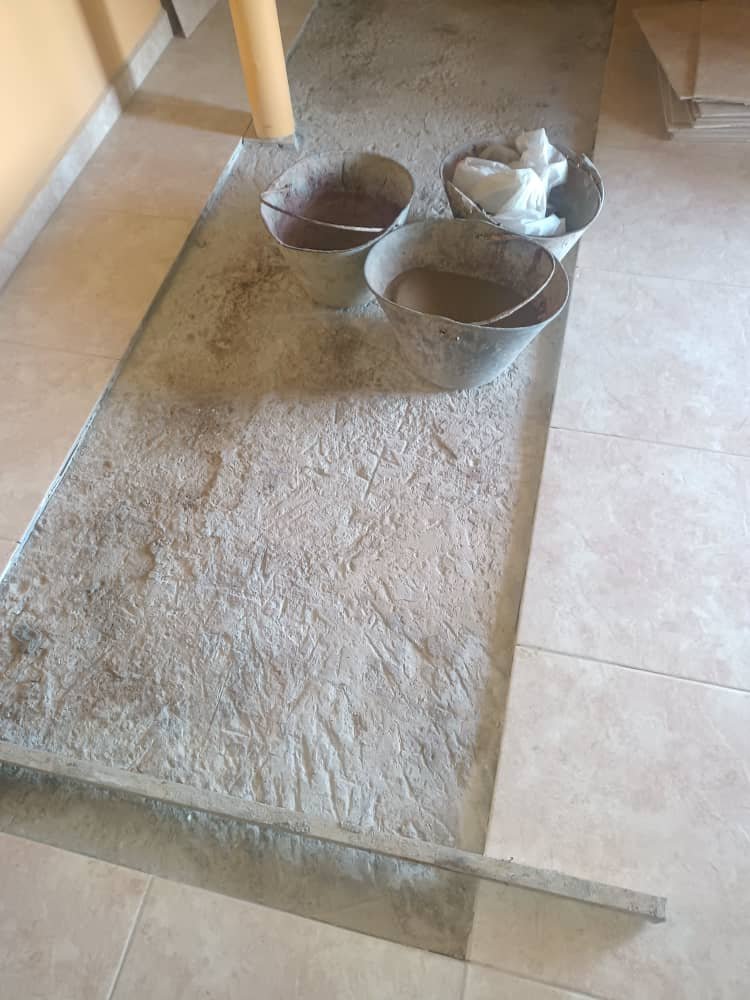
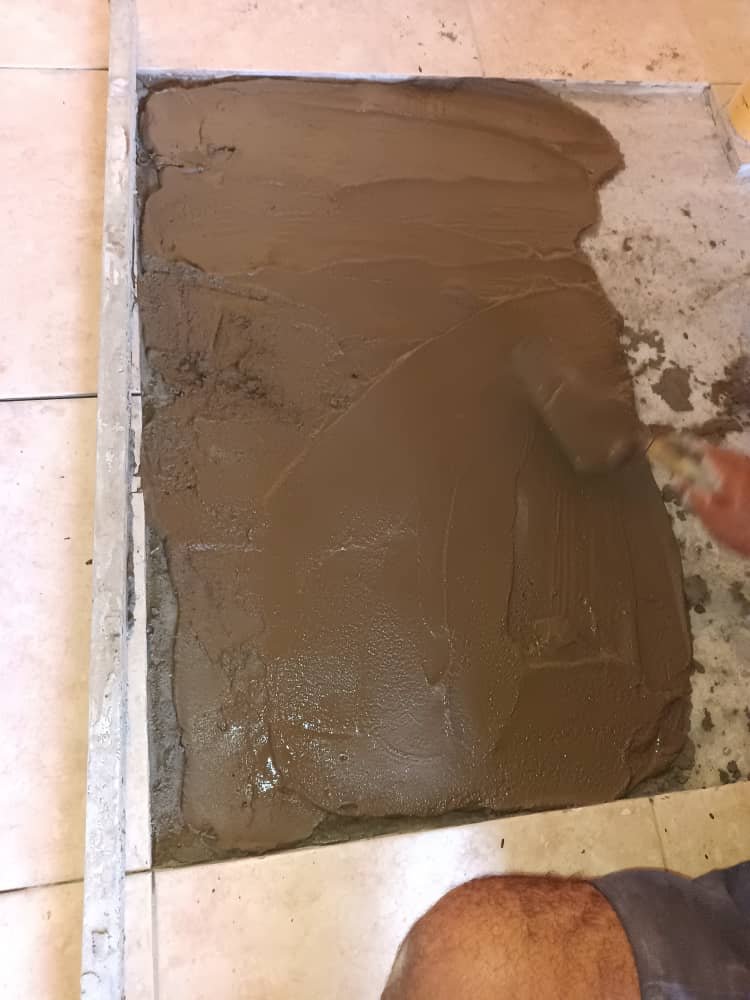
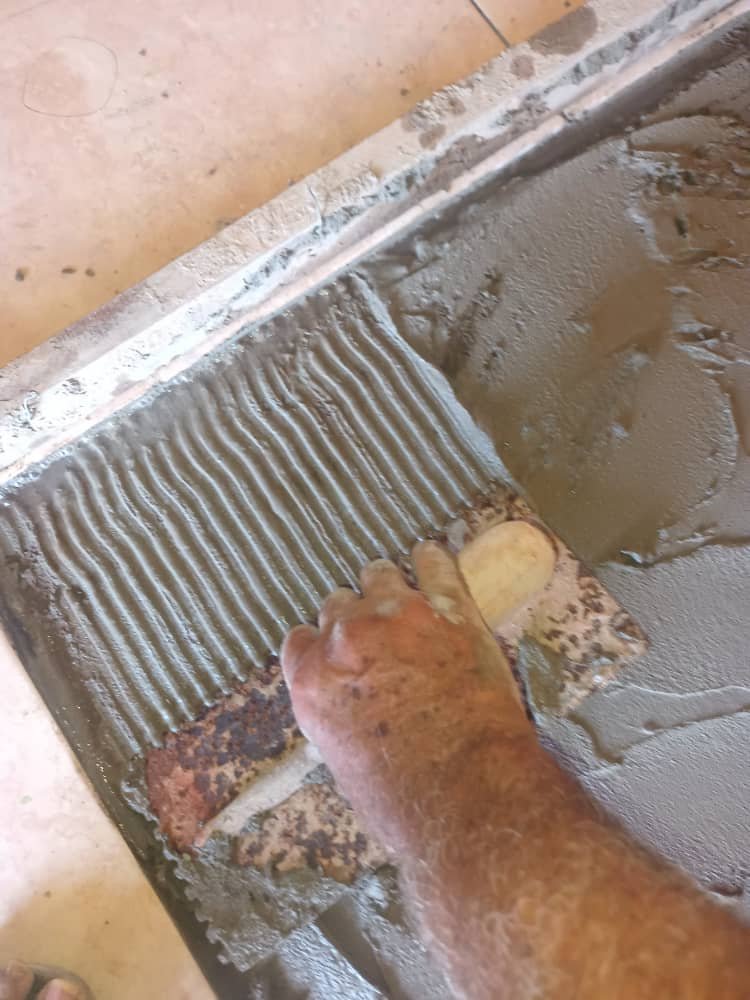
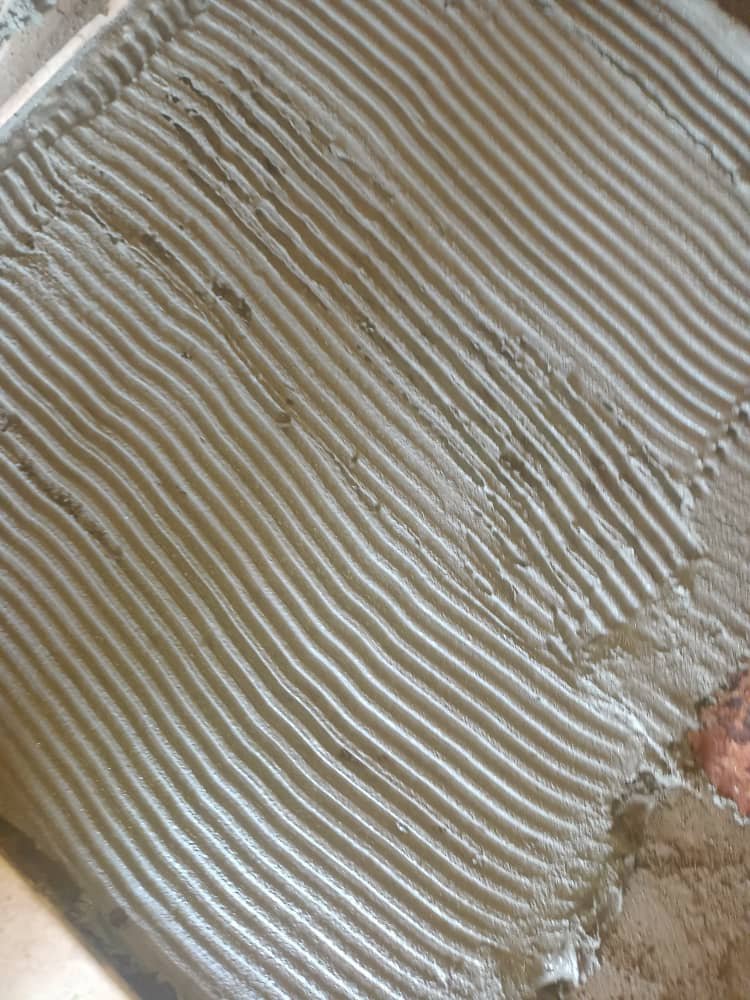
Once I had all the area to be repaired clean I proceeded to place a little concrete (only cement and sifted sand) to fill a little and not be so thick when placing the glue, then apply the glue and place the ceramic pieces.
The broken ceramic pieces were placed to fill in the spaces until my friend could get the same or similar pieces to replace them.
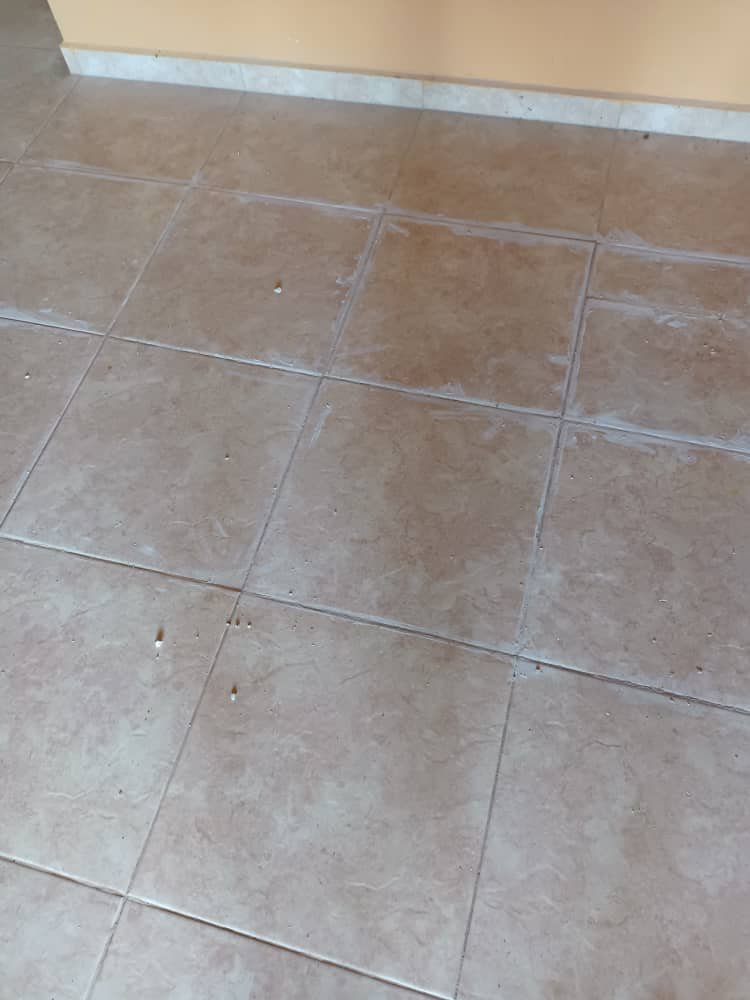
After placing the ceramic pieces I proceeded to finish off the joints with a white cement mixture.
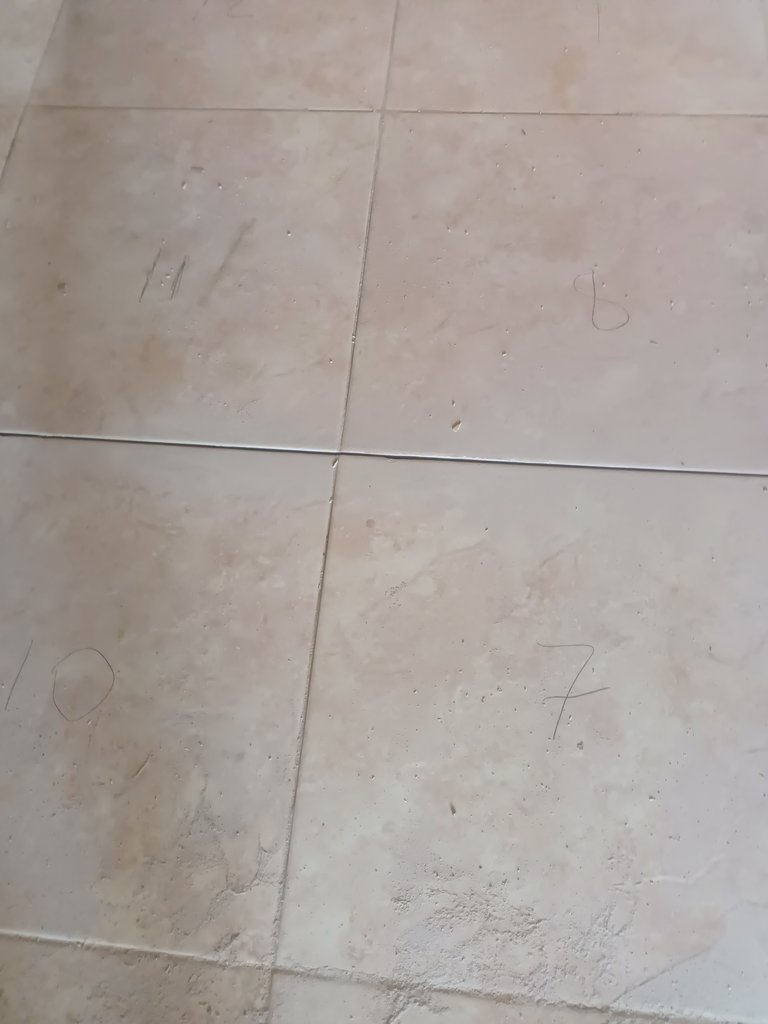
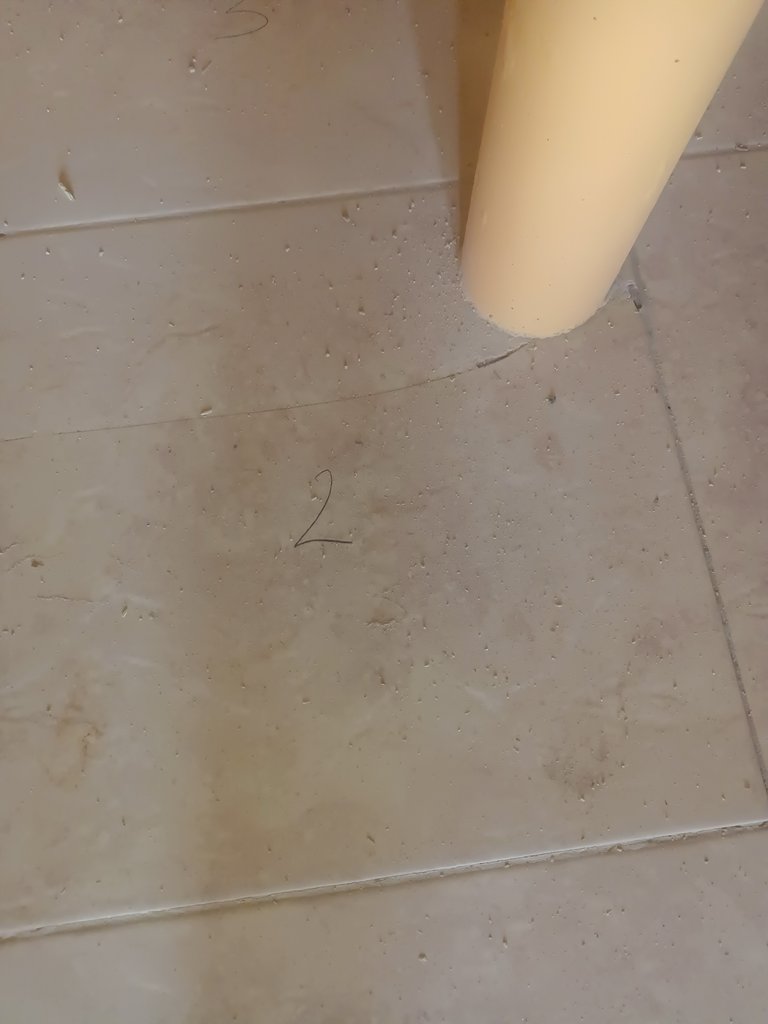
I forgot to tell you that the ceramics that I removed I numbered them to place them in the same place they were so that the difference would not be very noticeable due to the cut I made with the emery.
So far my post today I hope it will be helpful for you.
Thank you very much for your visit and support.
Here are some pictures of my work today

Pictures taken with my moto g cell phone (50)
Cover edited in canva
Use deepl translator
Separators created by me in canva


Hola amigos de hive espero se encuentren muy bien quiero compartir con ustedes una reparación que hice en un piso de cerámica en la casa de un amigo,dicho piso se le abombo varias cerámicas 12 en total, esto pudo suceder por que el espesor de pego que se le aplico fue muy grueso y quedaron bombas de aire las cuales causaron este problema.
Lo primero que hice fue despegar las cerámicas,para eso utilce un esmeril para tratar de sacar las cerámicas sin que se rompieran ya que no teniamos cerámicas para reemplazarlas, desafortunadamente ya estaban algunas rotas tres en total.
Después de sacar las piezas de cerámica que estaban abombadas procedi a quitarle el material de pego sobrante para eso utilice un cincel y un martillo.
Ya teniendo toda el area a reparar limpia procedi a colocarle un poco de concreto ( solo cemento y arena cernida) para rellenar un poco y no quedara tan grueso al colocar el pego, luego aplique el pego y coloque las piezas de cerámica.
Las piezas de cerámica rotas las coloque para rellenar los espacios hasta que mi amigo consiga unas piezas iguales o parecidas para cambiarlas.
Ya después de colocar las cerámicas procedi rematar las juntas con una mezcla de cemento blanco .
Se me olvidaba decirles que las cerámicas que despegue las numere para colocarlas en el mismo sitio que estaban para que no se notara mucha la diferencia debido al corte que hice con el esmeril.
Hasta aquí mi post de hoy espero les sirva de ayuda para ustedes.
Muchas gracias por su visita y apoyo.
Aqui les dejo algunas fotos de mi trabajo de hoy
Fotos tomadas con mi celular moto g (50)
Portada editada en canva
Use deepl traductor
Separadores creados por mi en canva.
Amigo que bueno que pudo resolver aunque la cerámica no haya quedado tal cual, se logró una solución.
Es un trabajo delicado y mas si no se tiene la cerámica del mismo tamaño que la original. A pesar que se te partieron algunas cerámicas, el trabajo se ve muy bien