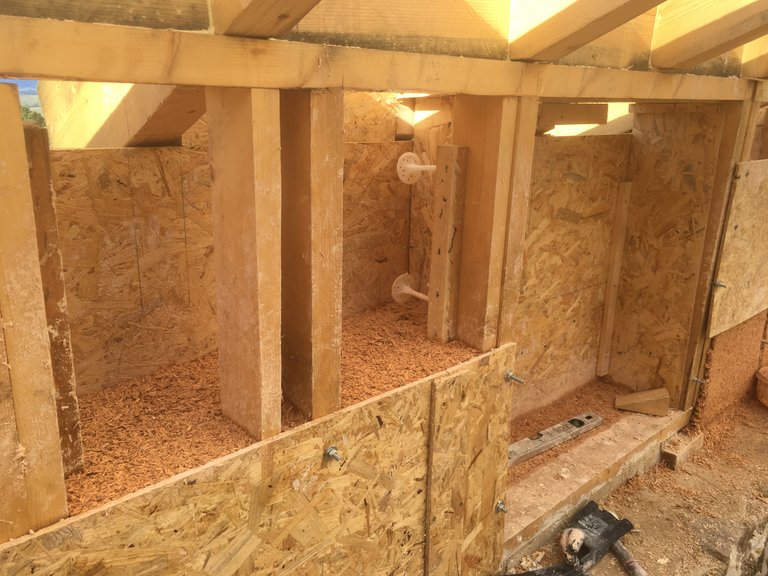
 This time around I was invited by a friend to participate in the recovery of a roof on her house that was previously destroyed by wildfire.
since I am new to construction with Hempcrete, I am here to learn and take part in the workforce.
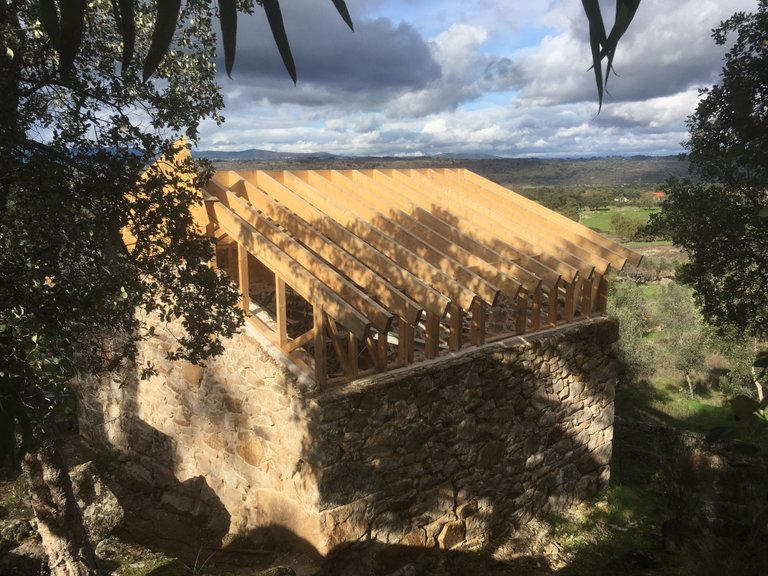 This beautiful ruin was abandoned for many years and its roof burned down in one of the summer wildfires Portugal is known for.
my friend, an architect by trade, bought the land and the recovery project was in the works ever since, slowly grinding its way through the thick bureaucratic teeth of clown world administration.
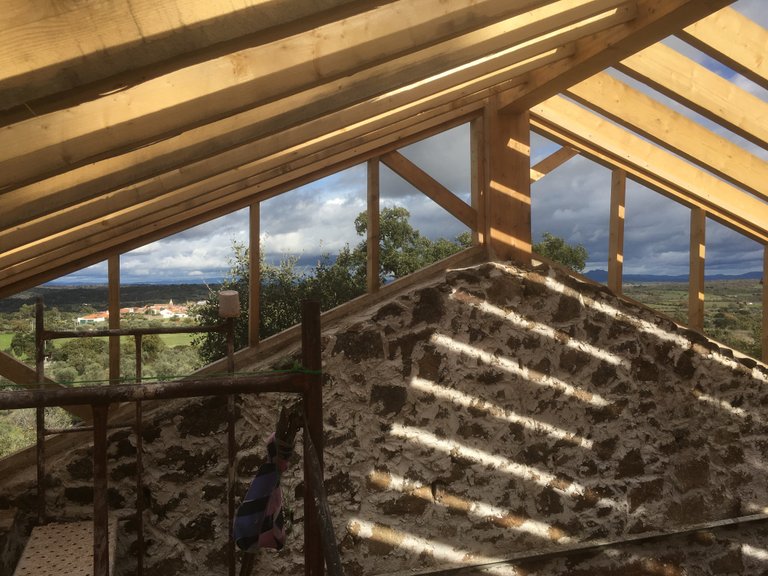 The ruin sits high on a rocky mound with stunning views.
in order to allow for a two story hight, the original walls were extended about 1m. upwards with a wooden frame.
the traditional way of doing this consists of using granite rocks, our local stone, but since walls are normally about 60-70 cm. thick, it is a very long, slow and expensive job.
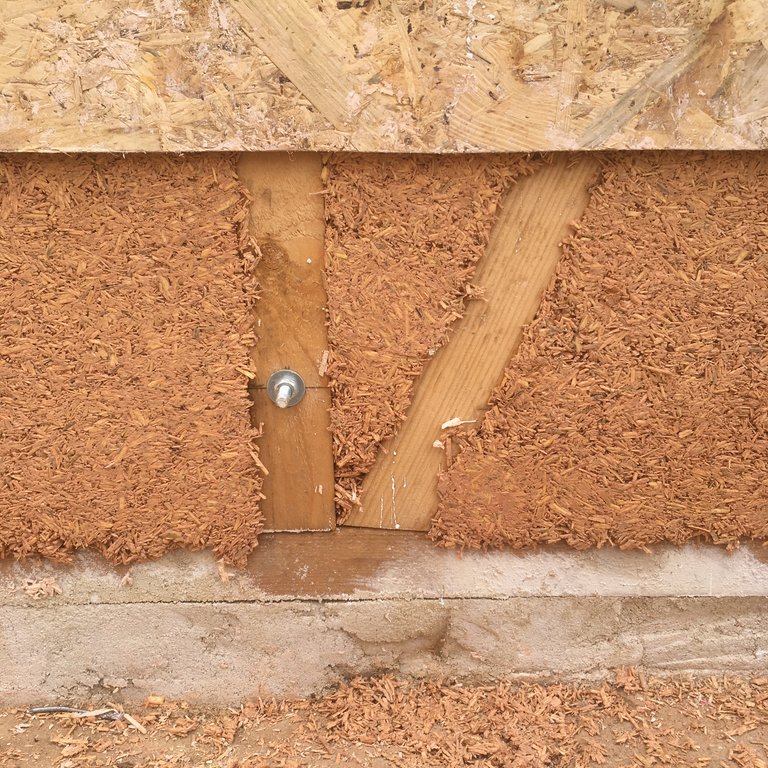
the whole wooden frame is bolted into the existing walls that have maintained in very good condition.
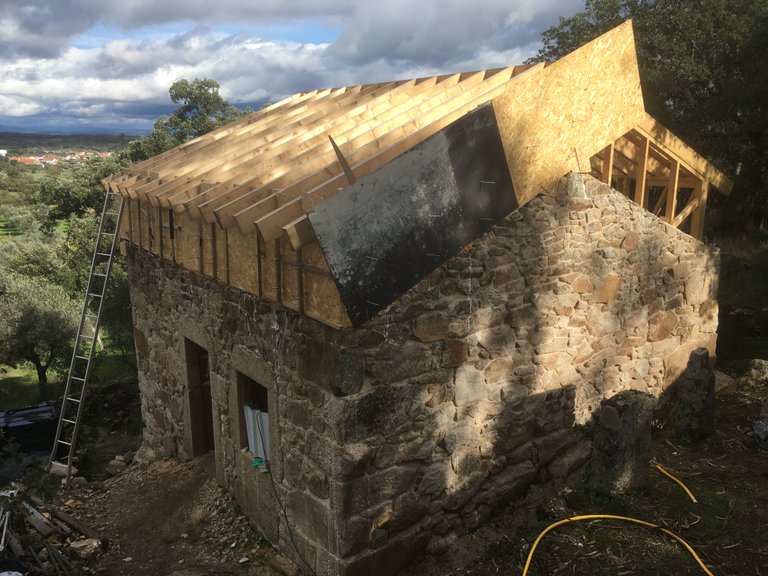 An external mold was then anchored into the woodwork in order to contain the hempcrete applied from the inside by hand.
the original stonework is to remain bare on the outside and the hempcrete belt on top will be plastered over.
**Getting dirty **
hemp stalks, lime, a bonding mineral and water.
it is recommended to use eye protection, gloves and a good mask as lime is hazardous if inhaled, comes in contact with eyes or skin.
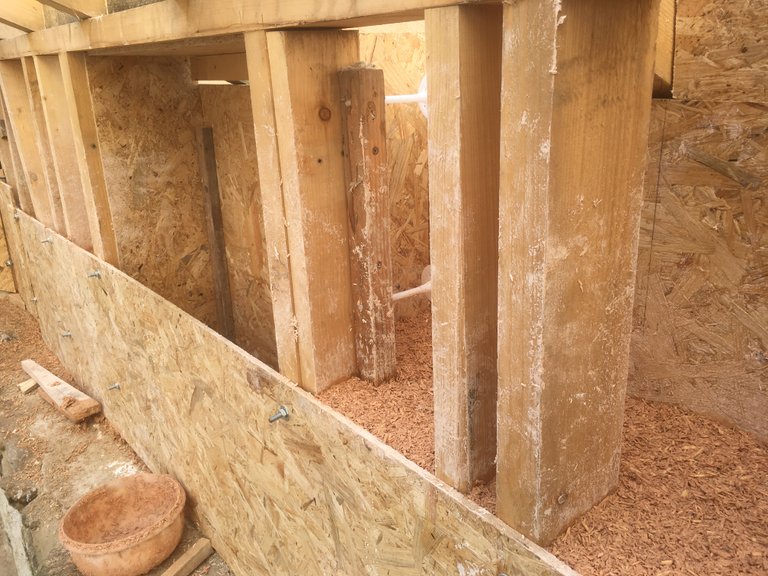 The inside mold is half size as to allow access to both the paste and team. the paste is poured in and then it is being manually compressed downwards using wooden tools.
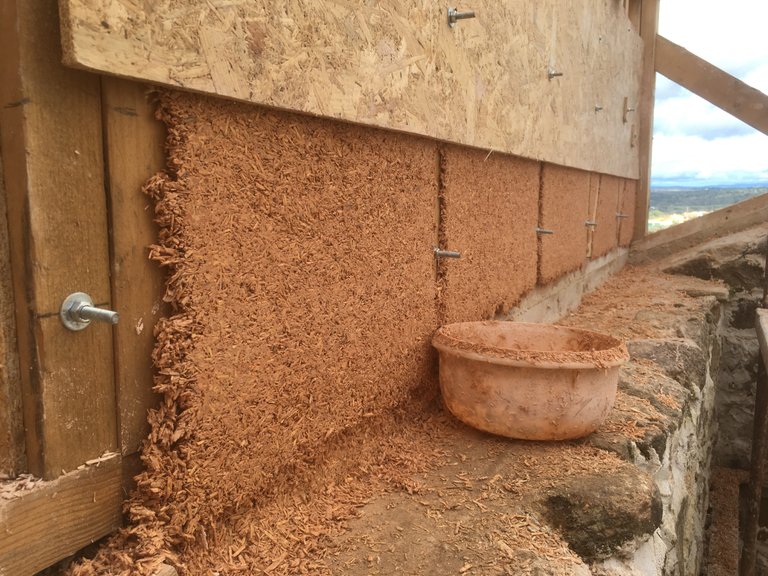 Once the bottom half is done, the mold is moved up. the paste is then being poured from the top and again compressed.
 After the whole circumference of the walls are completed, next comes the roof. a ceiling is installed that will in turn serve as the bottom mold for the hempcrete to be poured on top. following this, finishing is similar to a traditional roof. a waterproof membrane, horizontal slats and finally roof tiles.
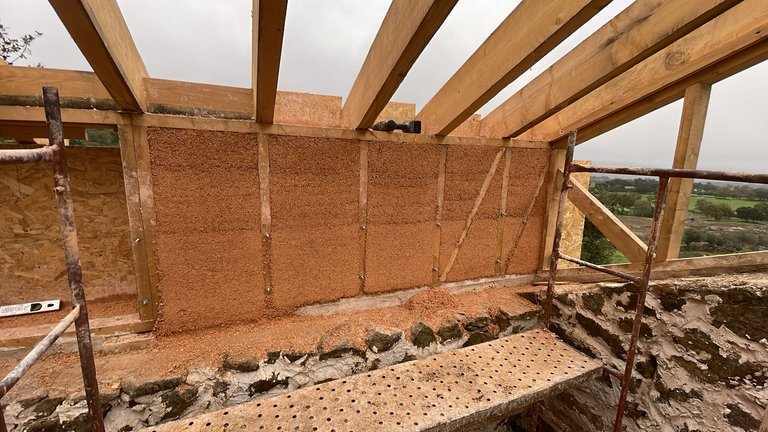 With yet quite a lot of work ahead and rains coming and going, I will try to follow up on this project in another post so stay tuned.
thank you for reading
if you enjoyed this post please upvote and/or rehive
love and light
#OCD
#DIYHub
#HiveDiy
#EcoTrain
#Build-it
#ProofOfBrain
#AbundanceTribe
#SeedsCommunity
#UnityTowardFreedom
Intriguing. Thanks for sharing
@clareartista don't miss out on this ;<)
P.S. Quite the weather, right? We're waiting out the little (sand)storm/wind/rain and - although it's quite exciting - are looking forward to calmer weather.
Abraço!
yep, not a dull moment. tricky to make any plans. 😁
abraço.