
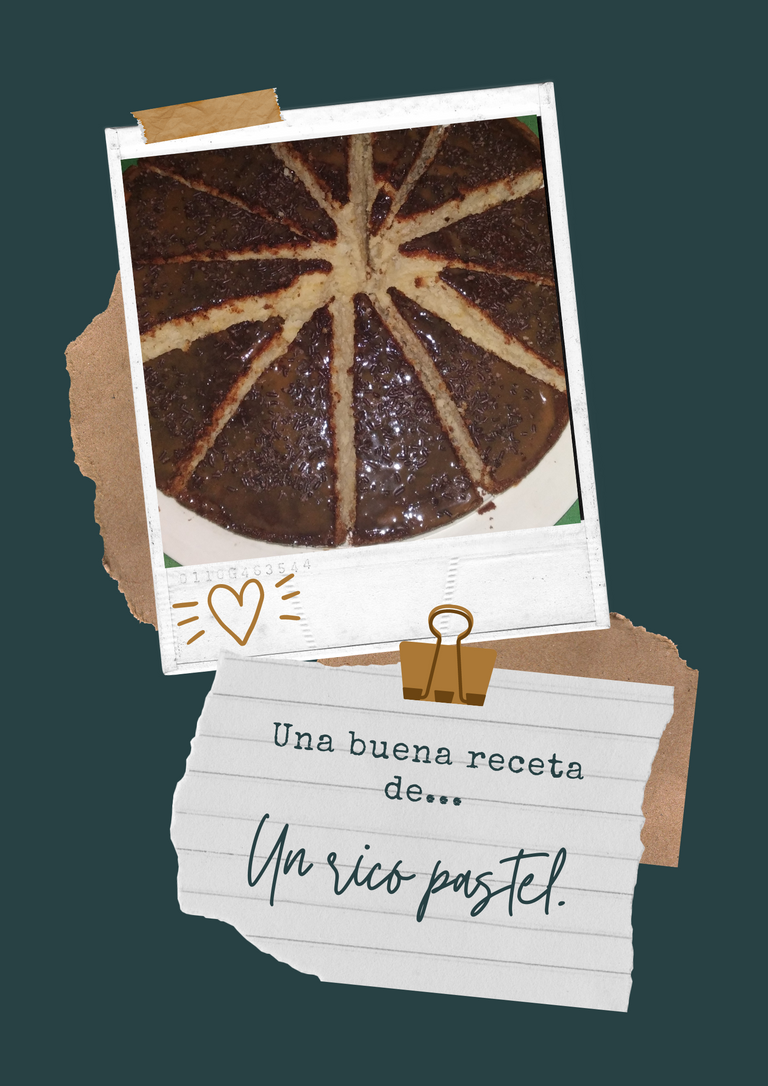
Sabemos que en nuestros hogares no puede faltar un dulce por las tardes, y en los cumpleaños tampoco puede faltar un buen pastel. Por eso en esta ocasión les traigo una receta de pastel de vainilla para que lo preparen en su casa.
Cuando estaba pequeña yo veía que mi mamá hacía tortas y quesillo y las vendía una de los dulces más vendidos eran los quesillos eran muy famosos en el pueblo donde vivía (GUARICO- SAN JUAN DE LOS MORROS, EL SOMBRERO). Cuando crecí le tome un poco más de importancia y empecé aprender. Ya de grande yo misma hacia mis tortas y las vendía , y con mi suegra que hace bellezas aprendí mucho más.
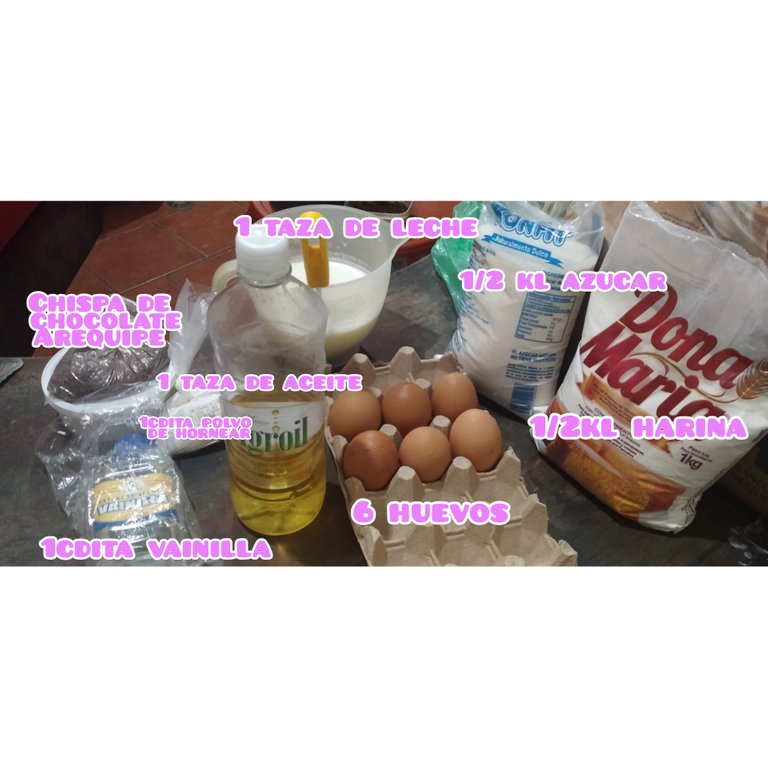
Pues sin más nada que decir aquí les tengo los ingredientes.
♦️1 Taza de aceite.
♦️1/2 kilo de azúcar
♦️1/2 kilo de harina de trigo
♦️6 huevos
♦️1cdita. De polvo para hornear
♦️1cdita. De vainilla.
♦️1 taza de leche.
♦️ Arequipe
♦️Chispas de chocolate
PASO A PASO:
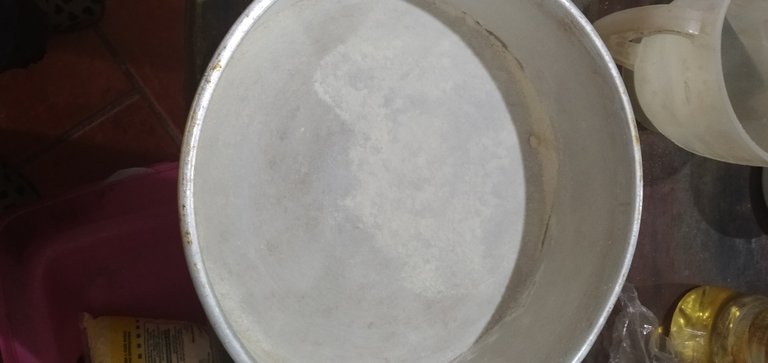
🤎MI SUEGRA ME ENSEÑO ALGO MUY IMPORTANTE: siempre enmantecar y enharinar la bandeja, antes de empezar hacer la torta, ya que esto lleva tiempo y la idea es de agilizar el trabajo. Yo lo hice con aceite y con harina de trigo, otros lo hacen con harina para hacer arepas o cacao en polvo.
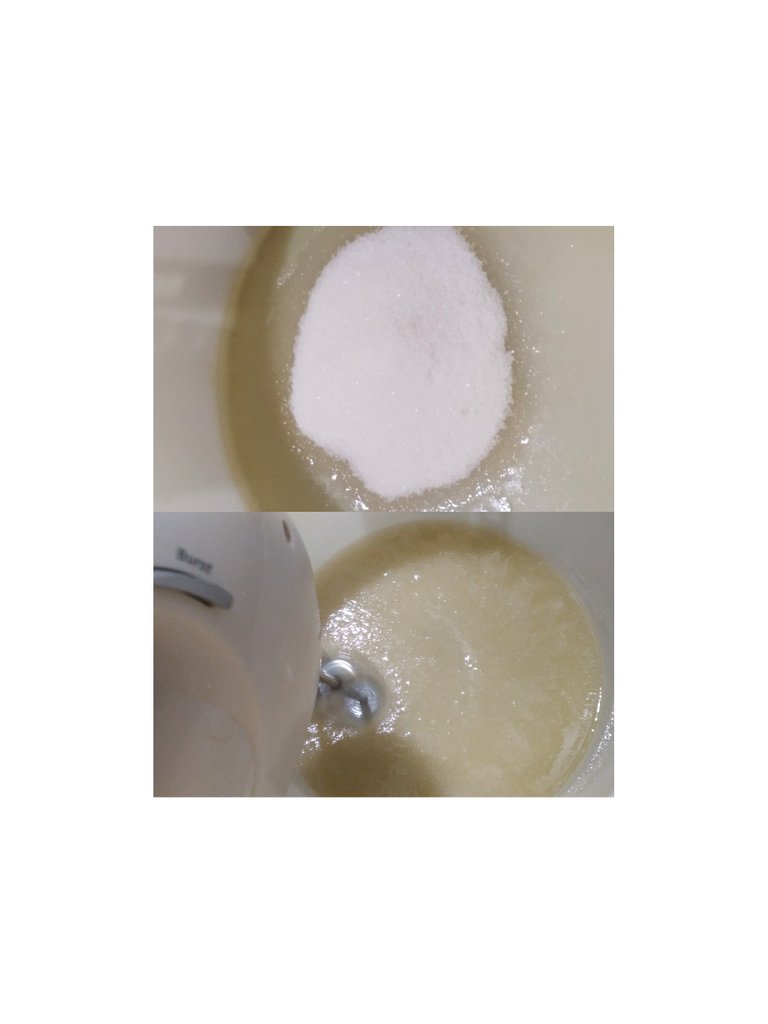
💜 CREMAR EL ACEITE CON EL AZÚCAR: este paso es súper importante ya que gracias a esto le dará la suavidad a tu pastel.
❤️ SEPARAR LAS CLARAS DE LAS YEMAS: la idea de separarlos es que las yemas irán directo a mezclarse con el aceite y la azúcar, y las claras se conservan para el final de la preparación. ( Recuerden que son 6 huevos)
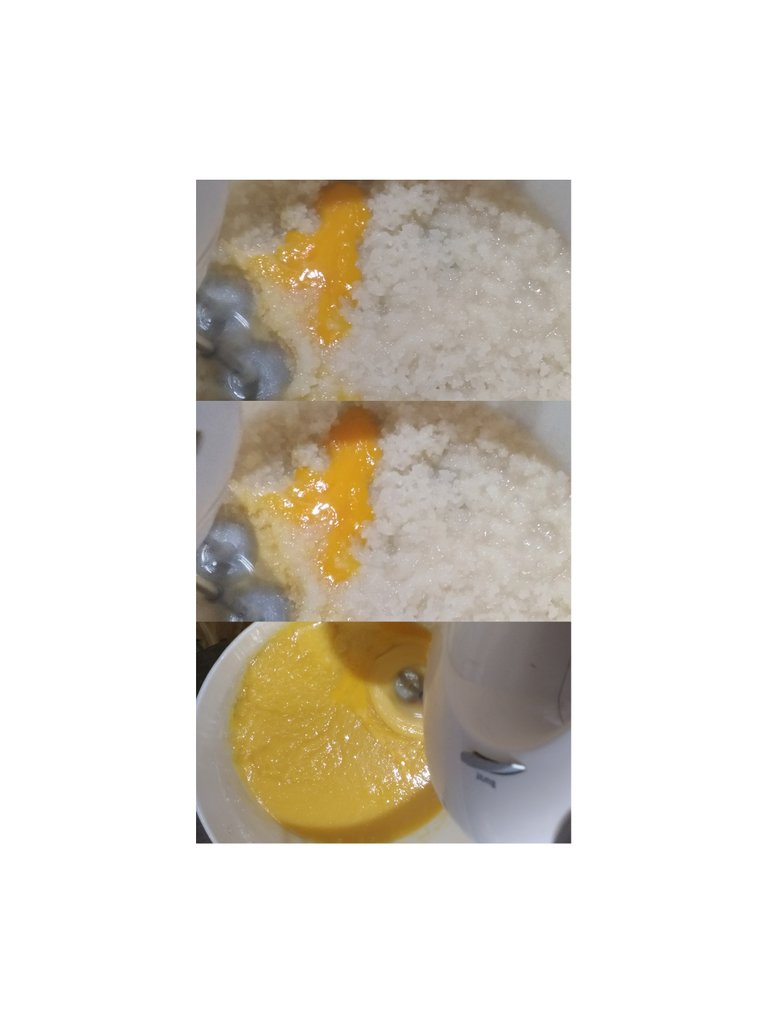
🧡 DEBEMOS DE MEZCLAR BIEN: debemos de tener en cuenta que la azúcar es un poco difícil de que se integre pero es importante que no quede grumoso poco a poco colocamos las yemas, hasta integrarlas todas y la vainilla , va a quedar una mezcla medio amarilla.
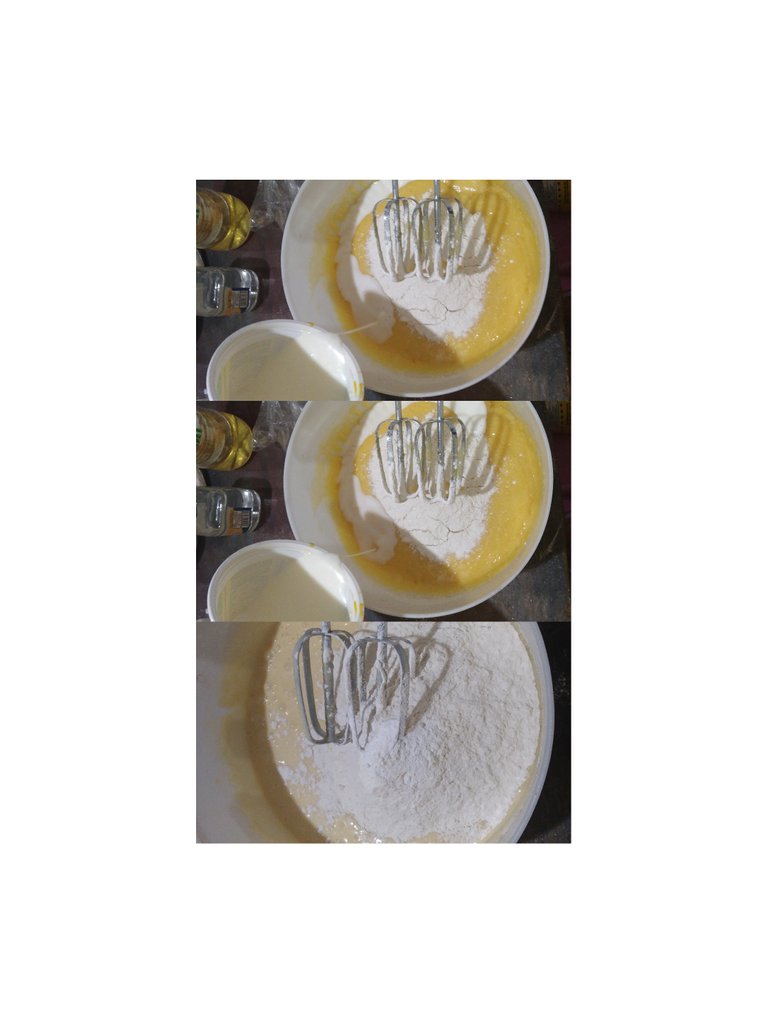
💛ALTERNAMOS LOS SECOS Y EL LÍQUIDO: este es el momento de integrar la harina de trigo, el polvo de hornear y la leche, yo la integro en tres partes al igual que el líquido , primero para que no se formen grumos de harina y segundo para no forzar la batidora o el brazo en tal caso que lo hagas a mano con paleta, está mezcla te debe de quedar ligera y sin grumos al finalizar de colocar los ingredientes.
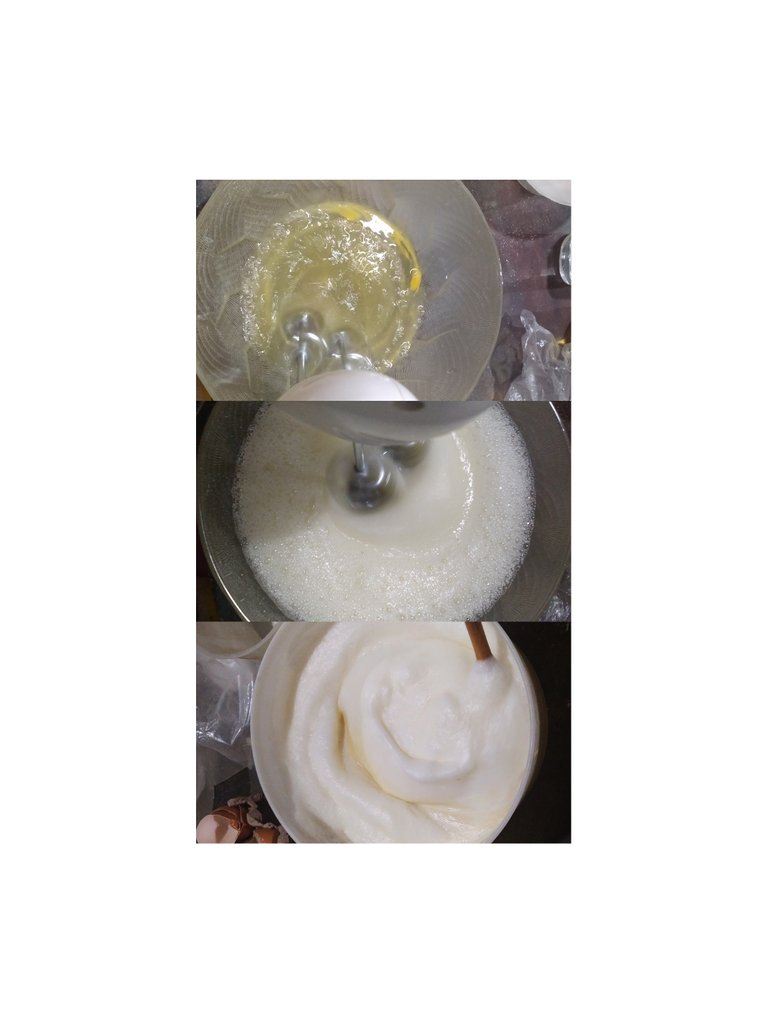
💙PASO IMPORTANTE: las claras, recuerdan que las claras quedaron de último? Bueno este es el momento de usarlas, debemos de convertir las simples claras en un suspiro, con la batidora con una fuerza media la mezclamos hasta que se forme un suspiro blanco con picos. La integramos a la mezcla de nuestra torta y de forma envolvente la integramos. Esto sirve para darle volumen a la torta para que crezca y no se vea fea.
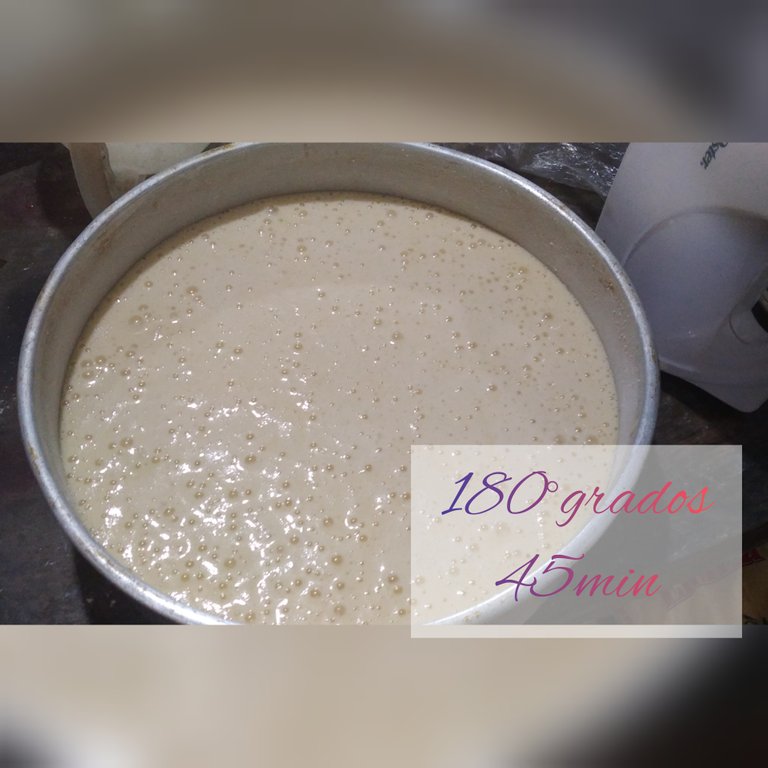
💚HORNO Y TIEMPO: La torta dura 45 min en el horno, a una temperatura de 180° grados. Mucho antes de terminar de hacer la torta debemos de prender el horno para que esté ya esté listo para cuando se termine de hacer la mezcla.
🖤PARA FINALIZAR: Ya pasaron los 45 min y nuestro pastel está listo, chicos saquenlo, es importante con una espátula ir despegando los bordes, pues esto son los más difíciles de despegarse. Volteenlo en una bandeja donde la van a mostrar esperen que enfríen y decoren.
🤍 PARA DECORAR: utilice Arequipe o como dicen en otros lugares dulce de leche va muy bien con la vainilla y chispas de chocolate. En mi caso yo las corte en 12 pedazos por qué es para vender y está lista.
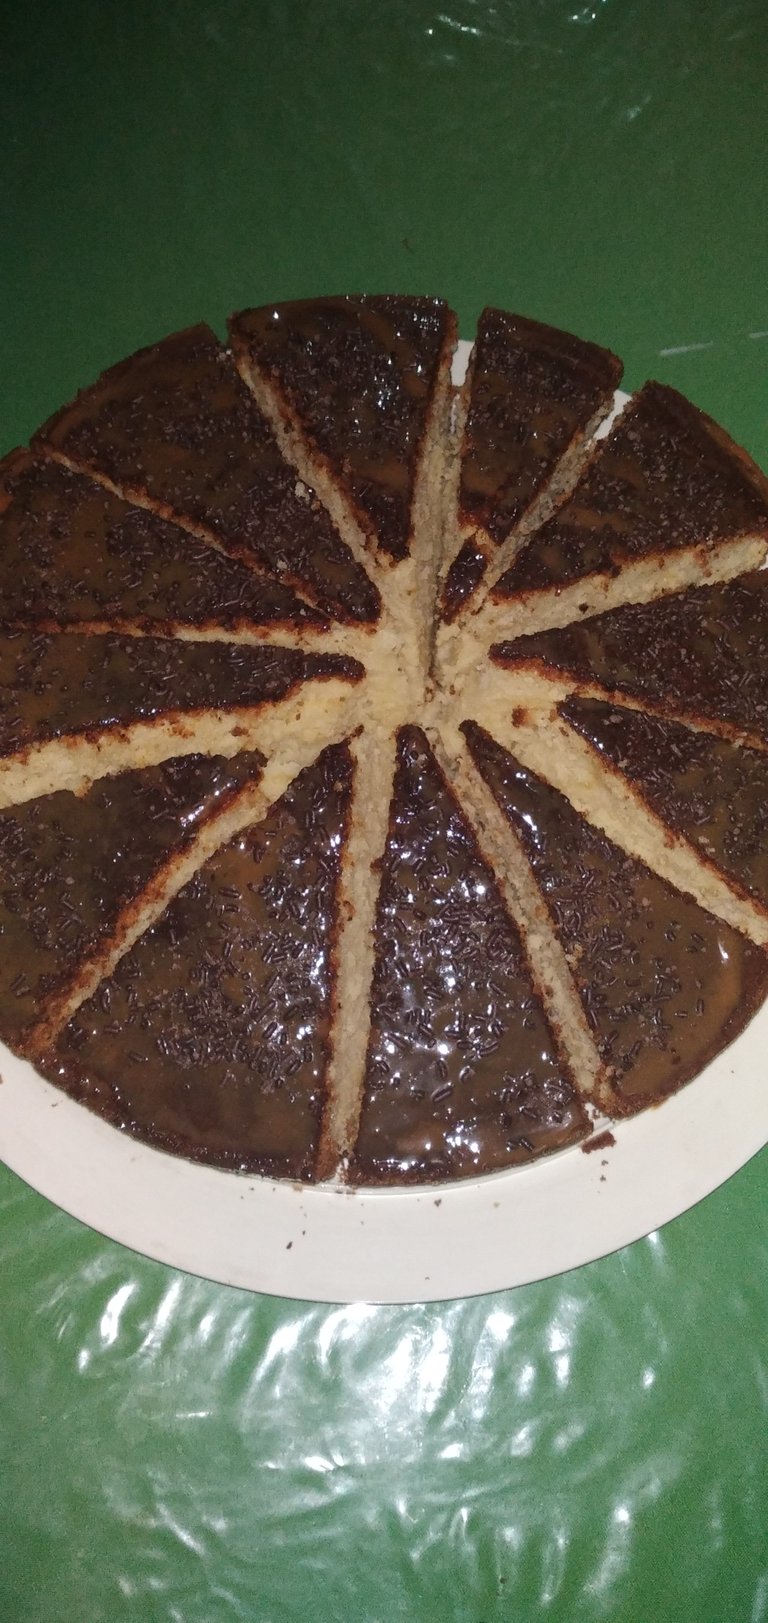
TODAS LAS COSAS QUE HE APRENDIDO HA SIDO GRACIAS A MI MADRE Y A MI SUEGRA, POCO A POCO HE IDO APRENDIENDO MAS Y MAS, AMO HACER ESTO, CREO QUE ES UNA FORMA DE DESESTRESARME.
TODO LES VA A SALIR BIEN SI LO HACEN CON AMOR, Y DE ESO ESTOY SEGURA LO CONFIRMO DIARIAMENTE.
SUERTE CHICOS Y SEAN CREATIVOS QUIERO VER COMO LES QUEDO SU PASTEL CON MI RECETA Y PASO A PASO.
BENDICIONES 🙏

We know that our homes cannot miss a sweet in the afternoons, and on birthdays a good cake cannot be missing either. So this time I bring you a recipe for vanilla cake to prepare at home.
When I was little I used to see that my mother made cakes and quesillos and sold them one of the best-selling sweets were the quesillos were very famous in the town where she lived (GUARICO- SAN JUAN DE LOS MORROS, EL SOMBRERO). When I grew up I took it a little more importance and began to learn. When I was older, I made my cakes and sold them, and with my mother-in-law who makes beauties I learned much more.
Well, without anything else to say, here I have the ingredients.
♦ ️1 Cup of oil.
♦ ️1 / 2 kilo of sugar
♦ ️1 / 2 kilo of wheat flour
♦ ️6 eggs
♦ ️1cdita. Baking powder
♦ ️1cdita. Vanilla.
♦ ️1 cup of milk.
♦ ️ Arequipe
♦ ️Chocolate chips

STEP BY STEP:
🤎MY MOTHER-IN-LAW TEACHED ME SOMETHING VERY IMPORTANT: always butter and flour the tray, before starting to make the cake, since this takes time and the idea is to speed up the work. I made it with oil and wheat flour, others make it with flour to make arepas or cocoa powder.

💜 CREAM THE OIL WITH THE SUGAR*: this step is super important since thanks to this it will give the softness to your cake.

❤️ SEPARATE THE WHITE FROM THE YOLKS: the idea of separating them is that the yolks will go directly to mix with the oil and sugar, and the whites are kept for the end of the preparation. (Remember that there are 6 eggs)

🧡WE MUST MIX WELL:we must bear in mind that the sugar is a bit difficult to integrate but it is important that it is not lumpy little by little we place the yolks, until they are all integrated and the vanilla, there will be a medium yellow mixture .
💛 WE ALTERNATE THE DRY AND THE LIQUID: this is the time to integrate the wheat flour, the baking powder and the milk, I integrate it into three parts just like the liquid, first so that no lumps of flour form and second In order not to force the mixer or the arm in such a case that you do it by hand with a paddle, this mixture should be light and without lumps at the end of placing the ingredients.

💙 IMPORTANT STEP: the whites, do you remember that the whites were last? Well this is the time to use them, we must convert the simple egg whites into a whisper, with the mixer with medium strength we mix it until a white whisper with peaks is formed. We integrate it into the mix of our cake and we integrate it in an enveloping way. This is to add volume to the cake so that it grows and does not look ugly.

💚OVEN AND TIME: The cake lasts 45 min in the oven, at a temperature of 180 ° degrees. Long before finishing making the cake we must turn on the oven so that it is ready for when the mixture is finished.

🖤** TO FINISH:** The 45 min have already passed and our cake is ready, guys take it out, it is important with a spatula to take off the edges, as these are the most difficult to take off. Turn it over on a tray where they will show it, wait for it to cool and decorate.
🤍 TO DECORATE: use Arequipe or as they say in other places dulce de leche goes very well with vanilla and chocolate chips. In my case I cut them into 12 pieces why it is to sell and it is ready.

EVERYTHING I HAVE LEARNED HAS BEEN THANKS TO MY MOTHER AND MY MOTHER-IN-LAW, LITTLE BY LITTLE I HAVE BEEN LEARNING MORE AND MORE, I LOVE DOING THIS, I THINK IT IS A WAY TO DESTRESS ME.
EVERYTHING WILL BE GOOD IF THEY DO IT WITH LOVE, AND OF THAT I AM SURE I CONFIRM IT DAILY.
LUCK GUYS AND BE CREATIVE. I WANT TO SEE HOW YOUR CAKE LEFT WITH MY RECIPE AND STEP BY STEP.
BLESSINGS 🙏


Congratulations @aldatrp! You have completed the following achievement on the Hive blockchain and have been rewarded with new badge(s):
Your next target is to reach 50 replies.
You can view your badges on your board and compare yourself to others in the Ranking
If you no longer want to receive notifications, reply to this comment with the word
STOPCheck out the last post from @hivebuzz: