South Africans love something sweet after a rich plate of food. It is ingrained in us. After a very rich Sunday lunch, there will always be some sort of pudding, usually malva pudding. Various renditions of this pudding have come along over the years, but my mother always made the variant named after the South African rugby player Jan Ellis. Apparently, he loved this pudding, but I cannot verify the claims. All that I know is that this pudding is seriously good and one of those puddings you actually do not want to make because you will eat it too much.
In a previous post, I shared how we make these traditional South African dishes. I included a brief mention of how malva pudding is made. The biggest difference I can gather from the two is the amount of liquid you add afterward. Jan Ellis pudding you drench with copious amounts of butter and cream. (This pudding is not for someone who wants to watch their weight.)
But I always thought, can one not change the recipe a bit, why not add coconut cream rather than normal cream, and why not make a type of caramel sauce instead of the usual custard?
And this is where my strange mind took over the pudding. I made it with a type of coconut glaze (the caramel process did not work out) and I added copious amounts of coconut cream.
It worked out and it tasted amazing, obviously not the same as the traditional, but rich, decadent, and different. So please follow along as I make this very traditional yet different pudding that will make you drool!
Ingredients and Recipe
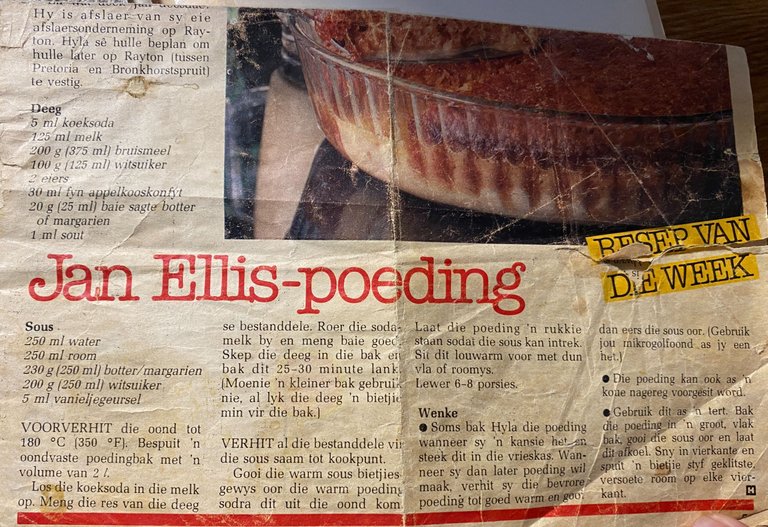
My mother has been using the same recipe for many years now, even the paper can tell you that.
But if something works, why change it? Herewith is the translation:
Batter
- 5 ml baking soda,
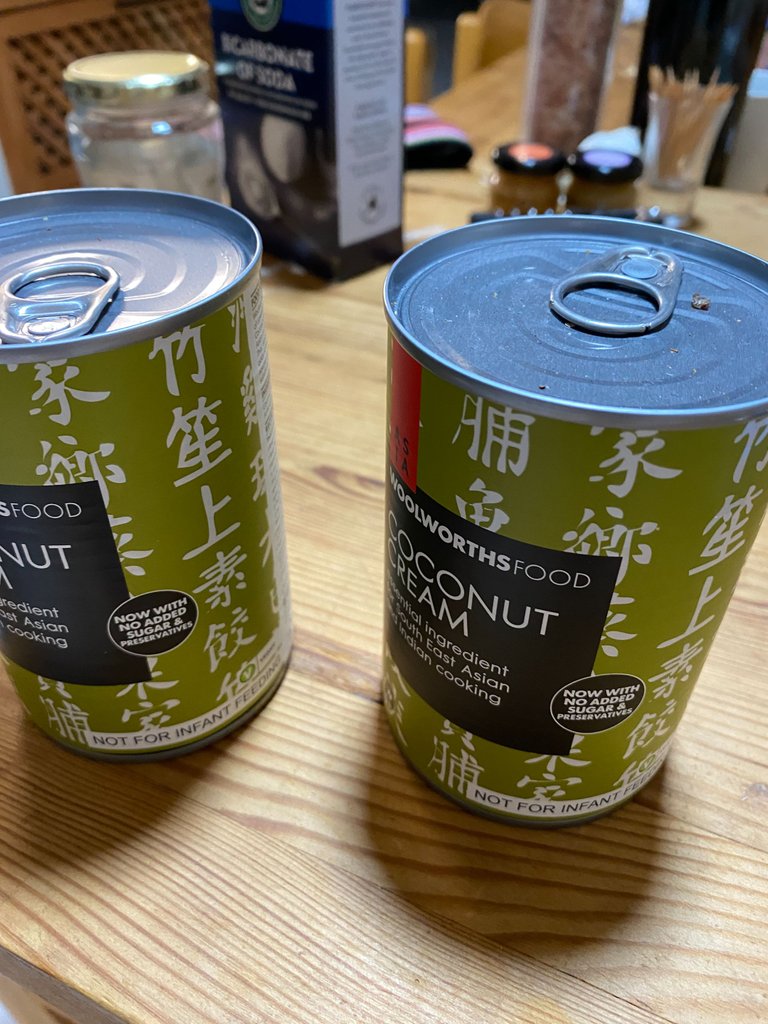
- 125 ml milk (which I changed with coconut cream)
- 200 g self-raising flour (or just add a teaspoon of baking powder)
- 100 g sugar
- 2 eggs
- 30 ml apricot jam
- 20 g butter
- 1 ml salt
Sauce
- 250 ml water (which I changed to coconut cream)
- 250 ml milk (which I changed to coconut cream)
- 230 g butter (which I left out due to the cream being so rich)
- 200 g sugar
- 5 ml vanilla
The Process/Method
Baking is a science and I do not like it that much. I cannot follow a recipe to save my life. I create them, I do not follow them. (Or something in that line of thought, I like to improvise.) But for this one, I followed the recipe very closely. It consists of three "phases" or stages. Stage one is the making of the pudding; stage two is the drenching phase; and stage three is the sauce-making.
Stage one: Make the Pudding
The recipe is very simple. Add all of the wet ingredients and mix them. Add all of the dry ingredients and mix them. Then combine everything.
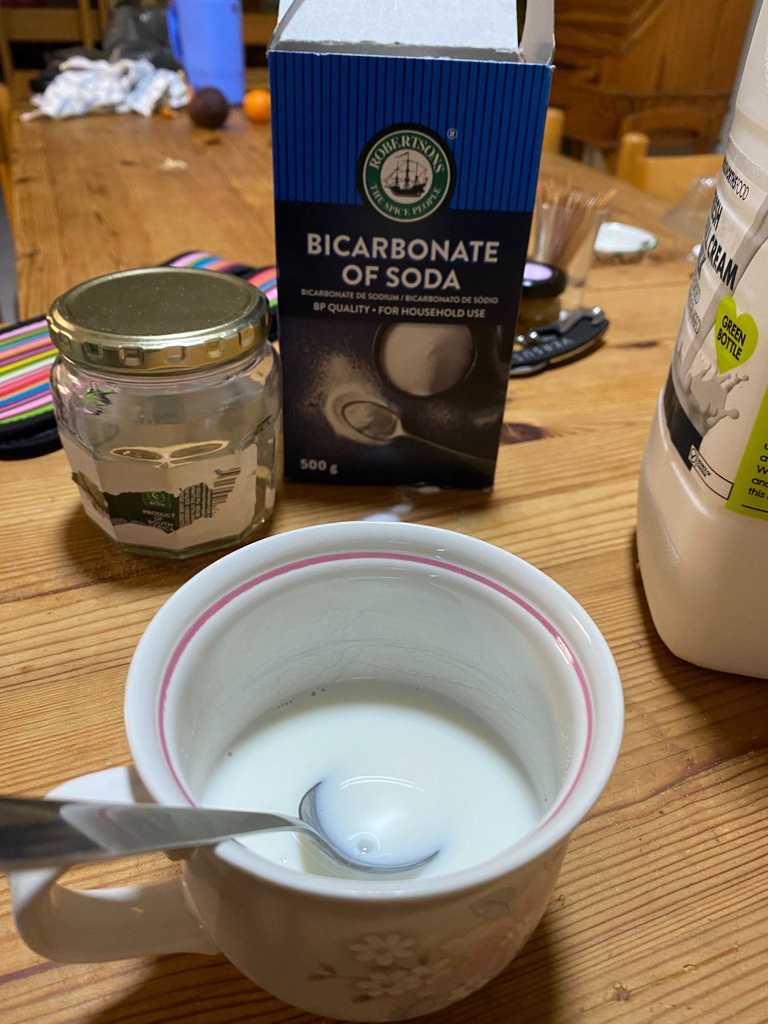
I begin by adding the baking soda to some of the coconut milk.
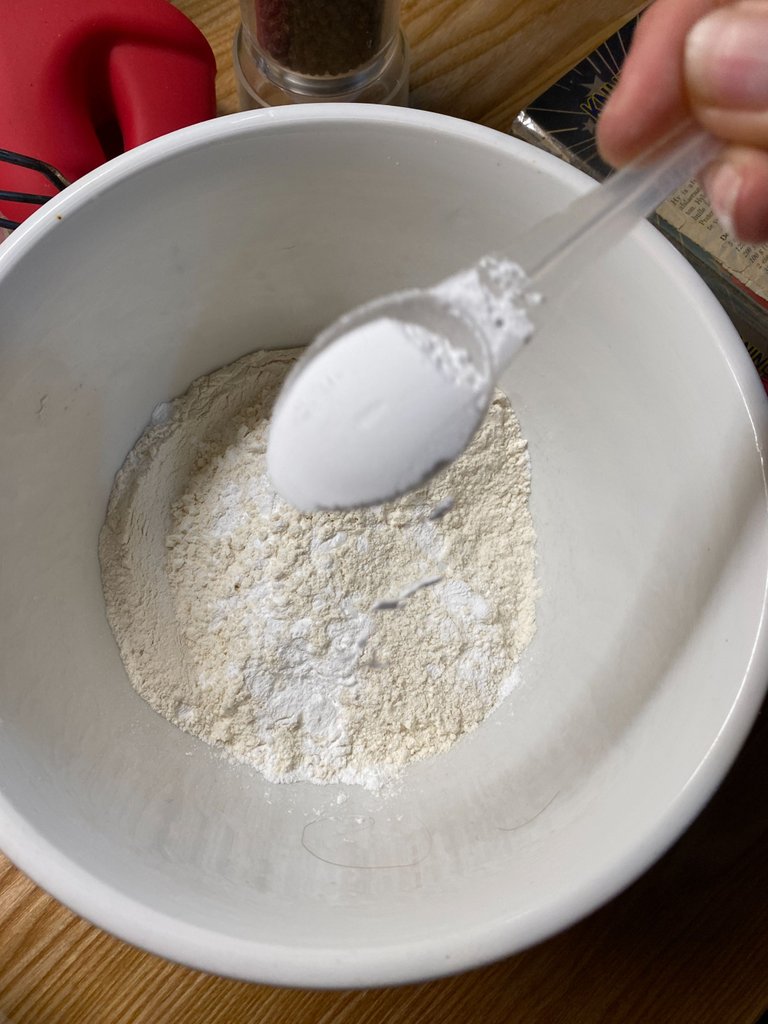
If you do not have self-raising flour, use a teaspoon of baking powder.
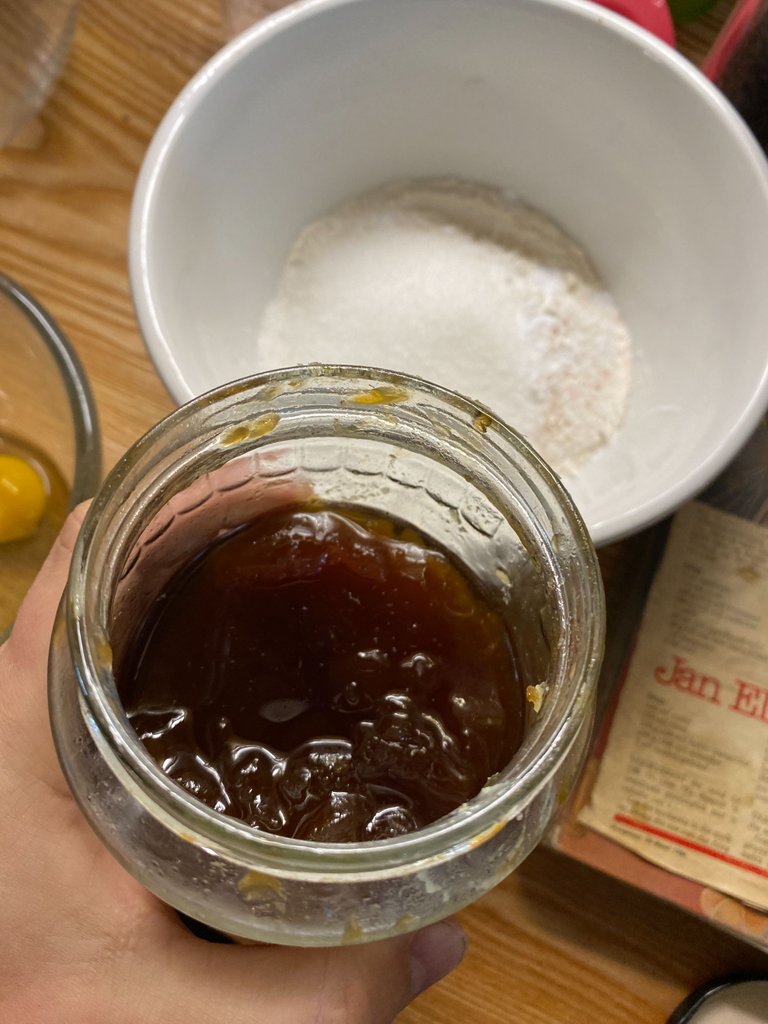
It is such an interesting ingredient, apricot jam, but it sure makes the world's difference.
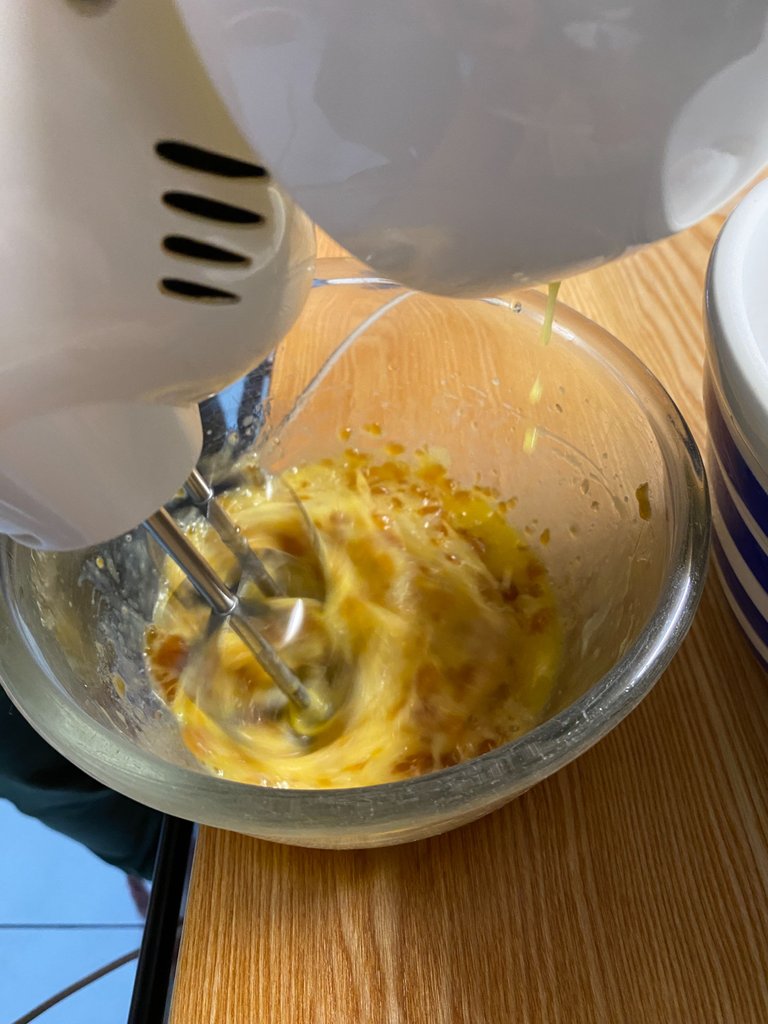
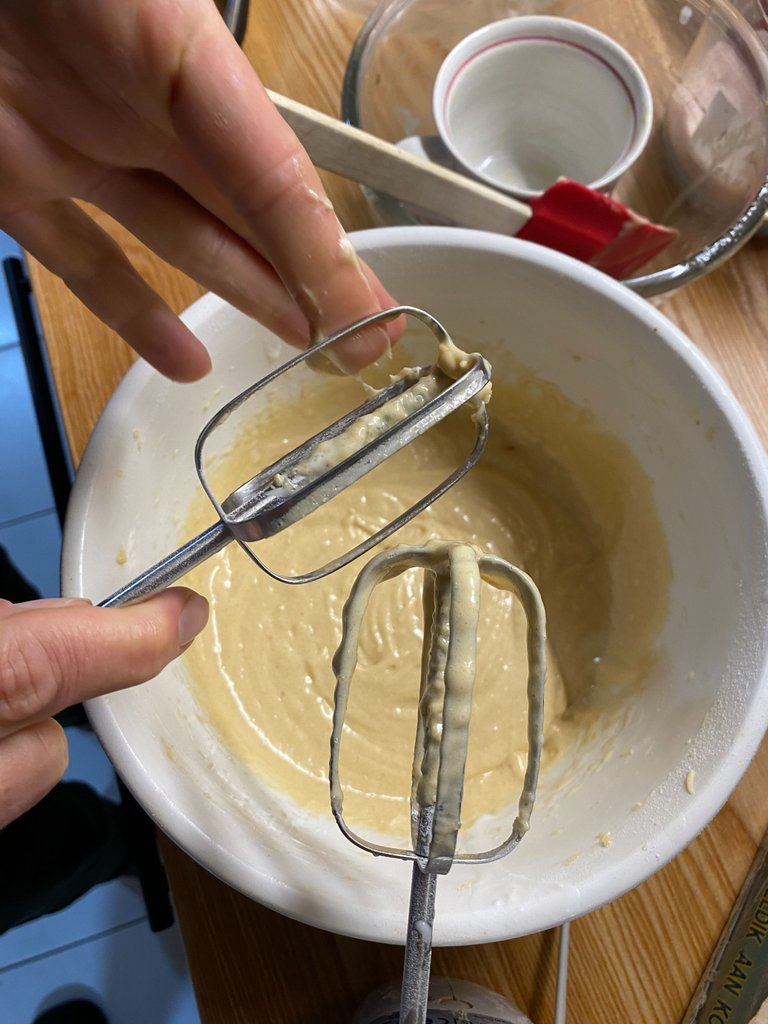
Mix all of the wet ingredients together before slowly adding them to the dry ingredients.
And don't forget to lick the utensils clean!
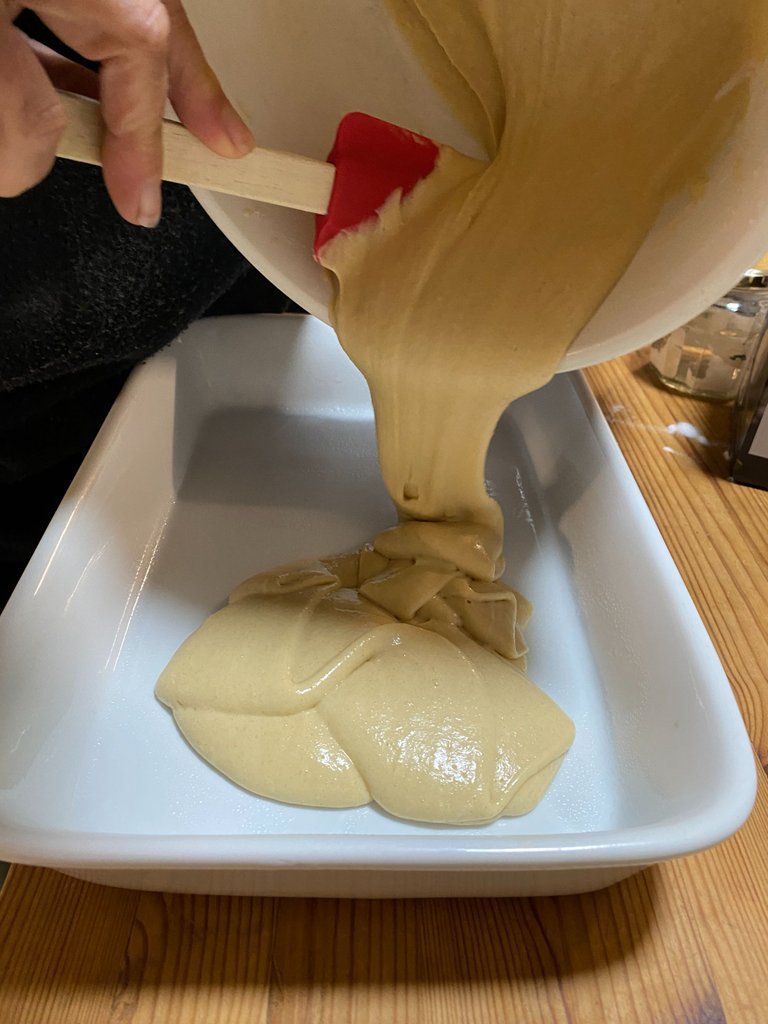
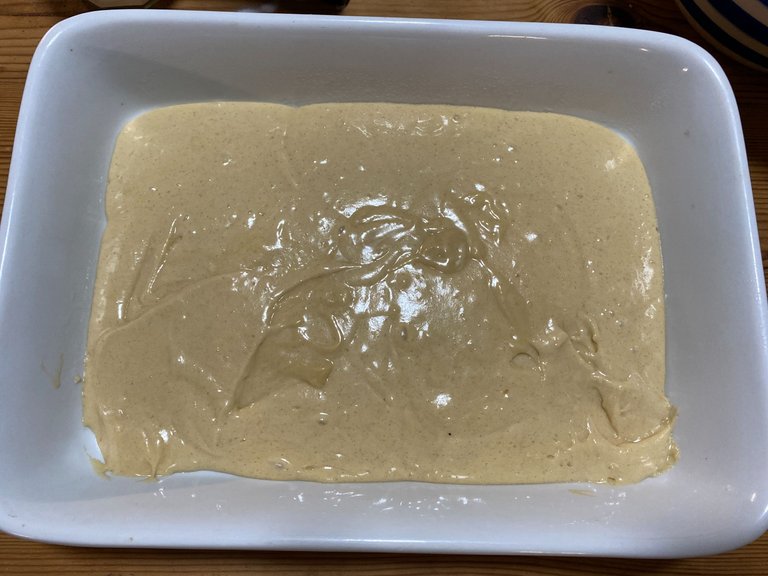
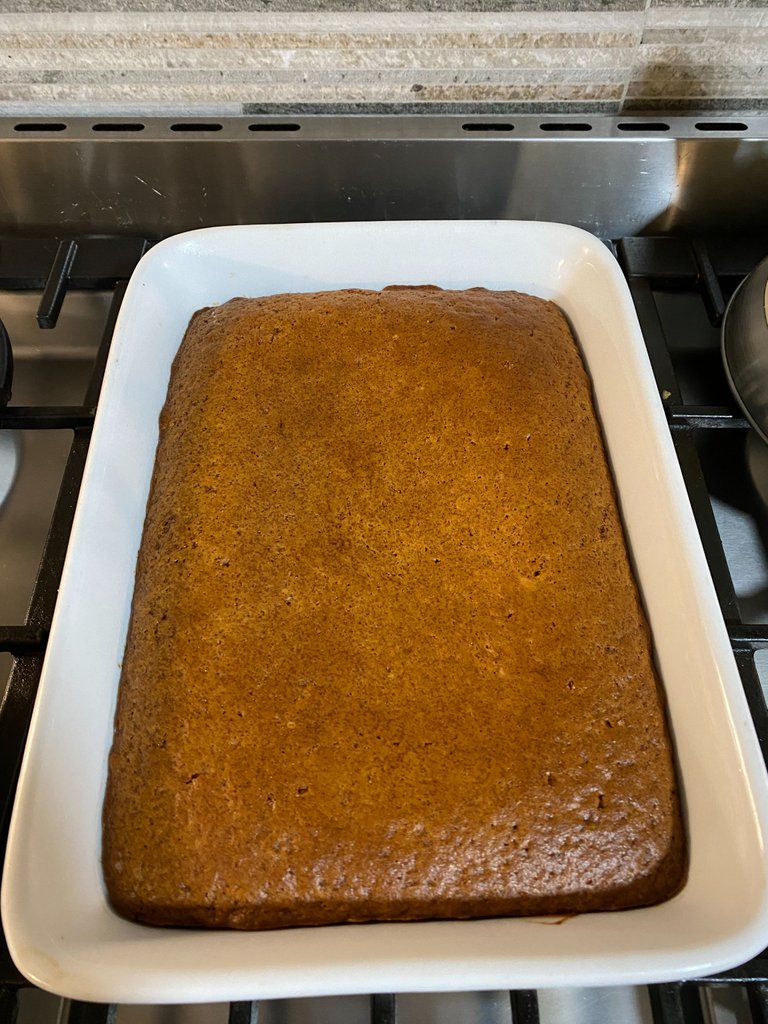
Add the batter to a well-greased baking vessel. At first, it will look like it is too little, but it will expand in the oven by quite a bit.
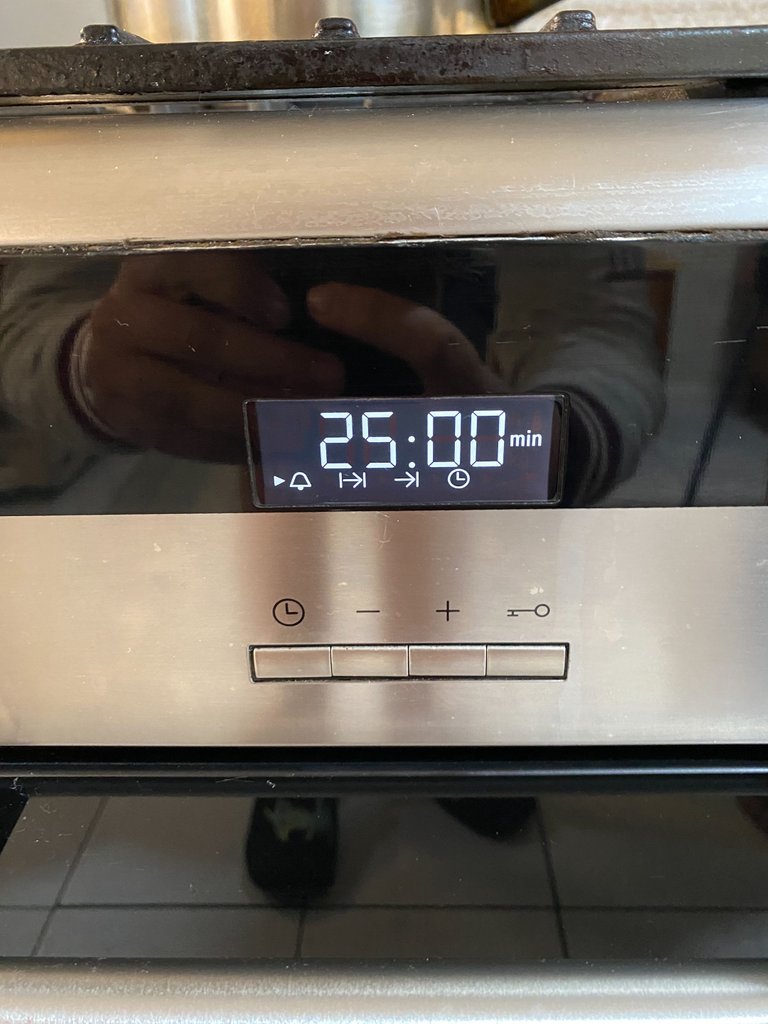
Bake this for 25 minutes at 180C and it will be done!
Stage two: Drenching Sauce
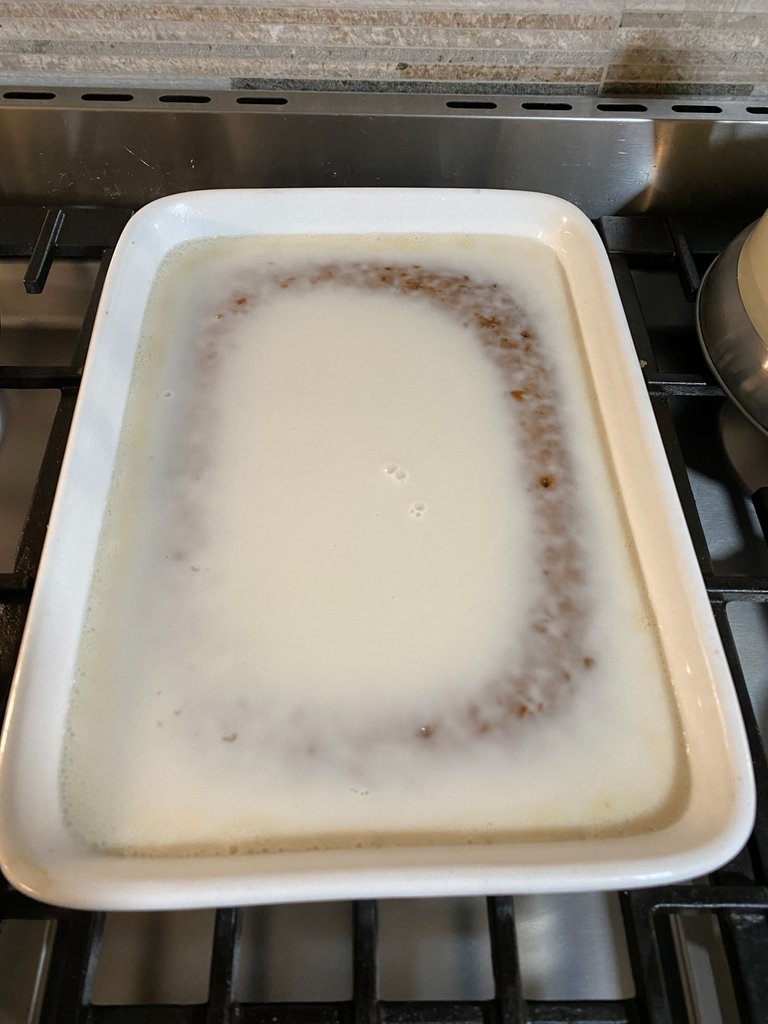
When the pudding is baked, it needs to be drenched in a sauce. The original requires butter, milk, and water. For my own version of this sauce, I merely used coconut cream. Decadent and rich.
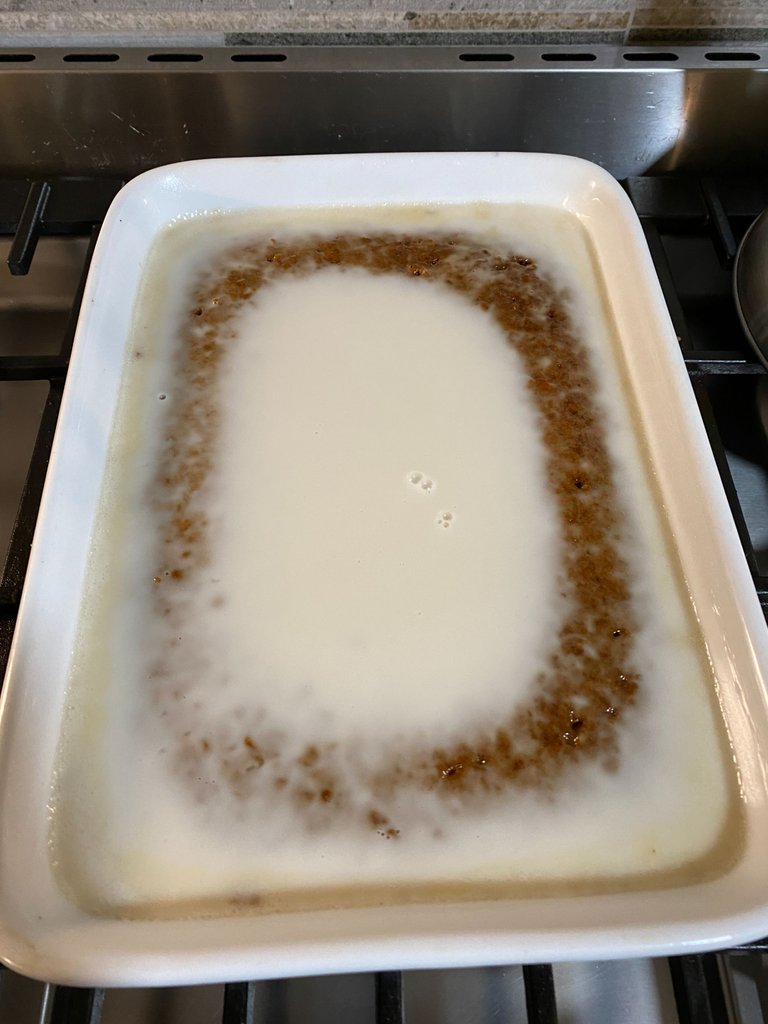
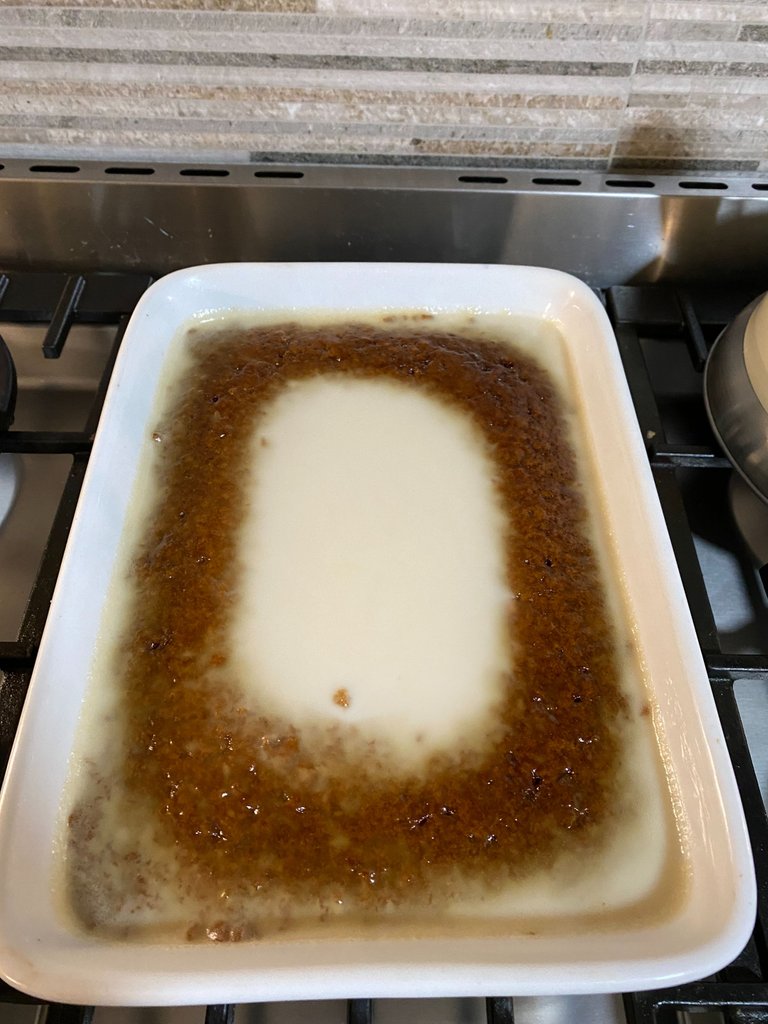
As soon as you take it out of the over, pour over your cream (and butter if you use the OG recipe) mixture and let it steep until all of the liquid gets sucked in. I think because of the coconut cream's richness, it did not suck all of the liquid in and some of it remained on top.
What remained on top was sticky coconut cream. If you like coconut, as I do, this is a win-win situation. Yes, it is not perfect as it should be, but the coconut cream was so thick and yummy.
Stage three: The Final Sauce
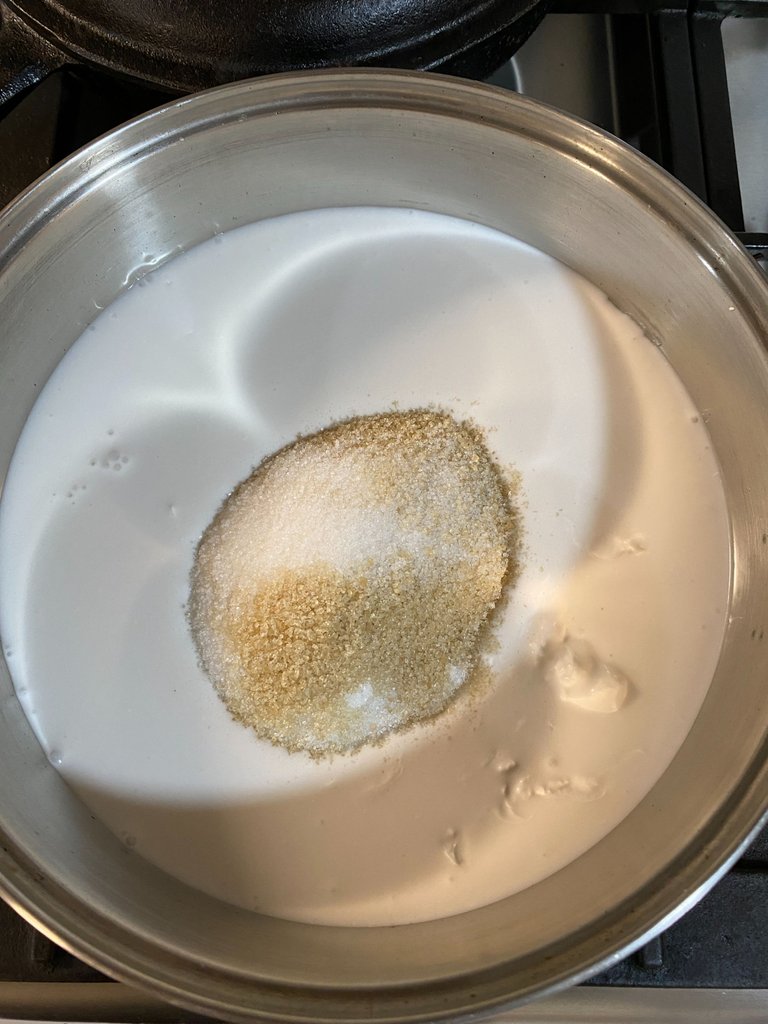
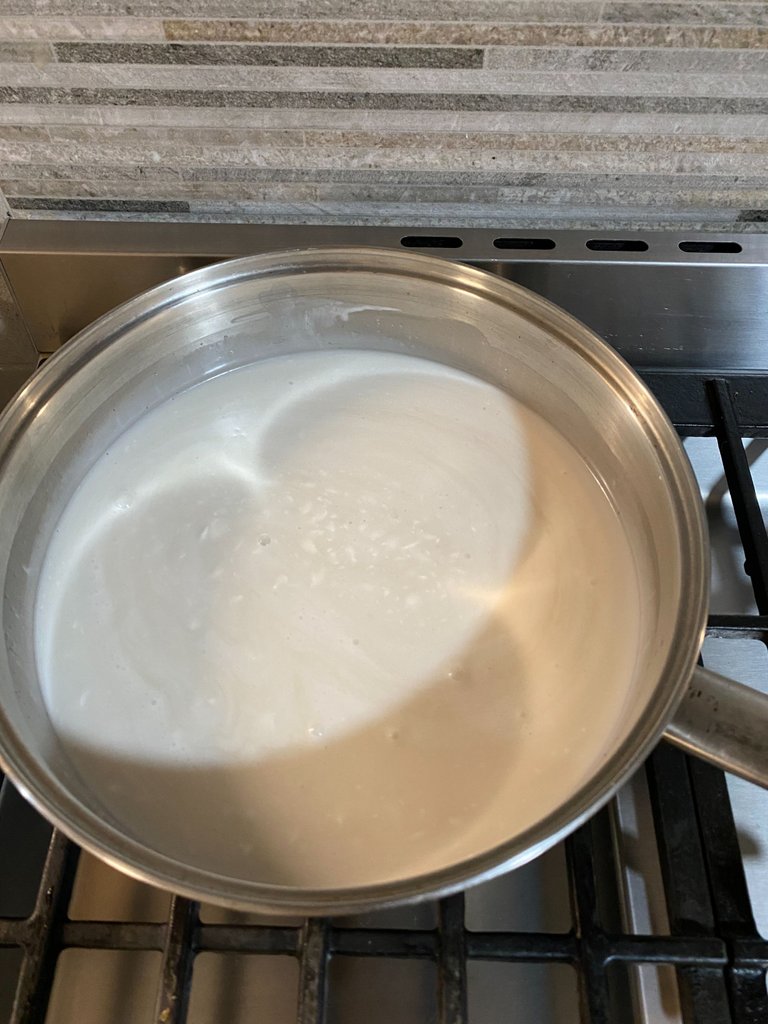
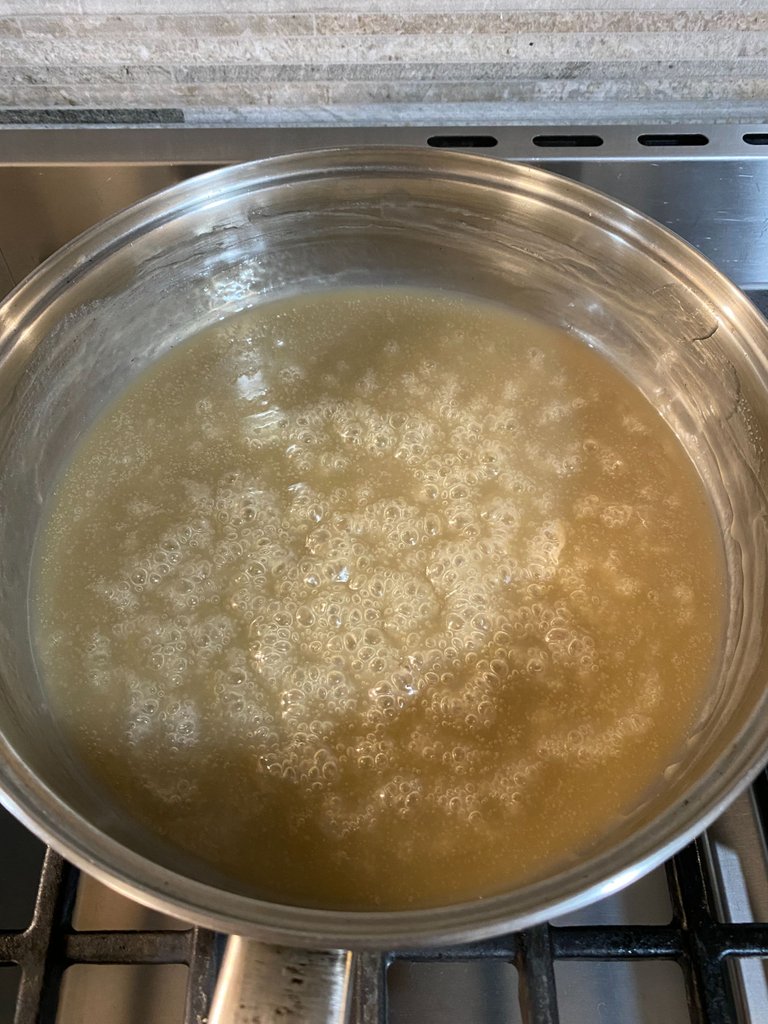
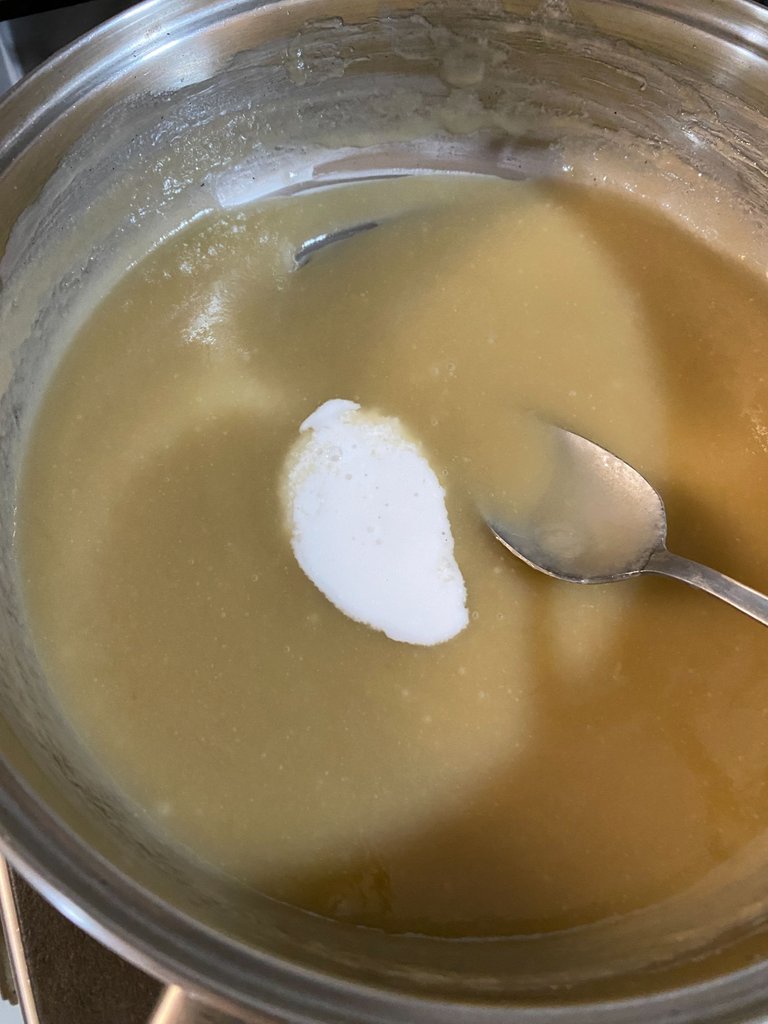
Normally, we will put custard on the pudding. But I recently saw a video in which you boil coconut cream and sugar to make a type of caramel sauce. This did not work out and I ended up making a type of coconut glaze. In the future, I will make the coconut caramel totally different, relying more on traditional methods. But in any case, I added some sugar to the coconut cream and started boiling it:
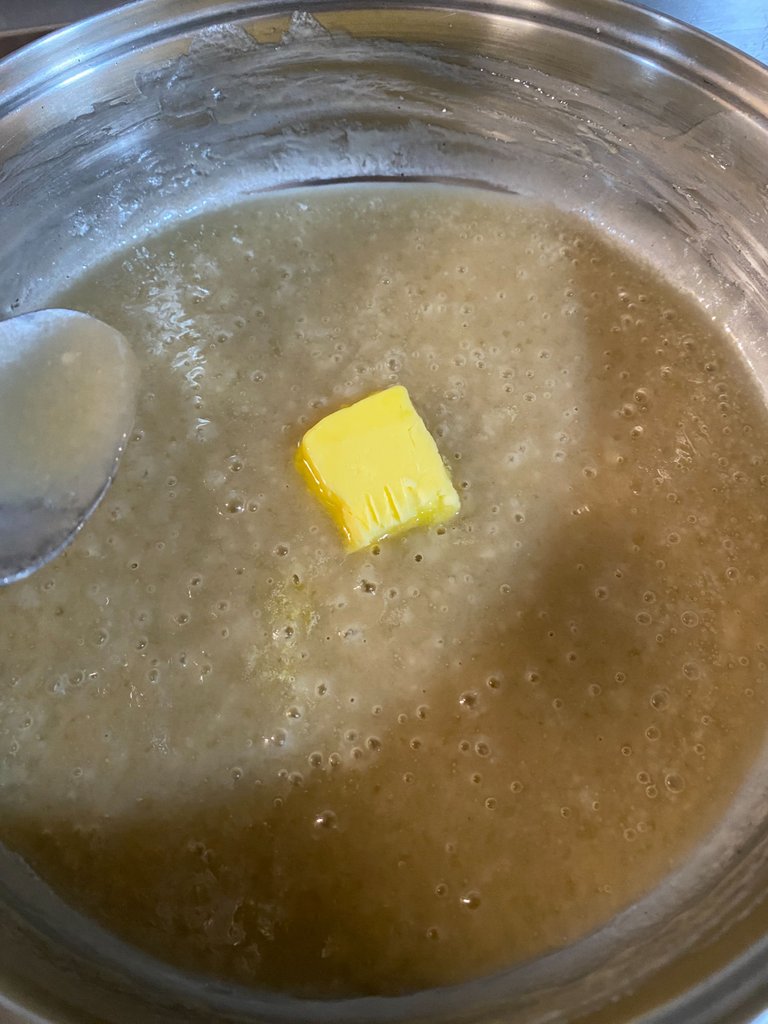
At this stage, I added more butter, because I wanted to return to the normal caramel-making stage here for some reason. But I will not do this again.
I also added some coconut cream, again going back to the normal caramel-making game.
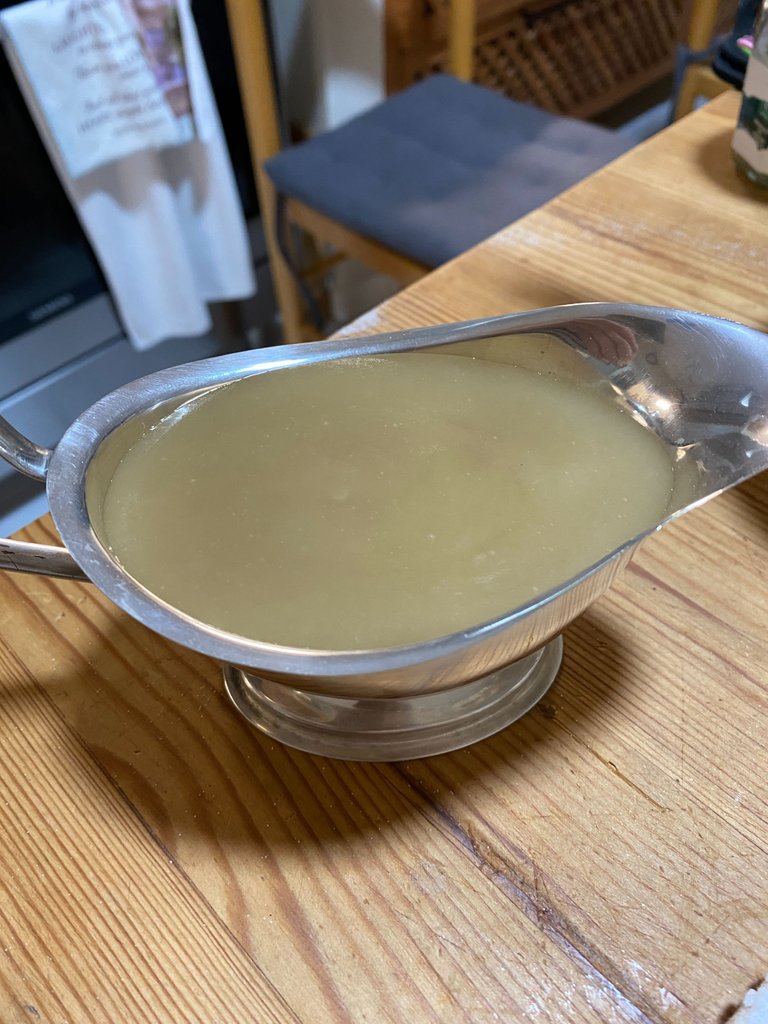
In the end, I ended up with a thick coconut cream reduction, a sauce very similar to condensed milk. It worked so well with the pudding, but wow, it was way too sweet! Again, in the future I will make a proper caramel and only add some coconut cream at the end.
Dish Up!
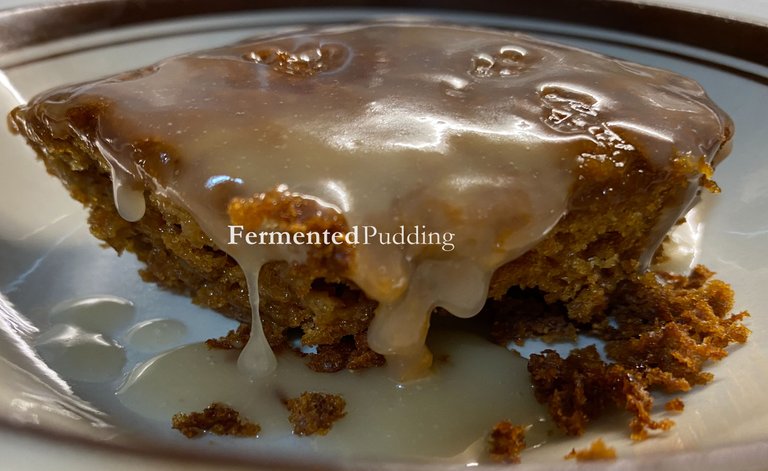
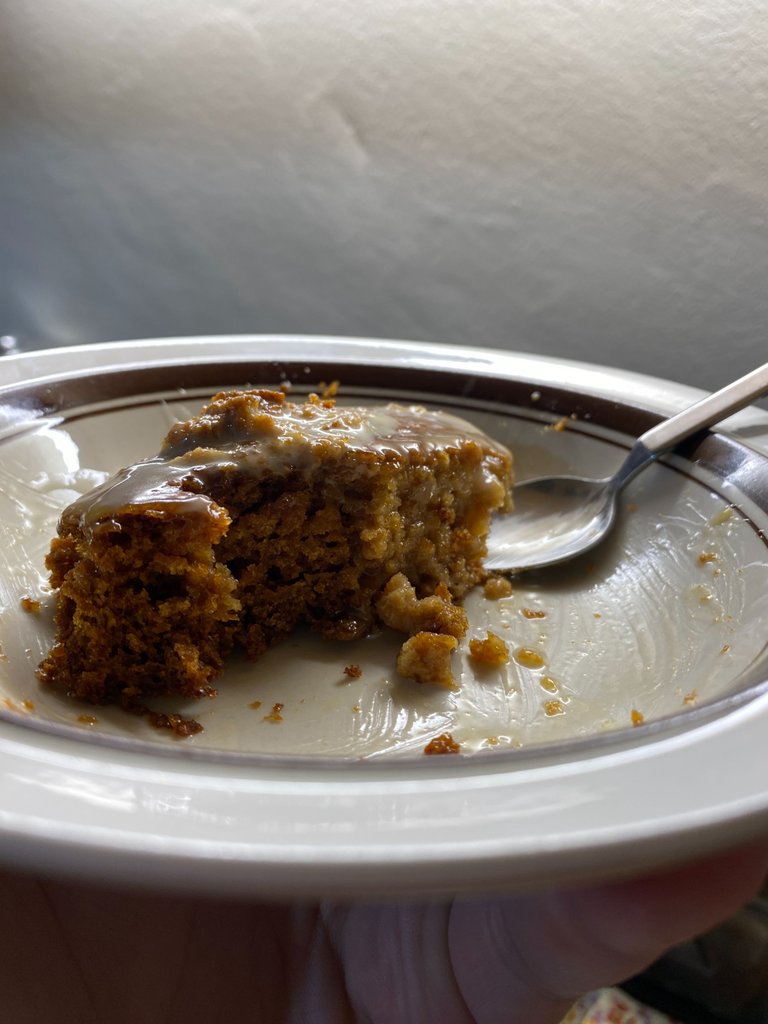
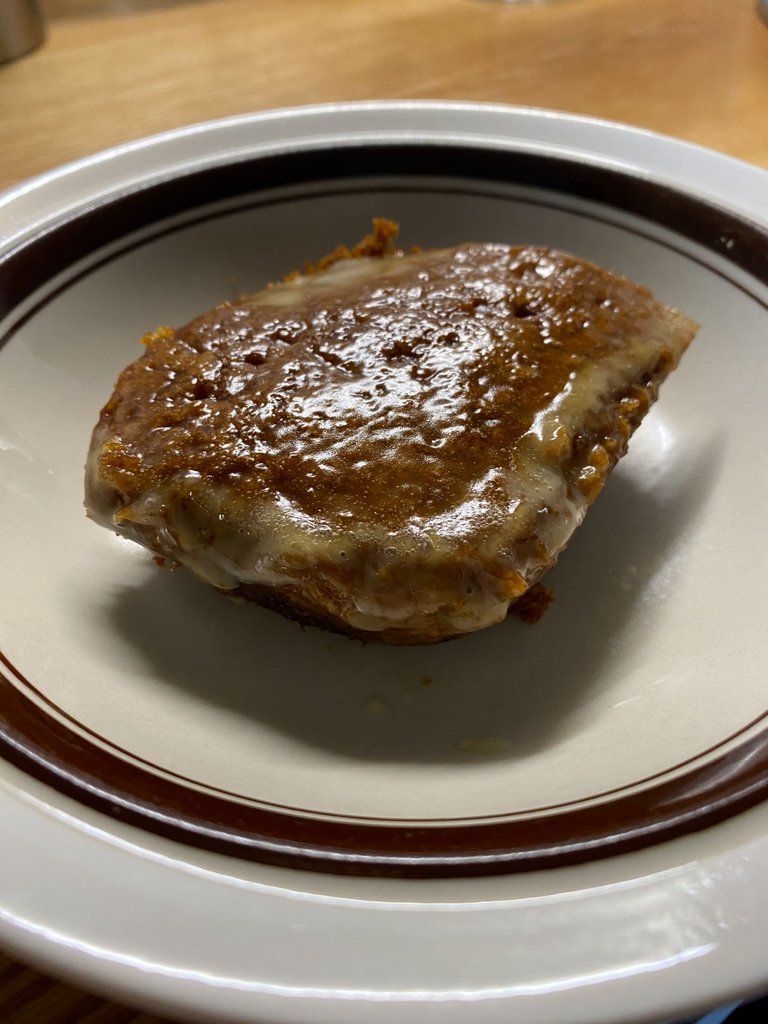
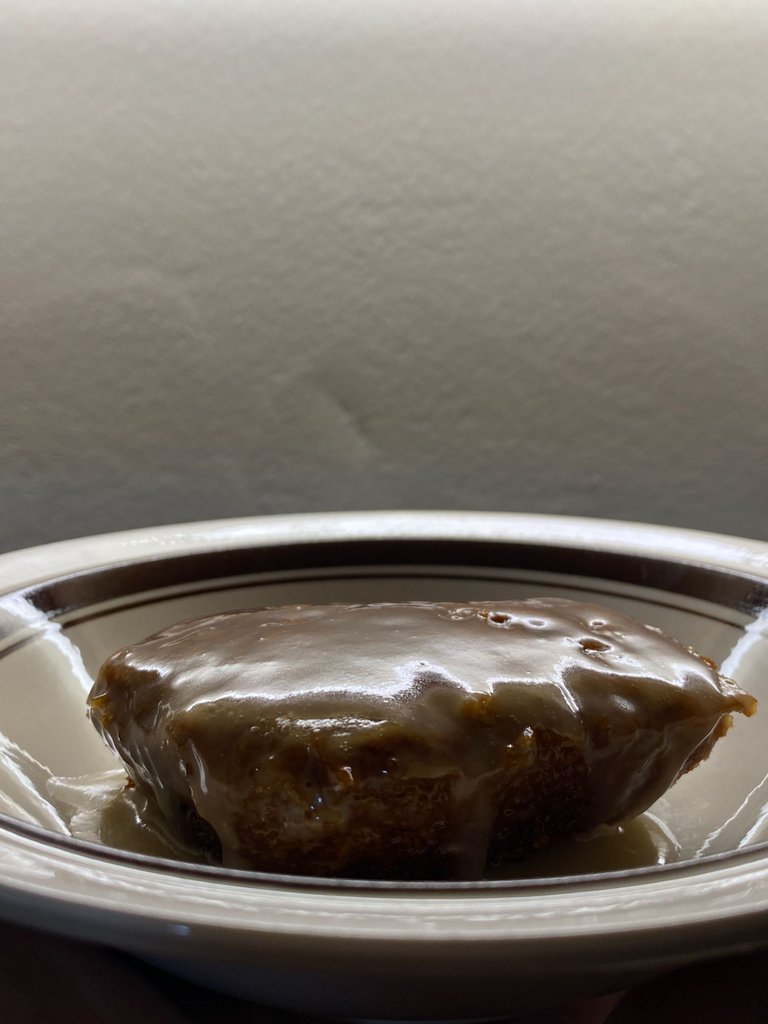
And there you have it. I first spooned some of the pudding without adding any of the glaze. You can see just how much of the coconut cream got sucked up into the pudding, leaving behind the sticky coconut residue.
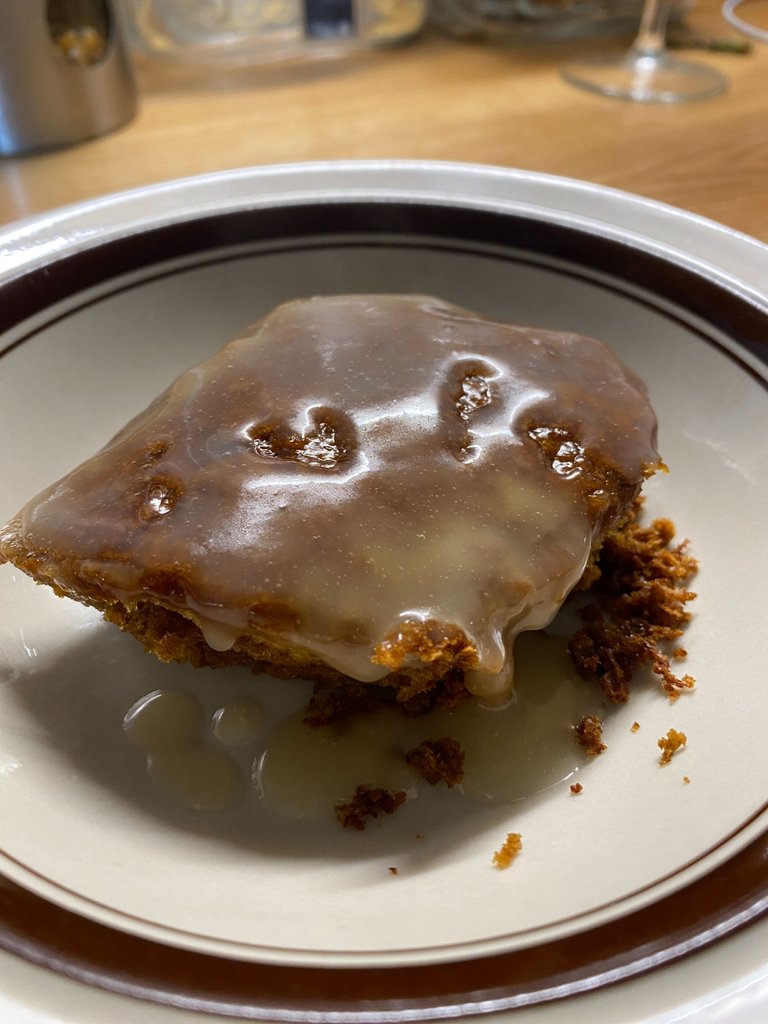
I then added only a small amount of the glaze because it was so sweet.
The pudding was so moist and rich. I loved everything about it. Again, in the future, I will make the sauce way differently. I am still looking for the right recipe. Coconut caramel just sounds so nice and I want to honor the recipe in my mind with something proper. For now, this worked out pretty well.
Please do try this recipe out and tell me what you think about either mine or the original one. Have you made something similar?
Happy cooking (and eating!) and stay safe.
The original recipe in the photograph is not my own, but the subsequent reworked one is my own. The photographs used in the post are my own, taken with my iPhone.
The rewards earned on this comment will go directly to the people ( lovemestar ) sharing the post on LeoThreads,LikeTu,dBuzz.https://leofinance.io/threads/lovemestar/re-lovemestar-bem1oknd
Join the foodie fun! We've given you a FOODIE boost. Come check it out at @foodiesunite for the latest community updates. Spread your gastronomic delights on and claim your tokens.
Yum! You have been curated by @sirenahippie on behalf of FoodiesUnite.net on #Hive. Thanks for using the #foodie tag. We are a tribe for the Foodie community with a unique approach to content and community and we are here on #Hive.Discord Server.This post has been manually curated by @steemflow from Indiaunited community. Join us on our
Do you know that you can earn a passive income by delegating to @indiaunited. We share more than 100 % of the curation rewards with the delegators in the form of IUC tokens. HP delegators and IUC token holders also get upto 20% additional vote weight.
Here are some handy links for delegations: 100HP, 250HP, 500HP, 1000HP.
100% of the rewards from this comment goes to the curator for their manual curation efforts. Please encourage the curator @steemflow by upvoting this comment and support the community by voting the posts made by @indiaunited.
Wow! That's amazing and delicious looking. I'm bookmarking this one! Thanks for sharing.
The pleasure is all mine! Be sure to book a gym session after eating some of it to get all of that sugar out of your system. But the taste will surely win you over. Enjoy, and do let me know when you make it how it went! Keep well.
Thank you!
Wow! I really love how it looks, it so delicious. Thankyou for sharing how it cooks, I really want to try this one. A perfect food for any occasion. 🥰
Thank you so much! For sure, please do make some and tell me how it went and if the recipe read easily. Keep well and happy cooking!
Congratulations @fermentedphil! You have completed the following achievement on the Hive blockchain And have been rewarded with New badge(s)
You can view your badges on your board and compare yourself to others in the Ranking
If you no longer want to receive notifications, reply to this comment with the word
STOPCheck out our last posts:
Congratulations @fermentedphil! You received a personal badge!
Wait until the end of Power Up Day to find out the size of your Power-Bee.
May the Hive Power be with you!
You can view your badges on your board and compare yourself to others in the Ranking
Check out our last posts:
Awwwww stop will ya!!! 🤤🤤🤤🤤🤤
This looks devine!!!!
Right?! And once you start eating it, you are done for it because you will already be getting a second helping. Thanks, my friend!
...and a third and even forth perhaps!!!
That is the problem. And leaving it overnight to cool down and eating some cold sticky pudding in the morning is just as dangerous.
Delicioso, felicidades saludos.