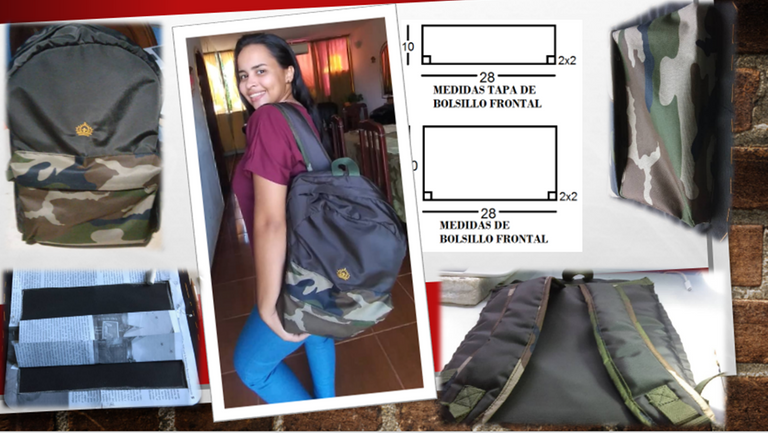
Saludos, mis apreciados colegas de #NeedleWork, aquí de nuevo con ustedes trayéndoles nuevo material para que puedan hacer sus propias prendas, ahorrando dinero, preparándose para tener sus propias empresas y, sobre todo, demostrando su amor en cada puntada.
Recuerden: Ante todo pongan amor en lo que hacen y aprovechen para compartir sus experiencias con sus seres queridos, esa es la mayor ganancia.
Precisamente esta publicación surge porque próximamente mi nieta @chrisscoronado inicia sus clases y le hice una mochila con mucho amor (ésta es una forma de acompañarla donde quiera que esté). Así que espero que puedan disfrutar y sacarle provecho a esta publicación.
¡Manos a las tijeras!
Greetings, my dear #NeedleWork colleagues, here again with you bringing you new material so you can make your own garments, saving money, preparing to have your own businesses and, above all, showing your love in every stitch.
Remember: Above all put love in what you do and take the opportunity to share your experiences with your loved ones, that is the greatest gain.
Precisely this publication arises because soon my granddaughter @chrisscoronado starts her classes and I made her a backpack with lots of love (this is a way to accompany her wherever she is). So I hope you can enjoy and take advantage of this post.
Hands to scissors!
Materiales:
-0,75 tela para forro
-0,50 cm de loneta unicolor
-0,25 cm loneta estampada
-0,75 cm de cierre
-Esponja (1 cm de grosor)
-2 sliders
-Hilo
-Tijeras
-Regla
-Maquina de coser
-1 cierre 20cm
Materials:
-0,75 fabric for lining
-0,50 cm of unicolor canvas
-0.25 cm printed canvas
-0,75 cm of zipper
-Sponge (1 cm thick)
-2 sliders
-Thread
-Scissors
-Ruler
-Sewing machine
-1 zipper 20cm
Procedimiento
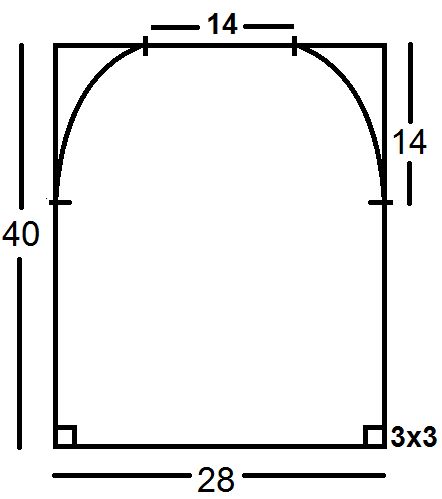
1- En un trozo de papel tracé un rectángulo con las medidas de la sigiuiente imagen y luego le di forma haciendo las modificaciones mencionadas luego.
Procedure
1- On a piece of paper I traced a rectangle with the measurements of the following image and then I shaped it making the modifications mentioned below.
Patrón general del bolso.
General pattern of the bag.
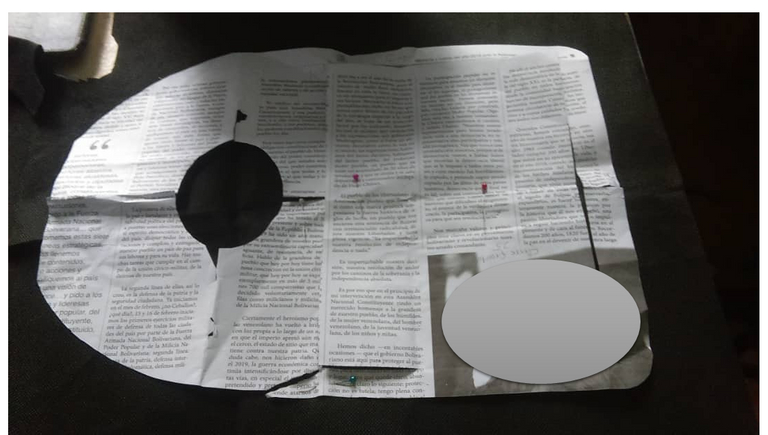
Usando la tela para cortar la tela.
Using the pattern to cut the textile
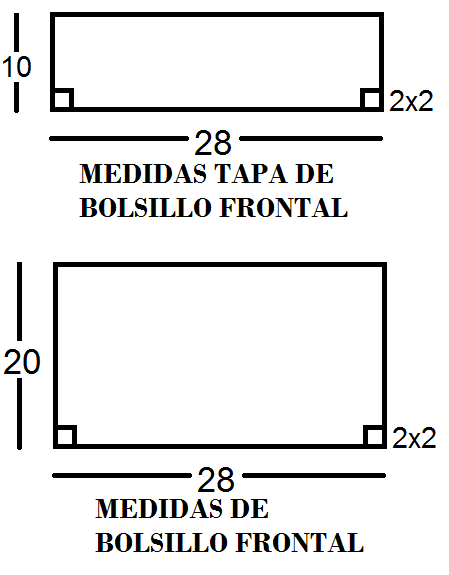
2- Para el cierre frontal cortamos un rectángulo. Hacemos un corte de un cuadrado a los lados que mida 2x2 cm. Este cuadrado servirá para formar el fuelle, es decir, un doblez que agregará profundidad al bolsillo.
3- Para la tapa cortamos un rectángulo que mide 23 de largo y 10 de ancho. Hacemos con en la parte de abajo 2x2. Aplicamos el mismo procedimiento para el fuelle.
2- For the front closure we cut a rectangle. We make a square cut on the sides measuring 2x2 cm. This square will be used to form the gusset, that is, a fold that will add depth to the pocket.
3- For the lid we cut a rectangle measuring 23 long and 10 wide. We do with the bottom 2x2. We apply the same procedure for the gusset.
!
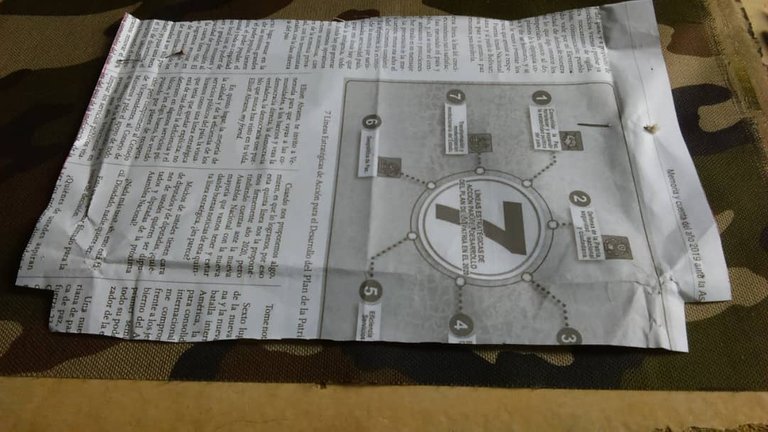
Patrón del bolsillo frontal, cortado con las medidas ya mencionadas.
Patrón del bolsillo frontal, cortado con las medidas ya mencionadas.
4- Cortamos 2 piezas en loneta unicolor que serían la delantera y trasera.
4- We cut 2 pieces in unicolor canvas that would be the front and back.
5- 1 pieza estampada para el bolsillo frontal externo y otra para la tapa del bolsillo.
5- 1 stamped piece for the external front pocket and 1 stamped piece for the pocket cover.
6- Para la parte posterior cortamos una pieza de esponja y otra de forro (las unimos con hilván "bastear" para que no se muevan) anterior a esto colocamos una pieza con cierre que sería un bolsillo interno.
6- For the back we cut a piece of sponge and a piece of lining (we join them with basting thread so that they do not move) before this we place a piece with a zipper that would be an internal pocket.
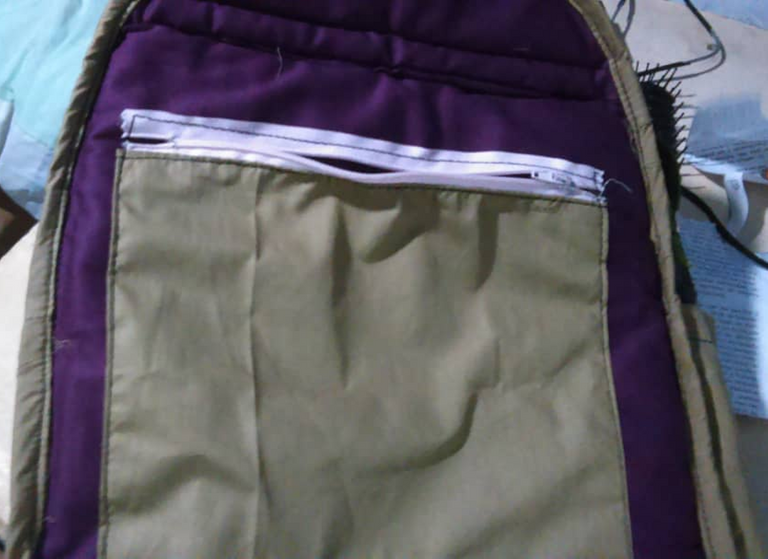
Bolsillo interior con cierre ya unido al forro con esponja.
Interior zippered pocket already attached to the lining with sponge.
7- Cortamos 4 piezas en loneta unicolor para las piezas que sirven para sostener la mochila, le colocamos esponja y cerramos, para mejor acabado colocamos una cinta estampada por el borde.
7- We cut 4 pieces in unicolor canvas for the pieces that serve to hold the backpack, we put sponge and close it, for a better finish we put a printed ribbon around the edge.
8- Estas piezas le colocamos las argollas 8, luego las pegamos a la parte trasera, también le colocamos un asa en cinta y las cintas en la parte de abajo.
8- These pieces we place the rings 8, then we glue them to the back part, we also place a handle in ribbon and the ribbons at the bottom.
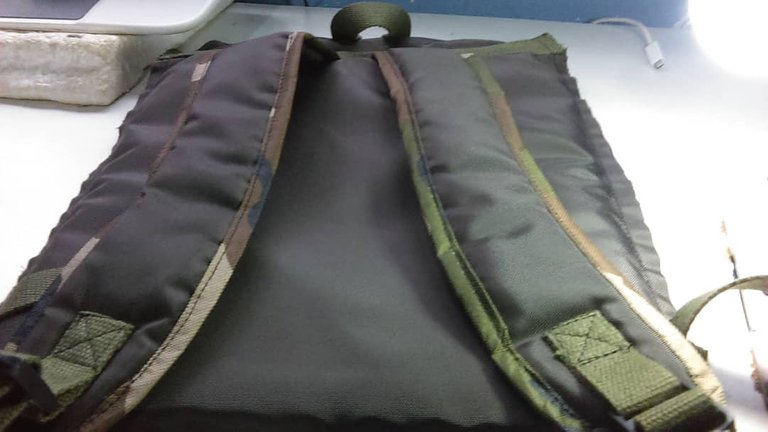
Asas para colgar terminadas y pegadas.
Finished and assembled hanging handles.
9- Armamos y colocamos el cierre frontal.
9- Armamos y colocamos el cierre frontal.

Cierre frontal armado.
Armed front zipper
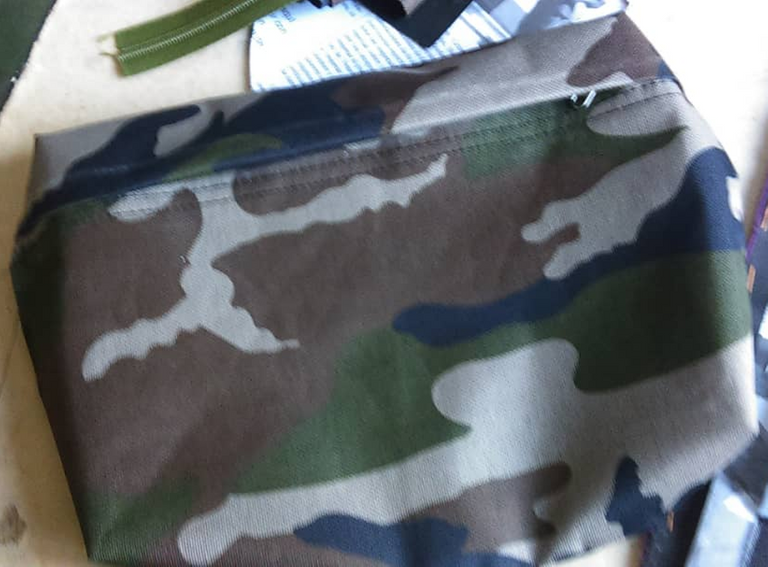
Bolsillo frontal armado con su cierre y tapa.
Front pocket armed with zipper and lid.
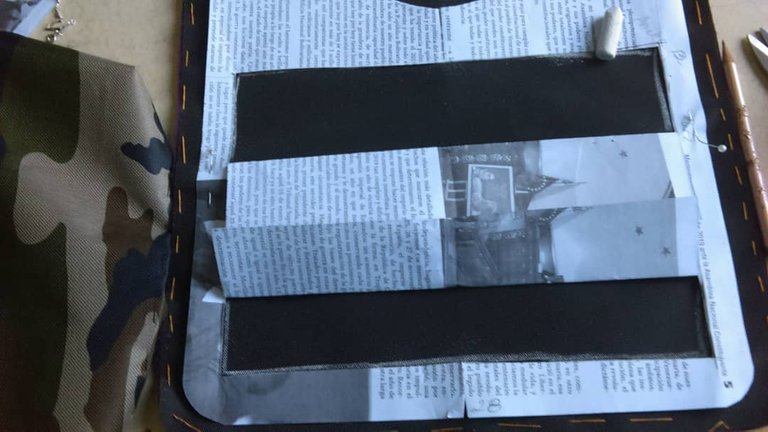
Usando el patron para marcar la ubicación del bolsillo frontal externo.
Using the pattern to mark the location of the outer front pocket.
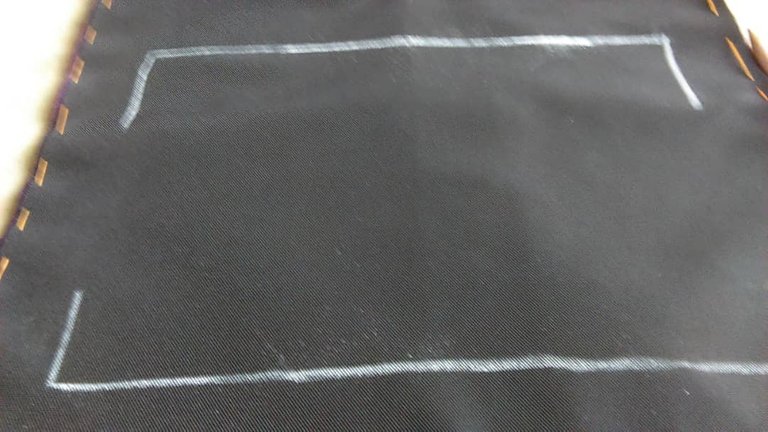
Marca de la ubicación donde colocar el bolsillo frontal.
Marking of the location where to place the front pocket.
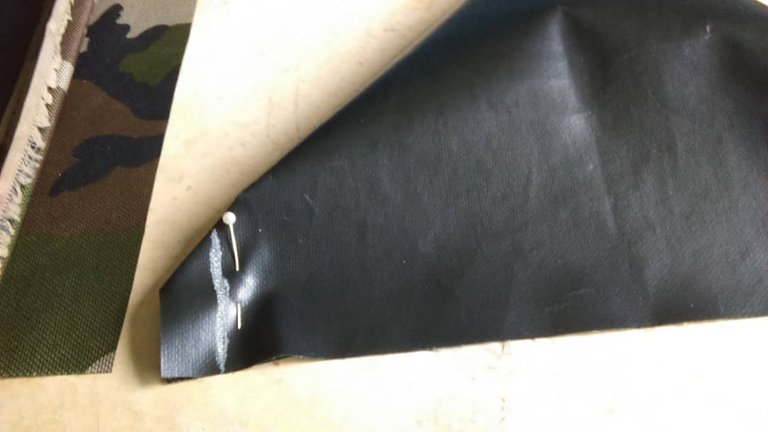
Unión del cuadrado para formar el fuelle en el bolsillo frontal externo.
Joining of the square to form the gusset on the external front pocket.
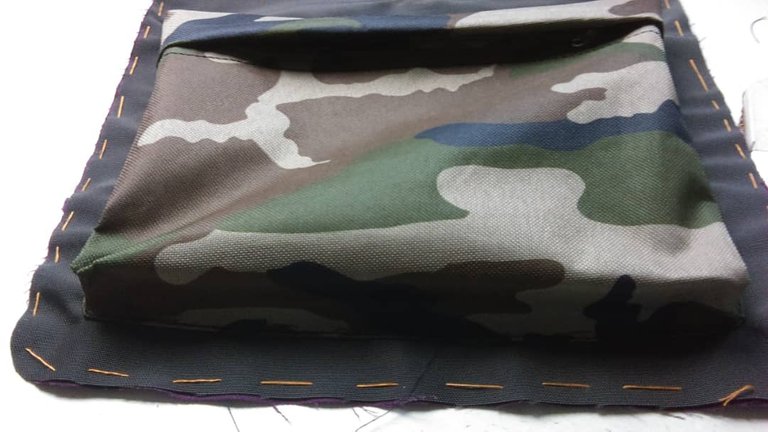
Bolsillo frontal externo ya terminado y pegado.
External front pocket already finished and assembled.
10- Cortamos una franja de 55cm de largo la cortamos por la mitad y colocamos un cierre de 50 cm.
10- We cut a 55 cm long strip, cut it in half and place a 50 cm zipper.
11- La parte delantera y las laterales van forradas, en los laterales colocamos 1 pieza a los lados para bolsillos. Para armar la mochila,unimos a otra franja que mide. 80x10 cm
11- The front and the sides are lined, on the sides we place 1 piece on the sides for pockets. To assemble the backpack, we join to another strip measuring. 80x10 cm
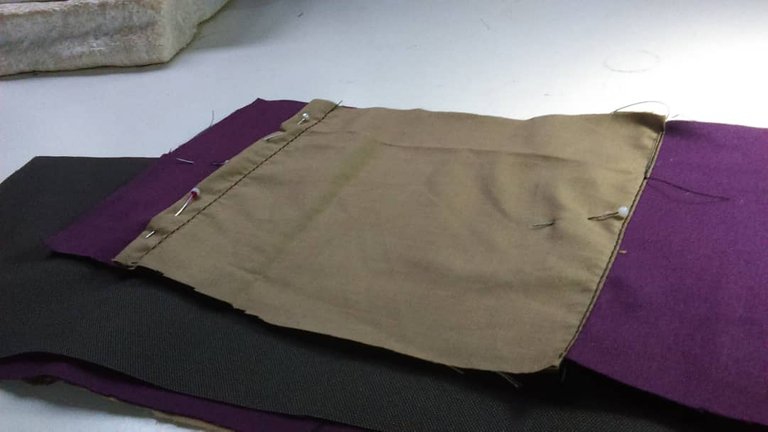
Colocación del bolsillo lateral interno.
Placement of the internal side pocket.
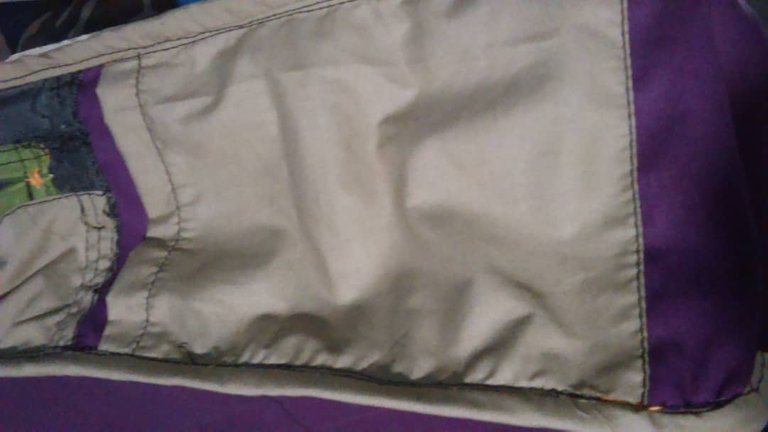
Se puede observar la cinta colocada en los bordes para un mejor acabado.
You can see the tape placed on the edges for a better finish.
12- Ahora colocamos esta franja alrededor de la mochila, luego rematamos colocándole una cinta por borde de la costura, igual hacemos con la otra parte.
12- Now we place this strip around the backpack, then we finish it off by placing a ribbon around the edge of the seam, the same with the other part.
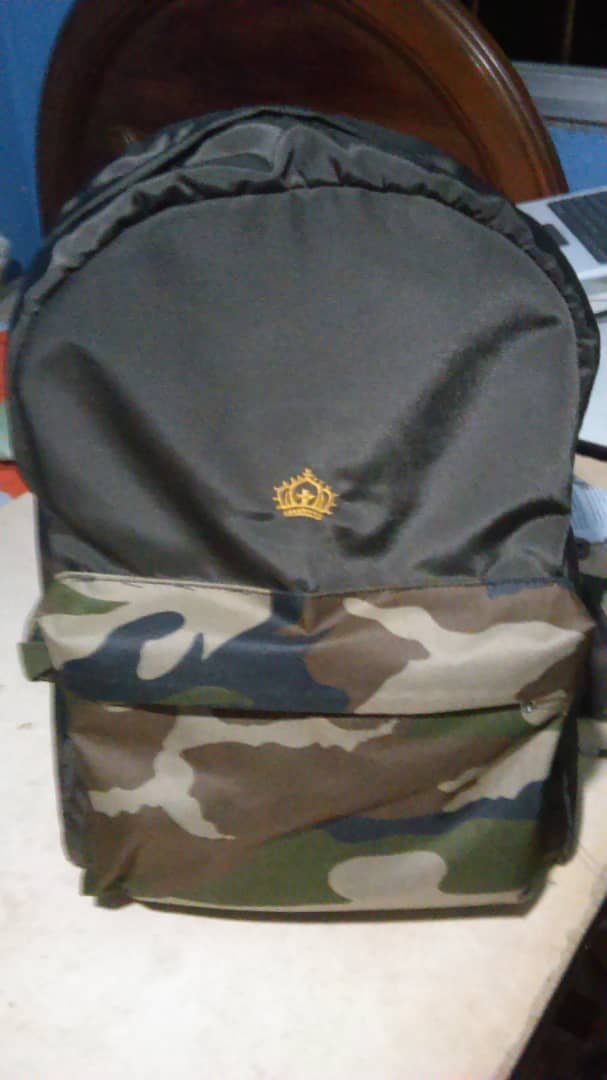
Aquí pueden ver el bolso terminado con el logo de mi emprendimiento "Cristo es Rey".
Here you can see the finished bag with the logo of my enterprise "Cristo es Rey".
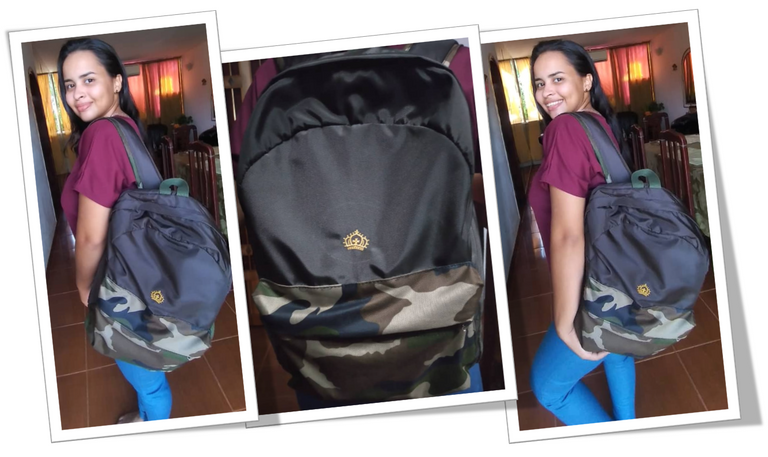
Finalmente pueden ver a mi bella nieta posando su nueva mochila hecha con amor.
Finally you can see my beautiful granddaughter posing with her new backpack made with love.
Espero que esta publicación les sirva de guía y, no olviden, si tienen alguna duda pueden dejarla en los comentarios y con todo gusto les responderé, sin importar el tiempo que tenga la publicación.
¡Hasta una próxima puntada!
I hope this post serves as a guide and, don't forget, if you have any questions you can leave them in the comments and I'll be happy to answer them, no matter how long the post takes.
Until next stitch!
Congratulations @abuelacosturas! You have completed the following achievement on the Hive blockchain and have been rewarded with new badge(s) :
Your next target is to reach 600 upvotes.
You can view your badges on your board and compare yourself to others in the Ranking
If you no longer want to receive notifications, reply to this comment with the word
STOPCheck out the last post from @hivebuzz:
Support the HiveBuzz project. Vote for our proposal!
Hello God bless you, I really liked your work, the fabric you used is strong and gives support to the bag.
Saludos @abuelacosturas muy hermosa la mochila para su nieta, me gustó la combinación de las telas, además se ve muy resistente, gracias por compartir el proceso de elaboración del patrón resulta bastante sencillo de hacer. Bendiciones!
Beautiful and it looks really cool on you thanks for sharing @abuelacosturas
Hola! Gracias por compartirnos el paso a paso de está mochila, sí que estuviste en todos los detalles ❤️. Ahora tu nieta tendrá un recuerdo tuyo hecho con mucho amor 💕. Saludos!