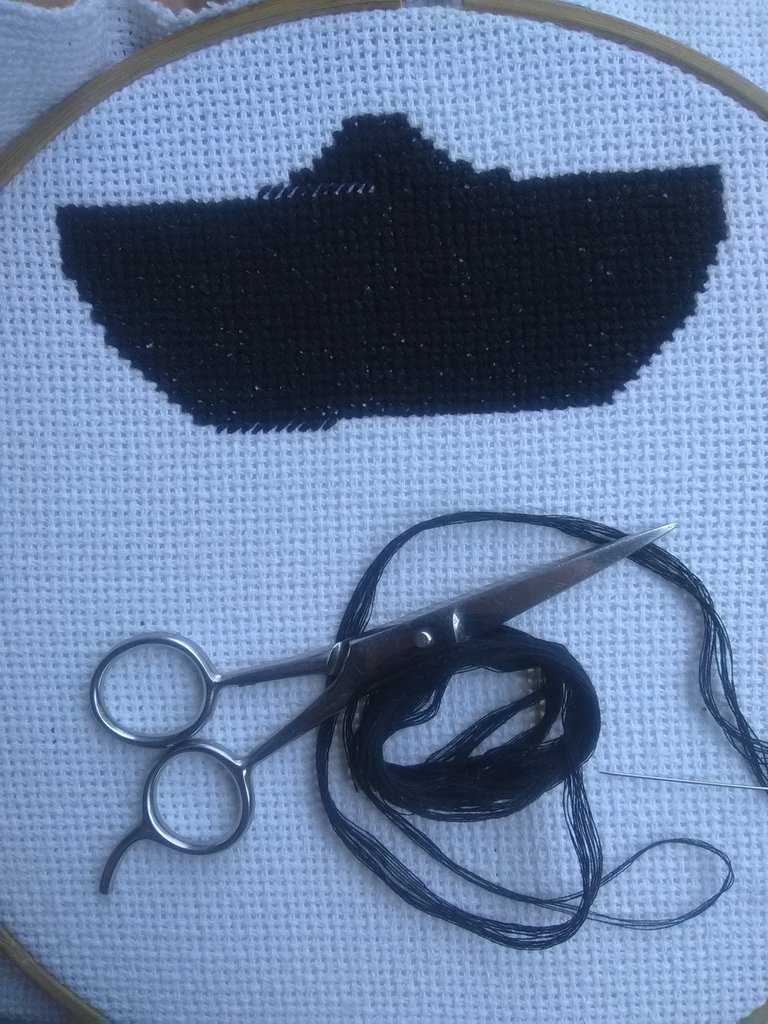
¡Hola comunidad de Hive! Espero estén muy bien, con buenas energías, ya que se aproxima un nuevo año, hoy les muestro la segunda parte de el parche encargado de el vídeo juego The Legend of Zelda.

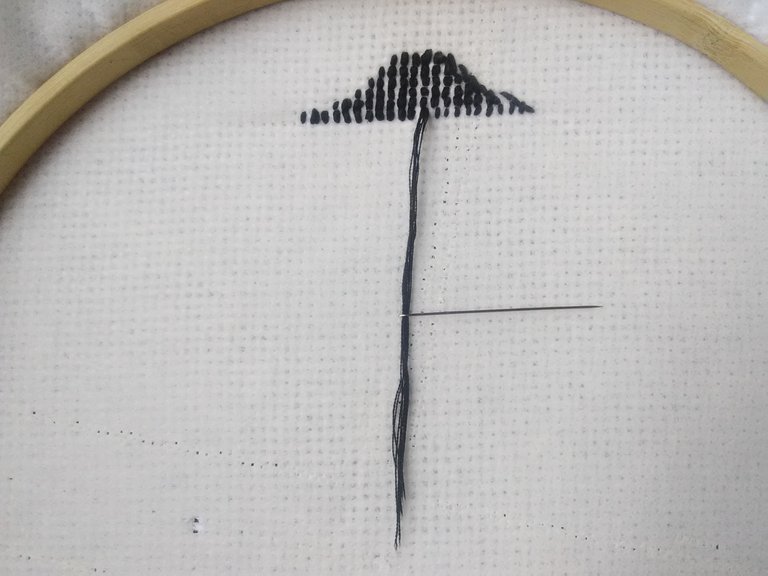
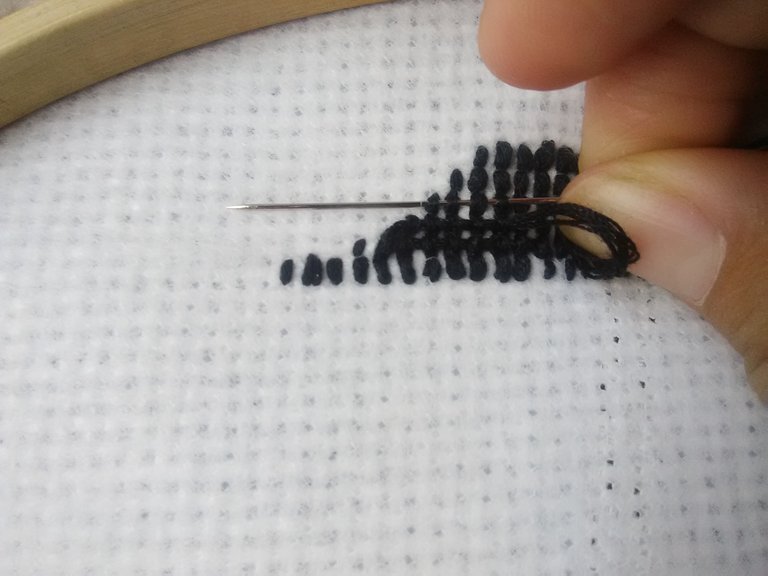
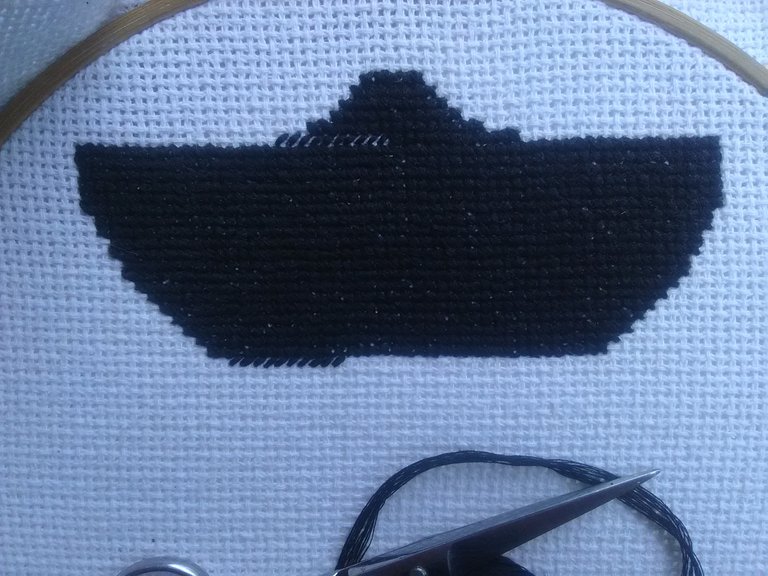
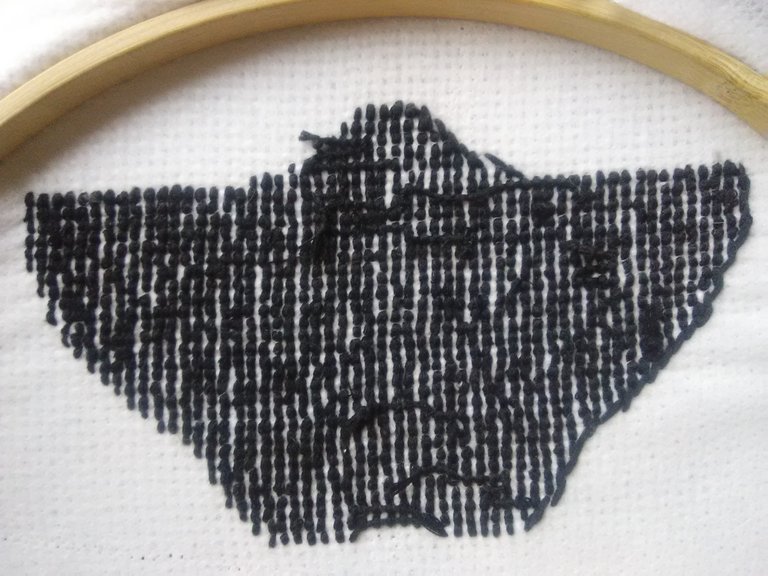
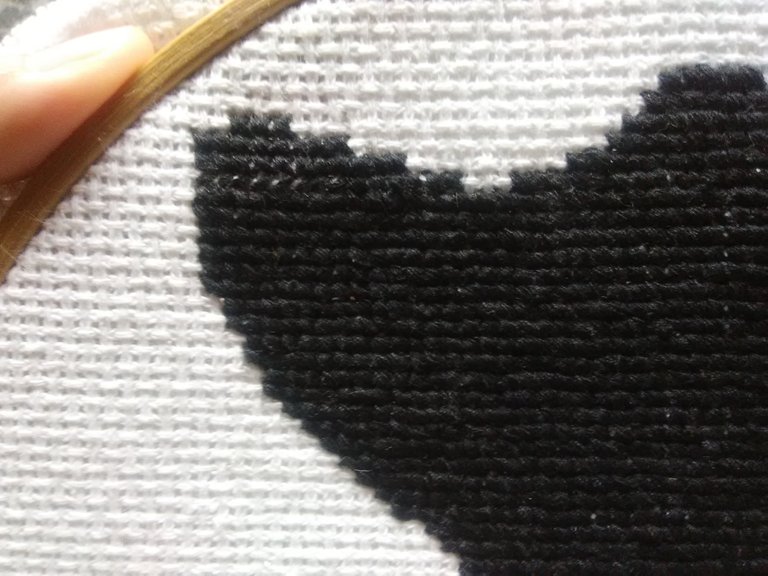
Continuamos de la misma manera que anteriormente aumentando puntos, esta imagen la percibo como forma de alas y es así como se ira formando, algo que quiero mencionarles es que este es el fondo de el parche y sera todo negro ya que así es en la imagen, por eso solo utilizo hilo negro.
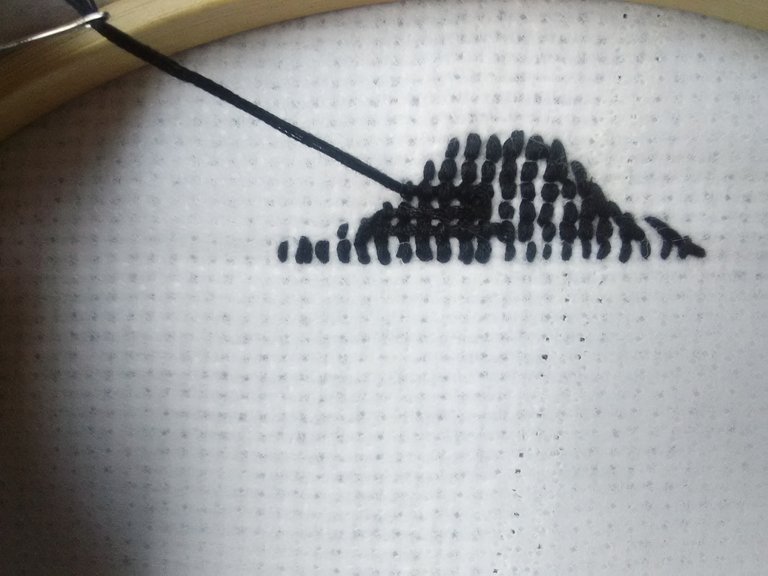
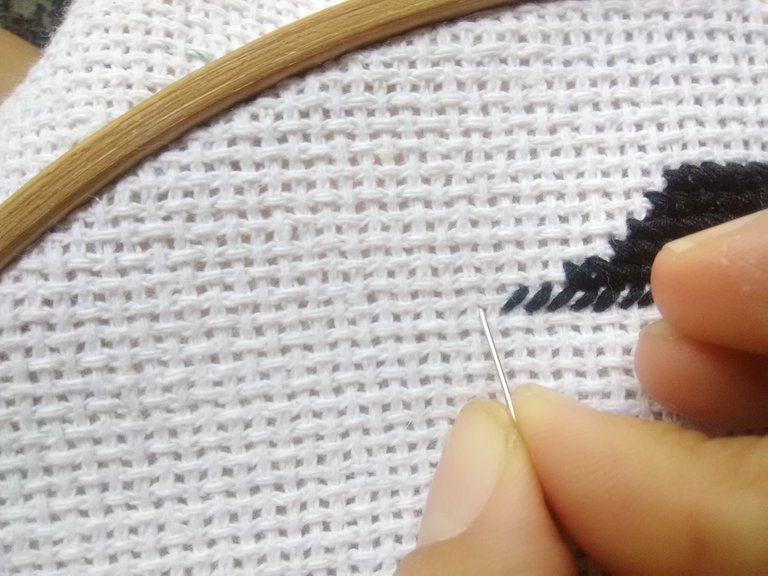
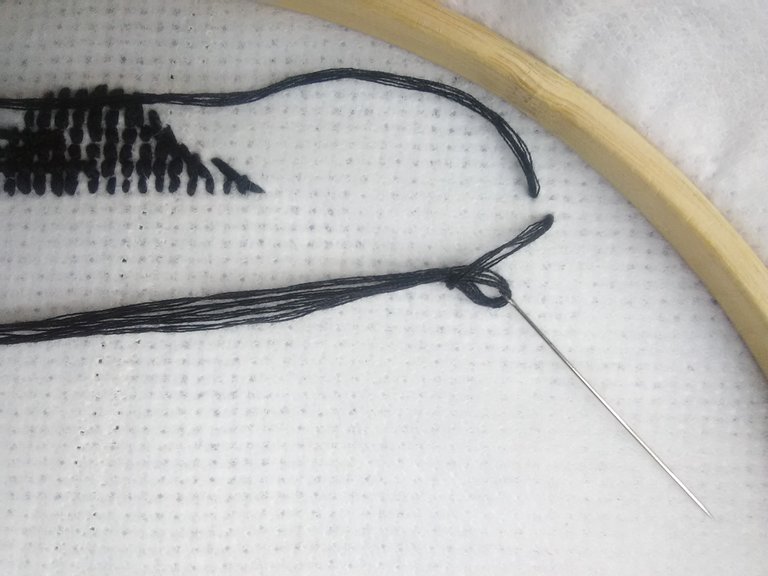
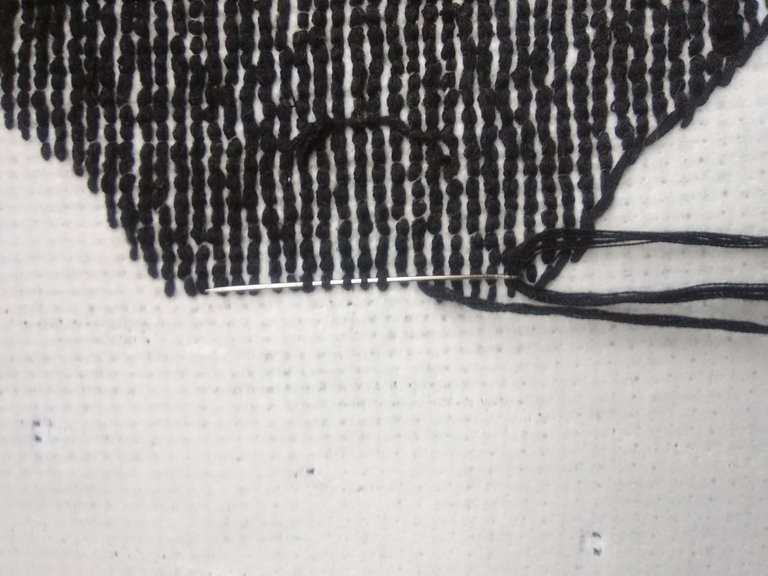
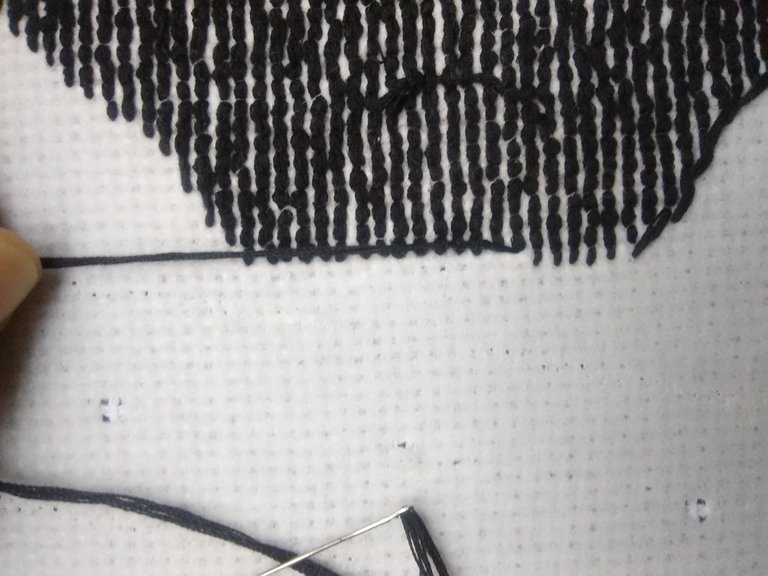
Para cuando se acaba nuestro hilo, es decir que no da para hacer mas puntos, dejo un considerable largo de el mismo y de esta manera procedo a cerrar.
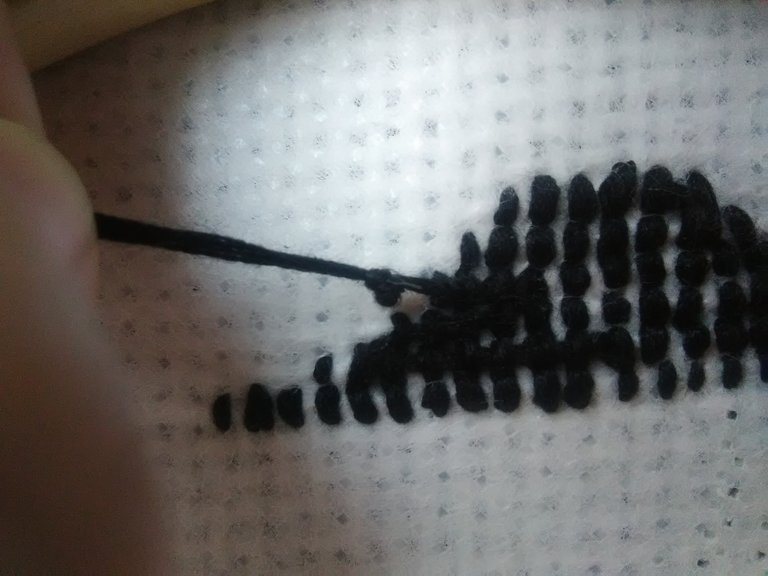
Dejando la aguja y hebras por la parte trasera de la tela, pasare por debajo de las verticales de hilo la aguja, para esto se requiere algo de esfuerzo ya que ellas quedan apretadas, la aguja la paso por varias hileras verticales y saco.
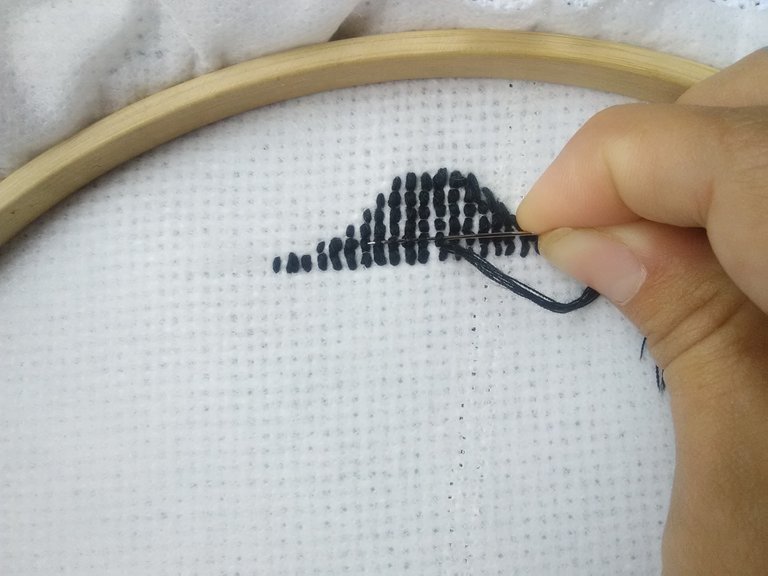

Así mismo hacia arriba o hacia la hilera de abajo del lado contrario, como si estuviese dibujando un gusano largo, esto para que el hilo quede fijo, aveces no es necesario hacerle un nudo y cortar, eso se puede ver cuan largo el hilo y cuántas veces detrás de las filas los hemos pasado, se puede hacer el nudo, casi siempre lo hago, y así cierro mi hilo cuando acaba.


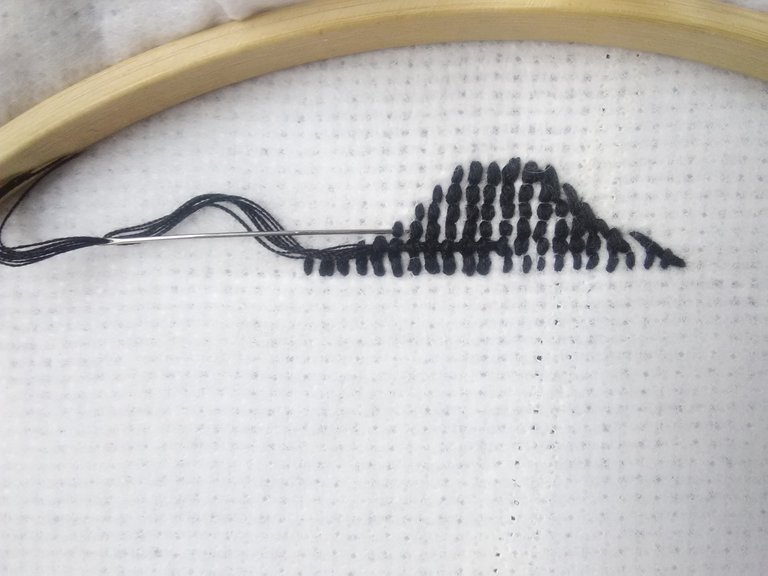
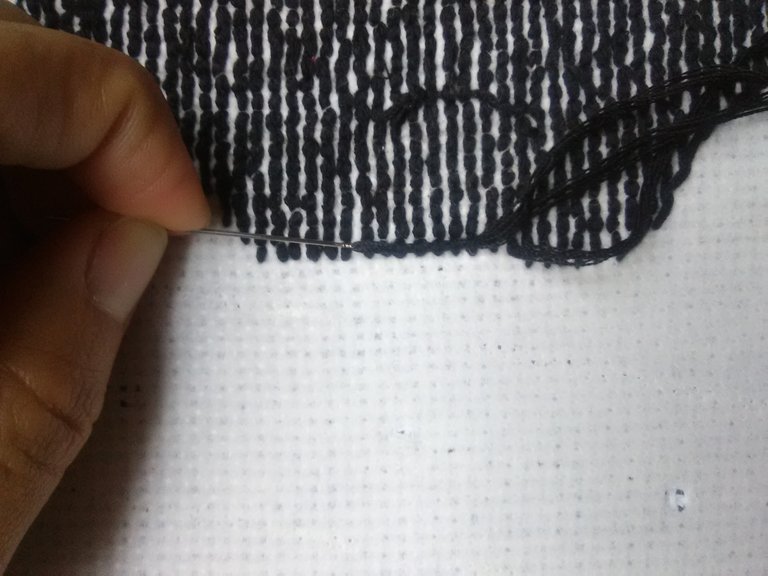
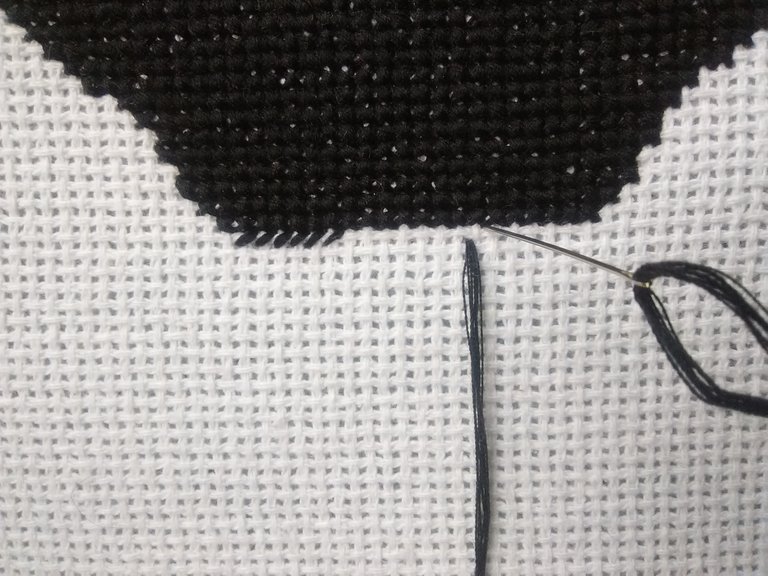
Para iniciar de nuevo con el punto de cruz se procede de la misma manera como al principio, las 4 hebras de hilo dobladas a la mitad, que dan 8 y se pasa las puntas por la aguja, si hemos quedado en un punto seguido se comienza por allí, si no es el caso se comienza por el punto de abajo.
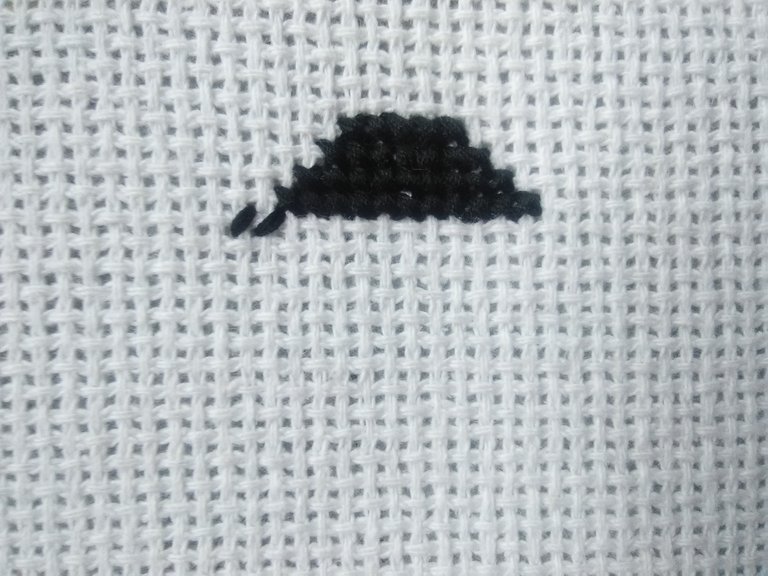
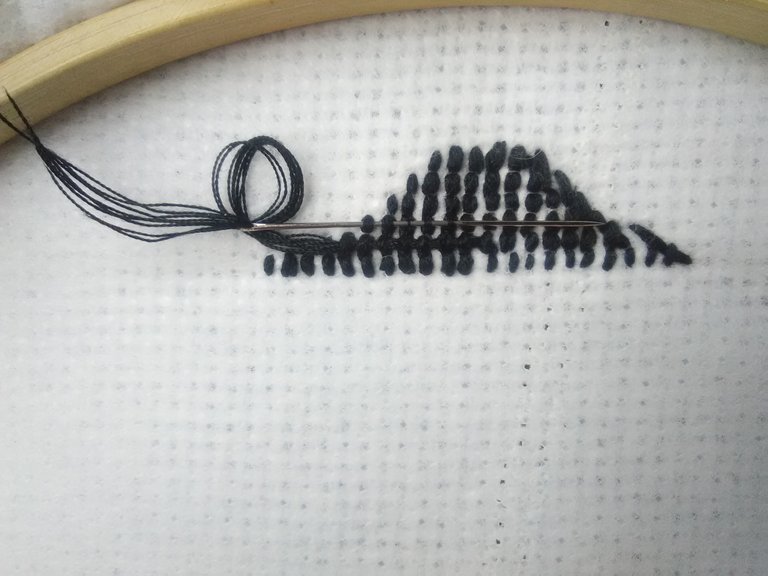
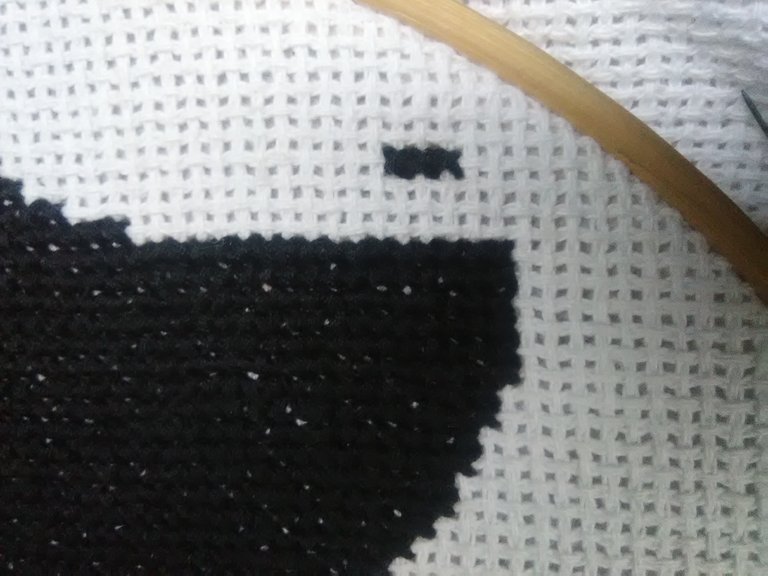
Aquí me saltare un paso, ya que ese lo realizo al finalizar, no completo una columna de punto de cruz porque hasta ahí me llega el hilo pero sigo en la de abajo, contare los puntos que se suman para comenzar las nuevas columnas en total 17 hacia la izquierda y de igual manera al llegar al punto que finaliza arriba 17 hacia la derecha.

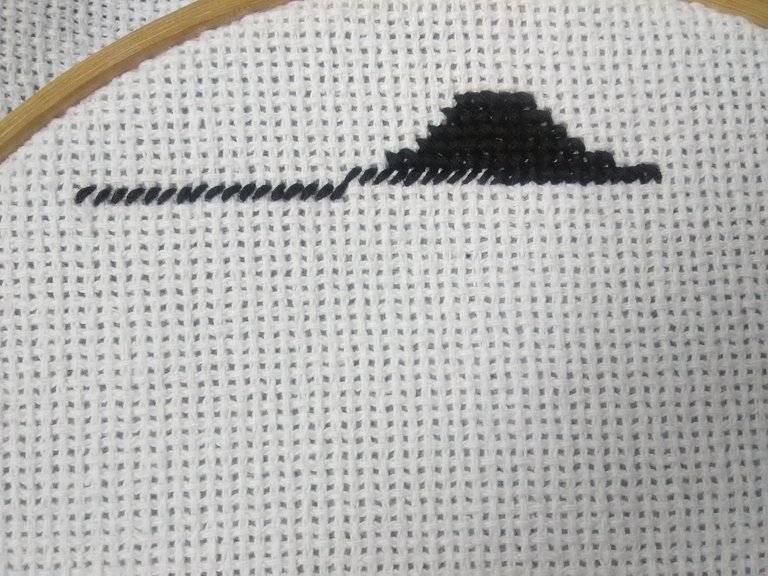
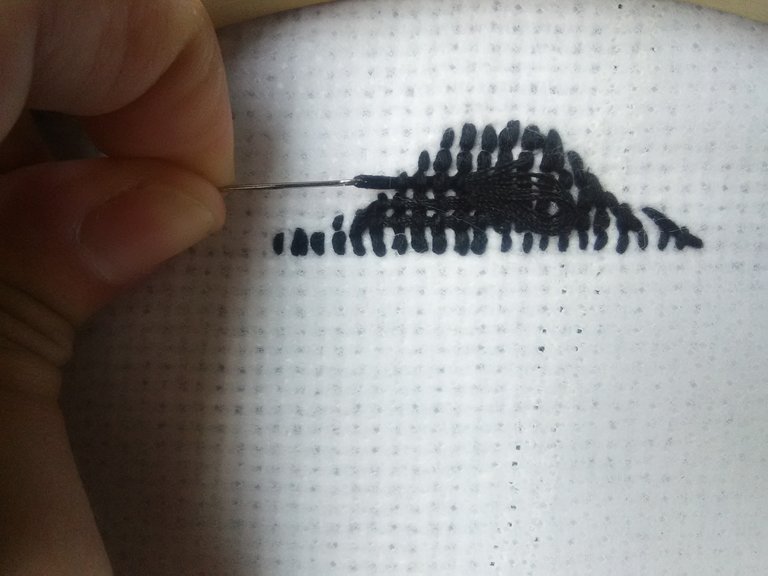
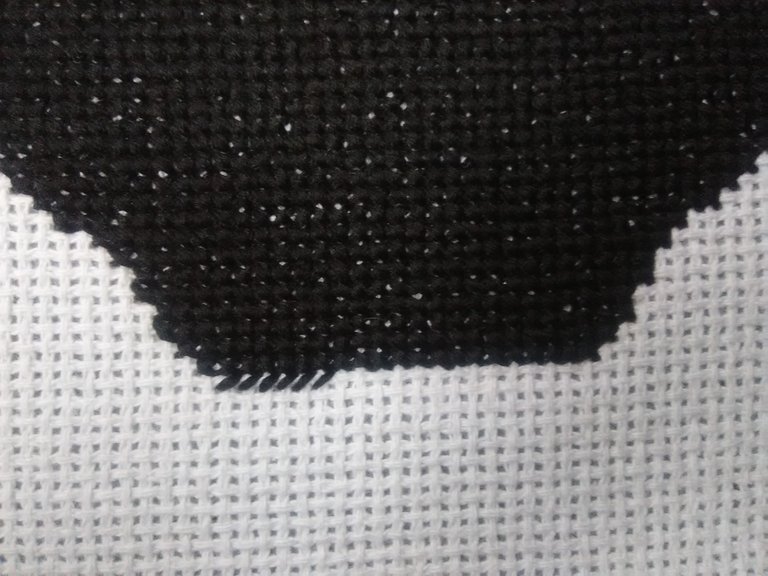
Lo que continua es el relleno, voy a ir reduciendo poco a poco los puntos de ambos lados para ir formando las curvas que dan forma de alas.
Tengan en cuenta que el hilo siempre se va a acabar y se realiza el mismo proceso antes mencionado para cerrar.
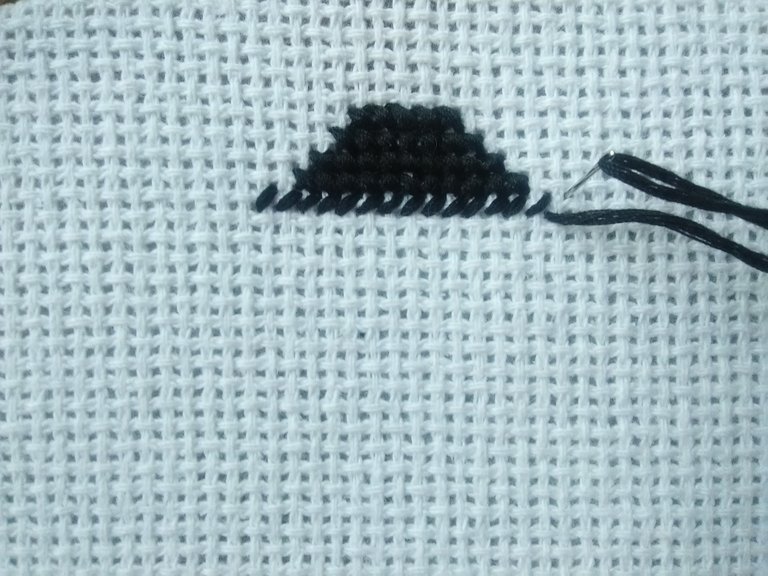
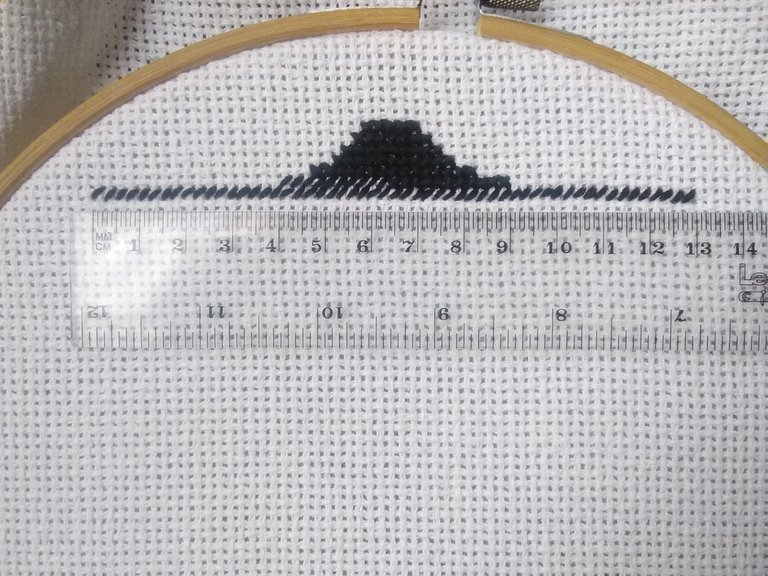
Para finalizar quedan un espacio en la ultima columna de puntos, este espacio son puntos que no van, para ello la aguja queda debajo de la tela y se pasa derecho por debajo de los hilos verticales hasta donde comienza el primer punto que sigue de ese espacio, para completar el punto de regreso se pasa pero por la hilera de arriba y se cierra.
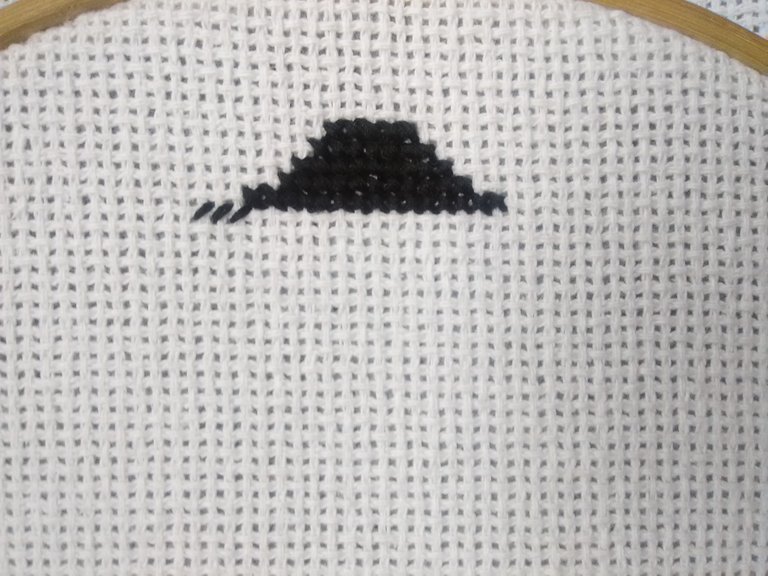
TERMINANDO FORMA DE ALAS
El ultimo paso de esta segunda parte, es para terminar de dar forma a las alas, recuerdan los puntos incompletos, lo completaremos de la siguiente manera, en la parte izquierda contaremos desde la primera columna, cuatro columnas hacia arriba y restamos dos puntos, realizamos tres puntos de cruz, en la que sigue esos dos puntos que se restaron arriba se suman abajo, hacia la derecha sumamos 3 puntos, en la columna que sigue de igual manera y se suman a la derecha 3 puntos y la que sigue de igual manera, esa ultima completara los puntos que quedaron a mitad.
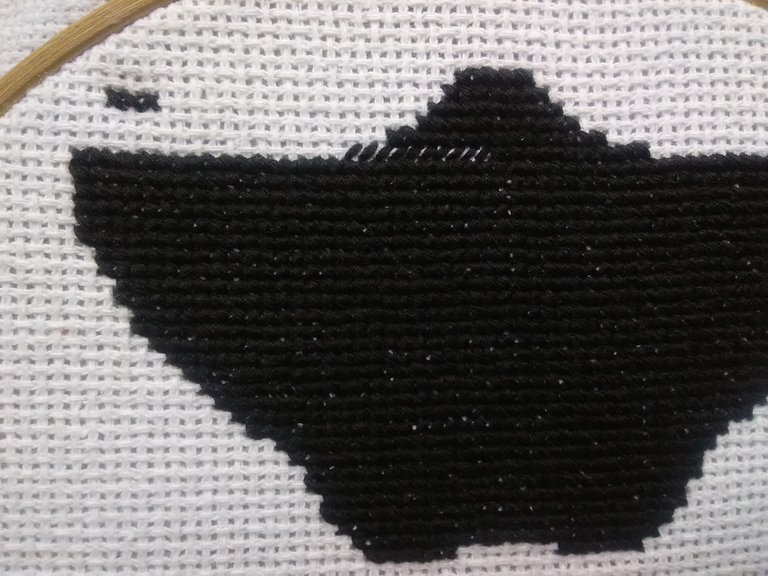
En la parte derecha se realizara de la misma manera, pero reduciendo los puntos de derecha a izquierda y sumando de izquierda a derecha.
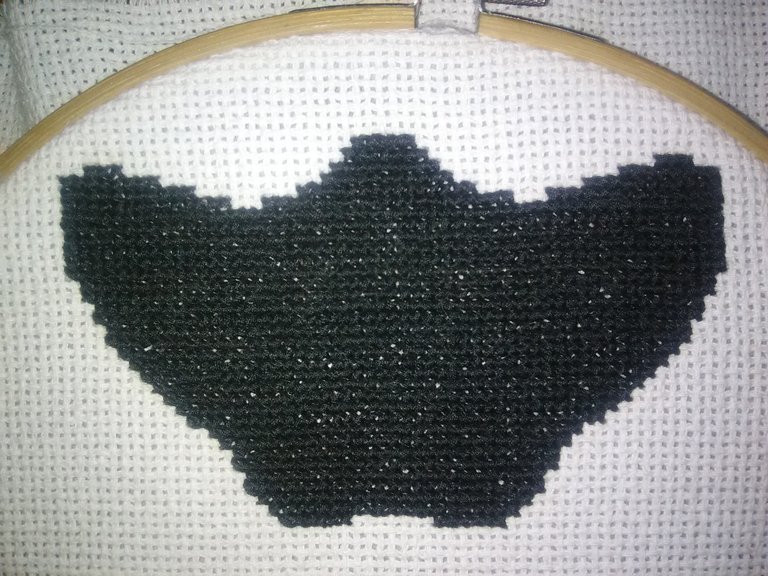
Así terminamos el relleno de las alas y gran parte de parche, pronto vendrá la tercera parte, gracias por leerme, hasta un nuevo post!
(ENG)
Hello Hive community! I hope you are very well, with good energy, since a new year is approaching, today I show you the second part of the video game patch The Legend of Zelda.
We continue in the same way as before increasing points, i perceive this image as the shape of wings and so it will form, something I want to mention to you is that this is the background of the patch and it will be all black since it is like this in the image, that's why I only use black thread.
By the time our thread ends, that is, it does not give to make more stitches, I leave a considerable length of it and thus I proceed to close.
Leaving the needle and the threads on the back of the fabric, I will pass under the vertical lines the needle, for this it requires a little effort since they are tight, the needle goes through several vertical rows and pulled out.
Likewise up or to the bottom row on the opposite side, as if i was drawing a long worm, this so that the thread is fixed, sometimes it is not necessary to tie a knot and cut, that can be seen based on how long the thread and how many times behind the rows we have passed them, you can tie the knot, I almost always do it, so I close my thread when it's over.
To start again with the cross stitch, proceed in the same way as at the beginning, the 4 strands of yarn folded in half, giving 8 and passes the tips through the needle, if we have stayed in a followed point, it begins there, if this is not the case, start at the point below.
Here I will skip a step, since I do that at the end, I do not complete a cross stitch column because that is where the thread reaches me but I am still in the one below, I will count the points that are added to begin the new columns in total 17 towards the left and in the same way when reaching the point that ends above 17 towards the right.
What continues is the filling, I am going to reduce little by little the points on both sides to form the curves that give the shape of wings.
Keep in mind that the thread is always going to end and the same process mentioned above is carried out to close.
Finally, there is a space in the last column of points, this space is points that do not go, to do this, the needle remains under the fabric and goes straight under the vertical threads to where the first stitch that follows from that space begins, to complete the return stitch, it is passed but through the top row and closed.
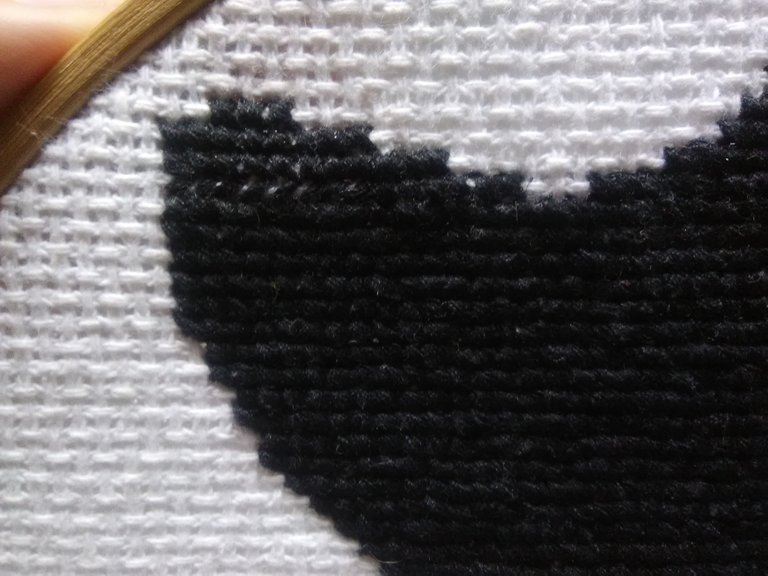
FINISHING FORM OF WINGS
The last step of this second part is to finish shaping the wings, remember the incomplete points, we will complete it as follows, in the left part we will count from the first column, four columns up and subtract two points, we make three cross stitches, in which it follows those two points that were subtracted above are added below, to the right we add 3 points, in the column that continues in the same way and 3 points are added to the right and the one that continues in the same way, the latter will complete the points that were left in the middle.
In the right part it will be done in the same way, but reducing the points from right to left and adding from left to right.
This is how we finish the filling of the wings and a large part of the patch, the third part will come soon, thanks for reading, until a new post!
Wow this really looks amazing thanks for sharing
@smilestitches thanks a lot!
Me genera una especie de satisfacción ver como va quedando tan prolijo tu bordado. Seguramente será una pieza hermosa ❤️.
@lauramica Muchísimas gracias, con cariño todo sale bien 💕
Congratulations @ada.embroidery! You received a personal badge!
You can view your badges on your board and compare yourself to others in the Ranking
Check out the last post from @hivebuzz:
Support the HiveBuzz project. Vote for our proposal!