Blessed Needle Monday to all my beautiful companions
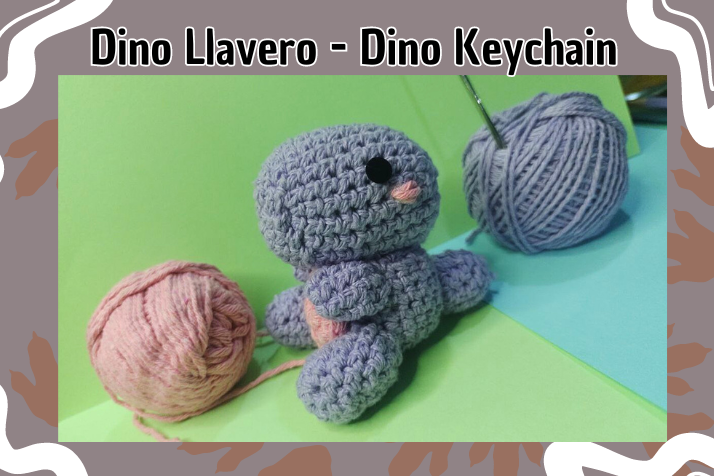
Recientemente he desbloqueado un nuevo aprendizaje entretenido, pero como la mayoría de las cosas, implica el uso de agujas. Estoy aprendiendo a realizar amigurumis destinados a llaveros, para una especie de opción de regalo personalizado. Empecé haciendo un pollo vaquero, quedó bastante lindo. Y ahora seguidamente he elaborado un Dinosaurio muy tierno.
I've recently unlocked a fun new learning experience, but like most things, it involves the use of needles. I'm learning how to make amigurumi for key chains, for a sort of personalized gift option. I started by making a cowboy chicken, which turned out pretty cute. And now I've made a very cute dinosaur.
Para orientarme en todo este mundo nuevo, he usado como recurso algunos videos de YouTube. Sinceramente no entiendo mucho del lenguaje técnico en sí, porque tiendo a confundirme. Pero buscando y buscando, siempre hay alguno que se acopla a mi nivel de entendimiento y por allí empiezo. Aprender actualmente es casi una bendición, el internet tiene toda la información necesaria, además de que te da hasta un vuelco si no eres capaz de seguir el ritmo. Últimamente he optado por retornar poco a poco a las cosas que hacían más grata mi vida y este nuevo aprendizaje, entra perfectamente aquí.
To orient myself in this new world, I have used some YouTube videos as a resource. Honestly, I don't understand much of the technical language itself, because I tend to get confused. But searching and searching, there is always one that fits my level of understanding and that's where I start. Learning nowadays is almost a blessing, the internet has all the necessary information, and it even turns you upside down if you are not able to keep up. Lately I have chosen to slowly return to the things that made my life more enjoyable and this new learning fits perfectly here.
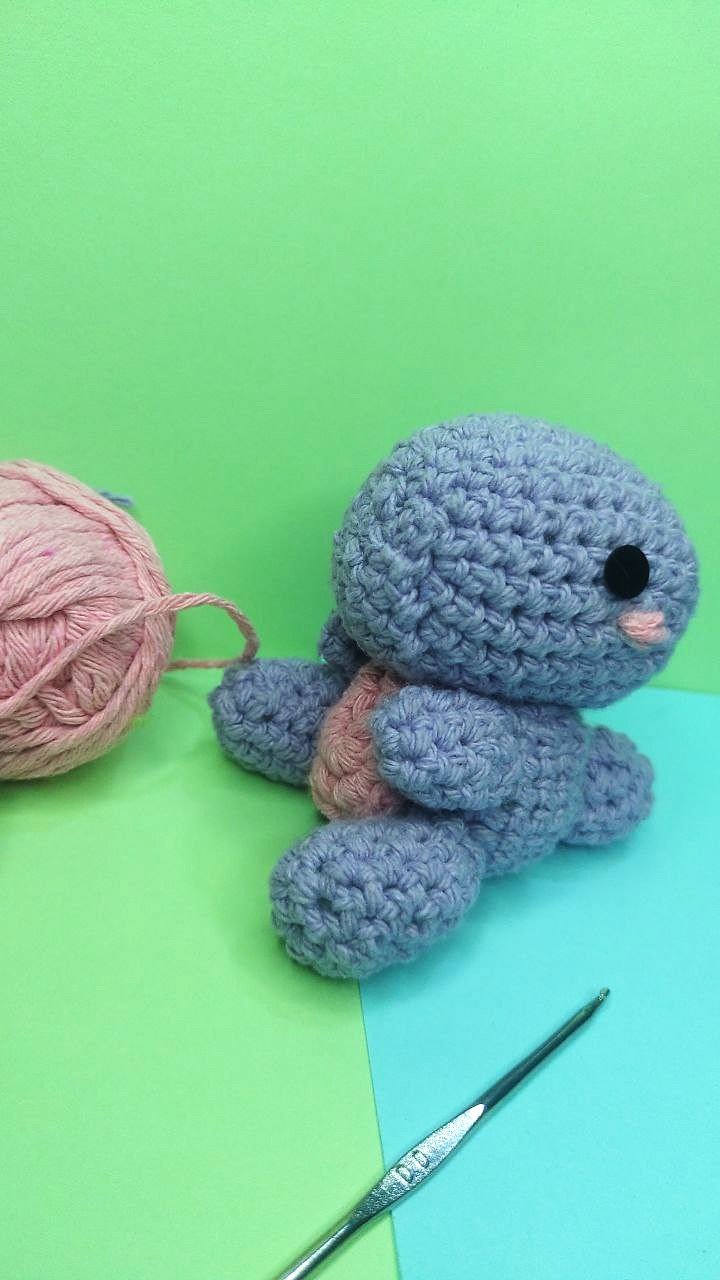
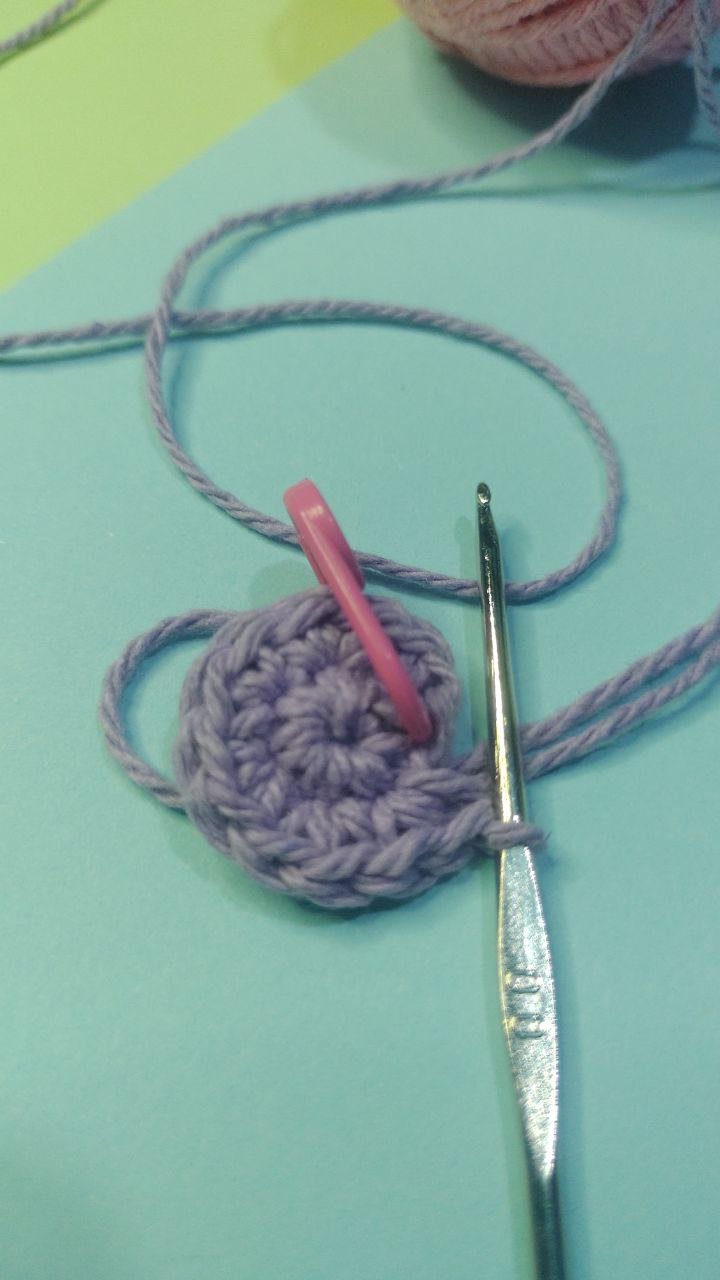
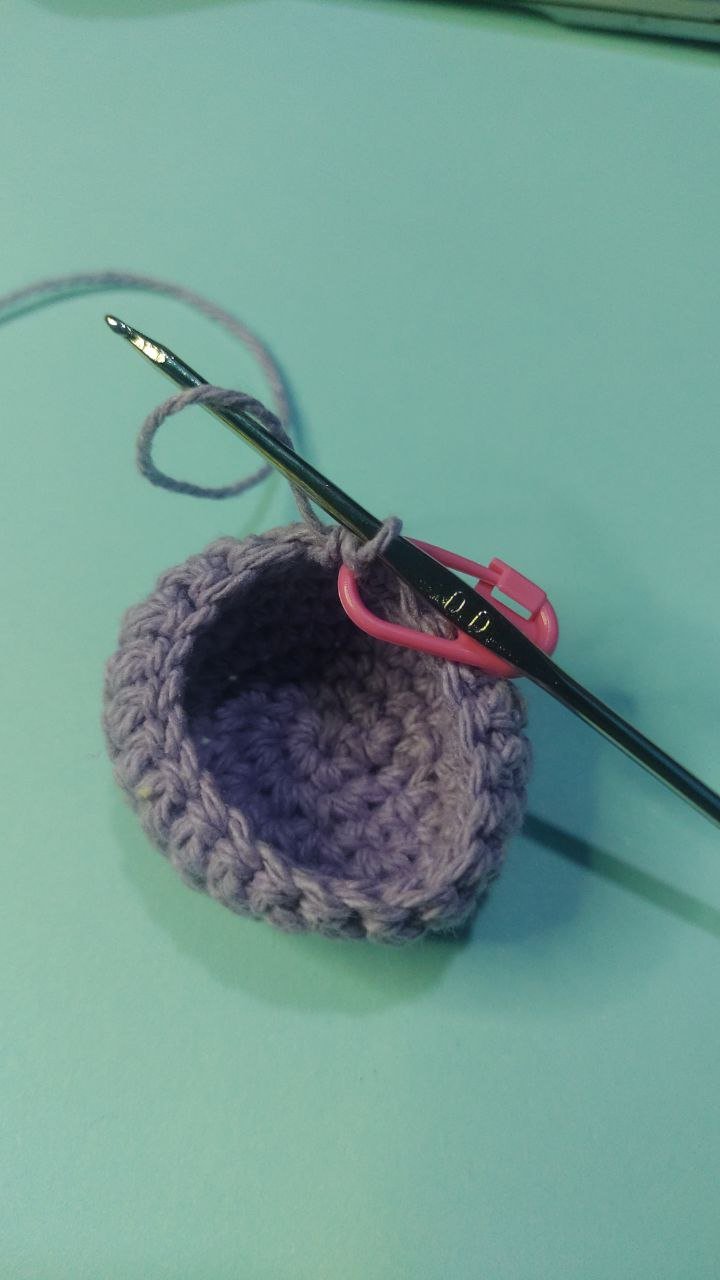
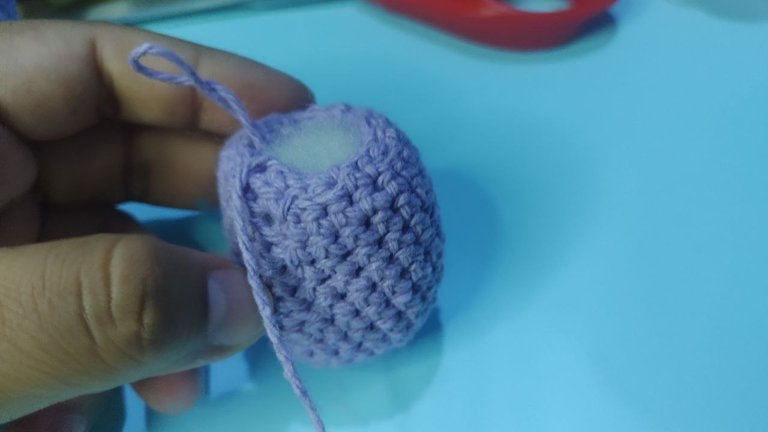
Elaborando este lindo dinosaurio, tuve unos inconvenientes. Uno de ellos es que al parecer "me comía un punto" al momento de terminar la vuelta y en vez de quedarme un cilindro, como el que necesitaba para la cabeza, me había resultado prácticamente un cono. En ese momento tuve que deshacer y volver a iniciar, para corregir mi error. Pero, pese a ello, tengo la sensación de que no he entendido correctamente las terminaciones de las vueltas. Otro de los problemas fue el armado después de la conclusión de cada pieza de manera independiente, jamás había unido o cosido algo similar, sentía pánico.
While making this cute dinosaur, I had a few problems. One of them was that I seemed to "eat a stitch" when finishing the row and instead of getting a cylinder, like the one I needed for the head, I had practically ended up with a cone. At that point I had to undo and start over to correct my mistake. But, despite this, I have the feeling that I have not understood correctly the endings of the rows. Another problem was the assembly after finishing each piece independently, I had never joined or sewn something similar, I was panicking.
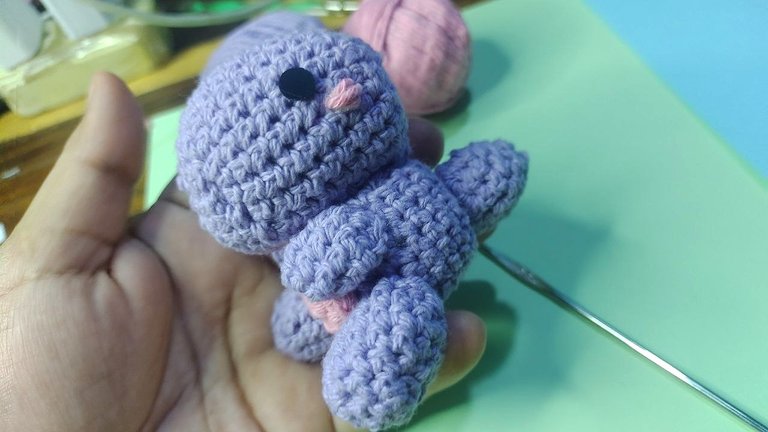
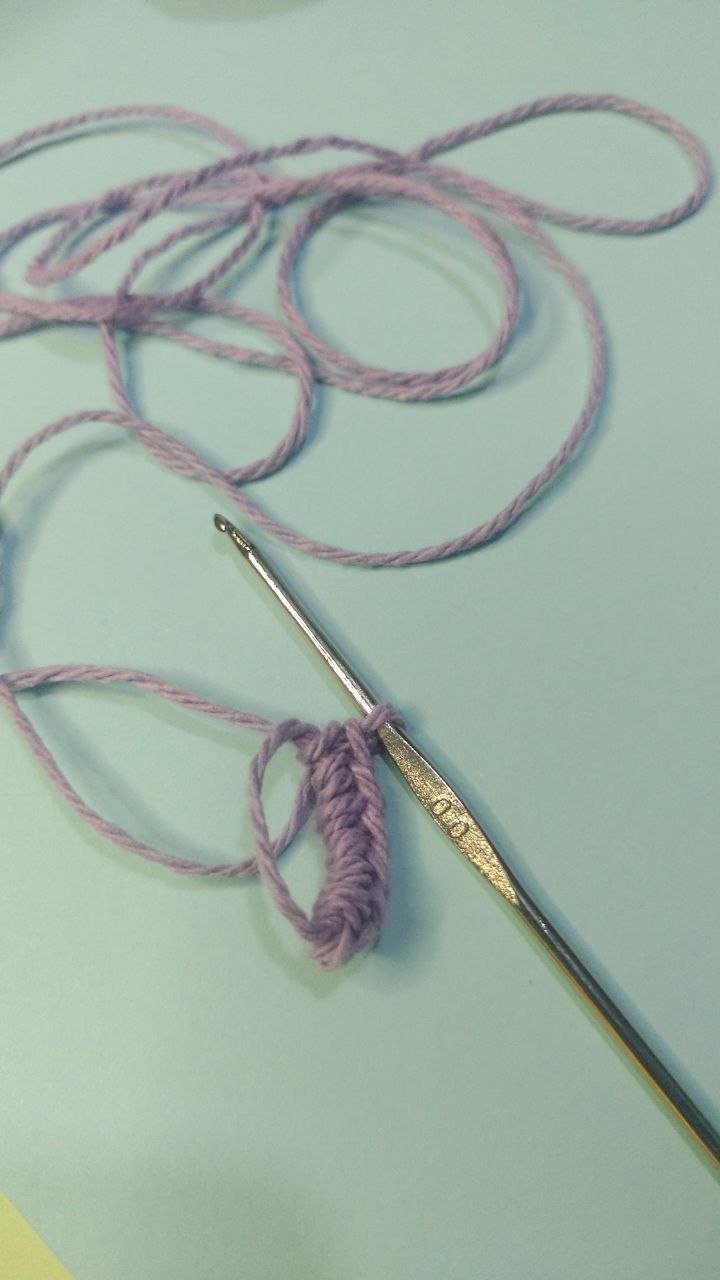
Para elaborar este dinosaurio he usado hilo pábilo de color, en tonos lila y rosa, relleno de fibra sintética, dos círculos internos de los ojos locos de Pointer, silicon, aguja para tejer, marcador de punto y aguja lanera. Elegí estos colores porque quería que fuese tierno, tenía también un color verde disponible, pero no se, sentía que era muy fuerte y no se vería muy tierno. La verdad el proceso fue bastante corto, pero por mi inexperiencia se entorpeció bastante todo. En lo que más tardé fue en la cabeza, como mencioné anteriormente, tuve que hacerle dos veces porque parecía más una serpiente boa recién almorzada.
To make this dinosaur I used colored yarn in shades of lilac and pink, synthetic fiber filling, two inner circles for Pointer's crazy eyes, silicone, a knitting needle, a stitch marker, and a wool needle. I chose these colors because I wanted it to be soft. I also had a green color available, but I don't know, I felt it was too strong and wouldn't look very soft. The truth is that the process was quite short, but my inexperience made everything quite difficult. The thing that took the longest was the head, as I mentioned before, I had to do it twice because it looked more like a boa constrictor that had just had lunch.
 |  |  |
 | 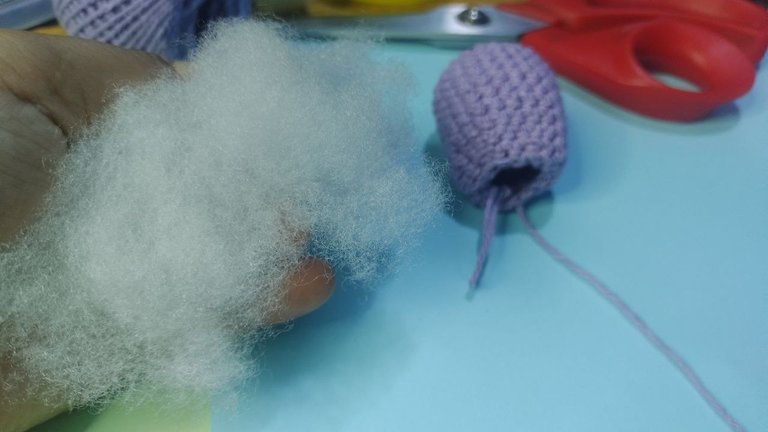 |  |
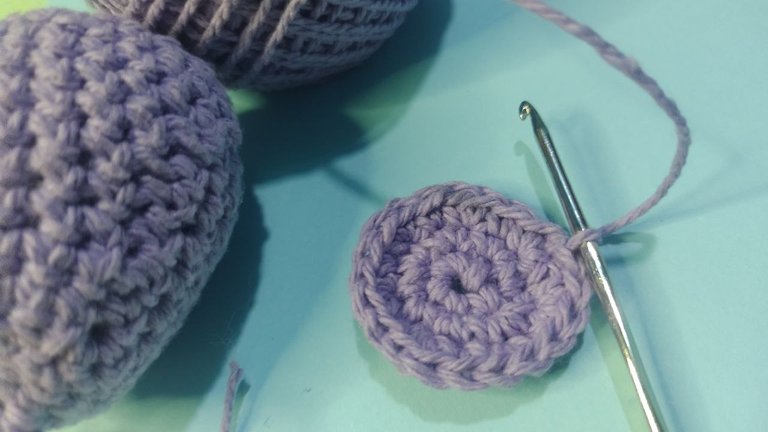
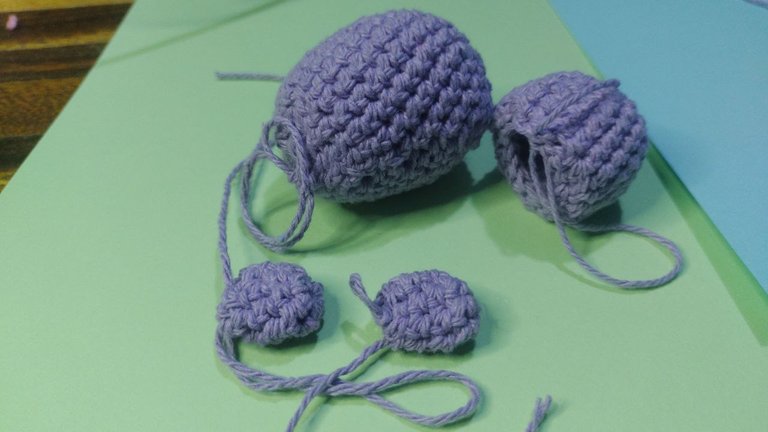
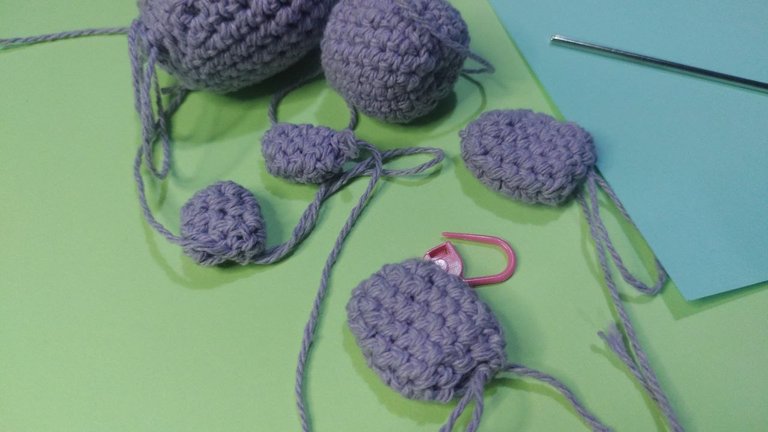
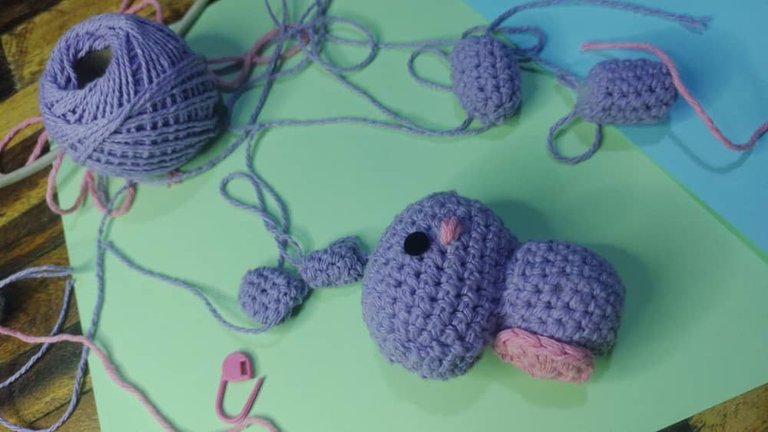
Cuando terminé con la cabeza, procedí a rellenarla. Después continué a crear el cuerpo, los brazos, patitas y por último la cola. Las piezas que van con relleno son: cabeza, cuerpo, patas y cola. Los pequeños brazos no van rellenos, son ya lindos y perfectos así tal cual.
When I finished with the head, I proceeded to stuff it. Then I continued to create the body, arms, legs and finally the tail. The pieces that need to be stuffed are: head, body, legs and tail. The little arms are not stuffed, they are already cute and perfect as is.
 |  |  |
Después de rellanar las piezas. Coloqué con silicon los ojos. Ayudándome con una aguja lanera, le hice el detalle de las mejillas con hilo rosa. Esta parte me daba miedo, sentía que podía quedarme con ojos desnivelados, así que me tomé mi tiempo para que tanto ojos y mejillas fuesen lo más simétricas posibles.
After stuffing the pieces, I placed the eyes with silicone. Using a wool needle, I made the detail of the cheeks with pink thread. This part scared me, I felt that I could end up with uneven eyes, so I took my time to make both eyes and cheeks as symmetrical as possible.
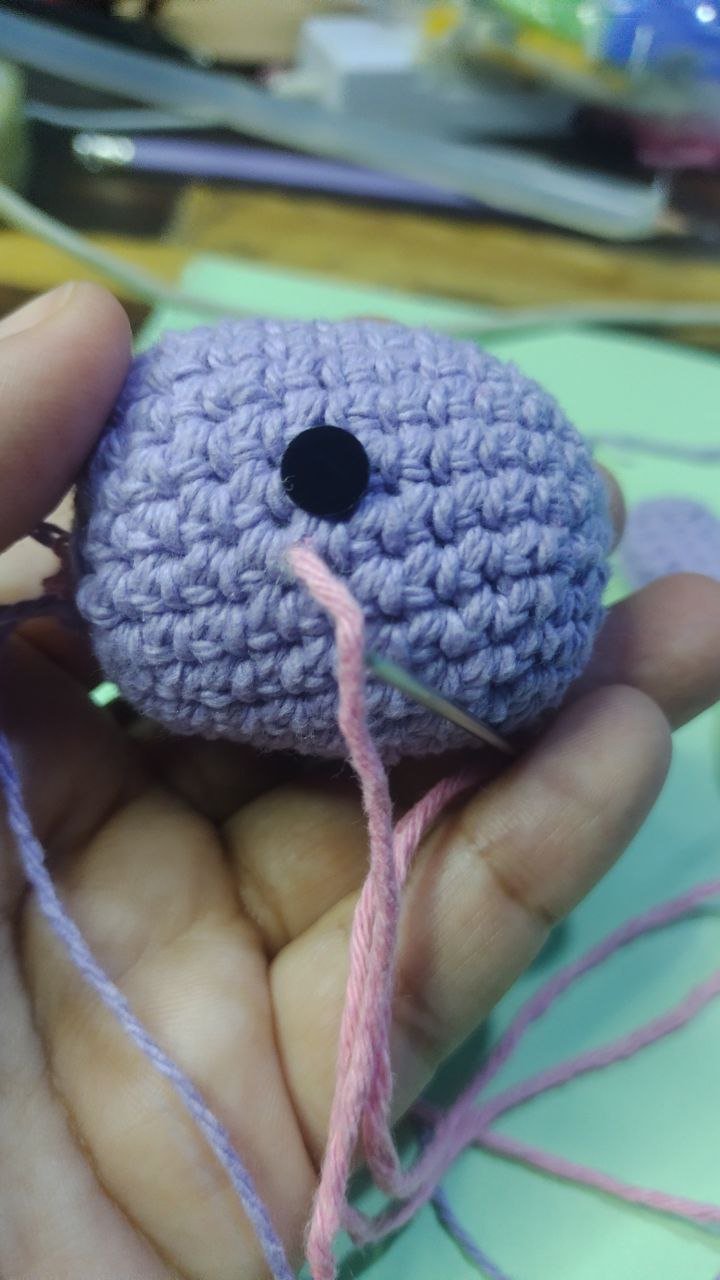
Después de eso, pasé al armado. Mi temor era que quedará chueco o desnivelado, así que tomé mi tiempo para este nuevo aprendizaje. Sinceramente pienso que debería mejorar, pero para ser mi primera vez en esto, siento que quedó bien. Claro, posteriormente detallando, creo que una de las cosas que debo corregir es que las puntadas deben ser más cortas para que puedan perderse con los puntos y pasar desapercibidas.
After that, I moved on to the assembly. My fear was that it would be crooked or uneven, so I took my time with this new learning. I honestly think I should improve, but for my first time at this, I feel that it turned out well. Of course, later on in detail, I think that one of the things I should correct is that the stitches should be shorter so that they can get lost with the stitches and go unnoticed.
 | 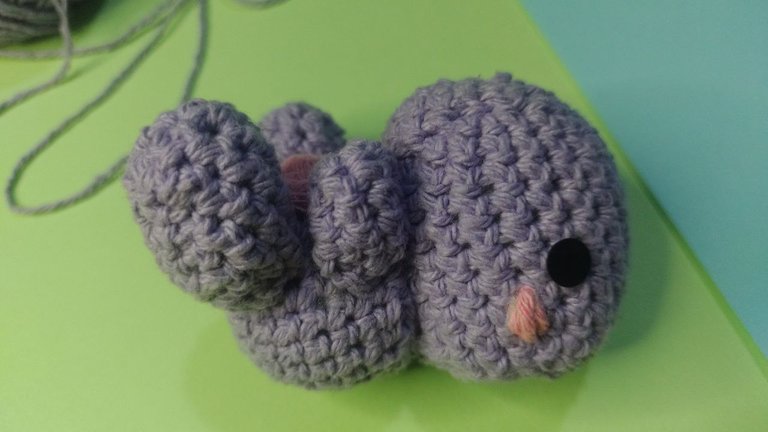 | 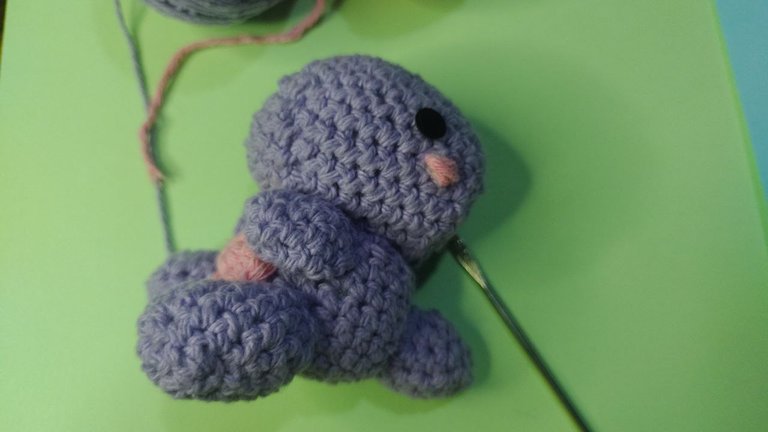 |
La cola no me convenció mucho, sentí que no había quedado tan cónica como debió haber quedado, parece más bien un "pequeño bollito". Pero lejos de eso, me sentí muy satisfecha con el resultado. Sentí por un momento, una profunda frustración, más sin embargo reflexioné y dije: "¿Por qué soy tan dura conmigo misma?, debo amarme por mi constancia y mi llama avivada por el aprendizaje. Las cosas buenas toman su tiempo". Parece a veces locura, pero no hay nada más sano que confortarse uno mismo, ser más pasivo y comprensivos con nosotros, entendiendo que todo en la vida es un proceso de aprendizaje no líneal.
I wasn't very convinced by the tail, I felt that it wasn't as conical as it should have been, it looks more like a "little bun". But far from that, I felt very satisfied with the result. For a moment I felt deeply frustrated, but nevertheless I reflected and said: "Why am I so hard on myself? I must love myself for my perseverance and my flame fueled by learning. Good things take time." Sometimes it seems crazy, but there is nothing healthier than comforting oneself, being more passive and understanding with ourselves, understanding that everything in life is a non-linear learning process.
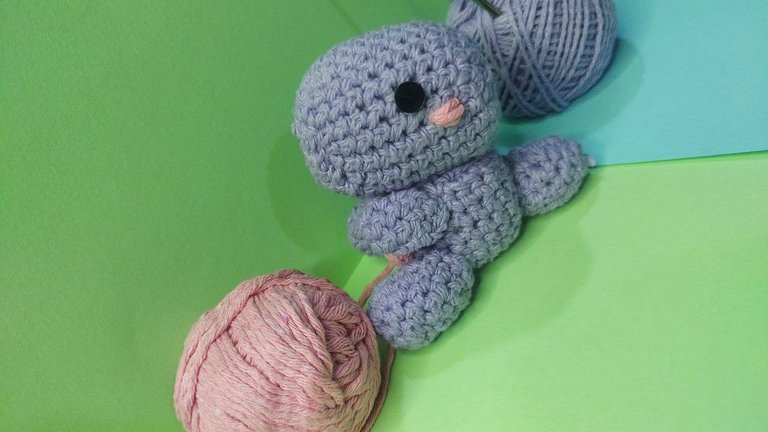
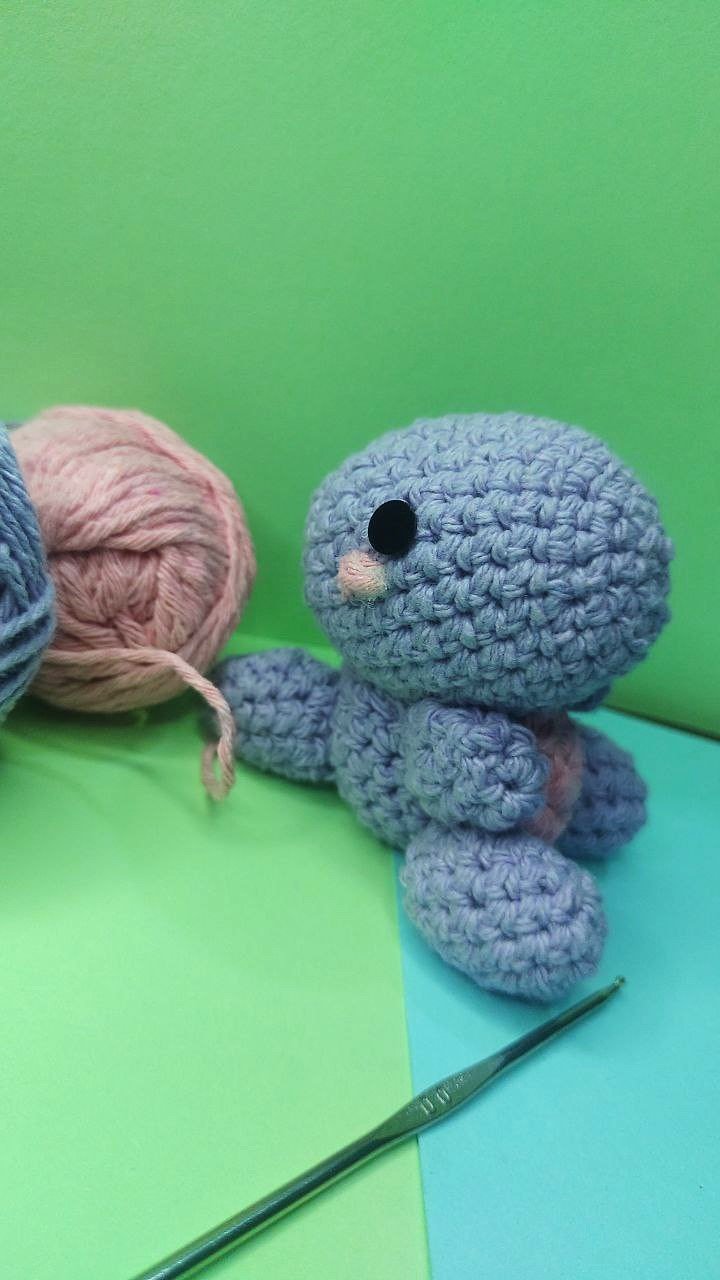
Este pequeño amigo será ahora colocado en una bolsa de empaque de celofan, mientras voy creando poco a poco más amiguitos. Es ahora el 2do integrante, que se encuentra a la espera de los herrajes para llaveros, así como también algunas otras cosas que serán detalles para vender. Es una actividad que tengo planificado hacer mientras no tengo pendientes de mi emprendimiento principal KoKo.
This little friend will now be placed in a cellophane bag, while I slowly create more friends. It is now the 2nd member, who is waiting for the keychain hardware, as well as some other things that will be details to sell. It is an activity that I plan to do while I am not busy with my main project KoKo.
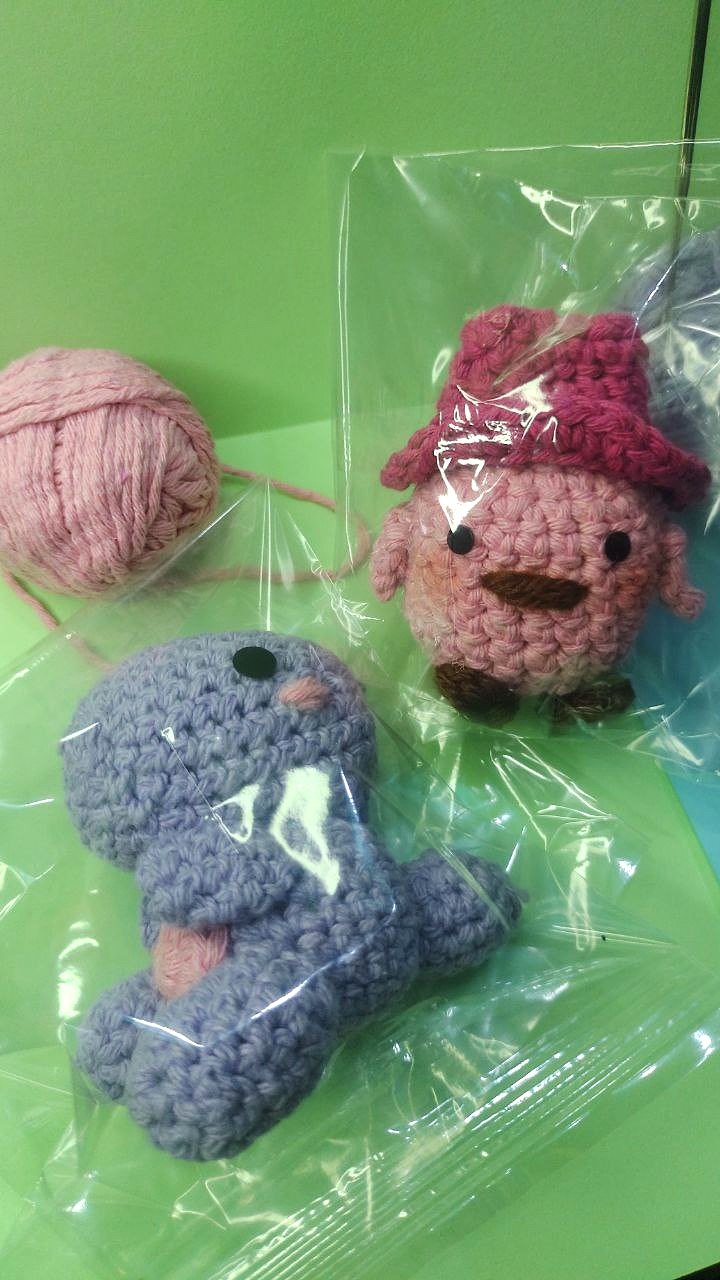
Dios les bendiga, feliz inicio de semana a todas mis hermosas compañeras de Aguja. Deseándoles amor, prosperidad y salud, me despido.
God bless you, happy start of the week to all my beautiful Aguja colleagues. Wishing you love, prosperity and health, I say goodbye.
This is really cute. It’s fine if you don’t get technical language. I also get confused sometimes with it so I have resorted to creating my own pattern. I love how you paid attention to the details and did every step really neat.
Great job.
That must be great too. I hope one day I can do that, imagine the structures of the dolls and transform that into dots. That's a good and clever tip, thank you very much. Blessings.
Buen día Belkys. Dicen que la práctica hace al maestro, así que paciencia y a seguir practicando hasta que te salga todo como te gusta. De todas formas, este muñeco se ve más que hermoso, te quedó muy lindo. Felicitaciones 💕
Buenas noches estimada Laura, comparto contigo. Ciertamente la práctica es esencial cuando queremos caminar a lo más estético las cosas. Pero, poco a poco se llega lejos. Muchas gracias, me contenta. Muchas gracias por ese cálido comentario. Bendiciones y feliz inicio de semana.