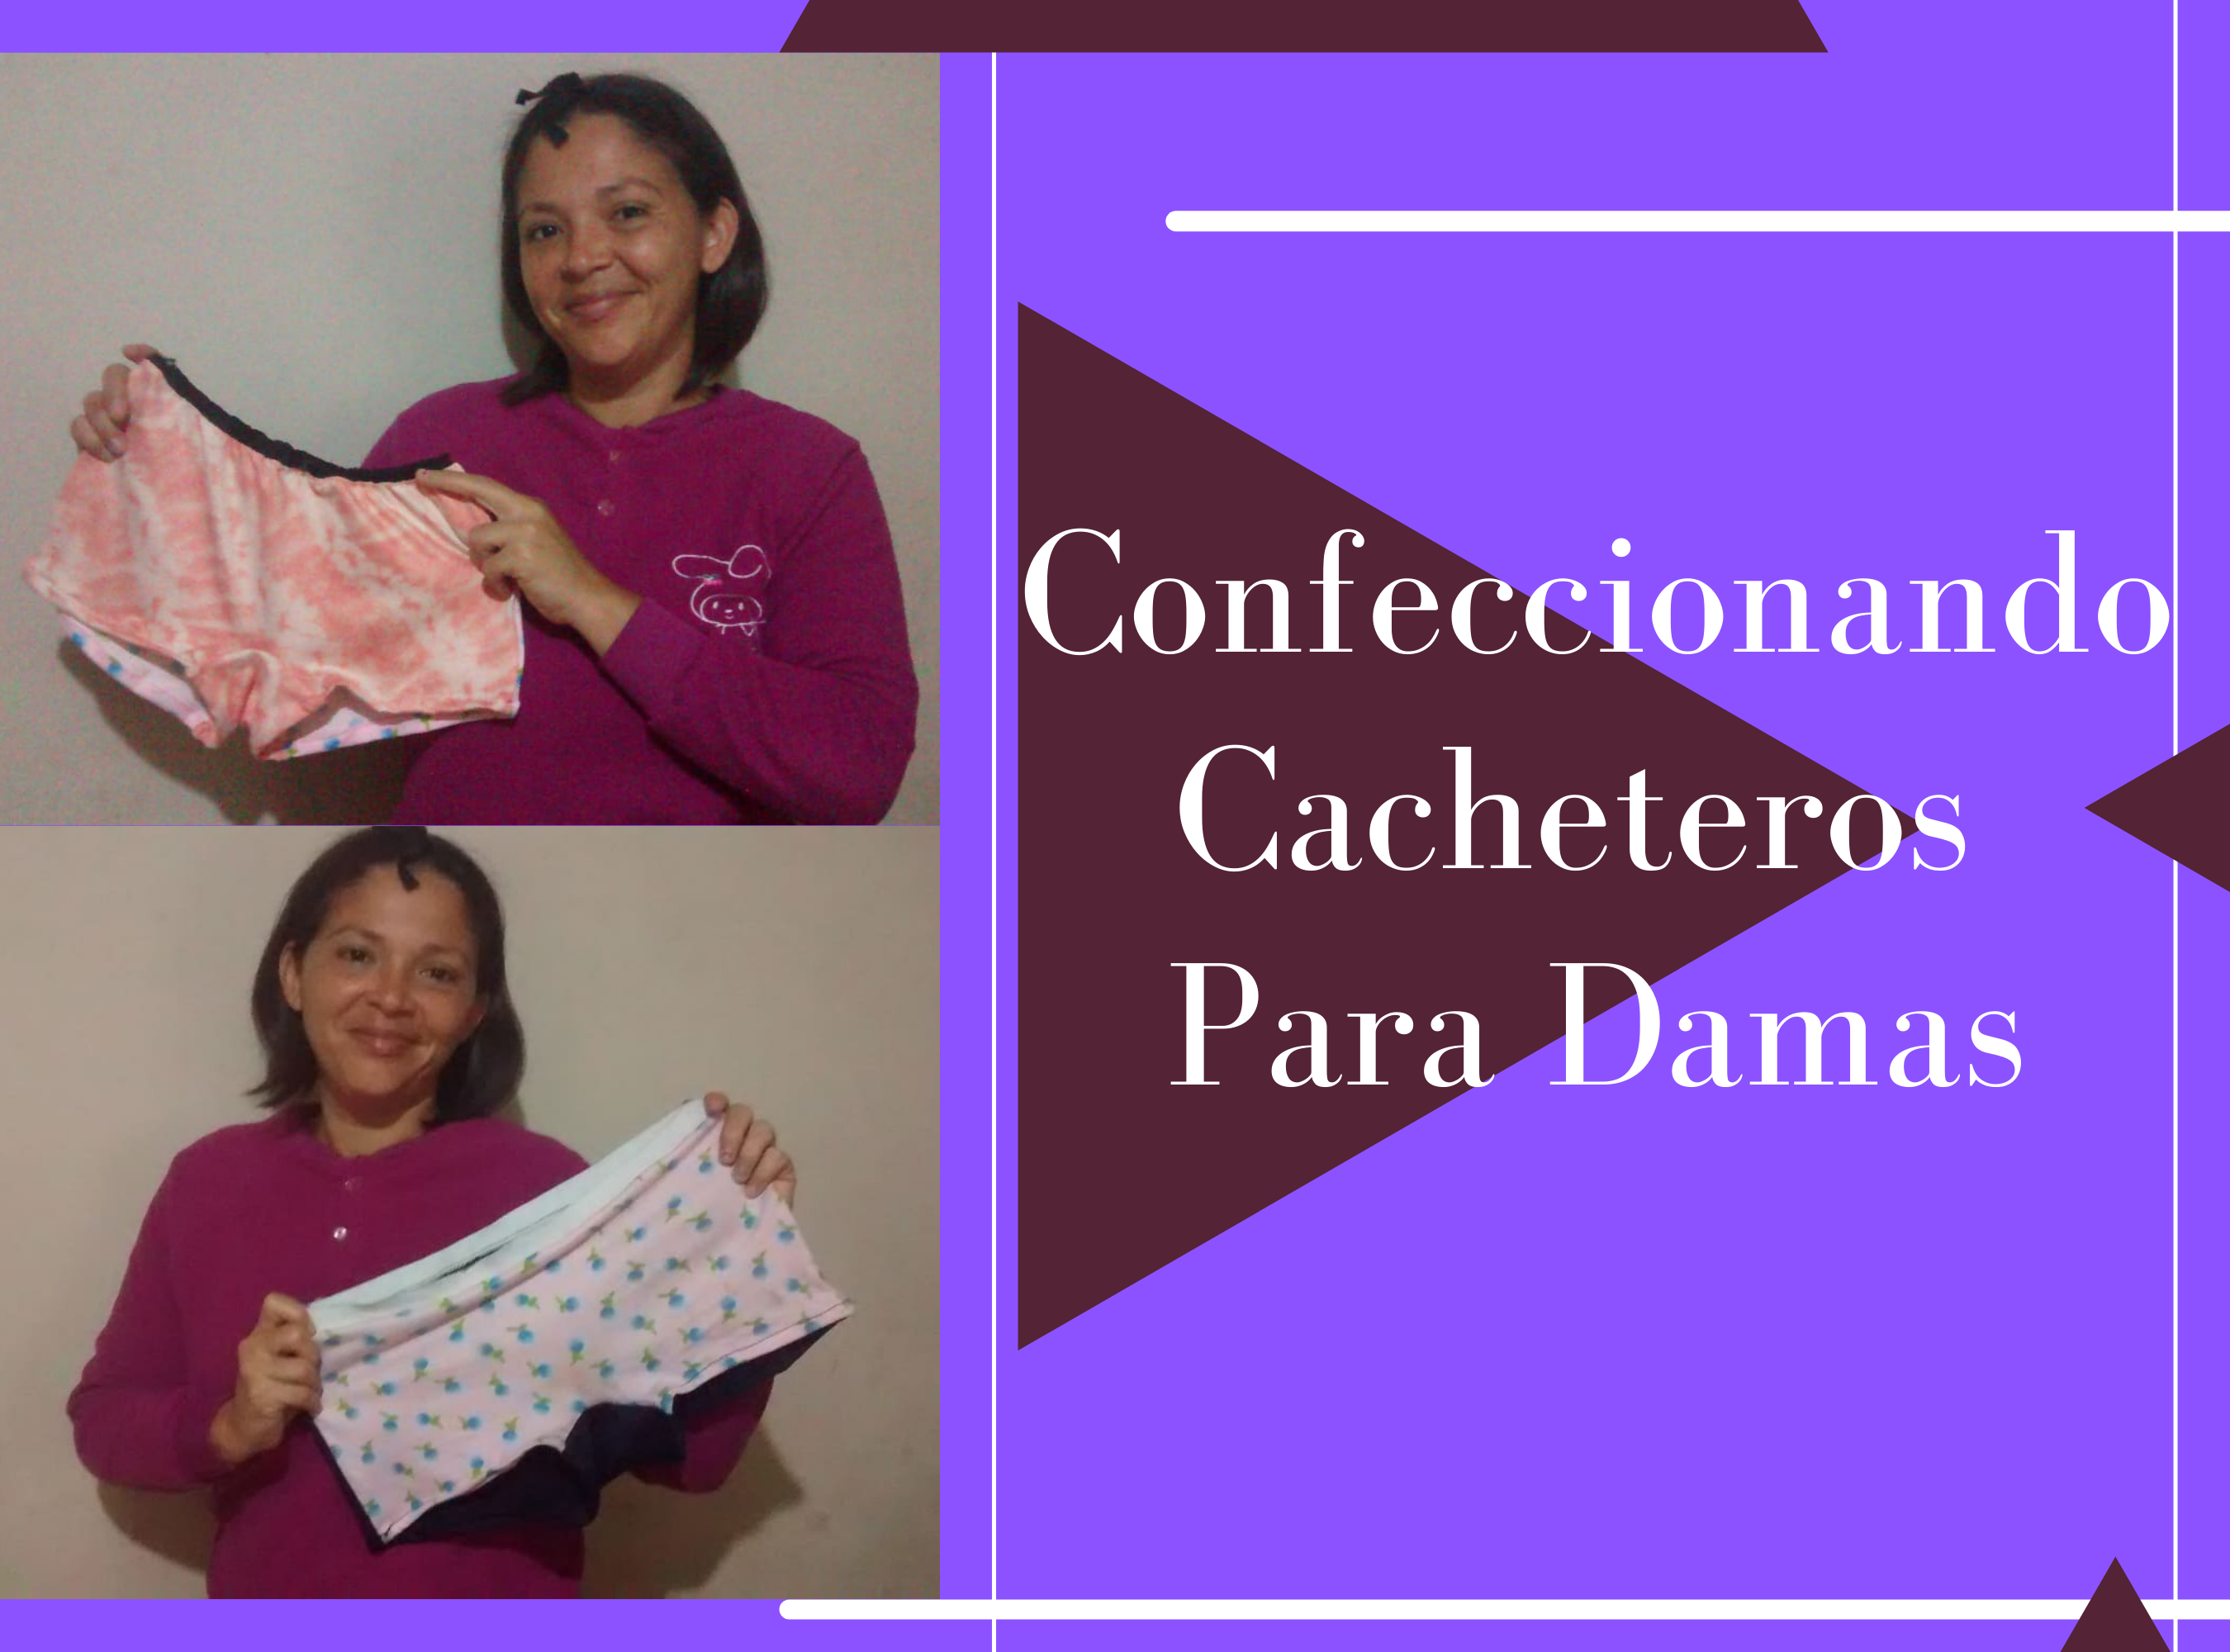
Hello wonderful Hive family, it is a pleasure for me to share with you all one of my creations, Cacheteros for Ladies, really very easy to make, and we save more our money, so join me to see the step by step:

.png)
-Materiales:
-40cm de tela Micro-Durazno (Uni-color y estampado preferido).
-Elástica del grosor y color preferido.
Hilo del color de las telas.
-Tijeras.
-Patrones.
-Paso 1: Doblamos la tela y colocamos nuestro patrón sobre la tela y cortamos, hacemos lo mismo en cada una de las telas, la parte trasera, la parte delantera, y la parte que va entre la entrepierna, estas son las piezas que vamos a usar, son 4 piezas cortadas en total.
-Materials:
-40cm Micro-Durazno fabric (Uni-color and preferred print).
-Elastic of preferred thickness and color.
Thread of the color of the fabrics.
-Scissors.
-Patterns.
-Step 1: Fold the fabric and place our pattern on the fabric and cut, we do the same in each of the fabrics, the back, the front, and the part that goes between the crotch, these are the pieces that we will use, there are 4 pieces cut in total.

.png)
-Paso 2: Procedemos a coser en nuestra máquina, colocando la pieza trasera y la pieza delantera juntas, colocándolas derecho con derecho y cosemos los costados y luego procedemos a hacer nuestro zic zac. Luego colocamos nuestra pieza que esta en la entrepierna, y vamos a coser, pegándola en la parte delantera y en la parte trasera. Después procedemos a coser nuestro ruedo y por último colocamos nuestra elástica, siempre halando-la 1cm.
-Step 2: We proceed to sew on our machine, placing the back piece and the front piece together, placing them right sides together and we sew the sides and then we proceed to make our zic zac. Then we place our piece that is in the crotch, and we are going to sew, gluing it in the front and in the back. Then we proceed to sew our hem and finally we place our elastic, always pulling it 1cm.

This is my final result, I hope you liked it, thank you all for visiting my blog, blessings to all.
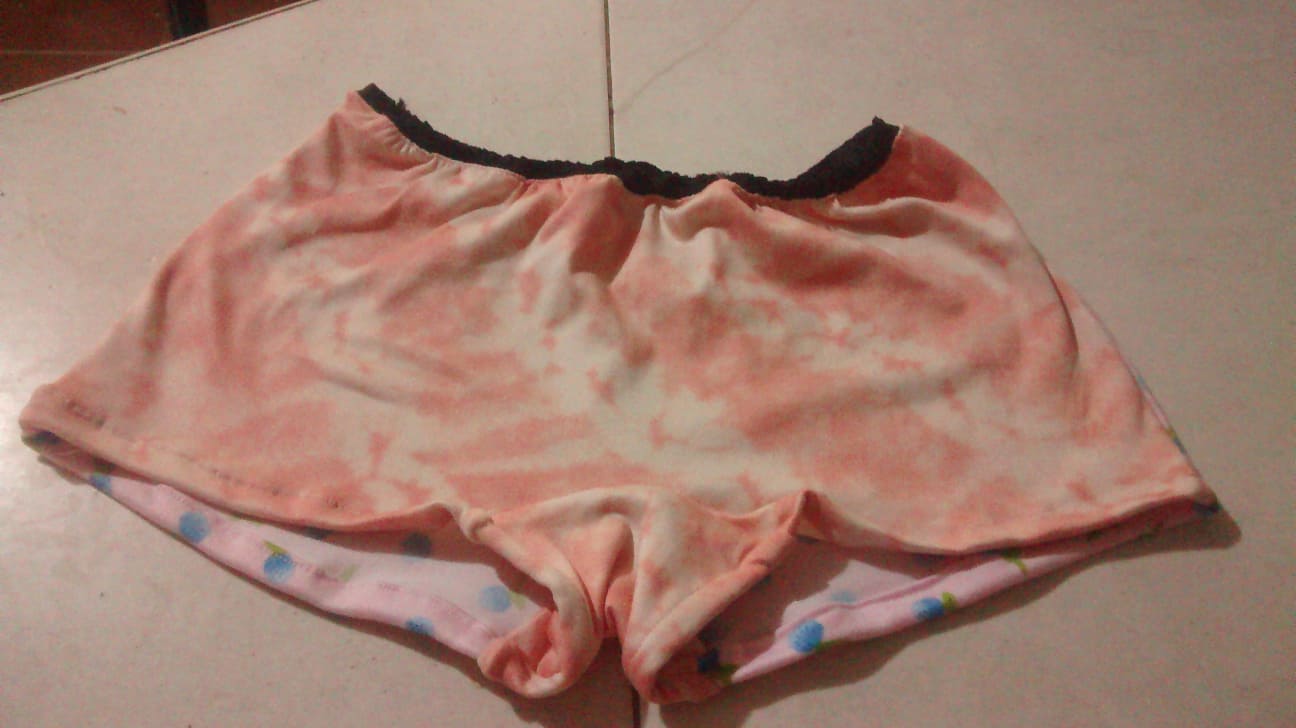
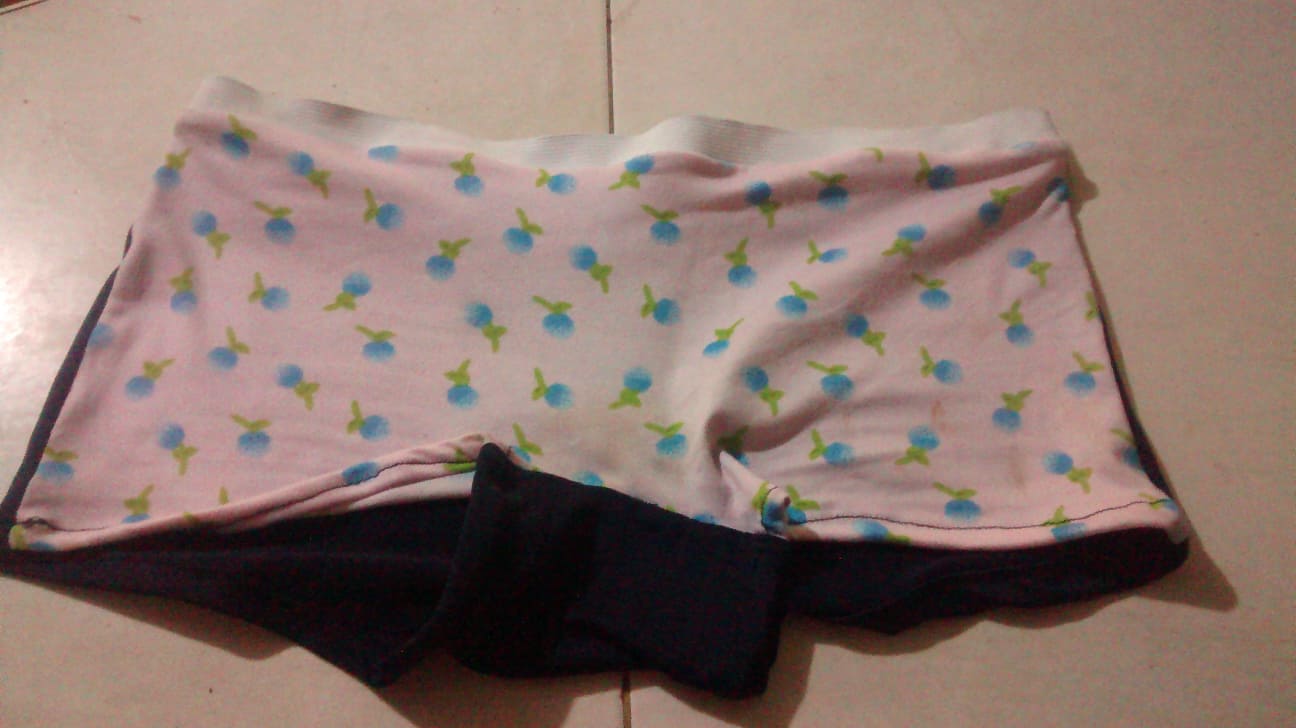
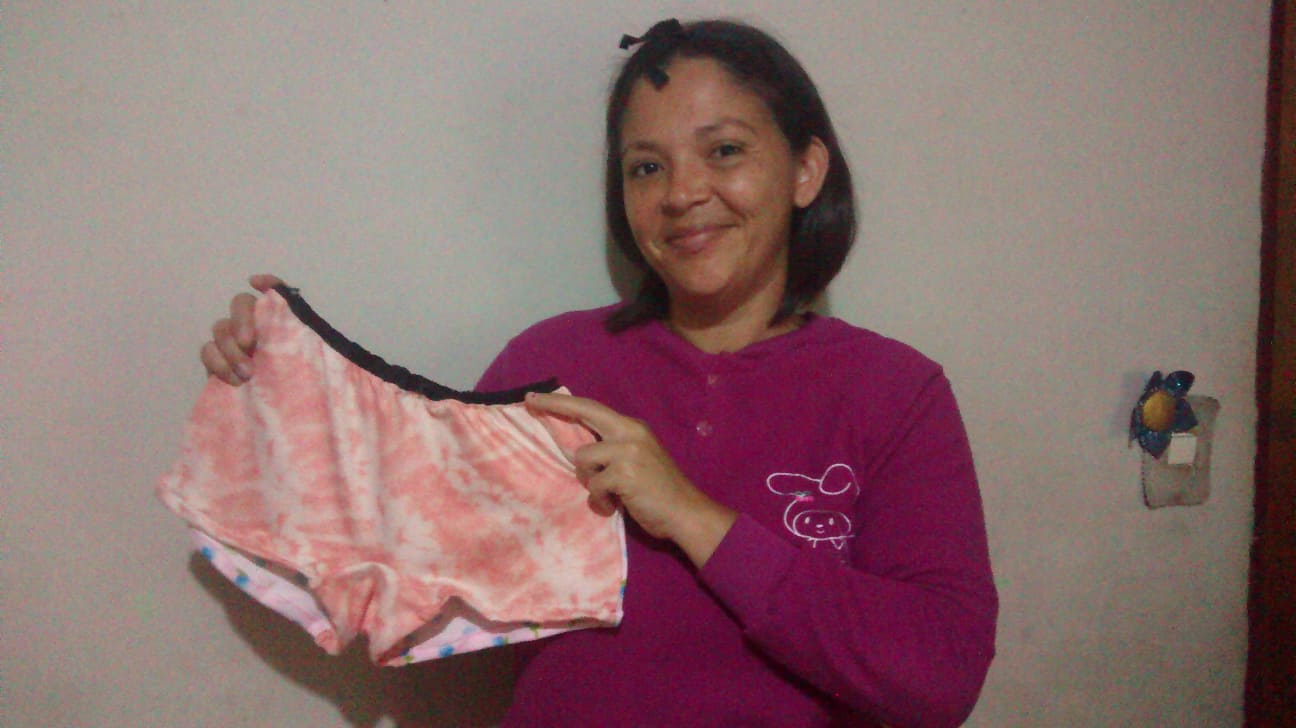
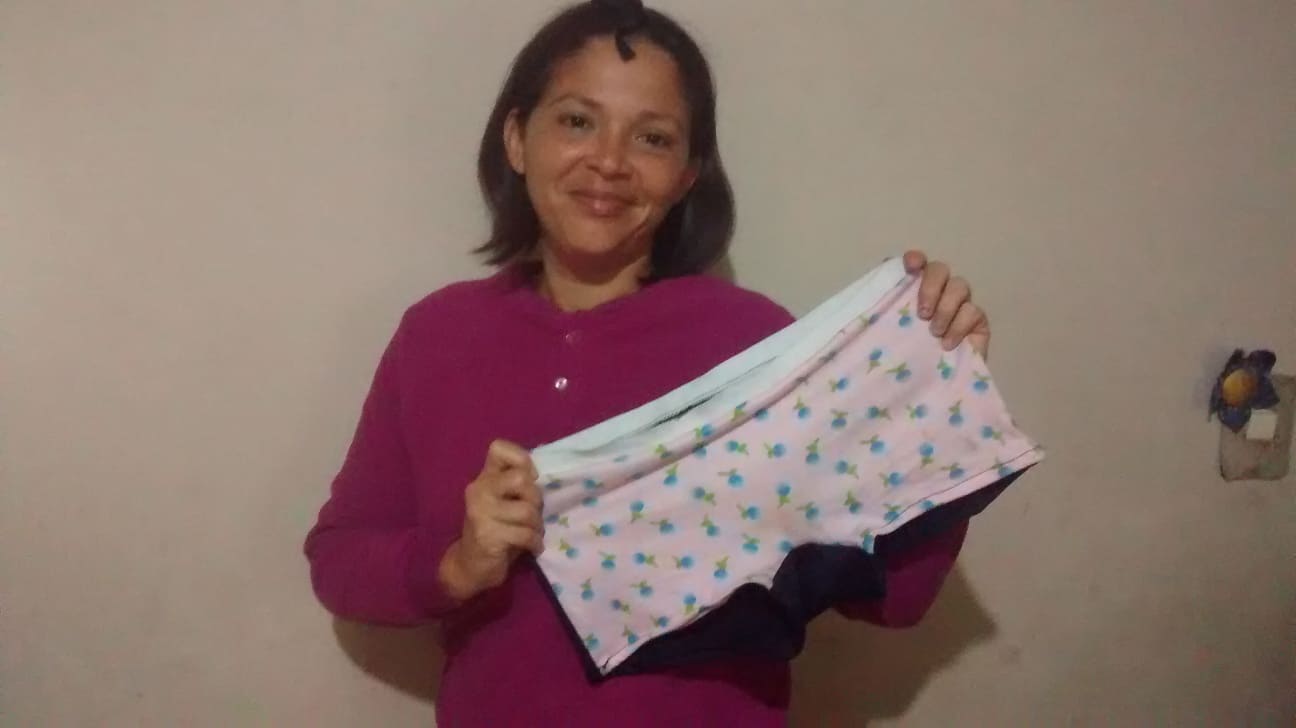

All photos are my property


Congratulations @betzy25! You have completed the following achievement on the Hive blockchain and have been rewarded with new badge(s) :
Your next target is to reach 40 posts.
You can view your badges on your board and compare yourself to others in the Ranking
If you no longer want to receive notifications, reply to this comment with the word
STOPTo support your work, I also upvoted your post!
Hola @betzy25 muestras el proceso muy fácil, la tela está hermosa. Saludos!
Muchas gracias querida amiga, me alegra que te haya gustado, saludos.