Español:
¡Saludos a todos! Espero que se encuentren muy bien, y en caso de no ser así, espero que pronto lo estén. Hoy les mostraré el proceso de cómo cree esta adorable flor usando la puntada larga y corta
English:
Greetings to you all! I hope you are all feeling great, and if not, I hope your day gets better. Today I will show you the process of how I created this lovely flower using the long and short stitch.
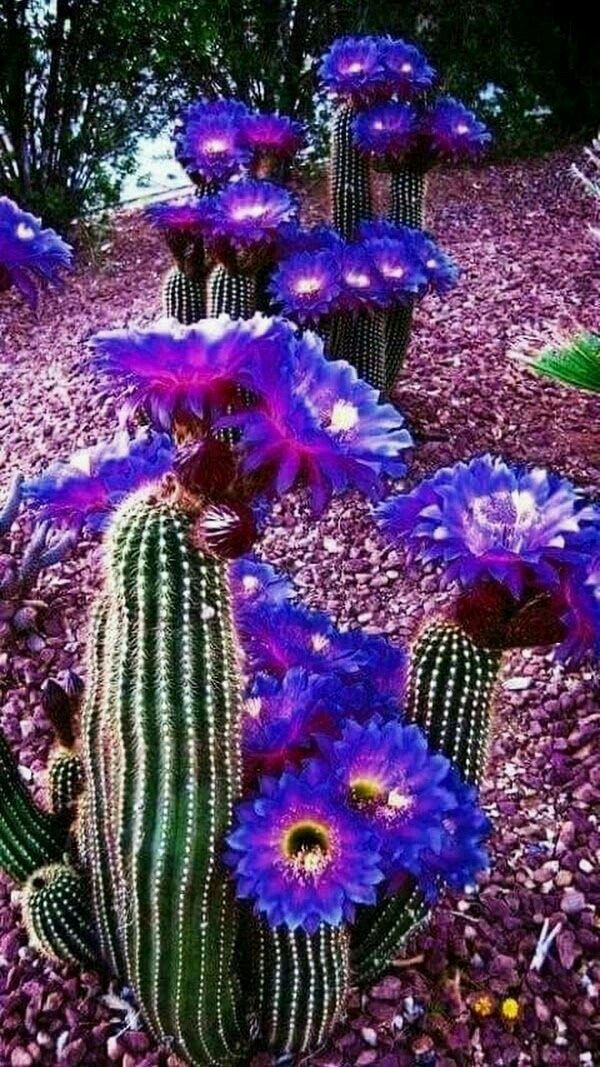
Verán, tenía un tiempo queriendo usar un hermoso hilo color morado, no sé exactamente cómo se llamara, pero sé que es un tipo de morado jajaja. No sabía en qué usarlo hasta que encontré esta foto en pinterest, y de allí me inspiré para hacer una flor con esos colores.
You see, I had been wanting to use a beautiful purple colored yarn for a while, I don't know exactly what it was called, but I know it's a type of purple hahaha. I didn't know what to use it on until I found this picture on pinterest, and from there I was inspired to make a flower with those colors.
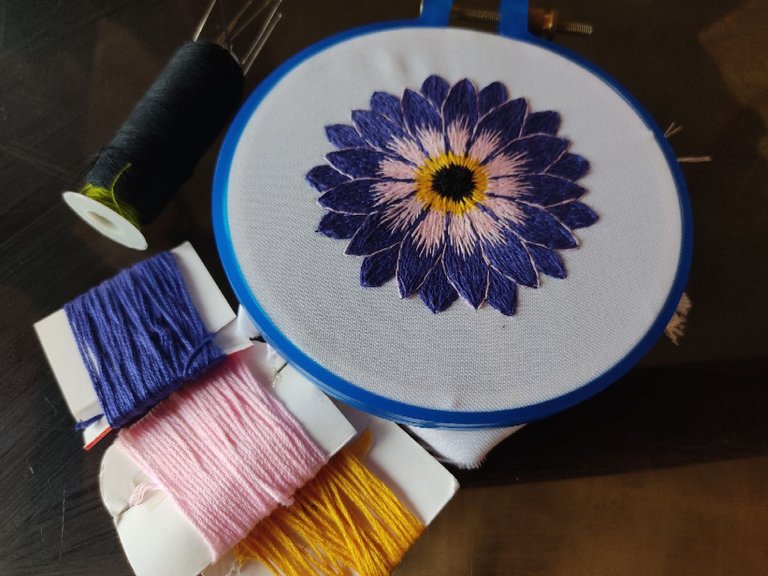
Estos son los colores que usé:
- Hilo morado ANCHOR código 178
- Hilo fucsia claro ROSE BRAND código 201
- Hilo Amarillo DMC 725
- Mi fiel hilo de coser color negro
These are the colors I used:
- Purple thread ANCHOR code 178
- Light fuchsia thread ROSE BRAND code 201
- Yellow thread DMC 725
- My trusty black sewing thread
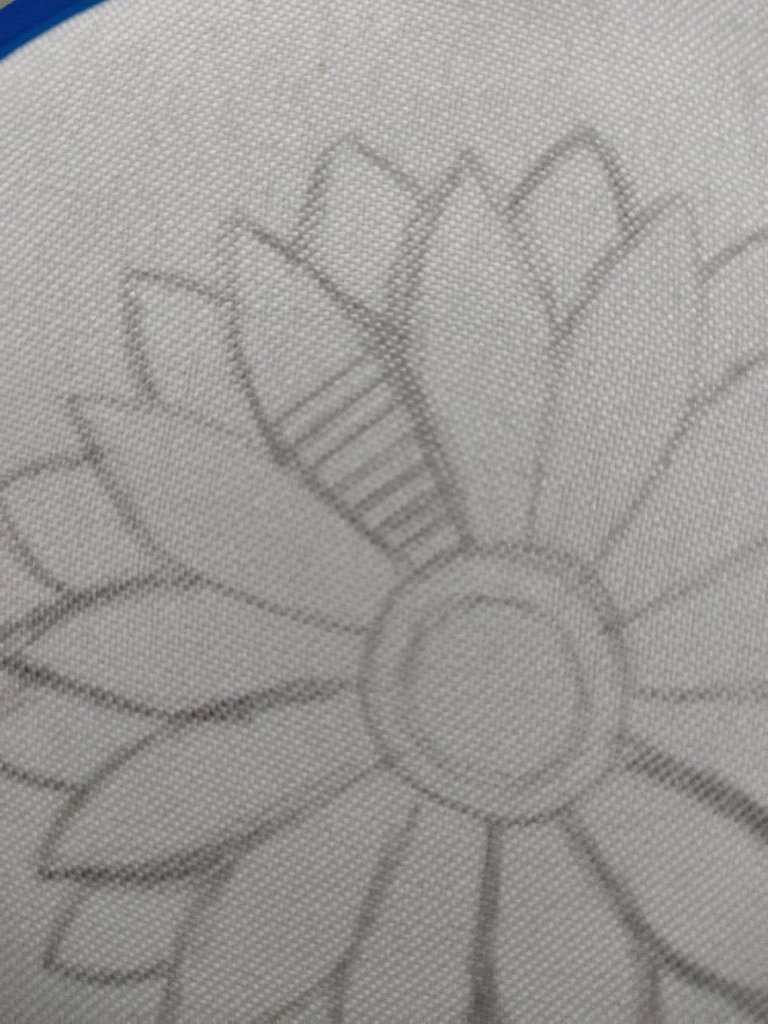
Para empezar, al hacer mi dibujo en la tela realice varias lineas horizontales con poca distancia entre cada una, para que me sirviera de guía haciendo las puntadas
To start, when I made my drawing on the fabric, I made several horizontal lines with a short distance between each one, so that I could use them as a guide when making the stitches.
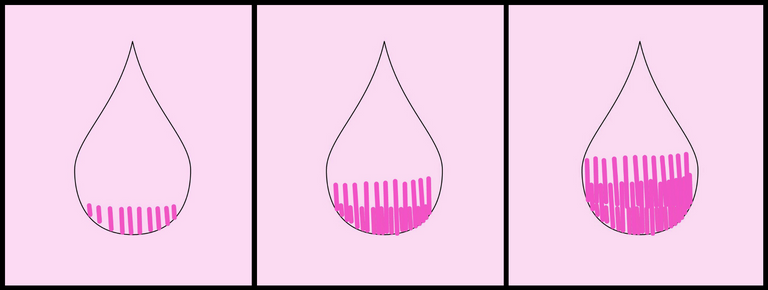
Ya a partir de allí tome mi hilo fucsia claro (2 hebras) y empecé a hacer una pequeña sección con puntadas en el medio del pétalo, primero puntadas cortas una al lado de la otra con muy poca separación, y luego unas puntadas más largas en medio de las puntadas cortas. A continuación, seguí haciendo puntadas largas una al lado de la otra hasta completar la sección que quería de ese color.
From there I took my light fuchsia thread (2 strands) and started making a small section with stitches in the middle of the petal, first short stitches side by side with very little separation, and then longer stitches in the middle of the short stitches. Next, I kept making long stitches side by side until I completed the section I wanted in that color.
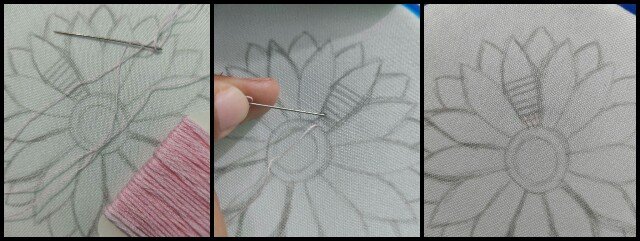
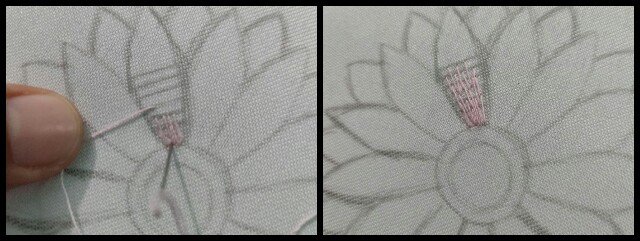
Como sé que en las fotos seguro no se aprecia bien las puntadas, hice un dibujo en picsart, con la intención de crear una demostración gráfica de cómo funciona la puntada larga y corta. Cada linea representa una puntada recta. (No es lo más lindo, pero espero ayude a que capten la idea)
As I know that in the photos you can't really see the stitches, I made a drawing in picsart, with the intention of creating a graphic demonstration of how the long and short stitch works. Each line represents a straight stitch. (It is not my best draw, but i hope it helps you to get the idea)
Para continuar, seguí el mismo procedimiento con el color morado, sólo que está vez rodeando la parte del medio que ya llené con puntadas. Notarán que todas las puntadas se dirigen hacía arriba y hacía el centro del pétalo, yendo hacía el final del pétalo
To continue, I followed the same procedure with the purple color, only this time going around the middle part that I already filled with stitches. You will notice that all the stitches are directed upwards and towards the center of the petal, going towards the end of the petal.
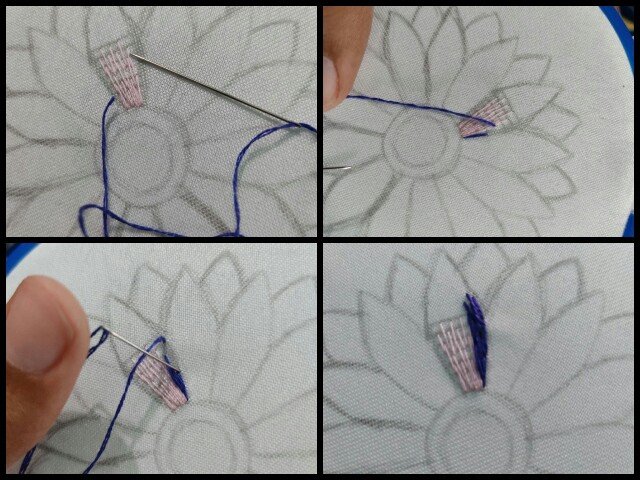
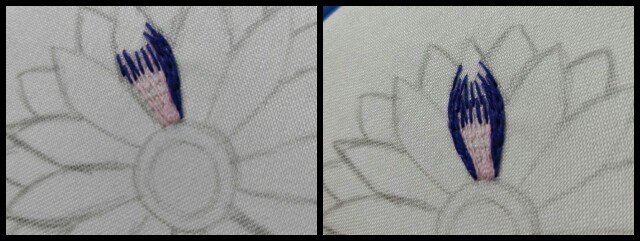
Luego, usando una hebra de cada color, traté de difuminar los colores, haciendo pequeñas puntadas de cada uno que entraban en la zona del otro color, hacen muy poca diferencia, pero ayuda que se vea el bordado con un mejor acabado.
Then, using one strand of each color, I tried to blend the colors, making small stitches of each color going into the area of the other color, it makes very little difference, but it helps the embroidery looks better.
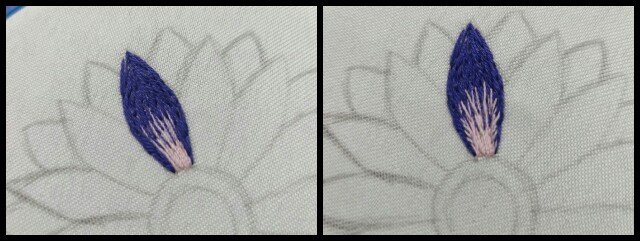
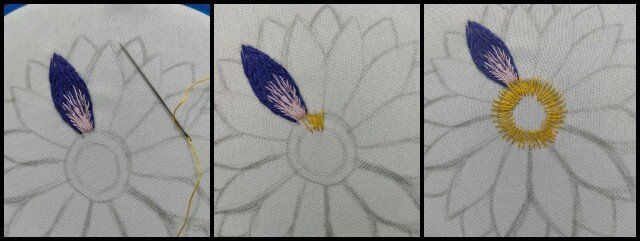
Para la parte de el medio, con una sola hebra (Aunque debí usar dos) de de hilo amarillo, realicé una puntada corta y justo al lado una puntada larga, la cual entraba en la zona del pétalo. Así hasta completar todo el círculo.
For the middle part, with a single strand (although I should have used two) of yellow thread, I made a short stitch and right next to it a long stitch, which went into the petal area. I did this until the whole circle was completed.
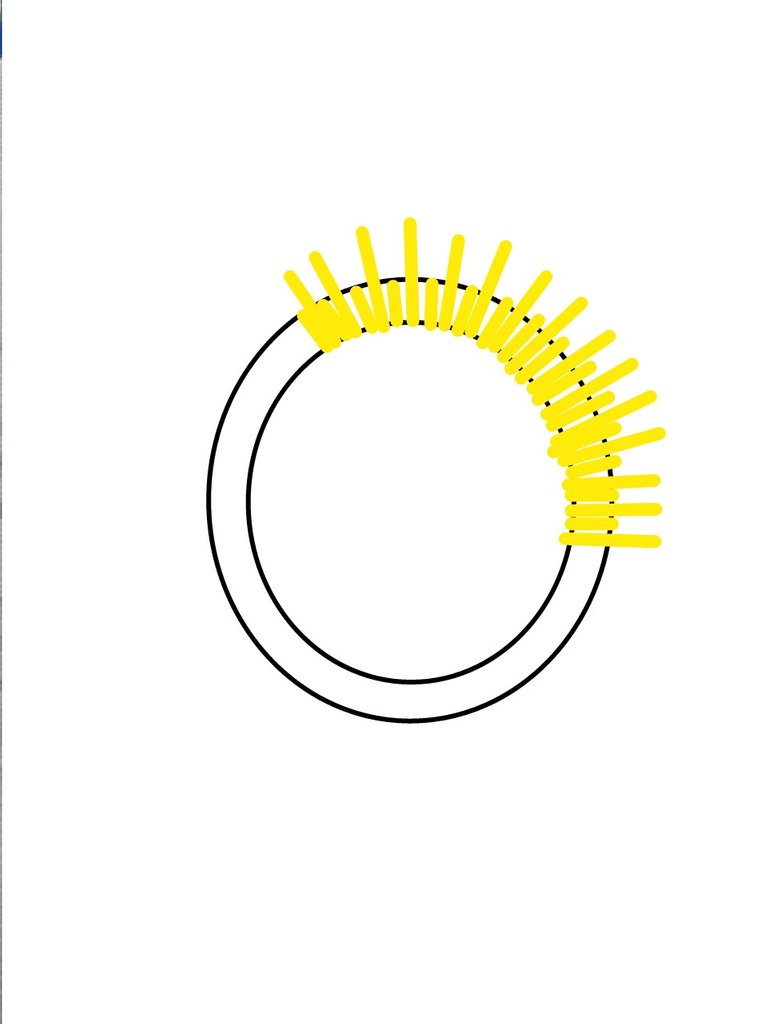
Otra vez, un dibujo medio feo que explica gráficamente las puntadas jajaja
Again, an ugly drawing that graphically explains the stitches hahaha.
Continuando con el centro, hice el mismo procedimiento usando 2 hebras de color negro
Moving on, continuing with the center, I did the same procedure using 2 strands of black color.
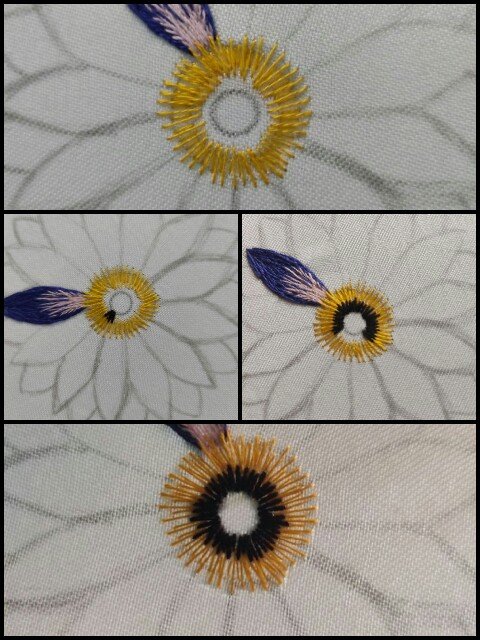
Para agregarle un poco de textura en el punto del medio, realicé varios puntos franceses y me gustó bastante el resultado ♥
To add a bit of texture in the middle zone, I made several French stitches and I liked the result quite a bit ♥
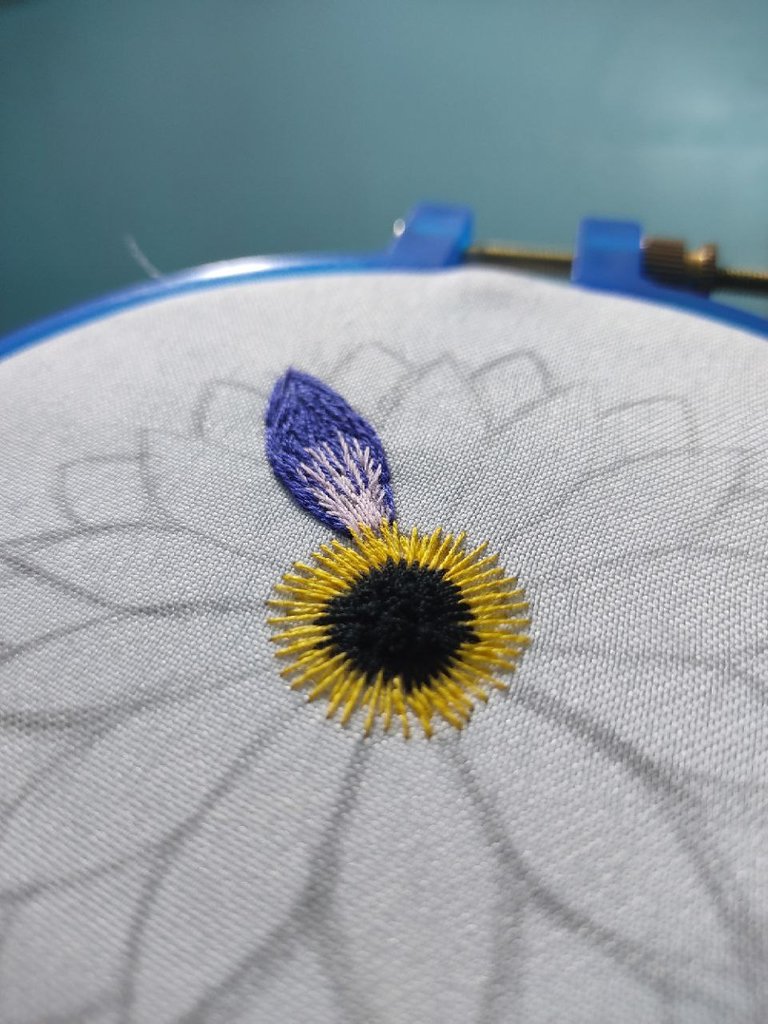
A partir de aquí, estuve varias horas bordando los demás pétalos, incluyendo los de la parte de atrás, para luego corregir algunas zonas y darle un mejor acabado.
From here, I spent several hours embroidering the other petals, including the ones on the back, then I correct some areas to give it a better look.
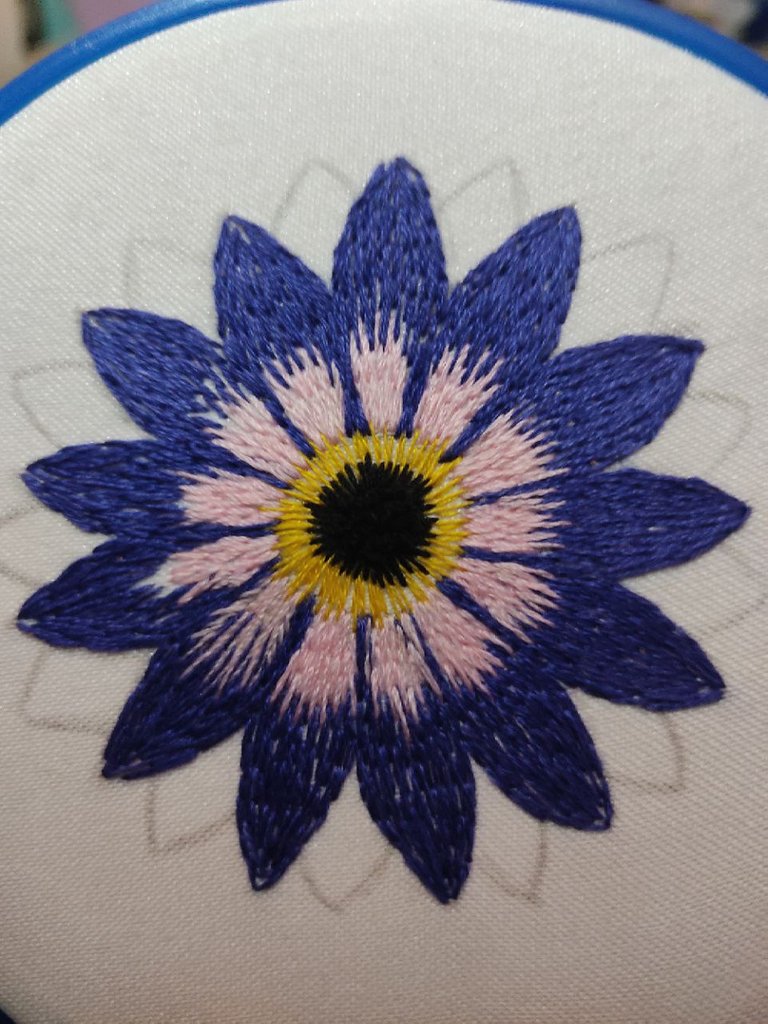
Una de las últimas cosas que hice fueron unas lineas usando una hebra de fucsia claro para resaltar los petalos del frente.
One of the last things I did were some lines using a strand of light fuchsia to highlight the petals on the front.
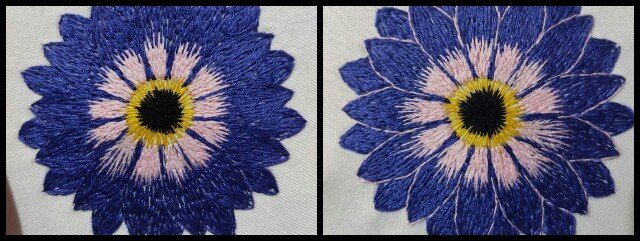
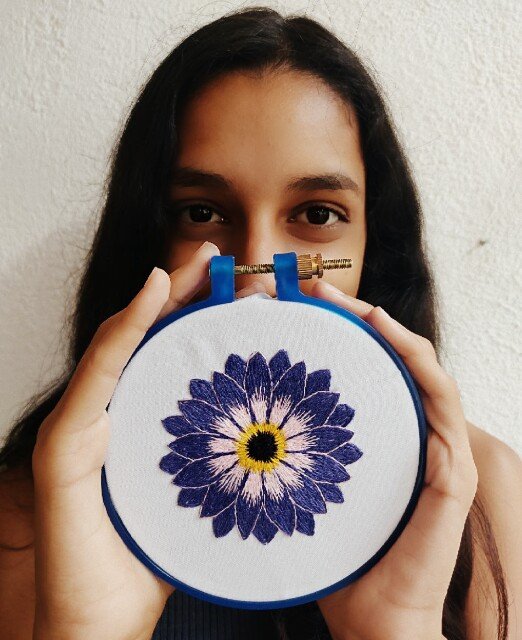
¡Ta-dá! Aquí está el resultado final.
Ta-dah! Here is the final result
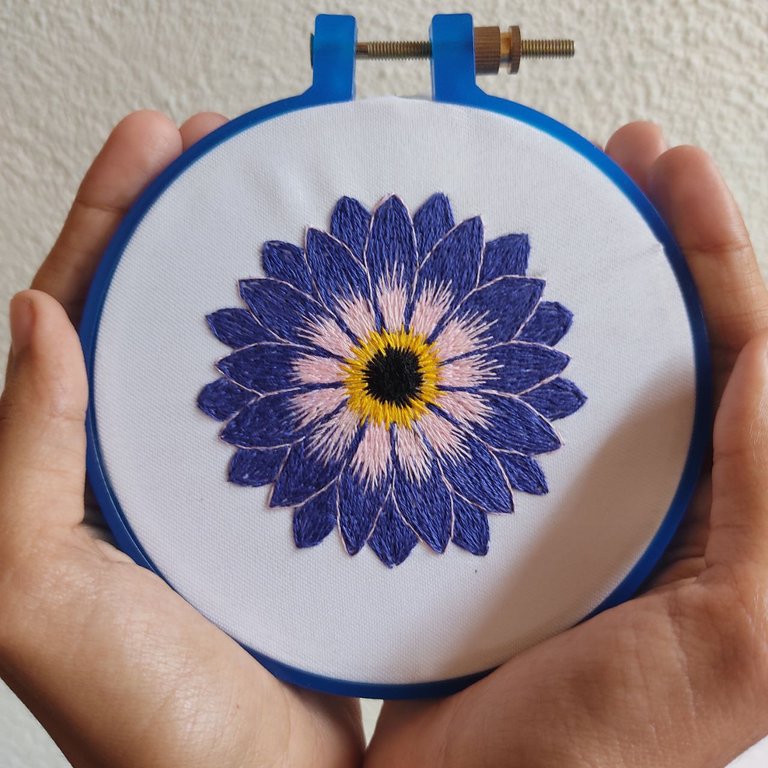
Sí, insisto en mostrarte con emoción el resultado final aunque sé que ya lo han visto antes de empezar a leer el post.
Yes, I insist on showing you with emotion the final result even though I know you have already seen it before you start reading the post.
Espero te haya gustado el post y te anime a bordar tu propia flor, incluso a aprender a bordar o retomarlo después de un tiempo.
Sigueme para ver más tutoriales de bordado y costura ♥
¡Nos vemos la próxima!
I hope you liked the post and it encourages you to embroider your own flower, or even learn how to embroidery or retake it again after a while.
Follow me for more embroidery and sewing tutorials ♥
See you next time!


Your post has been voted as a part of Encouragement program. Keep up the good work!
Use Ecency daily to boost your growth on platform!
Support Ecency
Vote for Proposal
Delegate HP and earn more
Nice work
Thank you 💕
You're welcome ☺️
¡Me encantó!. El mundo de las agujas es tan amplio, jaja. ¡Buenas vibras!.
Muchas gracias? Sí, es todo un universo de cosas por descubrir 💕
You have given the most perfect illustration and with the graphics it makes this easier as well.
Beautiful, thanks for sharing
Thank you so much ♥ your comment means a lot for me. I try to do my best so everyone can understand
¡Qué trabajo tan hermoso!
Muchísimas gracias ♥