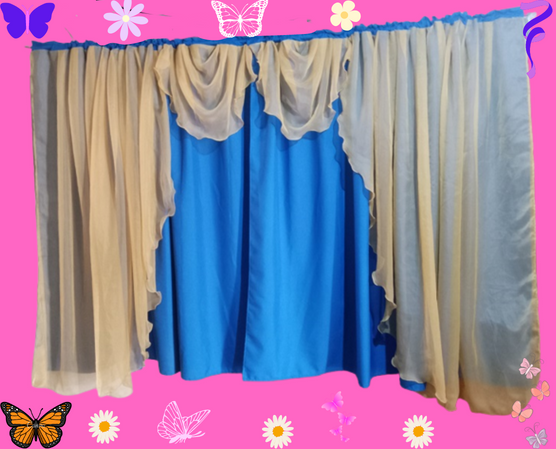

Happy day to all, I hope you are very well, enjoying this beautiful day. Thank God for being here again, to present this sewing project, although simple but very useful, as it is a curtain for windows, made with dopiovello fabric, is a very soft and transparent fabric, comes in many colors and designs, which to make any model fits very well.
Everyone in your home or workplace that has windows, many place blinds or curtains. The curtains are very decorative, as long as they look well made, also depend on the type of decoration and environment, where they will be placed. Nowadays, many stores sell curtains ready to be placed in our favorite place.
This is a window curtain which measures 3.1/2 meters wide, that is three and a half meters, by the length of 1.50cm.
When cutting the fabric has to measure more than twice as wide, perhaps, so that it can be wrinkled, or folds, although there are curtains that are placed smooth, ie without folds. It depends on the taste of each person and the type of fabric to be made, and its design.
And in order to see this design, simple, but easy to make, I show you how I did it.
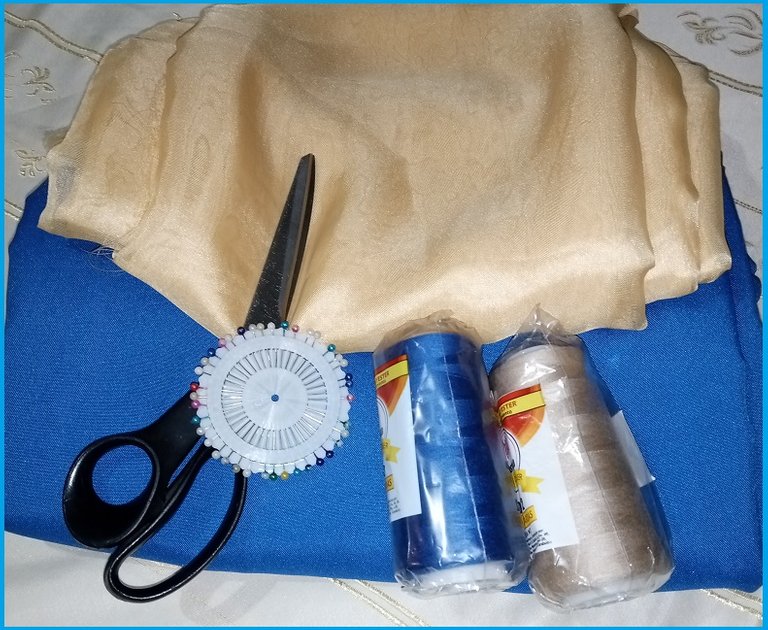
My materials:
Blue polyester fabric.
Yellow dopiovello fabric.
Colored threads.
Sewing machine, measuring tape pins, scissors, sewing machine hemming foot.
STEP BY STEP:
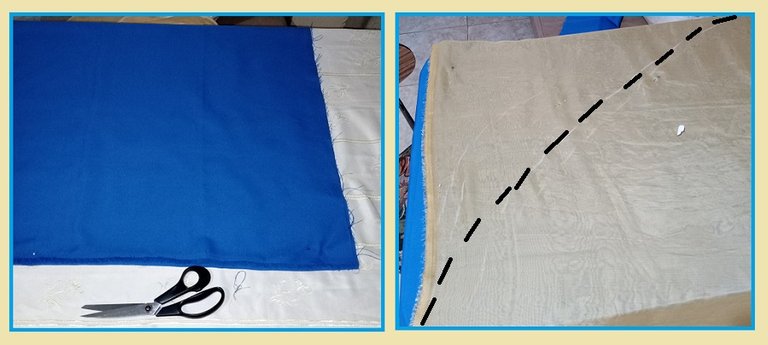
First I cut the blue fabric which is the main fabric, I cut it out of the whole width of the fabric and made two equal parts, since this curtain will be open in the middle.
For the yellow part I made a design that goes over the blue fabric, and that you can see its waves, from this I cut two equal parts since it will be placed on each side, and in the center, I did it with the cuts that were left, to be able to make this part that will hang.
I start by making the hem of the blue fabric, along the edge, folding the edge and sewing with a straight seam.
Then with the yellow fabric, I place the hemming foot on the machine, which will make this seam on its edge neater, and which is sewn with the zig-zag.
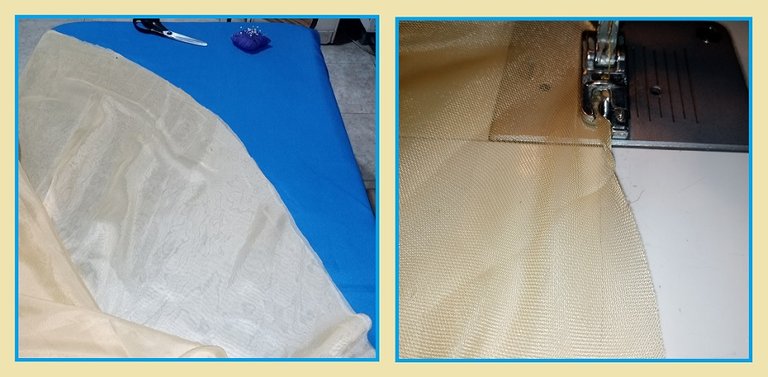
So I sewed all this part, and for the design that goes in the center, I took it out of what was left of the yellow fabric, and I was molding it, pressing with the pins, to give it the shape of waves with its folds, and then sewing in the machine, once I had the two equal parts. What I did was some pleats, that is to say, to place the fabric on top, folding about two or three centimeters for the pleats.
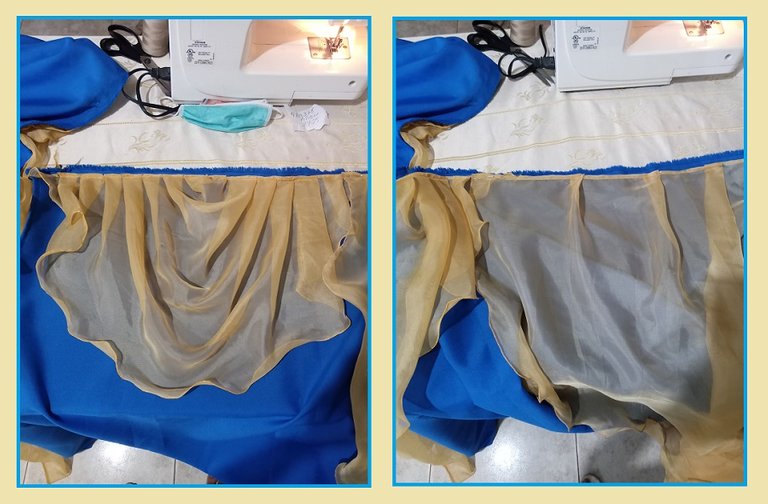
Once I have this part, I proceed to place it on the blue fabric, with the help of the pins, and then sew it in the machine.
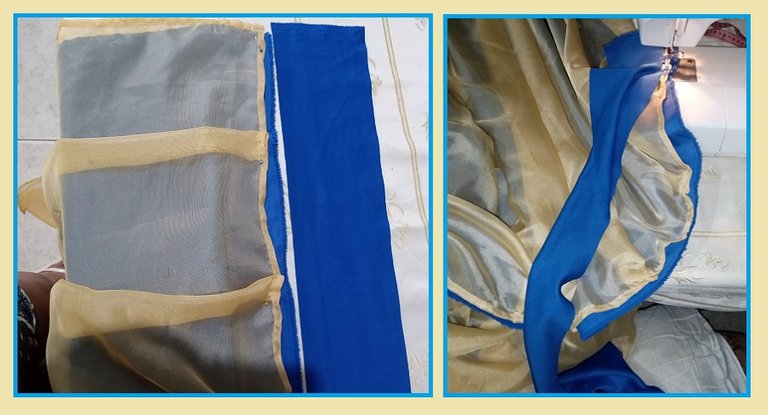
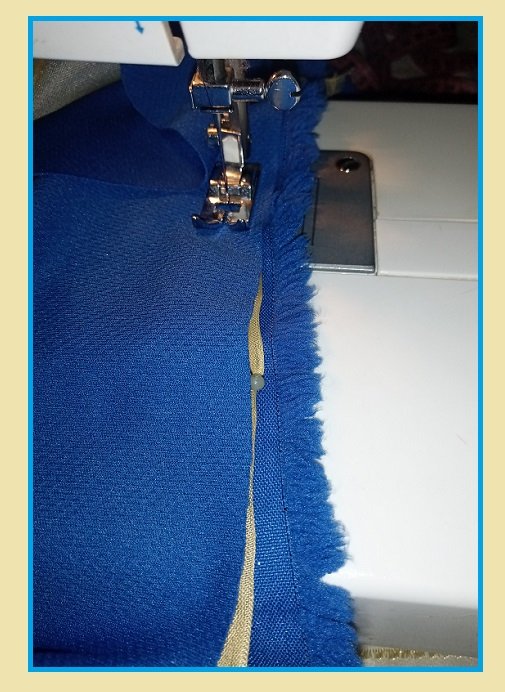
After placing the yellow fabric, take some long strips of another blue fabric, which will be the top part, and has an opening to place the curtain tube.
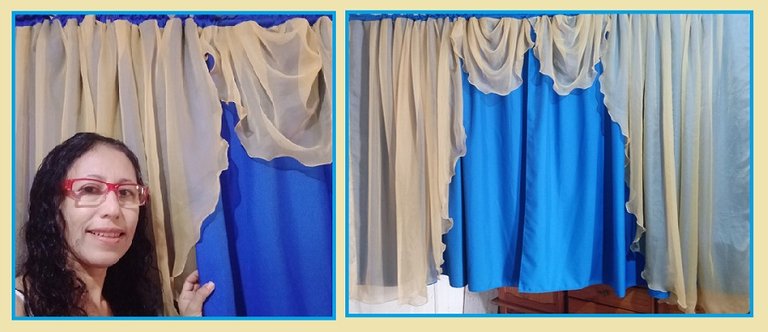
This way the curtain is ready for use, to be able to take the photo I put it in a curtain tube that I have, before delivering it, since it belongs to a friend of mine, she was very happy with the design.
Once again I hope you liked it, thanks for reading my blog, until next time, have a great day, bye!


Feliz día para todos, esperando se encuentren muy bien, disfrutando este bello día. Gracias a Dios por estar aquí nuevamente, para poder presentar este proyecto de costura, aunque sencilla pero de mucha utilidad, ya que se trata de una cortina, para ventanas, realizada con tela de dopiovello, es una tela muy suave y transparente, viene en muchos colores y diseños, que al realizar cualquier modelo se adapta muy bien.
Cada quien en su casa o sitio de trabajo que tenga ventanas, muchos colocan persianas, o cortinas. Las cortinas son muy decorativas, siempre y cuando se vean bien hechas, también dependen del tipo de decoración y ambiente, en donde se colocaran. Hoy en día también en muchas tiendas venden las cortinas ya lista de colocarlas en nuestro lugar favorito.
Esta es una cortina para ventana la cual mide de ancho 3,1/2 metros, es decir tres metros y medio, por el largo de 1,50cm.
Al cortar la tela tiene que medir mas de ancho quizás el doble, para que pueda quedar arruchada, o pliegues, aunque hay cortinas que se colocan lisa, es decir sin tener pliegues. Depende del gusto de cada quien y del tipo de tela a confeccionar, y su diseño.
Y para poder ver este diseño, sencillo, pero fácil de realizar, te enseño como lo hice.
*Mis materiales:
Tela de poliester azul.
Tela de dopiovello amarilla.
Hilos de colores.
Maquina de coser, cinta métrica alfileres, tijera, pie de dobladillo de la maquina de coser.

PASO A PASO:
En primer lugar corto la tela azul que es principal, la saque de todo el ancho de la la tela e hice dos partes iguales, ya que esta cortina estará abierta en el medio.
Para la parte amarilla le hice un diseño que va sobre la tela azul, y que se vea sus ondas, de esta corte dos partes iguales ya que se colocara a cada lado, y en el centro, lo hice con los recortes que quedo, para poder hacer esta parte que colgara.

Empiezo haciendo el ruedo a la tela azul, por todo el borde doblando su orilla y cosiendo con la costura recta.
Luego con la tela amarilla, coloco en la maquina el pie de dobladillo, que hará esta costura en su orilla mas prolija, y la cual se cose con el zig-zag.

Así cosí toda esta parte, y para el diseño que va en el centro, lo saque de lo que quedo de la tela amarilla, y fui amoldando, prensando con los alfileres, para darle forma de ondas con sus pliegues, para luego coser en la maquina, una vez teniendo las dos partes iguales. Lo que hice fue unos plises, es decir colocar la tela encima doblando como dos o tres centímetros para los pliegues.

Al tener esta parte, procedo a colocar sobre la tela azul, con ayuda de los alfileres, para luego coser en la maquina.


Después de colocar la tela amarilla, saque unas tiras largas de otra tela azul, que será la parte de arriba, y tiene su abertura para colocar el tubo de la cortina.
Así quedo la cortina lista para su uso, para poder tomar la foto la coloque en un tubo de cortina que tengo, antes de entregarla, ya que es de una amiga que la mano hacer, ella muy contenta con el diseño.

Una vez mas espero haya sido de su agrado, gracias por leer mi blog, hasta la próxima, que tengas un excelente día, chau!

This is beautiful dear, the two colors are quite a match.
It is a beautiful thing that one can learn to decorate his home using whatever curtain one desires.
Thanks for sharing dear
Thank you very much for your visit, if with a little imagination and the material, we can do it, happy day.
Esta muy linda la confección de tus cortinas, hace de el lugar que se vea más elegante, te felicito lindo trabajo 😊, saludos
Gracias @marlynmont, por tu comentario, claro que si, todo lugar de nuestra casa o trabajo merece un cambio.
Hola Eylis. Que buena que te quedó esta cortina. Me gusta cuando tienen mucha tela y caída, generan un ambiente muy elegante. Gran proyecto, espero que hayas disfrutado su confección. Saludos ❤️.
Muchas gracias a ti, por tu tiempo, si cuando la tela es mas suave los pliegues hacen la diferencia y se ven mejor, cada diseño hace la diferencia, feliz dia.
Amiga quedaron bonitas esas cortinas, ideal para la sala o decorar algun salon de fiesta. Gracias por compartir. !DIY
Me alegran que te hayan gustado, en realidad la hice para una oficina y quedaron muy lindas, gracia por tu visita.
You can query your personal balance by
!DIYSTATS