Hola Hivers, que bueno es poder saludarles y desearles un año 2021 repleto de salud, aventuras, contento y ánimo para que hagan lo que les guste y les hagas feliz.
Hello Hivers, how nice it is to be able to greet you and wish you a year 2021 full of health, adventure, happiness and encouragement to do what you like and make you happy.
¿Qué les traigo hoy?
Hoy les comparto el paso a paso para tejer en la técnica crochet las medias y piernas para una muñeca.
What do I bring you today?
Today I share with you the step-by-step tenique to crochet the socks and legs for a doll.
| ¿Qué materiales son necesarios? | What materials are needed? |
|---|---|
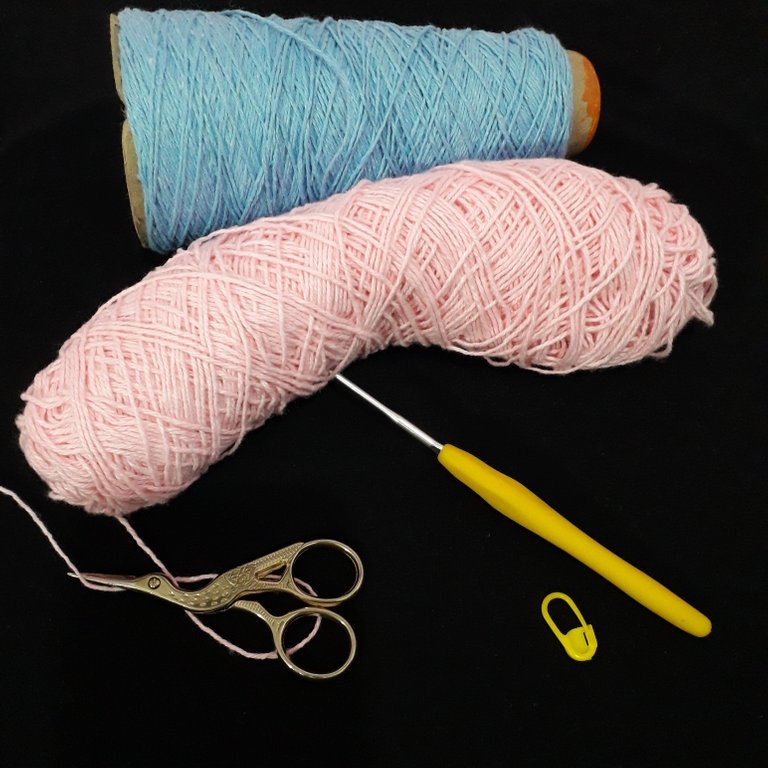
| Hilo de algodón en dos colores | Cotton thread in two colors |
| Tijera | Scissors |
| Ganchillo en función al hilo seleccionado | Hook according to the selected woll |
| Aguja lanera | Blunt yarn neddle |
| Marcador de puntos | Dot marker |
| Abreviaturas | Abbreviations |
|---|---|
| Punto bajo (pb) | Single crochet (sc) |
| Pundo deslizado (pd) | Slip stich (ss) |
| Cadenetas (cad) | Chains (ch) |
Medias
Pasos
1- Iniciamos con una cad de 9.
2- En la segunda cad tejer 1 pb y luego tejer 5 pb en cada cad. A continuación, tejer un aumento de 3 pb, luego tejer 5 pb y finalmente 1 aumento de 2 pb.
3- Tejer 1 pb y 1 aumento de 2 pb, seguidamente tejer 5 pb y 1 aumento x3, 5 pb y para terminar la ronda, tejer 2 aumentos.
4- Tejer 2 pb y 1 aumento, 5 pb, 2 pb y aumento por tres veces, 5 pb, 2 pb y 1 aumento x2.
Steps
Socks
1- We start with a cad of 9.
2- In the second ch kint 1 sc and then knit 5 pb in each cad. Then weave a 3 sc increase, then weave 5 bp and finally 1 increase.
3- Weave 1 sc and 1 increase, then weave 5 sc and 1 increase for three times, 5 sc and to finish the round, weave 2 increases.
4- Knit 2 sc and 1 increase, 5 bp, 2 sc and 3 increase, 5 sc, 2 sc and 1 increase x 2.
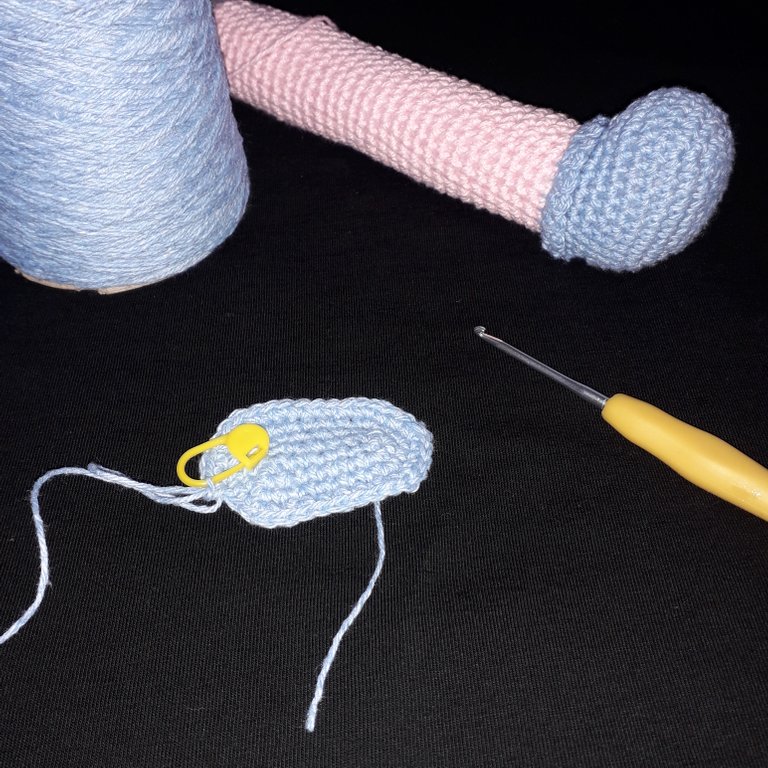
5, 6, 7- 1 pb sobre cada pb de la ronda anterior.
5, 6, 7- 1 sc over each sc of the previous round.
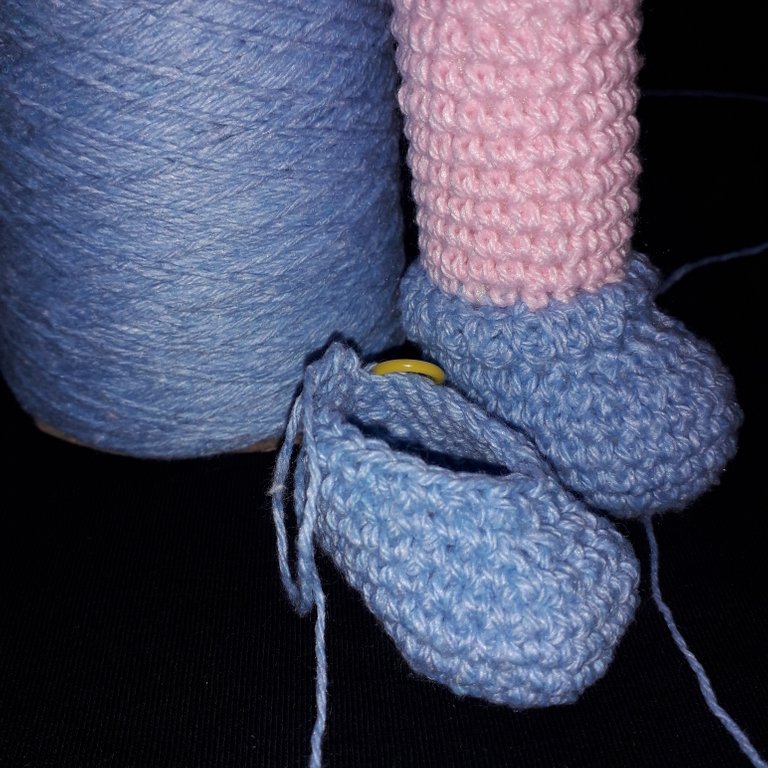
8- 8 pb, 1 disminución x 5, 11 pb.
9- 6 pb, 1 disminución x 6, 11 pb.
10- 6 pb, 1 disminución x 3, 11 pb.
8- 8 sc, 1 decrease x 5, 11 sc.
9- 6 sc, 1 decrease x 6, 11 sc.
10- 6 sc, 1 decrease x 3, 11 sc.
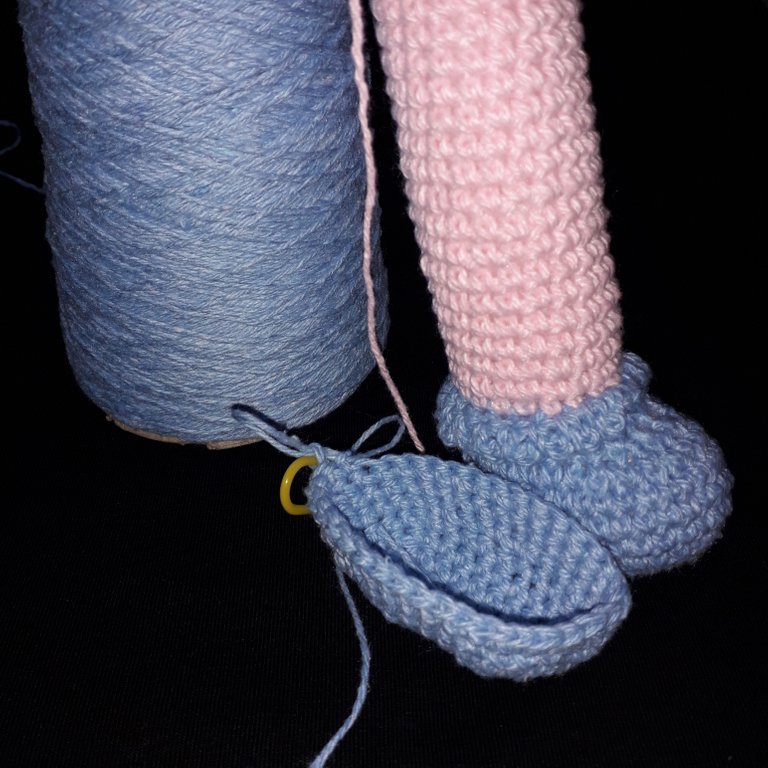
Rellenar con relleno sintético.
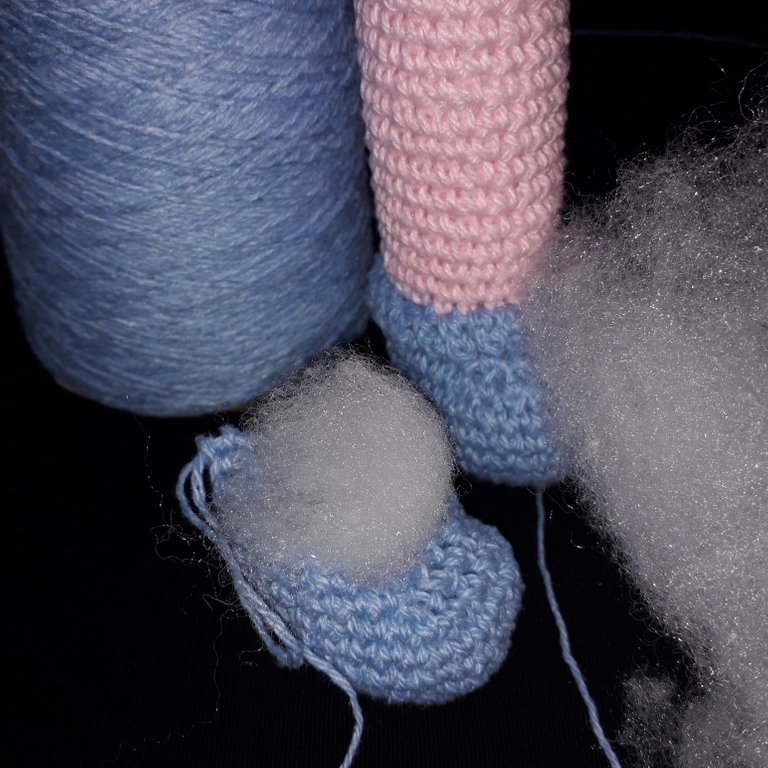
Fill with synthetic filler.
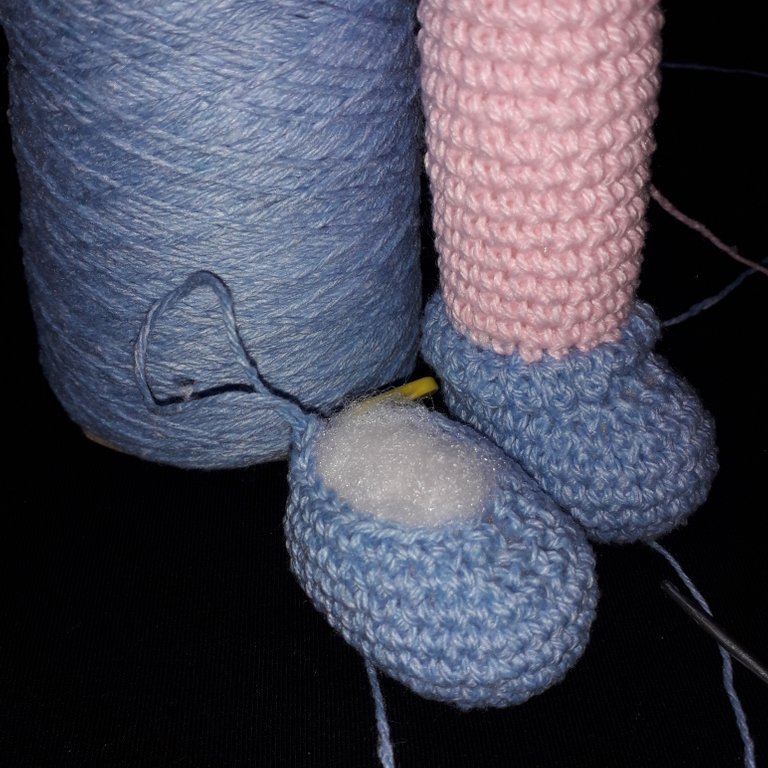
10- Tejer 3 cad y 1 pd sobre cada punto de la ronda anterior.
10- Knit 3 ch and 1 sp on each stitch of the previous round
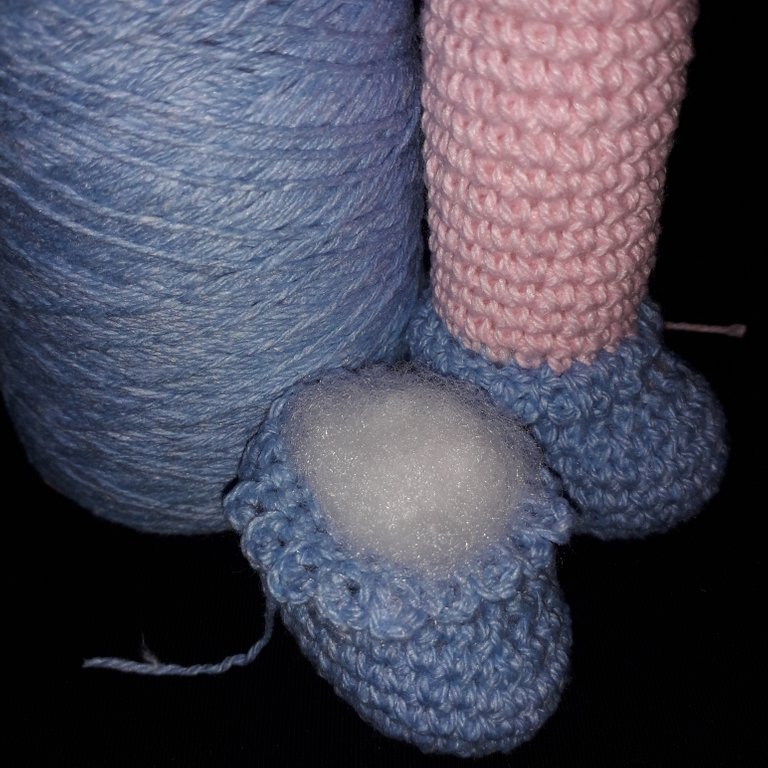
Piernas
11- Cambiamos de color. Tejer en el otro color 1 pb sobre cada pb de la ronda anterior.
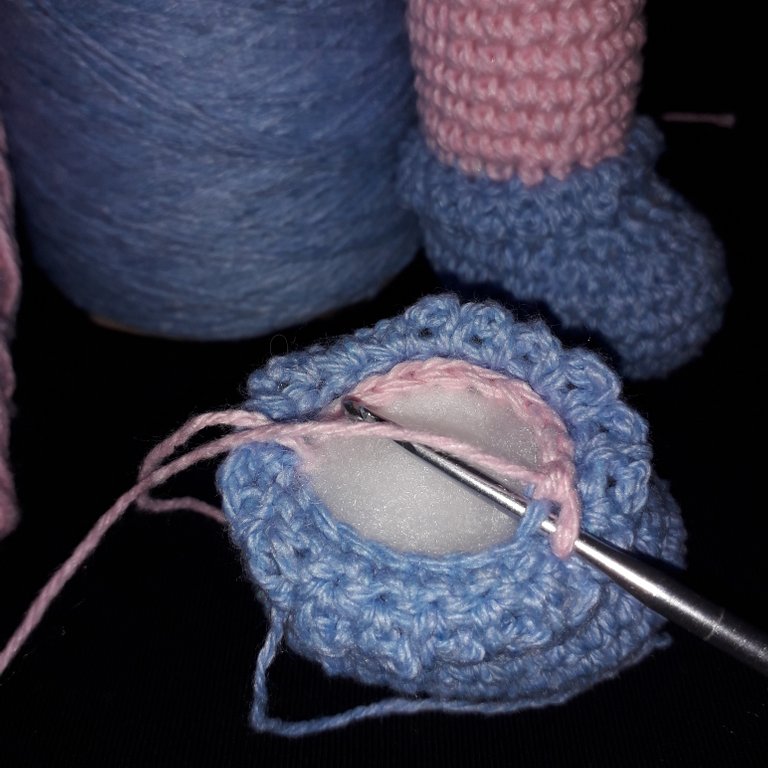
Legs
11- We change the color. Knit in the other color 1 sc over each sc of the previous round.
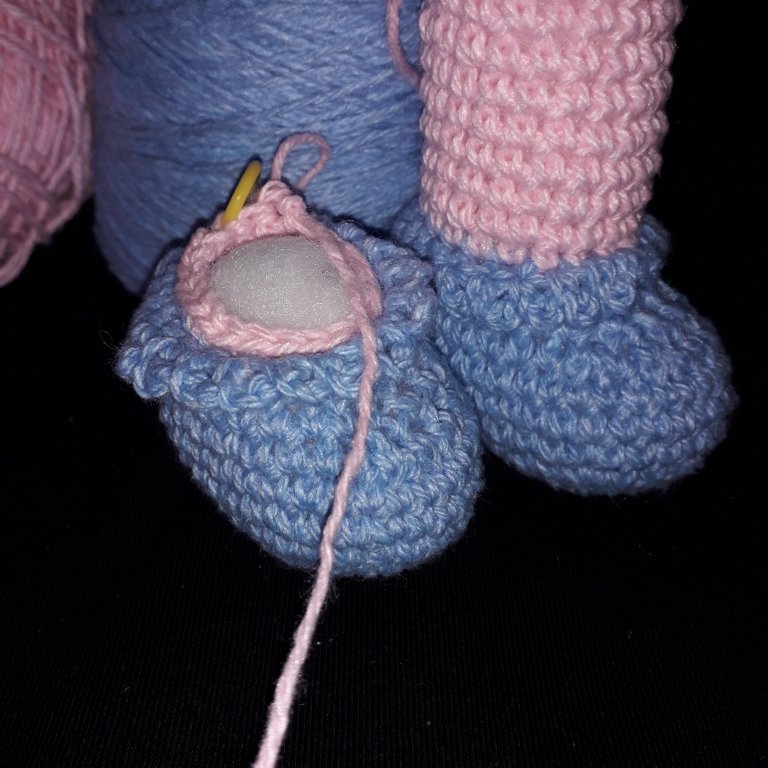
12-45-Tejer 1 pb sobre cada pb de la ronda anterior.
Rellenar con algodón sintético.
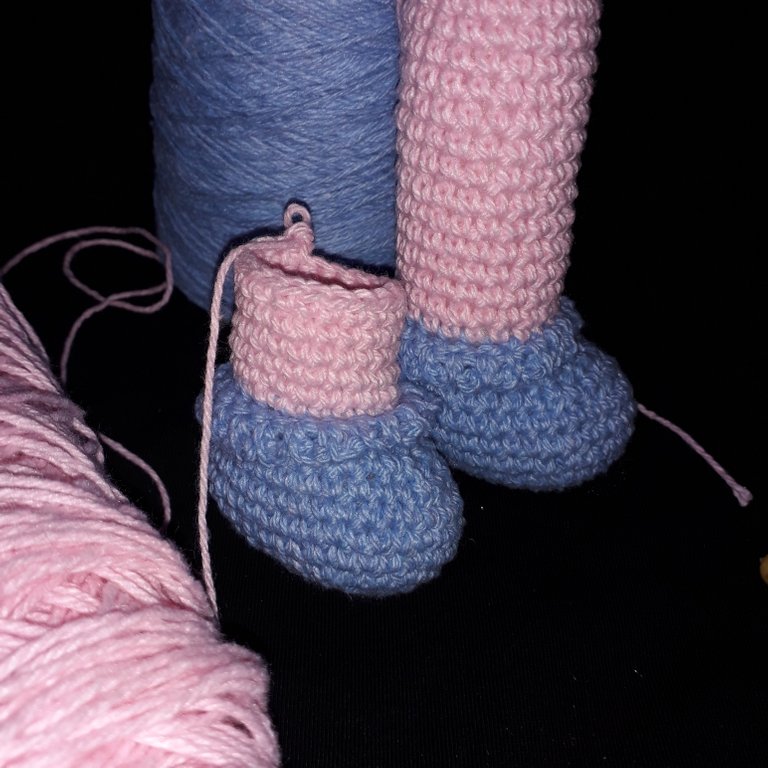
12-45-Weave 1 bp over each bp of the previous round.
Fill with synthetic cotton.
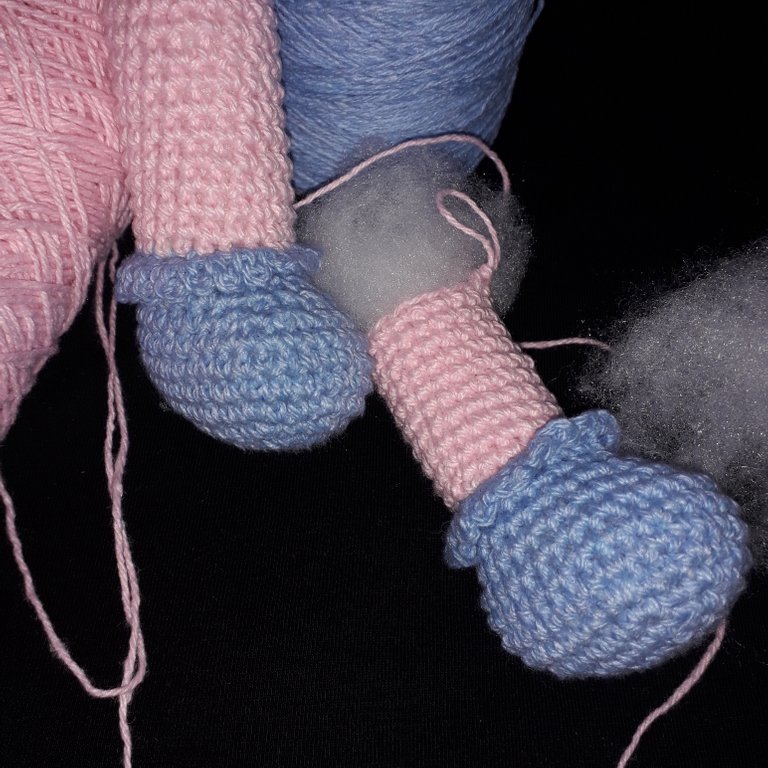
Luego de haber completado la secuencia hemos realizado las medias y piernas para la muñeca. Le estaré compartiendo próximamente el post con los pasos para realizar el cuerpo.
After having completed the sequence we have made the stockings and legs for the wrist. I will be sharing soon the post with the steps to perform the body.
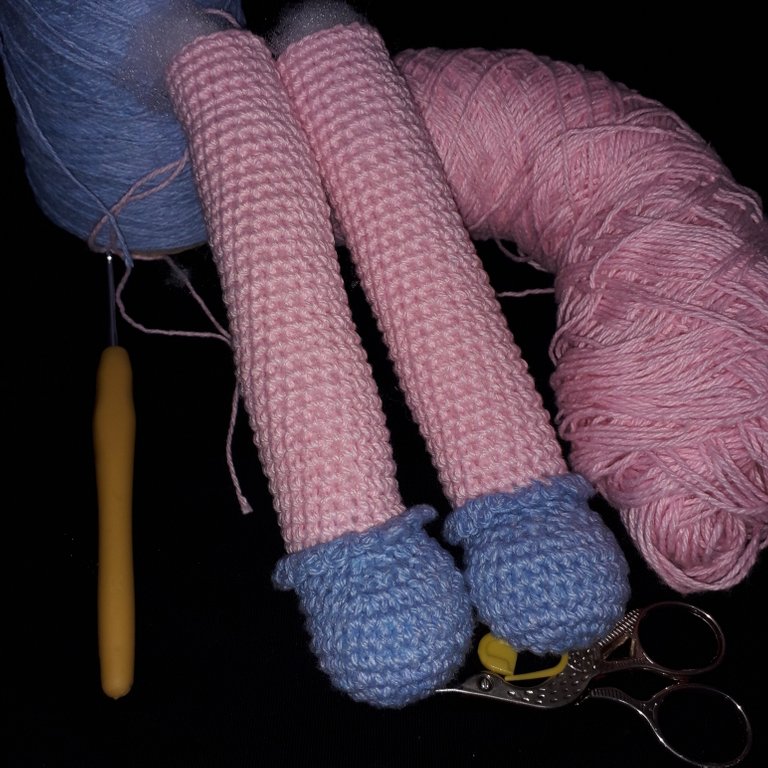
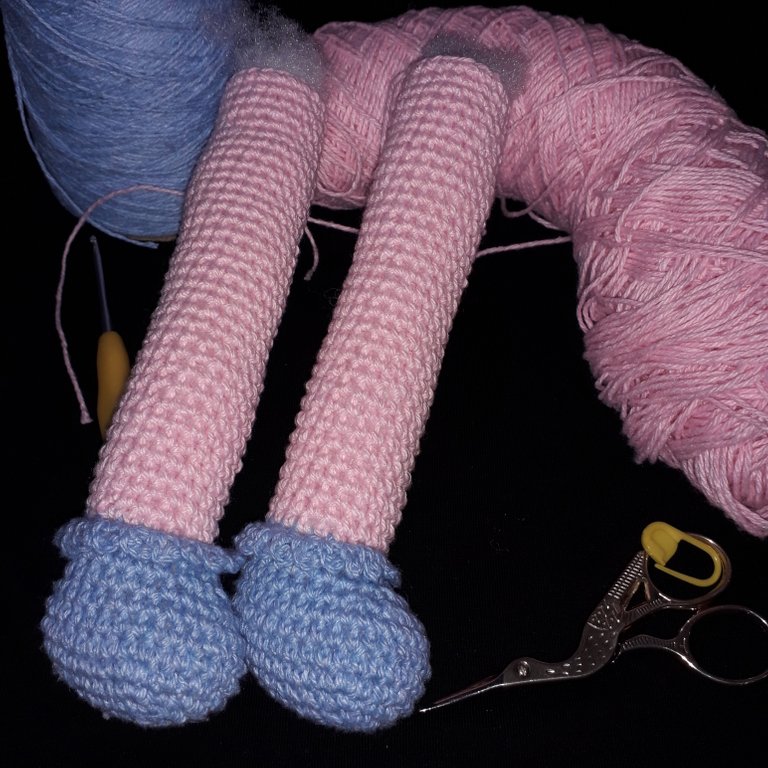
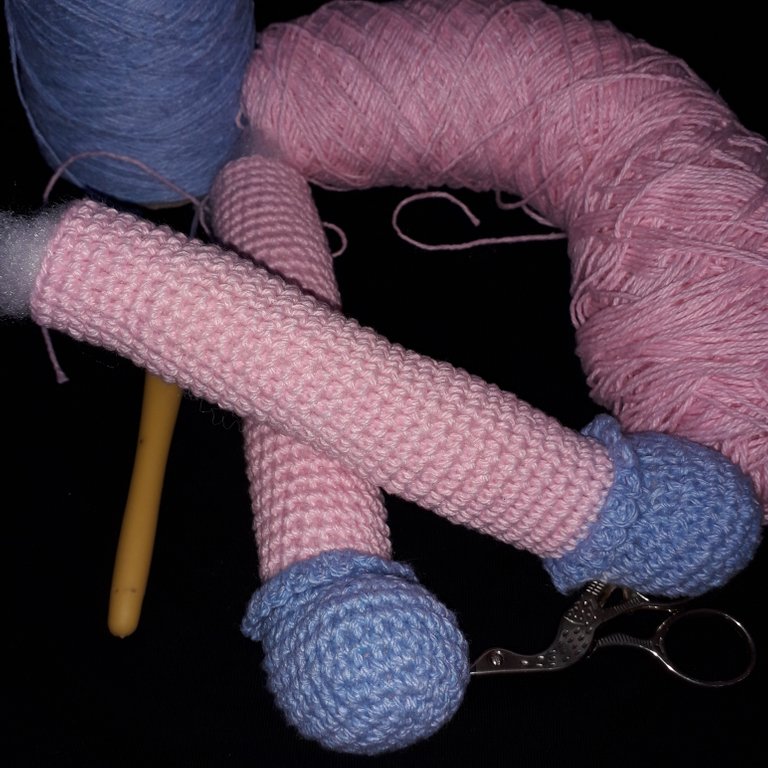
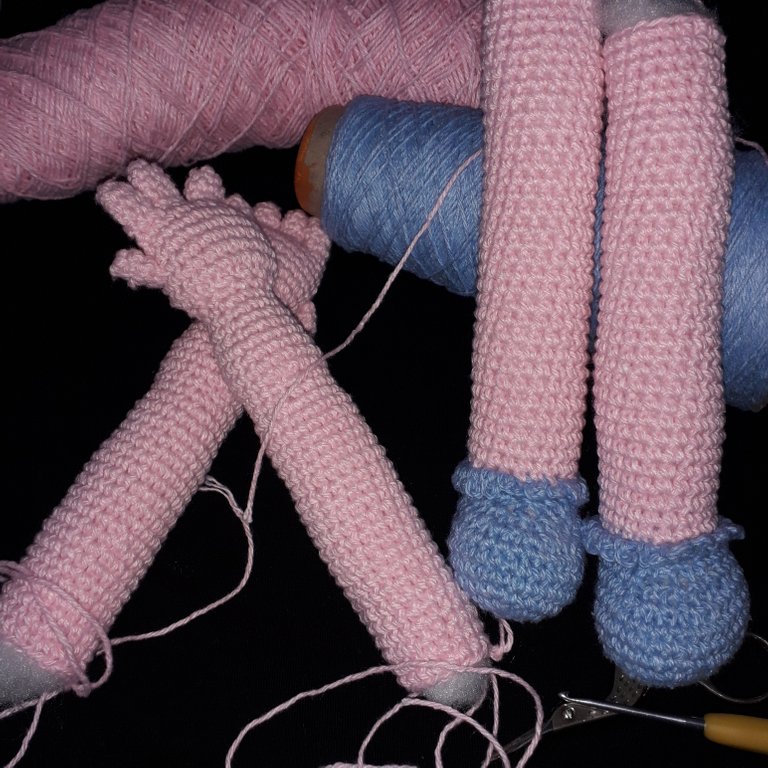
Manos y piernas completadas.
Hands and legs completed.
Gracias por dedicar un espacio de su tiempo para leer la publicación. Si hay alguna pregunta, por favor pregúntame en la sección de comentarios a continuación.
Thank you for taking the time to read this publication. If there are any questions, please ask me in the comments section below.
Texto e imágenes: Por @jicrochet
Text and Images: By @jicrochet
Thanks for the support
I read through the step by step very thoroughly and I feel that I can do this. I have always wanted to crochet the perfect doll for my daughter. Some of my ami end up as epic fails. I'll be awaiting the next parts. 😊
Hello, I'm glad you dare to do it, it's easy to do, I can support you without problems. It's a doll that looks very nice. We keep in touch. Greetings
Great work, you make it look so easy. Anybody cam actually read this post and get on with it, that's how good this is .
🙌🏽
Hi, thanks for commenting, it's really easy when you know the basics of the technique. Greetings.
Thank you for sharing this amazing post on HIVE!
non-profit curation initiative!Your content got selected by our fellow curator @stevenson7 & you just received a little thank you via an upvote from our
You will be featured in one of our recurring curation compilations and on our pinterest boards! Both are aiming to offer you a stage to widen your audience within and outside of the DIY scene of hive.
Join the official DIYHub community on HIVE and show us more of your amazing work and feel free to connect with us and other DIYers via our discord server: https://discord.gg/mY5uCfQ !
If you want to support our goal to motivate other DIY/art/music/homesteading/... creators just delegate to us and earn 100% of your curation rewards!
Stay creative & hive on!
Qué bueno, de a poco esta muñequita ya va teniendo todas sus partes ❤