
Hola, hola apreciada colmena #Needleworkmonday, les saluda como siempre su amiga @kathelopez77, deseandoles un bendecido y exitoso resto del día, lleno de buena salud. Estar cómodos en casa es algo que no se discute, y las pijamas son nuestras prendas más cómodas, pero a veces cuando resivimos visitas, nos toca despojarnos de nuestra comodidad y utilizar ropas un poco más presentables, y ésto me ha sucedido muchas veces, por eso decidí confeccionar una Pijama que me brindara comodidad, pero a la vez fuera un atuendo más presentable y moderno, de allí la idea de hacer ésta Pijama Rib con Ruedo Tipo Lechuga, la tela Rib es una de las favoritas para hacer distintas prendas de vestir en la actualidad y el ruedo lechuga va muy bien con éste tipo de tela. Aquí te muestro.el tutorial de cómo hice ésta Pijama.
Hello, hello dear #Needleworkmonday hive, greetings as always from your friend @kathelopez77, wishing you a blessed and successful rest of the day, full of good health. Being comfortable at home is something that is not discussed, and pajamas are our most comfortable clothes, but sometimes when we receive visitors, we have to get rid of our comfort and use clothes a little more presentable, and this has happened to me many times, so I decided to make a Pajama that would give me comfort, but at the same time it was a more presentable and modern outfit, hence the idea of making this Rib Pajama with Lettuce Roll, the Rib fabric is one of the favorites to make different garments nowadays and the lettuce roll goes very well with this type of fabric. Here is the tutorial on how I made these pajamas.

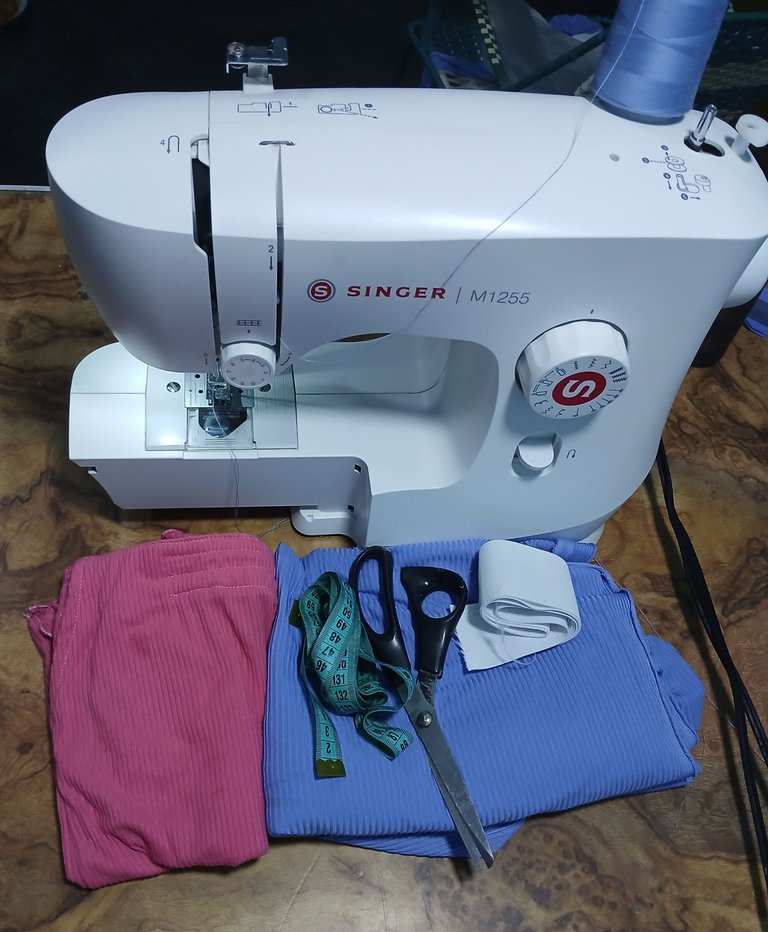
- 1 m de tela Rib azul bebé.
- Short molde.
- Elástico de 6 cm.
- Tijeras.
- acinta métrica.
- Máquina de coser.
- 1 m of baby blue Rib fabric.
- Molded short.
- 6 cm elastic.
- Scissors.
- Measuring tape.
- Sewing machine.

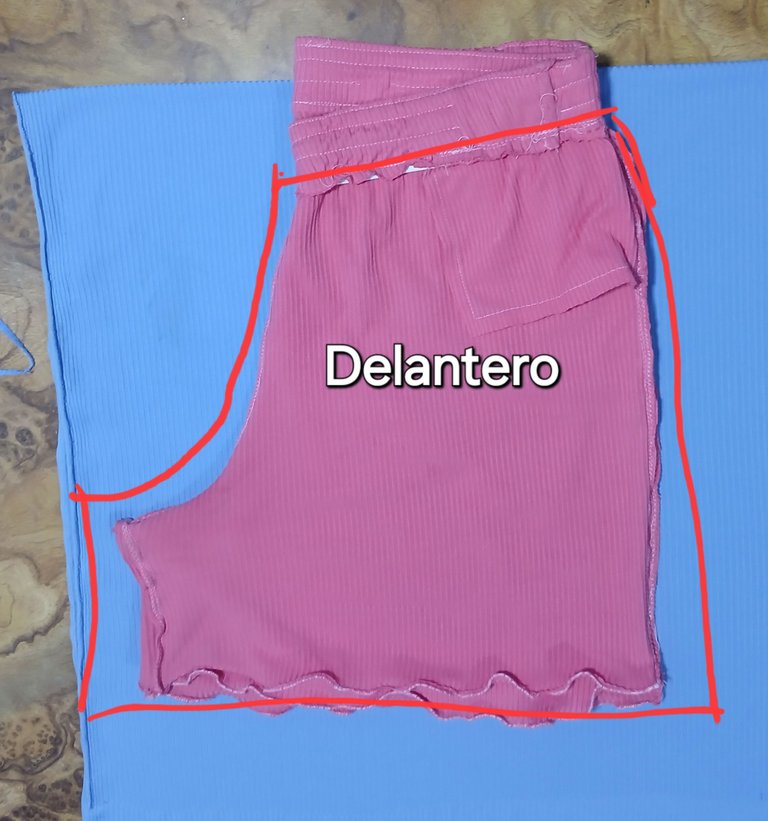
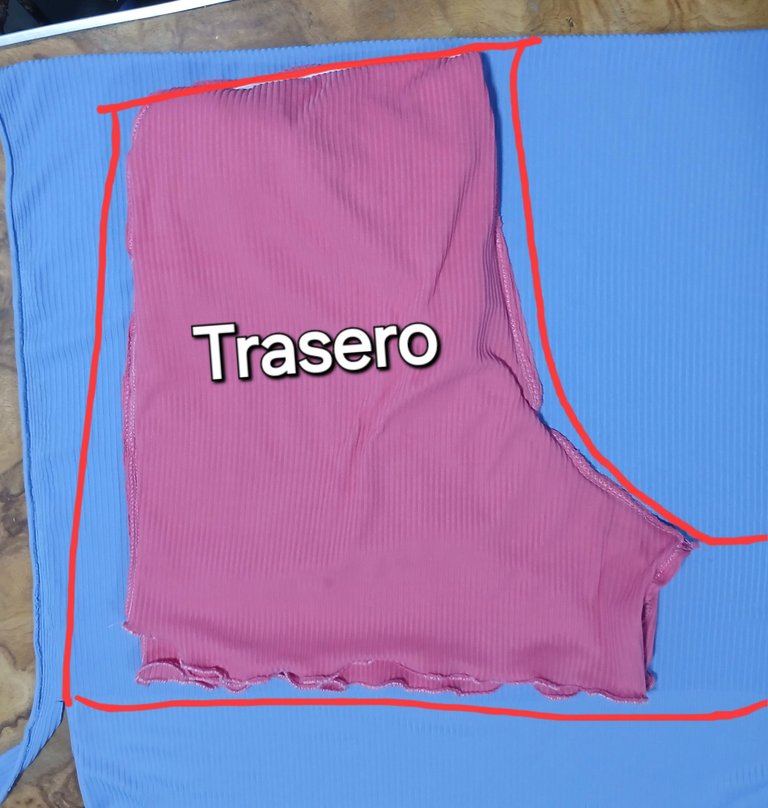
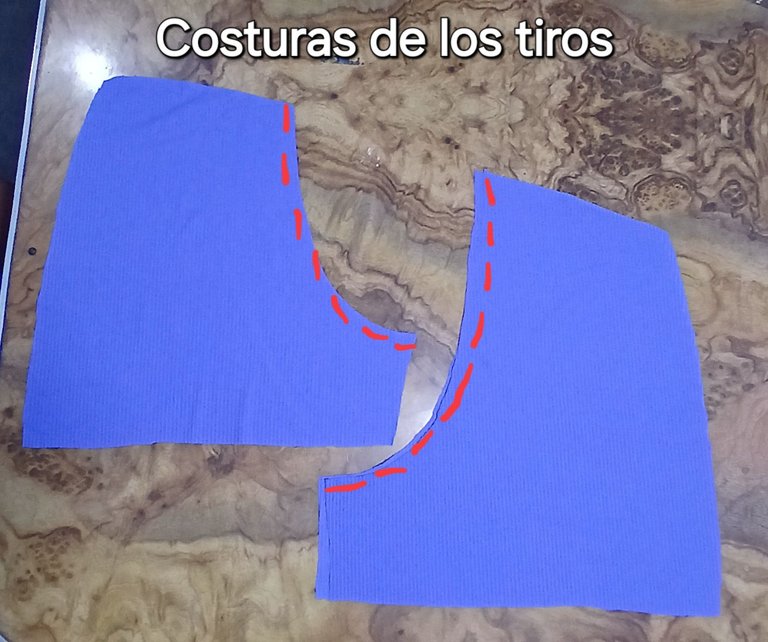
Para hacer las piezas delanteras y traseras del short, utilicé el short molde, lo coloqué sobre la tela doblada en dos y corté agregando 2 cm más a la parte del ruedo para que éste quede acampanado abajo.
To make the front and back pieces of the shorts, I used the molded shorts, placed them on the fabric folded in two and cut by adding 2 cm more to the hem so that they would be flared at the bottom.
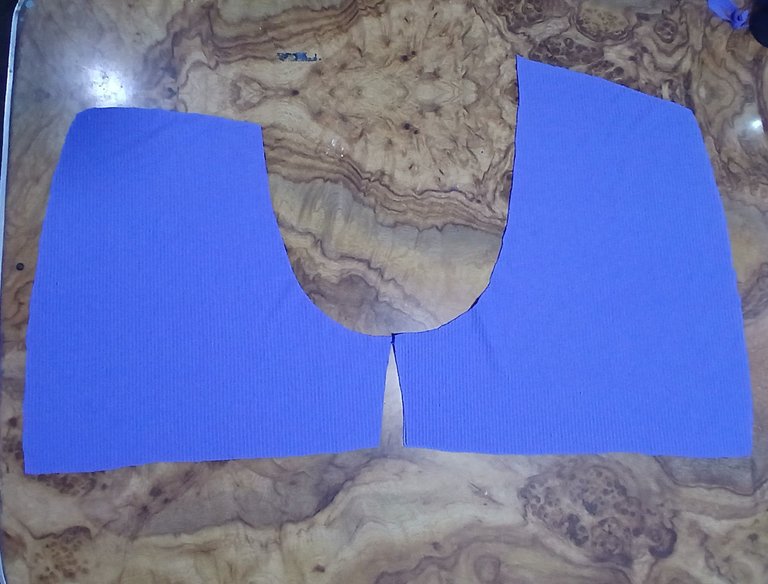
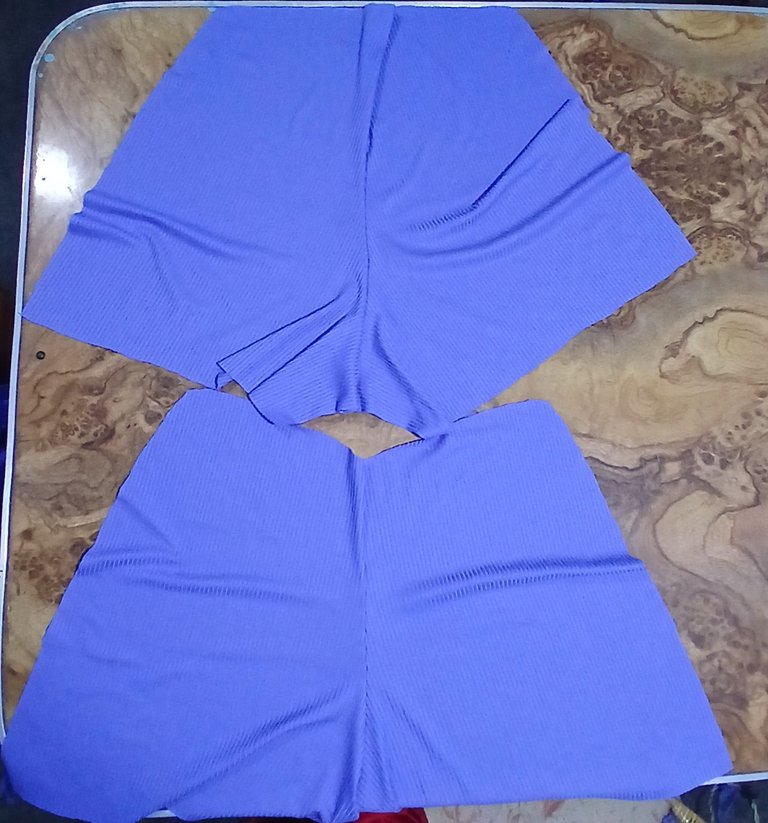
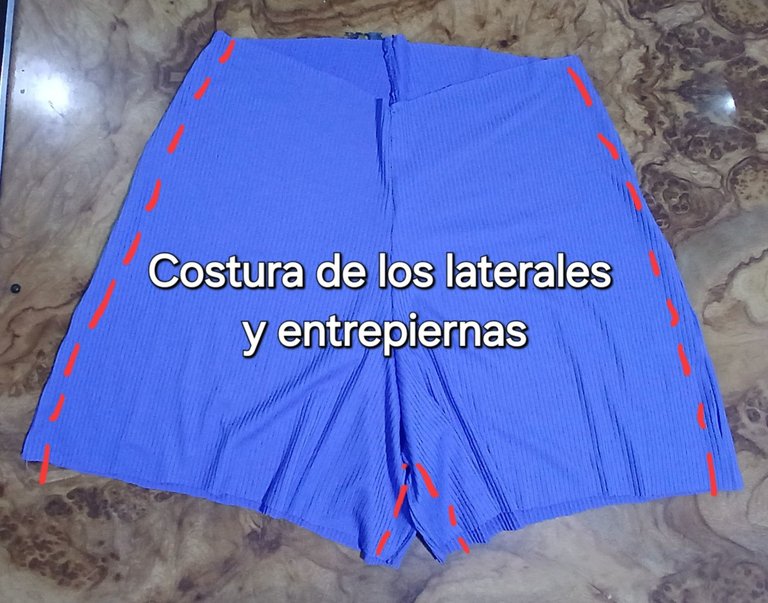
Después cosí los tiros delanteros y los traseros, coloqué ambas piezas una encima de la otra y pasé costuras por la entrepiernas y los laterales.
Then I sewed the front and back straps, placed both pieces on top of each other and sewed the crotch and side seams.
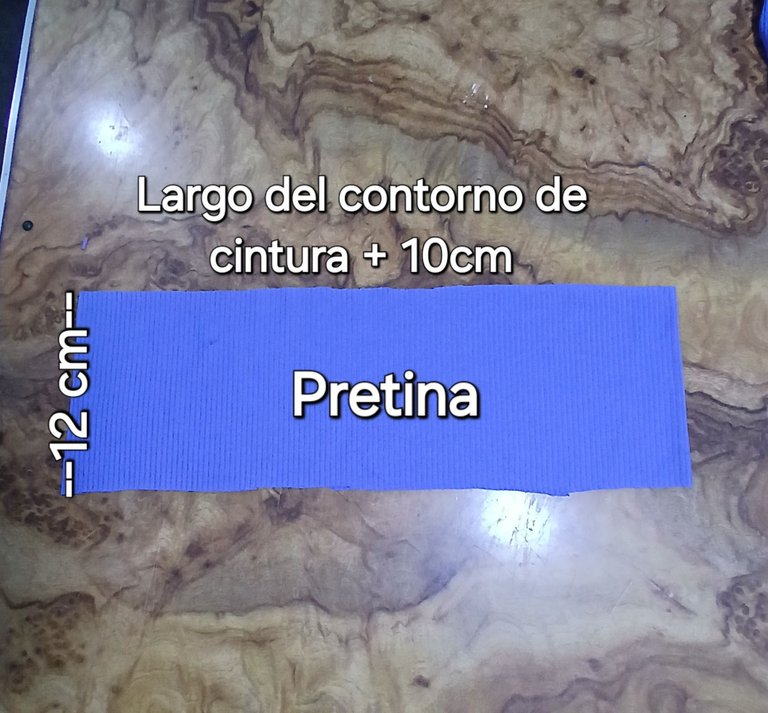
Para la pretina, corté una tira de 12 cm de alto y del largo del contorno de de cintura del short más 10cm. La cosí por sus extremos y luego la abrase con un elástico qué le da media vuelta a la tira.
For the waistband, I cut a strip 12 cm high and the length of the waist circumference of the shorts plus 10 cm. I sewed it by its ends and then fastened it with an elastic that gives half a turn to the strip.
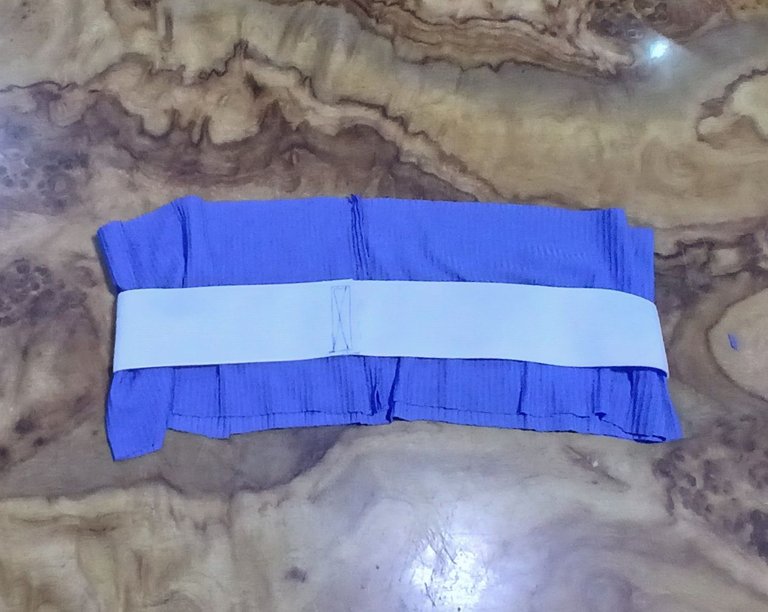
Doblé la pretina, pase costura en las orillas inferiores para cerrar y luego pasé unas costuras encima de la pretina para darle un mejor acabado.
I folded the waistband, stitched the bottom edges to close and then stitched a few seams on top of the waistband to give it a better finish.

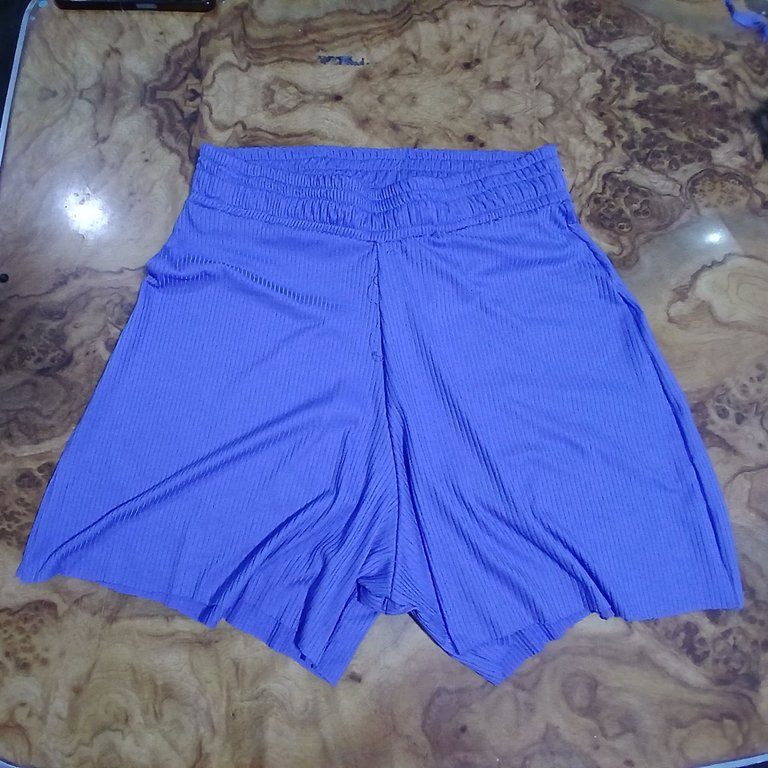
Para terminar con la confección del short, cosí la pretina por todo el contoeste de cintura de este.
To finish with the making of the shorts, I sewed the waistband all around the waistband.
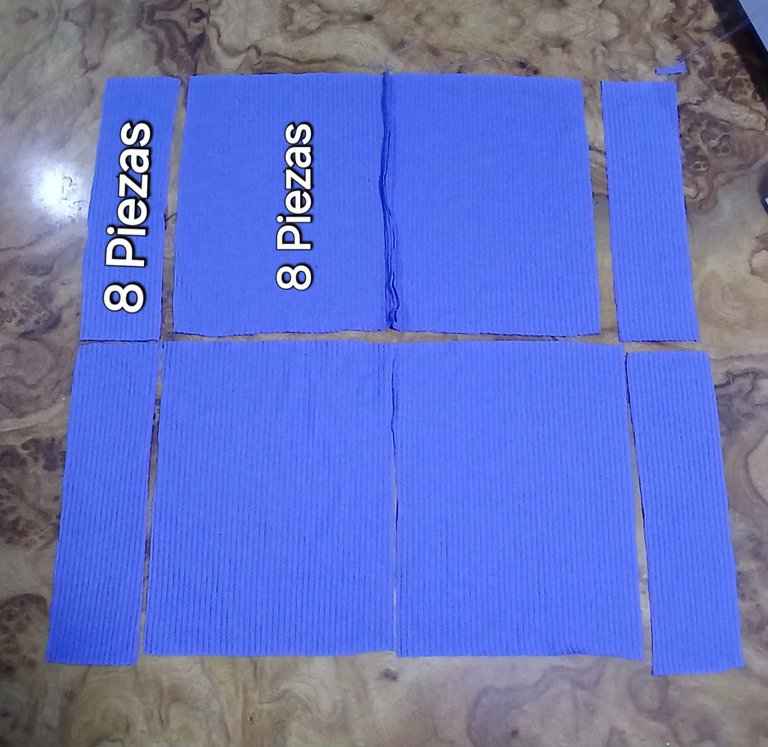
Para hacer la camisa, corte 8 cuadrados de 19 cm², más 8 rectángulos de 19 cm de alto por 8cm de ancho.
To make the shirt, cut 8 squares of 19 cm², plus 8 rectangles of 19 cm high by 8 cm wide.
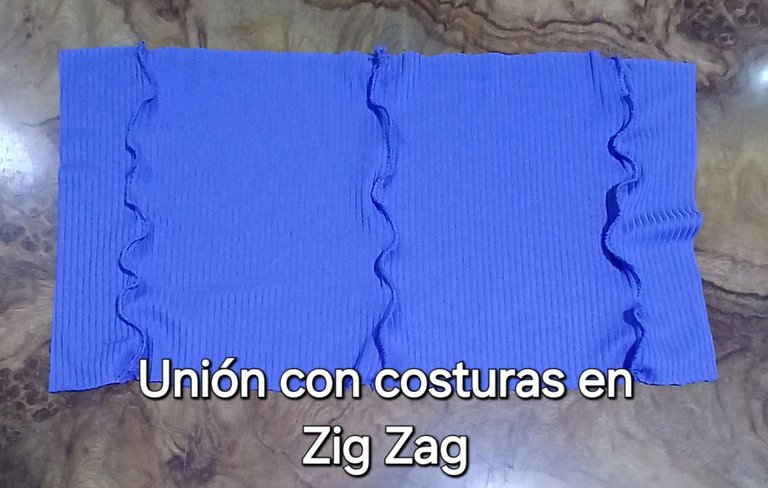
Uní con costuras dos cuadrados y al lado de cada cuadrado, uní un rectángulo,las costuras las hice con zig zag fruncido. Esto mismo hice con dos cuadrados y dos rectángulos más, para luego unirlos y crear una sola pieza.
I joined two squares with seams and next to each square, I joined a rectangle, the seams were made with a gathered zig zag. I did the same with two more squares and two more rectangles, and then joined them together to create a single piece.
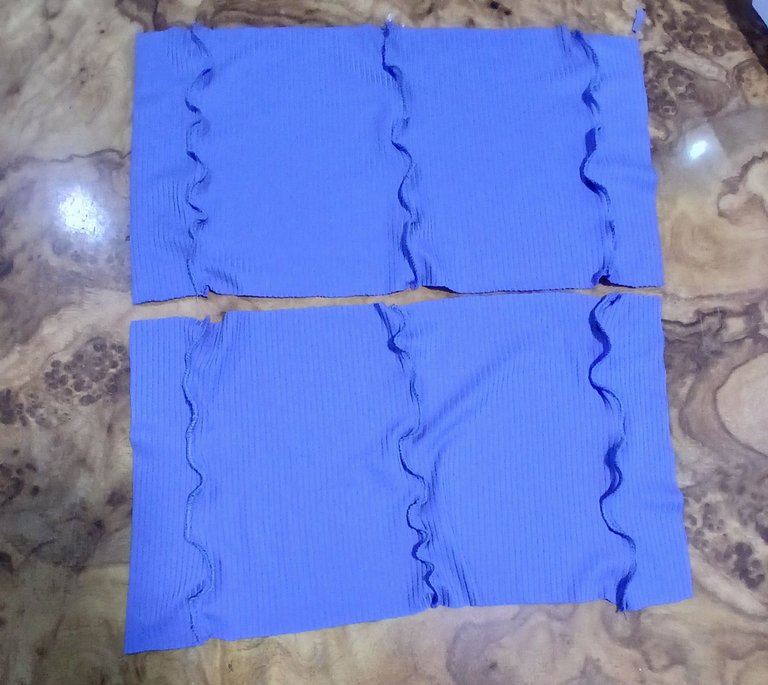
Repetí el mismo proceso anterior con el resto de cuadrados y rectángulos, para obtener dos piezas iguales.
I repeated the same process with the rest of the squares and rectangles to obtain two equal pieces.

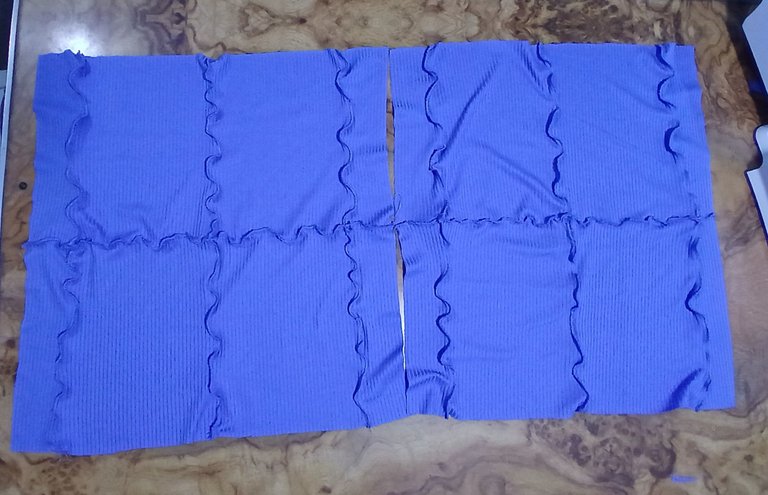
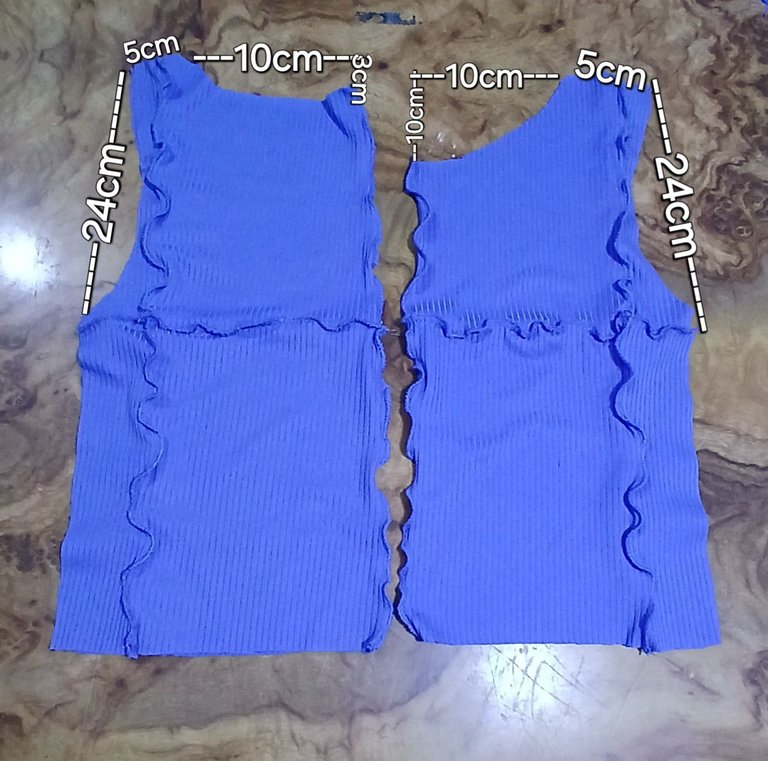
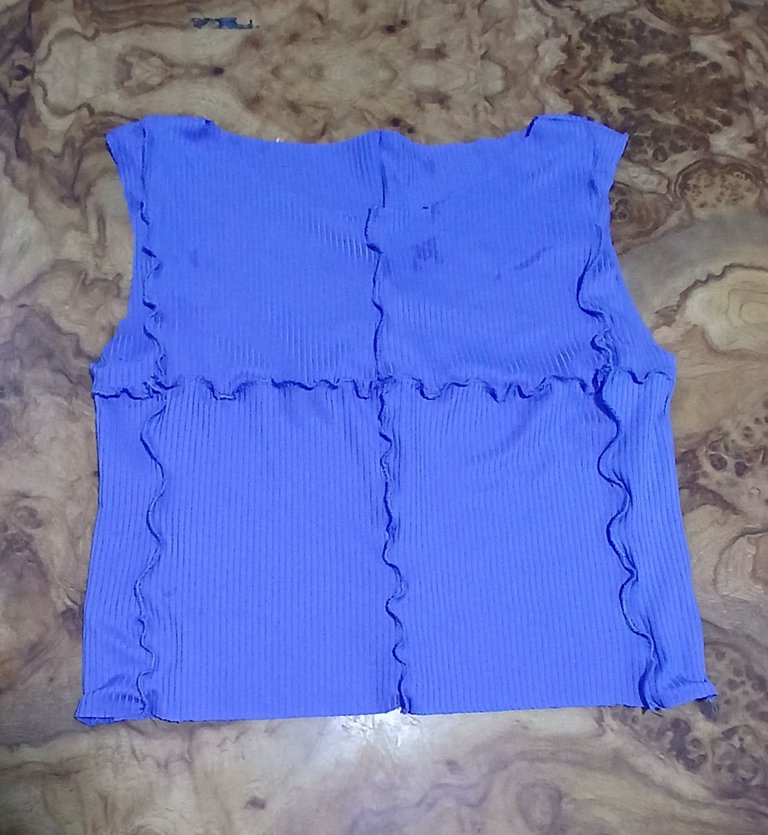
Una vez que tuve lista las dos piezas, corté, procedí a realizar la forma de la camisa sin Mangas.
Once I had the two pieces ready, I cut, proceeded to make the shape of the sleeveless shirt.
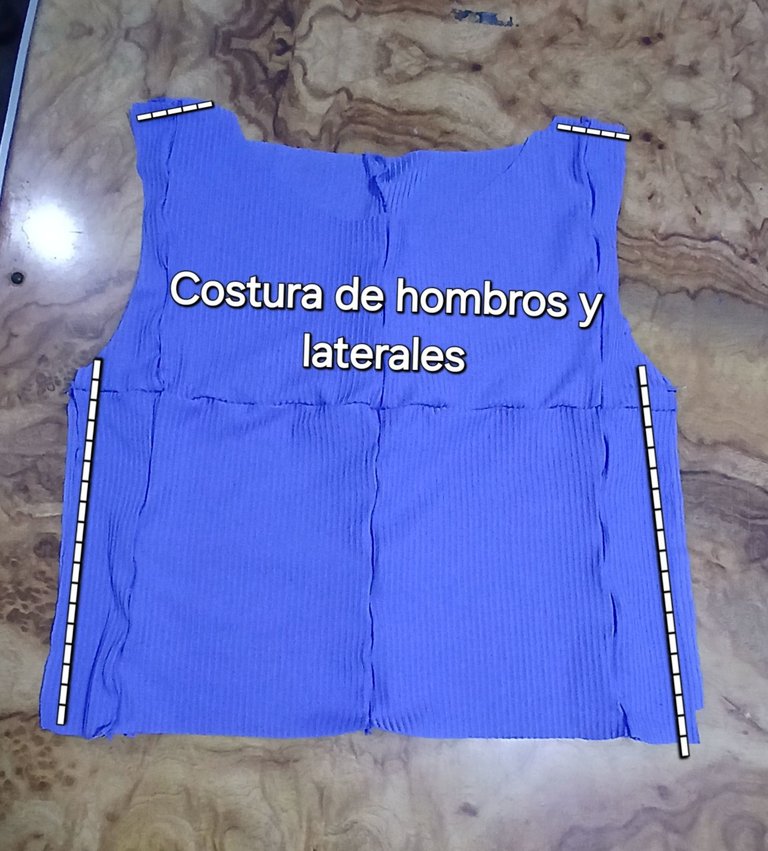
Luego coloqué ambas piezas, una encima de la otra con sus derechos enfrentados y pasé costura por los hombros y los laterales para unirlas.
Then I placed both pieces, one on top of the other with their right sides facing each other and sewed the shoulders and sides to join them together.
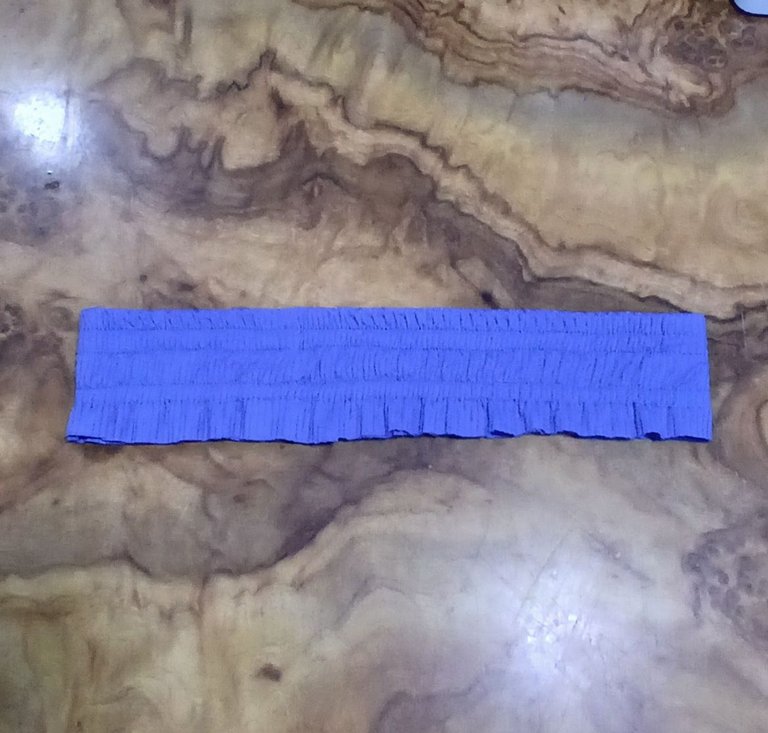
Finalmente le hice ruedo lechuga por el contorno de cuello, el recorrido de la sisa y el contorno de cintura.
Finally, I made a lettuce roll around the neckline, the armhole and the waistline.


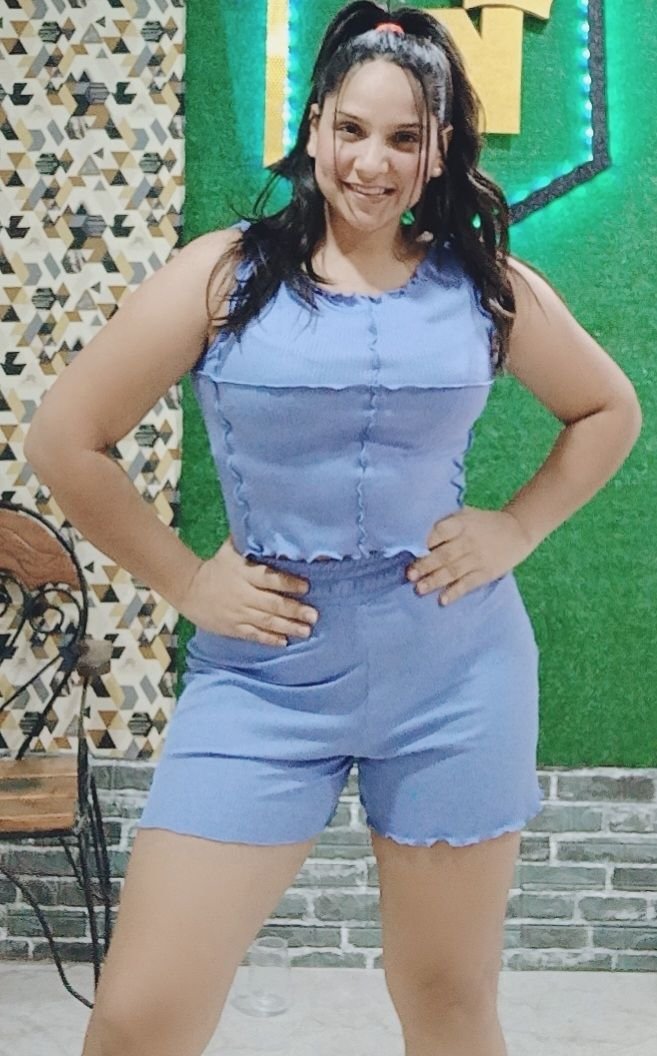

De esta manera podemos realizar diferentes pijamas, tan lindas como ésta, en distintos colores y combinaciones. Espero les haya gustado el resultado y el tutorial sea de mucha utilidad. Muchas bendiciones apreciados 🙏🏻 💗.
This way we can make different pajamas, as cute as this one, in different colors and combinations. I hope you liked the result and the tutorial will be very useful. Many blessings dear 🙏🏻 💗.
Que linda te queda la pijama, con ese tipo de ruedos es muy particular 😊
Gracias querida @irenenavarroart por tu agradable comentario... Saludos amiga 👋🤗
Muy hermoso este pijama, yo lo usaría para andar por la calle jajajajaj. Me encanta ese tipo de costura, se ve buenísimo. ¡Saludos ❤️!
De hecho lo uso también para salir a la calle amiga jajaja, gracias por comentar, me alegra mucho saber que te ha gustado. Bendiciones 🙏🏻 🙂