


Hello my dear readers, I hope you had or are having a great day. As they say, what's promised is what's due, so here I have the second part of the Pomni Cosplay tutorial, for those who didn't see the first part, here I leave link, so you can see how I transform a chemise, in this beautiful costume.
In the previous post, I explained how I made the top and the shorts. I still had to make the hat and the gloves and this is where I explain the step by step.
STEP BY STEP:
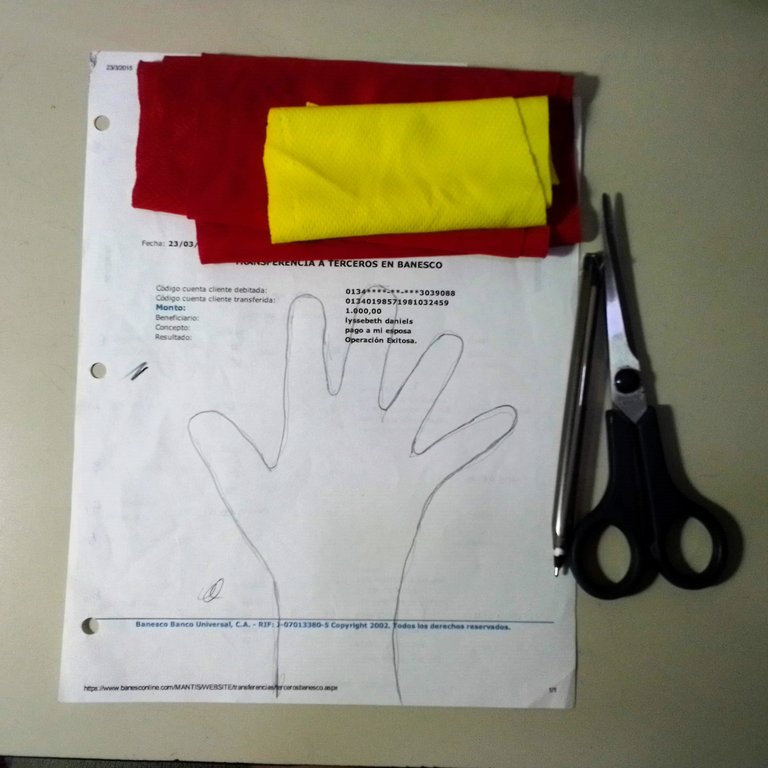
On a recycled sheet of paper, I marked the whole edge of my daughter's hand, so I could make a pattern for the gloves.
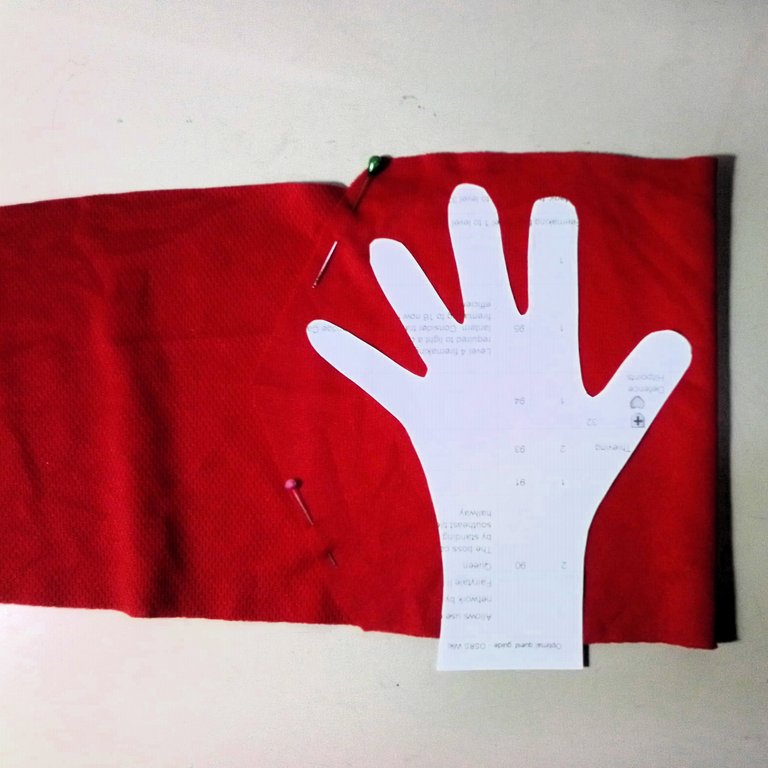
I cut it out and on the red fabric, pinned it with the pins and marked it on the fabric.
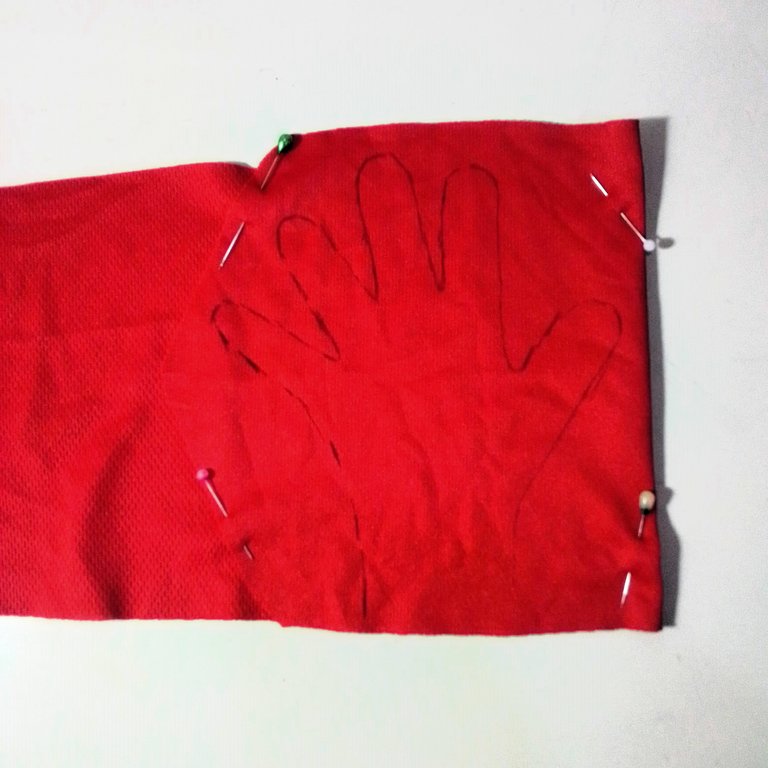
I place the double fabric and without cutting, I proceed to sew, all along the marked edge of the hand. After sewing, I cut off half a cm of the edge, and then I make some picks all around.
The peaks are so that, when I turn it over, it won't be all wrinkled, and it will fit better in the curves.
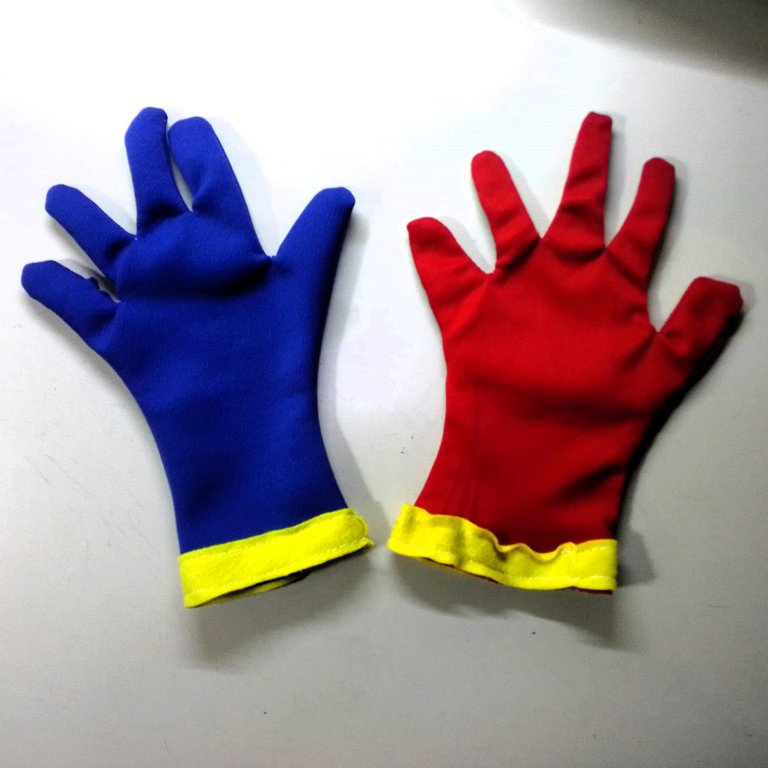
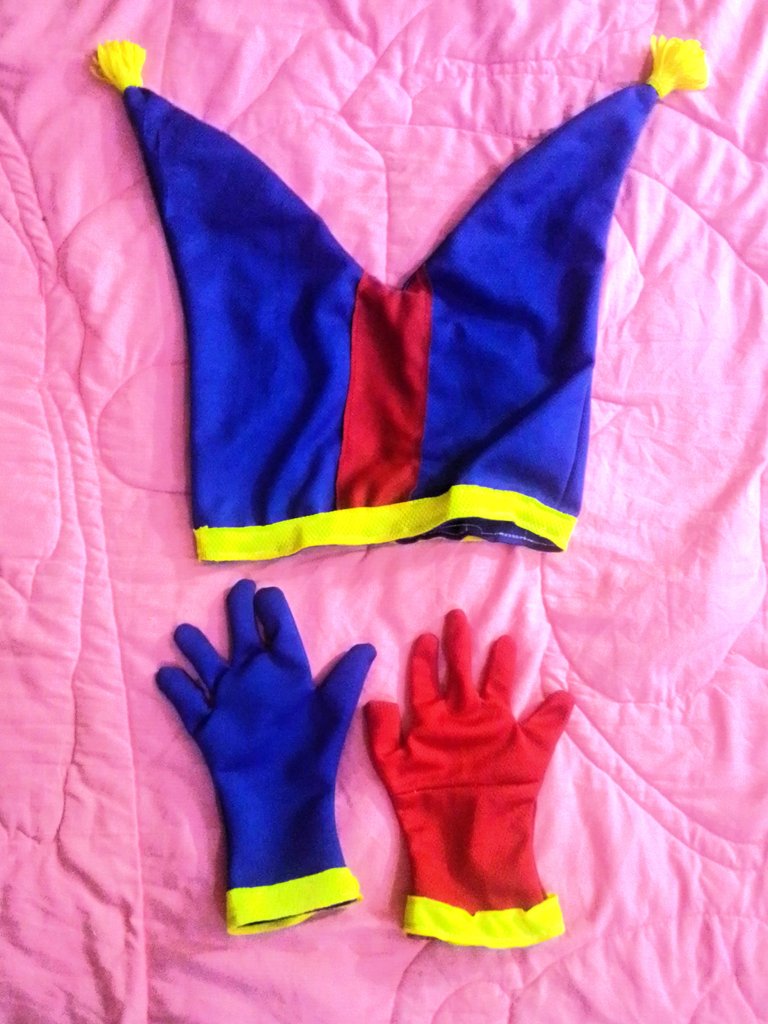
Then I just put the border on the wrists, with the yellow fabric, and the gloves are ready. They are that quick and easy to make.
I did the same procedure with the blue fabric, so that I had a glove of each colour.
I don't really know if this is the right way to make gloves, but for me, it was easy to do it this way.
Although in the picture they look wrinkled and bulging, when it comes to putting them on, as the fabric is flexible, they fit very well.
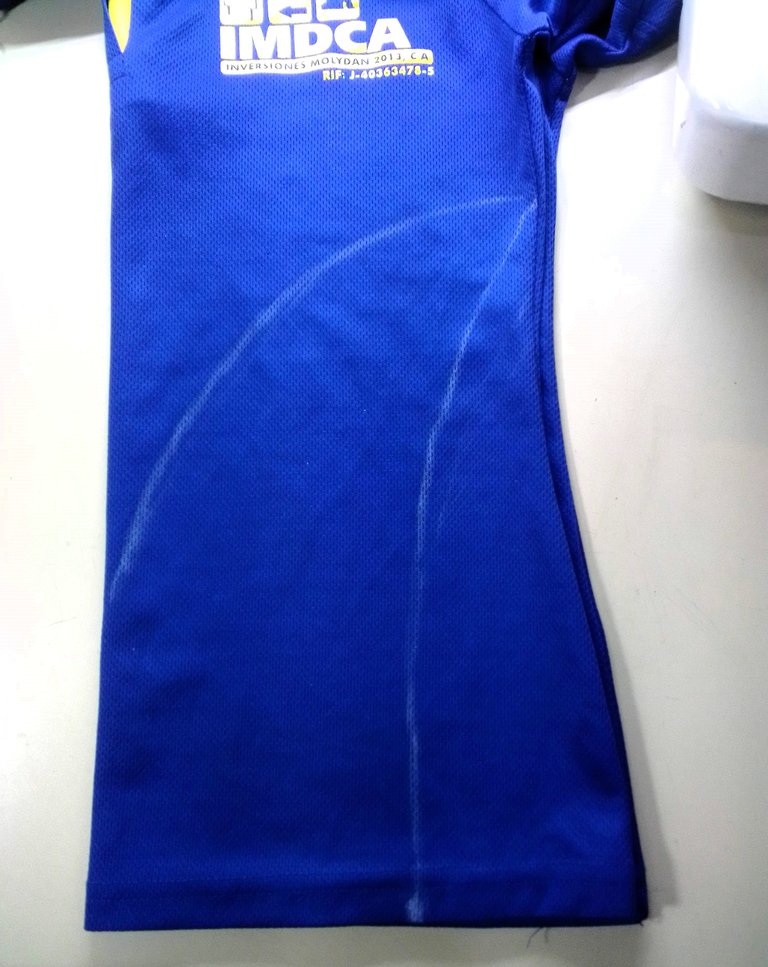
In the previous post, I told you that I didn't have enough fabric to do this job, so I used the chemise from a uniform of a company I used to work for.
As they always give me two chemises, I still had those two chemises in perfect condition. And I wanted to make the blue cap with the red stripes and this shirt would be the ideal one.

I will tell you a little bit about the setbacks that usually happen when you have to do something, especially if you do it in a hurry. I started to make this outfit one afternoon and my daughter needed it for the next day at noon (typical Venezuelan, leaving everything to the last minute). Well, at night the power went out, and I had barely finished the top and the shorts. So I had to make the hats and gloves the next morning, that night I was going to look on the internet to find out how to make the hat, because according to how I saw it, it was complicated to make.
I didn't have a chance to see how they did it, and the ones I looked for needed a lot of fabric, which I didn't count on. And when I finally managed to get one that I saw, it was so easy, (and as it usually happens, when you are watching something on one of the social networks, suddenly the news is updated, and you lose what you were watching) something like that happened to me and no matter how hard I looked for it again, I couldn't find it.
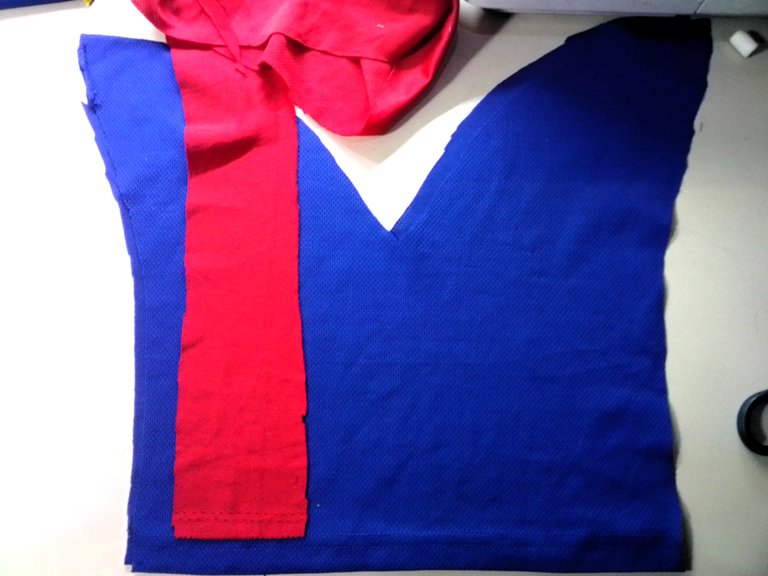
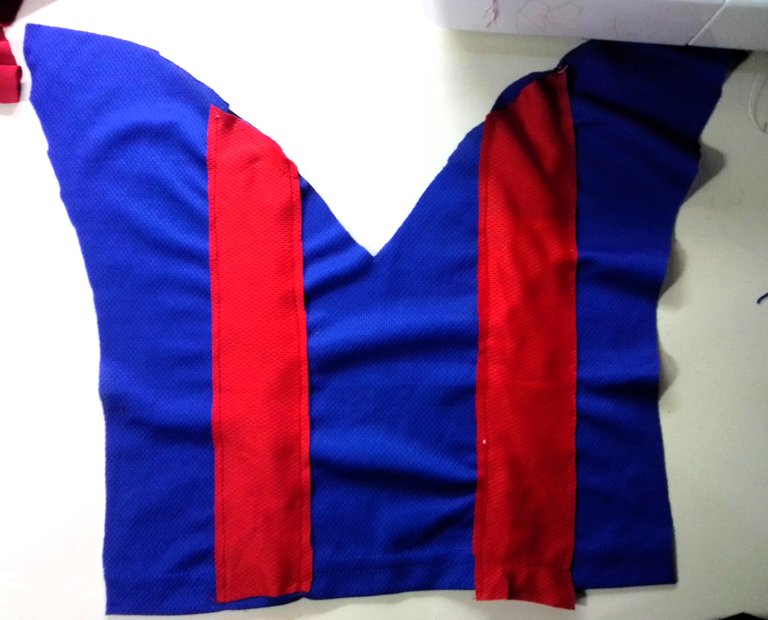
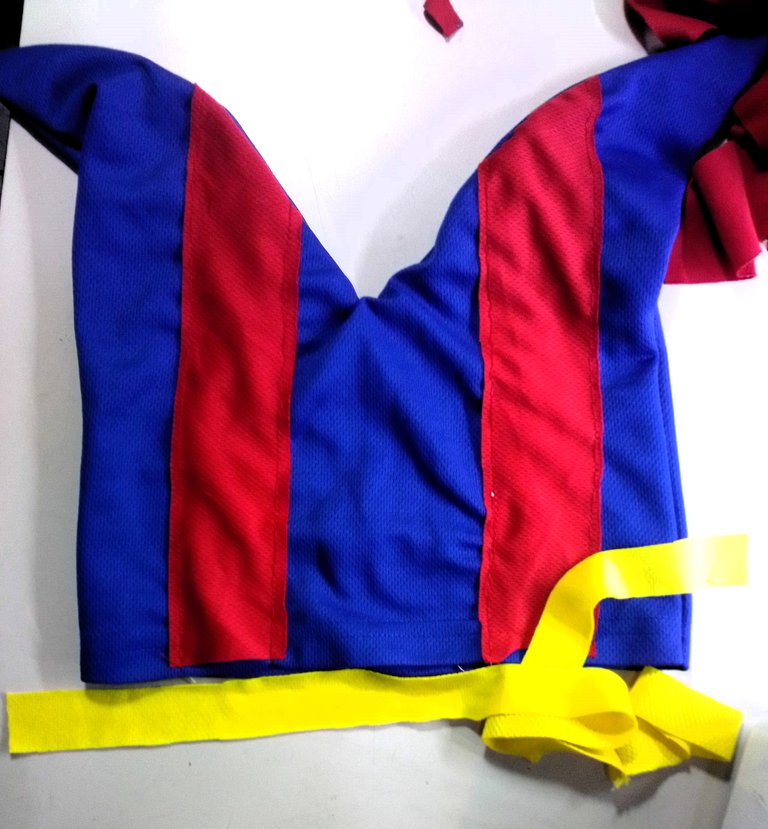
I had to keep the image in my head and see how it came out. So I folded the chemise in half, took the outline of my daughter's head with a tape measure and marked half of it on the shirt. Then I marked out a sort of elongated beak, as shown in the picture, and cut it out.
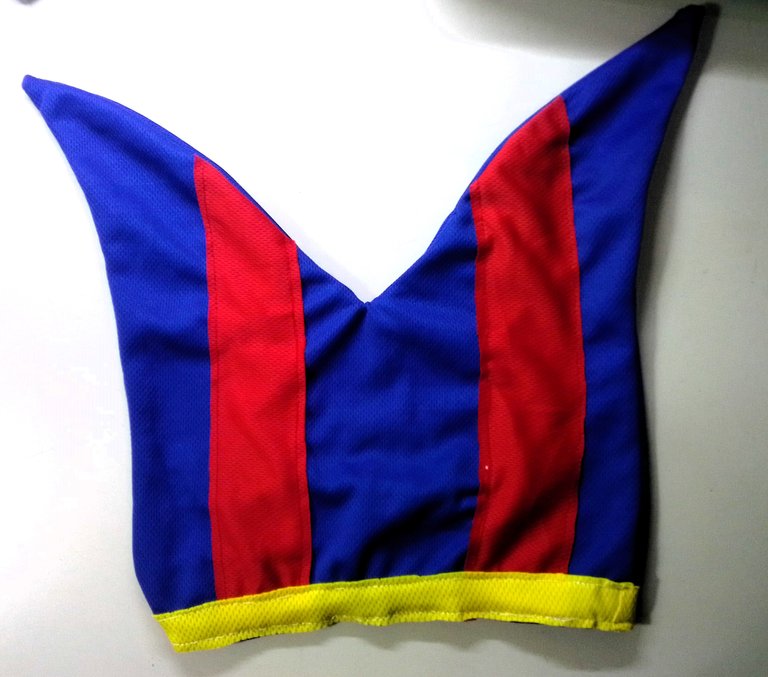
I sewed two red stripes on the sides of the hat, and then sewed all around, leaving a seam allowance. And finally I sewed a yellow strip around the edge.
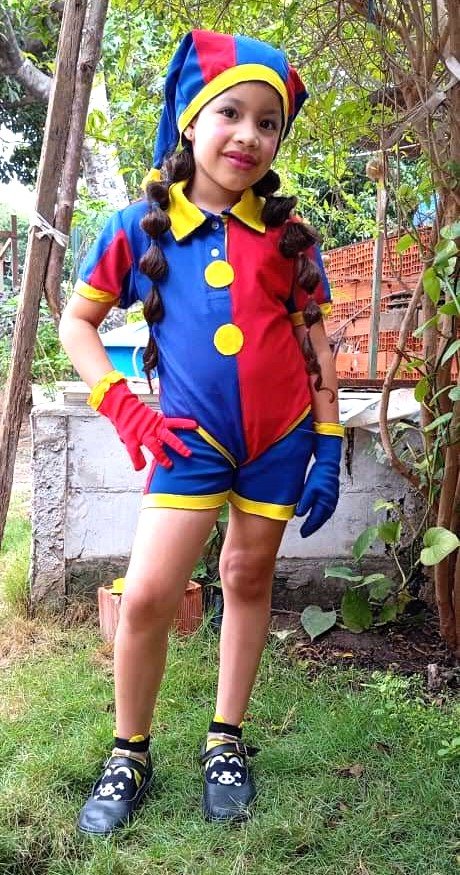
And that's how the hat is ready. Although it looks like it wouldn't look good, with its fall, you can see that it's not like that, it looks great as you can see it on my daughter.
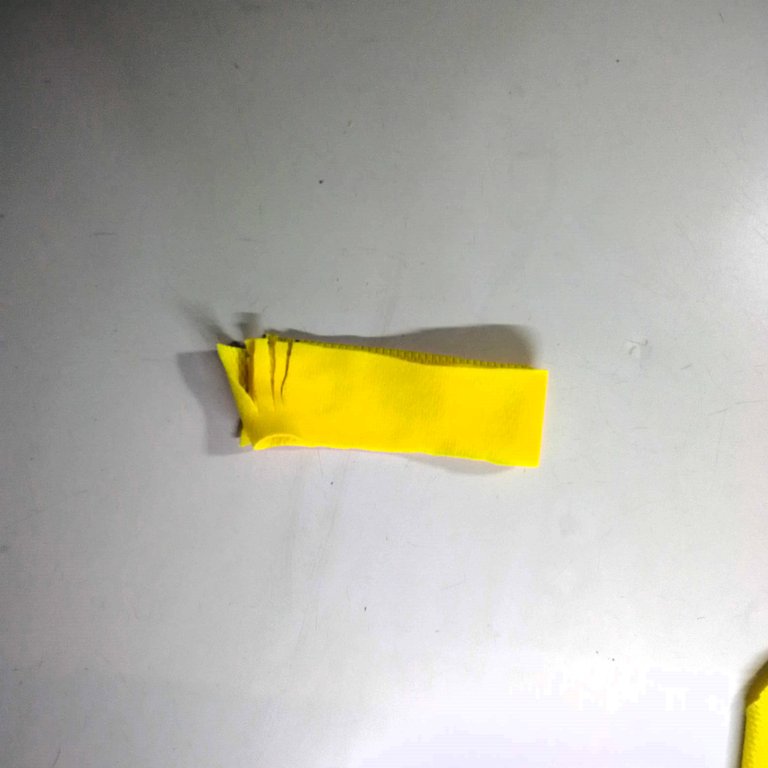
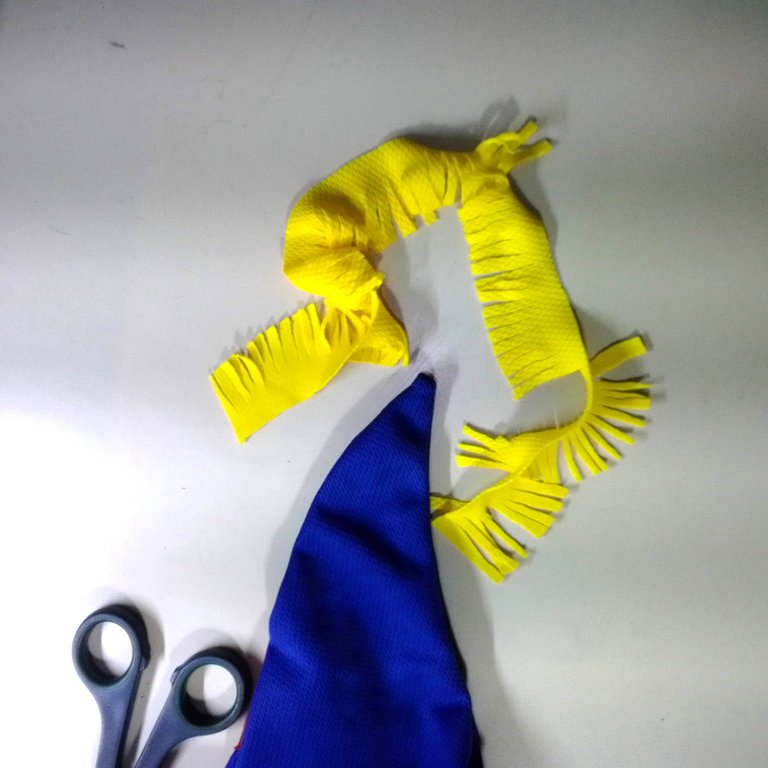
With a long yellow strip, fold it several times, and then make cuts in it, as you can see in the picture. This is to make the pompoms that go on the ends of the hat. I rolled them up at the end and glued them with silicone.
And now I have the gloves and hat ready. After all the complications I thought it would be complicated, it turned out to be quite easy.
By the way, I don't have a sewing machine and I was ready to sew it by hand, but to my good fortune, my sister, who does have a sewing machine, wasn't going to use it that day because she had to do some handicrafts for her daughter and she was able to lend it to me and it was a great help. It's all a question of wanting to do what you want to do and here is my project done. The whole outfit even had red and blue shoes, but due to time constraints, I didn't have enough time to do it, but it doesn't take away from the beauty of the whole outfit.
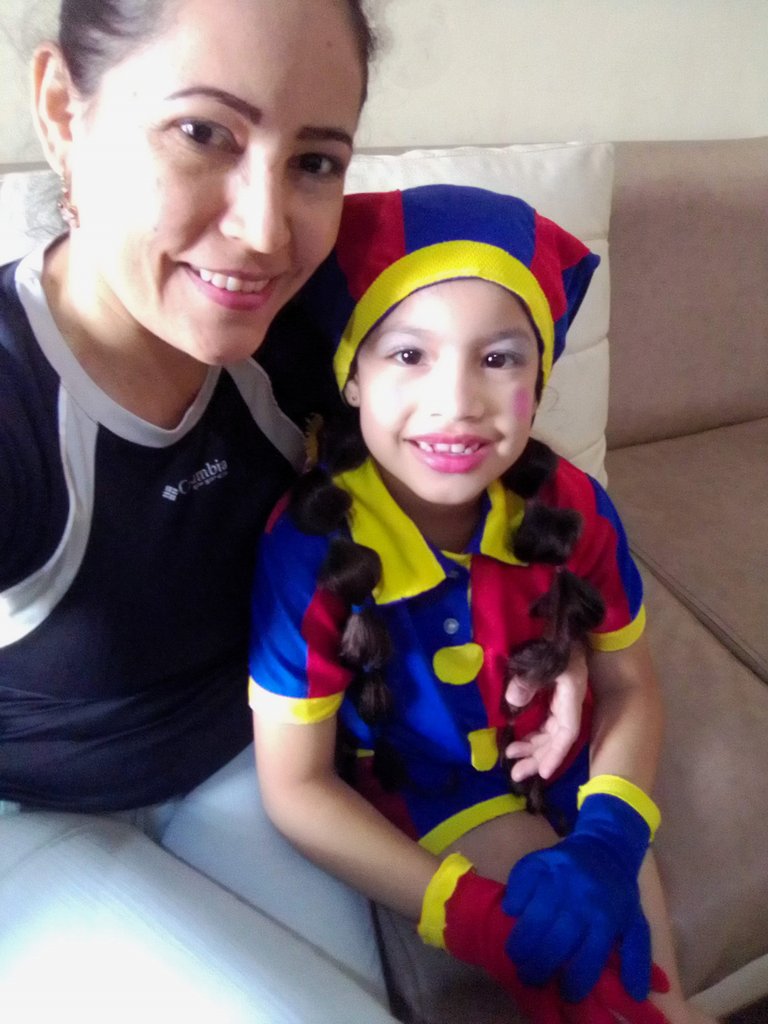
The most important thing of all is that I managed to make my daughter's costume in record time and she was thrilled. And I was very excited about what I was able to achieve.
I hope you liked this tutorial that I gladly prepared for you. I say goodbye as always, but not before thanking you for taking some of your valuable time to visit my blog and support me. And as the saying goes: "Do good, without looking at whom".
Content of the original creation:
❤️ All photos are mine, taken and edited with my Alcatel phone.
💛 The cover image, was made with the Canva app and edited by me.
💜 The divider images were taken from glitter-graphics.com.
💚 The English translation was done with the help of bing.com/translator.
🧡 The letters indicating the languages were taken from fontmeme.com.

Hola mis queridos lectores, espero que hayan tenido o tengan un excelente día. Como dicen por allí, lo prometido es deuda, pues aquí les tengo la segunda parte del tutorial de Cosplay de Pomni, para aquellos que no vieron la primera parte, aquí les dejo enlace, para que vean como transforme un chemise, en este hermoso traje.
En la publicación anterior, les expliqué como realice la parte de arriba y el short. Me falto hacer el gorro y los guantes y es aquí donde les explico el paso a paso.
PASO A PASO:
En una hoja de papel reciclada, marque todo el borde de la mano de mi hija, para así sacar un patrón para los guantes.
Lo recorté y en la tela roja, lo fijo con los alfileres y lo marco en la tela.
Coloque la tela doble y sin cortar, procedo a coser, por todo lo marcado del borde de la mano. Después de coser, recorto dejando medio centímetro de borde, para luego hacer unos piquetes por todo el alrededor.
Los piquetes son para que, a la hora de darle la vuelta, no quede todo arrugado y pueda quedar mejor en las curvas.
Luego solo le coloque el borde en las muñecas, con la tela amarilla y ya, están listos los guantes. Así de rápido y sencillos son de hacer.
Realice el mismo procedimiento con la tela azul, para así tener un guante de cada color.
Realmente no sé si esta es la manera correcta de hacer unos guantes, pero para mí, se me hizo fácil hacerlo de este modo.
Aunque en la imagen se ven como arrugados y abombados, a la hora de colocárselo, como la tela es flexible, les quedaron muy bien.
En el post anterior, les comento que no tenía tela suficiente para hacer este trabajo, por eso utilice la chemise, de un uniforme de una empresa en la que trabaje.
Como suelen dar siempre dos chemise, pues aún conservaba en perfecto estado esas dos chemise. Y quería hacer el gorro azul con las franjas en rojos y esta camisa sería la ideal.
Comentándoles un poco del contratiempo que suelen ocurrir a la hora de uno hacer algo, sobre todo si se hace apurado. Les cuento un poquito, este traje lo empecé hacer una tarde y mi hija lo necesitaba para el día siguiente al medio día. (Típico de los Venezolanos, de dejar todo para última hora). Pues en la noche se fue la luz y a penas había terminado la parte de arriba y el short. Así que me toco hacer los gorros y los guantes en la mañana siguiente, esa noche iba a buscar por internet como hacer el gorro, pues según como yo lo vi, era complicado de hacer.
No me daba chance ver la manera de como lo hacían, de paso que los que busque, se necesitaba mucha tela, la cual no contaba con ello. Y cuando por fin logre conseguir uno que lo vi, demás de fácil, (y como suele suceder, cuando estás viendo algo en una de las redes sociales, de repente se actualizan las noticias y se te pierde lo que estabas viendo) pues algo así me sucedió y por más que lo volví a buscar no lo encontré.
Me toco quedarme con la imagen en mi cabeza y ponerme a ver como me sale. Así que doble el chemise por la mitad, le tome el contorno de la cabeza a mi hija con un metro y marque la mitad de eso en la camisa. Luego fui marcando especie de un pico bien alargado, tal como se muestra en la imagen y recorte.
Le cosí dos franjas rojas en los laterales del gorro, para luego coser por todo el alrededor, dejando un margen de costura. Y de último le coloqué en el borde, una tira amarilla.
Y así queda el gorro listo. A pesar de que se ve como que no fuera a quedar bien, con su caída, ya ven que no es así, quedo muy bien como se lo pueden ver puesto a mi hija.
Con una tira larga de color amarillo, la doble varias veces, para luego hacerle cortes, como lo ven en la imagen. Esto es para hacer los pompones que van en las puntas del gorro. Los fui enrollando en la punta y los pegué con silicón.
Y ya tengo listo los guantes y el gorro. Después de todo lo complicado que lo veía, me resulto bastante fácil.
Les cuento que de paso no dispongo de máquina de coser y yo estaba dispuesta a coserlo a mano, pero para mi buena suerte, mi hermana, que si tiene máquina de coser, no la iba a usar ese día porque tenía que hacer unas manualidades para su hija y me la pudo prestar y me fue de mucha ayuda. Todo es cuestión de tener ganas de hacer lo que se quiere y aquí está mi proyecto realizado. El traje completo llevaba hasta zapatos de color rojo y azul, pero por cuestión de tiempo, no me alcanzo a hacerlo, pero igual no le resto belleza a todo el atuendo.
Lo más importante de todo, es que logre en tiempo récord hacer el traje de mi hija y ella quedó encantadísima. Al igual que yo muy emocionada por lo que logre.
Espero que te haya gustado este tutorial que con mucho gusto preparé para ti. Me despido como siempre, no sin antes agradecerte por tomarte un poco de tu valioso tiempo para visitar mi blog y apoyarme. Y como dice el refrán: "Haz bien, sin mirar a quién".
Contenido de la creación original:
❤️ Todas las fotos son mías, tomadas y editadas con mi teléfono Alcatel.
💛 La imagen de portada, fue hecha con la app Canva y editada por mi.
💜 Las imágenes de los separadores fueron tomadas de glitter-graphics.com.
💚 La traducción al inglés fue hecha con la ayuda de bing.com/translator.
🧡 Las letras que indican los idiomas se tomaron de fontmeme.com.
Wow, such an amazing tutorial. This is really well made. Thank you for sharing, would like to try making one for my daughter. 😁
Thank you, I'm glad you liked it. I encourage you to make one too, after you start doing it, you'll see that it's easy. At least it will give you practice. Thanks for your visit and support.
aha that looks so beautiful thanks a lot for sharing
Thank you very much to you, for always supporting me. Best regards.
I really love this hand glove, it looks beautiful, really love the blue color, it's really my favorite color, thanks for sharing
Thank you very much. Like my daughter, her favourite colour is blue. And the gloves look very nice. Best regards.
Hermoso trabajo y super completo a pesar de los contratiempos ❤️. Cuando el amor es lo que mueve las ganas de hacer algo, se pueden lograr resultados increíbles. Te felicito, tu hijita se ve hermosa, que bueno que pudiste cumplir con todos los detalles de este traje 😃.
Muchas gracias. Y sí, logre hacer el traje a pesar de los obstáculos, lo bueno es que logre ver feliz a mi hija muy feliz y eso hace que haya valido la pena. Gracias por tu apoyo, saludos.
Wow amazing
Thank you very much for your support and visit. Regards.
Welcome dear friend
Please upvote and follow 🫶
https://ecency.com/hive-180569/@cryptomother/delicious-bottle-gourd-and-soyabean
Sure, we are here to support each other.
Thank you