Bienvenidos a mi blog! 😉
Welcome to my blog 😉
Me siento tan agradecida, ya que lo que estoy haciendo es mi pasión, demostrandome a misma que si puedo y voy a lograrlo.
A continuación les muestro el paso a paso de este nuevo modelo de Panty, Blumas o Pantaletas para Niñas sin Elastica , quedate conmigo y aprendamos juntos 😁
Hello my dear friends and enthusiastic and enterprising bloggers, I hope you are very well and every day full of creativity, I am excited to tell you that this weekend I made a new model of Girl's Pants with the particularity that I made them without elastic, with this model we save a lot and they are super cute.
I feel so grateful, because what I am doing is my passion, proving to myself that I can and I am going to make it.
Here I show you the step by step of this new model of Pants for Girls without Elastic, stay with me and let's learn together 😁.
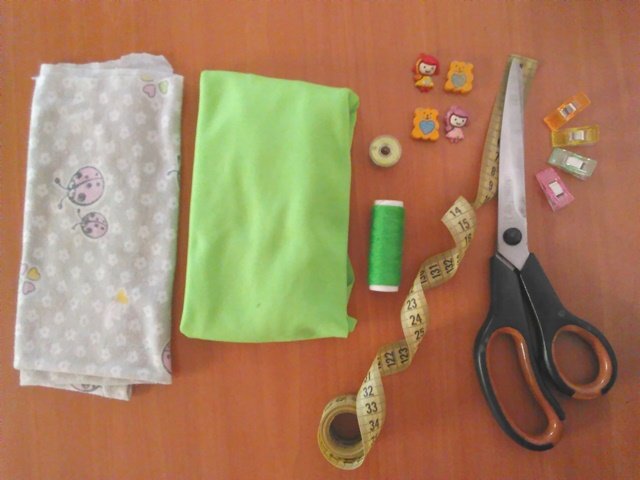
Ubicamos todos los materiales necesarios para realizar un buen trabajo:
- Tijera
- Hilo
- Hilo overlock (especial)
- Alfileres
- Tela de algodón o lycra
- Maquina de coser
- Paciencia, café, música y creatividad 😁
We locate all the necessary materials to do a good job:
-Scissors
-Thread
-Overlock thread (special)
-Pins
-Cotton or lycra fabric
-Sewing machine
-Patience, coffee, music and creativity 😁.
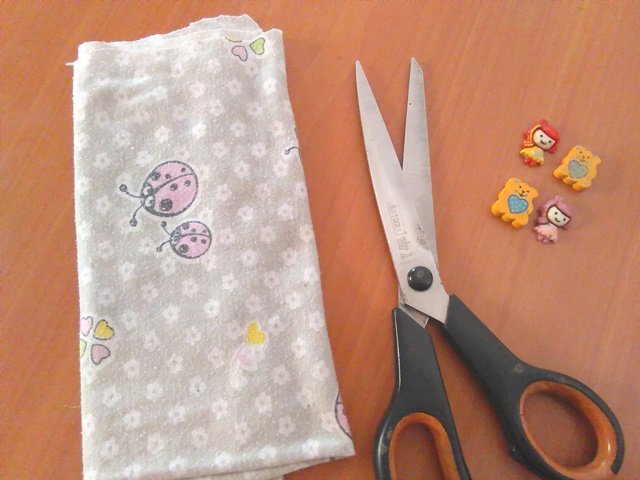
Un dato que te confieso, esta tela estampada era de una pijama que estaba sin uso y la quise reciclar por su lindo diseño
I confess, this printed fabric was from a pair of unused pajamas and I wanted to recycle it for its beautiful design.
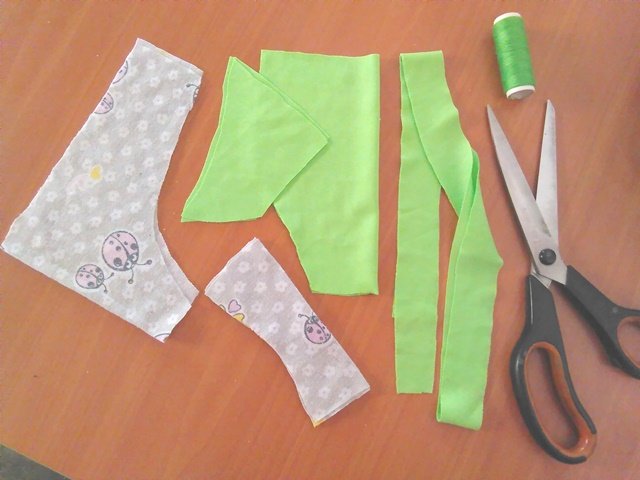
Cortamos todas nuestras piezas, utilizando nuestro patrón y nos disponemos a coser
We cut all our pieces, using our pattern, and sew them together.
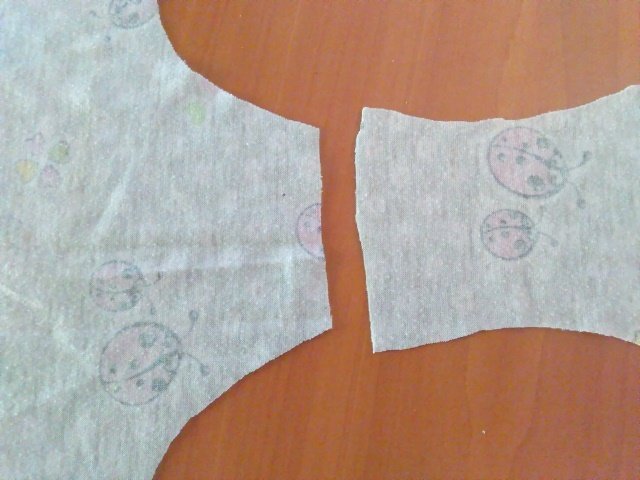
Lo primero que vamos a hacer es coser el refuerzo y la parte delantera, asi como te muestro
The first thing we are going to do is to sew the reinforcement and the front part, as shown below.
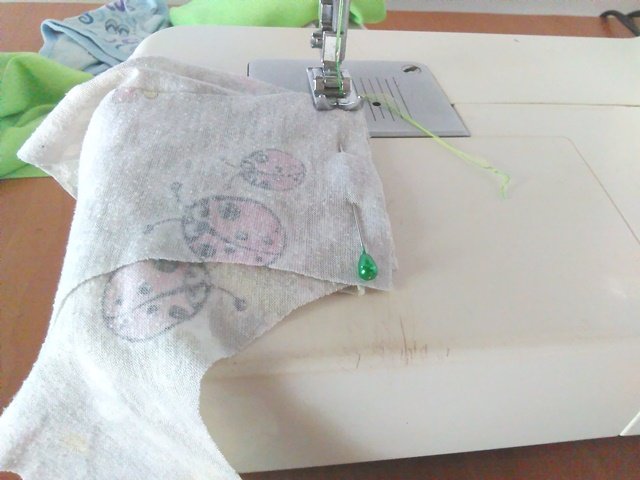
Ajustamos con alfileres siempre, para que nuestras piezas no se muevan, luego en la máquina vamos cosiendo con la recta y retiramos los alfileres
We always adjust with pins, so that our pieces do not move, then in the machine we sew with the straight line and remove the pins.

Ahora vamos con la parte trasera, aqui con mucho cuidado y pendiente como se colocan las piezas
Now let's go to the back, here with great care and pending as the pieces are placed
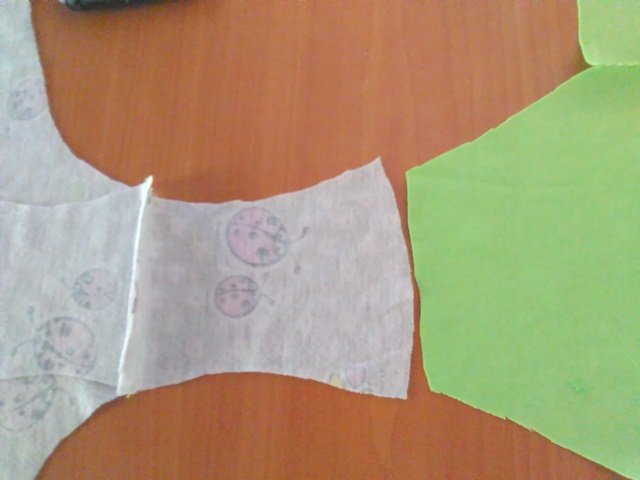
Ajustamos con los alfileres y pasamos unos de los refuerzos por la parte de atras, nos quedaría como una bolsita, a esto le llaman costura escondida
Ajustamos con los alfileres y pasamos unos de los refuerzos por la parte de atras, nos quedaría como una bolsita, a esto le llaman costura escondida
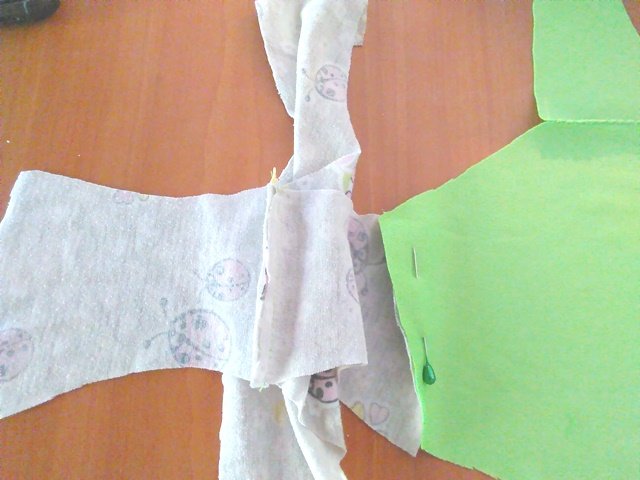
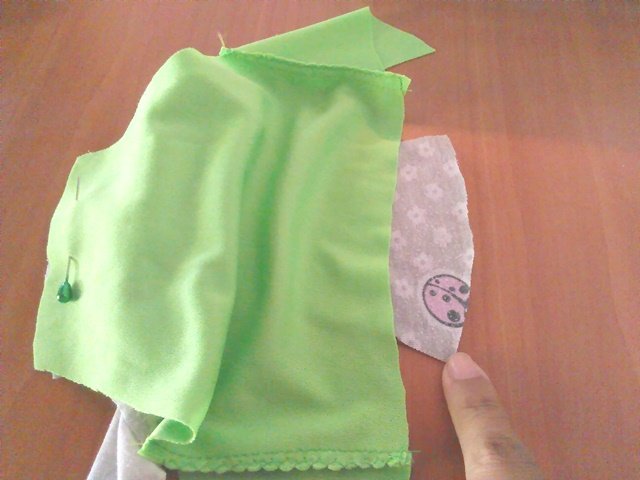
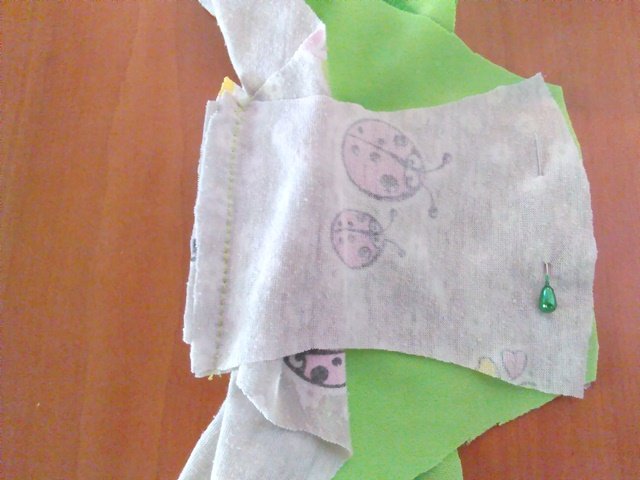
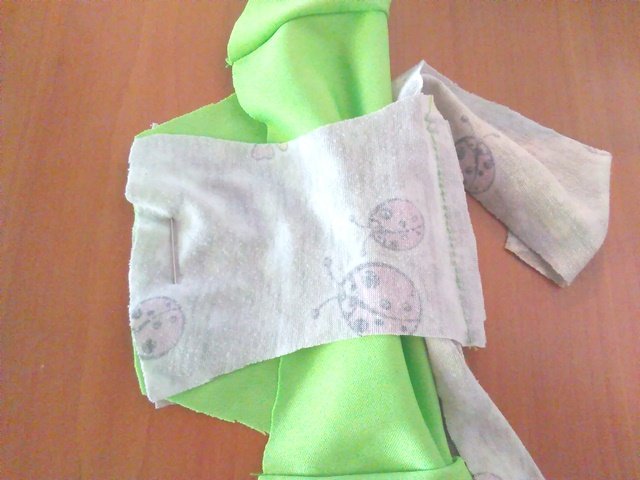
Te debería quedar de esta manera, paciencia que poco a poco sale 😉
It should look like this, patience, it will come out little by little 😉.
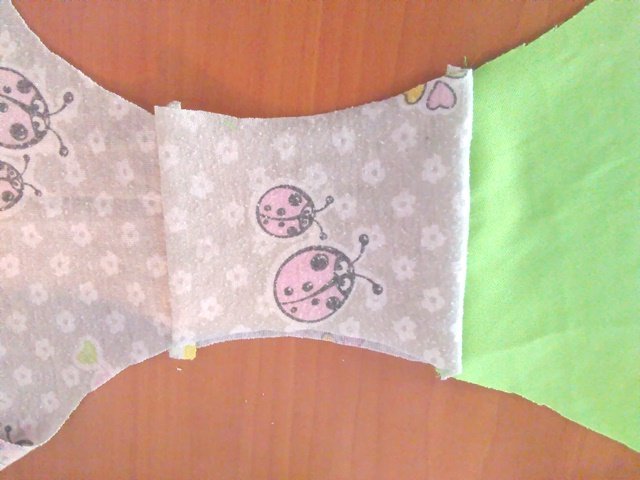
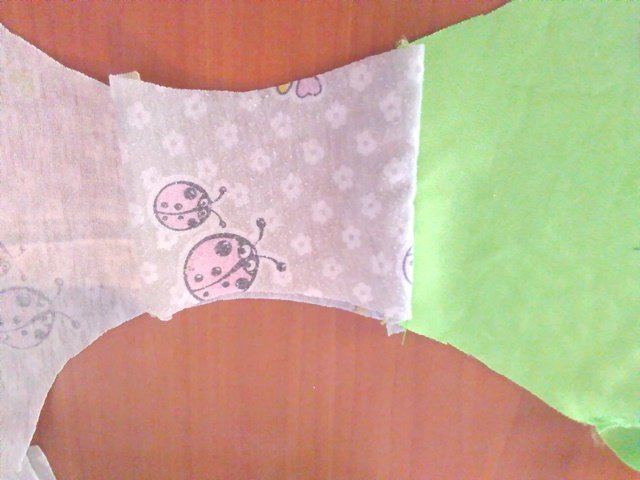
Es momento de colocar el sesgo realizado con la misma tela
It is time to place the bias binding made with the same fabric.
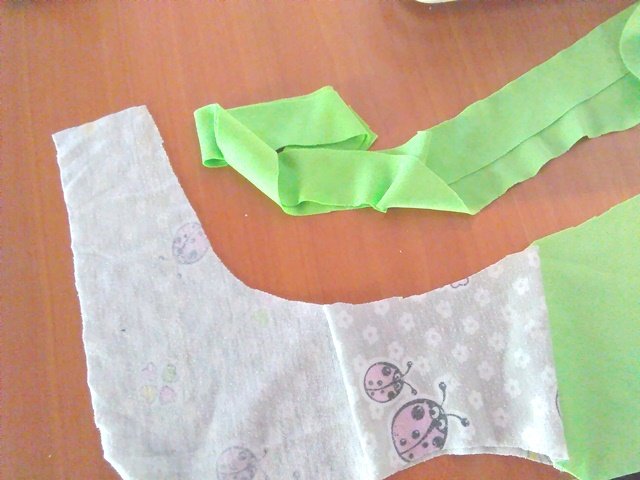
Ajustamos con alfileres y llevamos a la maquina para coser con la recta, estirando de a poco
We adjust with pins and take to the sewing machine to sew with the straight line, stretching a little at a time.
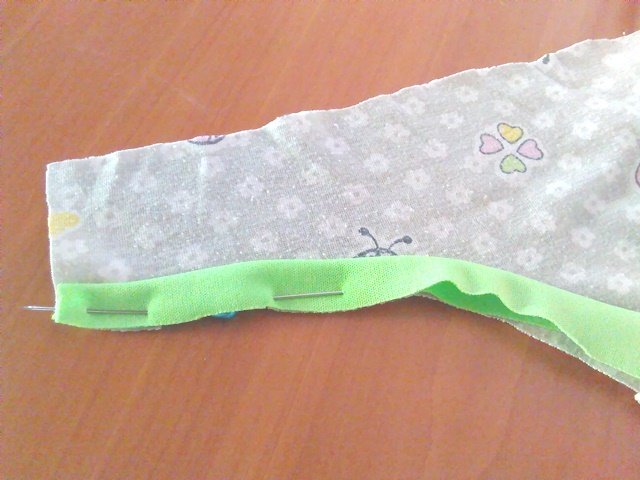
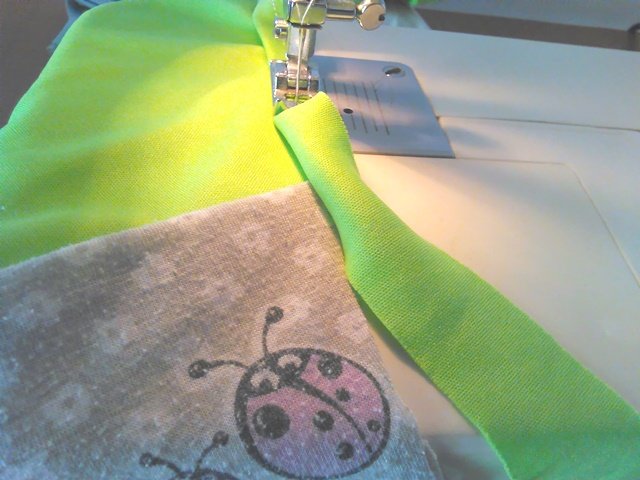
Volteamos y repasamos
We flip and review
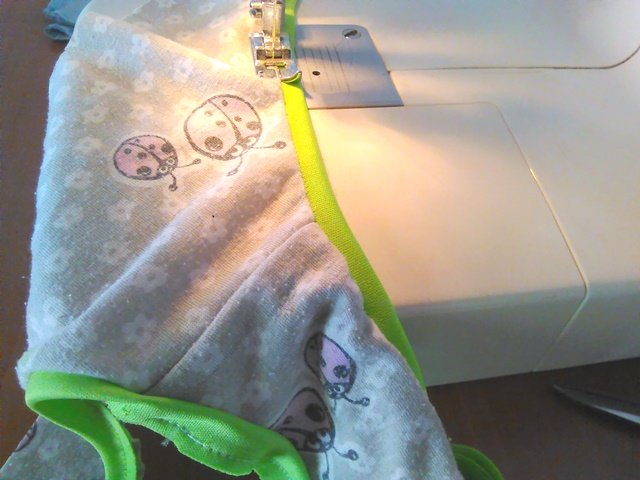
De seguido cosemos el sesgo en la cintura, el mismo procedimiento
Next we sew the bias binding at the waist, same procedure
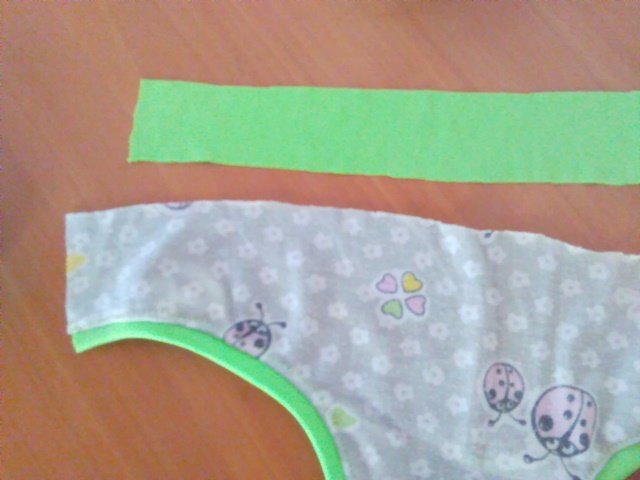
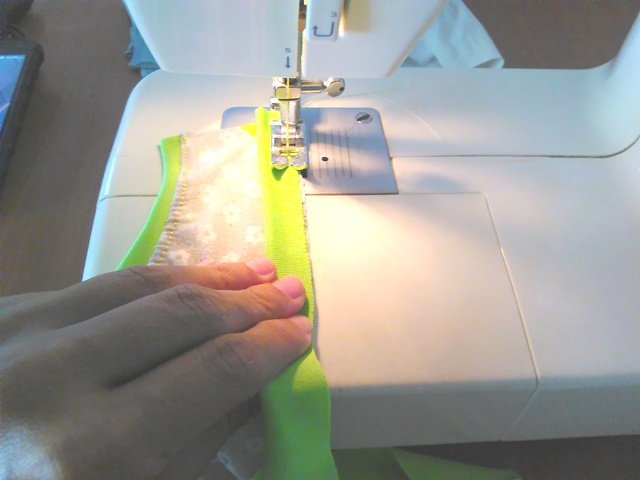
Volteamos la pieza, ajustamos con alfileres para coser y unir los costados
We turn the piece over, adjust with pins to sew and join the sides.
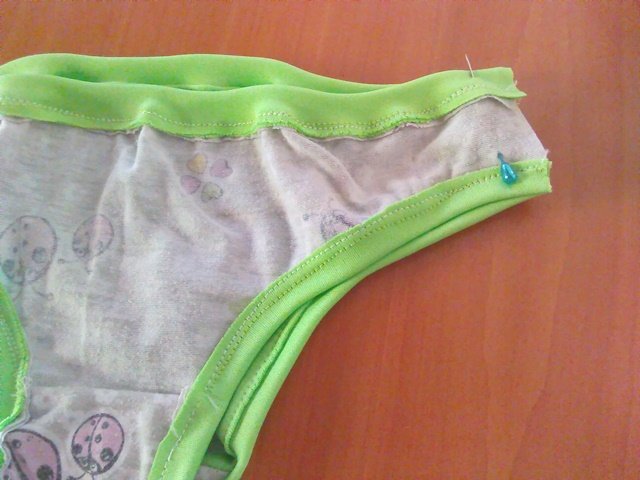
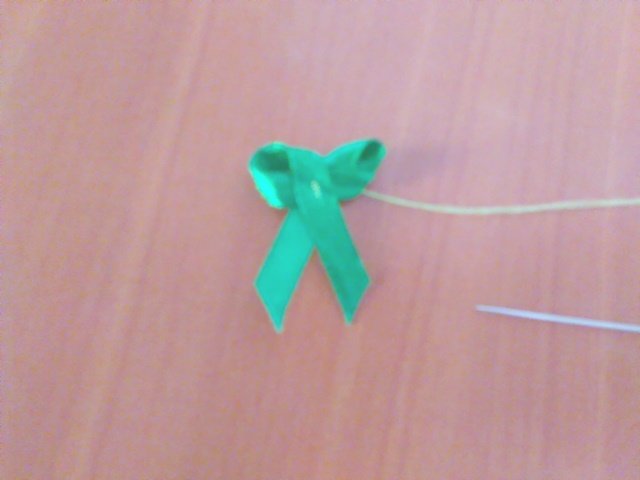
Por ultimo, realizamos un moño o lazo con una cinta y cosemos a mano
Finally, we make a bow with a ribbon and sew it by hand.
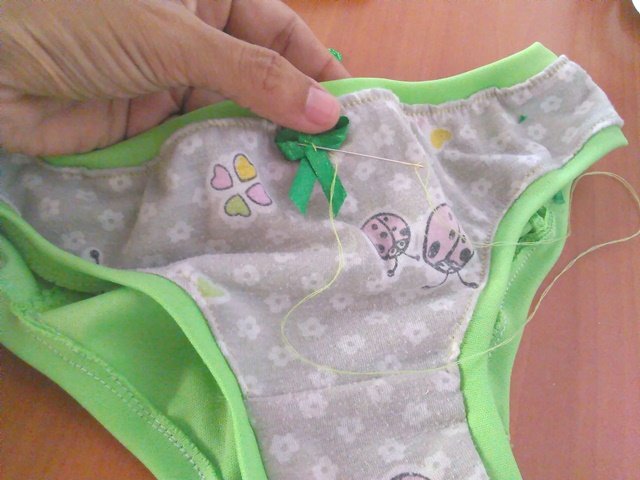
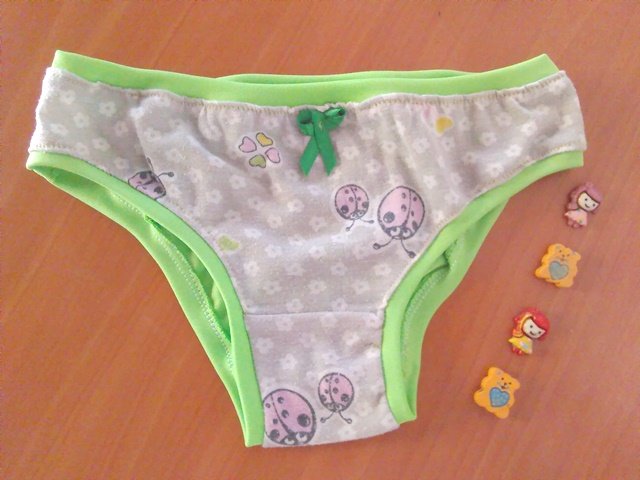
De esta manera tan particular quedó terminado nuestro proyecto Bluma, Panty o Pantaletas para Niñas sin Elastico
Me encantó el resultado y los colores tan vibrantes 😎
In this particular way our project Pants for Girls without Elastic was finished.
I loved the result and the vibrant colors 😎

"I always think that the project I'm working on will be the best" (Patricia Urquiola).
Hasta aquí mi publicación por el día de hoy, espero sea de tu agrado, inmensamente agradecida por la oportunidad de interactuar cada día con personas tan maravillosas como tú, bendiciones.
So far my publication for today, I hope you like it, immensely grateful for the opportunity to interact every day with people as wonderful as you, blessings.
- Todas las fotografías aquí presentadas son de mi autoría, tomadas con mi teléfono Blu C5 2019
- Mi idioma natal es el español, realice la traducción con ayuda de Deepl.com
- All photographs presented here are of my authorship, taken with my Blu C5 2019 phone.
- My native language is Spanish, I made the translation with the help of Deepl.com.
The rewards earned on this comment will go directly to the people sharing the post on Twitter as long as they are registered with @poshtoken. Sign up at https://hiveposh.com.
The pants look super beautiful and the material you choose to use is also awesome.
Thanks you so much
Es muy linda y sencilla me gusta mucho tu proyecto, gracias por compartirlo.
Mi querida Ana, gracias por tus palabras
Hola Leslie! Que linda quedó esta panty, una técnica de elastizado con la misma tela que aún tengo pendiente. ¿Qué tal con las costuras rectas? ¿No se rompen si la tela se estira? Eso es algo con lo que estoy obseionada en lencería, que no se deshagan las costuras jaja.
Saludos, que tengas un gran día ❣️.
Hola querida Laura, muchisimas gracias. Me gusta esta tecnica primero porque ahorras y segundo porque quedan super comodas. Te confieso que tenia algo de miedo porque casi no hago para niñas pero este resultado me encanto. Espero ver las tuyas prontito, cuidate 😉
Thank you for sharing this amazing post on HIVE!
non-profit curation initiative!Your content got selected by our fellow curator @rezoanulvibes & you just received a little thank you via an upvote from our
You will be featured in one of our recurring curation compilations and on our pinterest boards! Both are aiming to offer you a stage to widen your audience within and outside of the DIY scene of hive.
Join the official DIYHub community on HIVE and show us more of your amazing work and feel free to connect with us and other DIYers via our discord server: https://discord.gg/mY5uCfQ !
If you want to support our goal to motivate other DIY/art/music/homesteading/... creators just delegate to us and earn 100% of your curation rewards!
Stay creative & hive on!
Hola amiga, a mí en particular me encanta este tipo de panty para mi hija y para mi también je je porque son suaves no molestan y salen super económicas al realizarlas.
Hola amiga, totalmente de acuerdo contigo, un abrazo