I learned to crochet when I was a teenager, little by little I went up a level and although there are still techniques that I don't master, I like to make small designs and projects with some frequency; that's why in this opportunity I present you a very particular fabric, made from a crochet needle and two very particular rods called ‘Knitting fork’, join me in this new work!
Materials to use:
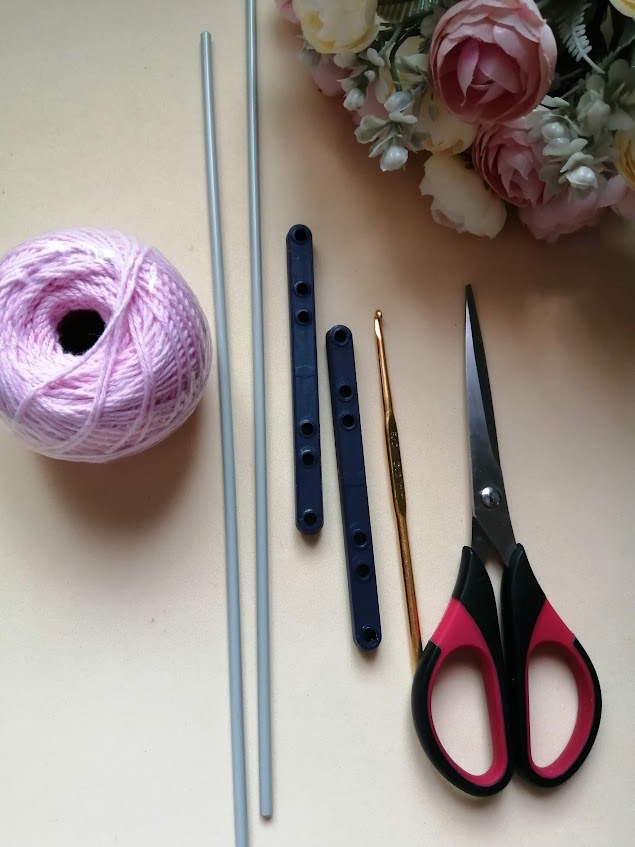
- Knitting yarn of your choice
- Crochet needle according to the yarn chosen
- Knitting fork
- Scissors
Steps to follow:
The first thing we will do is to assemble our Knitting fork, which comes with a pair of rods of approximately 30cm and two bases with guide holes; choose the desired size and let's start our project.
El tejido, una habilidad artesanal cuyo origen se atribuye al antiguo Medio Oriente (Arabia y Persia), buscaba alcanzar diferentes propósitos: decorativos, vestimenta, accesorios, entre otros; delicados encajes hasta elaborados abrigos y vestidos, utilizan diferentes técnicas e instrumentos.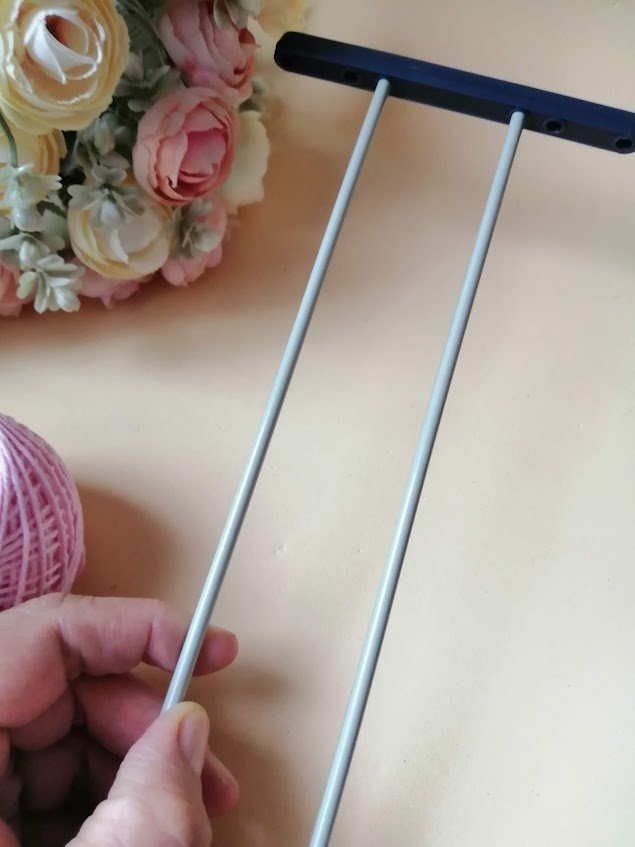
Aprendí a tejer a crochet cuando era adolescente, poco a poco fui subiendo de nivel y a pesar que aún hay técnicas que no domino, me gusta realizar pequeños diseños y proyectos con cierta frecuencia; es por ello que en esta oportunidad te presento un tejido muy particular, realizado a partir de una aguja a crochet y dos varillas muy particulares denominadas "Horquillas", ¡acompáñame en ésta nueva labor!
Materiales a utilizar:
- Hilo de tejer a tu elección
- Aguja de crochet acorde al hilo elegido
- Horquilla de tejido
- Tijera
Pasos a seguir:
Lo primero que haremos es armar nuestra horquilla, la cual viene con un par de varillas de aproximadamente 30cm y dos bases con orificios guías; elige el tamaño deseado e iniciemos nuestro proyecto.

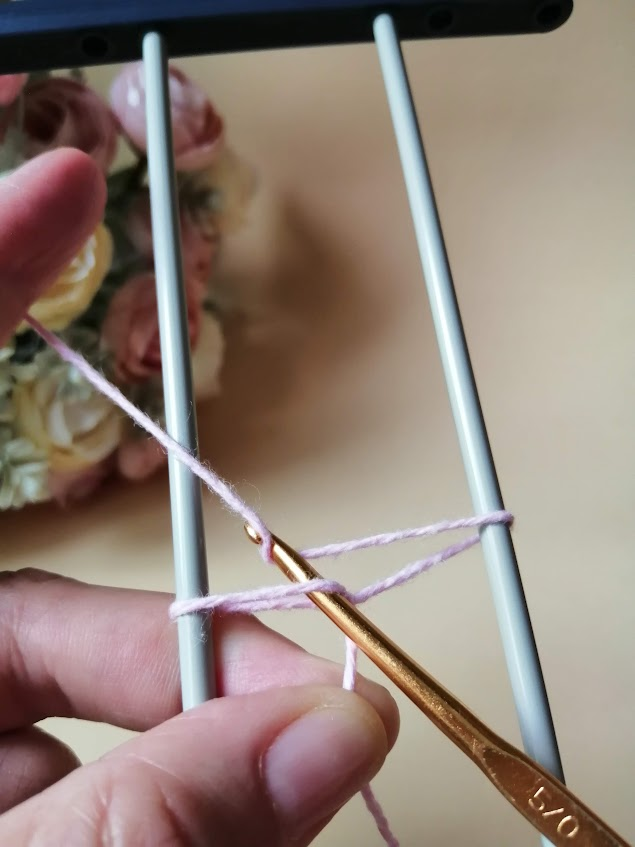
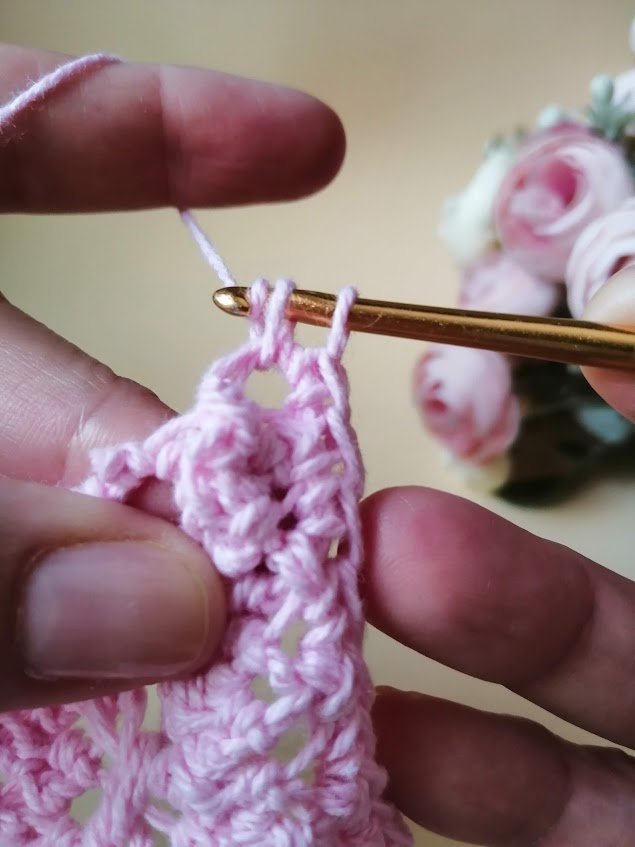
Realizamos un nudo básico con el hilo y la aguja de crochet, el cual vamos a introducir en nuestra horquilla, luego bordeamos con el hilo la herramienta y realizaremos dos puntos bajos, ingresando y tomando hilo, tal como se muestra en la imagen.
En ambos extremos de la horquilla de tejido, tendremos un hilo, de ésta manera contaremos nuestra primera vuelta completa.
Haz medio giro, abrazando la herramienta con el hilo y teje dos puntos bajos, uniendo ambos hilos, uno cada medio giro.
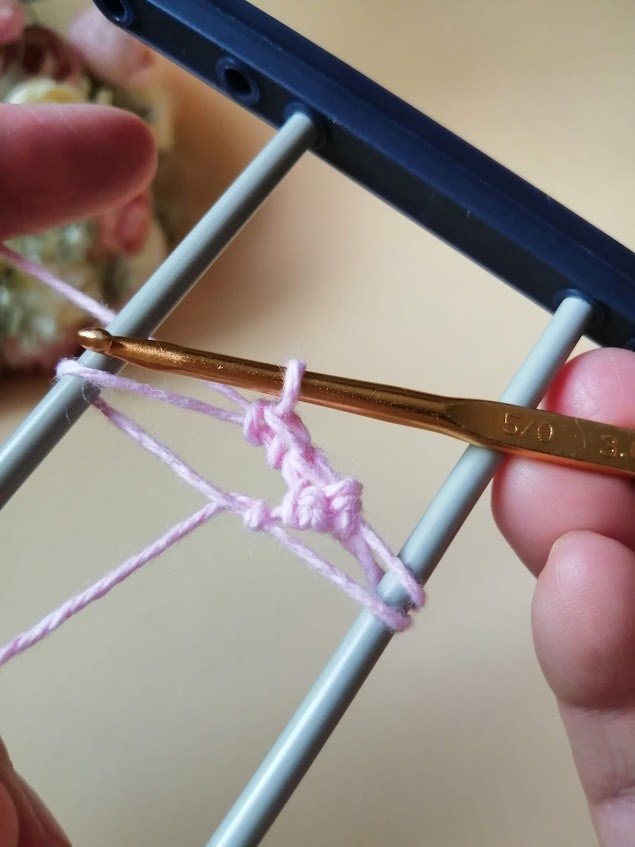
For this project, we will make fourteen (14) loops on each side of the knitting fork, we tie a tight knot in the last stitch, taking care to leave a little extra thread to guide and support the knitting.
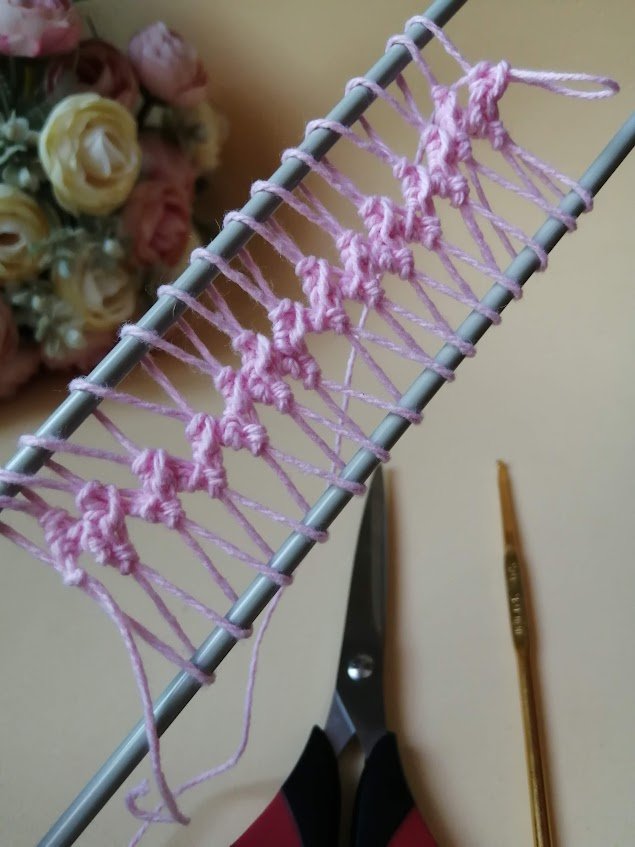
Para este proyecto, realizaremos catorce (14) lazadas a cada lado de la horquilla de tejido, hacemos un nudo bien firme en el ultimo punto, tomando la precaución de dejar un poco de hilo adicional para ser guía y apoyo del tejido.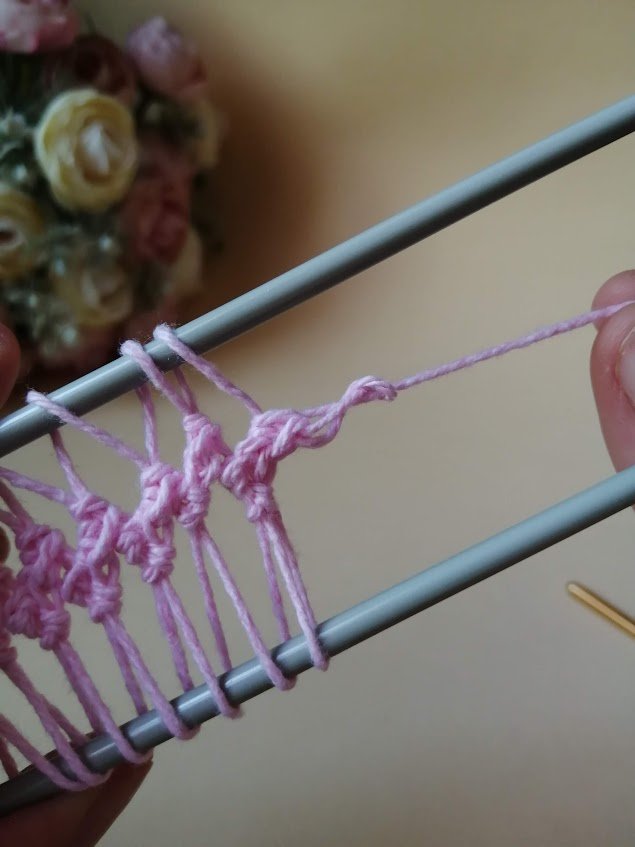
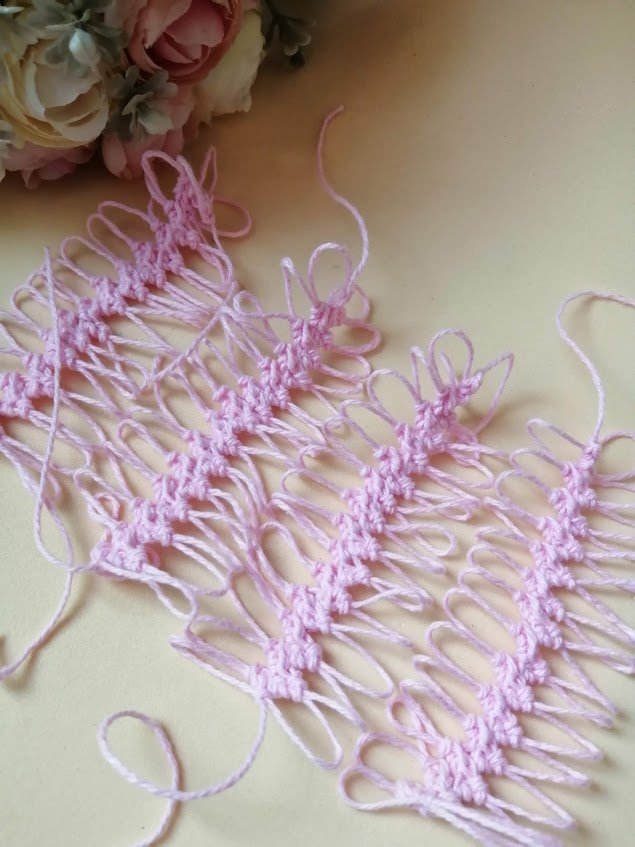
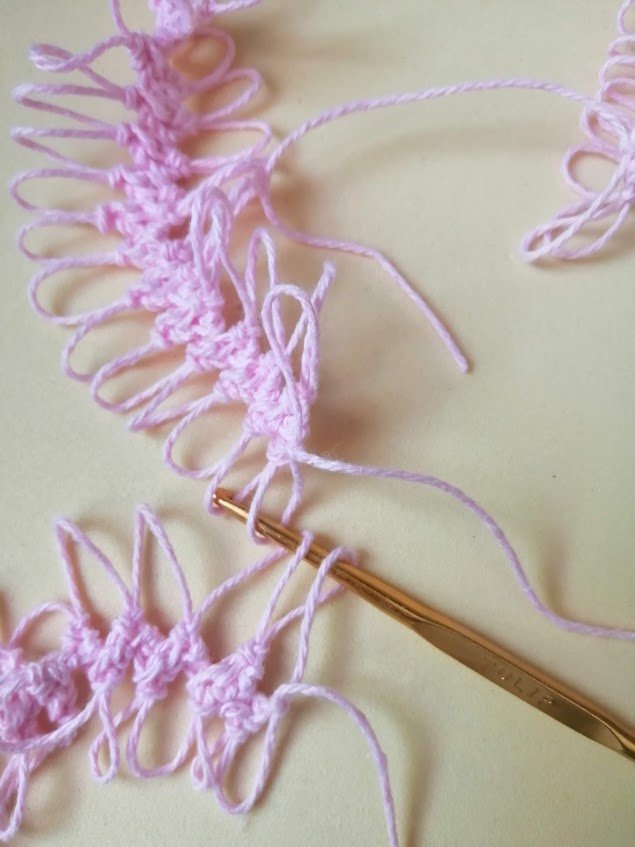 Realiza 4 motivos idénticos, recuerda que son 14 hileras completas; luego vas a ir uniendo las piezas de dos en dos mediante una cadeneta: tomas dos orejitas de un motivo e introduce en las dos orejitas de su contraparte.
Continue until you reach the end of the motif and with the help of the yarn left over, mark and secure the final stitch. to close the sides, repeat the process with the following loops, finish, mark and secure.
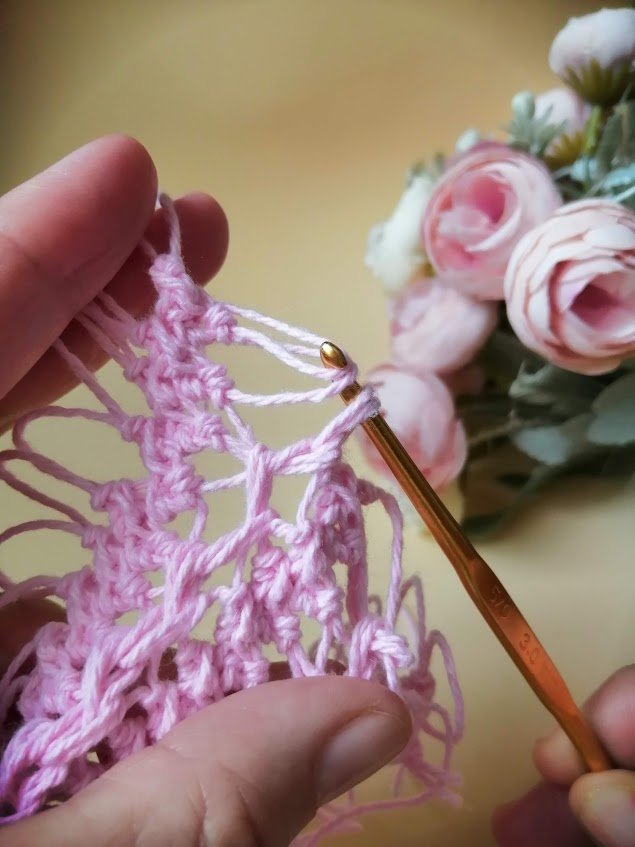
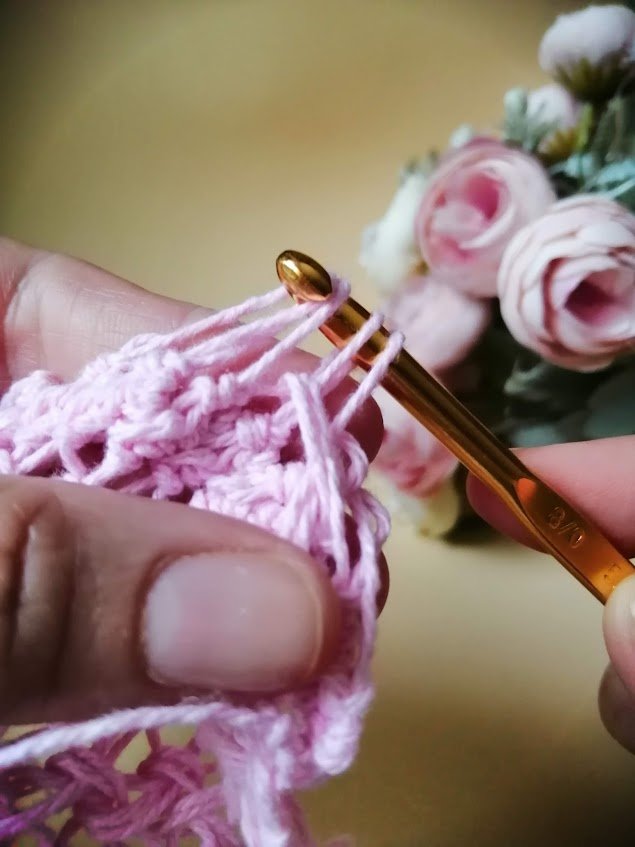 Continúa hasta llegar al final del motivo y con ayuda del hilo que dejamos sobrante, marcas y aseguras el punto final. para cerrar los laterales, repites el proceso con las orejitas que le siguen, finaliza, marca y asegura.
Once you're done, see how the motif will look, you can not only use it as a cup holder, if you extend it and join it with other pieces, you can create unique garments.
To finish, just make a series of low stitches all around and you're done!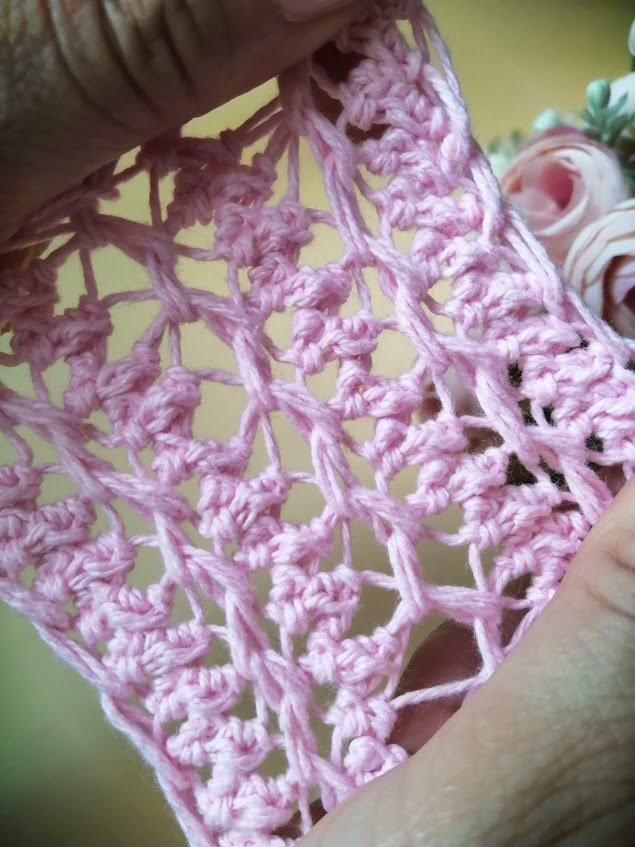
 Una vez que termines, observa cómo va a quedar el motivo, no solo lo puedes usar como portavasos, si lo extiendes y unes con otras piezas, puedes crear prendas de vestir únicas.
Para finalizar, sólo debes realizar una serie de puntos bajos alrededor y listo!
Note:
If you don't have the fork tool, you can make it with two long knitting needles or two polished wooden sticks and at each end you place a firm cardboard base, so you can practice.
Thanks for joining me in one more tutorial, I hope you like it and see you soon!
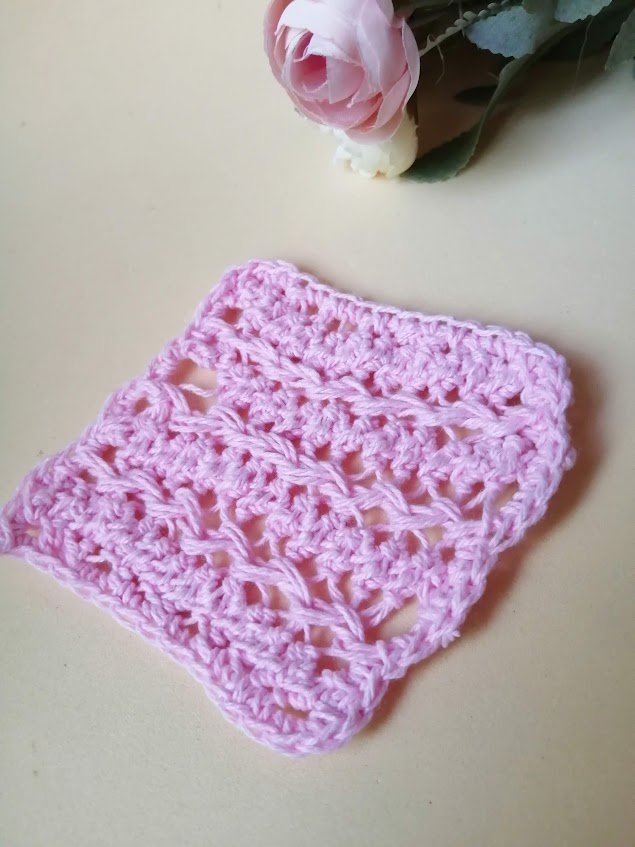
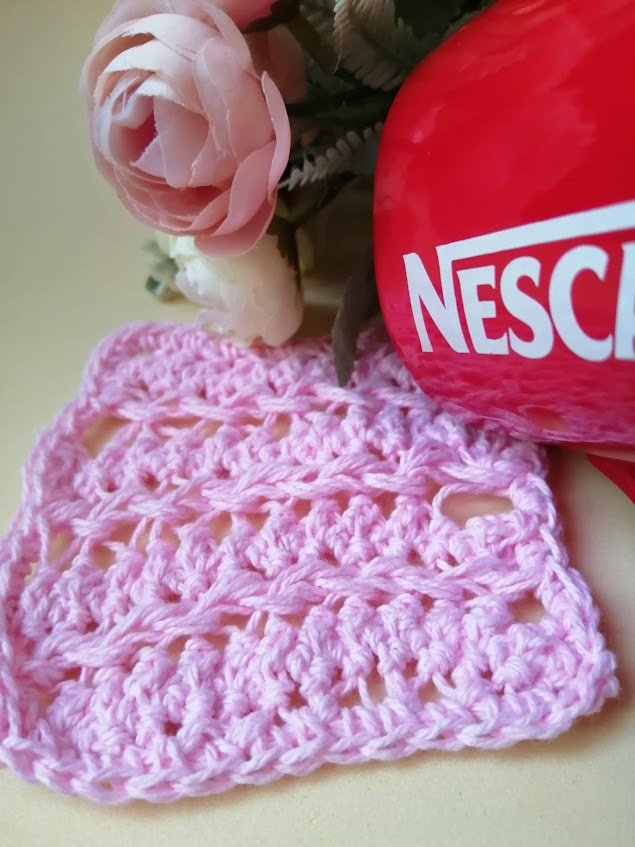
Es momento de lucir un precioso portavasos, original y exclusivo! espero que te haya gustado esta nueva técnica, que estoy segura vas a aplicar en algún momento.
Nota:
Si no consigues la herramienta de la Horquilla, puedes realizarla con dos agujas de tejer largas o dos palitos de madera bien pulida y e cada extremo le colocas una base de cartón bien firme, así puedes ir practicando.
Gracias por acompañarme en un tutorial mas, espero que te guste y nos vemos muy pronto!


📸 Huawei Y9 /2019 - Sony H400
Acknowledgements: Canva & Deepl Translator
🚨 Please don´t edit or use my images, videos or text on other networks without my approval. 🚨
✒️Autor: @leticiapereira
©️ 2017 - 2024, @leticiapereira - Original Content
Maravillosa técnica Leticia, nunca la había visto, que diseños únicos pueden crearse con esta horquilla. Seguramente las prendas de vestir también se verían muy bien usando esta técnica. Felicitaciones 💝
Gracias por visitar mi publicación @lauramica! La técnica es muy sencilla y avanzas muy rápido, puedes combinar con tejido a crochet o incorporar a telas (tipo encaje, usando hilo muy fino y en tamaño mas pequeño), te aseguro que el resultado es muy lindo.
Hola @leticiapereira
Uno como tejedora quiere probar muchas técnicas, esta de la horquilla es una que tengo pendiente. El posavasos es una ternura, me encanta el color.
Que interesante la forma en que se puede improvisar la herramienta de la horquilla. Buen dato.
Saludos
Muchas gracias mi querida @jicrochet! Es sencillo, la técnica la aprendí de una señora que viajaba de Caracas a San Cristóbal (Táchira) hace mucho tiempo, en cosa de una hora, le agarré la técnica. Gracias por leer mi post!
Muy bonito trabajo, siempre me ha llamado la atención la horquilla pero no me he puesto a aprender. Saludos ☺️
Gracias por visitar mi post!, Es muy sencillo, estoy segura que desde ya vas a encontrar la manera de practicar la técnica!
Delegations welcome! You've been curated by @plantpoweronhive!
Thank you for your support!
I just remember now that I have this kind of tool before, but I don't remember where is it now. 😅 I think that was a decade ago. It was just given to me, but I haven't used it even once.
Anyway, thanks for sharing your tutorial. God bless you dear @leticiapereira. 🥰
Oh, I understand, sometimes our tools arrive before their time, now, I'm sure as soon as you find the knitting fork, you'll practice!
Thanks @jonalyn2020 for visiting my post!