Saludos queridos amigos de NEEDLEWORKMONDAY, espero tengas un día lleno de energías para que logres realizar todos tus proyectos. 🥰❤️
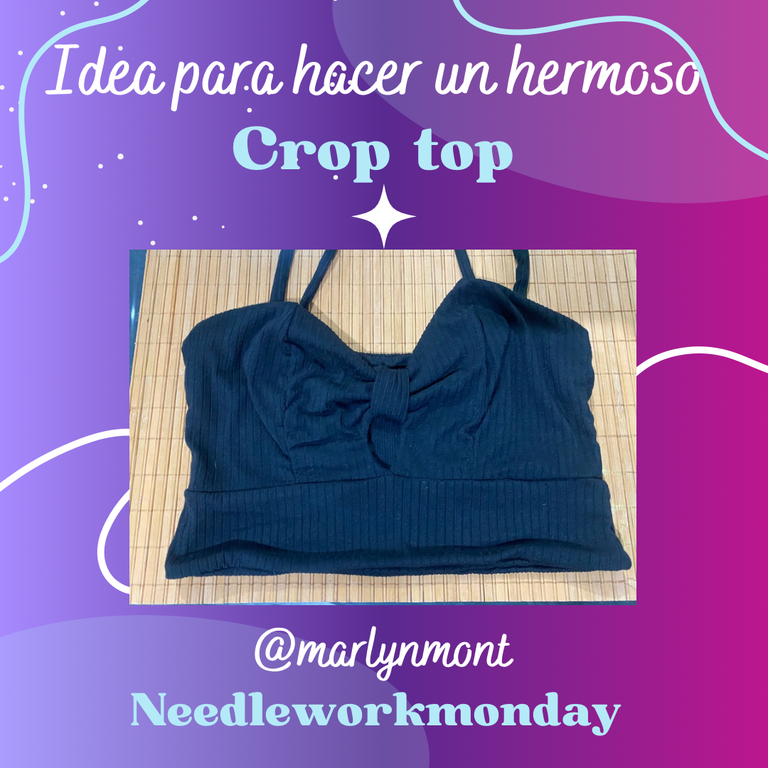
En mi proceso de aprender cada día más, sobre todo en el patronaje, hoy quiero compartir con ustedes una idea para hacer un crop top, este tipo de prendas esta muy de moda y quedan muy lindos, ven y te muestro este paso a paso:
Greetings dear friends of NEEDLEWORKMONDAY, I hope you have a day full of energy so that you can achieve all your projects. 🥰❤️
In my process of learning more every day, especially in my patronage, today I want to share with us an idea for making a crop top, this type of gift is very fashionable and very beautiful, I will show you this step by step:
Este mundo del patronaje me ha gustado demasiado, ya que por medio de este vas aprendiendo a conocer las medidas del cuerpo humano y poco a poco se va haciendo más fácil a la hora de confeccionar prendas, entre todas estas prendas una de las que más me ha gustado confeccionar ha sido las blusas de dama, ya que partiendo del patrón base podemos hacer cantidad de modificaciones y crear hermosos diseños, para este tipo de blusa se pueden utilizar casi cualquier tipo de tela que sea elástica, en mi caso estoy utilizando micro rib y me ha gustado mucho ya que es bastante elástica y se adapta con mucha facilidad a nuestro cuerpo
- Para la confección de esta blusa se lleva aproximadamente medio metro de tela
- hilo del color de la tela
- maquina de coser
This world of patronage has really pleased me, as through this you are learning to know the measurements of the human body and little by little it becomes easier when it comes to making gifts, among all these gifts, one of them is the most difficult for me. I have enjoyed making women's blouses, but starting from the base pattern we can make many modifications and create beautiful designs, for this type of blouse we can use any type of fabric that is elastic, in my case I am using micro rib I liked it a lot as it is quite elastic and adapts very easily to our body
- To make this blouse, it takes approximately half a meter of fabric
- the color of the fabric
- sewing machine
➖➖➖➖🪡🧵➖➖➖➖
PASO A PASO
STEP BY STEP
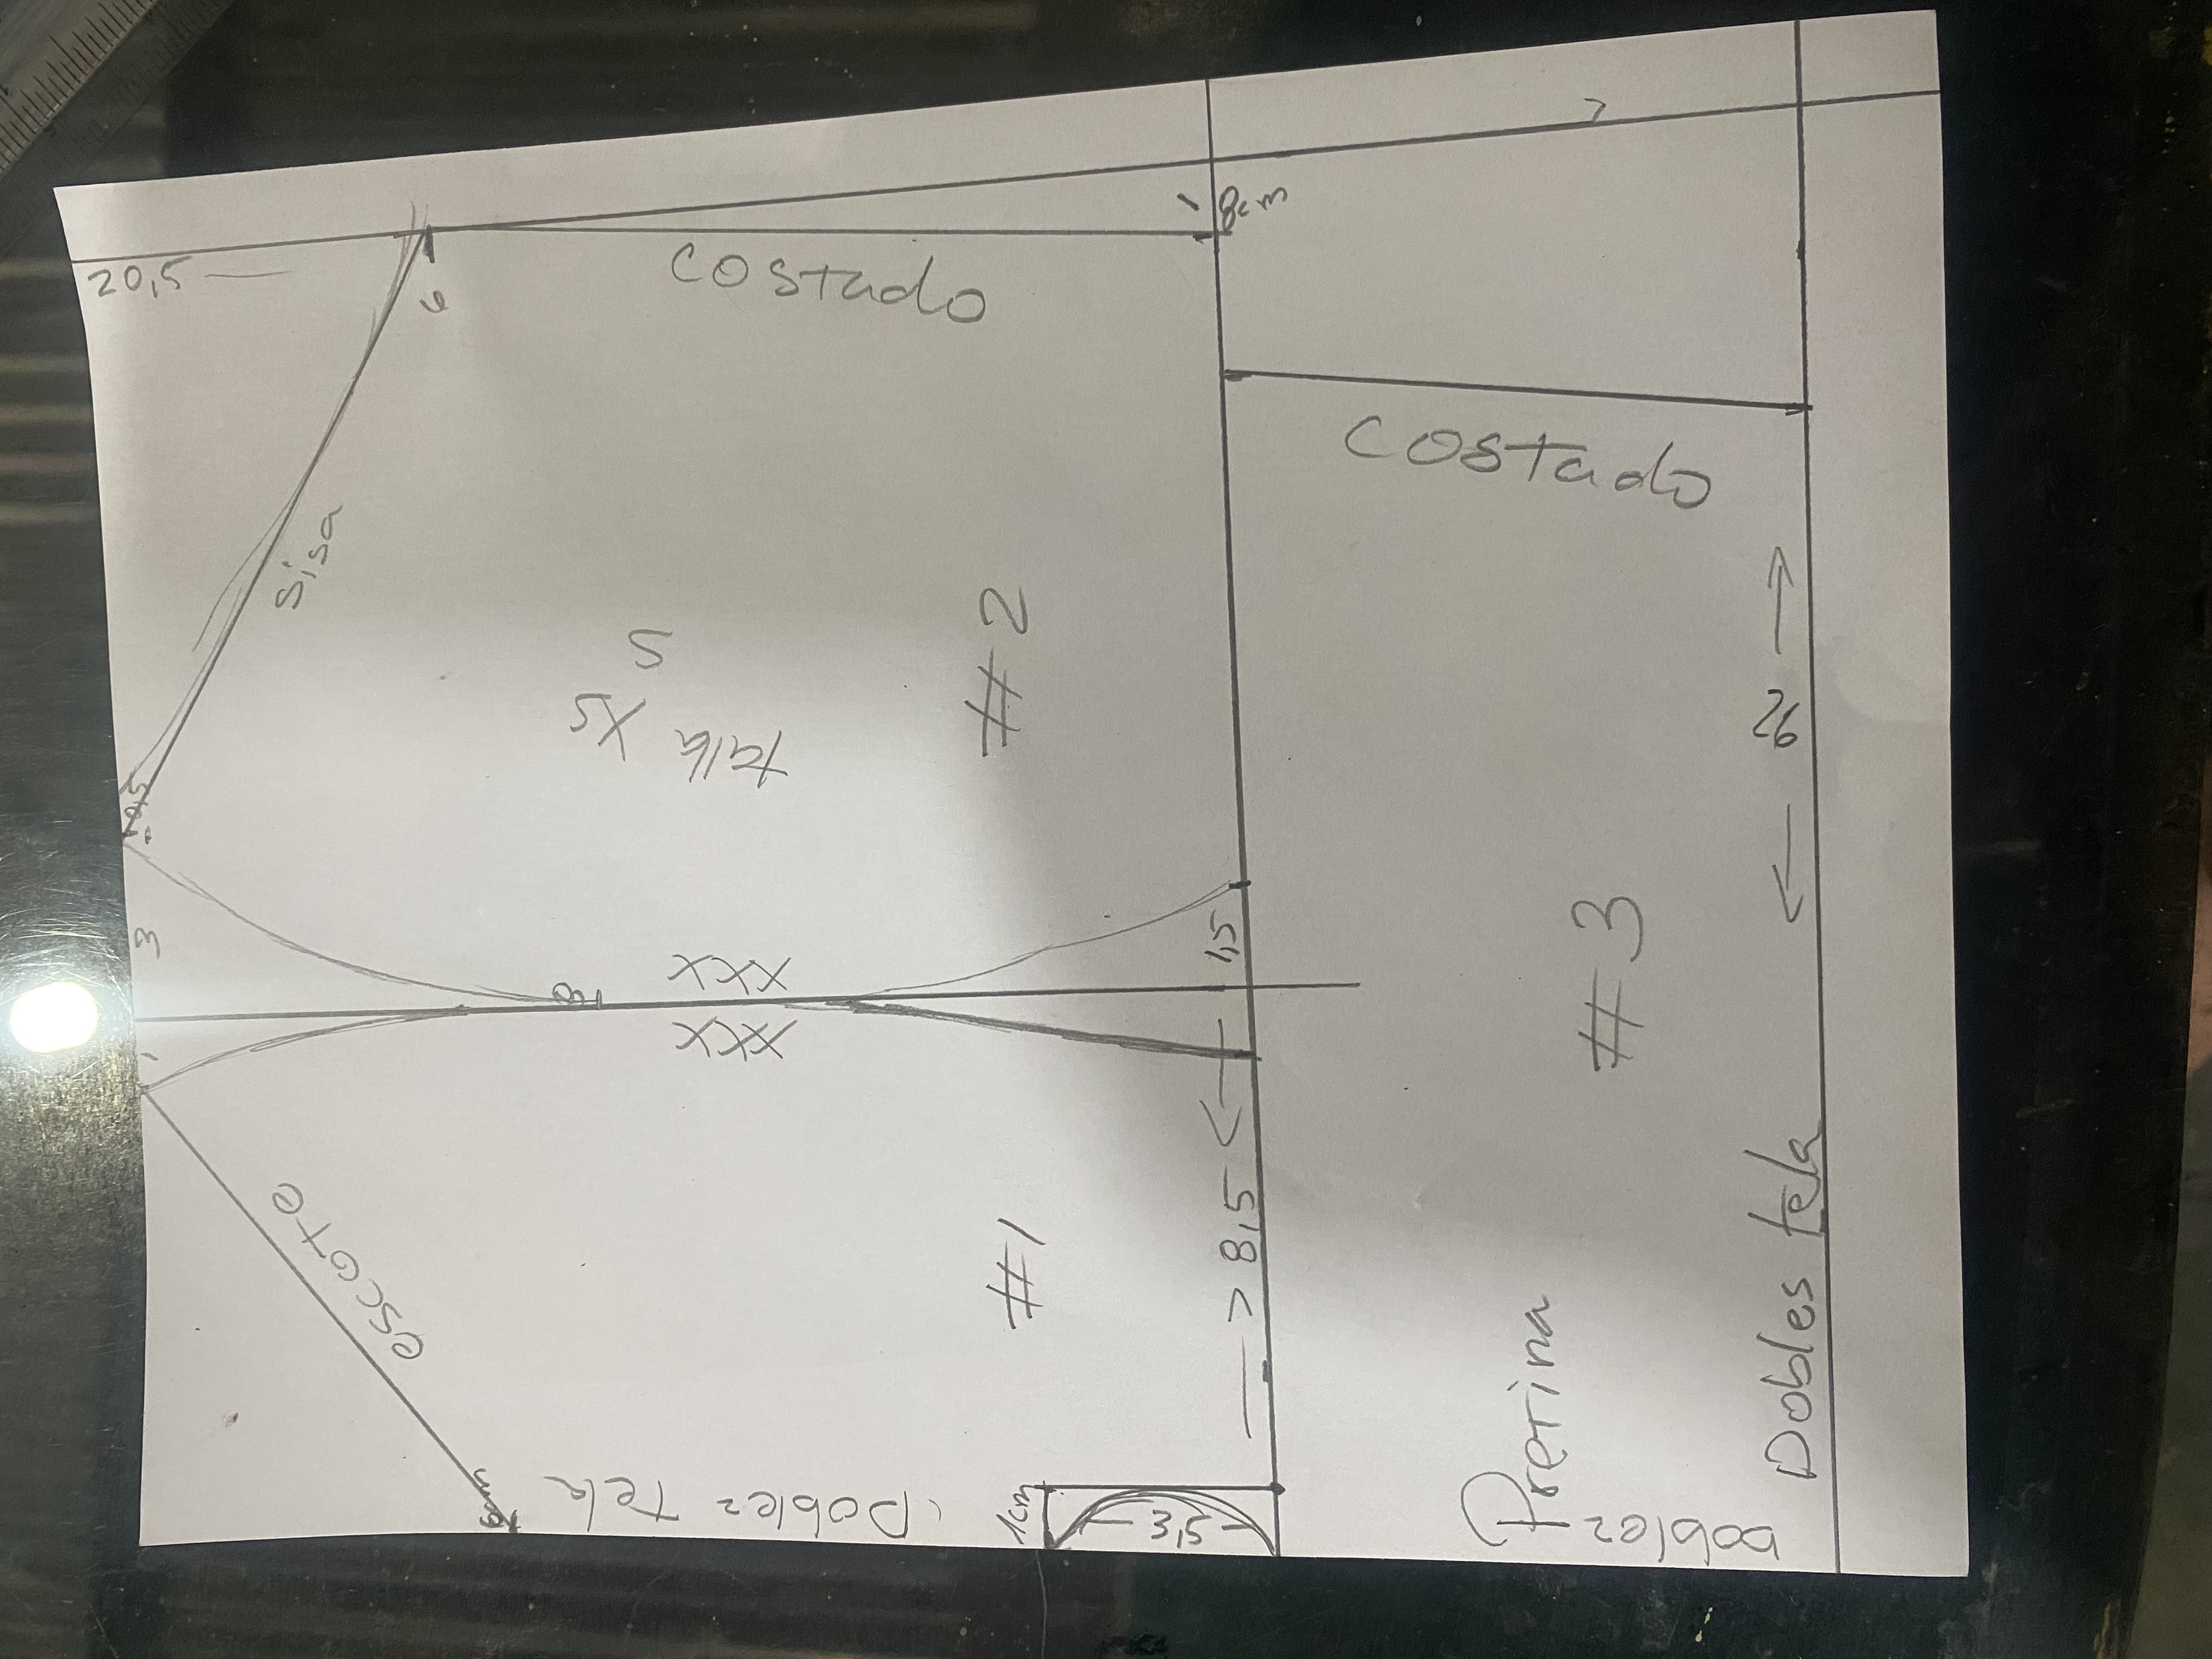
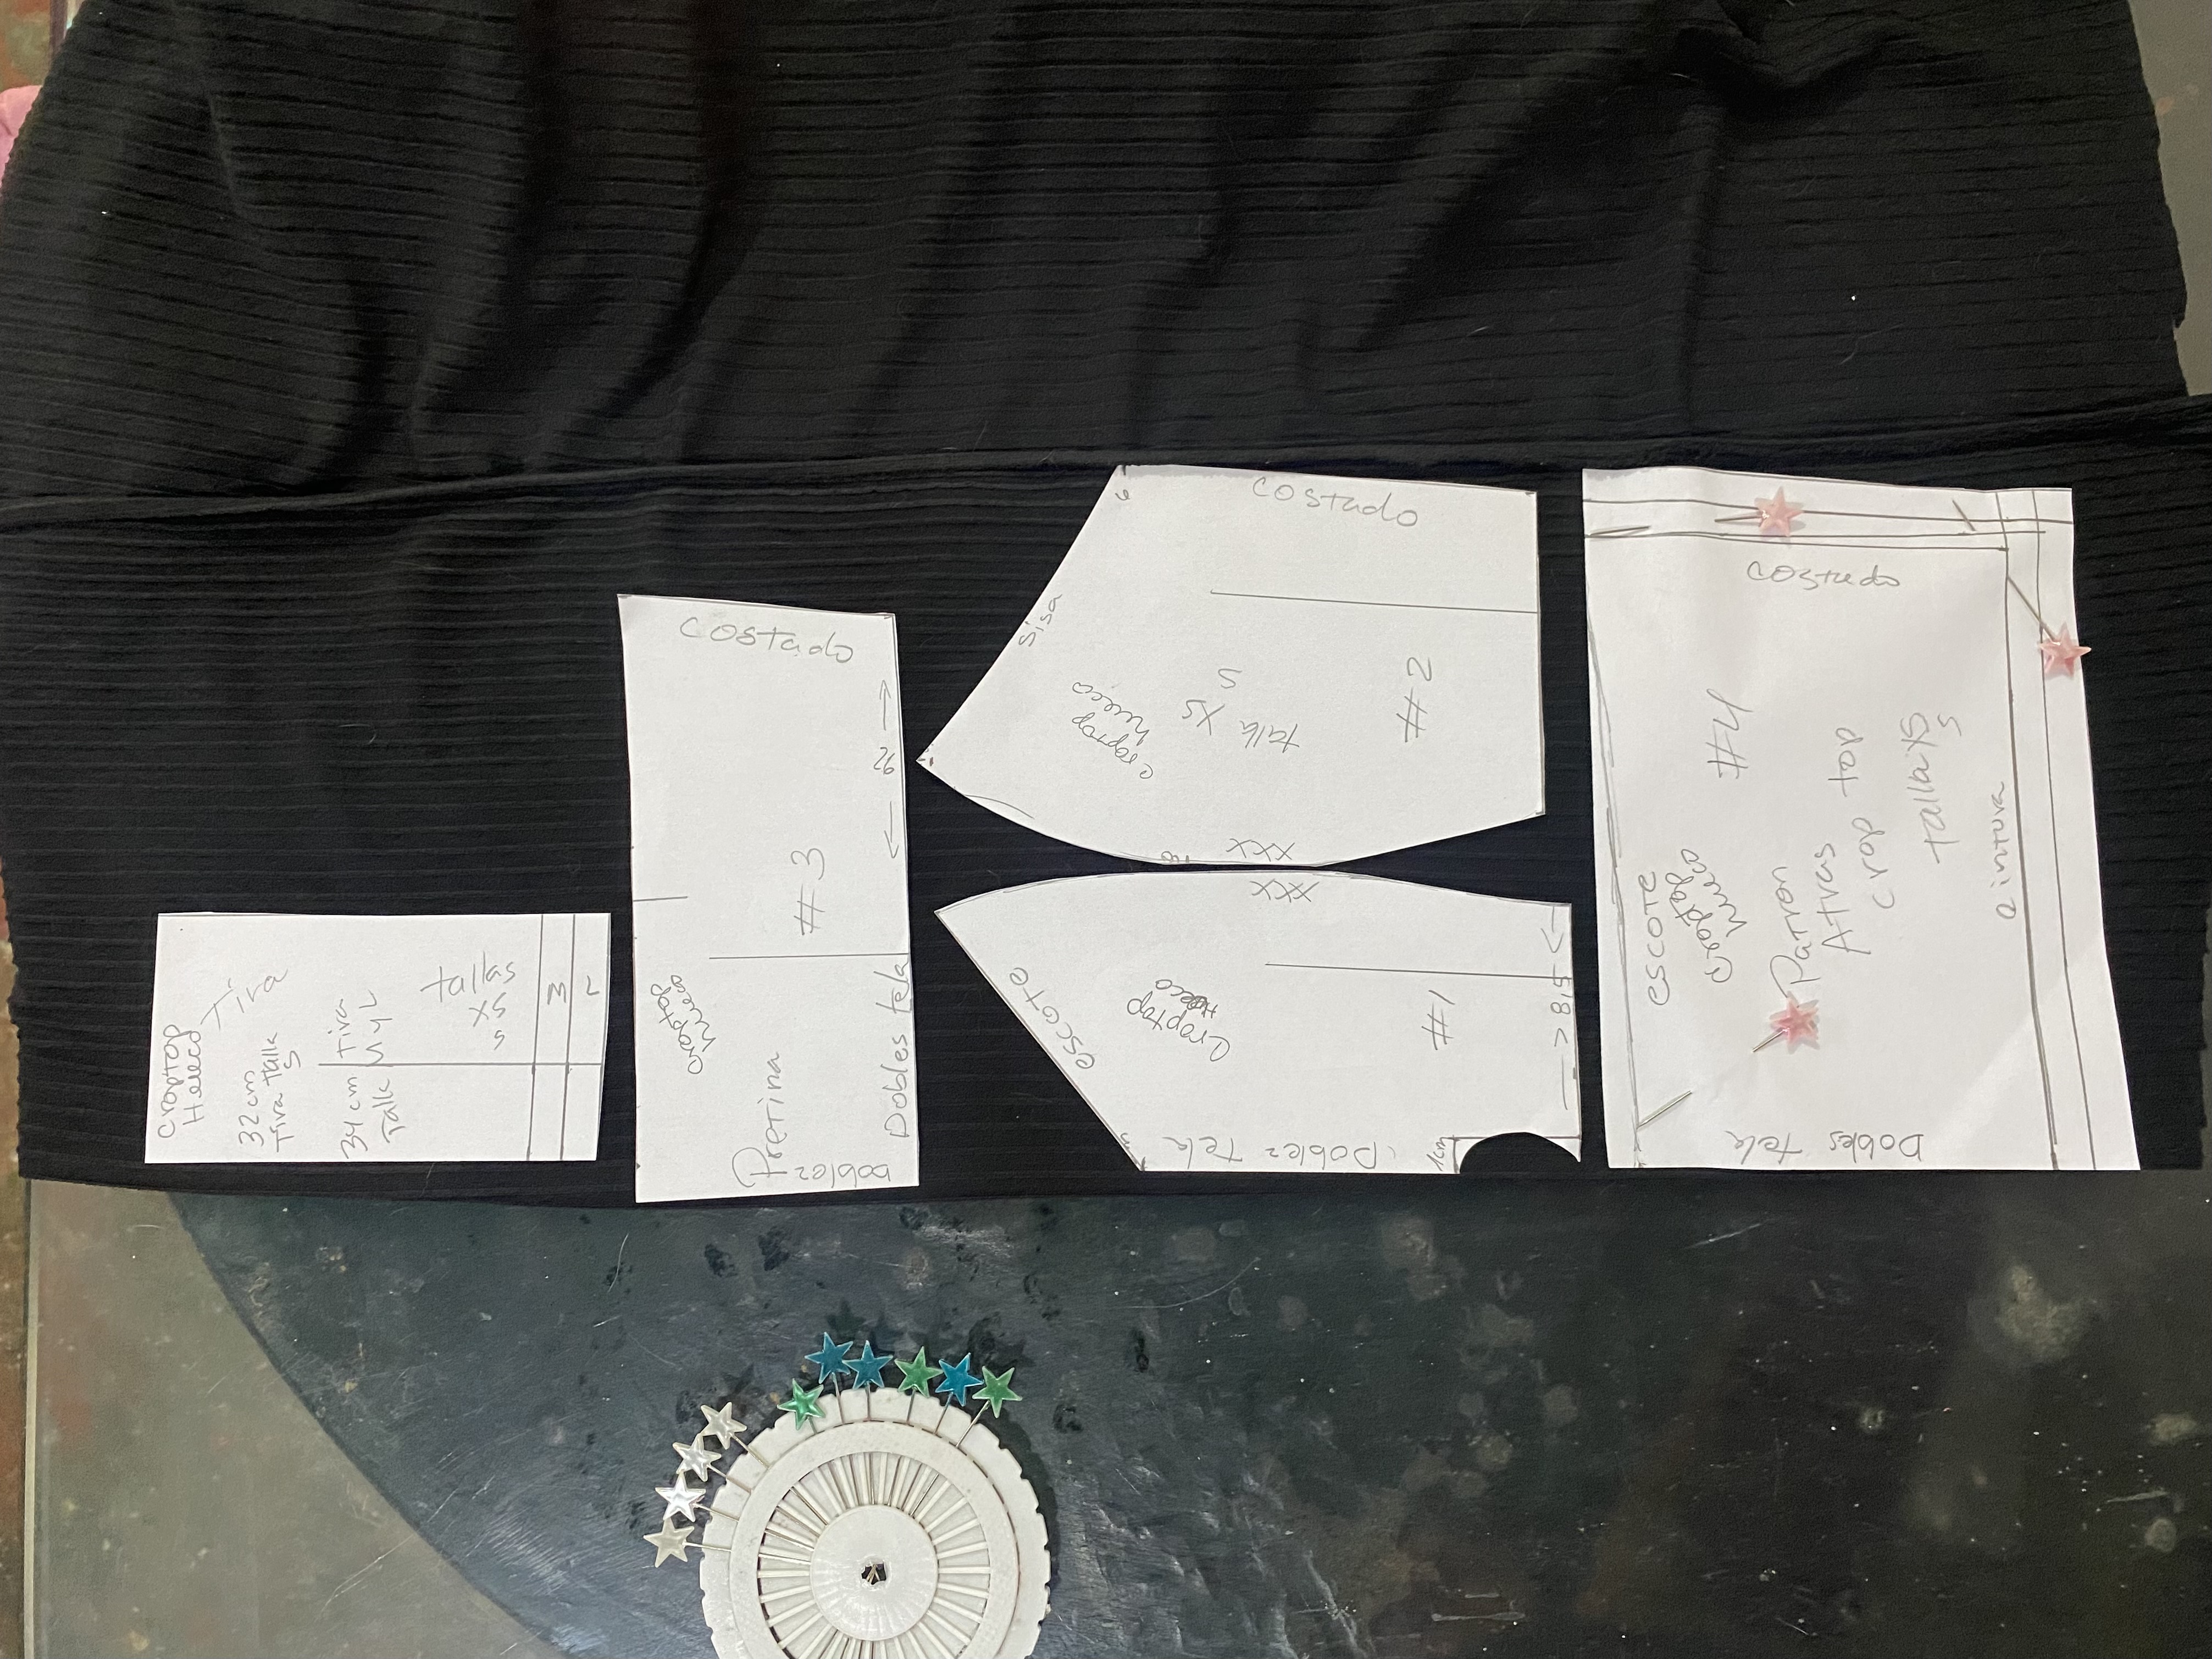
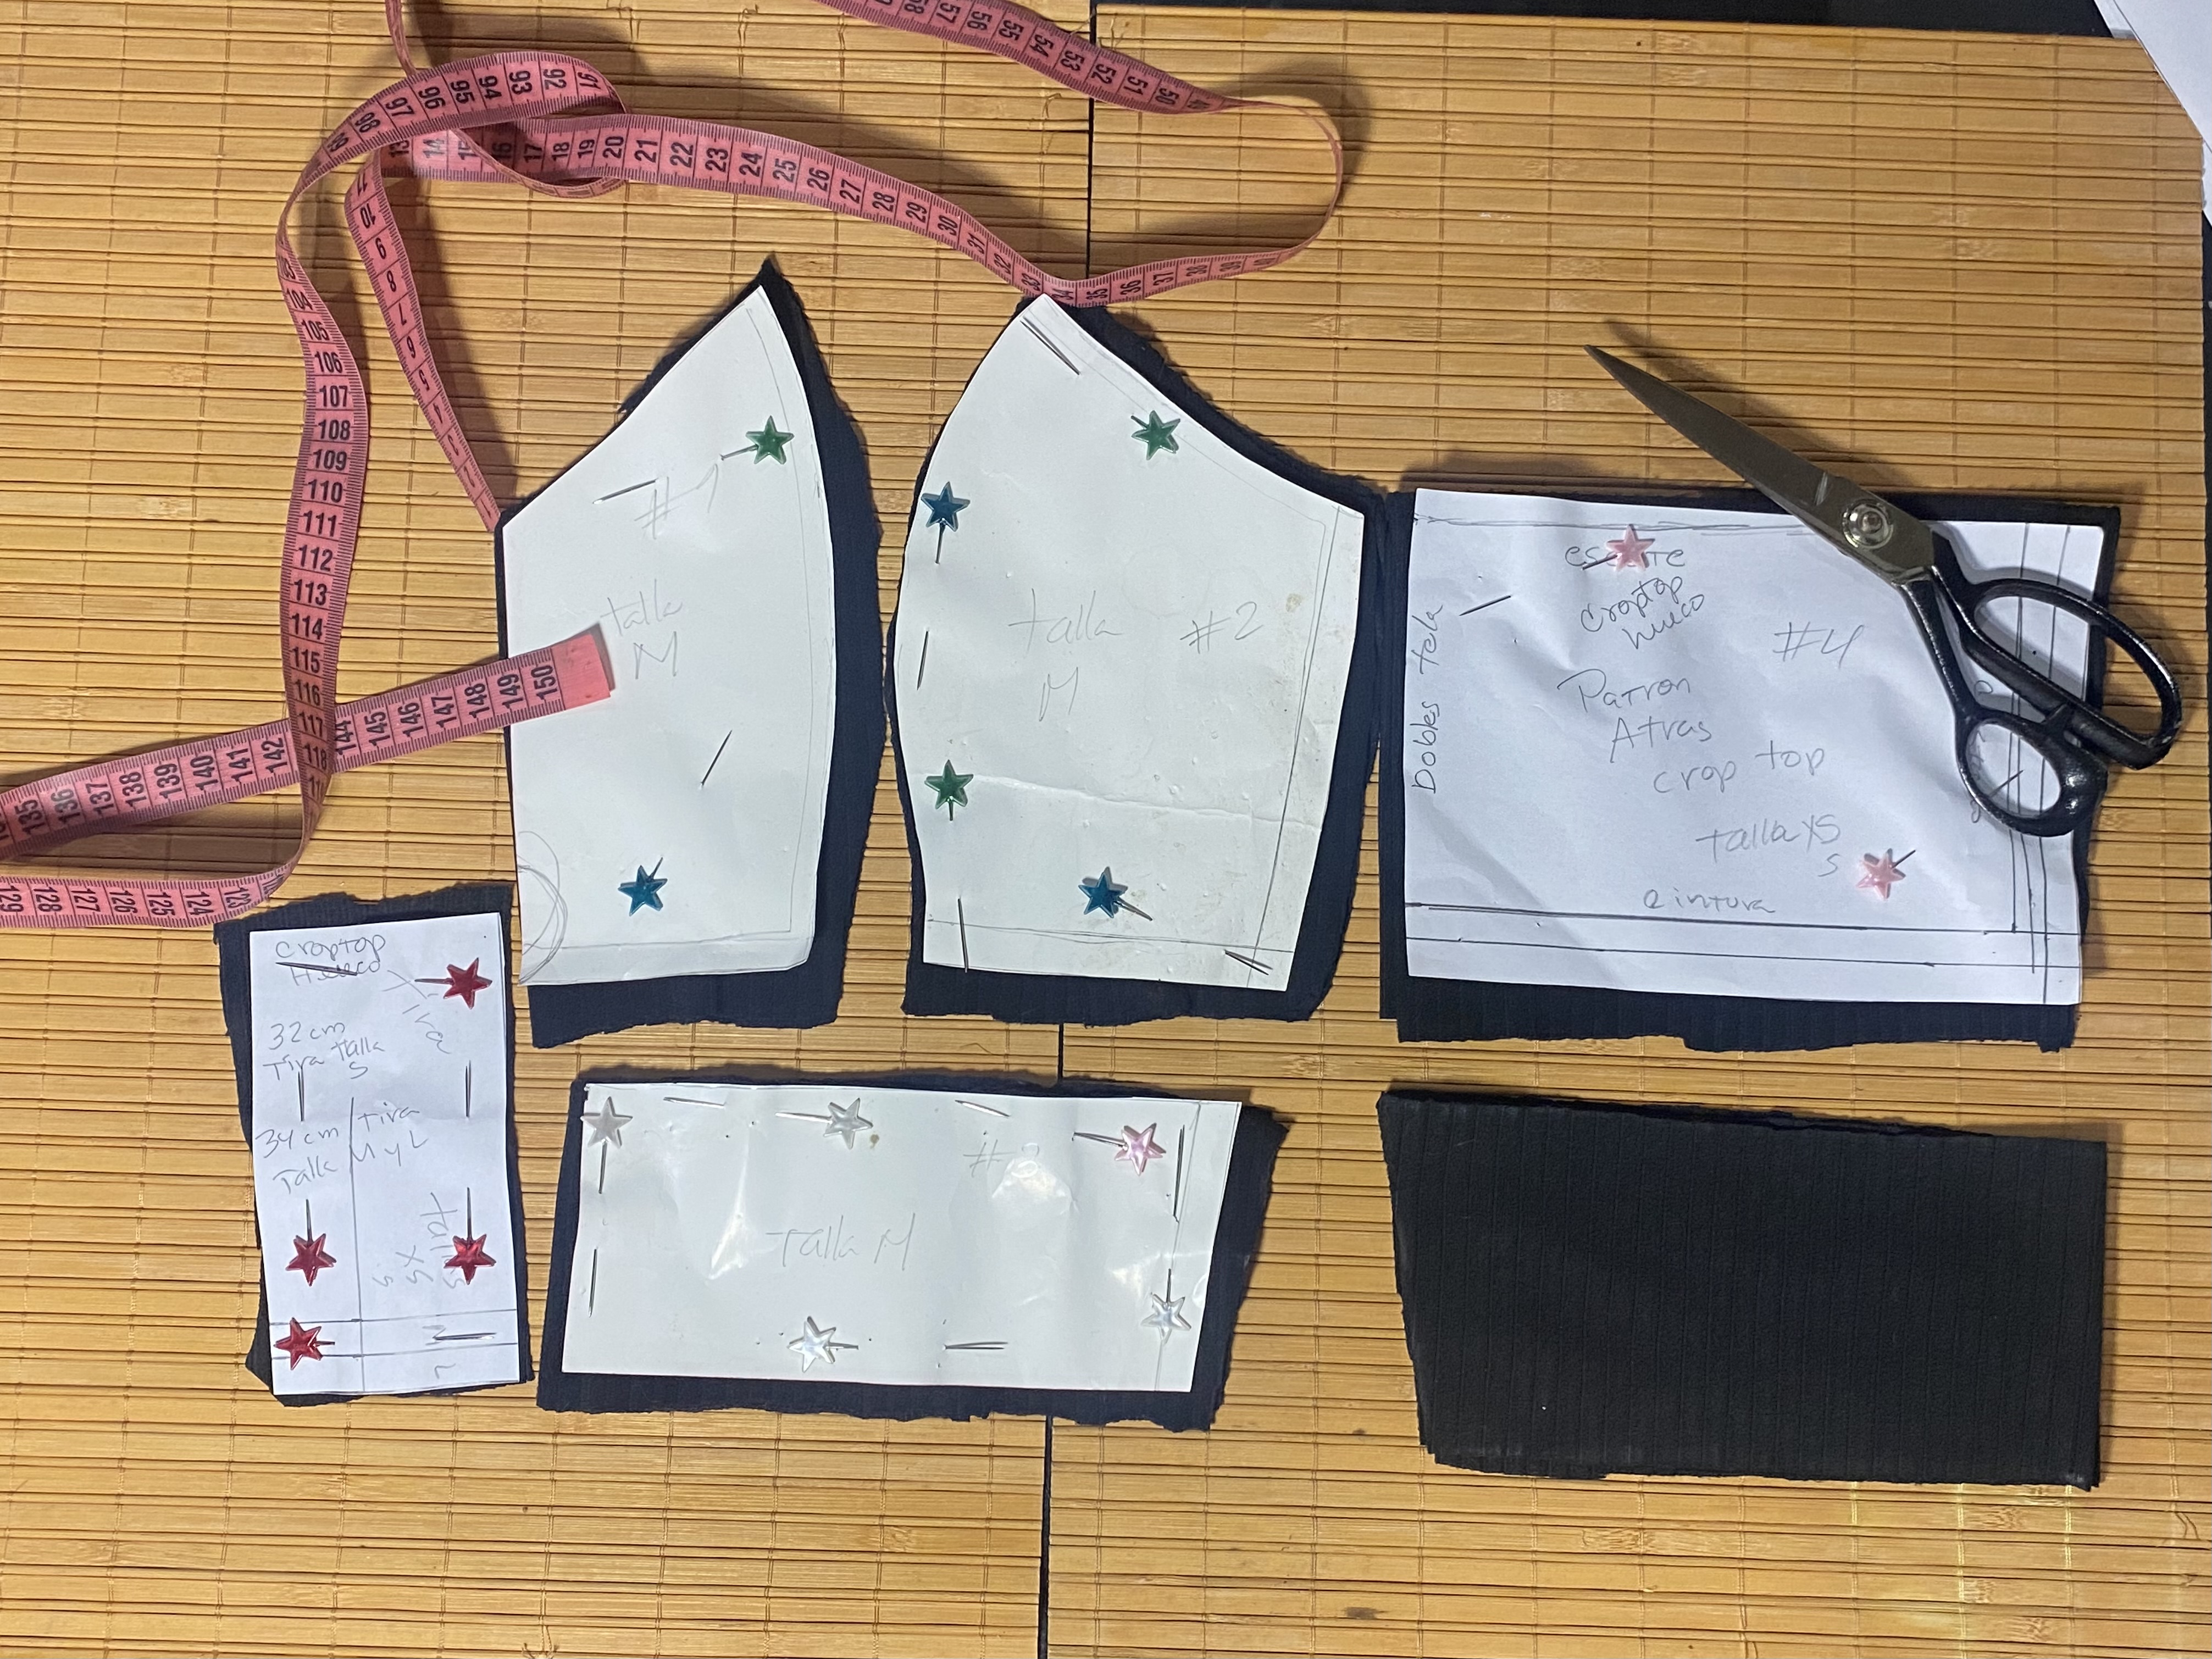
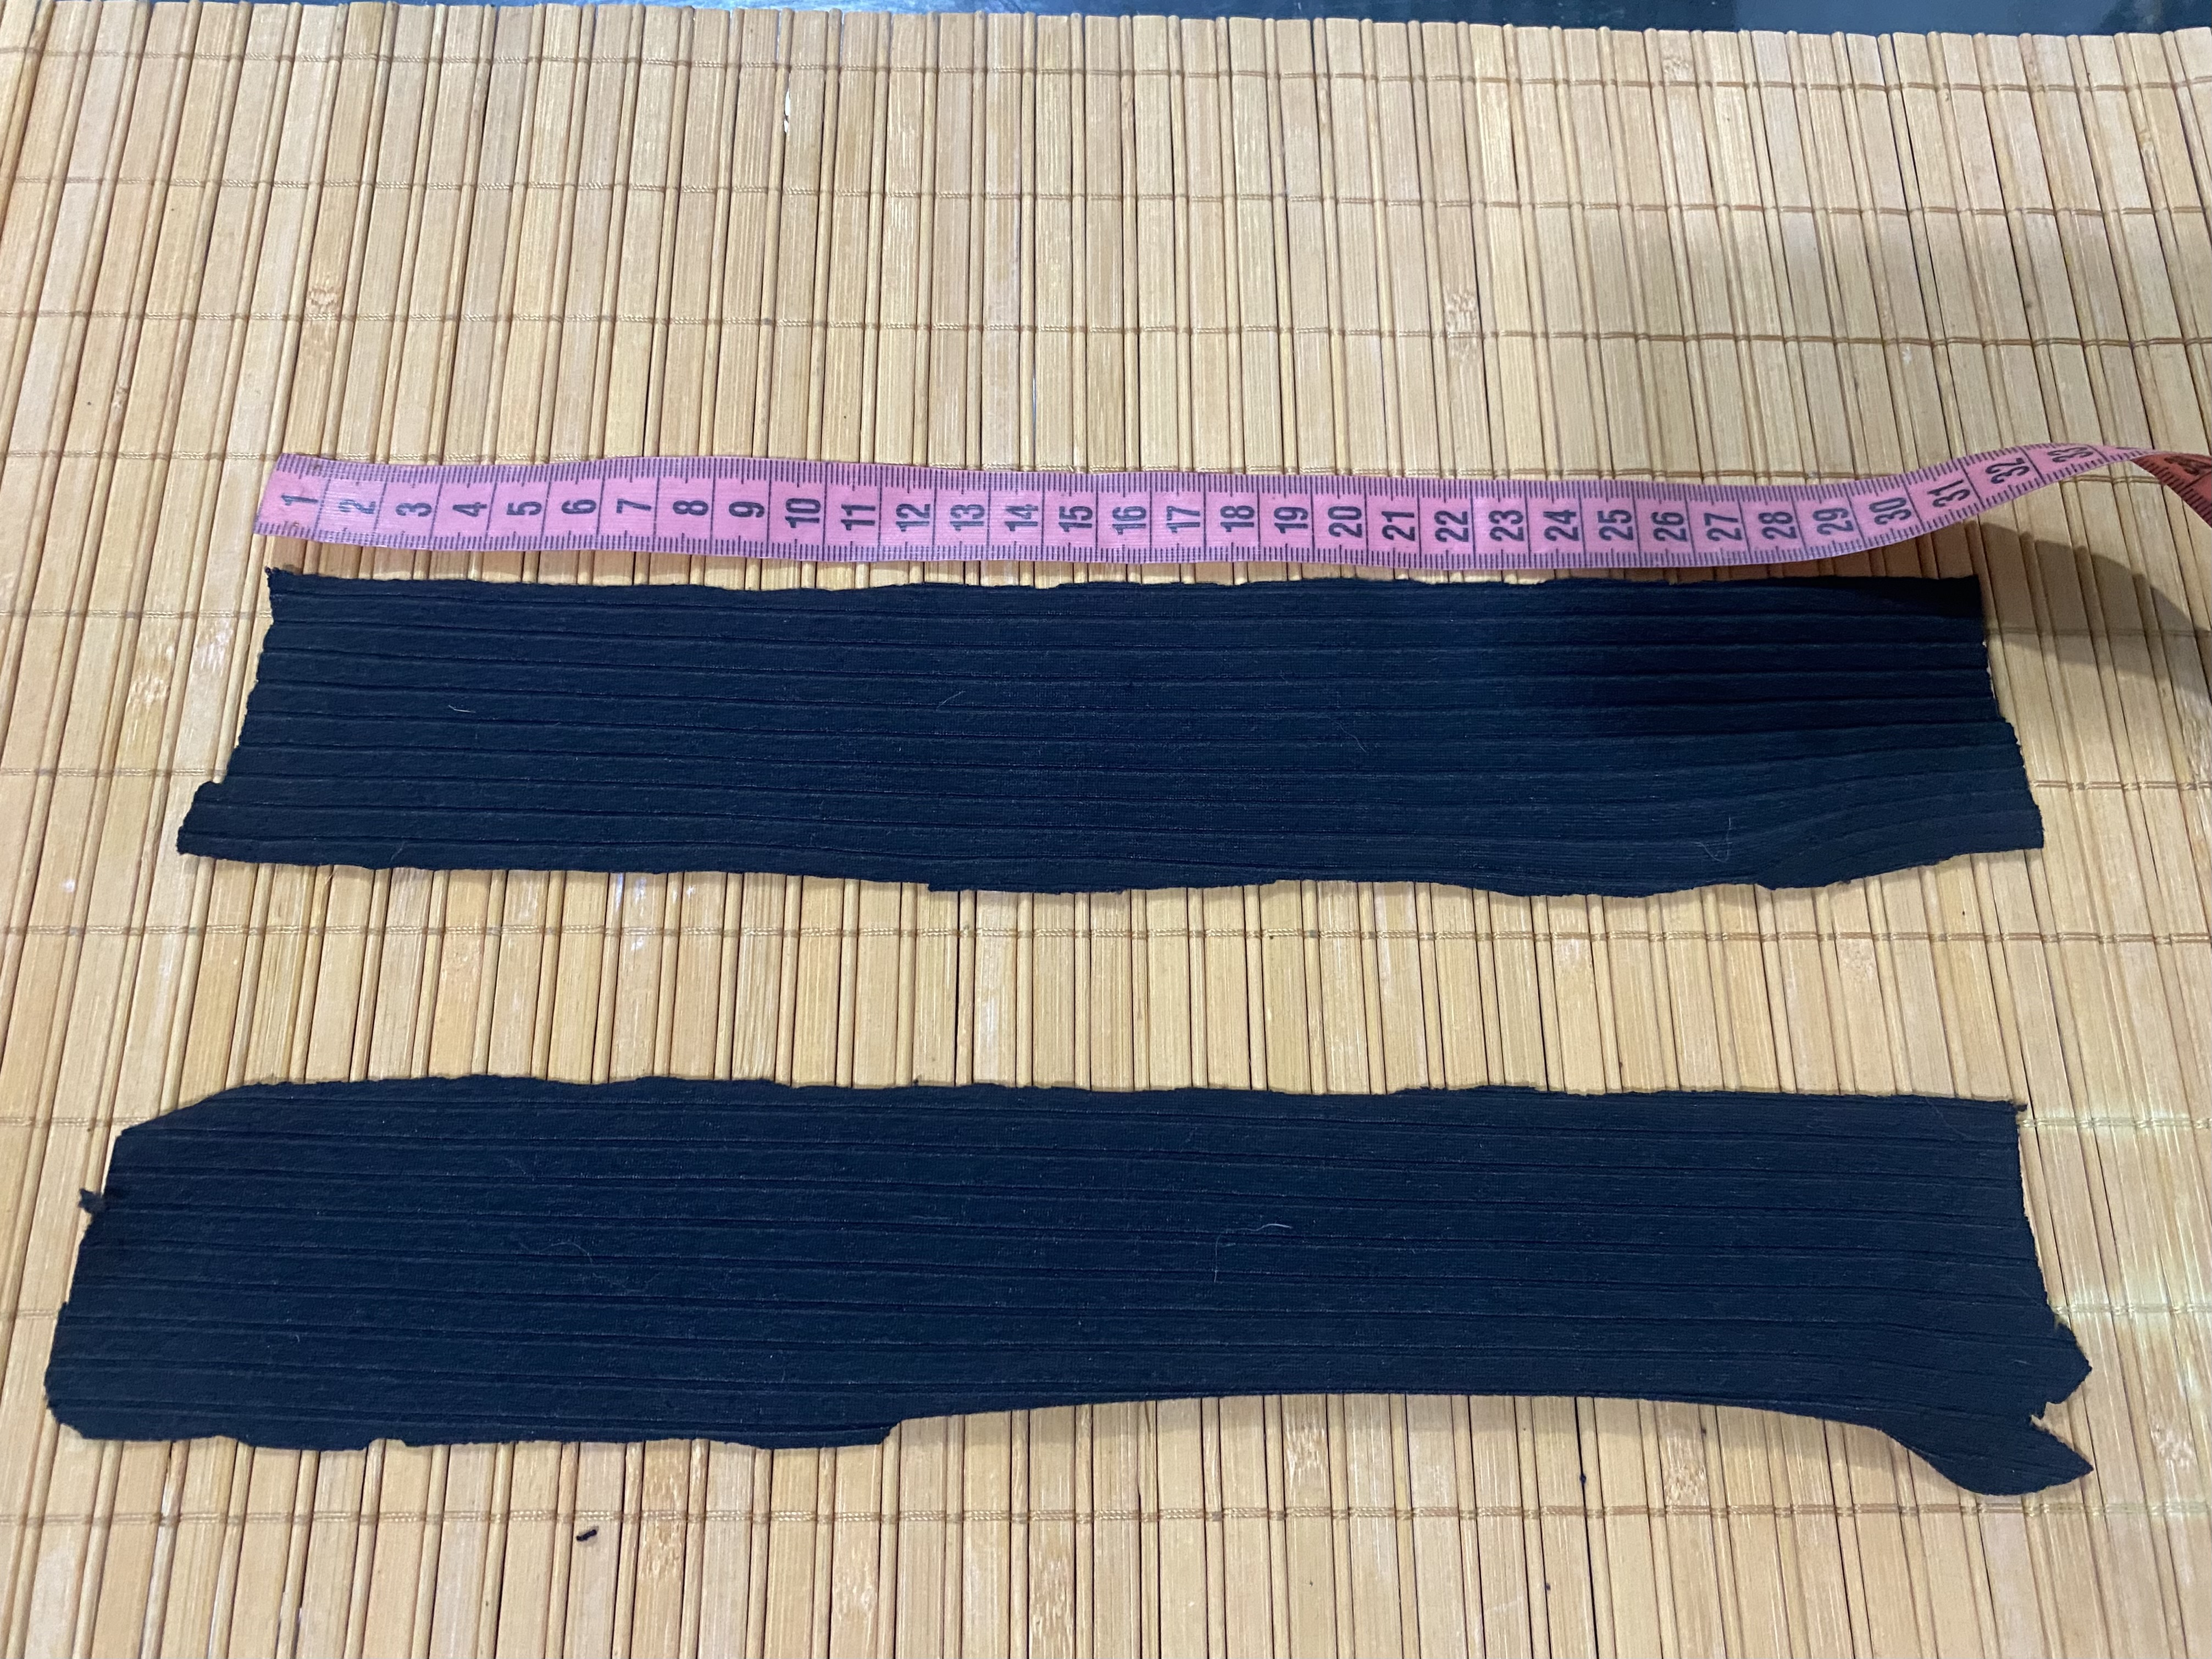
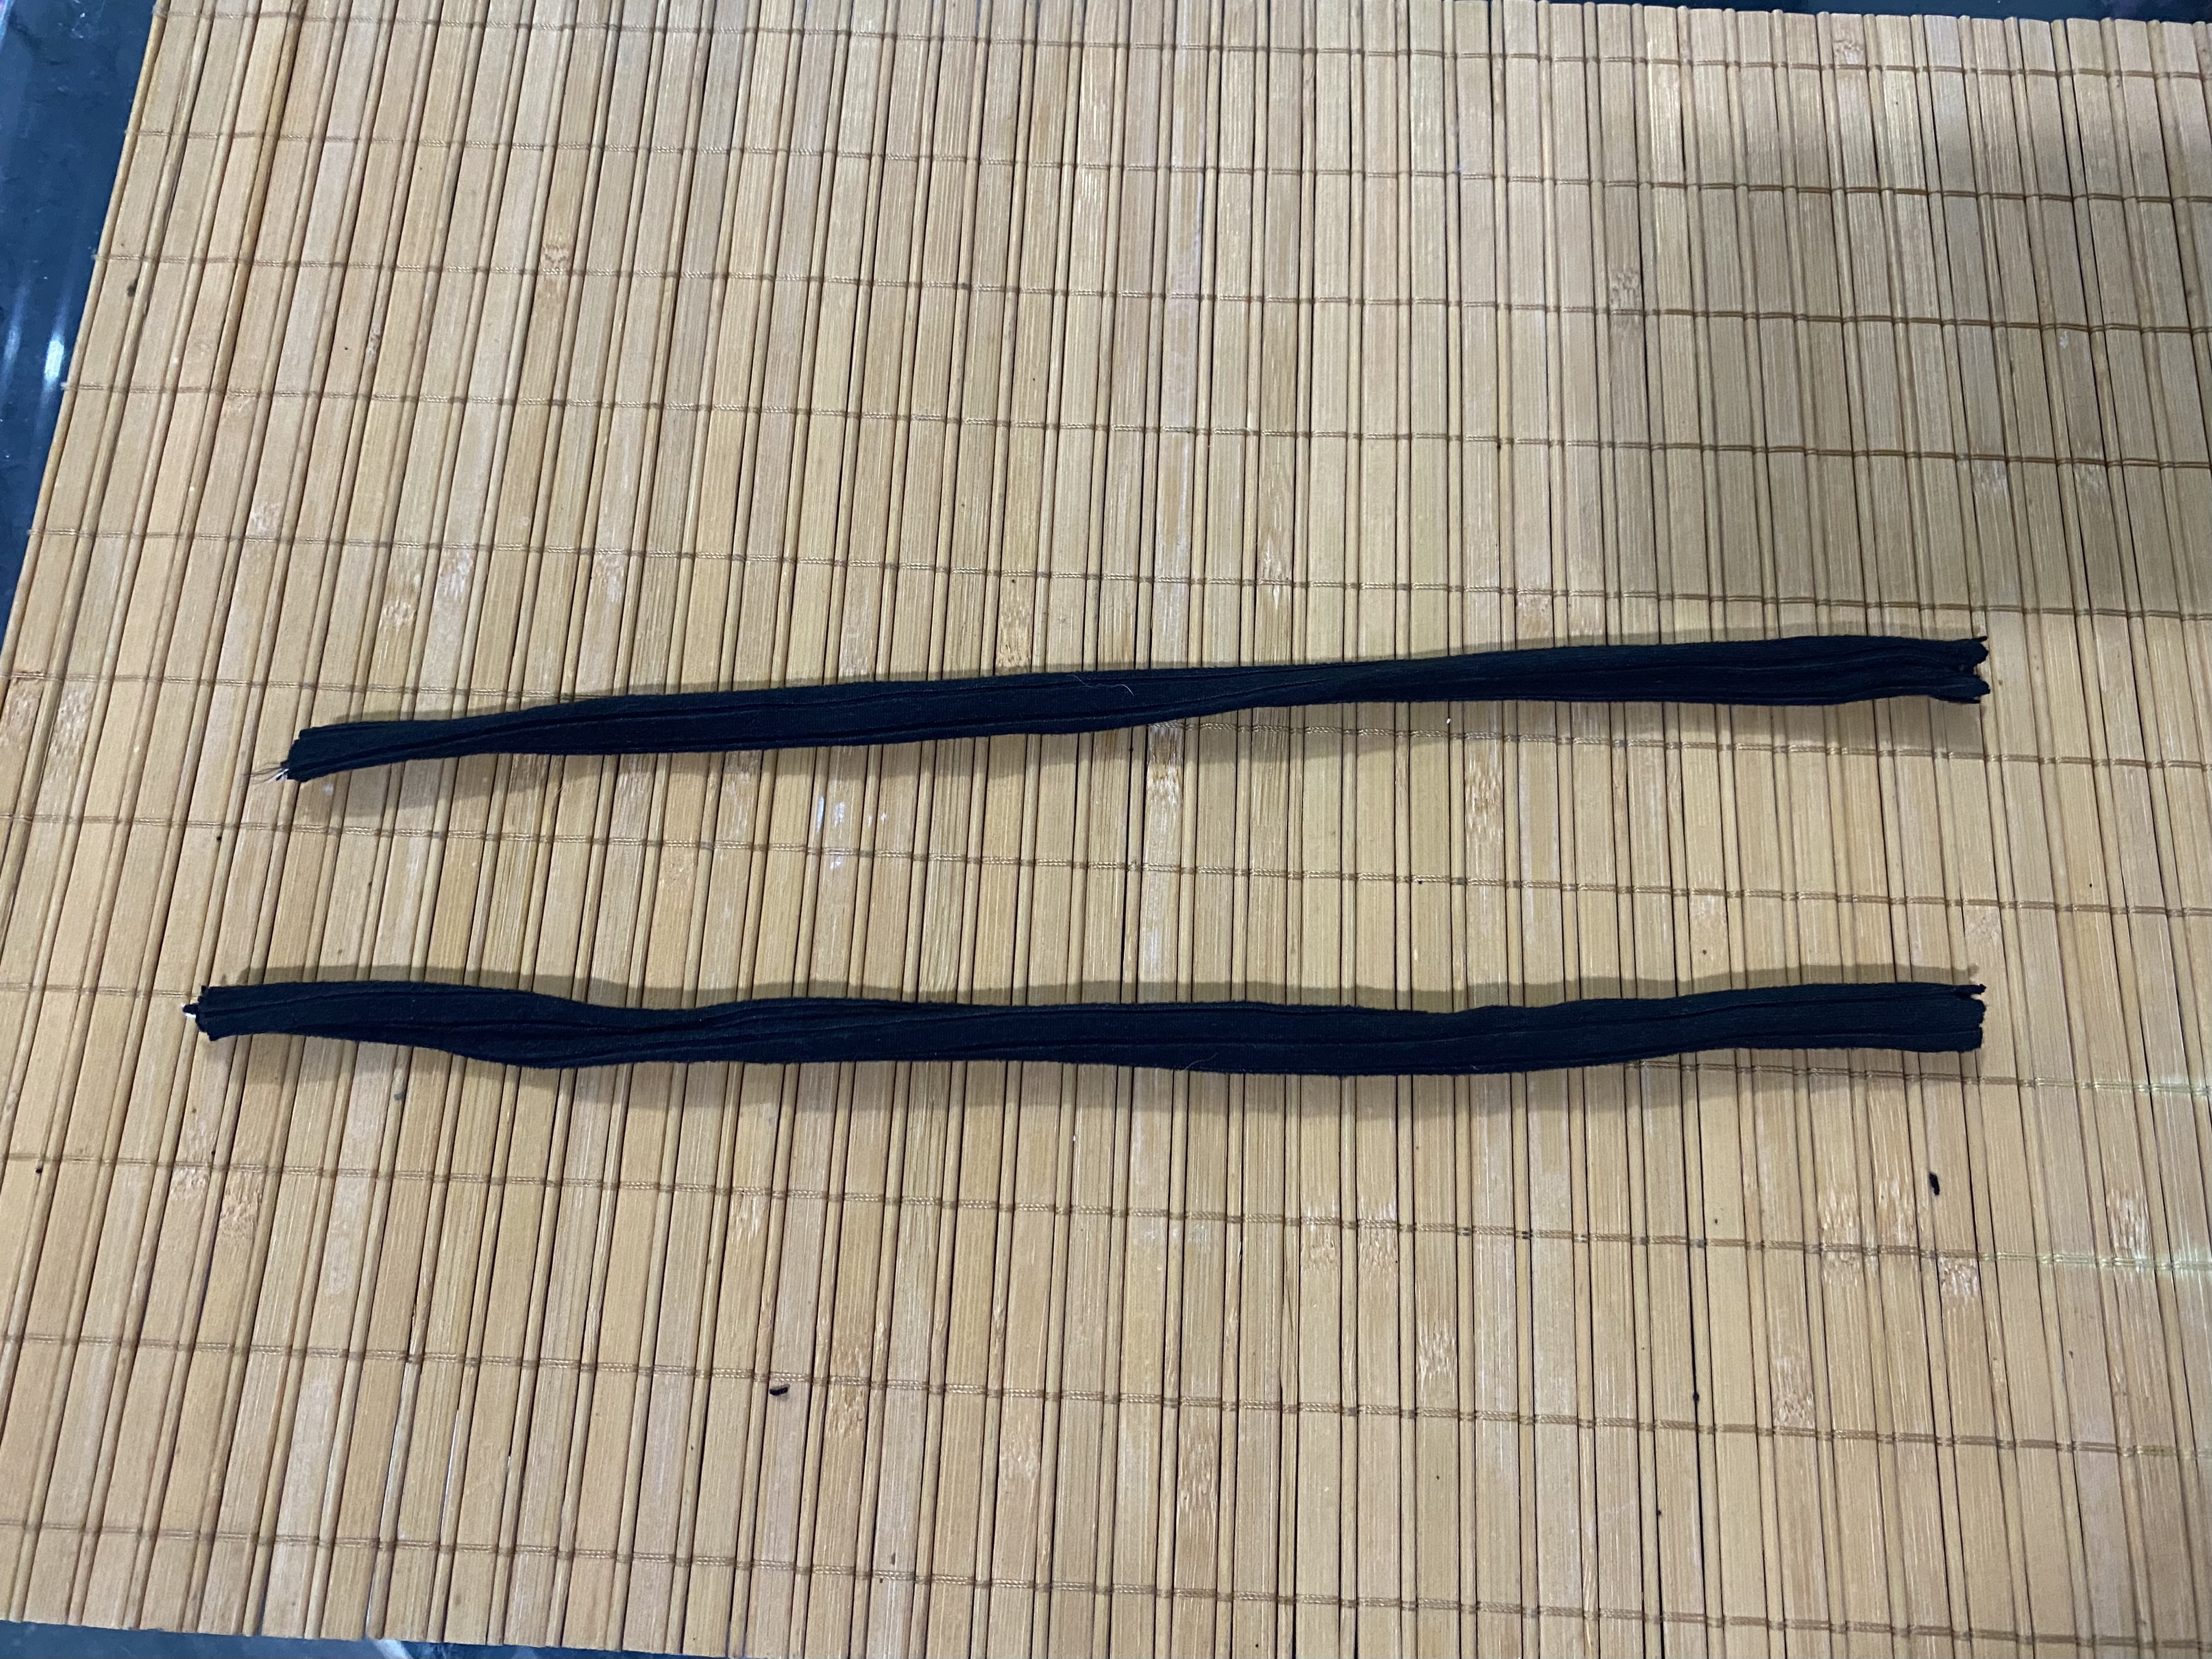
Éste patrón lo realicé con orientación de la profesora del curso de patronaje, también busqué un poco de ayuda en Internet y me guié con las medidas del patrón base de blusa Basico, la talla que voy a realizar es L, este patrón está dividido en 6 piezas principales y 2 para las tiras que serán los tirantes de nuestra blusa, para esto vamos a cortar dos retazos de 30 cm de largo por 3 cm de ancho, este tipo de crop top lo vamos a hacer de tela doble en todas las piezas.
This boss is carried out with guidance from the patronage course teacher, he also seeks a little help on the Internet and guides me with the measurements of the basic blouse base patrón, the size I am going to accomplish is L, this patrón is divided into 6 main pieces and 2 for the strips that will be the straps of our blouse, for this we are going to cut from the sections 30 cm wide by 3 cm wide, This type of crop top means we're going to make a double canvas on all parts.
 |  |
|---|---|
 |  |
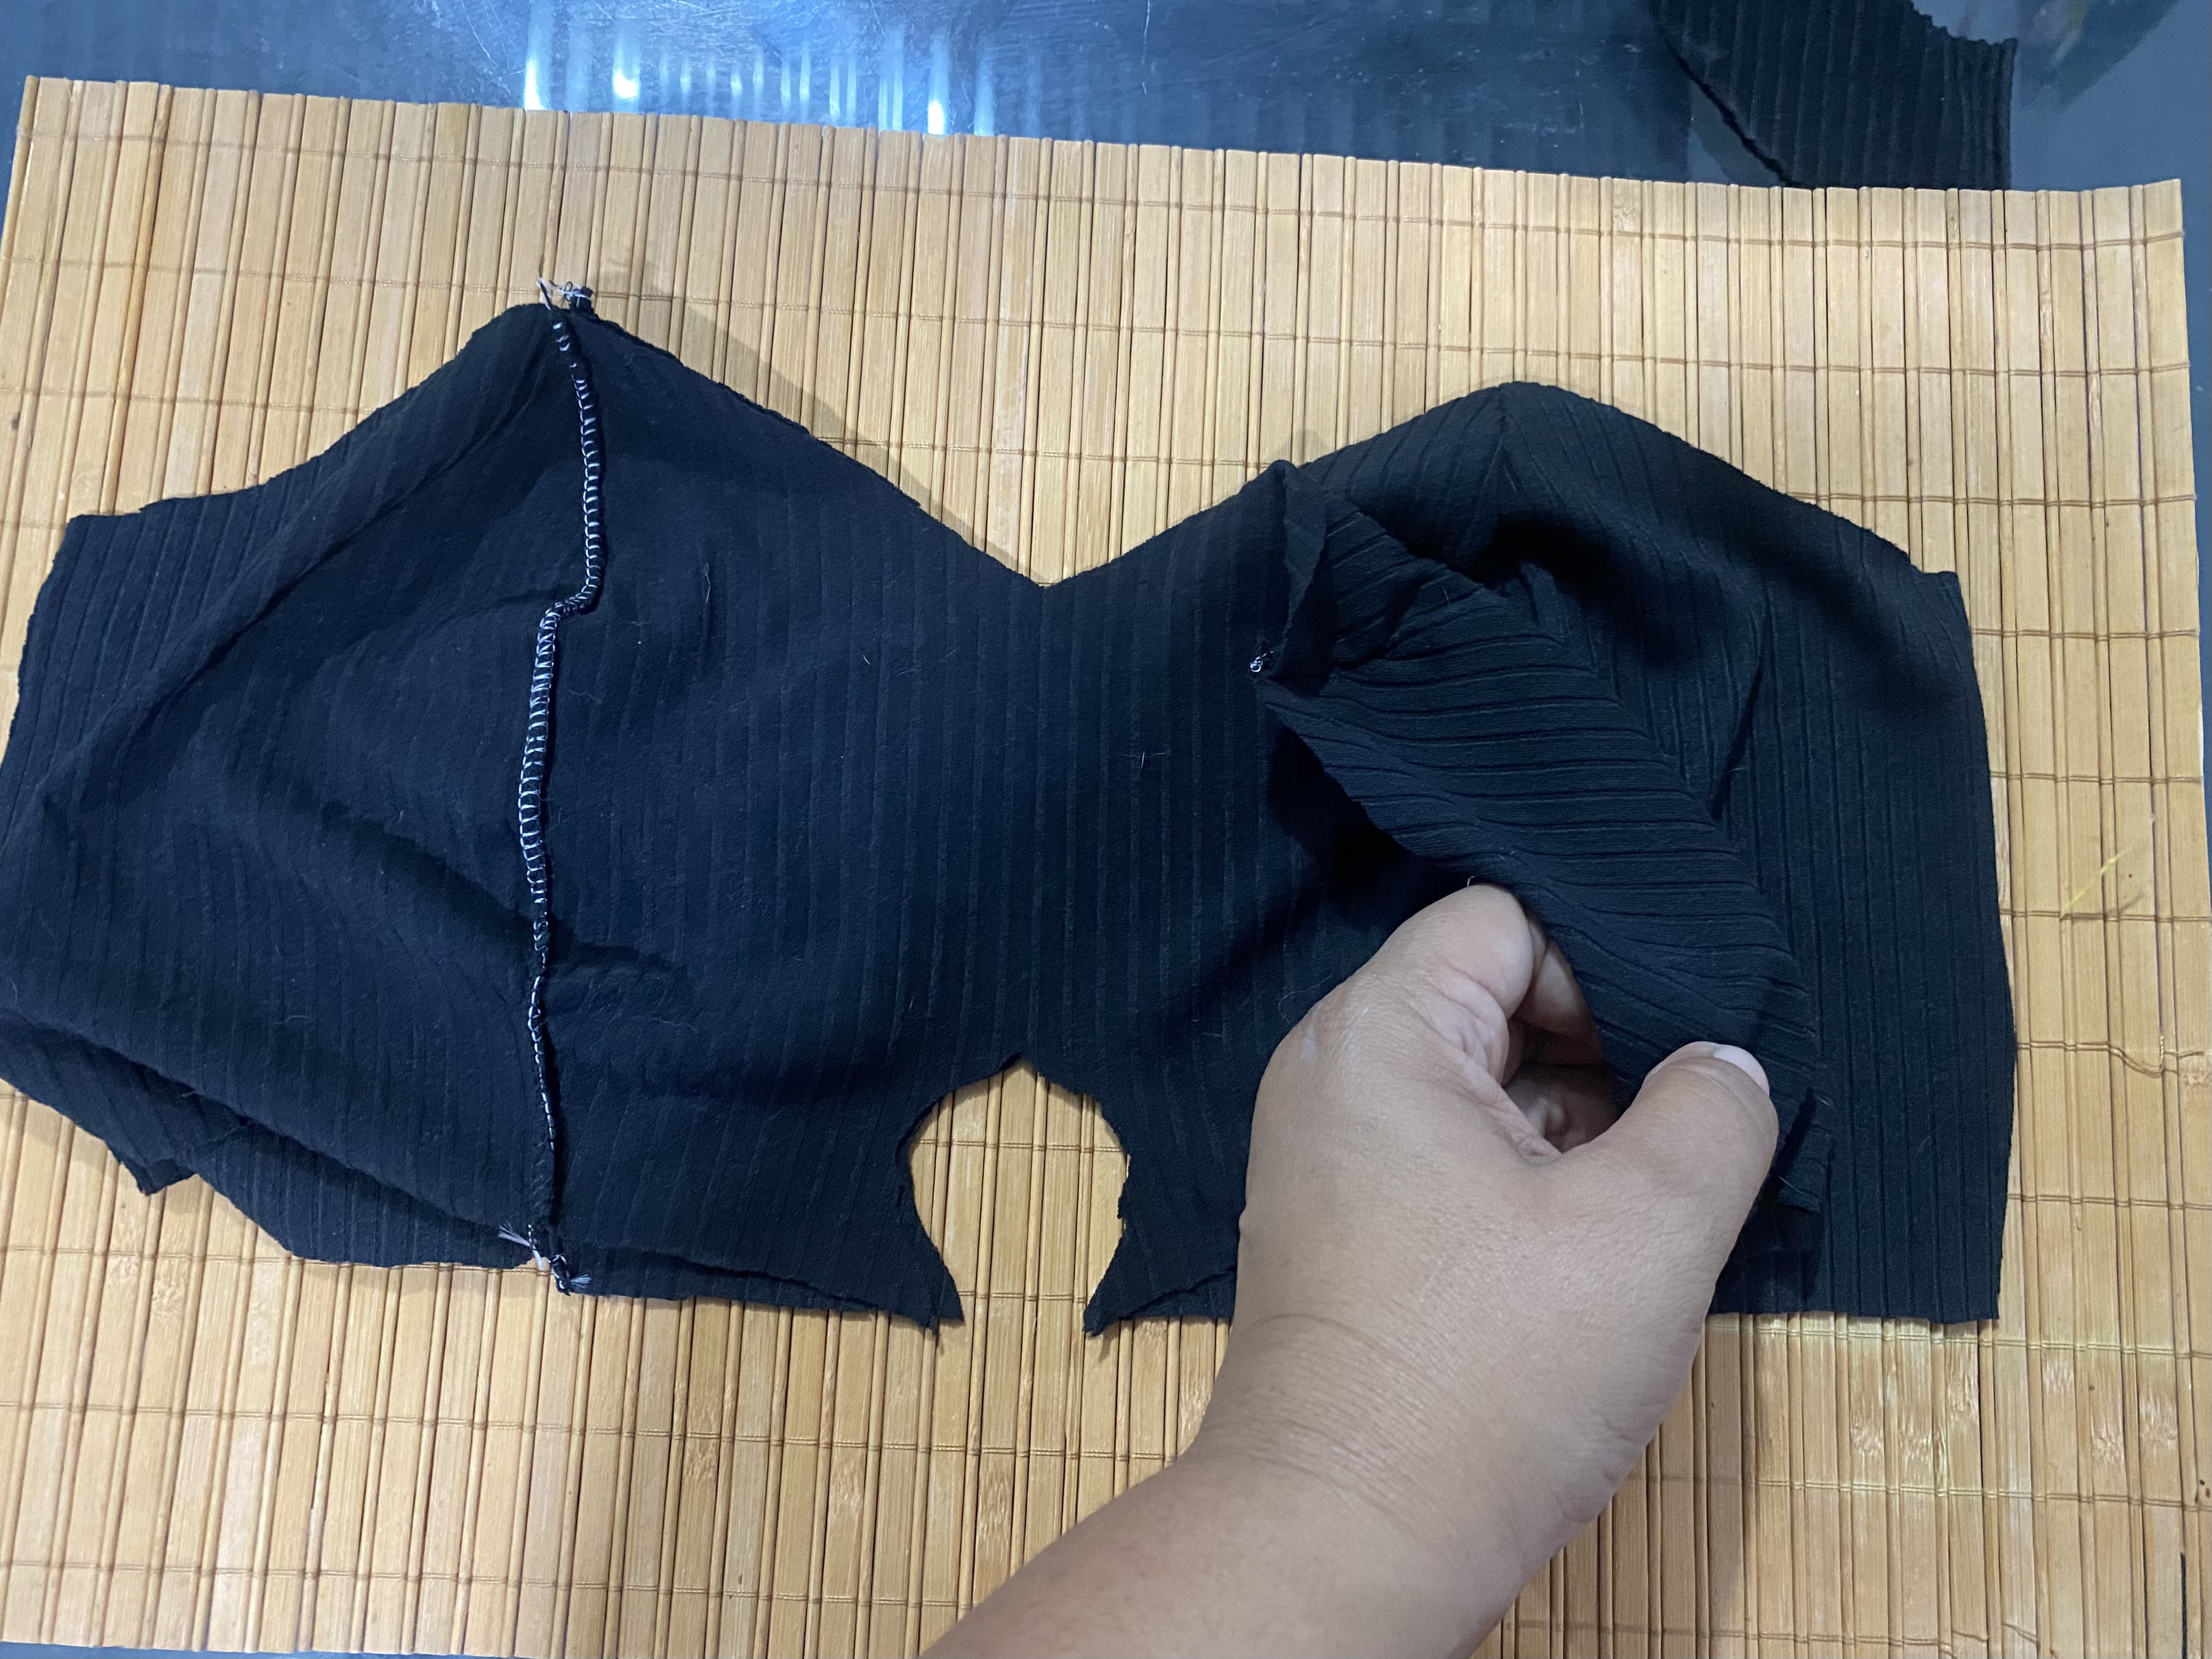
Al Tener ya cortadas todas nuestras piezas vamos a ir ensamblando, comenzaremos con las piezas del busto, estás las uniremos de manera individual, tanto la del lado de adentro como la de lado de afuera.
We'll cut all our pieces together, we'll start with the pieces of the bust, we'll join them together individually, both on the inside and on the outside.
 |  |
|---|
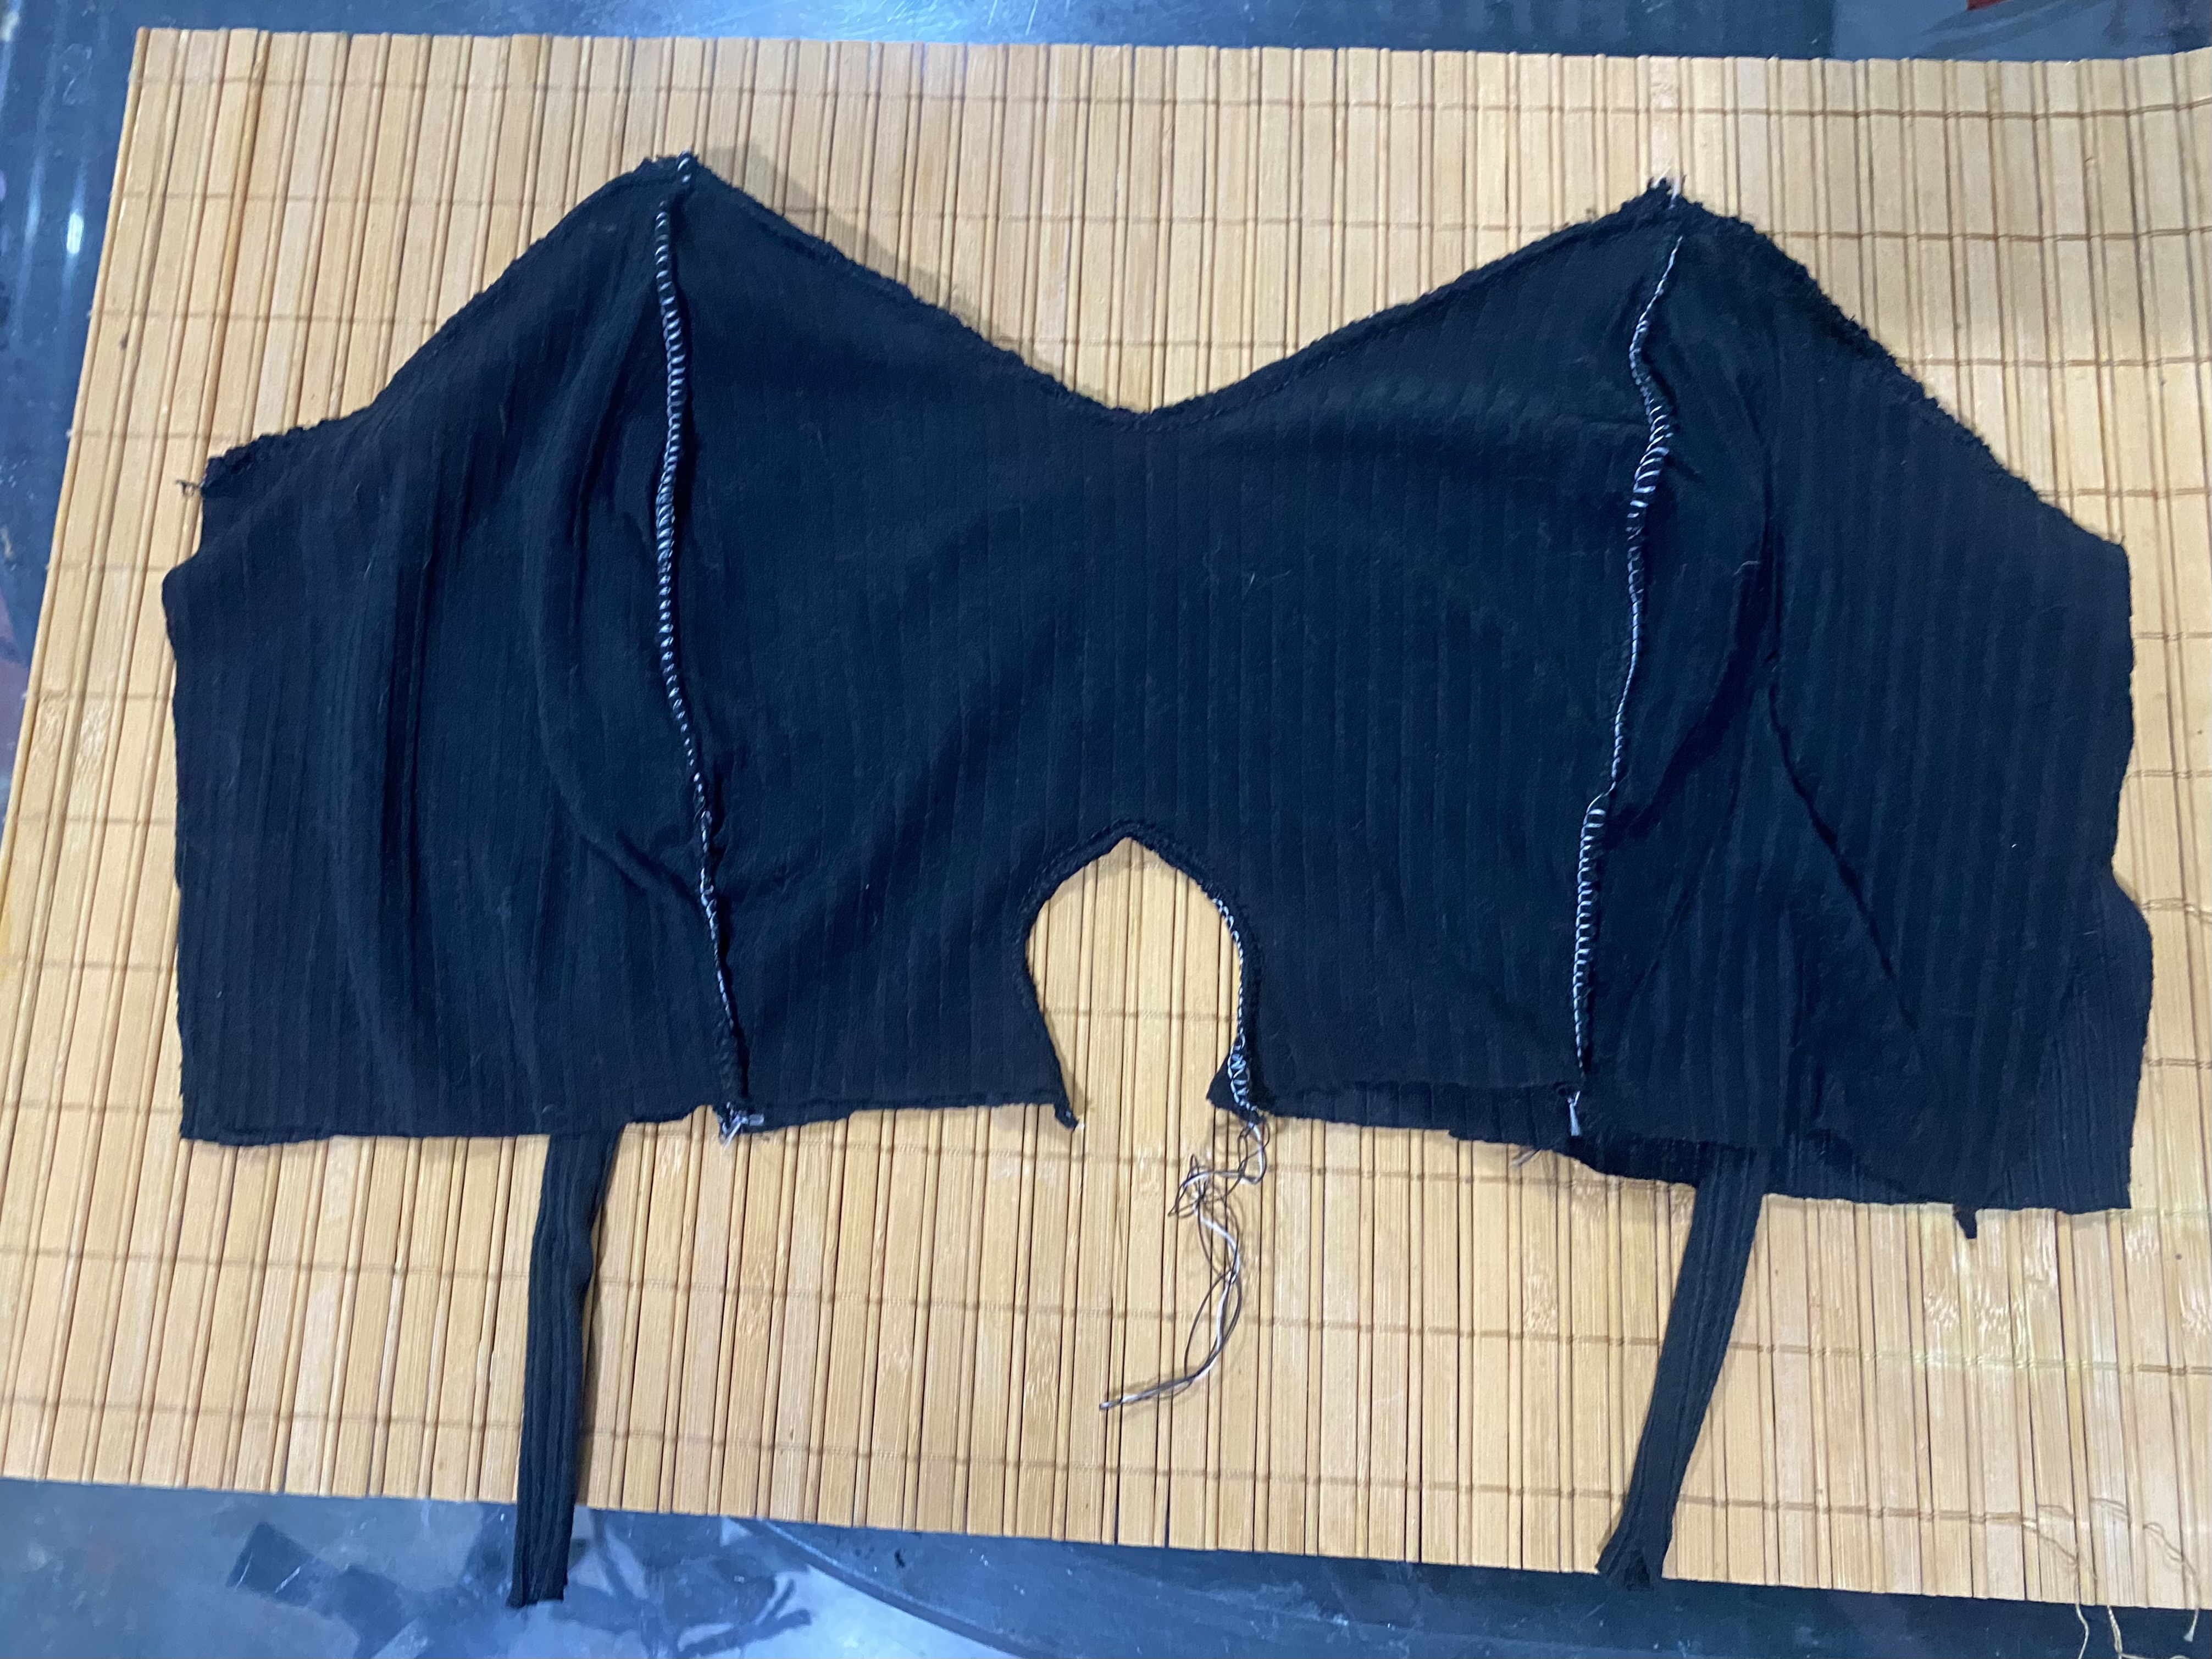
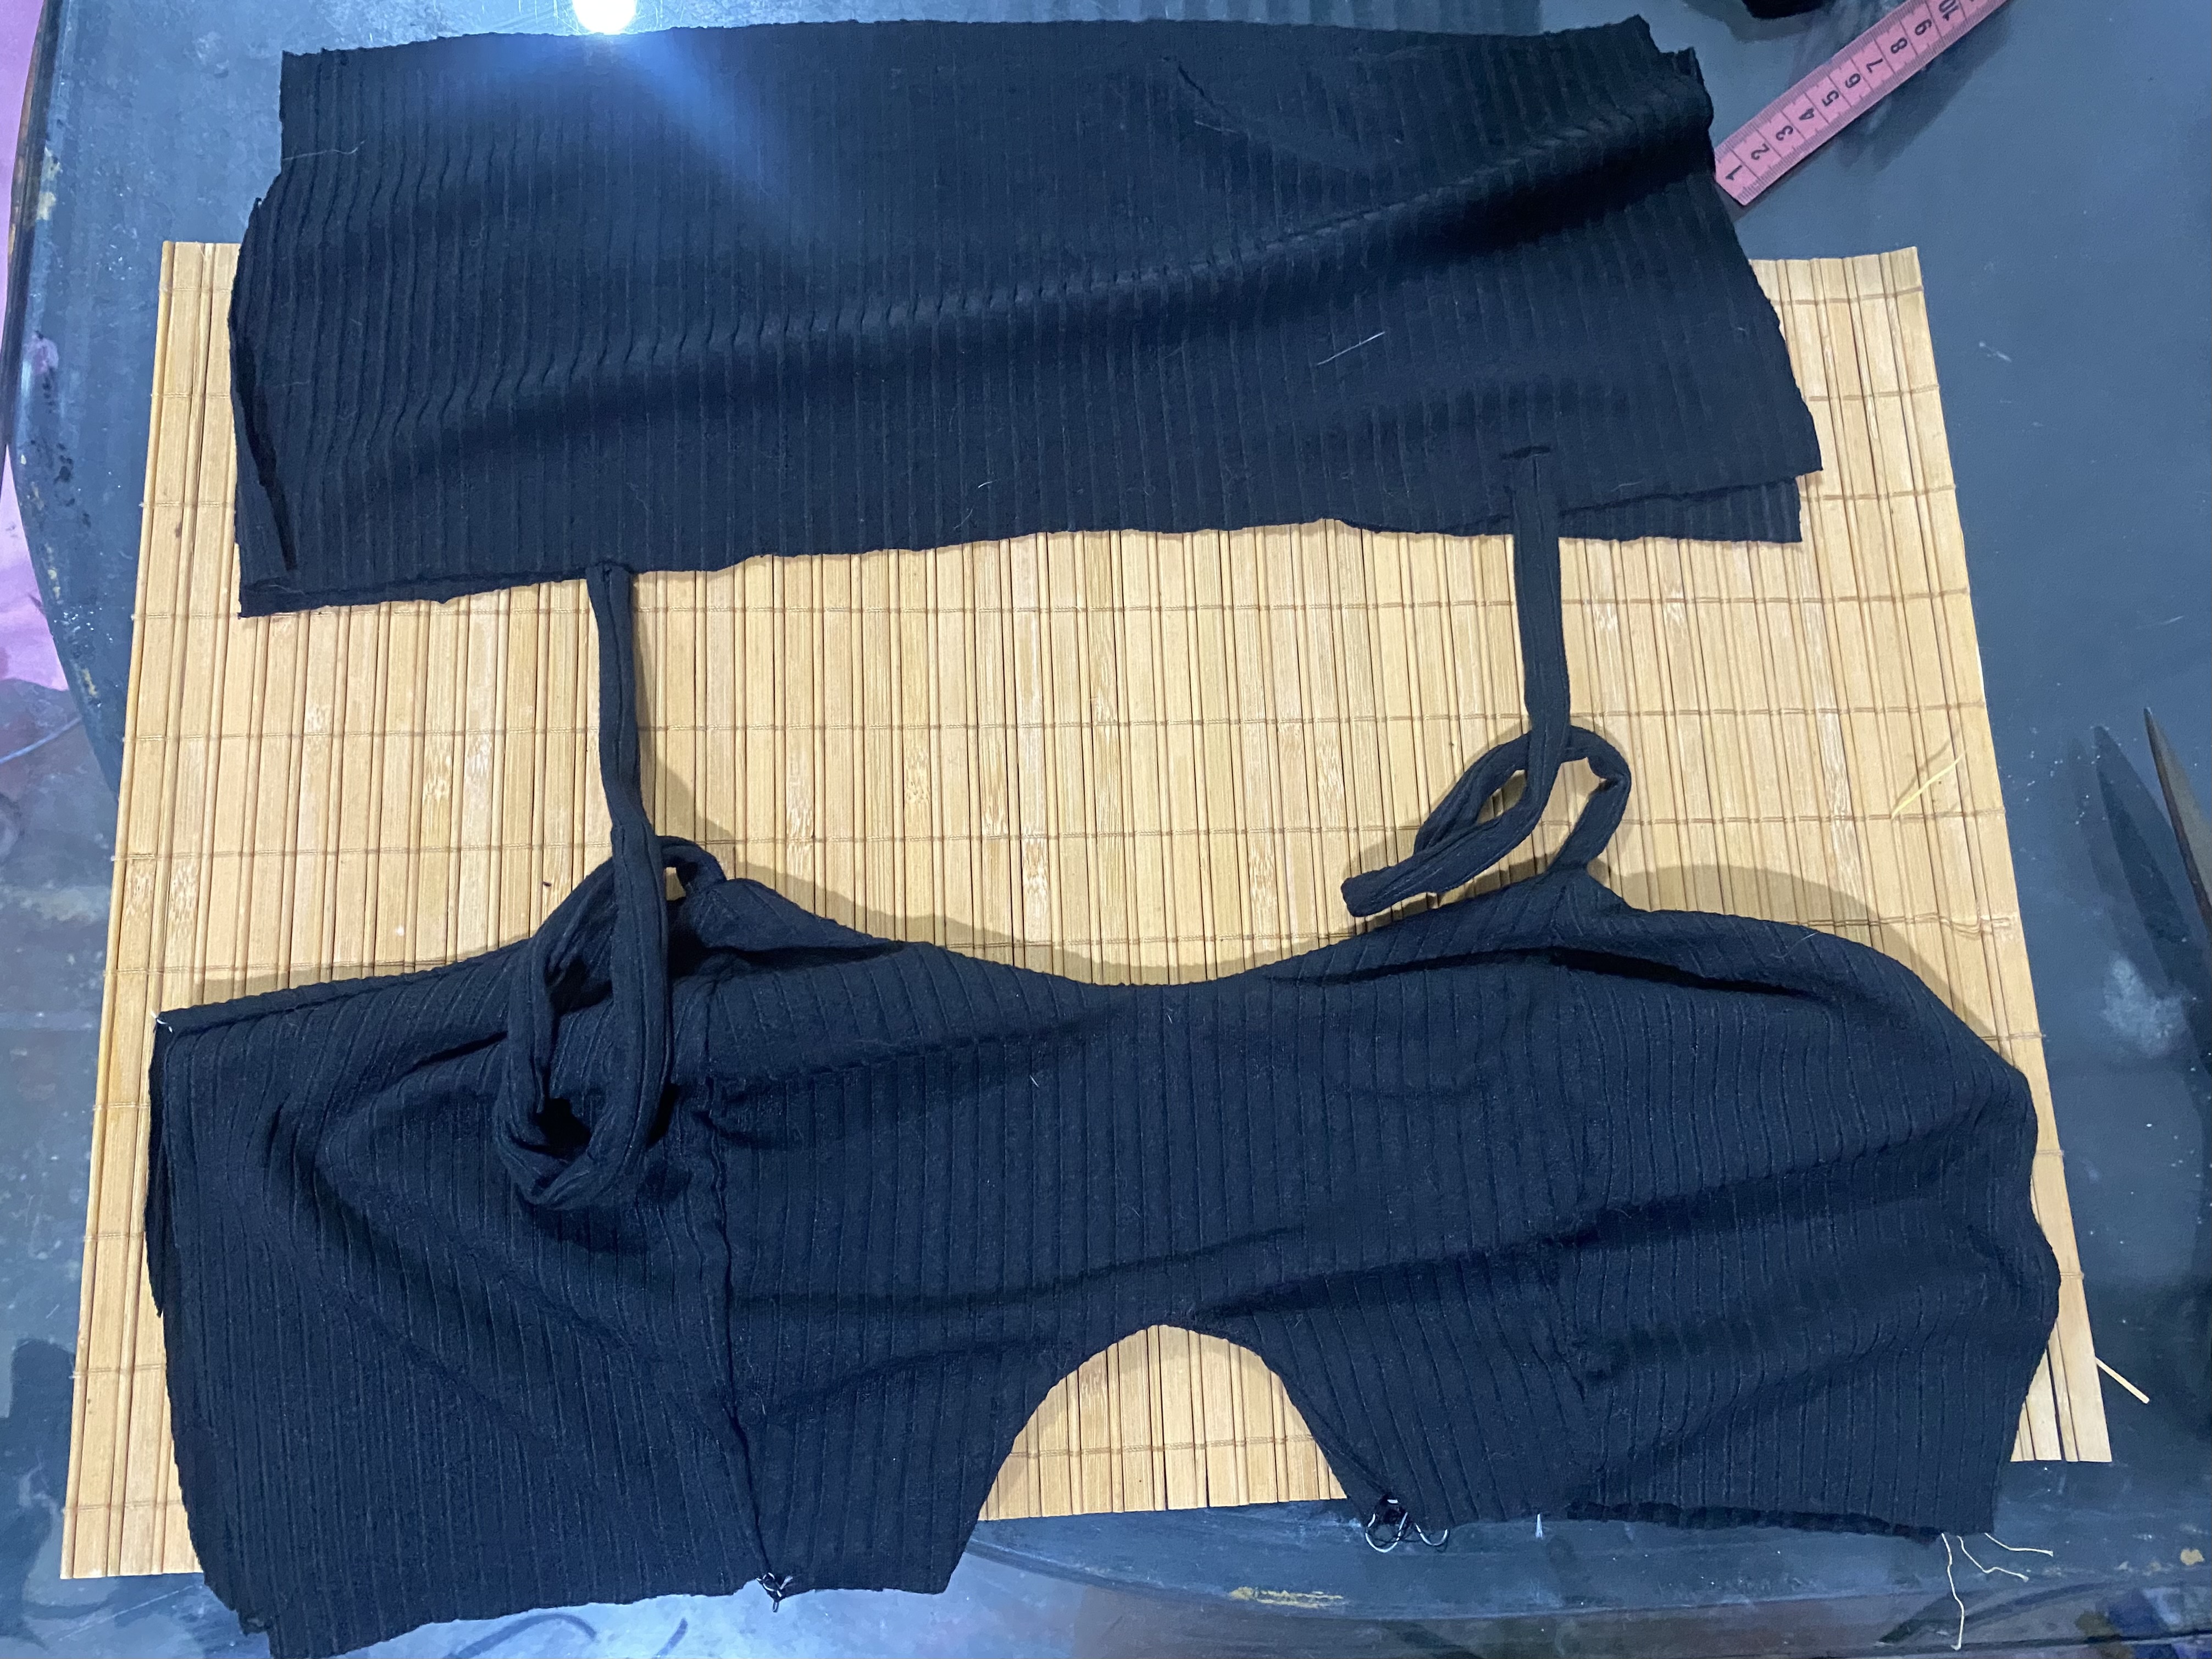
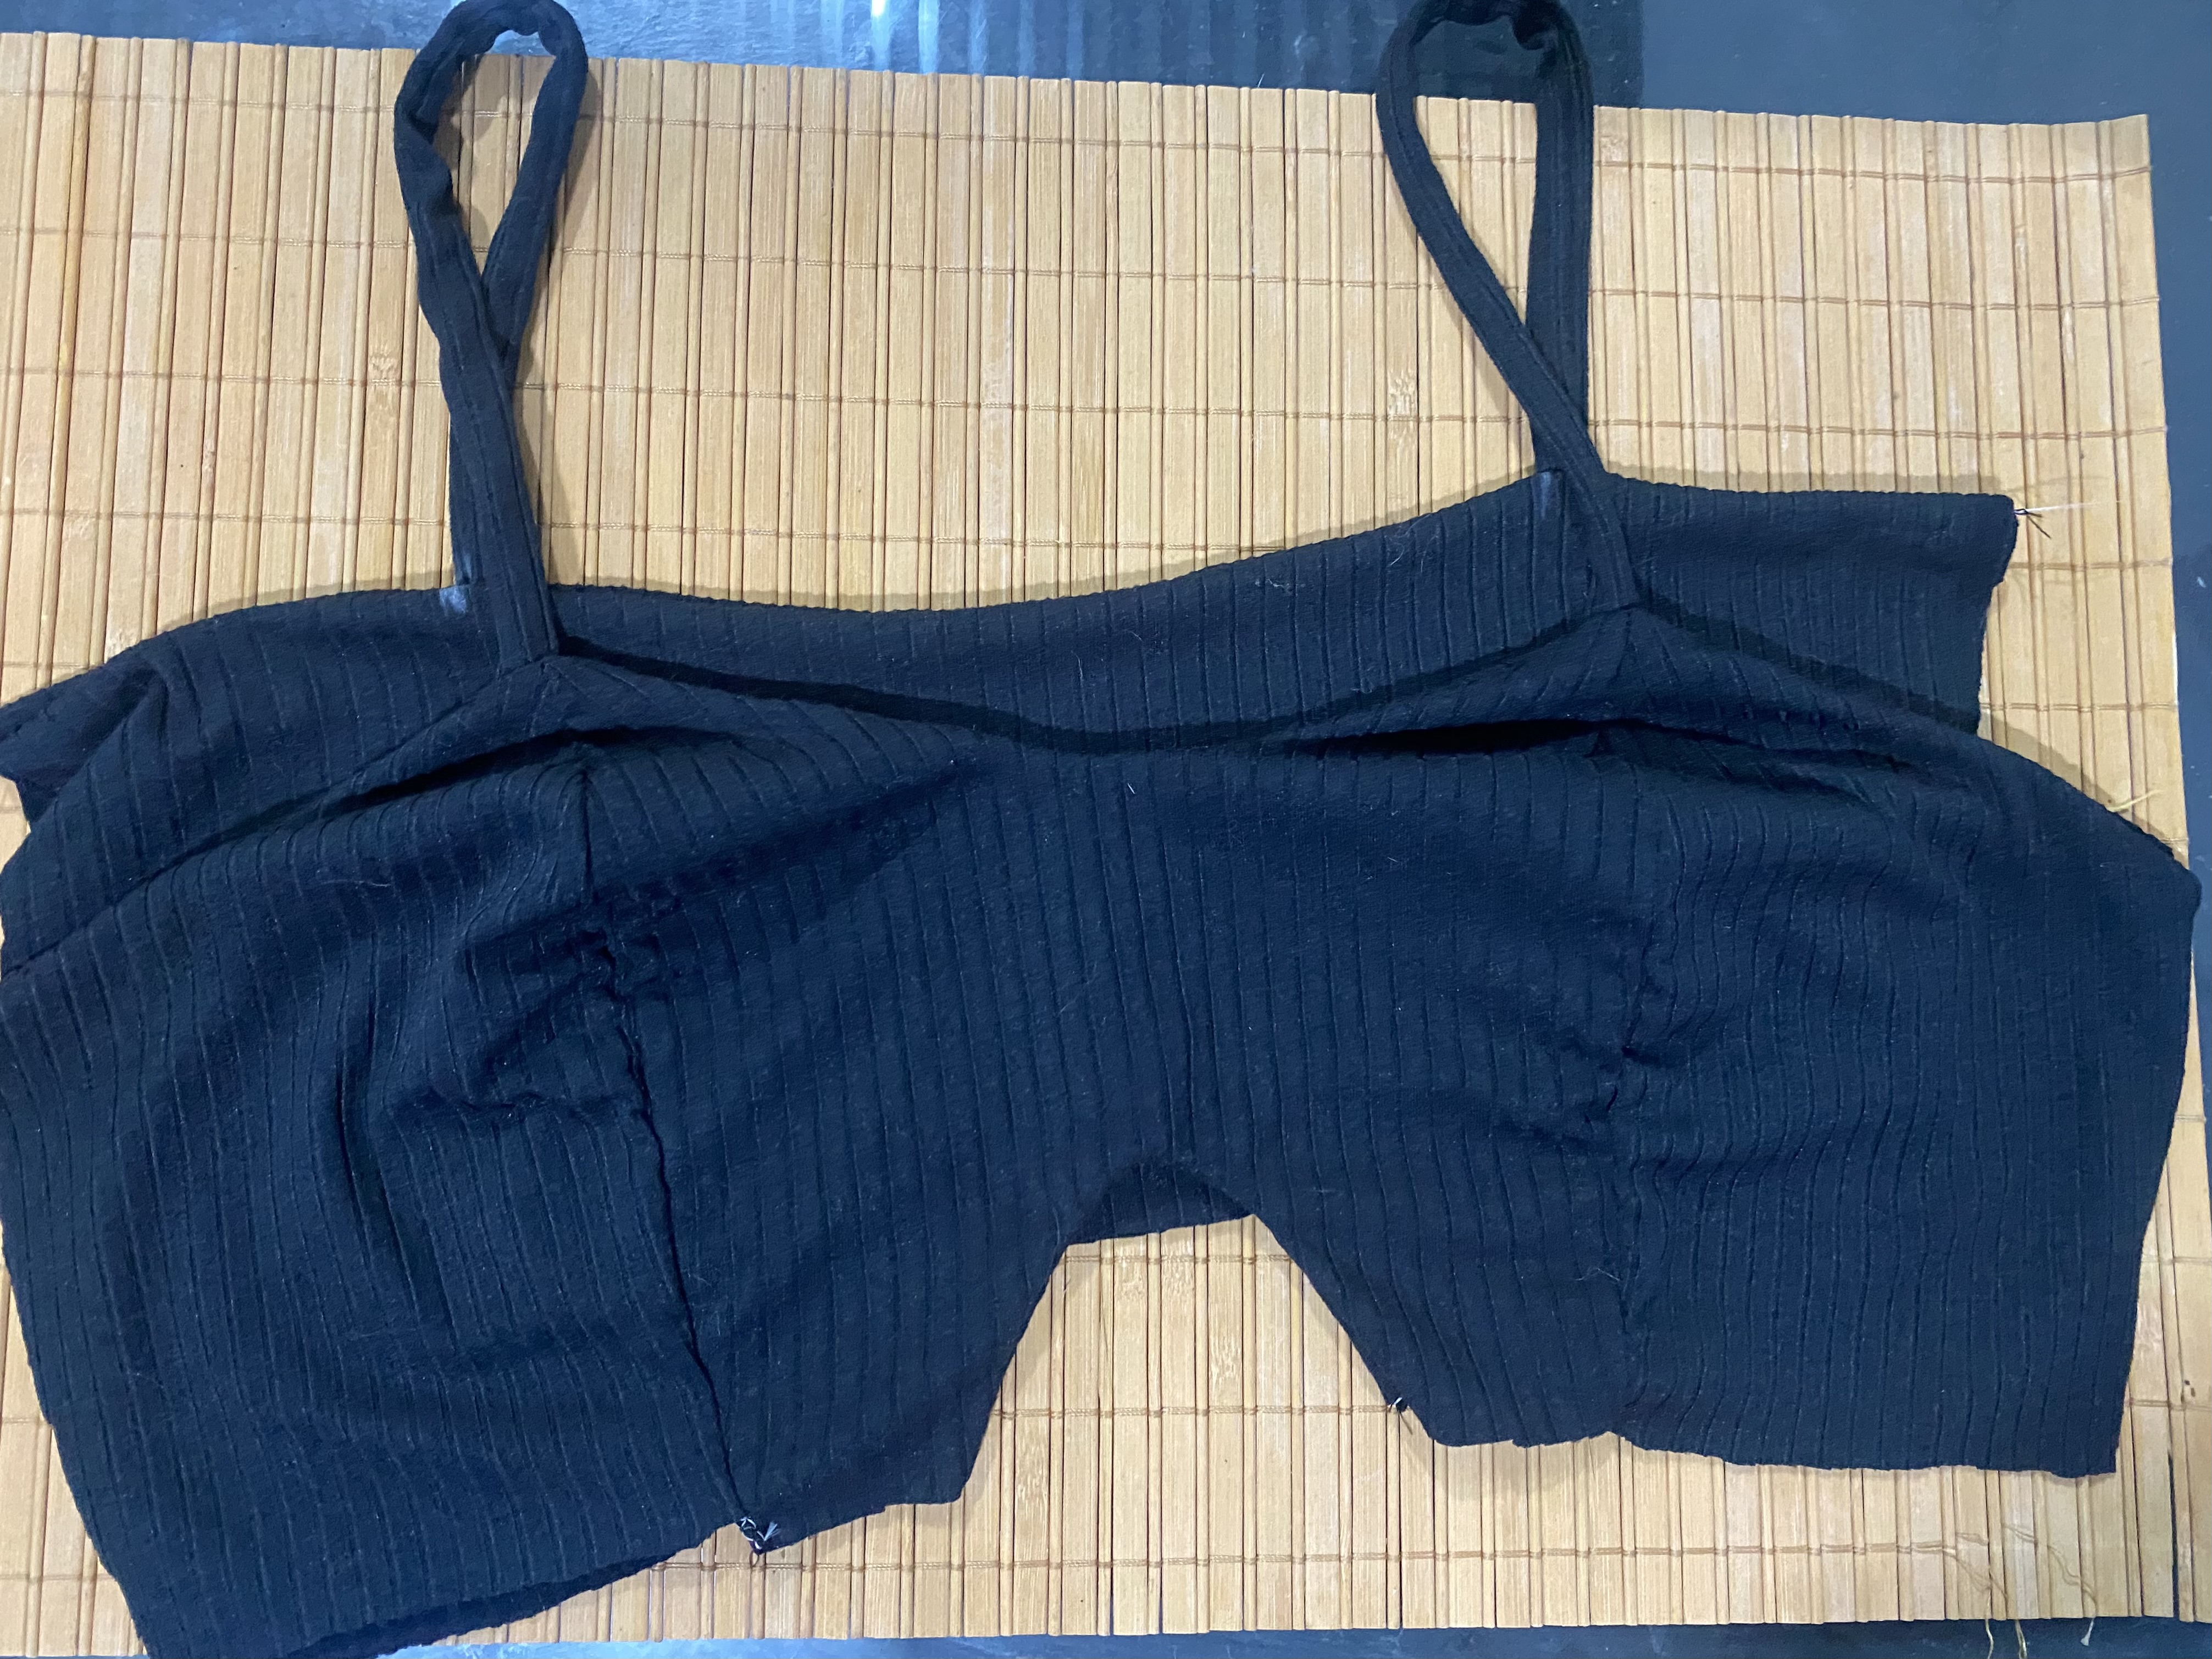
Previamente hacemos los tirantes, estos los vamos a ubicar justo donde pasa la costura del busto, luego le colocamos las otras piezas armadas del busto y pasamos costura por todo el alrededor, luego le vamos a pasar costura al huequito o círculo que lleva en el centro del busto, seguimos volteando esta parte de la blusa el mismo procedimiento lo vamos a hacer con las dos piezas traseras de nuestra blusa, en mis imágenes les muestro como debe quedar
Beforehand we made the straps, we are going to place them right where the seam of the bust goes, we now place the other armed parts of the bust and we go to sew all around the surrounding area, we now go to the seam near the circle that leads to the center of the bust, we continue turning this part of the blouse and the same procedure we will do with the two back parts of our blouse, in my images they show as you should
 |  |
|---|---|
 |
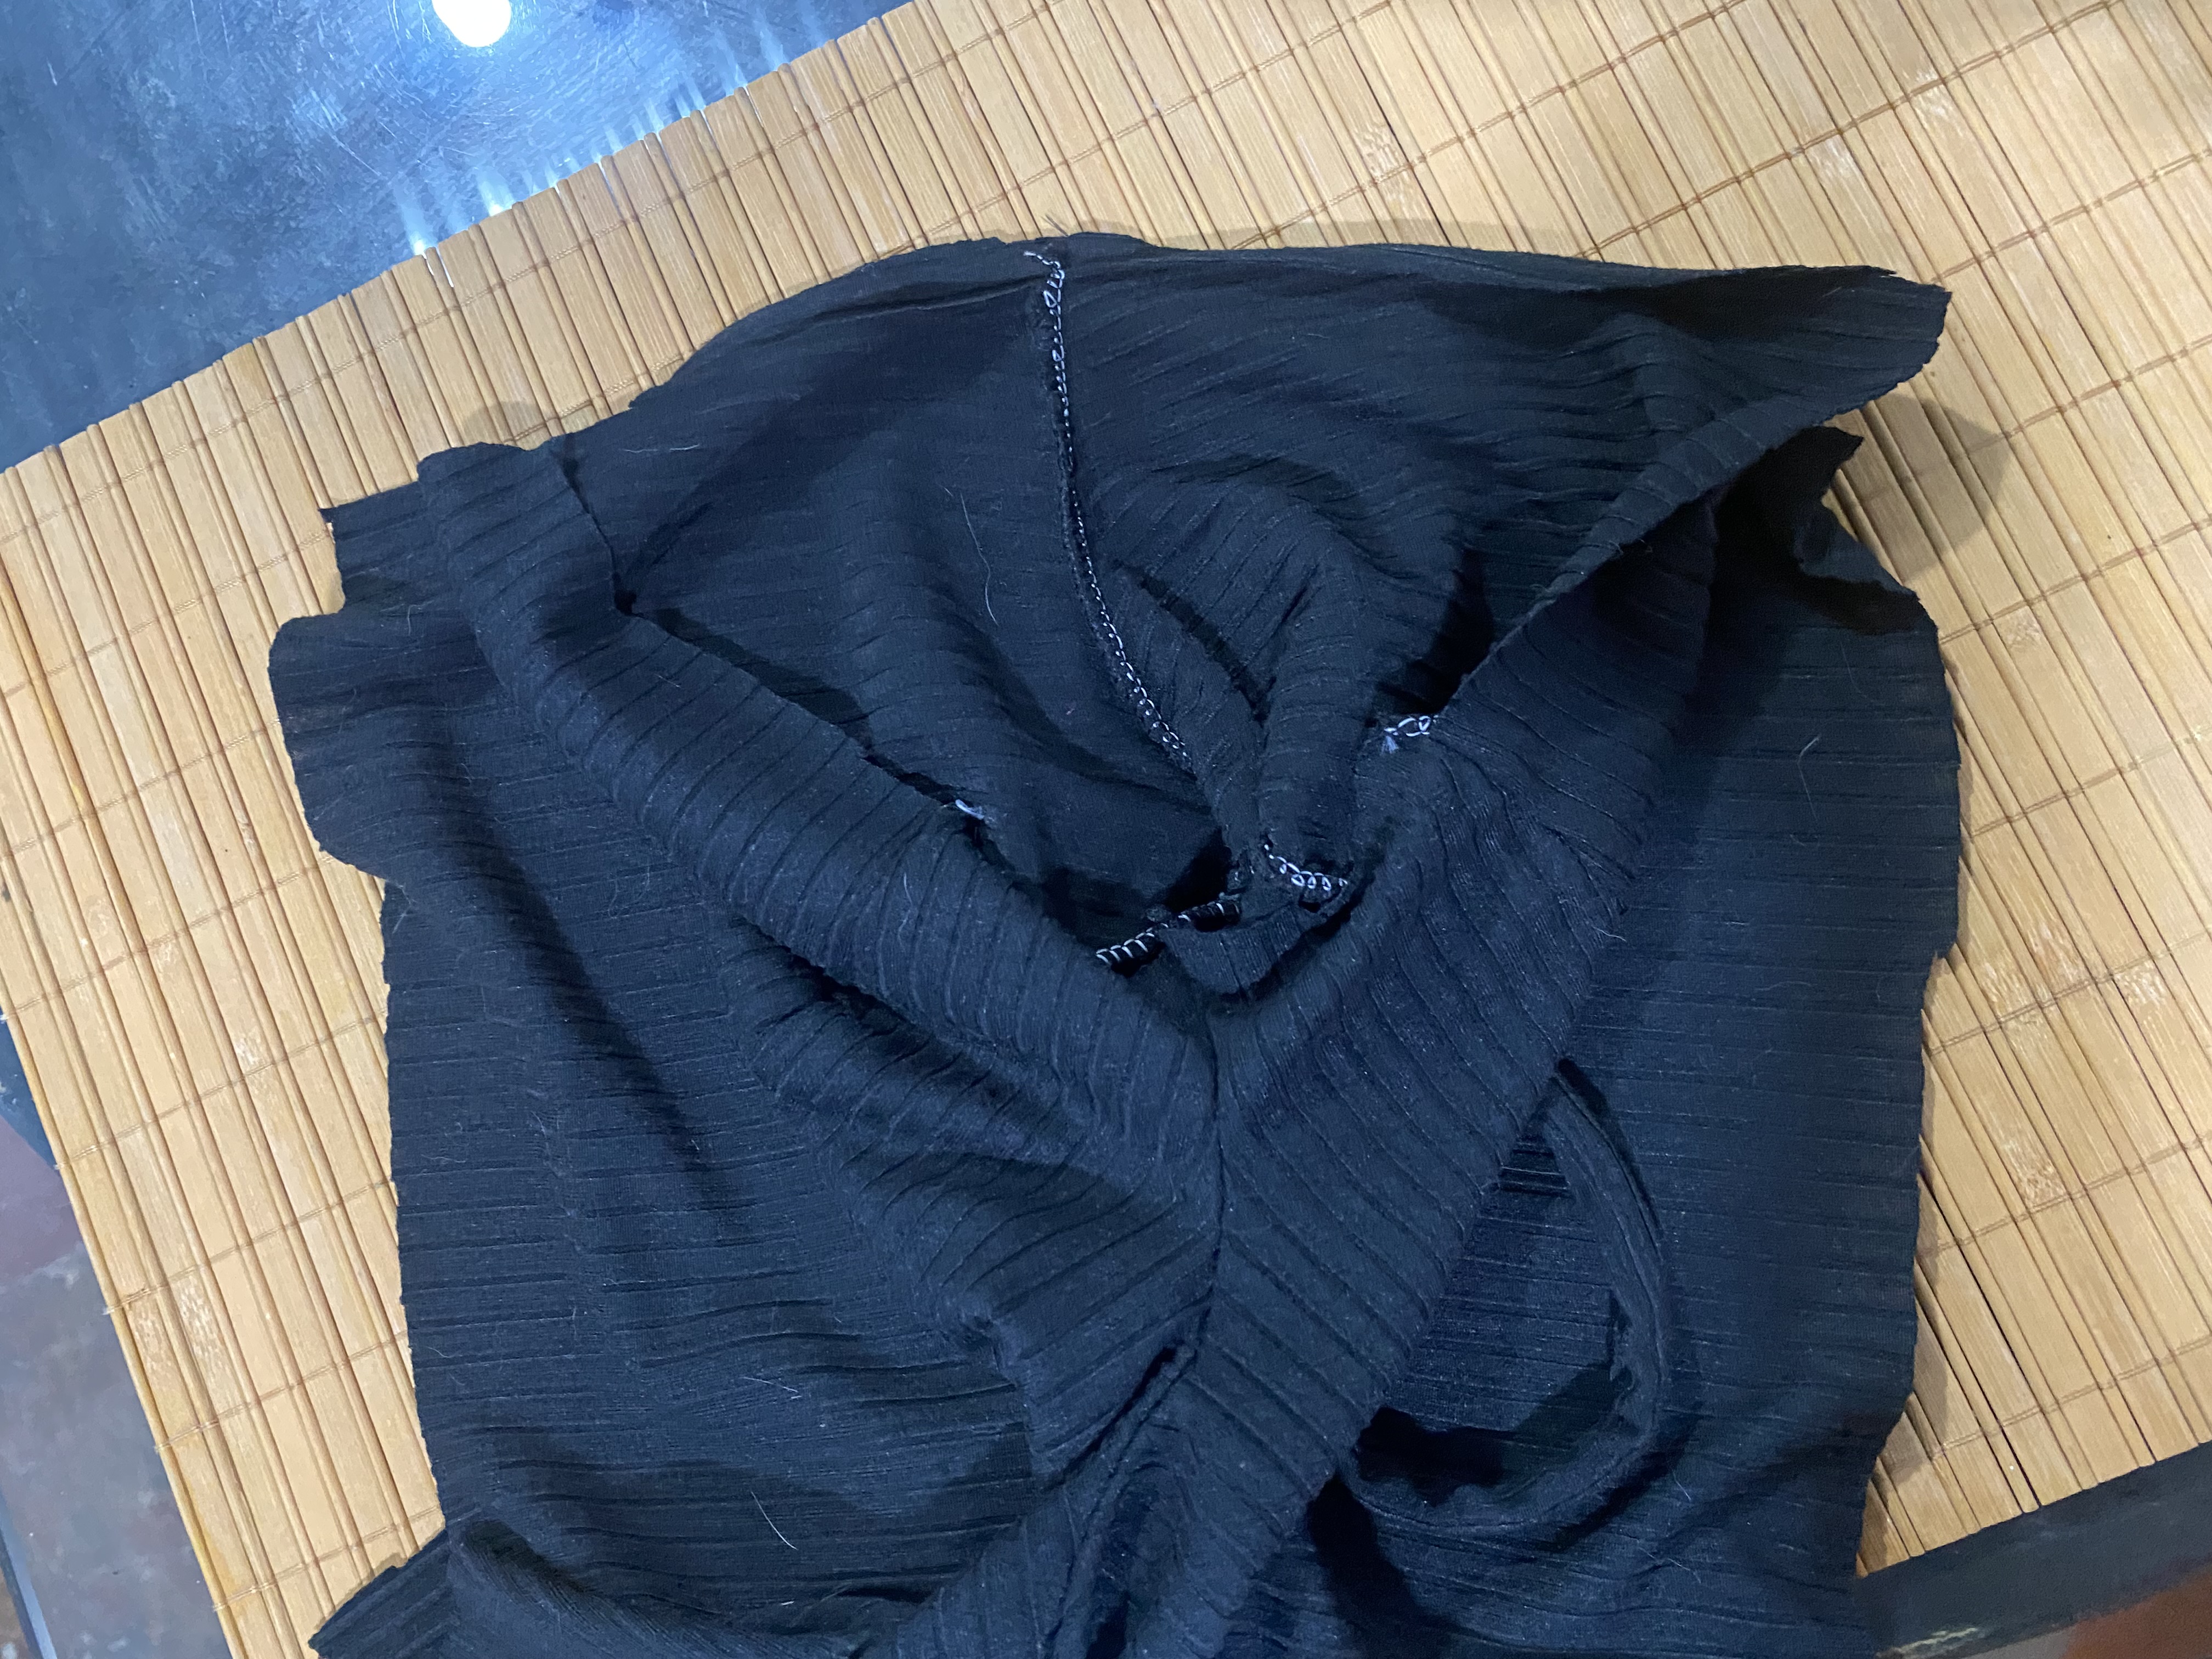
Seguiremos uniendo los laterales de nuestra blusa abriendo las piezas para que la costura quede por el lado de adentro, la idea de esta blusa es que no le queden costuras visibles por la parte de afuera para esto debemos ser cuidadosos con cada costura que pasemos es por esto que lleva todas las piezas dobles.
We will continue joining the sides of our blouse by opening the parts so that the seam runs down the inside, the idea of this blouse is that there are no visible seams on the outside so we must be careful with each seam we sew. This is what takes all the double pieces.
 |  |
|---|
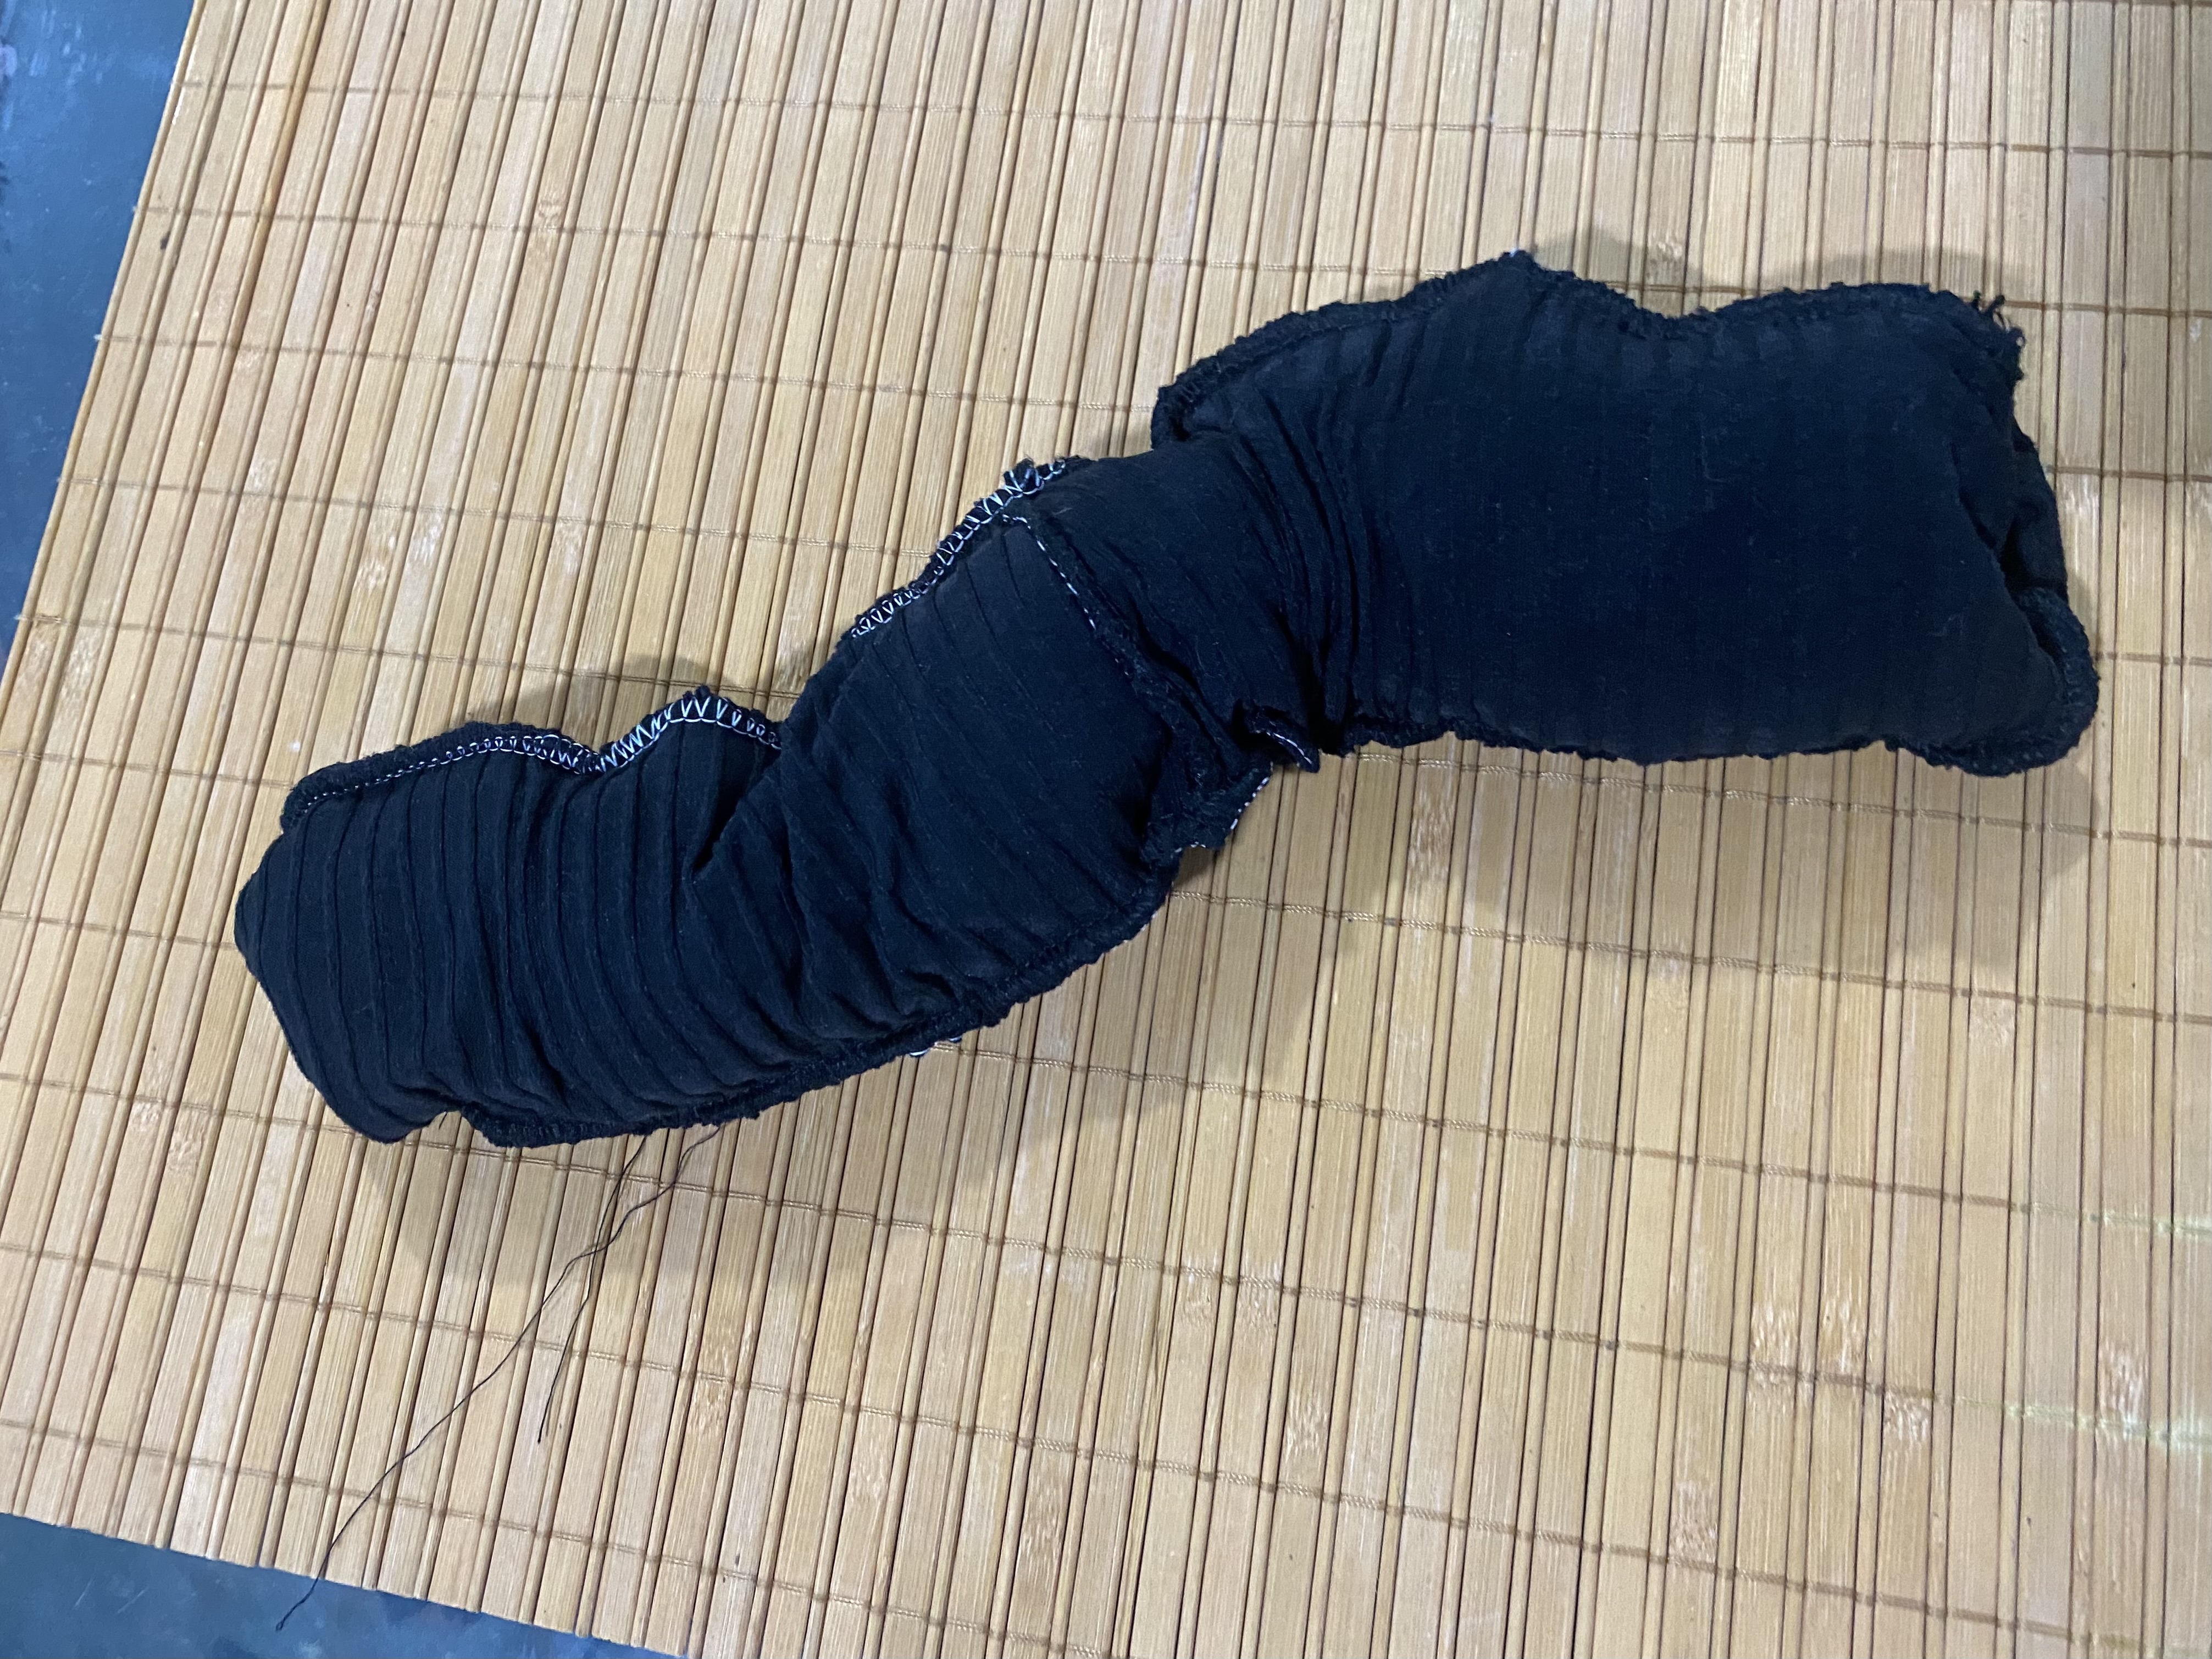
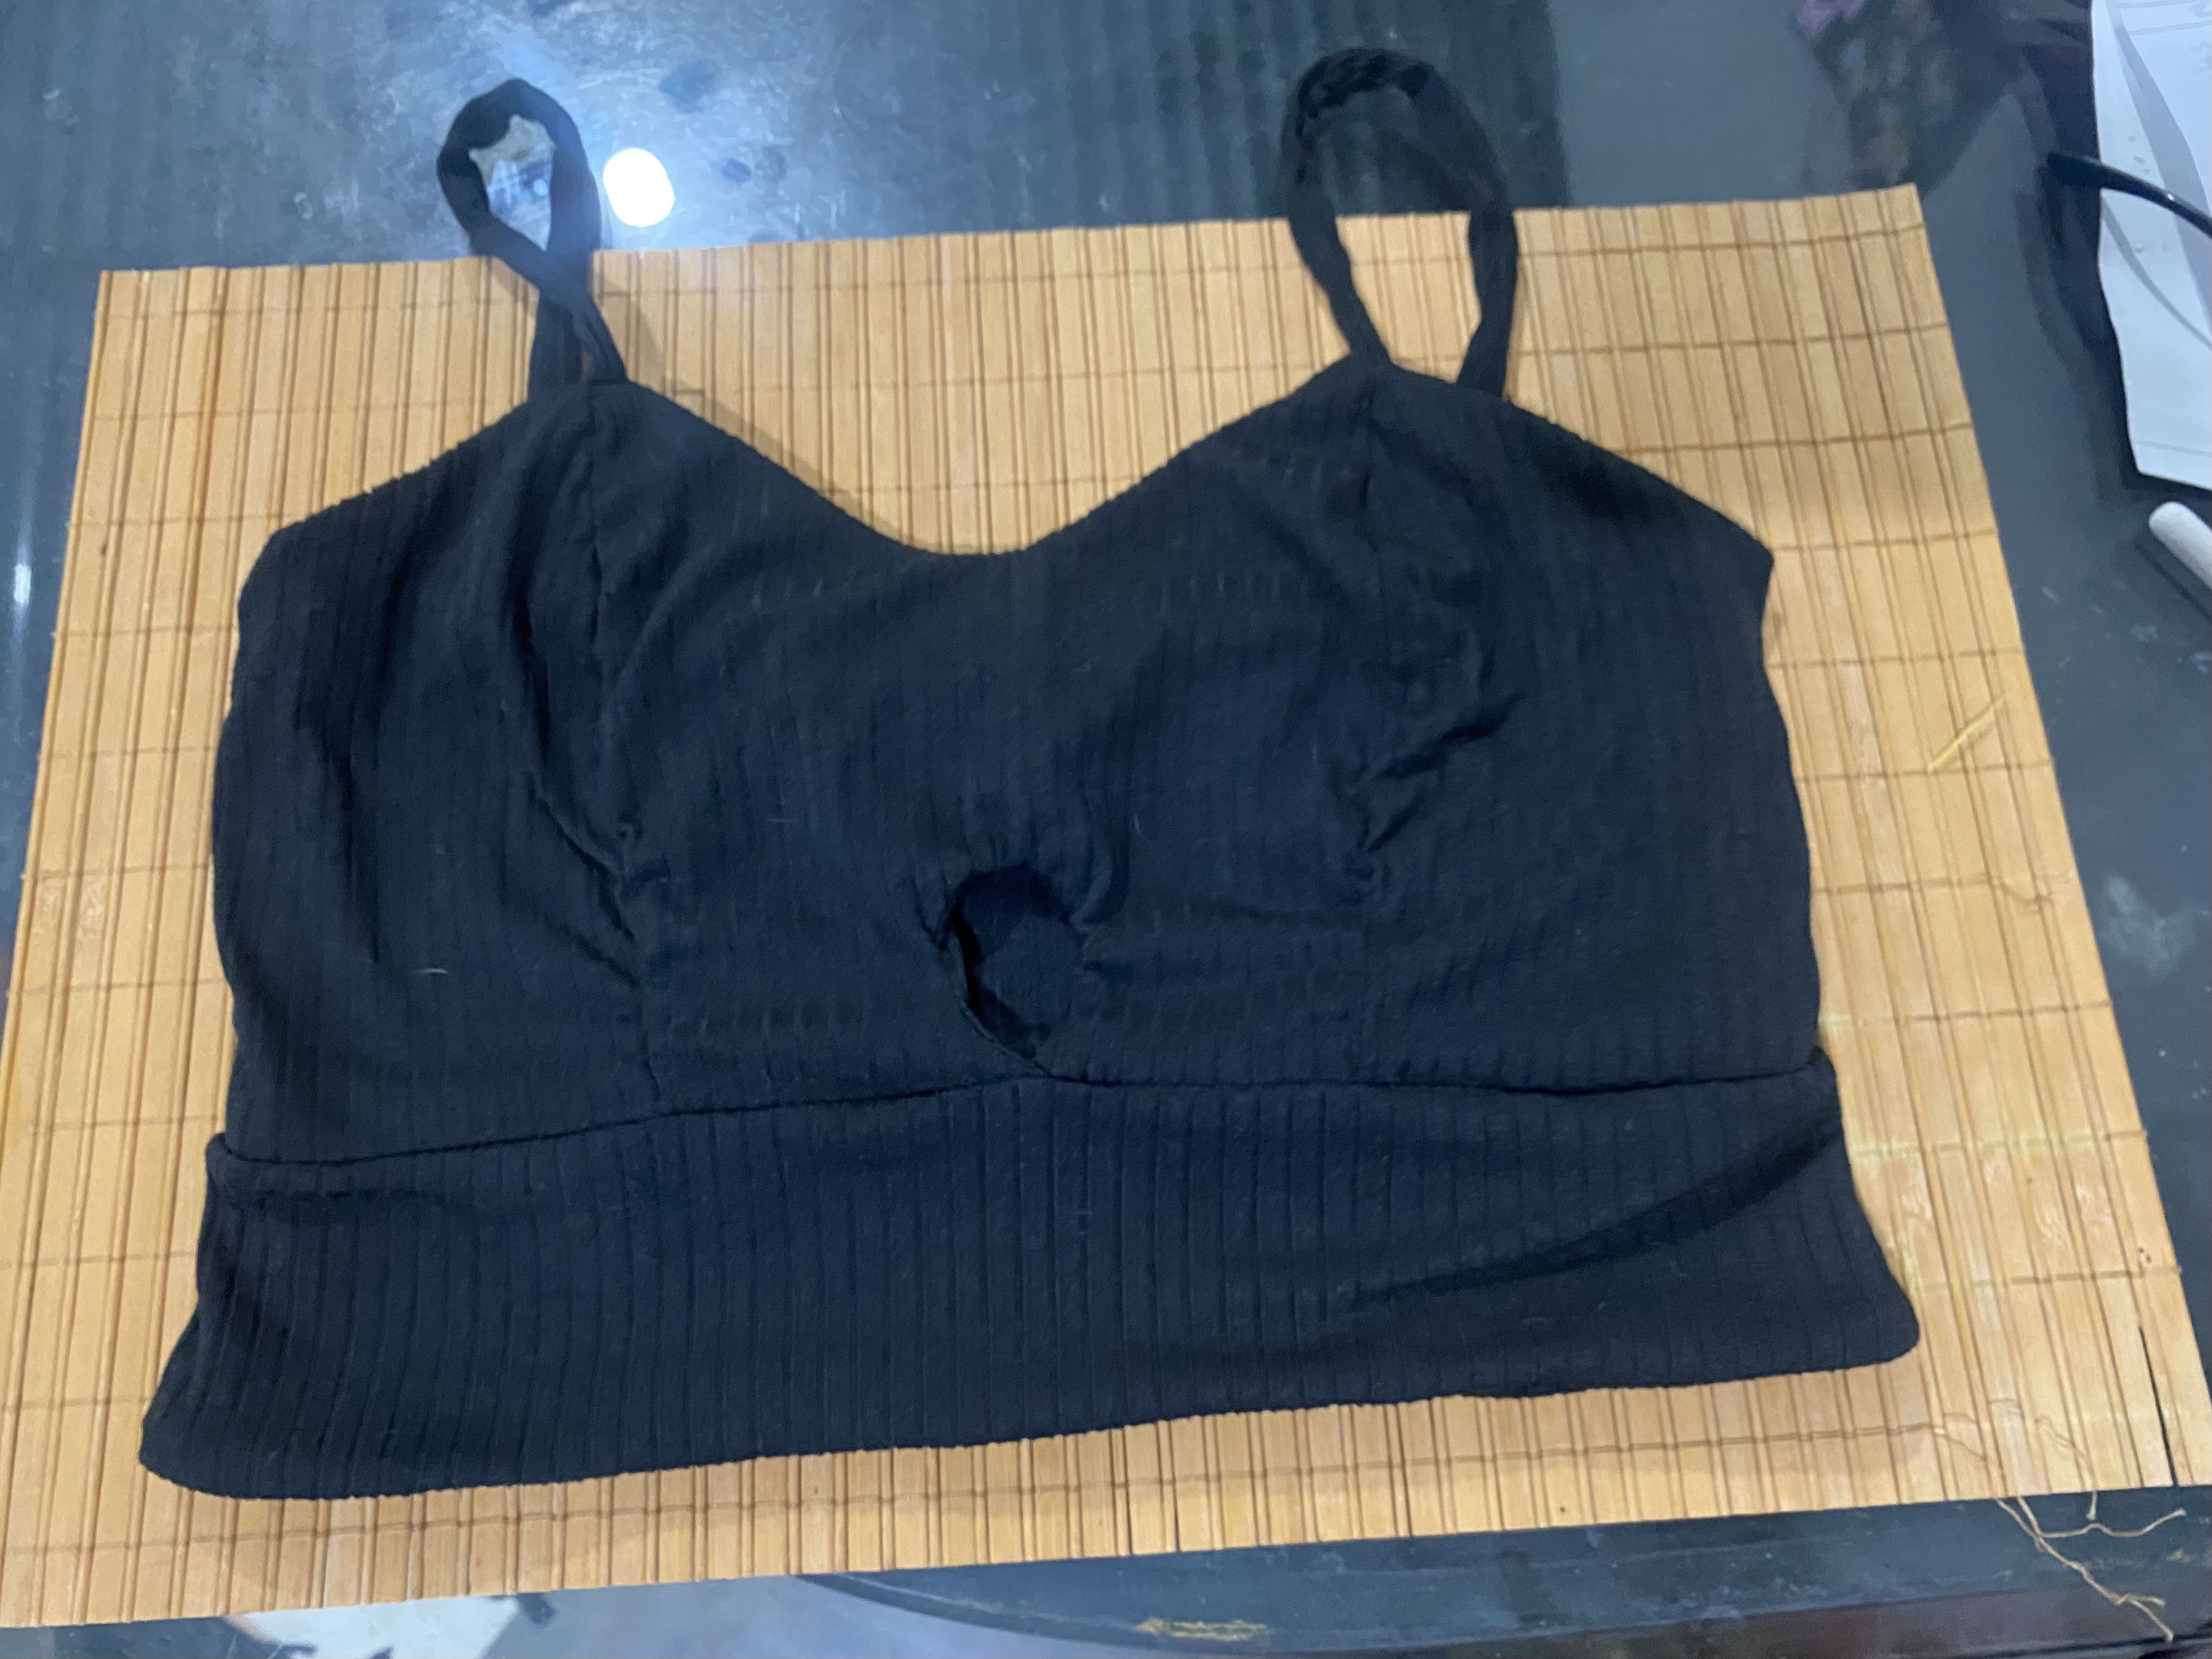
Luego cuidadosamente vamos a unir las piezas de abajo de la blusa ( pretina), pasaremos costura por todo el contorno, esto nos va a formar como especie de un gusano ya que toda la blusa a medida que vas pasando costura va quedando por dentro, debes dejar al final un espacio para poder voltear, este proceso es un poco complicado pero si la tela es bastante elástica como la que yo estoy usando no será tan difícil.
We will carefully join together the lower parts of the blouse (pretina), we will sew along the entire contour, this will form us as a kind of gusano and the whole blouse will fall apart as we sew along the inside, you must Leave some space at the end to be able to flip, this process is a little complicated but if the screen is quite elastic like the one I'm using it won't be that difficult.
 |  |
|---|
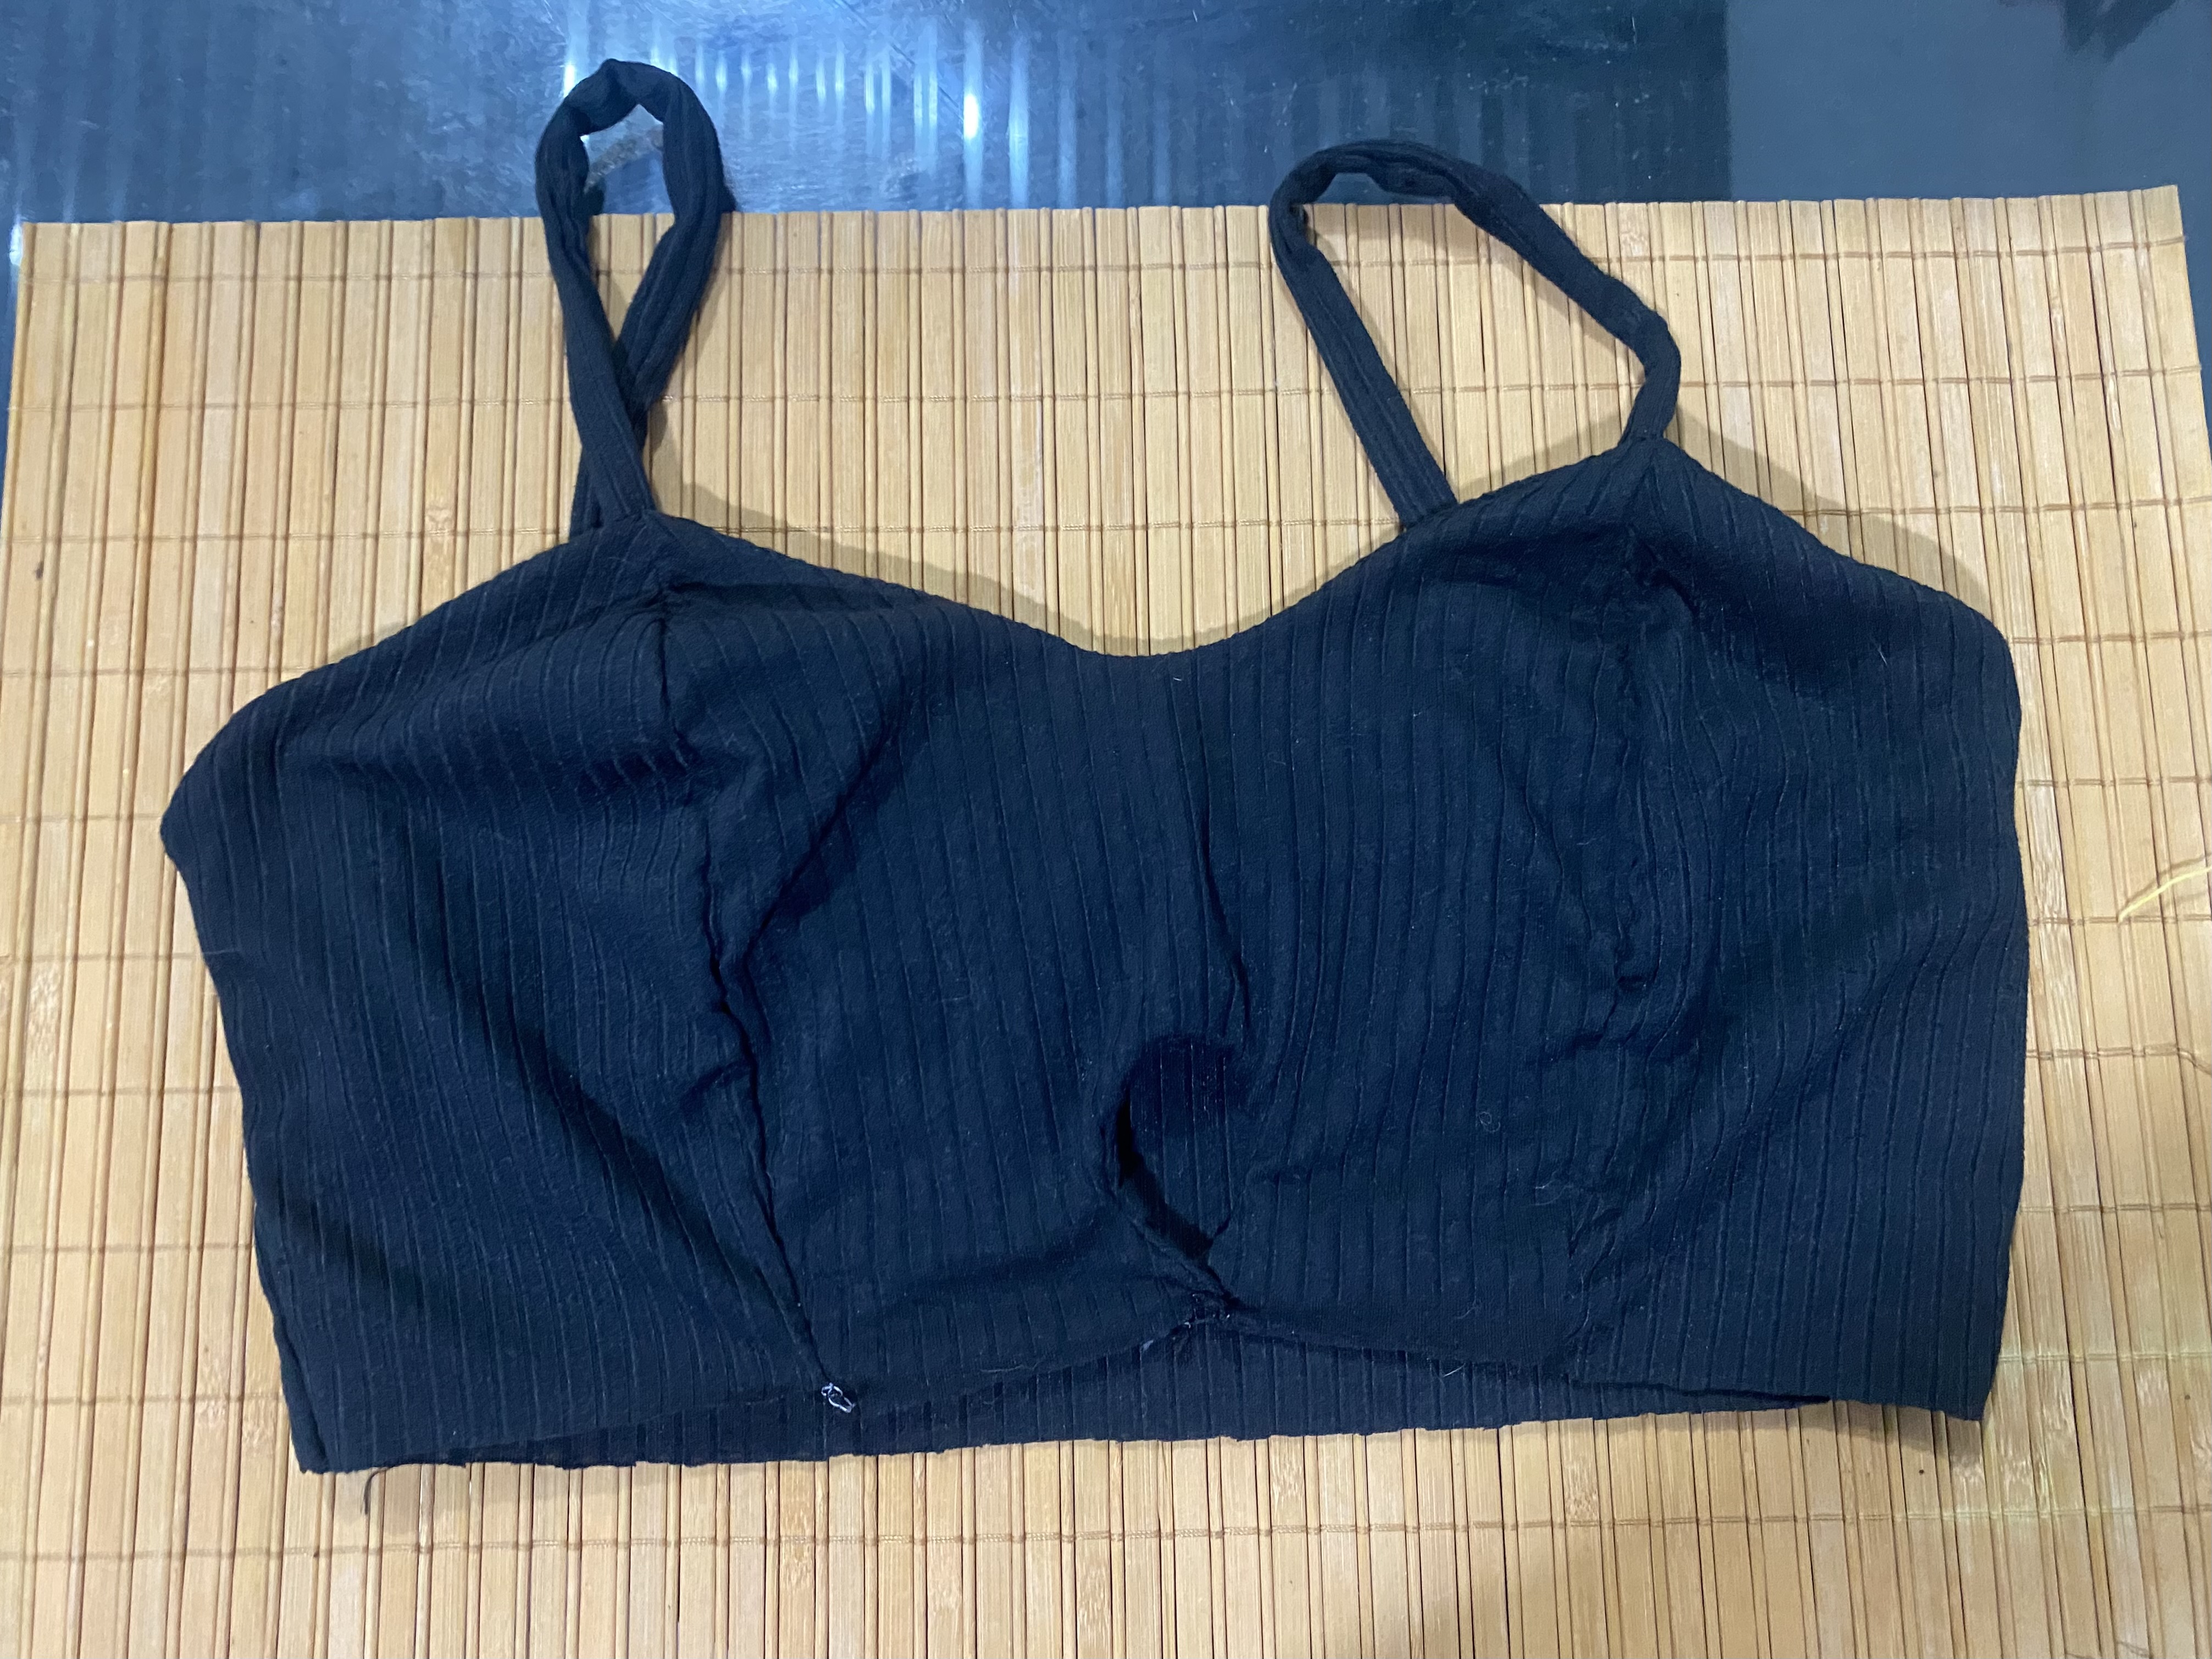
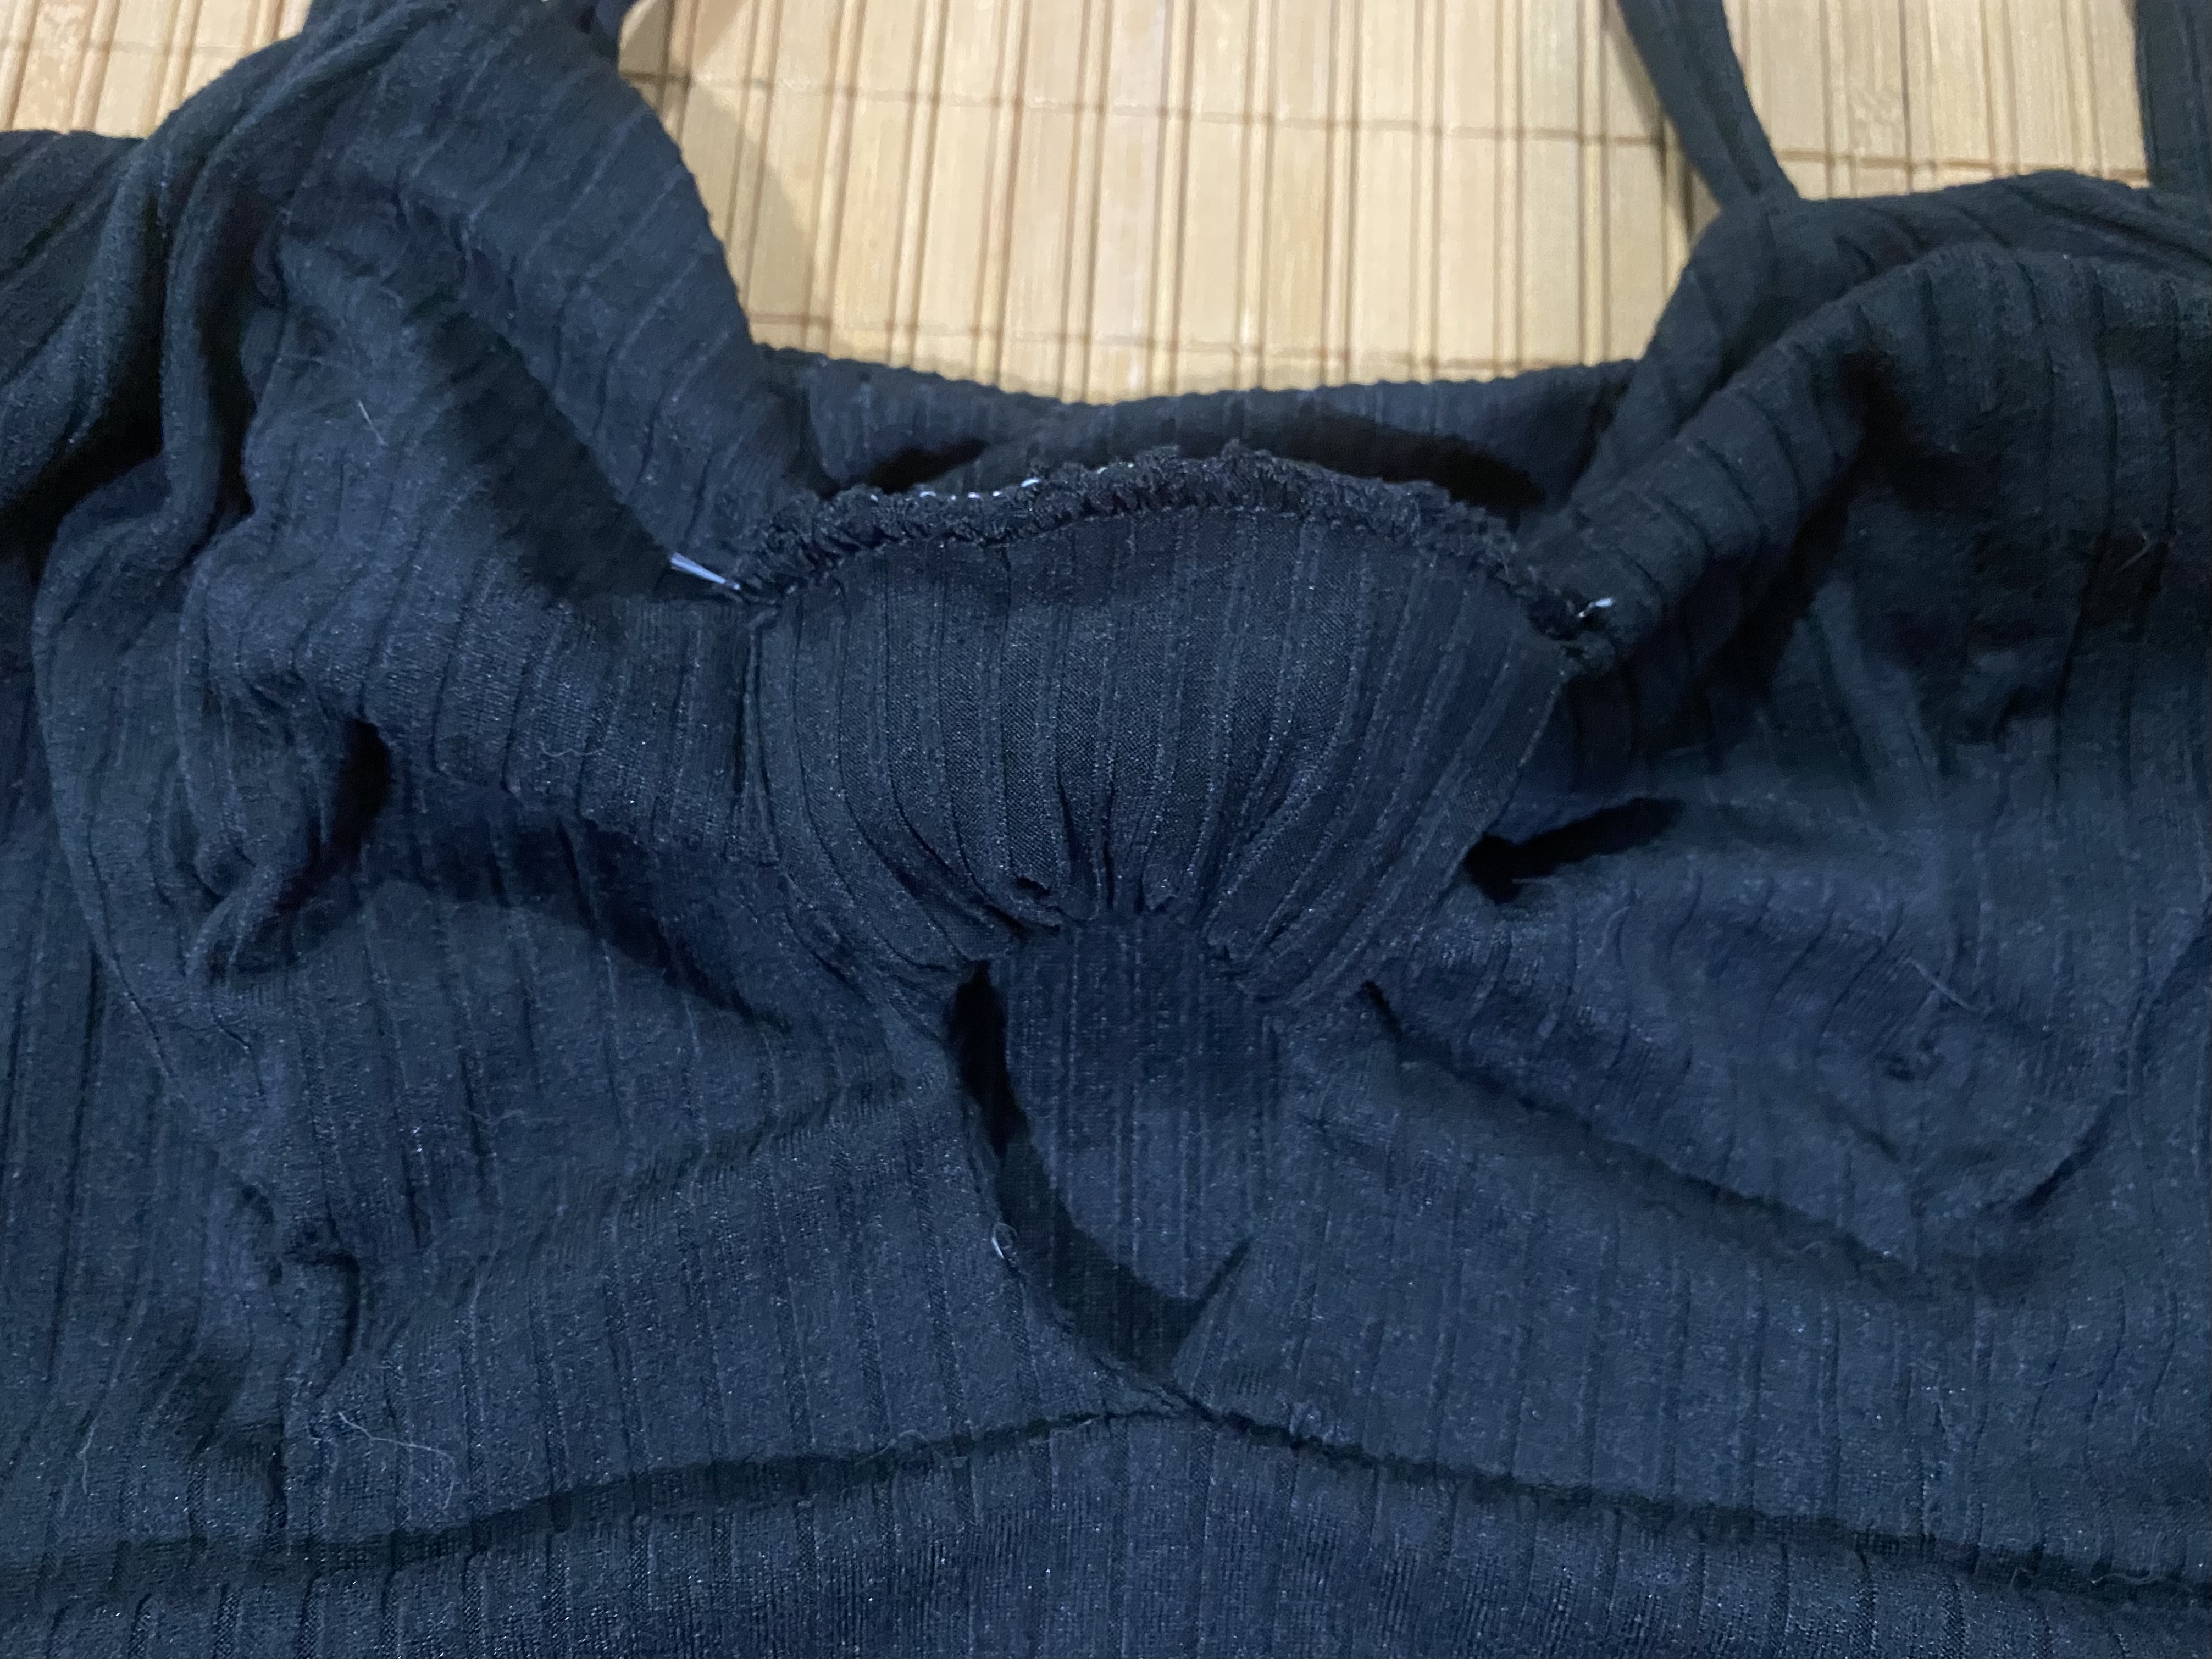
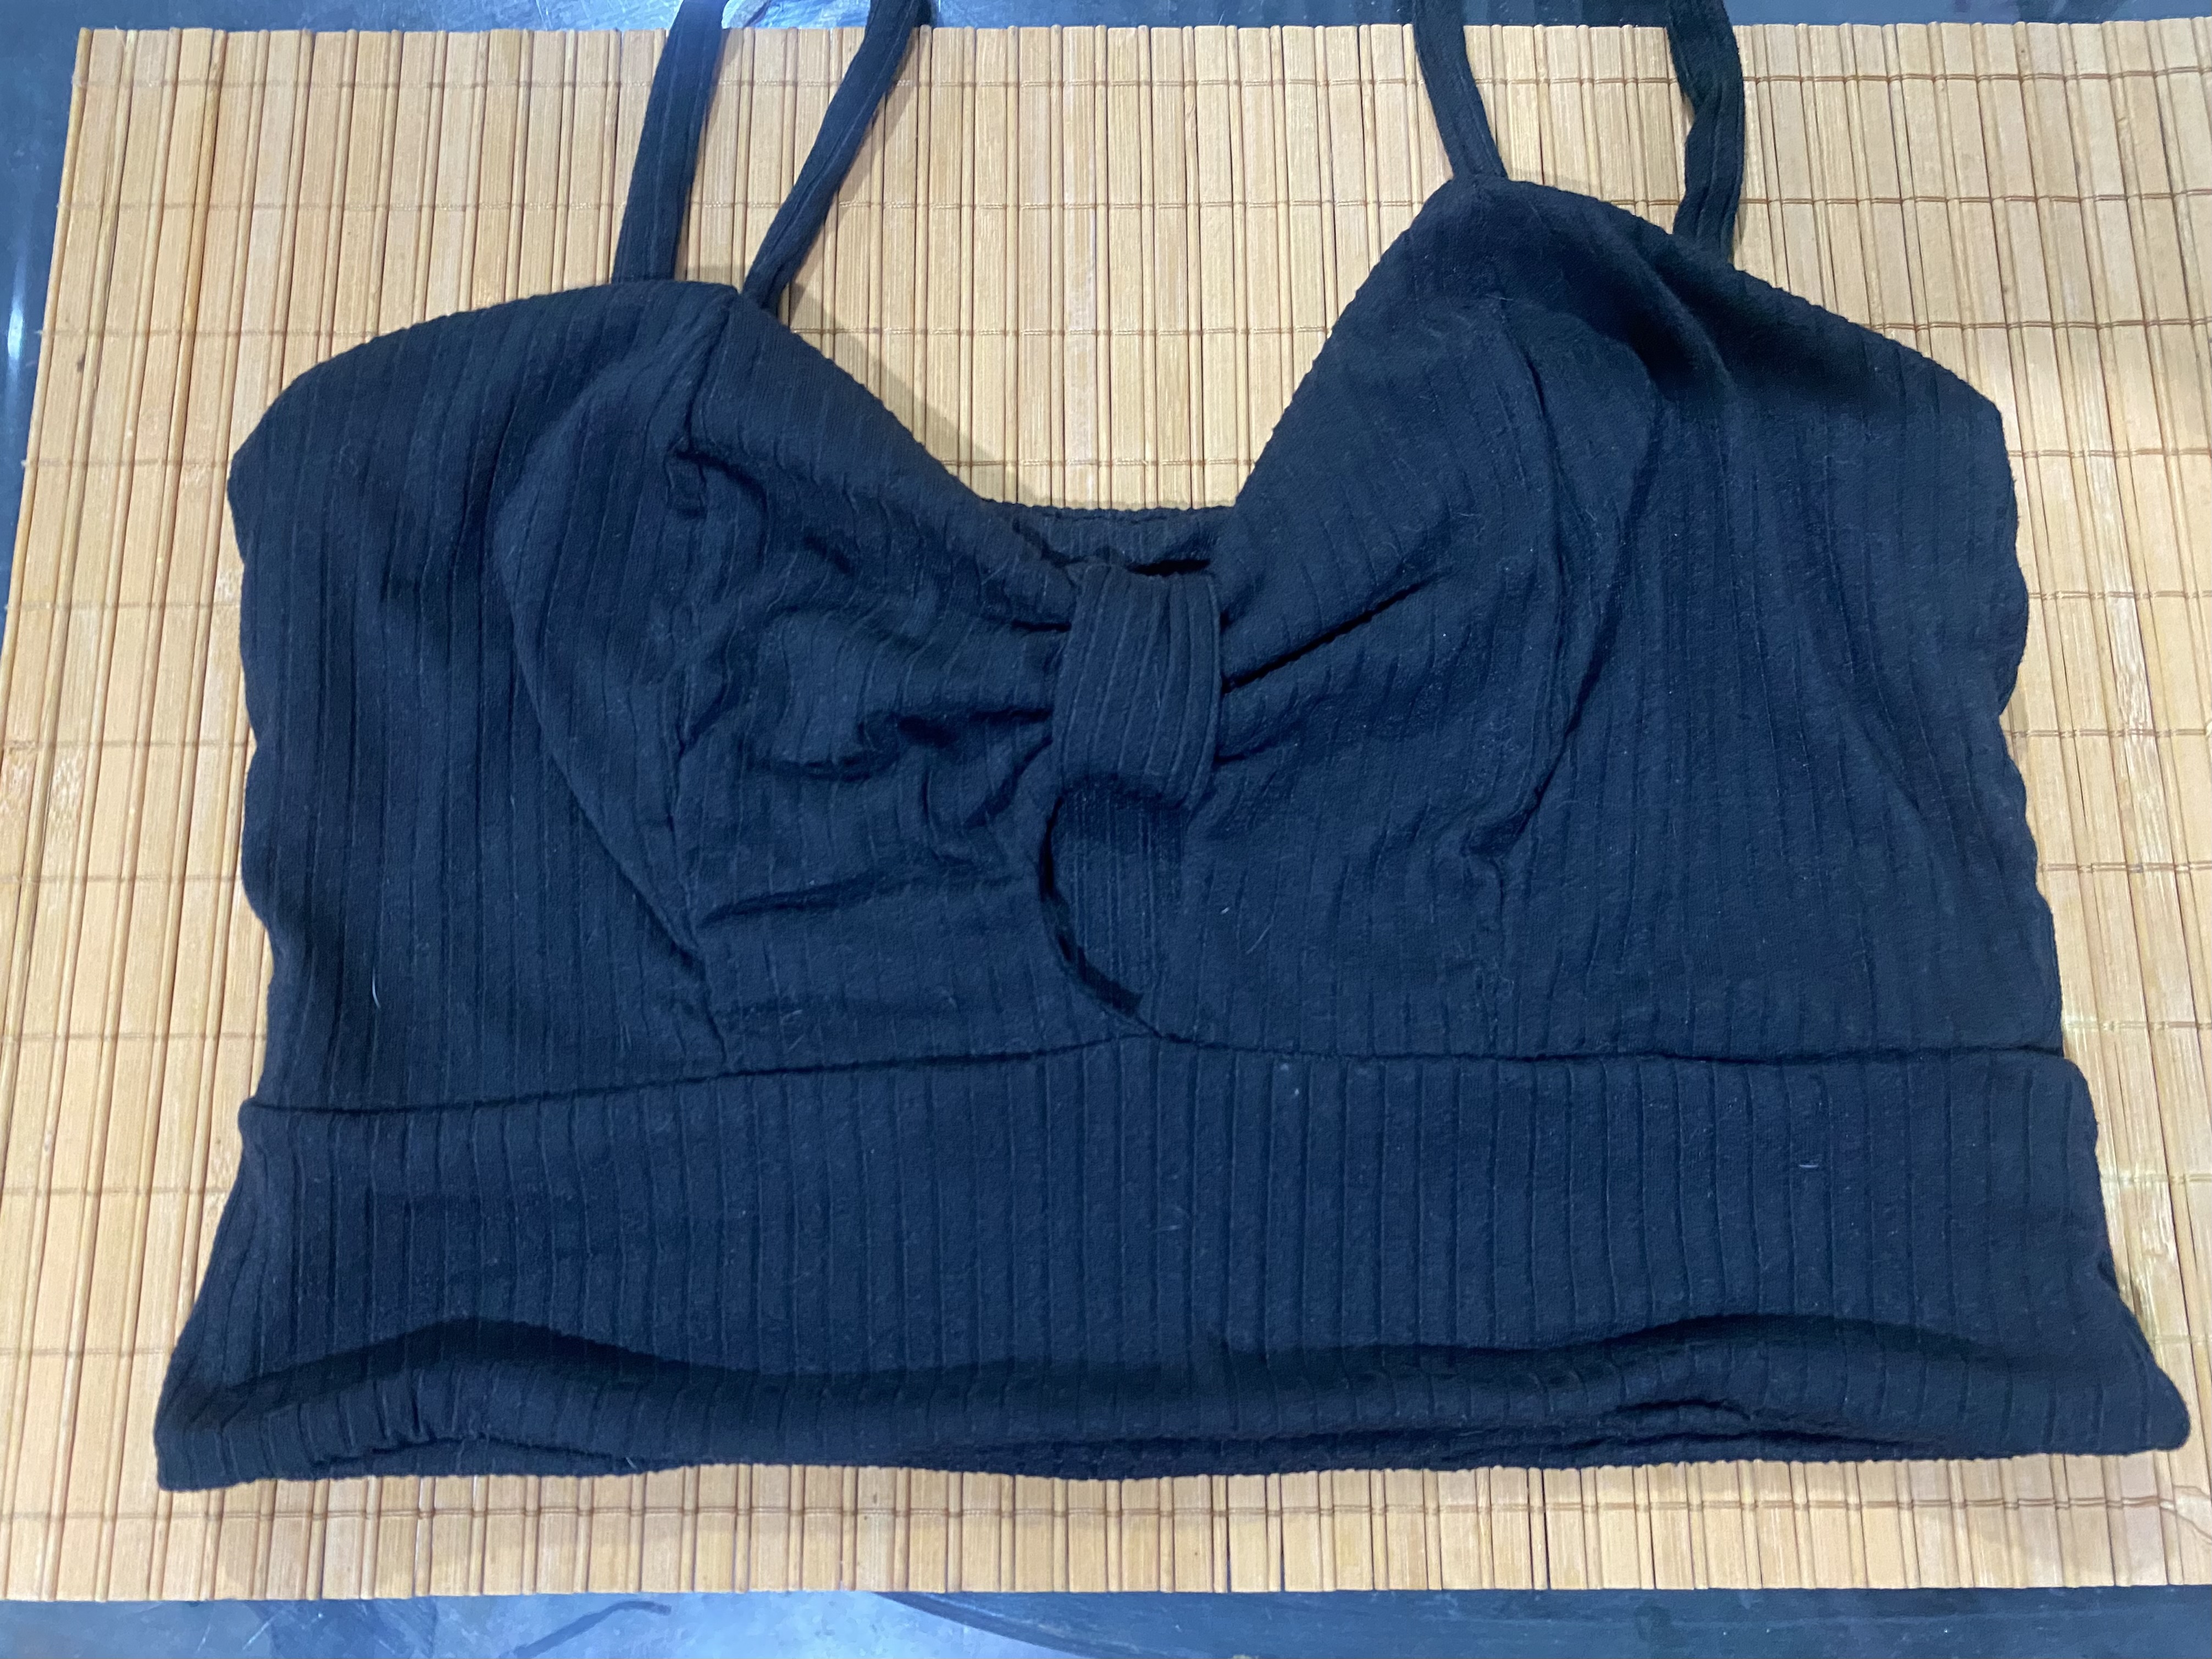
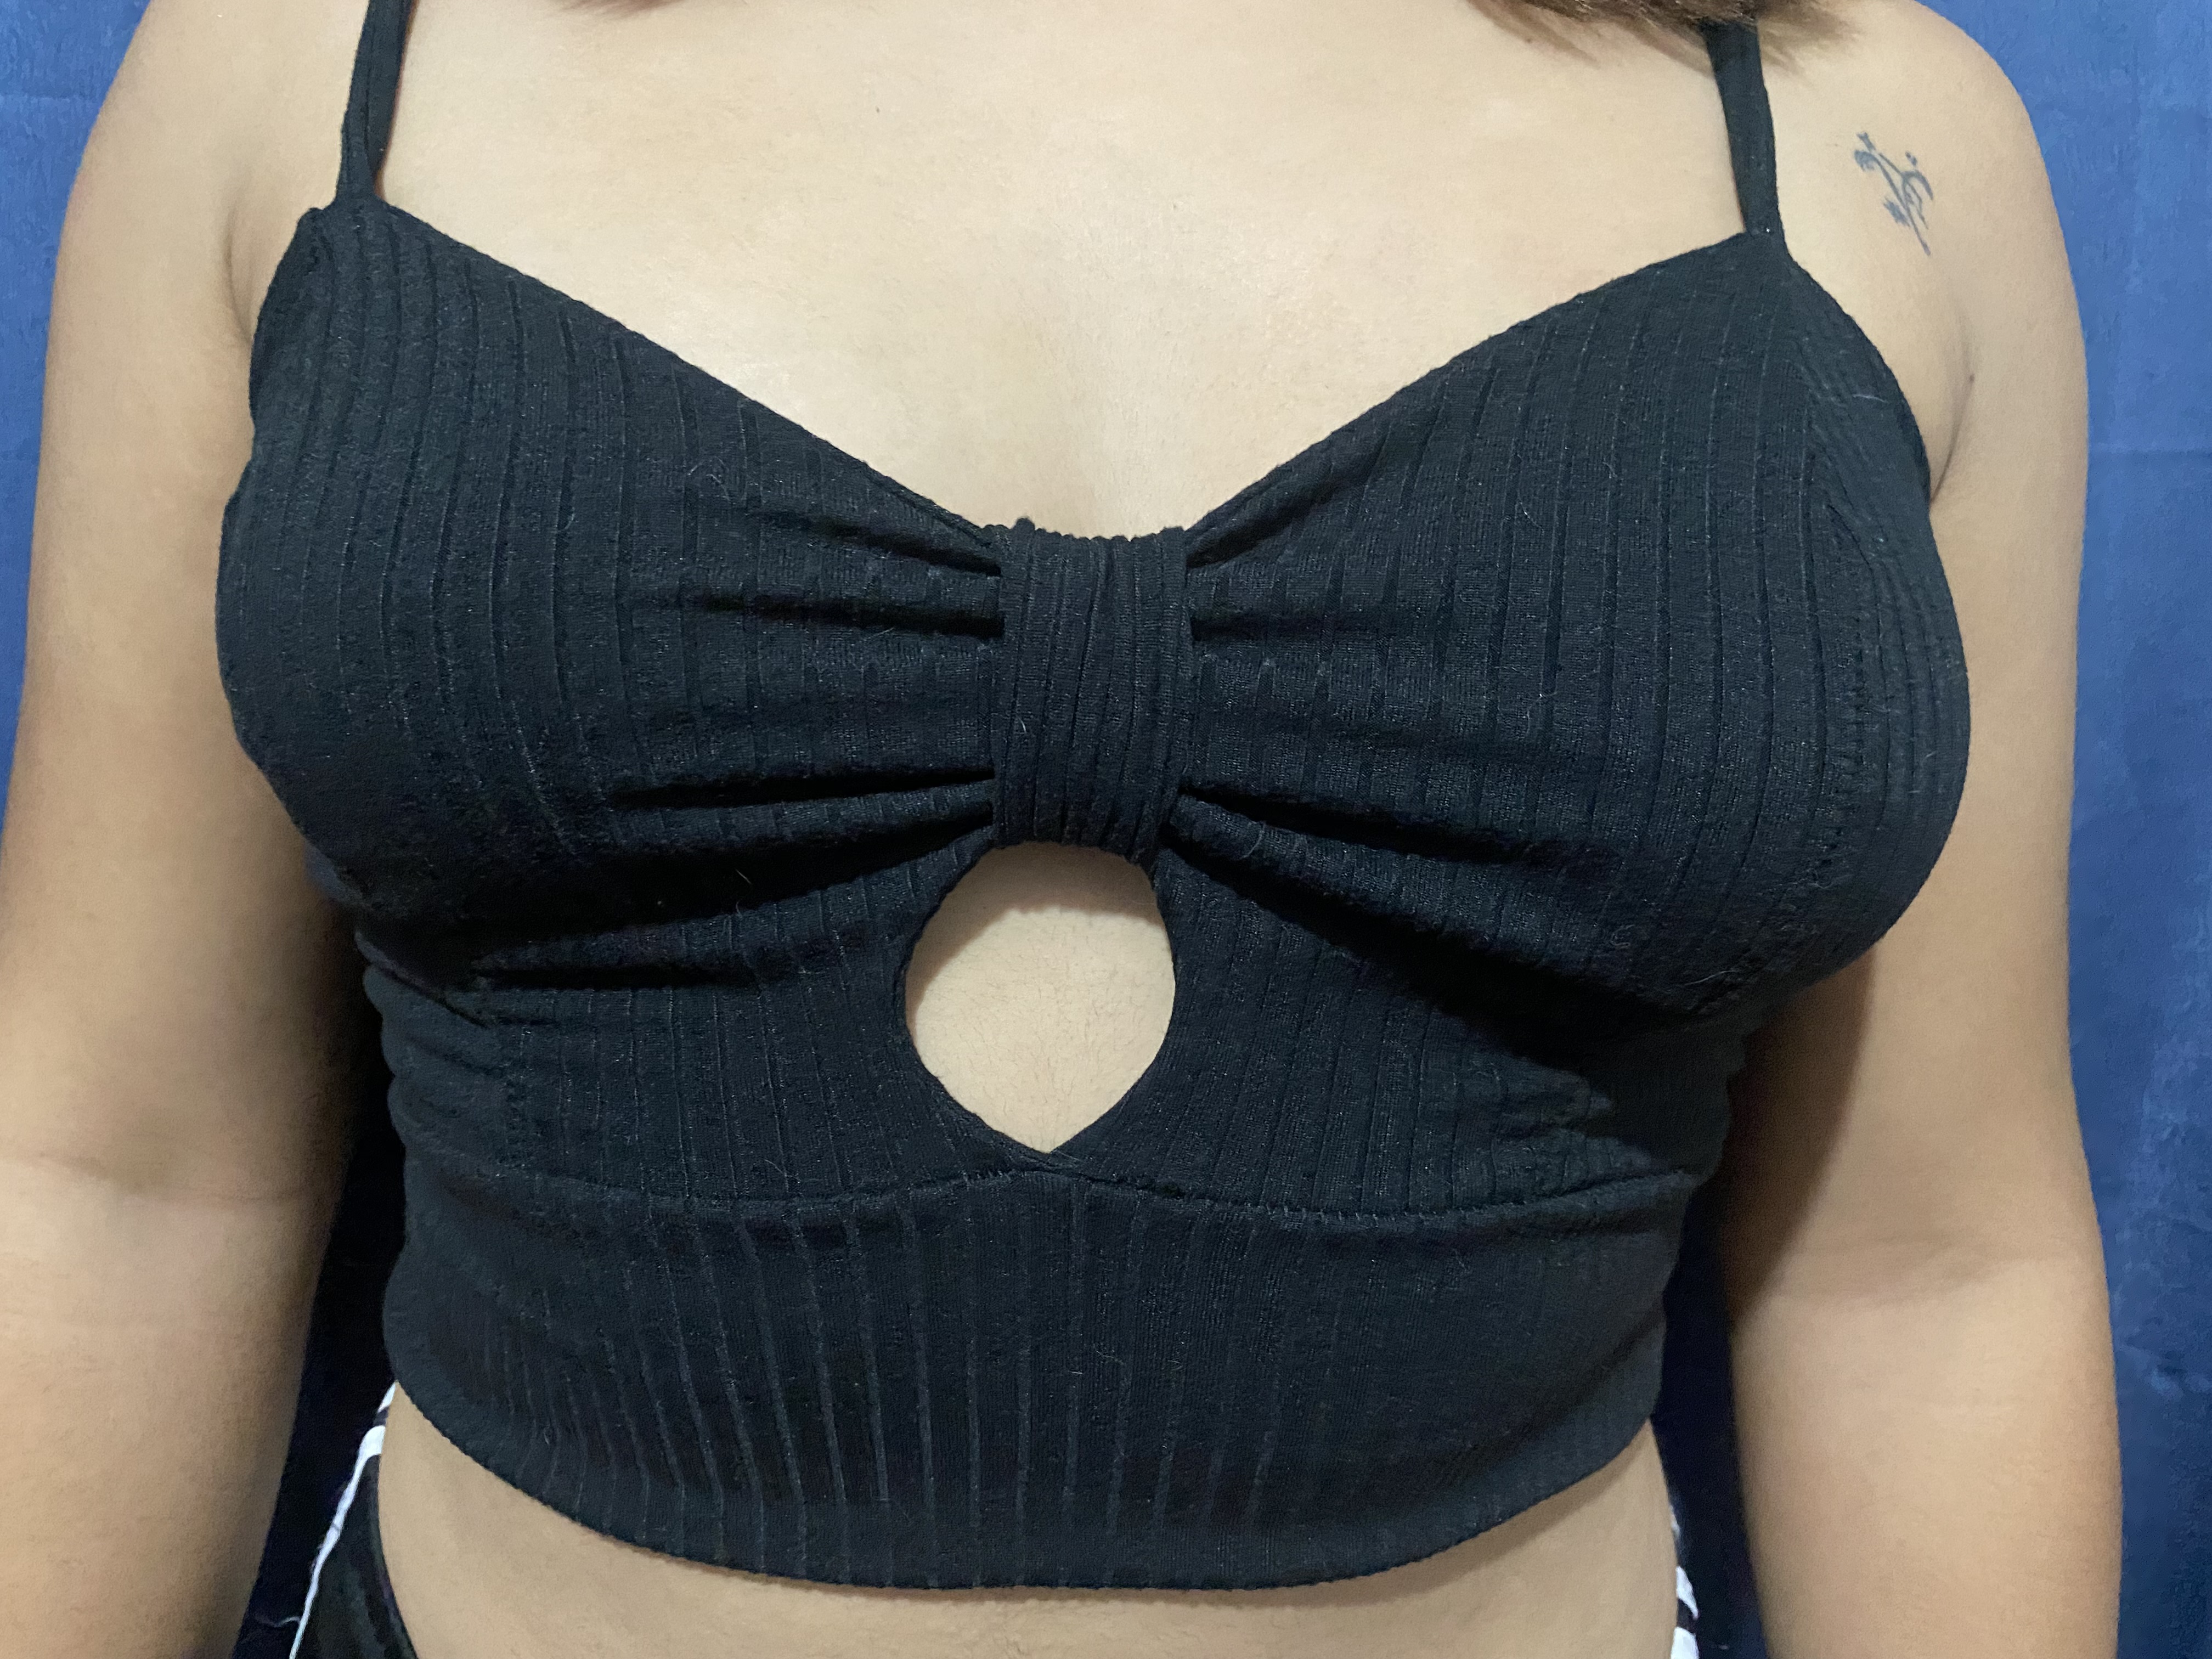
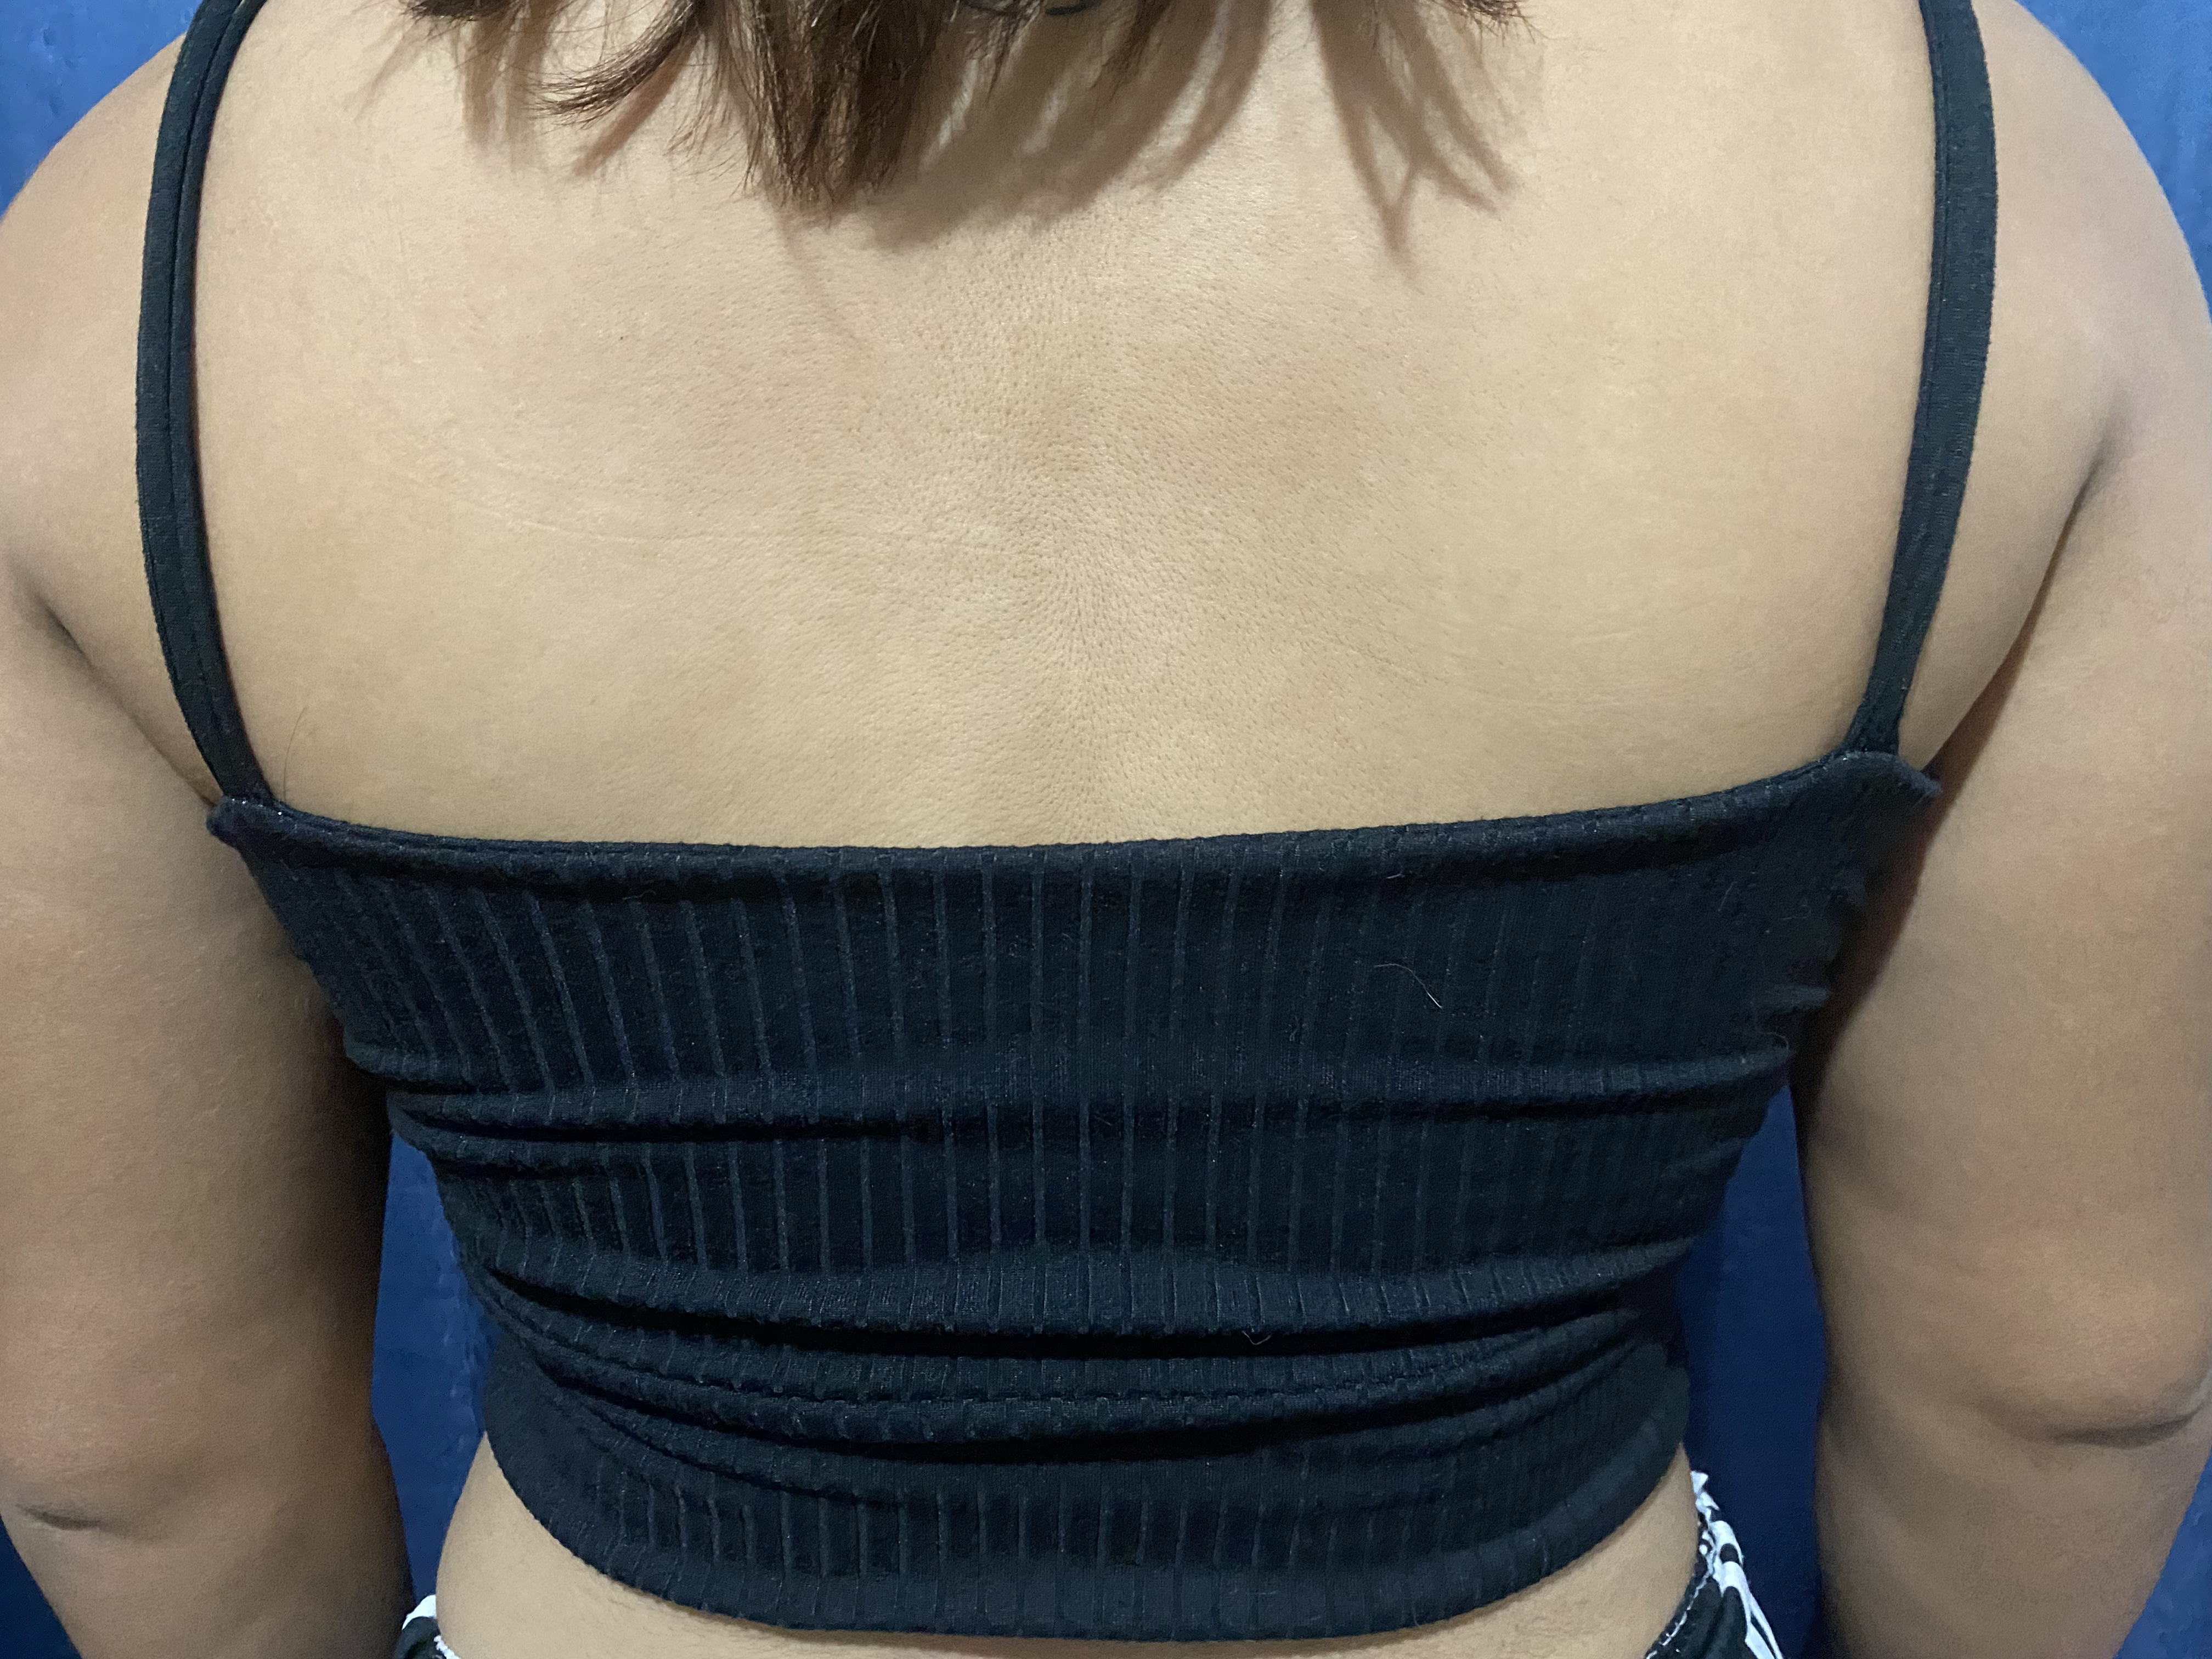
Y como último paso vamos a unir la tira que lleva en el centro del busto esta le pasamos costura uniéndola como un aro y luego doblamos las orillas hacia adentro y ubicamos la costura hacia la parte de adentro y así ya está listo este lindo Crop Top, espero les guste ☺️
And as a last step we are going to join the strip that leads to the center of the bust and we sew it together like a hoop and then we fold the edges towards the inside and we place the seam towards the inside and so this beautiful Crop Top is ready, I hope you like it ☺️
 |  |
|---|---|
 |  |
➖➖➖➖🪡🧵➖➖➖➖
El practicar la costura puede darnos una gran cantidad de beneficios entre ellos la satisfacción enorme que se siente cuando logras crear una hermosa prenda, el resultado de esta blusa me encantó espero que ustedes también les guste, me despido por hoy deseándoles muchos éxitos y bendiciones
Practicing sewing can give us a great number of benefits, including the enormous satisfaction that is felt when you manage to create a beautiful garment. I loved the result of this blouse and I hope you like it too. I say goodbye for today wishing you much success and blessings.
Sending Love and Ecency Curation Vote!
 Follow Eceny's curation trail to earn better APR on your own HP. : )
It is beautiful and stylish. It is comfortable to wear. It looks great. Good to see each step of making this. Well done!
Thank you so much 🥰
Hermoso trabajo Marlyn. Me encanta este diseño, se ve muy veraniego y la tela es muy hermosa. Te felicito ❤️
Muchas gracias ☺️🥰
@marlynmont sigue en esto de la costura, se te da muy bien, el crop top, se ve genial, Saludos 🤗
Gracias por tus palabras 🤗🥰, saludos ☺️
Hermoso crop top amiga, también me encantan las costuras ocultas, el acabado se ve genial, aunque requiere más tela, el resultado bien lo vale. 🤗💐😍
Saludos!
Si amiga a pesar de que requiere más tela queda muy lindo, gracias por comentar ☺️ saludos 🥰