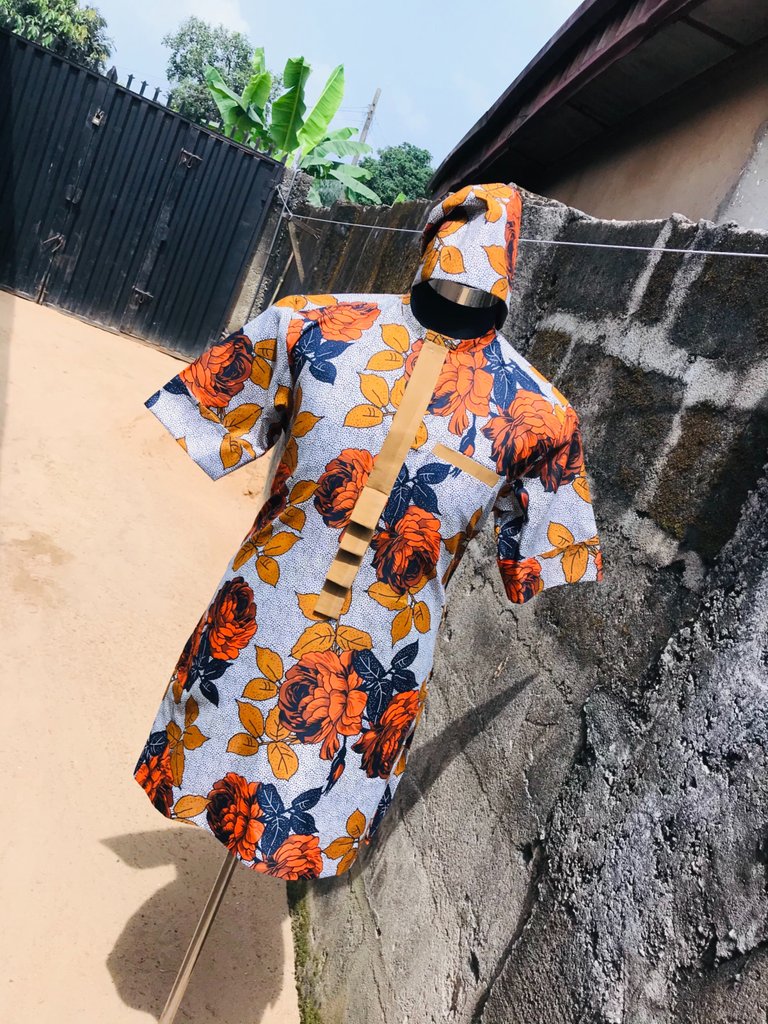
Good day hivans and my follow needle workers, its new working Monday for creative for us so let’s explore more guys 😆, its actually a pleasure to post to you all again, I hope you all are doing perfectly fine, am doing well too it’s just God every step of the way going forward. So guys the last outfit I made and post here, I told you all that my client who had the outfit I posted needed to rock with a Yoruba cap, I didn’t want it to be too choked up for you all that’s why I didn’t post the making of this cap along with the outfit cause I felt it will be too choked up for you all, I wanted it to be bit by bit so I could carefully explain it to your understanding and so you can flow well with me that was why I kept this one to post separately, now here we are friends, don’t worry it going to be fun trust me, and it’s not really hard to make though for those of you who are imagining it from the look of it that it might be hard to achieve trust me it’s as simple as reading through an alphabet 😂.
Now this cap am about showing you all is from the Yoruba land which is located in south-east of Nigeria. The popular name for the Yoruba traditional cap is “fila” which is the Yoruba name for the cap. These caps are made of different types of material, but are mostly hand woven from Aso Oke fabric, velvet, cotton or damask. So guys let’s do this together. This cap is mostly use by the groom in there traditional marriages.
There are different types of Yoruba Native caps:
Abeti Aja:
The cap Abeti Aja, this one is just like the ears of a dog 😂 This style of Yoruba cap looks like a triangle with two edges sticking out like the ears of a dog. This style is common among both young and old Yoruba men, Also some traditional Yoruba drummers like to wear this style. You can wear this style of Yoruba cap and change the position of the edges: they can be pointed upwards, which ever way you want to wear it it’s your choose.
Kufi Style:
Kufi style is very common among Yoruba Muslims and also royal people. It is usually worn on Shaka wears or dashiki lace style.
Gobi style:
this style of Yoruba cap is very common these days. Before buying one, make sure that it fits your head properly. You can fold this any way you like. You can fold it on the left or on the right. A bit on the back part or a bit to the front part too.
Fila style:
This style of cap is mostly used at marriage and festivals cause it plays a very big fatal role in there culture. And after wearing you bend the top part to the right side, I think that mean something natively though.
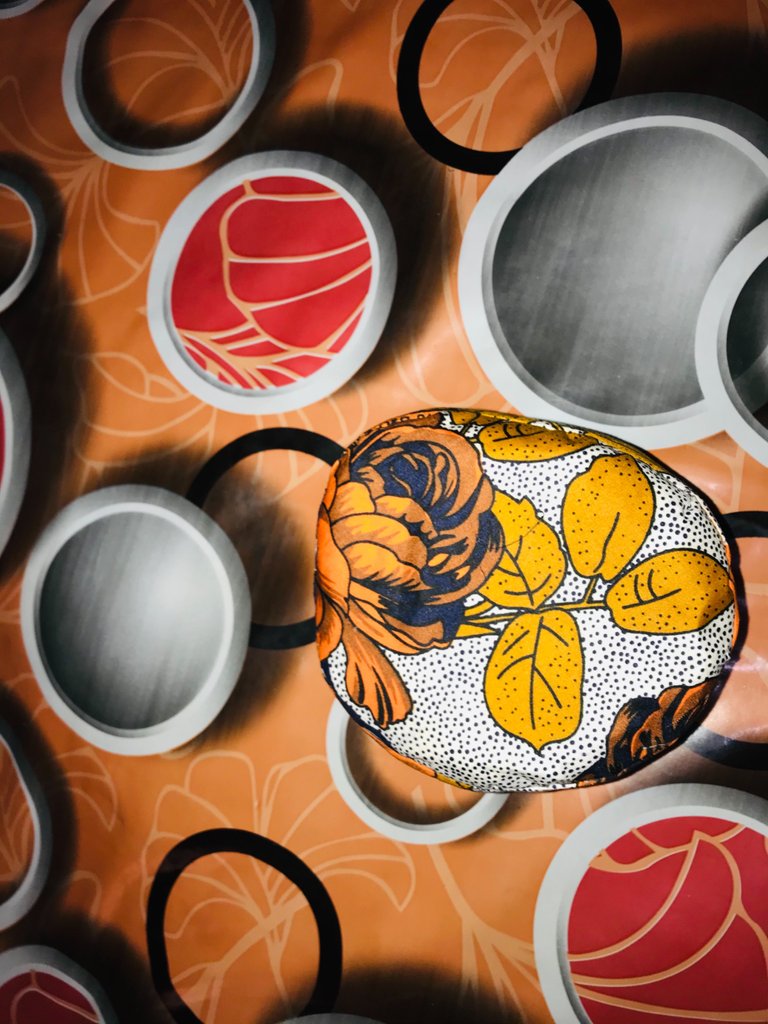
This just the little information I could gather about the different caps and there patterns they have in the Yoruba land. So today I’ll be showing you all how I made the “fila” cap. So friends let’s do this together.
Items used:
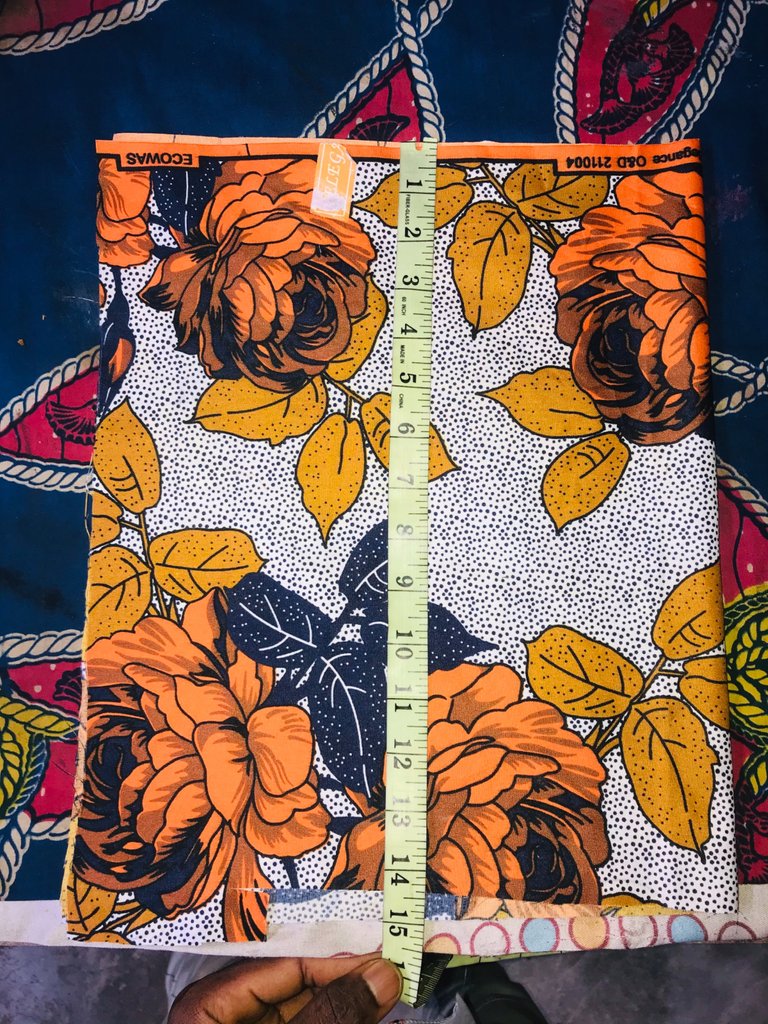
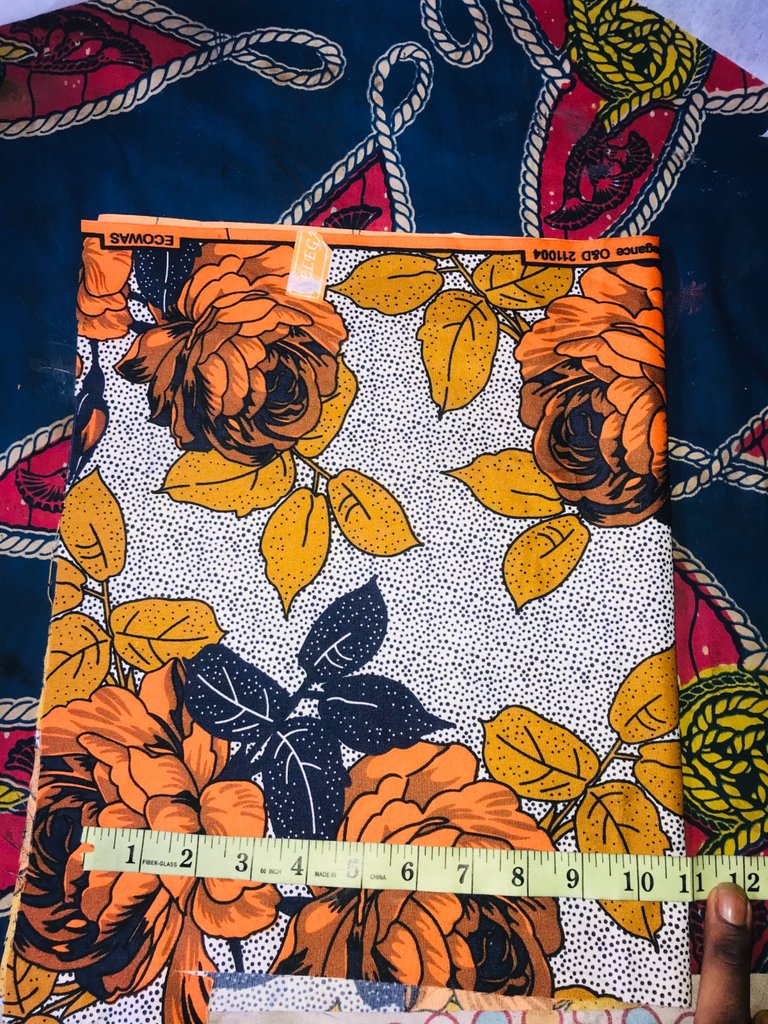
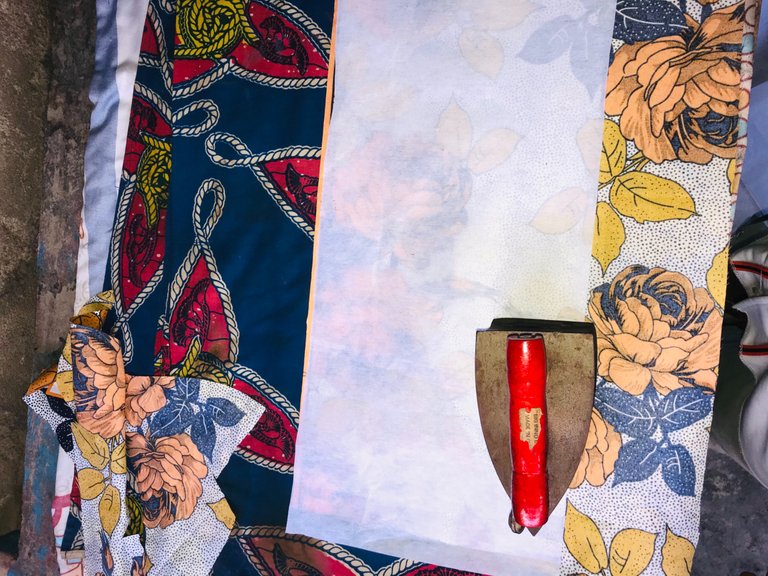
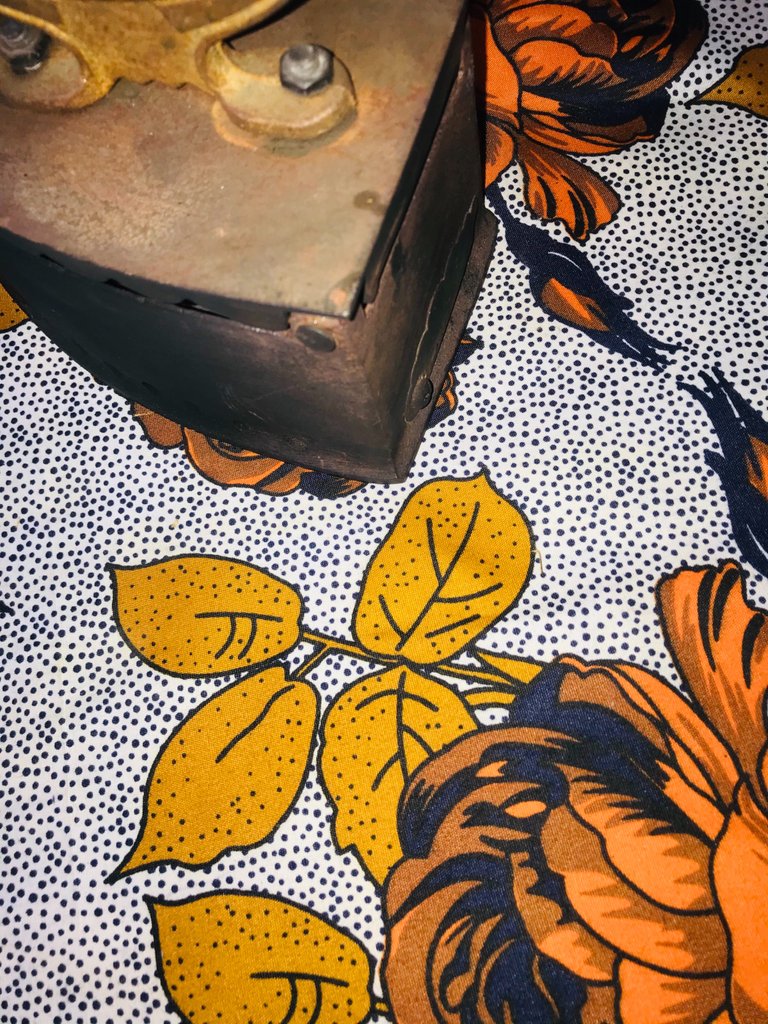
- An Ankara fabric
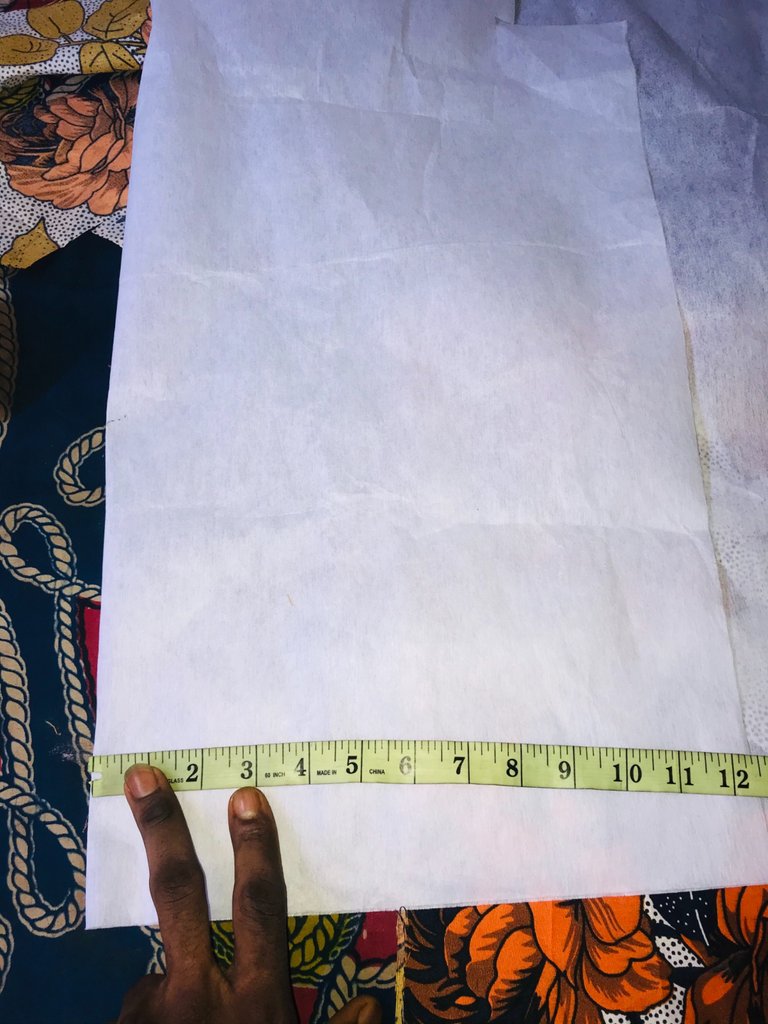
- Paper gum
My sewing processes:
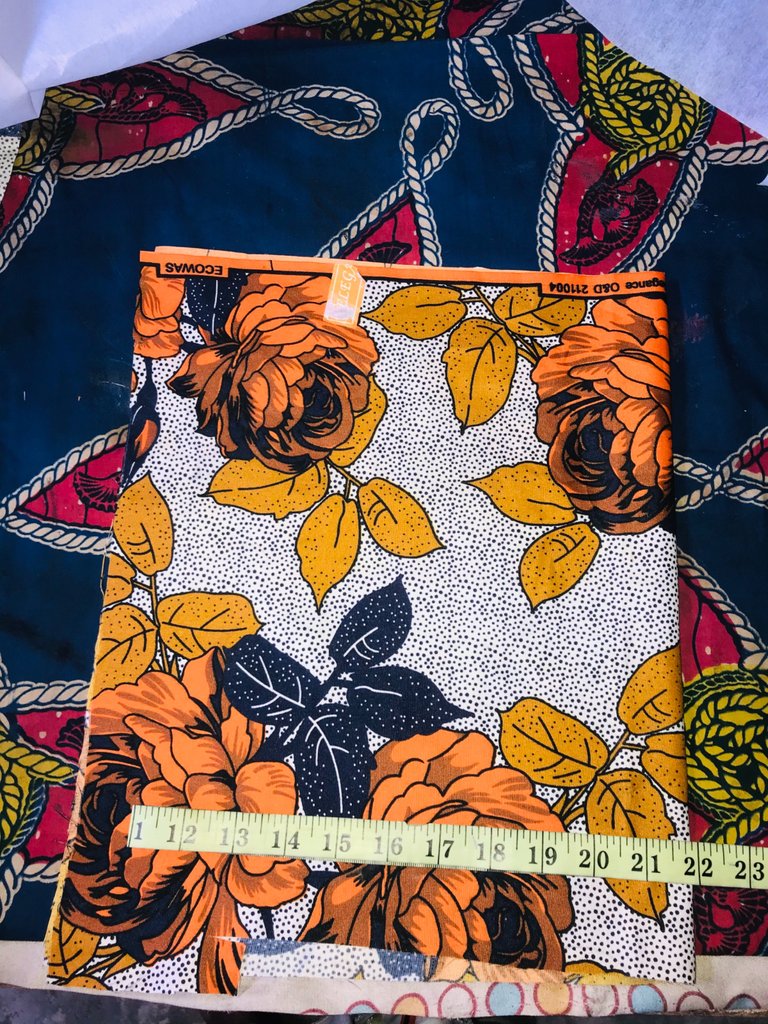
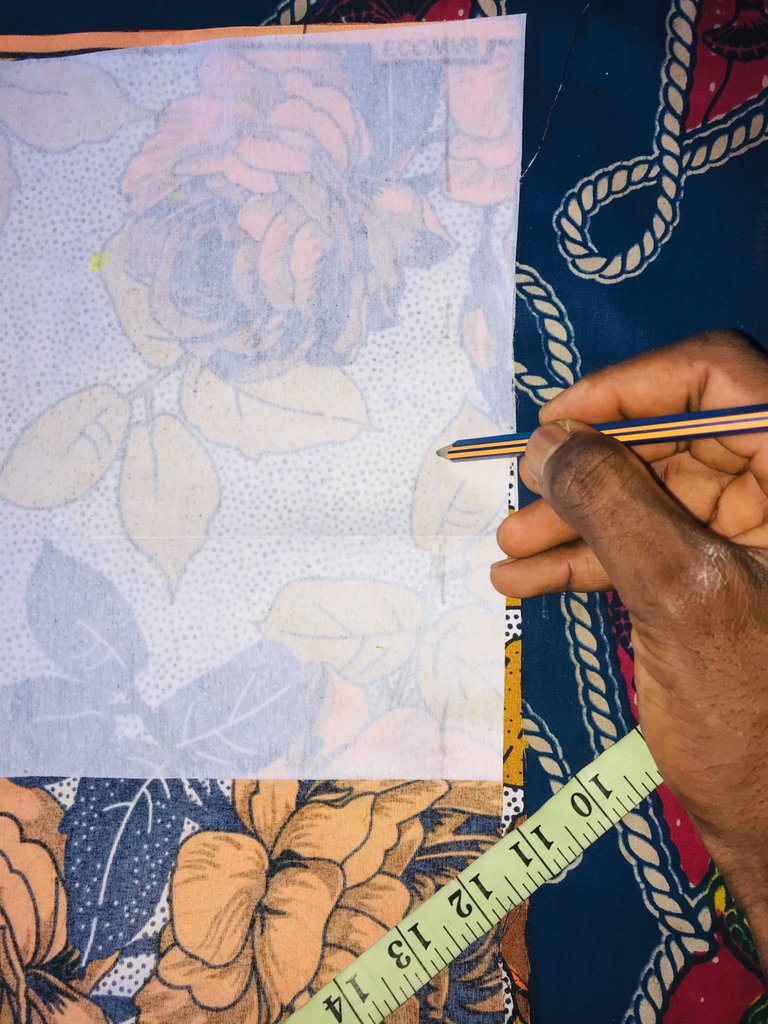
First step:
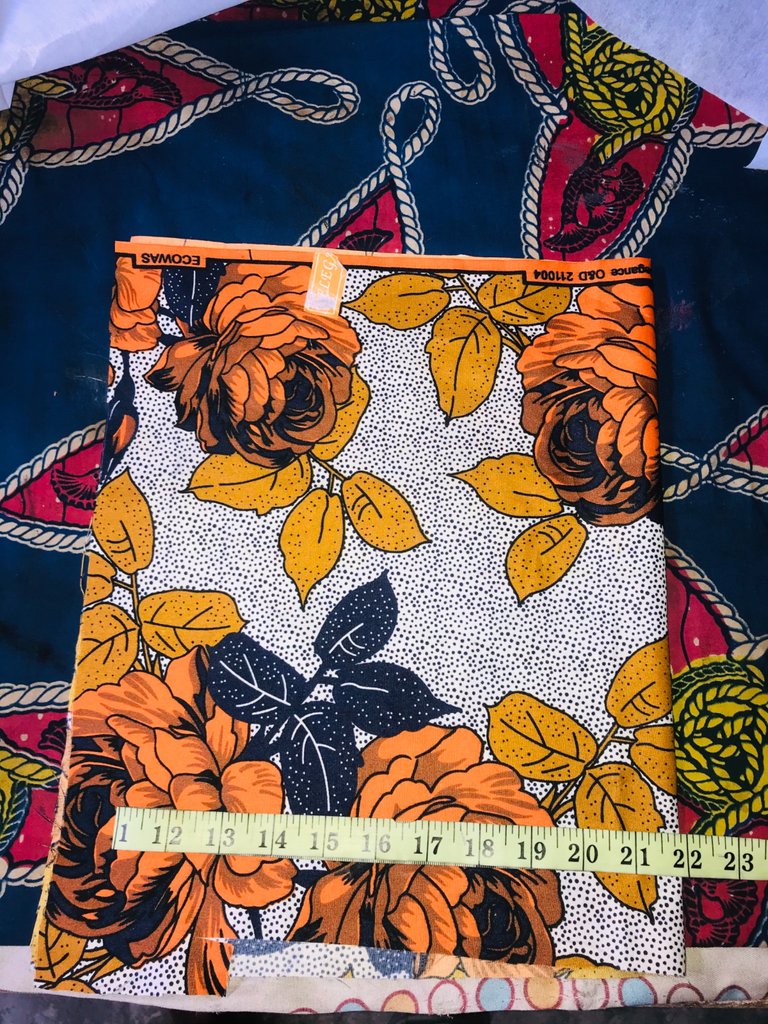
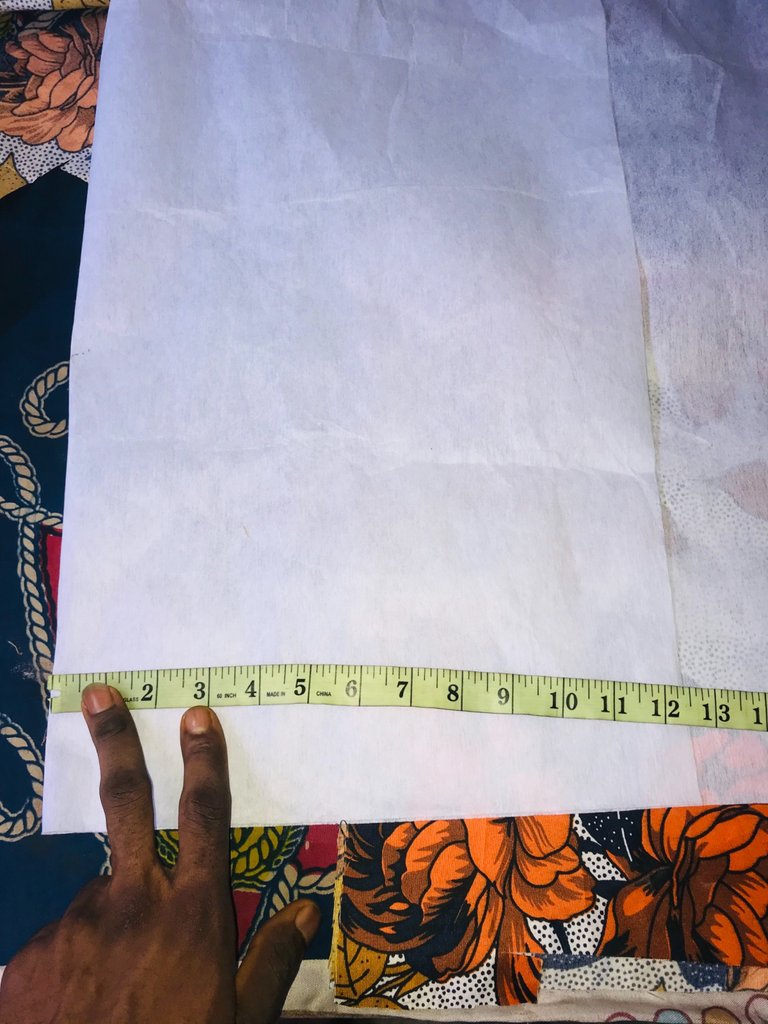
I first lay the Ankara fabric on the floor, my client’s head measurement was 22inches, I got it by putting the rape round in his head. So his head measurement was 22inches, so I bend the Ankara fabric into two now the head size was 22inches and the length, I made it 15inches so when I bend it into to form the cap it will be 7.5inches in all but I didn’t cut out 22inches after measurement the Ankara fabric I cut out 24inches instead, now I added 2inches for the sewing allowance, so when am then sewing I will be having his exact head size I measured which was 22inches.
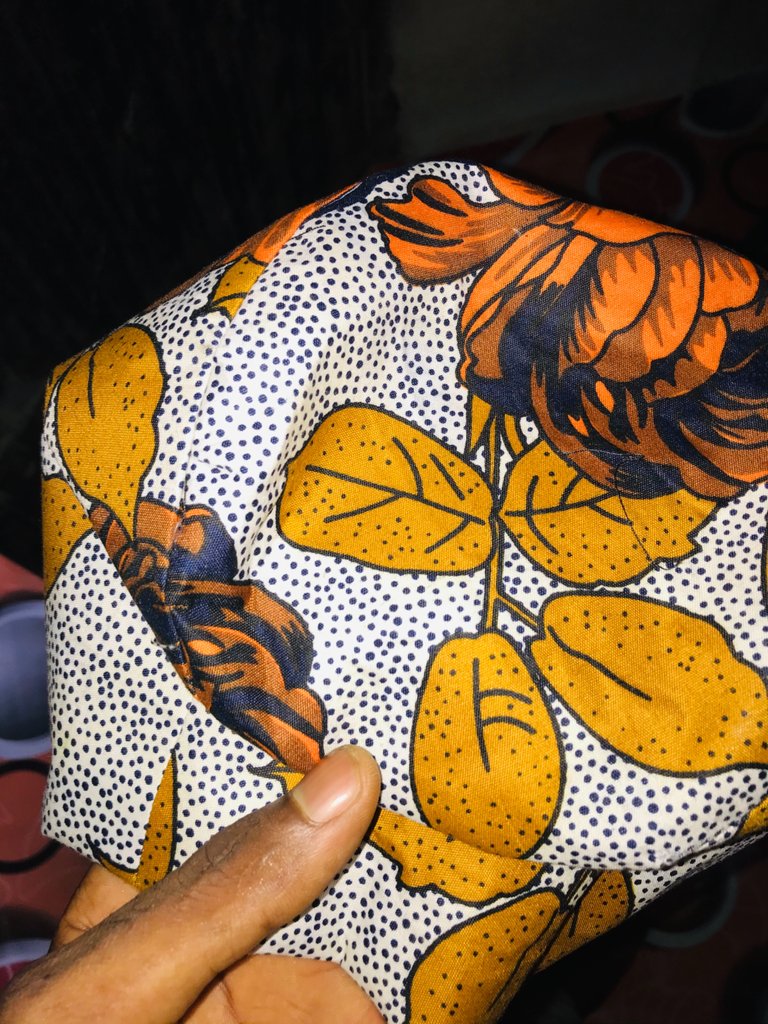
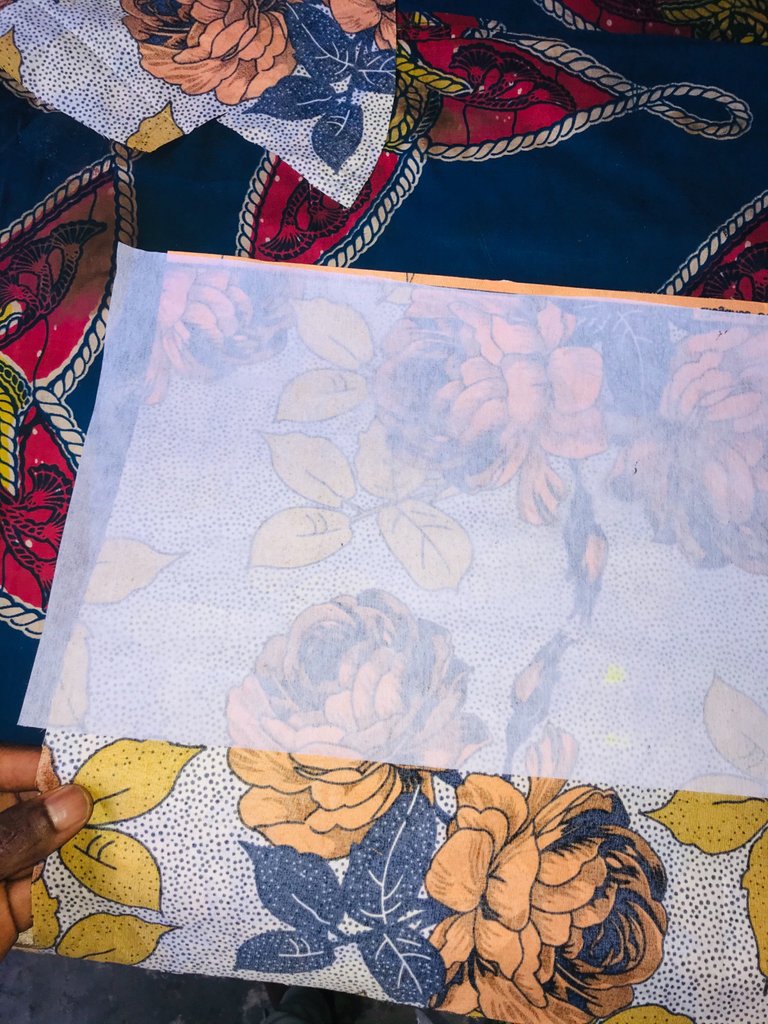
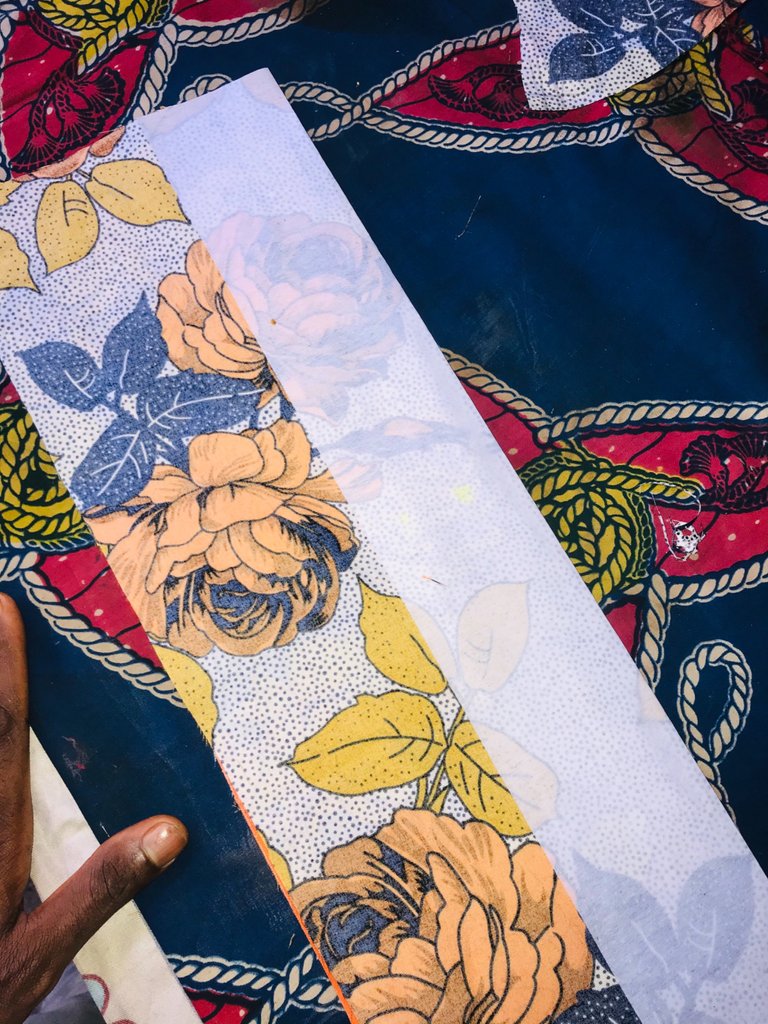
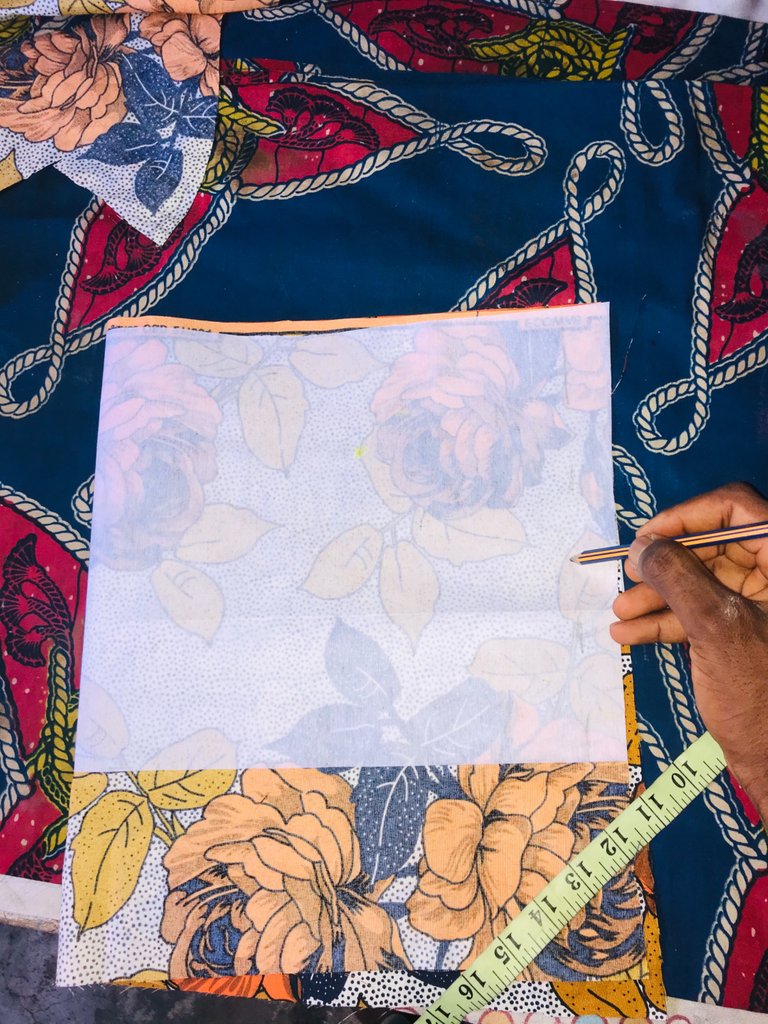
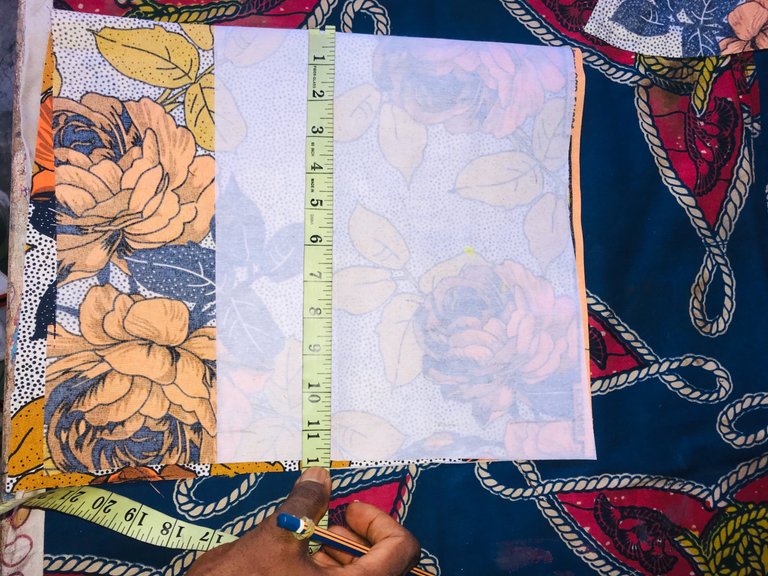
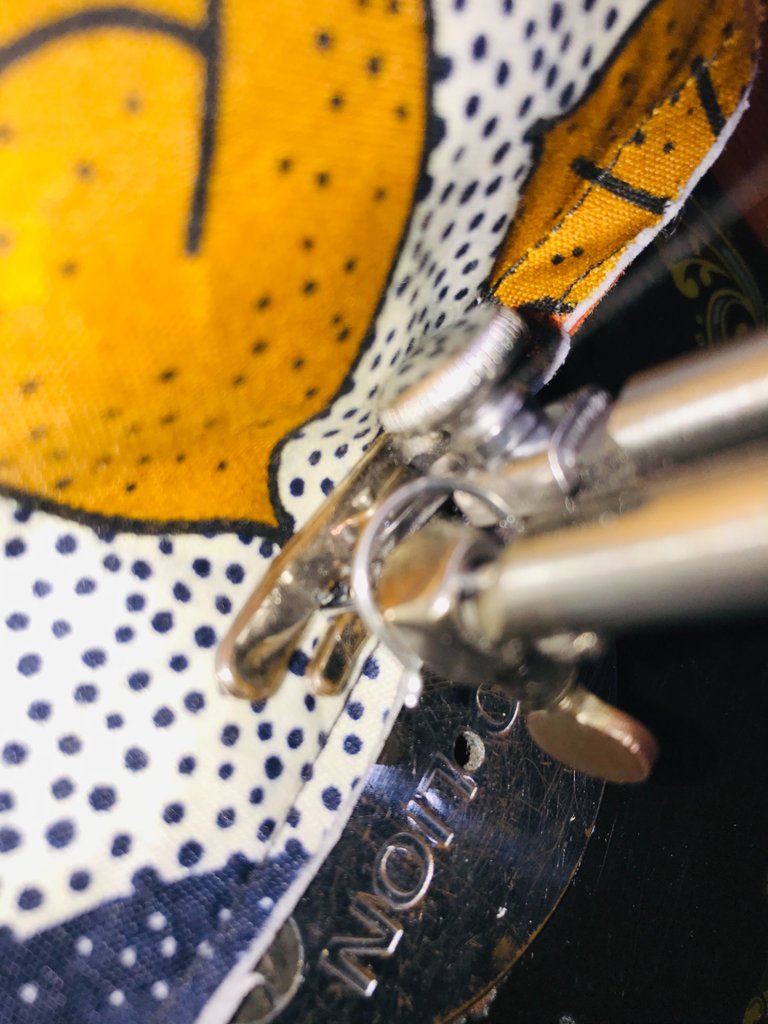
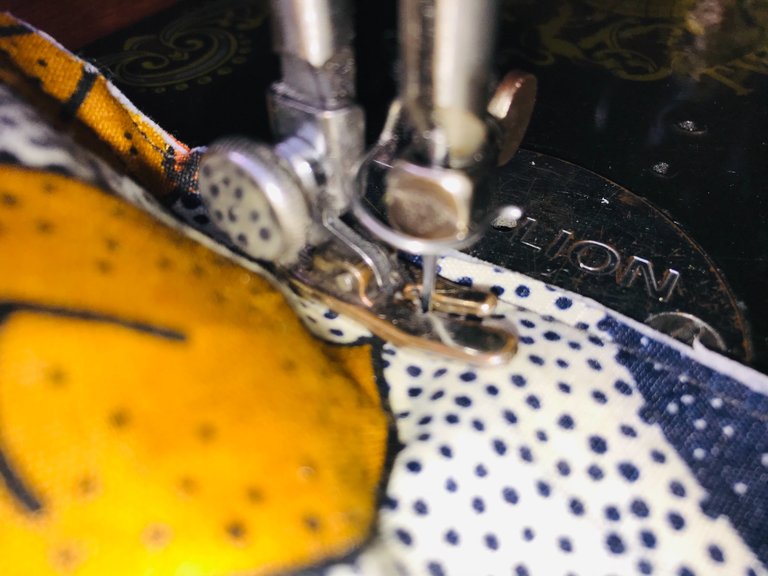
Step 2:
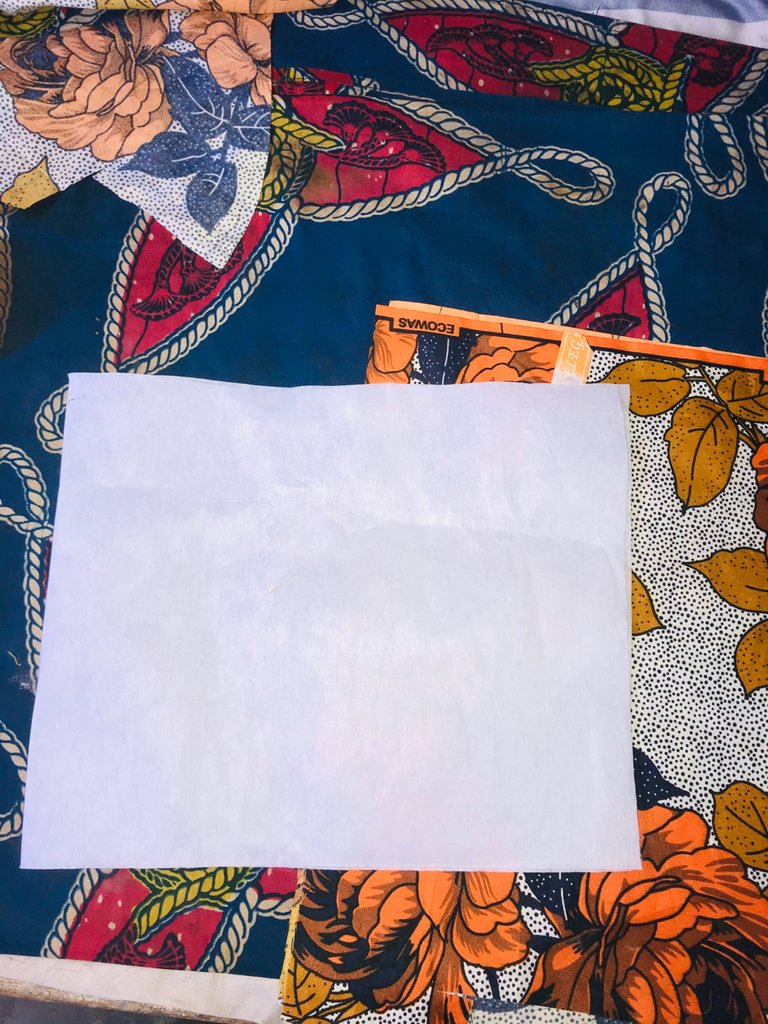
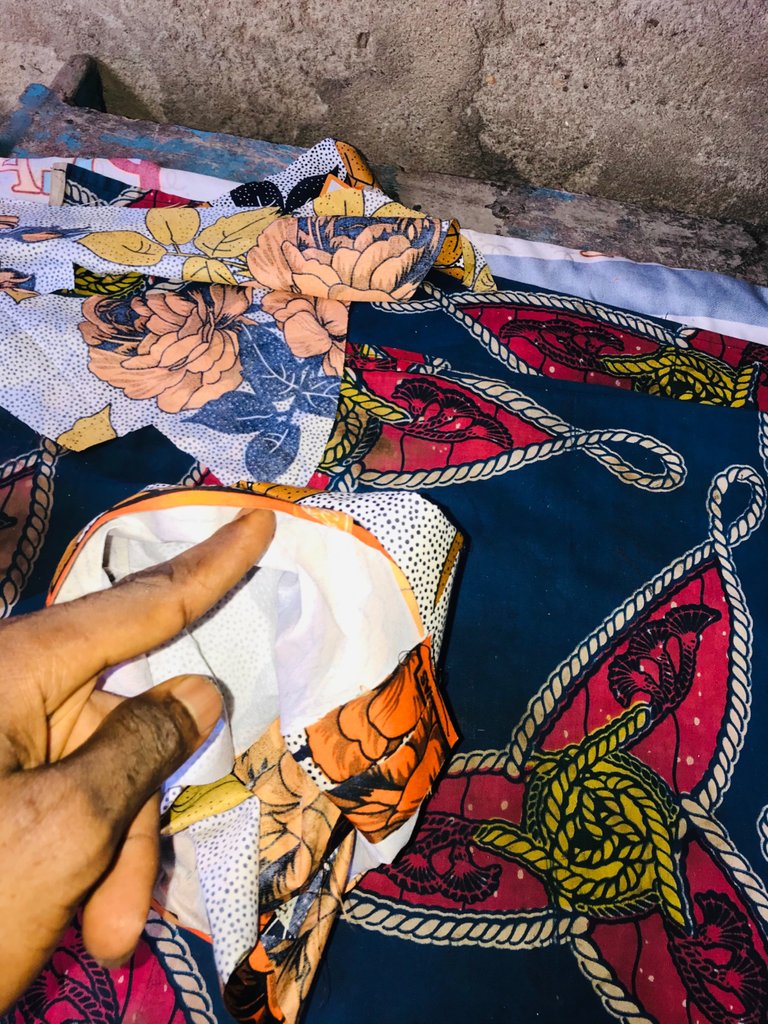
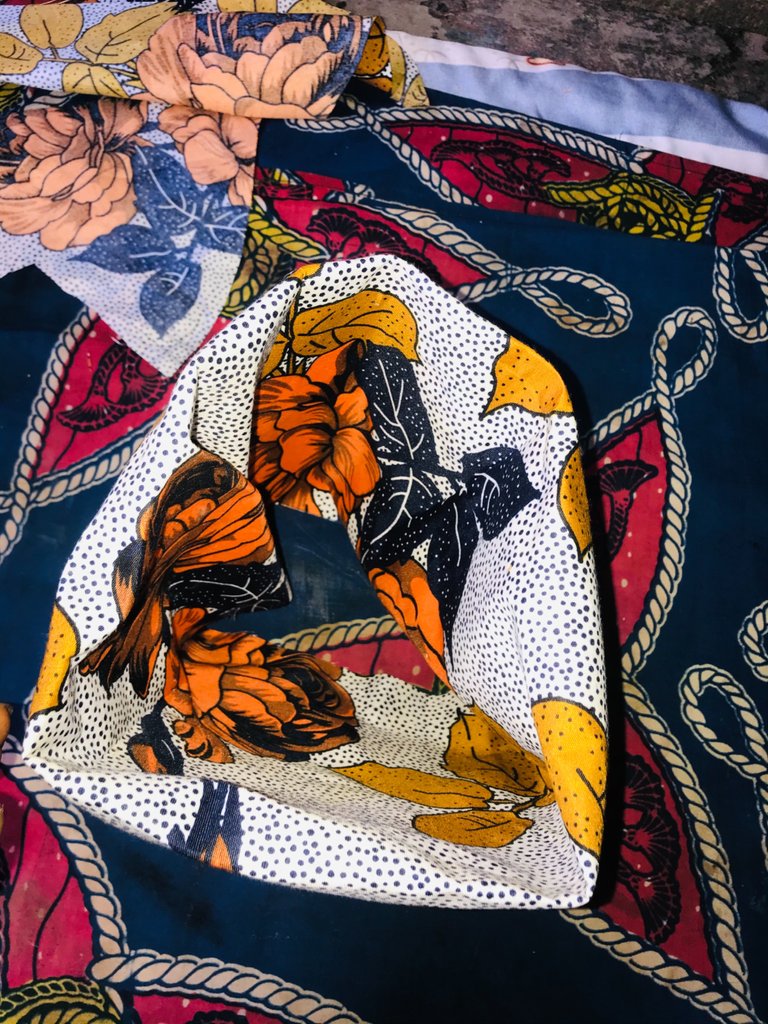
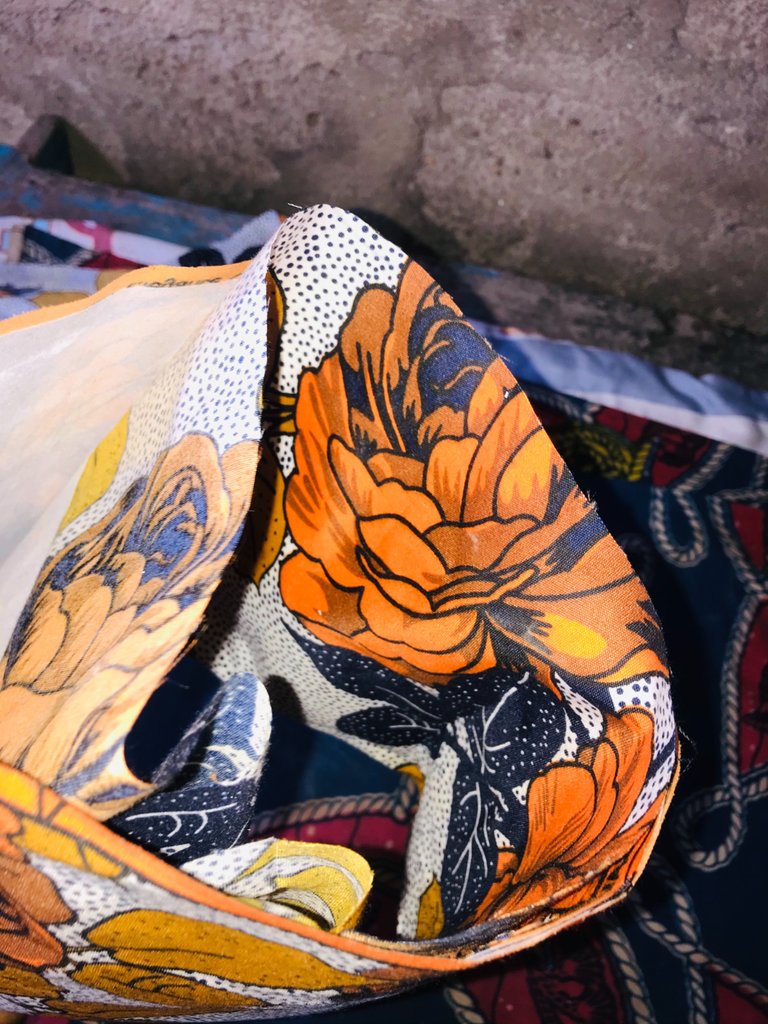
Now after that, I then cut the paper come size of 24inches and length of 10inches and I gummed it on the fabric. Now after that, I bend it into two now I took it to the machine and sewed it, now have bend it into to so i also divided 22inches into two and I got 11inches so I sewed 11inches, when I was done I got 22inches in all which was the actual head size of my client. After sewing I bend it, I then turn it to the front now this how it looks like 👇🏼.
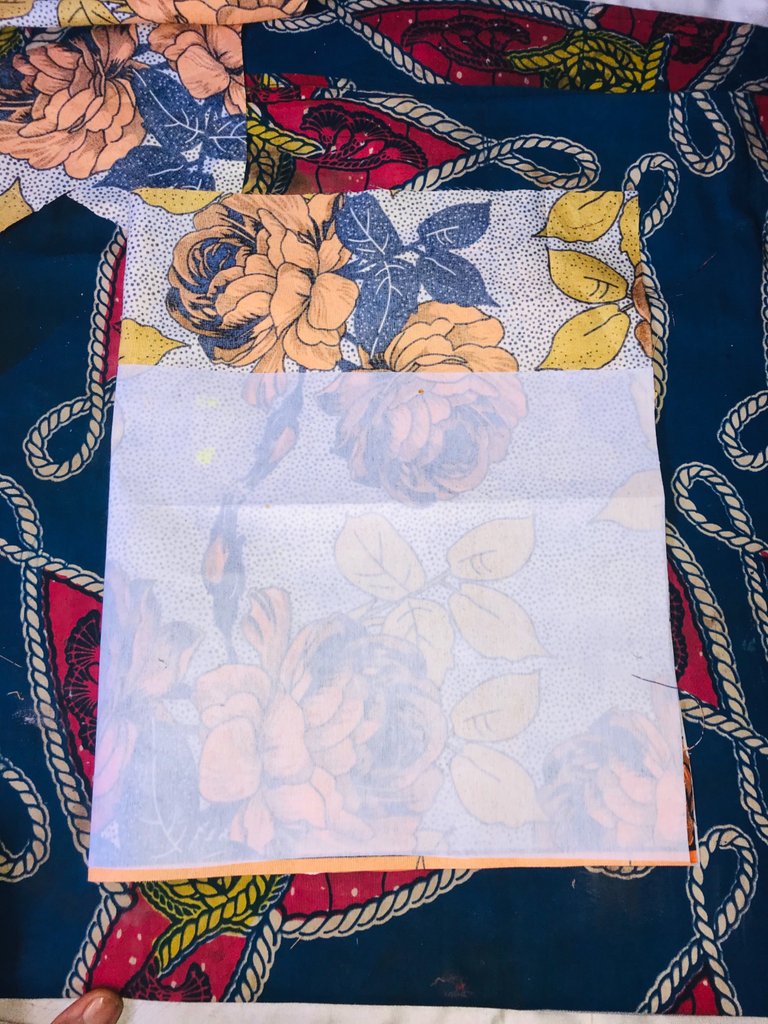
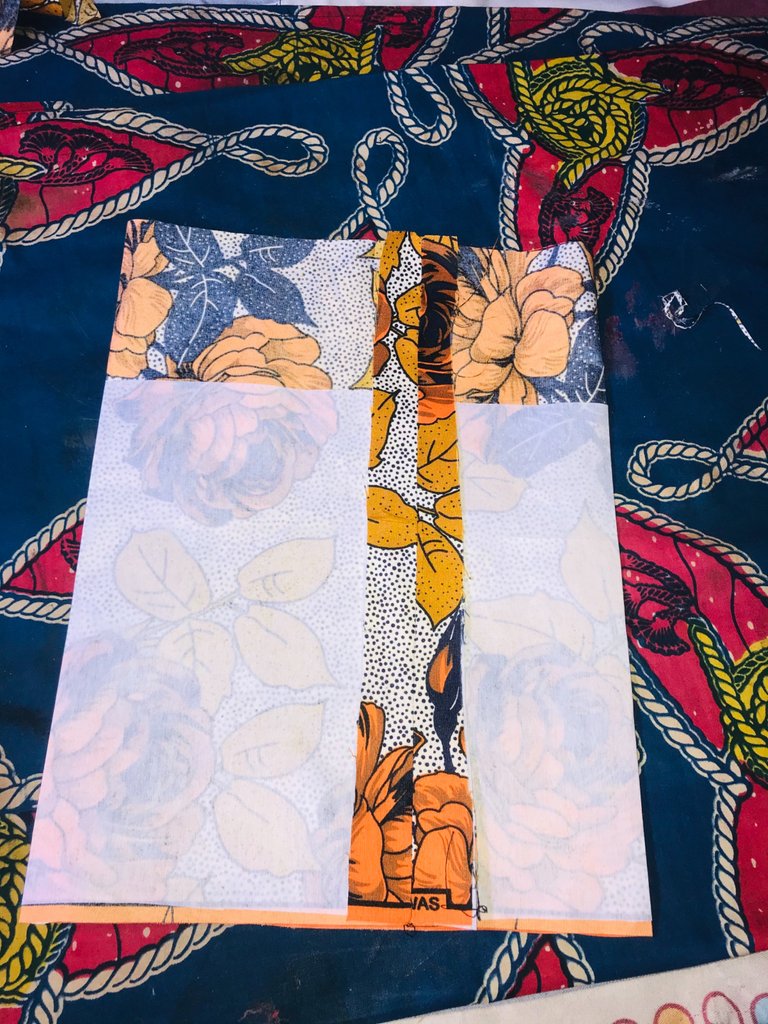
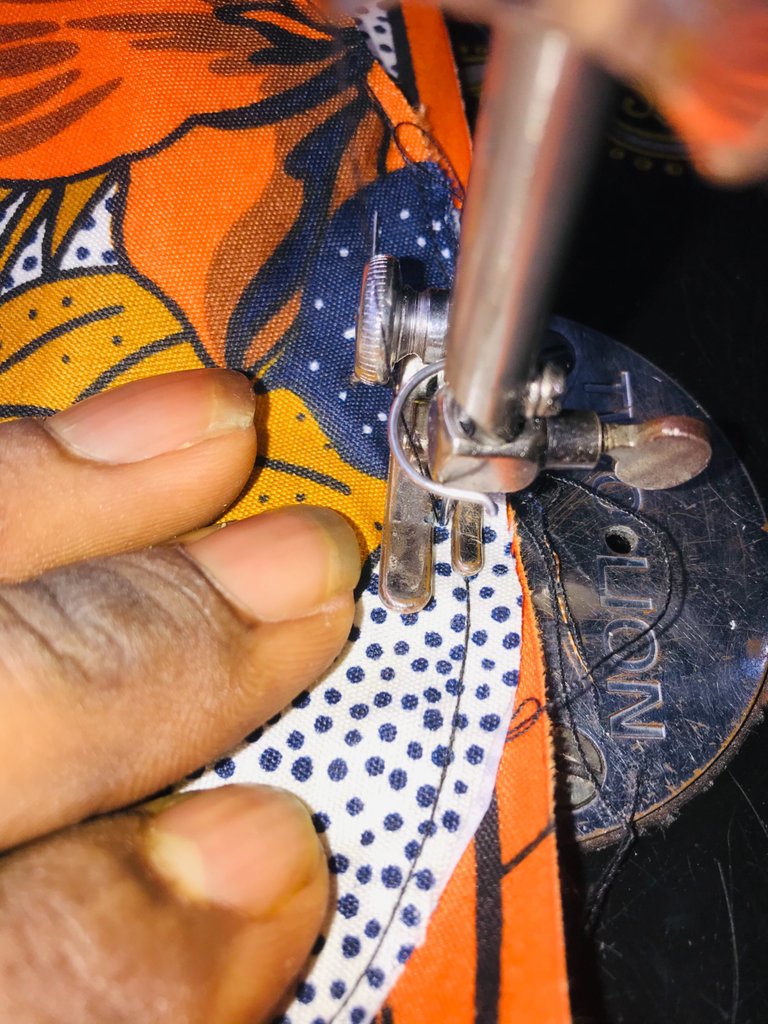
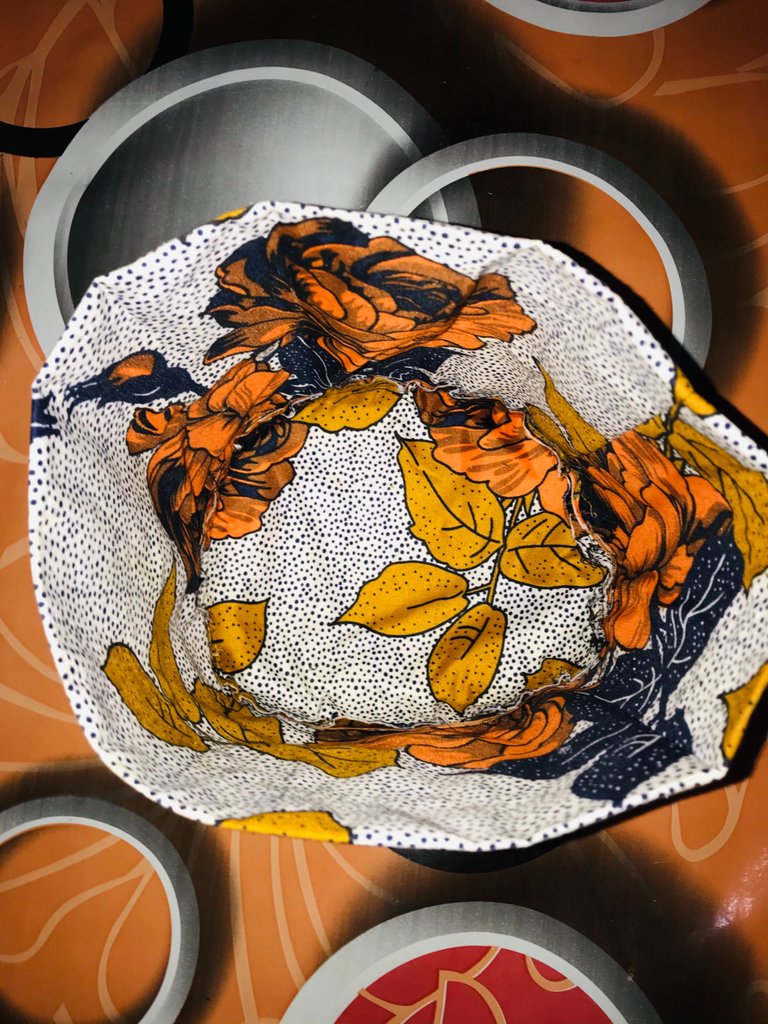
Step 3:
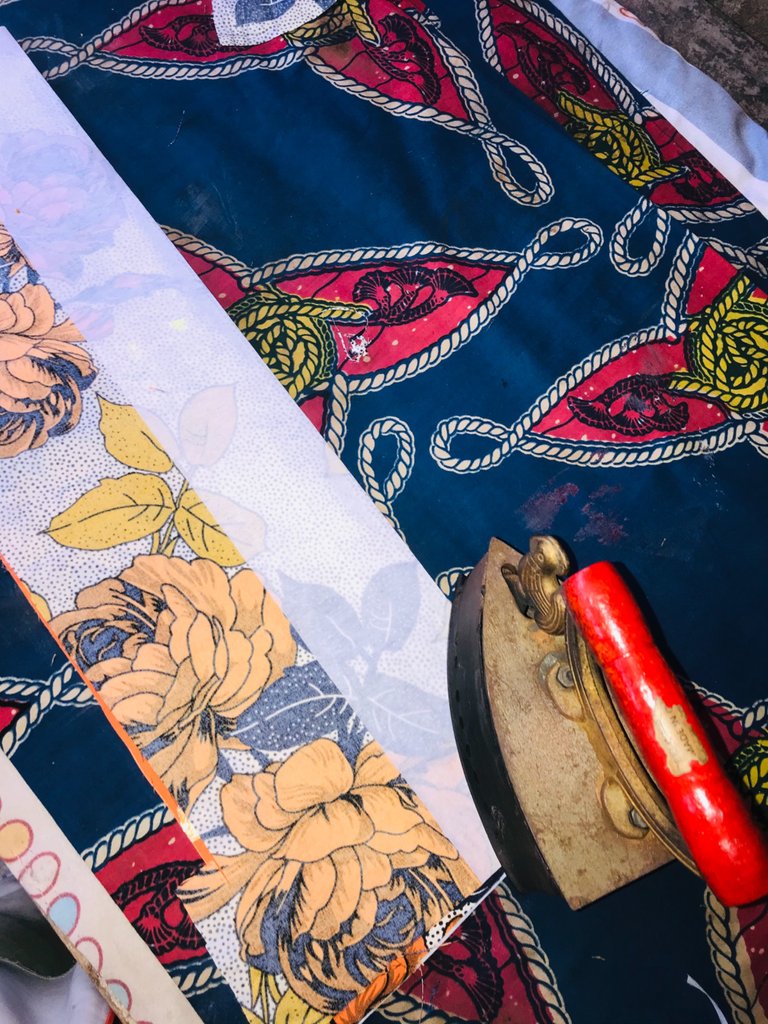
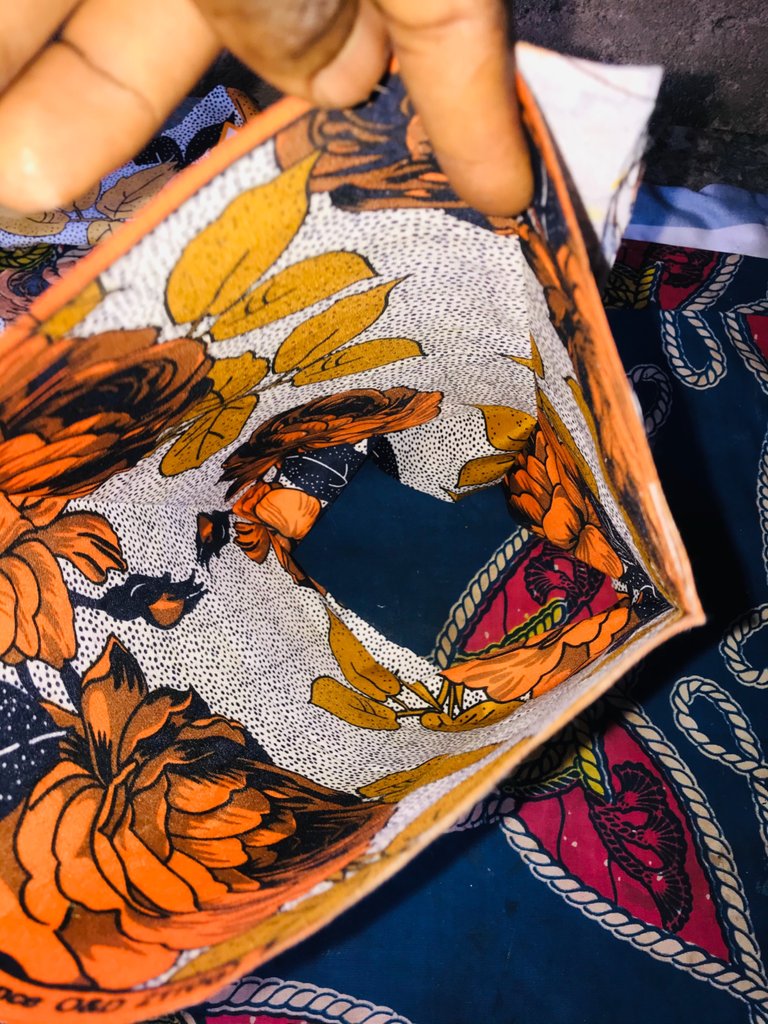
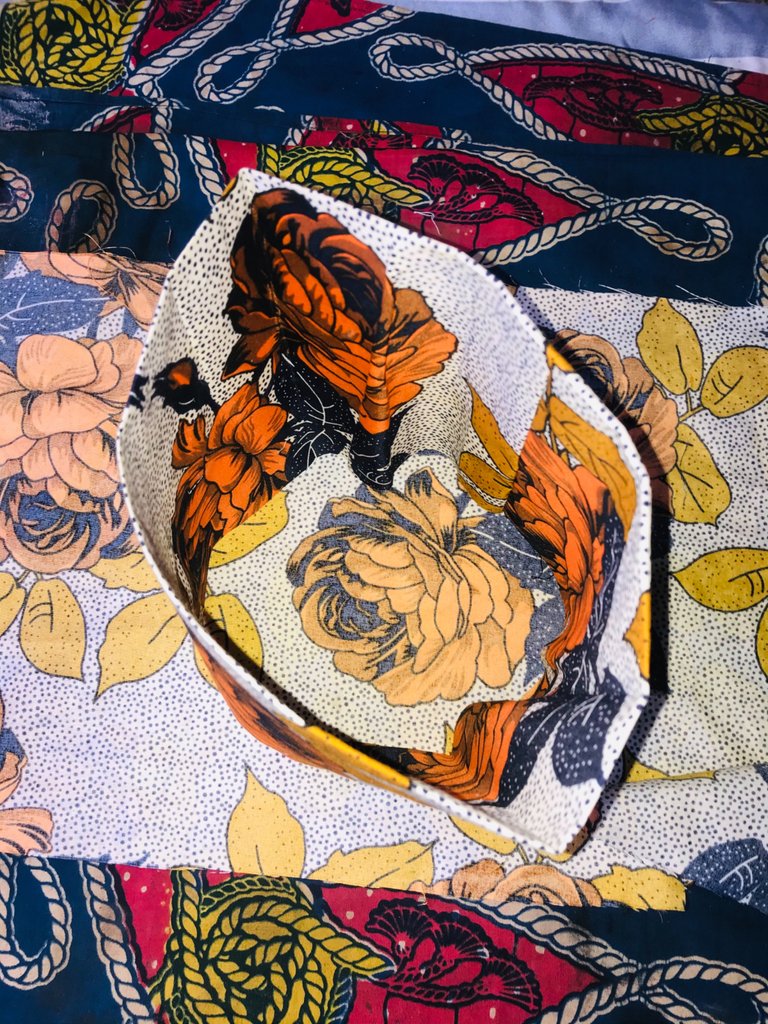
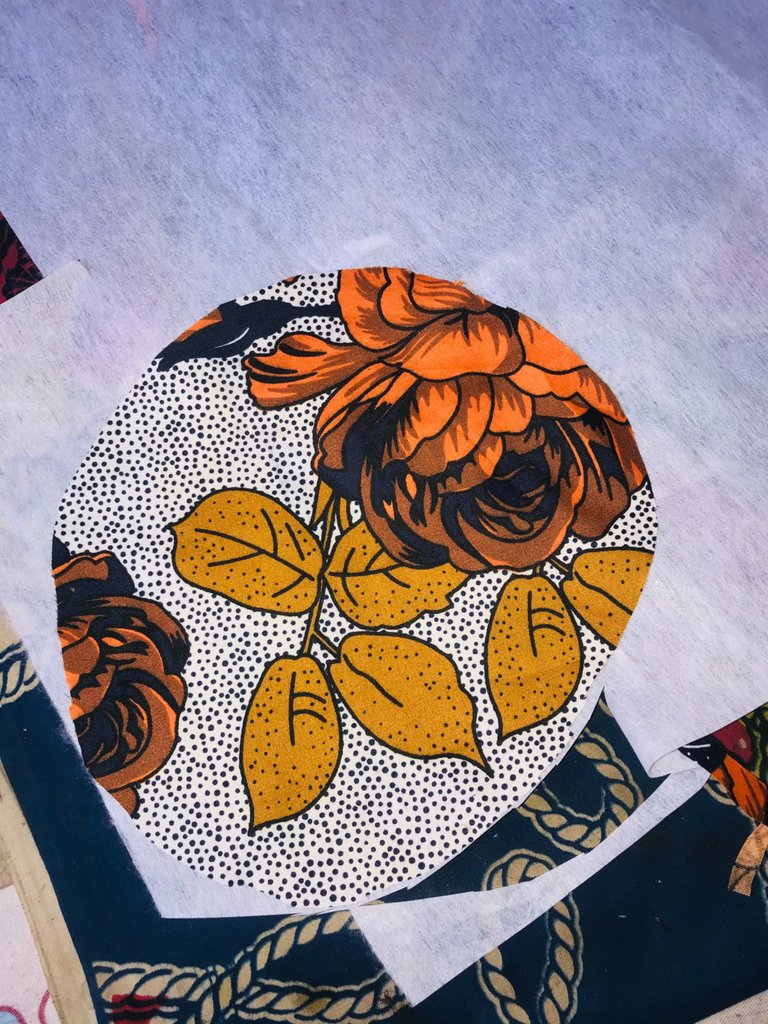
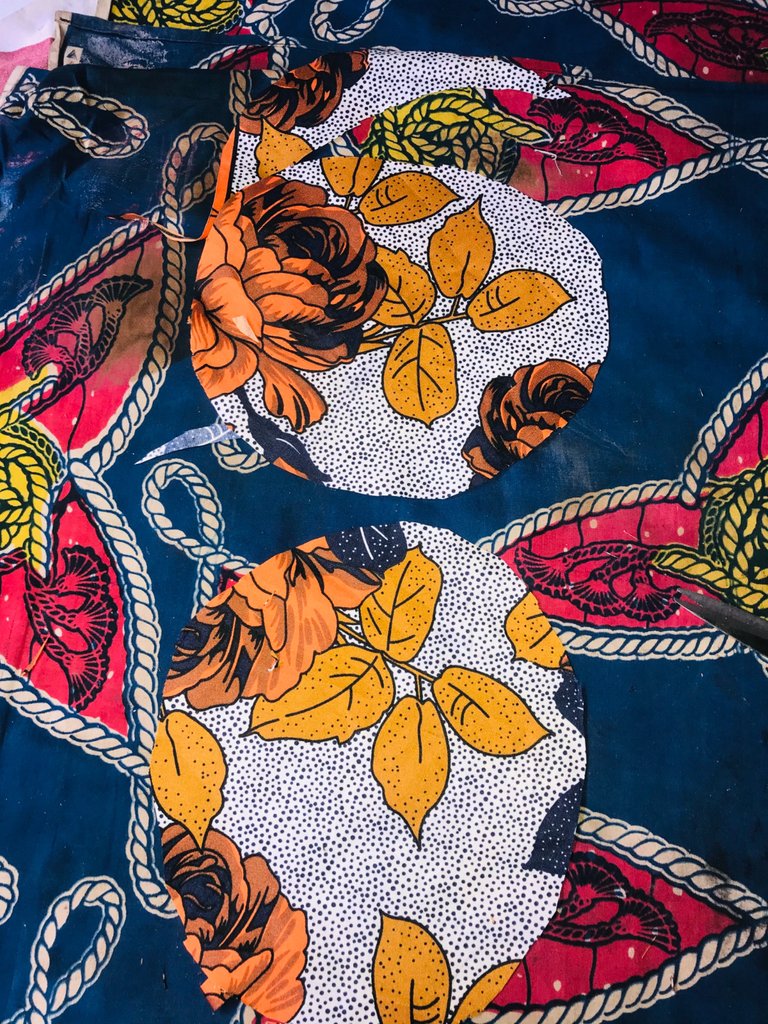
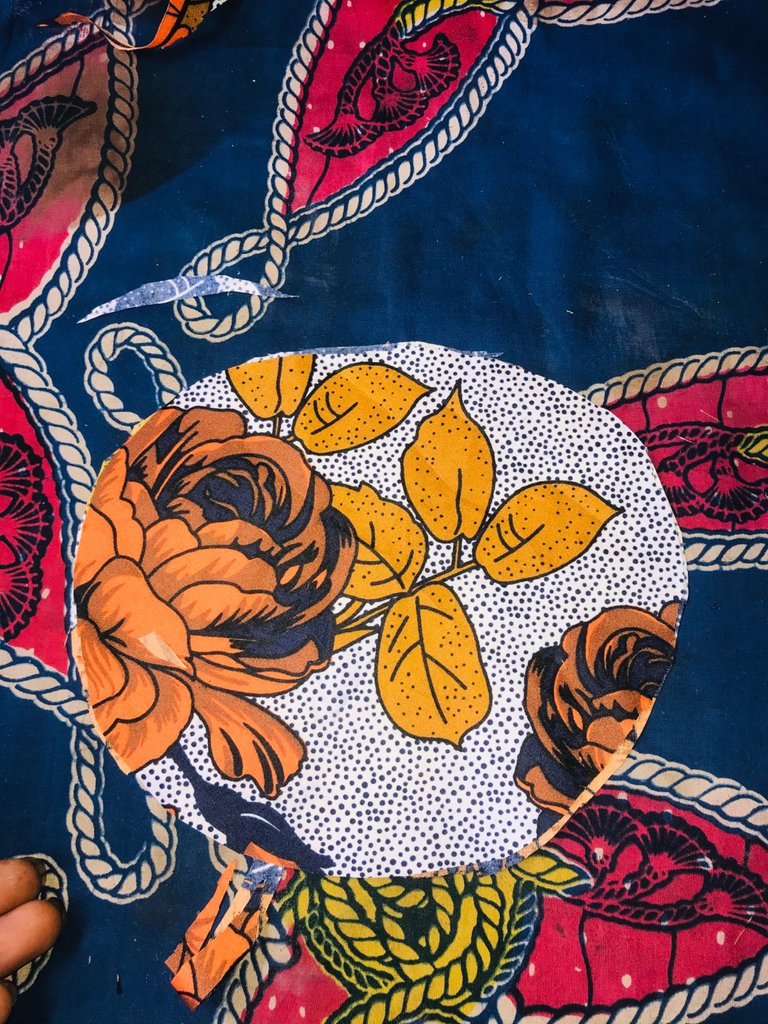
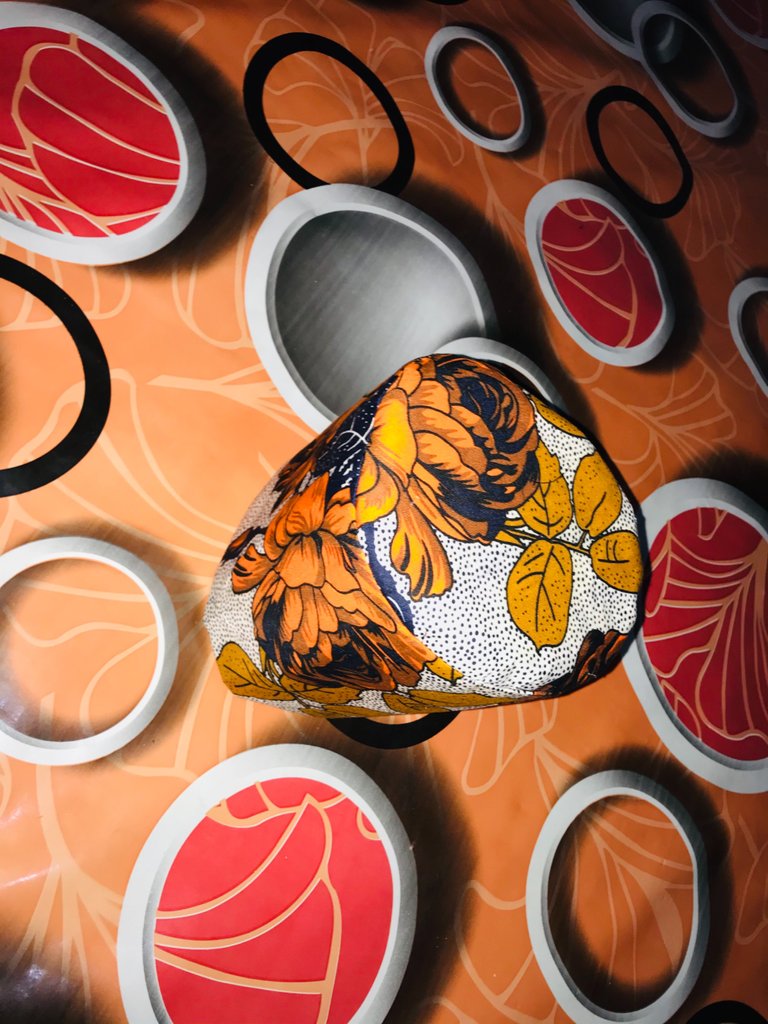
After turning it to the front, I then take the Ankara fabric again and lay it in the table, I place the just joined side of the cap on the fabric I laid on the table, now I sketched the up part of the cap which is the roundness of it out and after I was done I cut another one same sharpe after that I cut the paper gum same roundness and I gummed it there, after that I use that other one to place on top the one I added paper gum to, then I sewed it round.
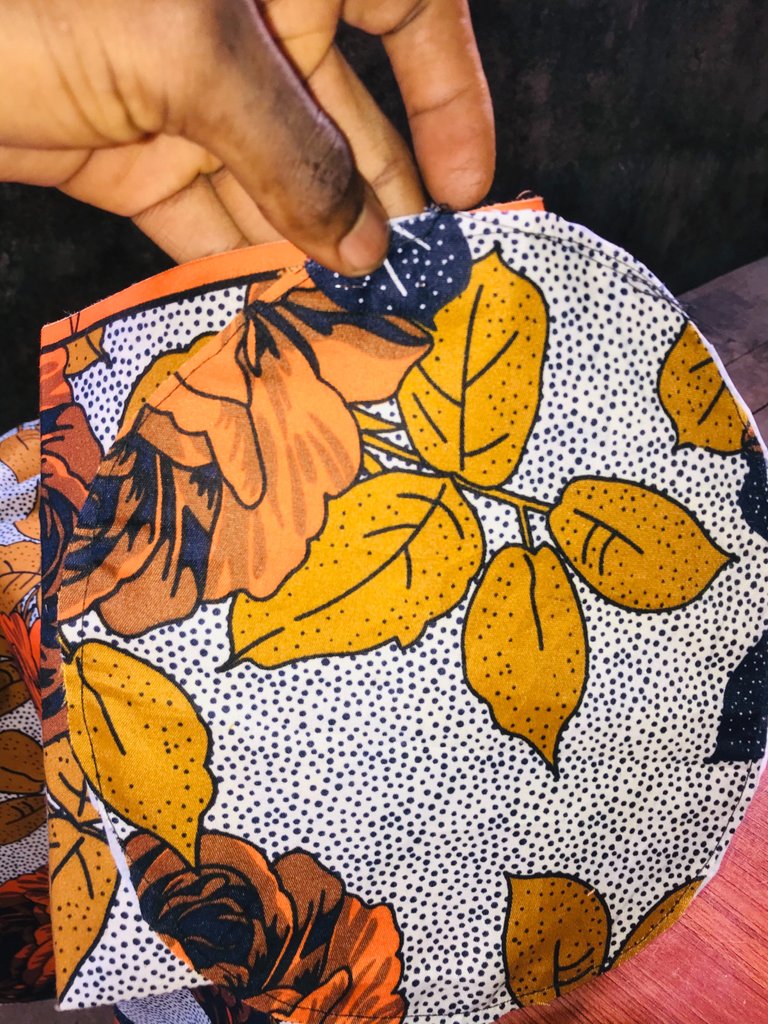
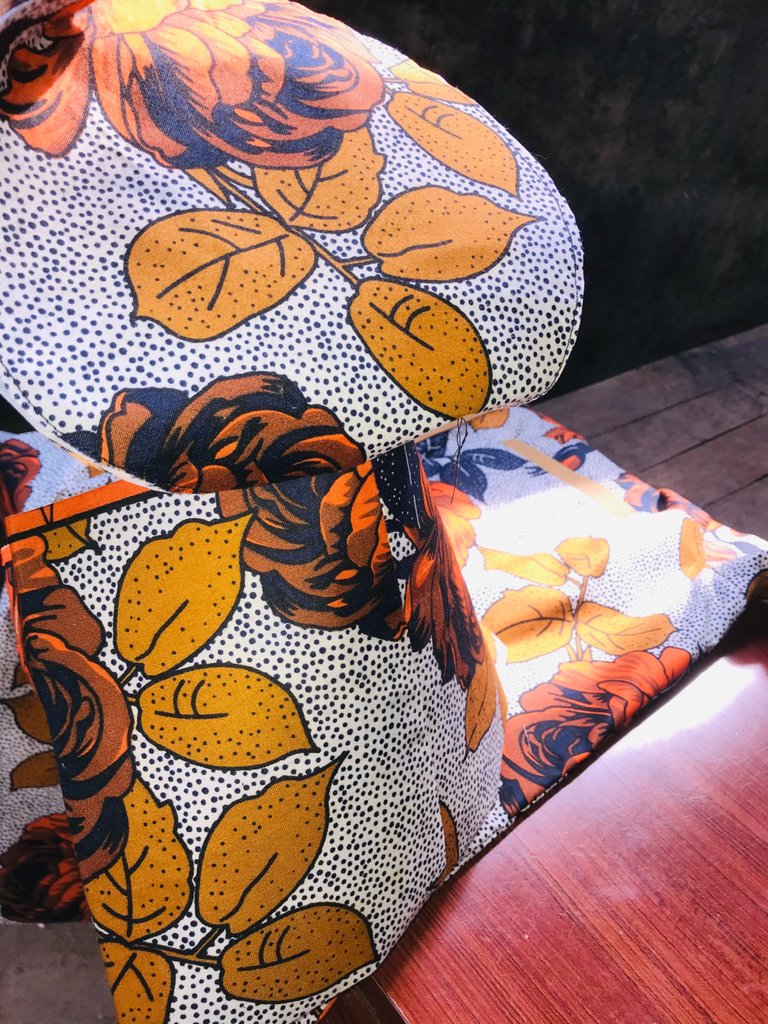
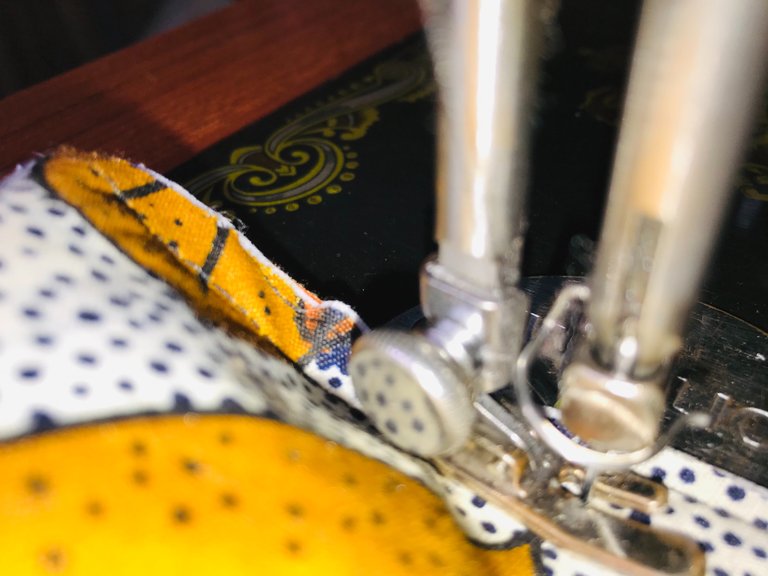
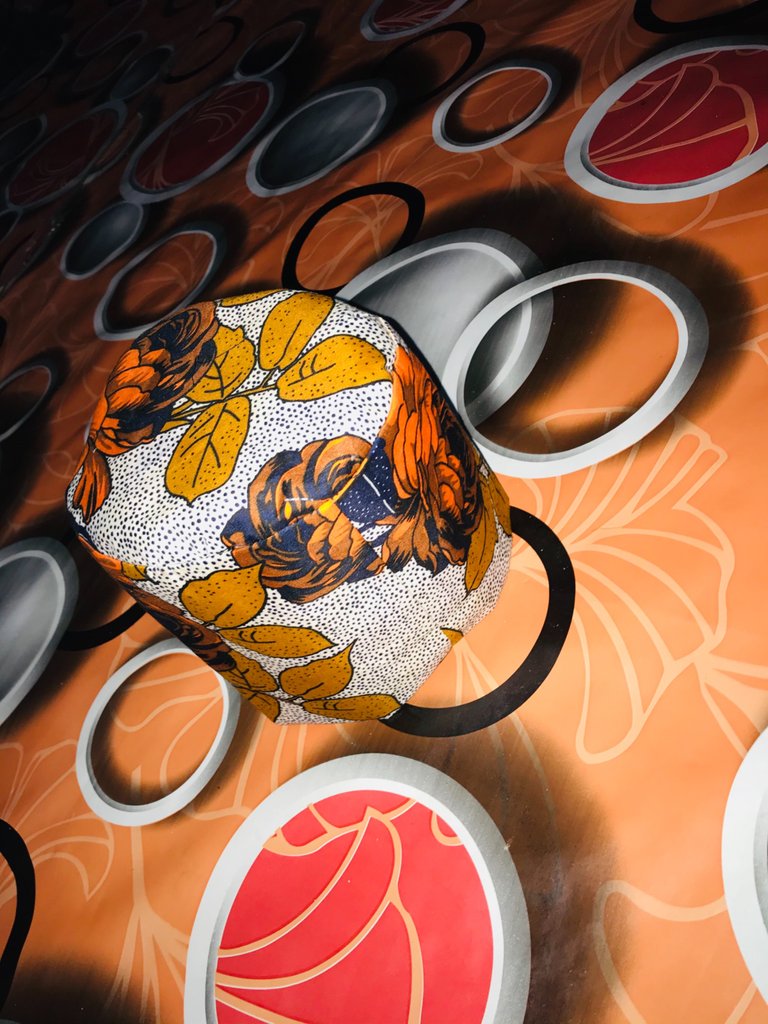
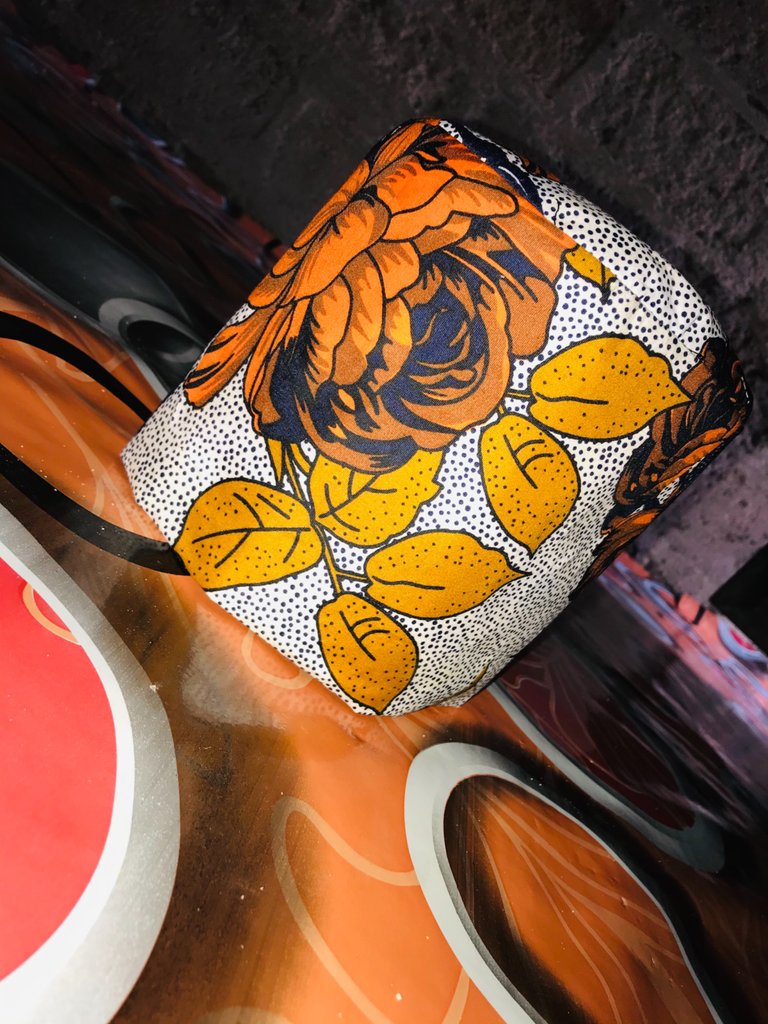
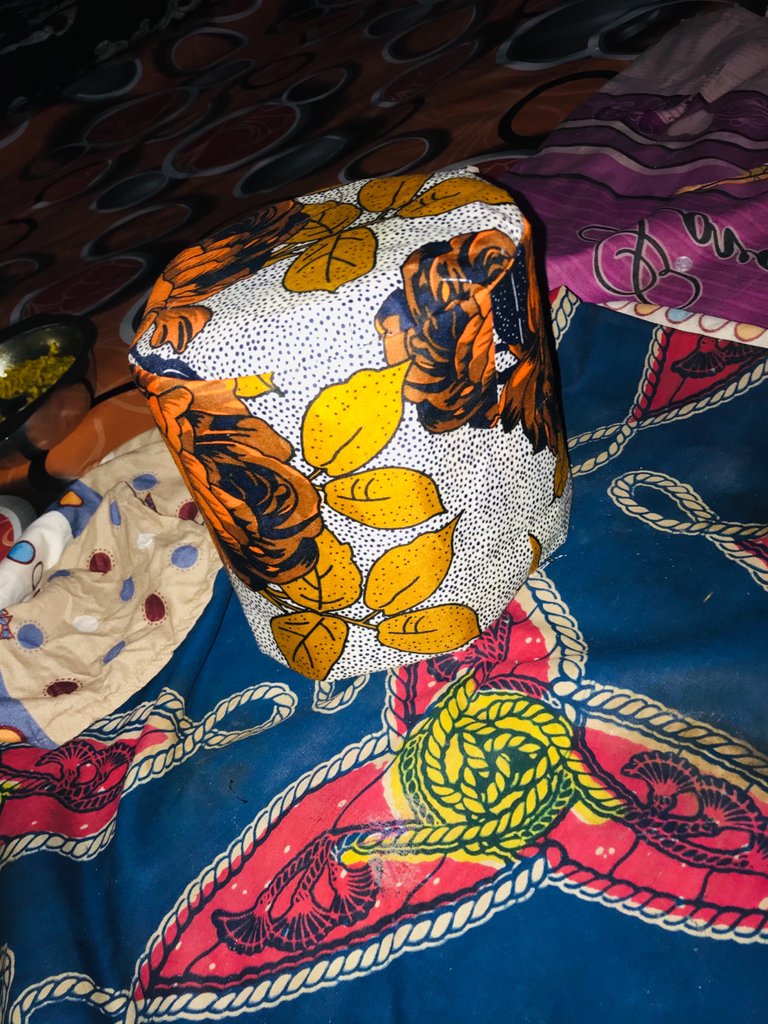
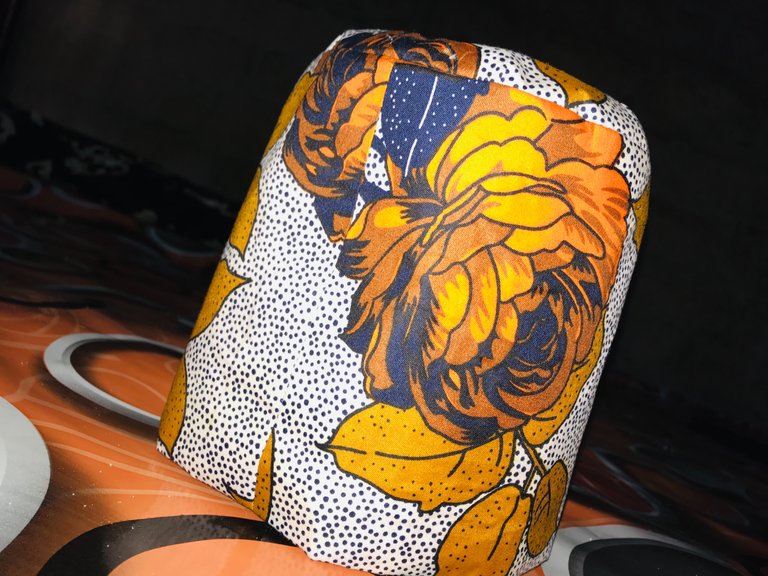
Step 4:
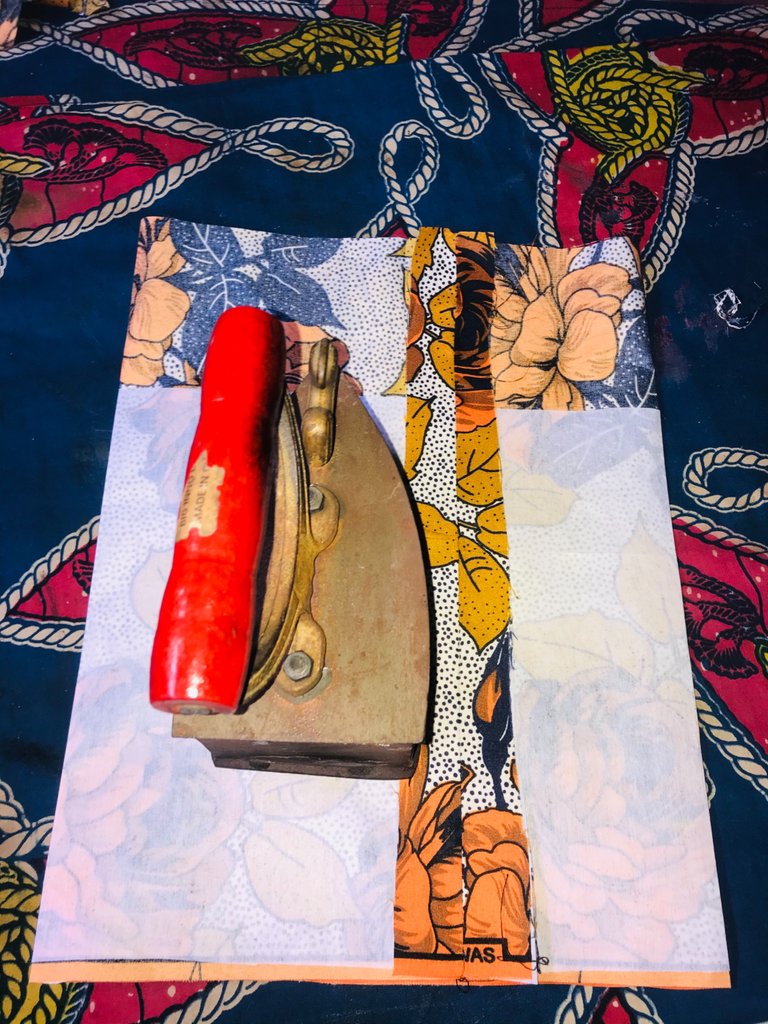
After sewing round, I place it on top of the cap and sewed it round. At the top of the cap and with is the cap was ready.
Congratulations @smilestitches! You have completed the following achievement on the Hive blockchain and have been rewarded with new badge(s):
Your next target is to reach 7000 upvotes.
You can view your badges on your board and compare yourself to others in the Ranking
If you no longer want to receive notifications, reply to this comment with the word
STOPCheck out the last post from @hivebuzz:
Support the HiveBuzz project. Vote for our proposal!
Helle @smilestitches, I love your work, the print on the fabric is beautiful.
Thank you so much @adonisr
I admire your skills. Curved seams are tricky, yet yours look wonderfully smooth.
Thanks you so much @fiberfrau
This is nice 😍
Thanks so much @adeife2
You're welcome
Excellent! Thanks for sharing such a great project
Thanks you too for encouraging me to do more