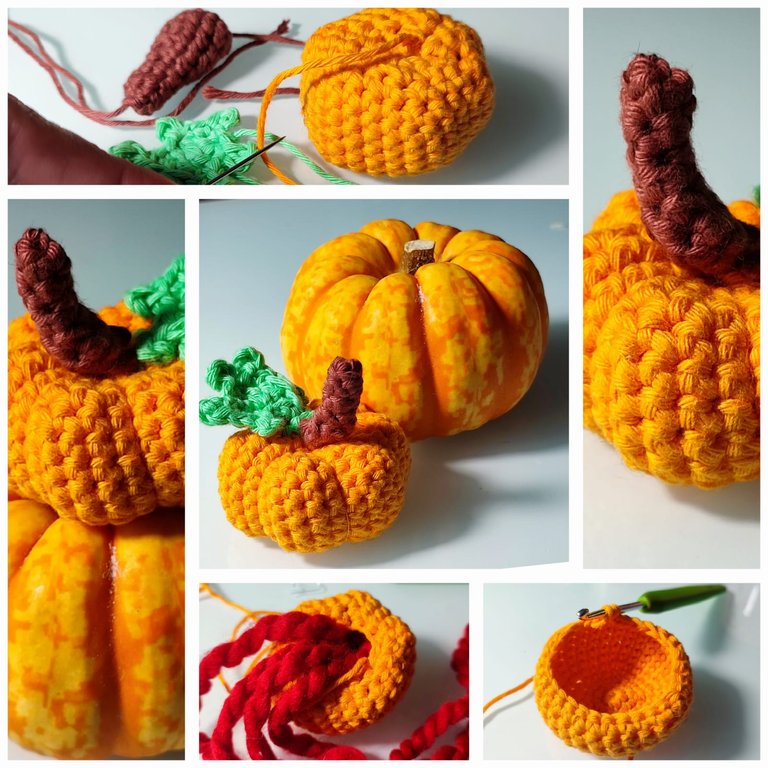
Pumpkins have been part of Halloween for ages, thanks to Irish people who used to carve turnips to keep evil spirits away. When they came to America, they discovered pumpkins were accessible and easier to carve and fit right in with the autumn season.
Over time, pumpkins became a Halloween must-have! Now, they’re not just for spooky faces—they inspire cozy crafts like my crochet pumpkin, perfect for adding a bit of seasonal charm!
So here's a little project for you to make for the season!
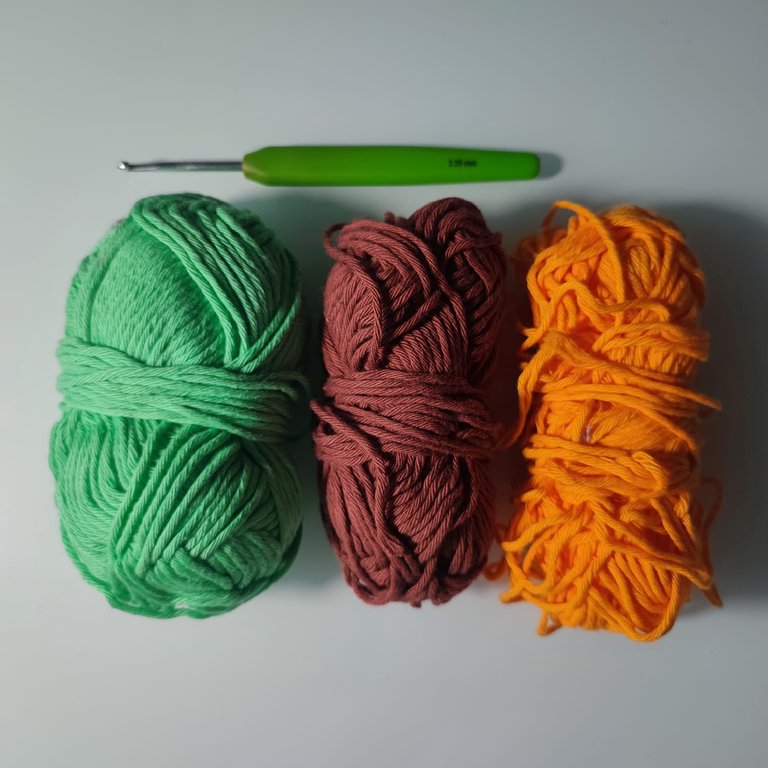
Materials:
DK weight yarn in orange, brown, and green
Crochet hook (3.5 mm or suitable for DK weight yarn)
Polyfill or cotton stuffing
Yarn needle
Scissors
Abbreviations:
MR: Magic ring
ch: Chain
sc: Single crochet
inc: Increase (2 sc in one stitch)
dec: Decrease (sc two stitches together)
sl st: Slip stitch
hdc: Half double crochet
dc: Double crochet
Picot: Chain 3, then slip stitch into the base stitch
Pumpkin Body:
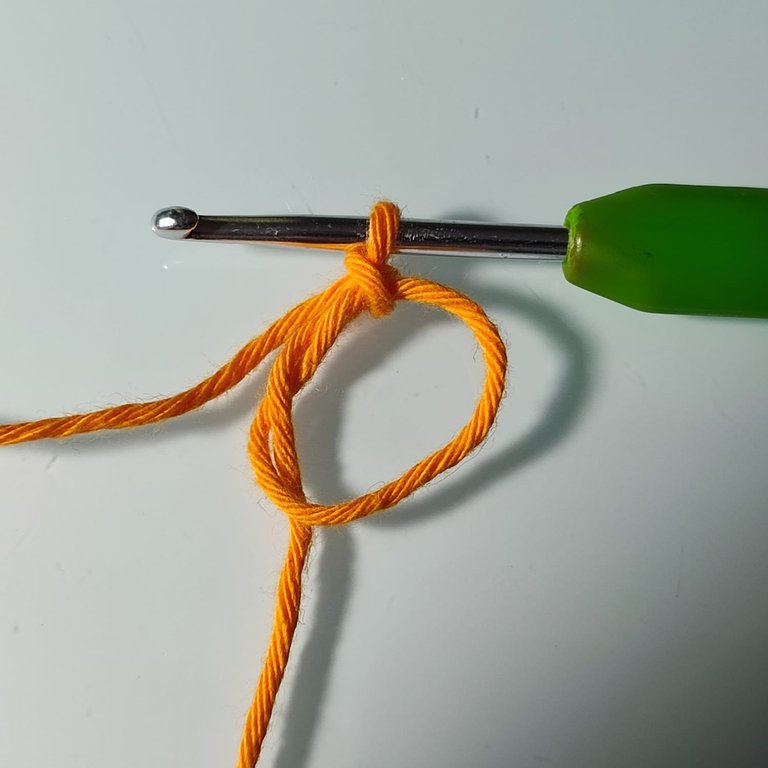
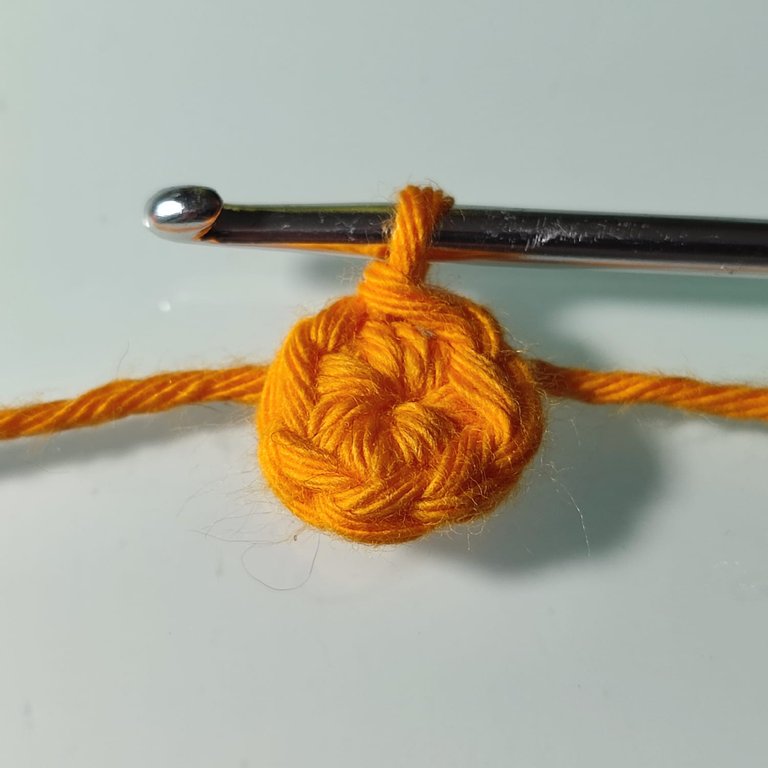
Round 1: Using orange yarn, make a MR, ch 1, and work 6 sc into the ring. Tighten the ring. (6 sts)
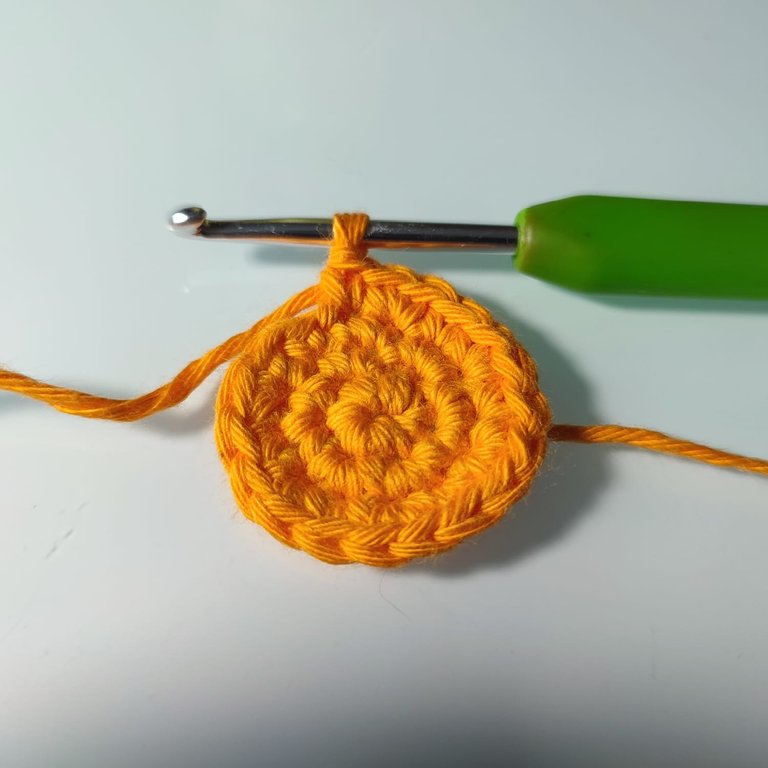
Round 2: Inc in each stitch around. (12 sts)
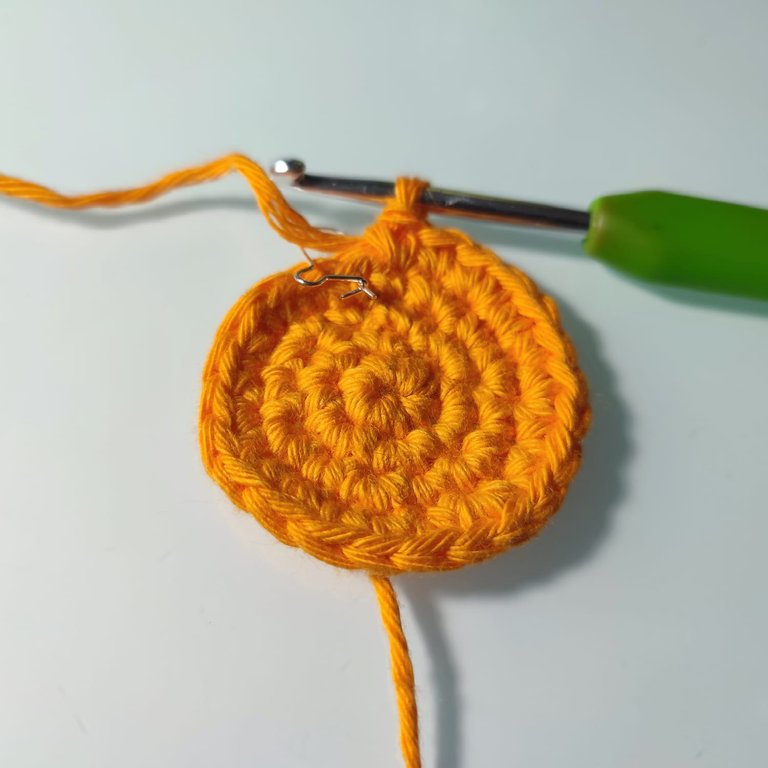
Round 3: (Sc in the next stitch, inc in the next stitch) repeat around. (18 sts)
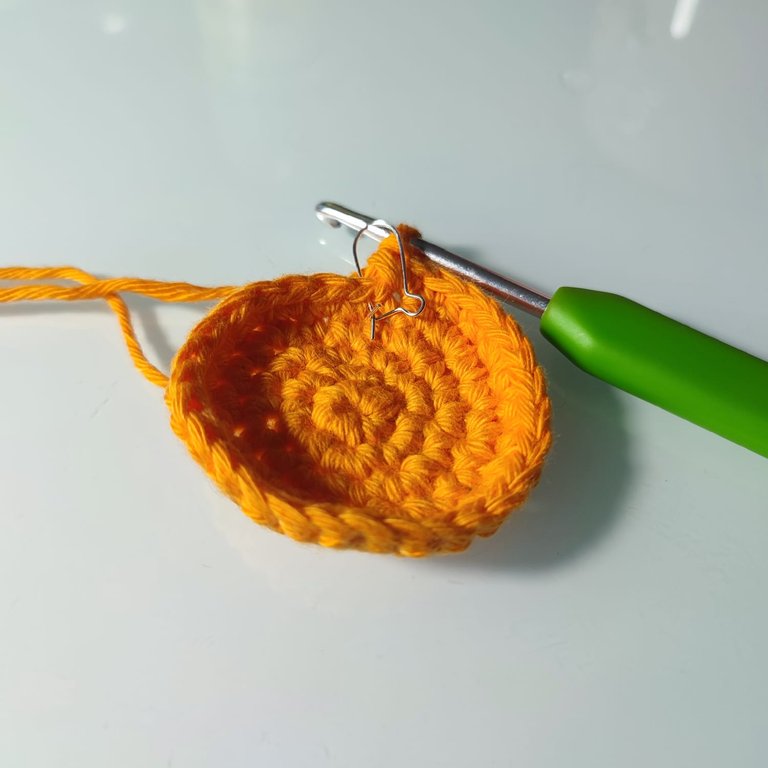
Round 4: (Sc in the next 2 stitches, inc in the next stitch) repeat around. (24 sts)
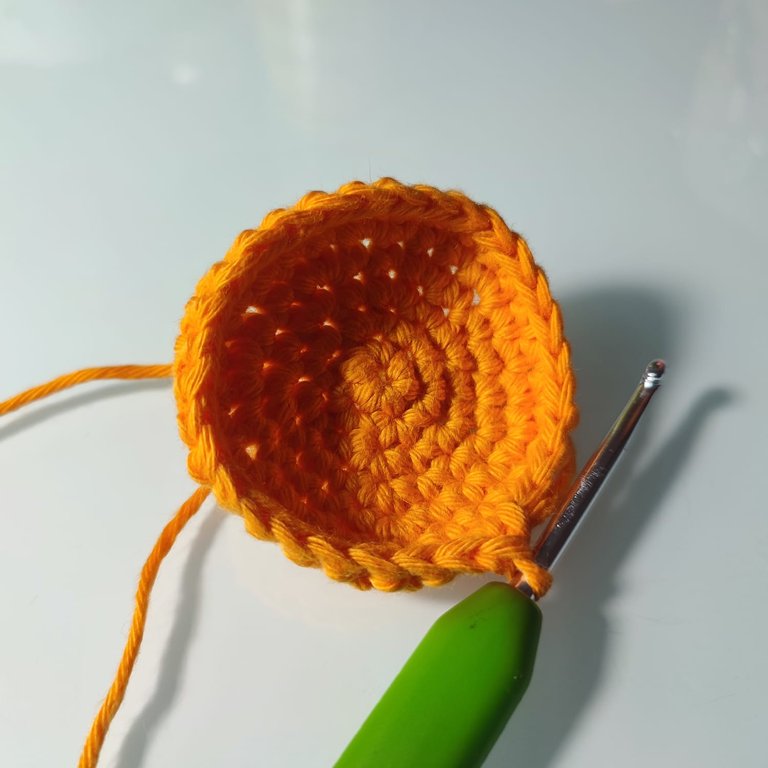
Round 5: (Sc in the next 3 stitches, inc in the next stitch) repeat around. (30 sts)
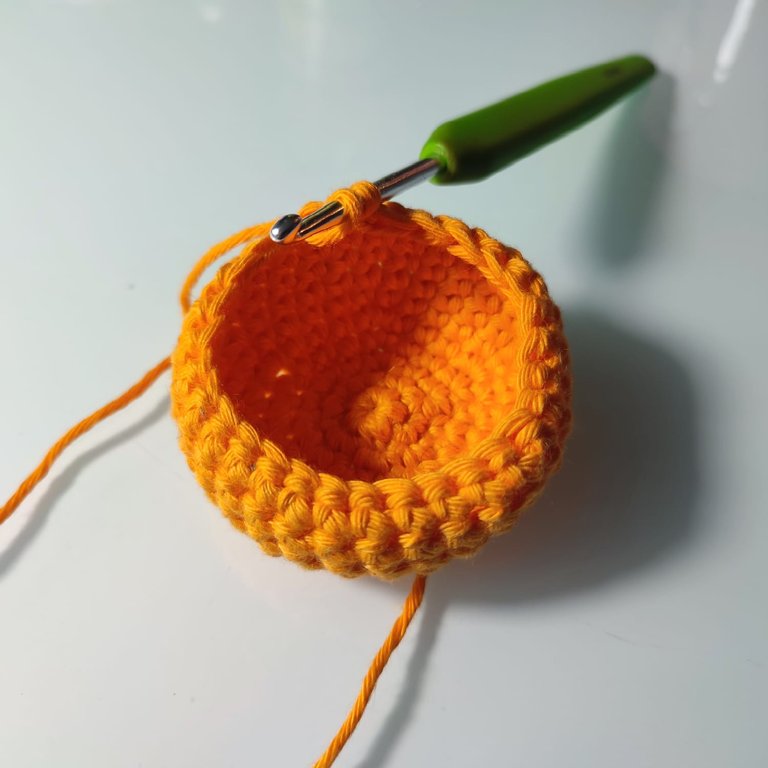
Rounds 6-10: Sc in each stitch around. (30 sts)
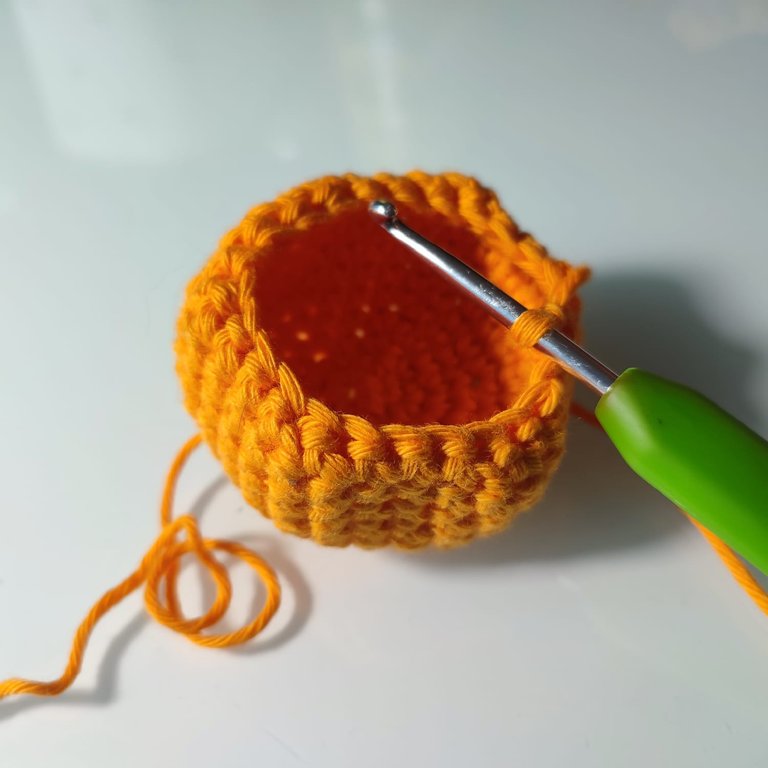
Round 11: (Sc in the next 3 stitches, dec over the next 2 stitches) repeat around. (24 sts)
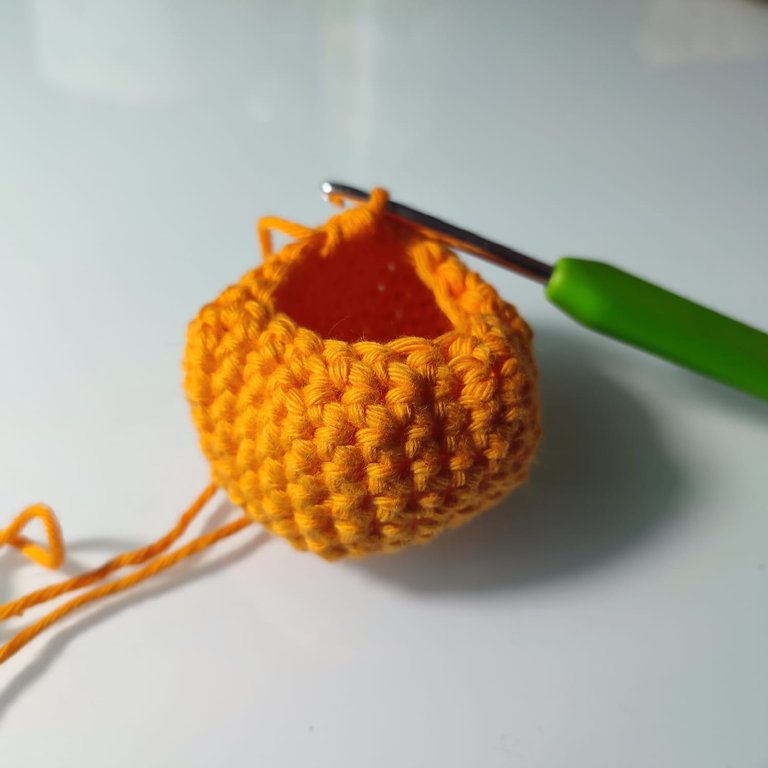
Round 12: (Sc in the next 2 stitches, dec over the next 2 stitches) repeat around. (18 sts)
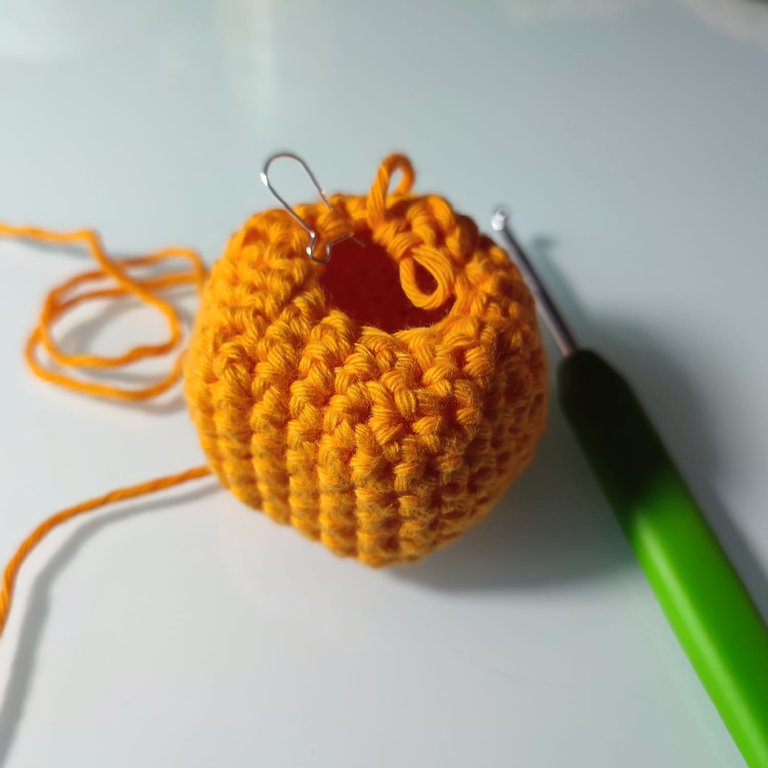
Round 13: (Sc in the next stitch, dec over the next 2 stitches) repeat around. (12 sts)
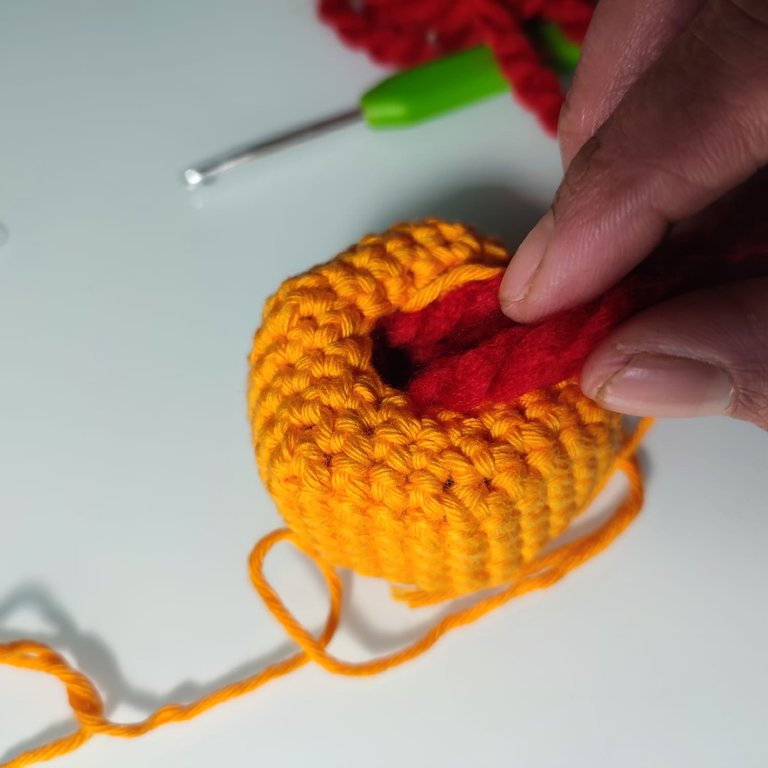
Insert the stuffing
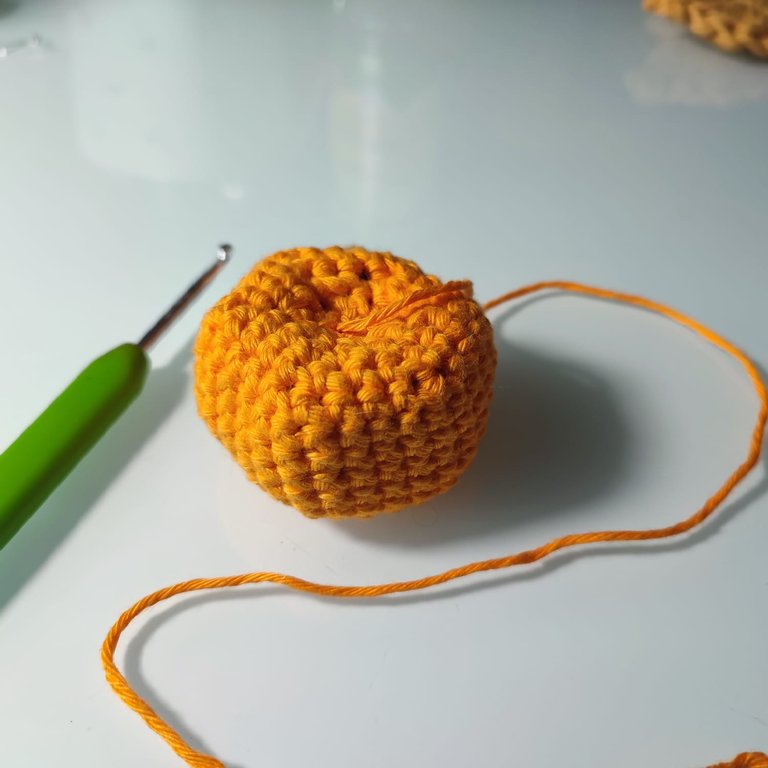
Round 14: Dec around. (6 sts)
Fasten off, leaving a long tail. Stuff the pumpkin firmly, and sew the opening closed.
To give the pumpkin its shape, pull the yarn through the center from top to bottom several times to create indentations.
Stem:
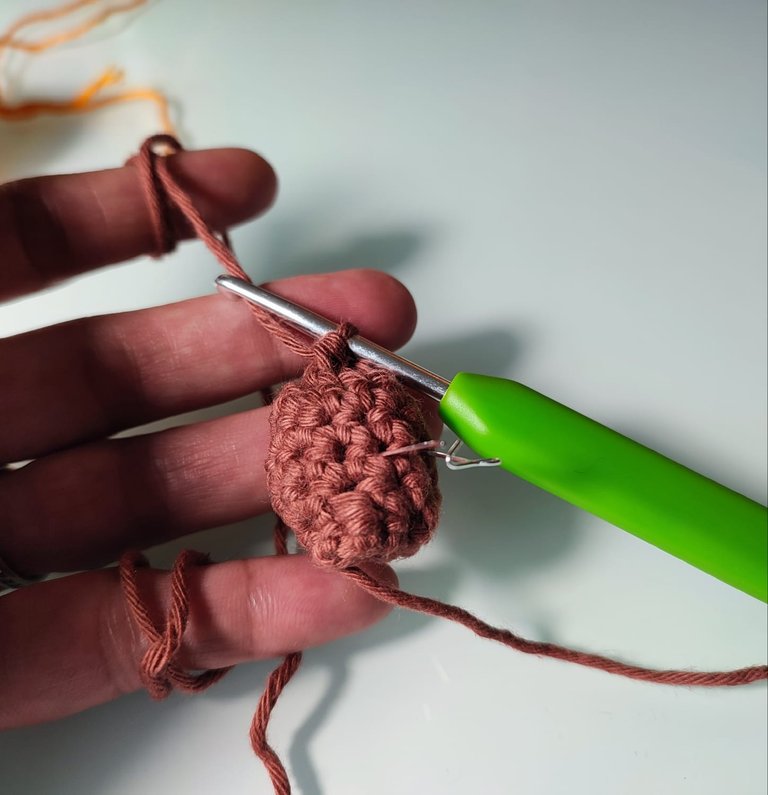
Round 1: Using brown yarn, make a MR, ch 1, and work 5 sc into the ring. (5 sts)
Rounds 2-5: Sc in each stitch around. (5 sts)
Fasten off, leaving a tail for sewing. Attach the base (where you started the MR) to the top of the pumpkin.
Leaf:
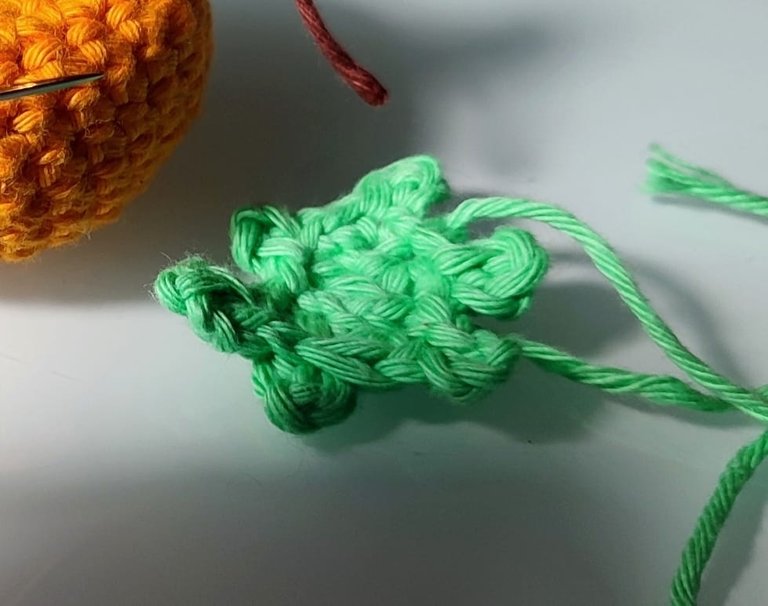
Ch 6
Row 1: Sc in the 2nd ch from the hook, hdc in the next ch, dc in the next 2 ch, hdc in the next ch, sc in the last ch.
To create a jagged edge like real pumpkin leaves, crochet a picot border:
Picot Border (Optional): Sc around the edge of the leaf. To make picots, ch 3, then sl st back into the same stitch. Space these picots every 2-3 stitches around the leaf.
Fasten off and sew the leaf near the stem.
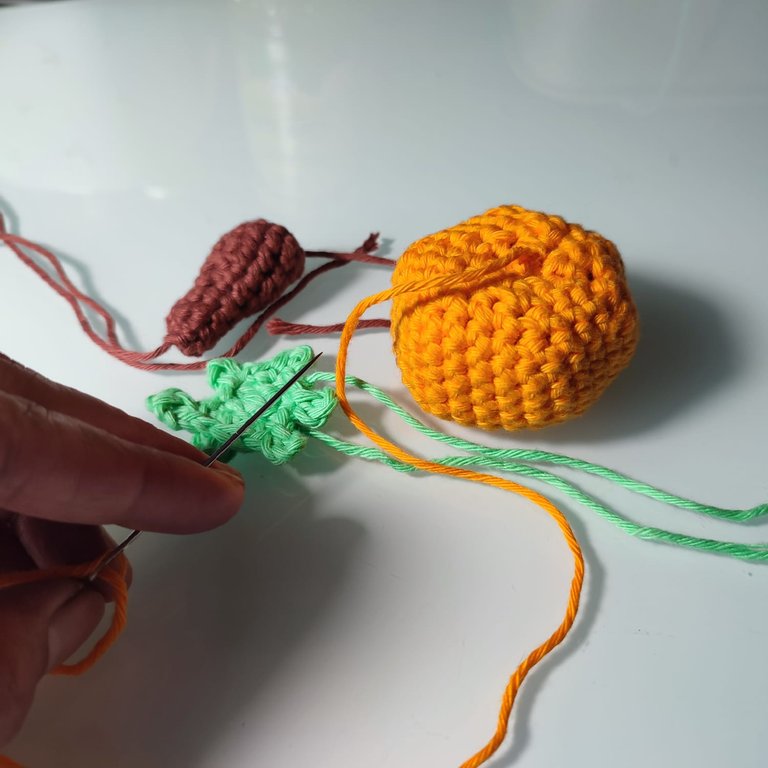
Assemble them by sewing them into place.
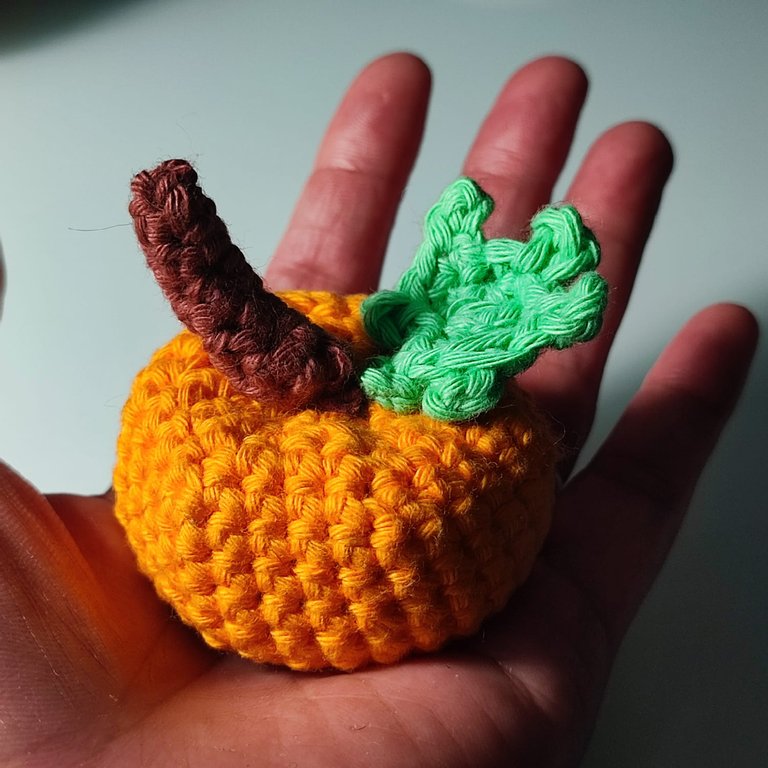
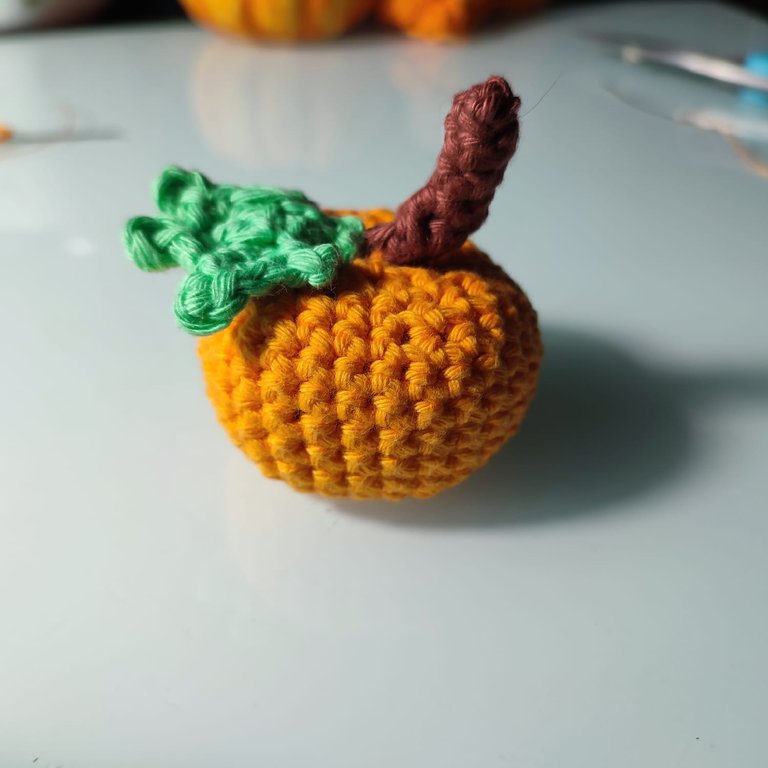
Like so, but the ridges are not as defined.
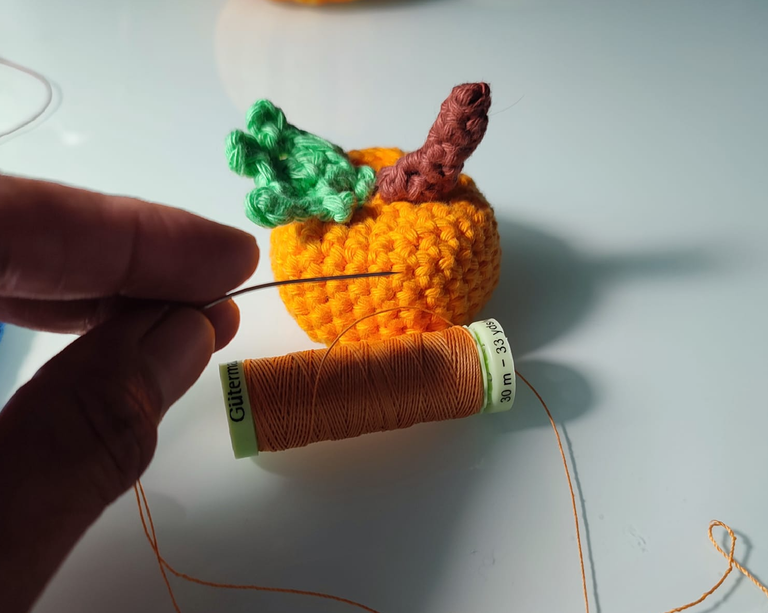
I thought of making the ridges more define with the same colour thread.
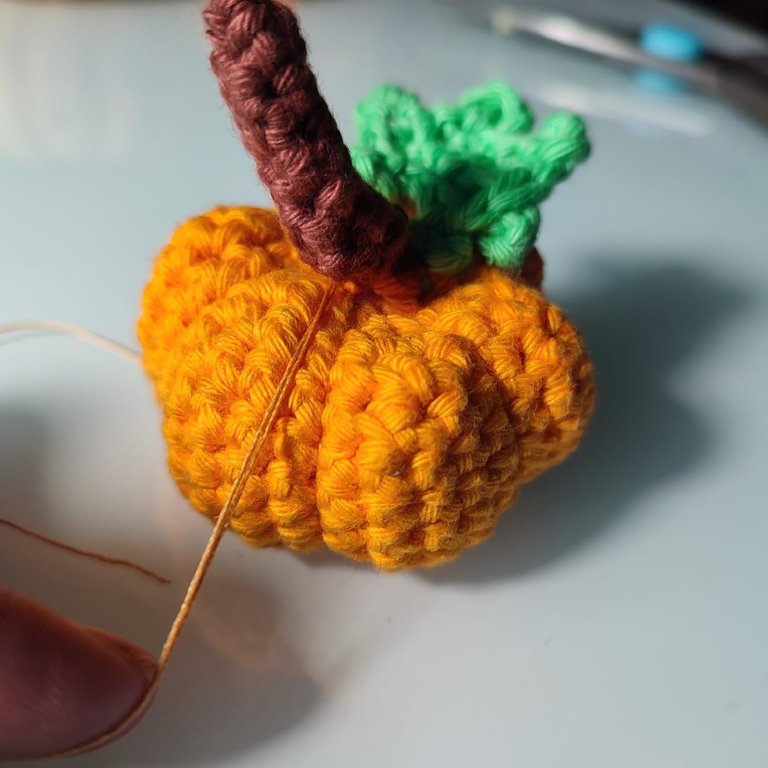
For more defined ridges, I stitched through the top and bottom of the pumpkin in the same color stitch and tightened each segment.
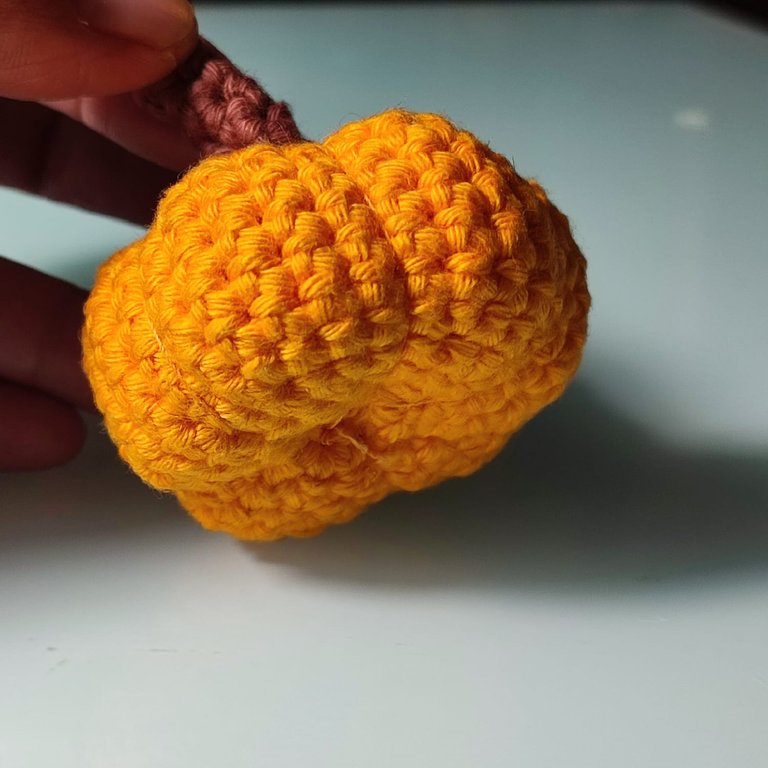
It created a more define ridges.
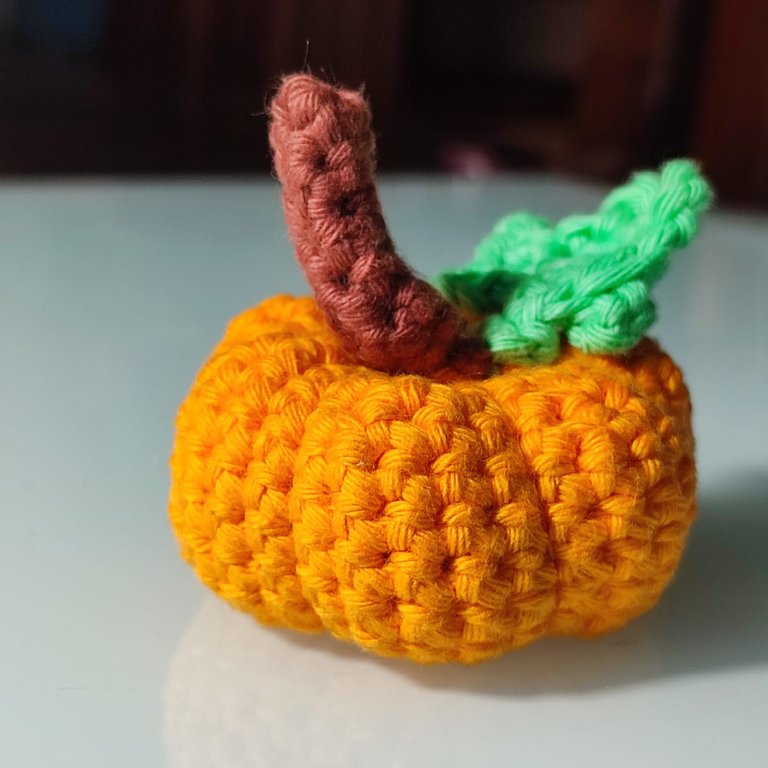
I hope I have inspired you to make your own pumpkin!
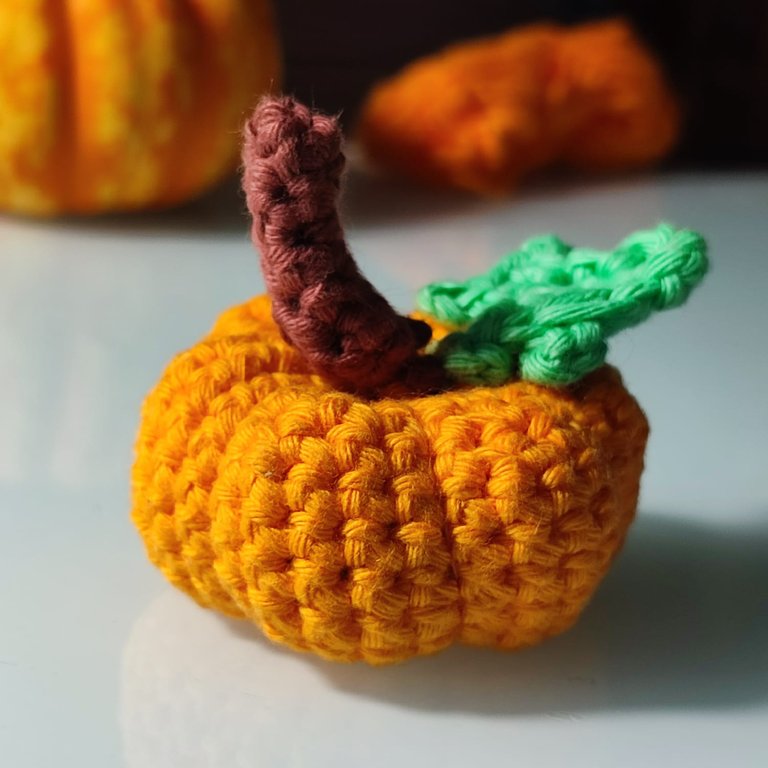
A cute decorative art! Can be hung in your car, in bags, or anywhere you prefer!
Or can be used as a pincushion to organize your sewing needles.
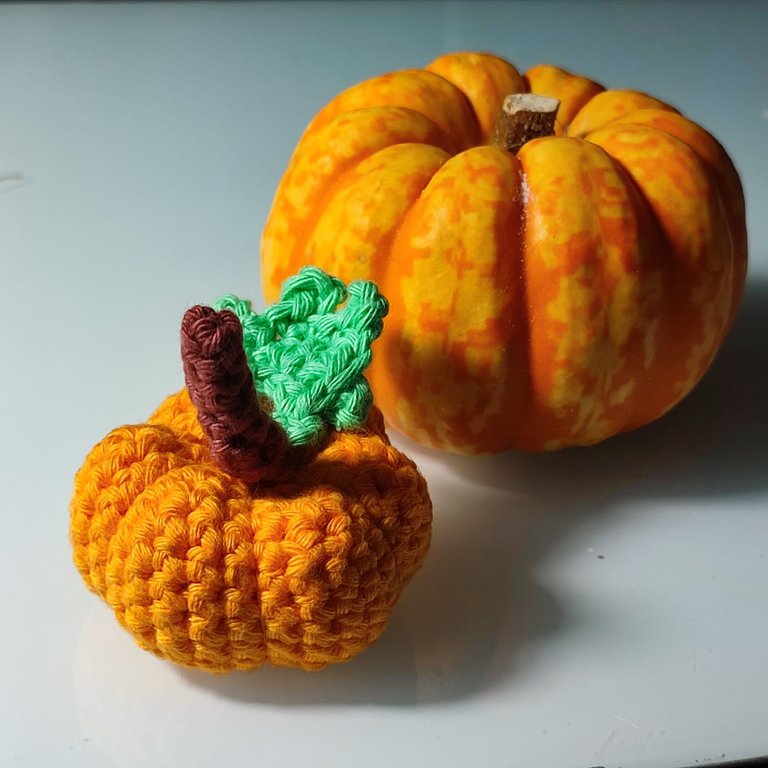
Not far from the real one! :)
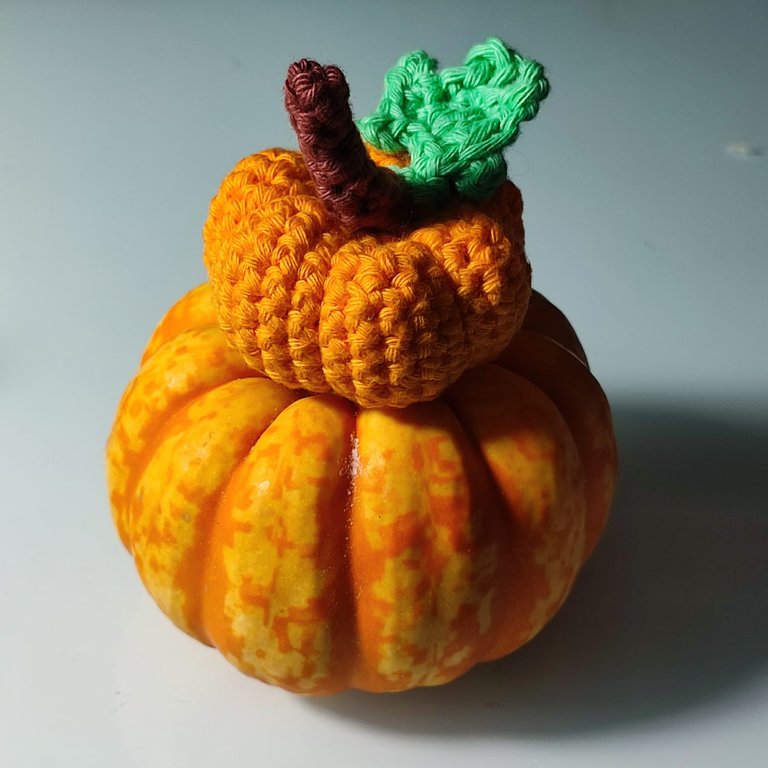
Happy Needleworking Monday, everyone.
Mariah 🎃💚
The rewards earned on this comment will go directly to the people( @x-rain ) sharing the post on Reddit as long as they are registered with @poshtoken. Sign up at https://hiveposh.com. Otherwise, rewards go to the author of the blog post.
There's so much to thank the Irish for like Coddle and Guinness and em, em, um, eh... Oh well, never mind!:)
Thats true! Irish stew is my favourite. I like the homely cooking. Guinness is fab, and whiskey! I still have to try the soda bread; what a beautiful creation :). xx
Oh wow. This is so realistic.
Thank you. :)
Thank you, @ewkaw and @qurator; it is much appreciated. :)
Super cute! you are very talented!
Aww, yes, it is cute. Crocheting is good, and I am always surprised by the results. :)
Wowwww
This is superb
I dunno what words to use in describing how beautiful this looks
It's so nice💜
Thank you dear. I am glad you liked it. :)
Wow you did so well, i actually would try this craft for myself.Thanks you for sharing @theworldaroundme
Thank you, enjoy your project. :)
Muy lindo 😍
Thanks. :)
I love the final result. I like the texture you got. It is a lovely pumpkin. Thanks for sharing with us.
Thank you @kattycrochet. :)
This is very creative of you and for teaching us how to utilize this craft for home decor. Thanks for sharing dear.
Congratulations @theworldaroundme! You have completed the following achievement on the Hive blockchain And have been rewarded with New badge(s)
Your next payout target is 4000 HP.
The unit is Hive Power equivalent because post and comment rewards can be split into HP and HBD
You can view your badges on your board and compare yourself to others in the Ranking
If you no longer want to receive notifications, reply to this comment with the word
STOPWow this is so beautiful. You are super creative 👌👌