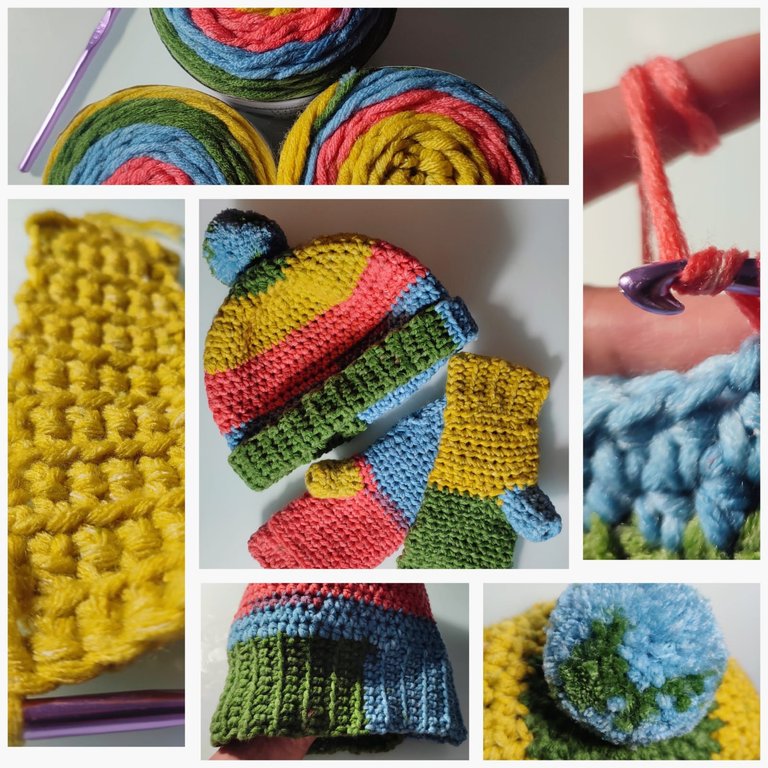
The wind turned chilly, so I decided to crochet a winter hat and quickly made a pair of winter gloves to match it today.
Although I have plenty of gloves, none of them truly meet my needs. I want to keep my fingers warm while still being able to free them easily, without having to take the gloves on and off and risk dropping them. No wonder I have so many gloves with missing pairs!
To solve this problem, I crocheted mittens with a unique feature I designed specifically to suit my needs.
Let's Start!
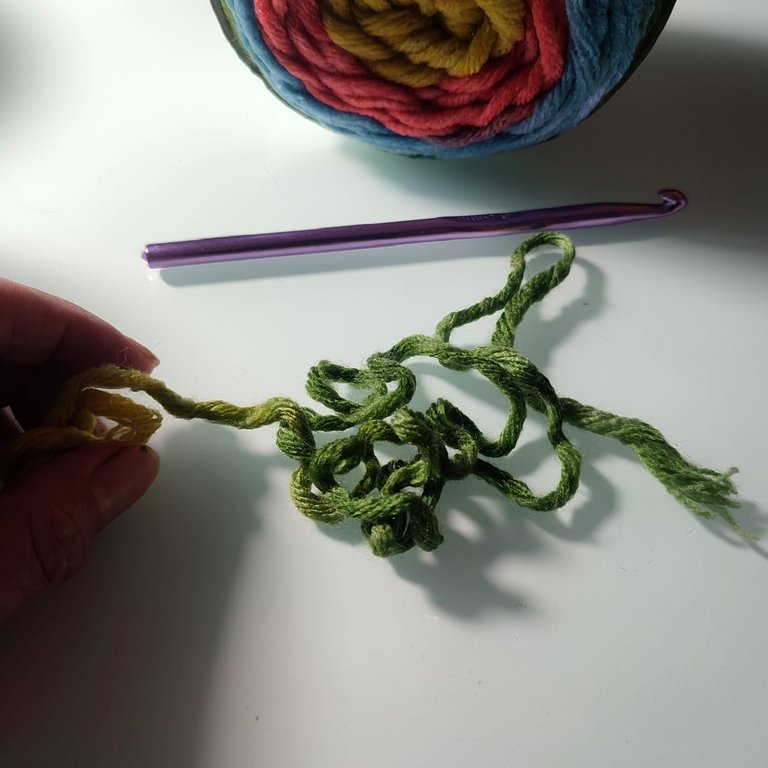
Winter Hat ❄️
Materials ❄️
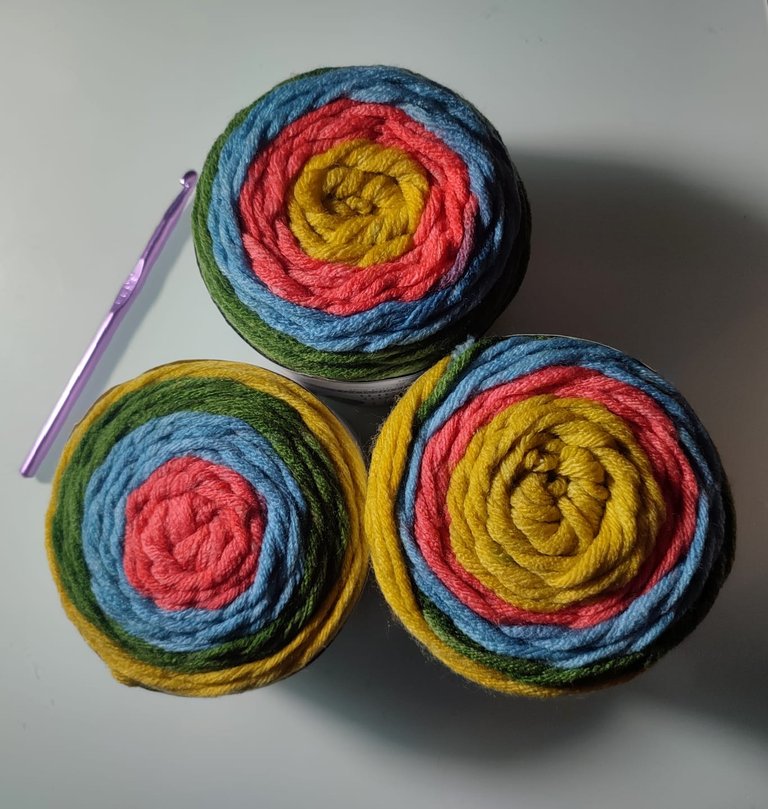
Chunky yarn (or two strands of worsted weight held together)
6-6.5 mm crochet hook
Scissors
Yarn needle
Pattern Steps
Make the Ribbed Band:
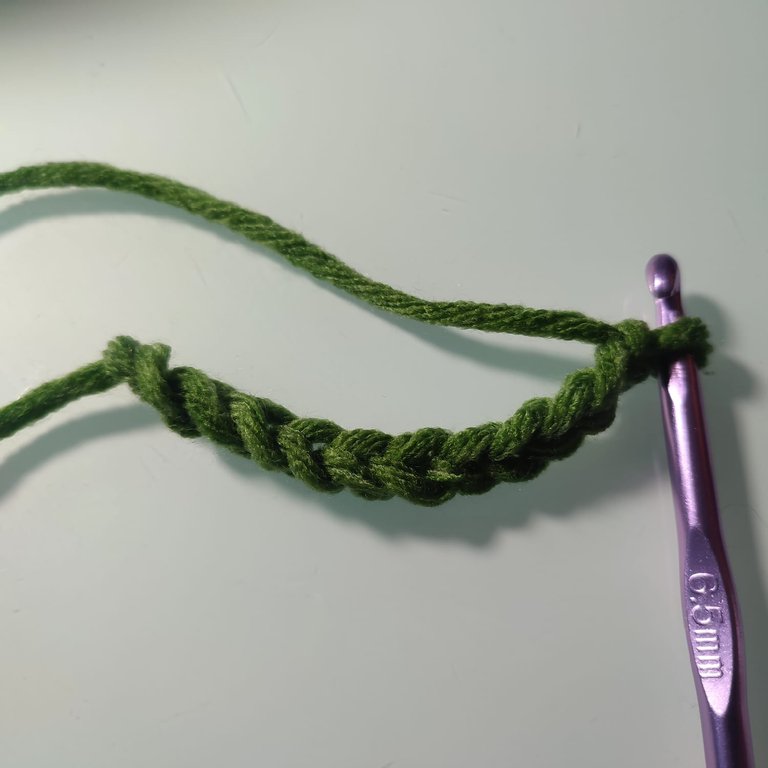
Chain 11 (this will be the height of the ribbed band; adjust if you prefer a wider band).
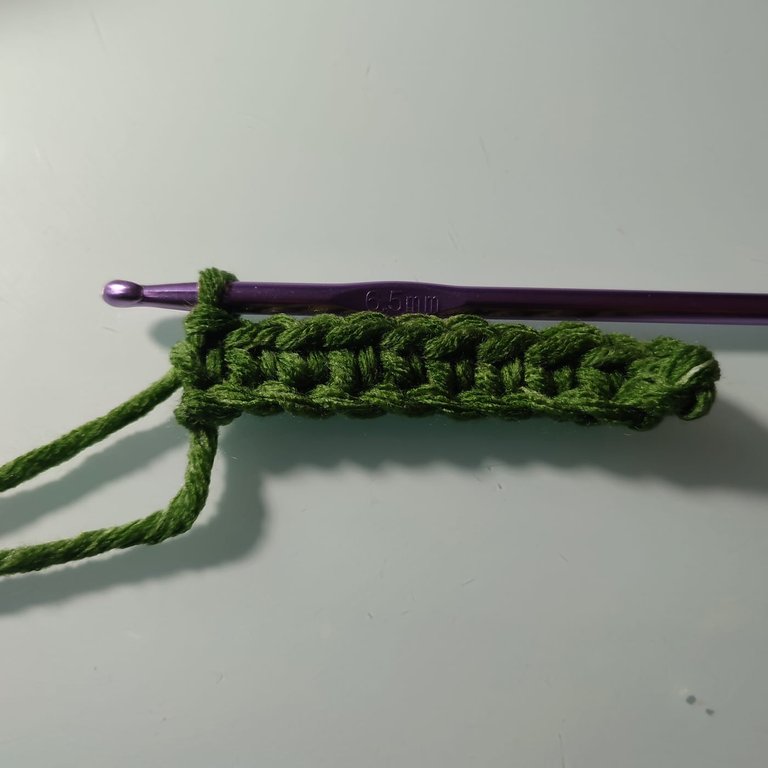
Row 1: SC in the 2nd chain from the hook and across. (10 SC)
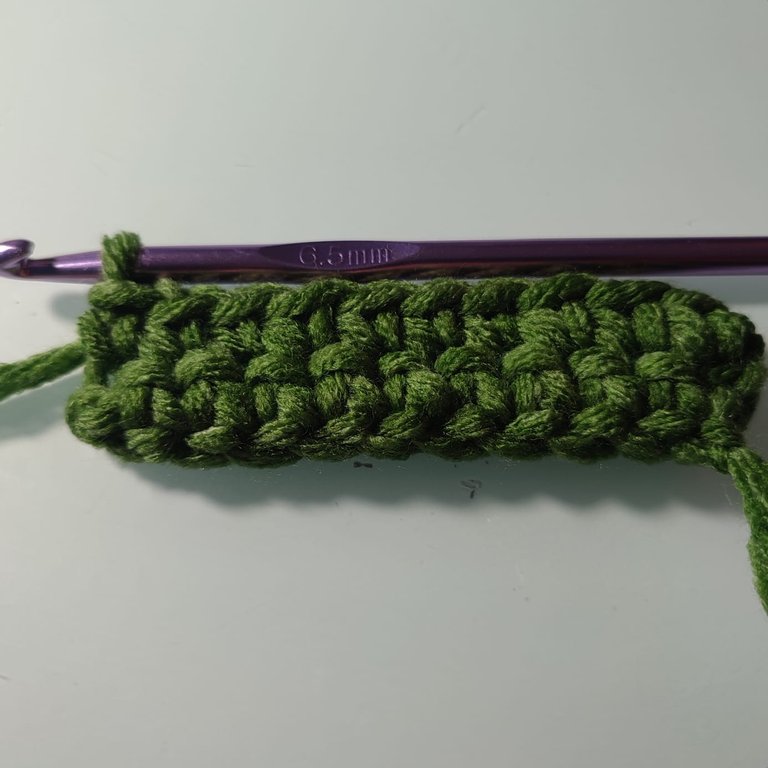
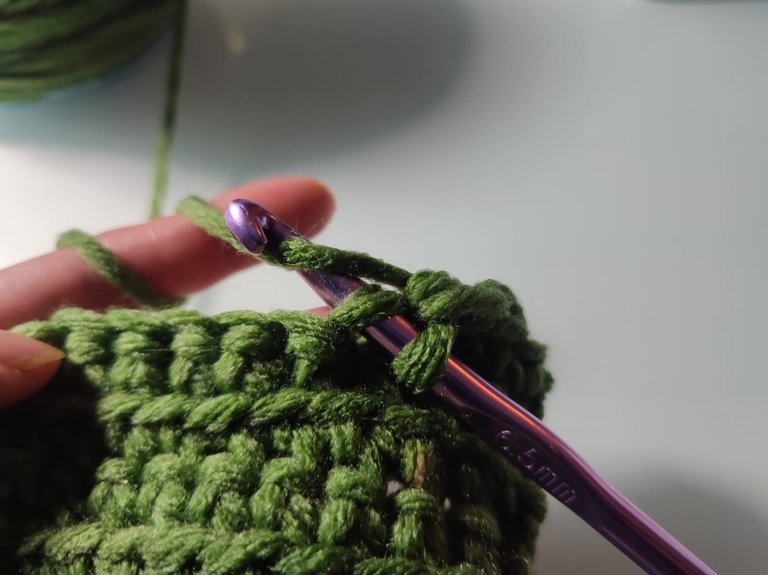
Row 2: Ch 1, turn. SC in the back loop only across.
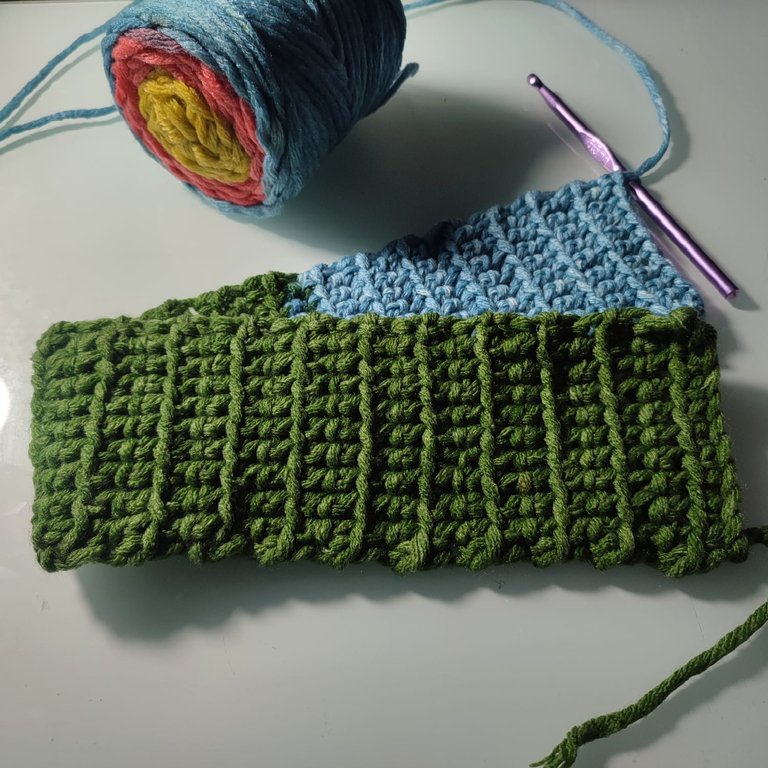
Repeat Row 2 until the band length is 1–2 inches shorter than your head circumference (e.g., for a 22-inch head, make the band about 20 inches long).
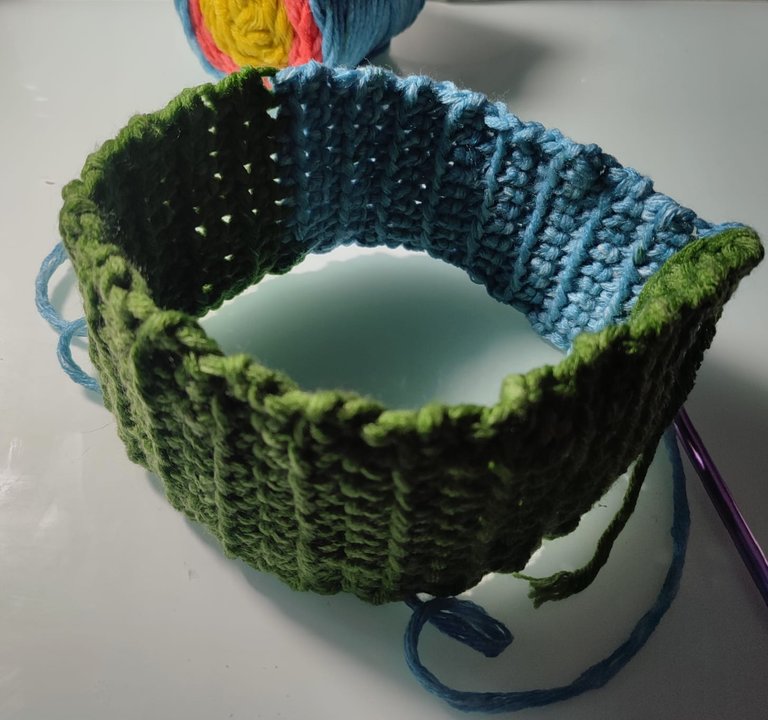
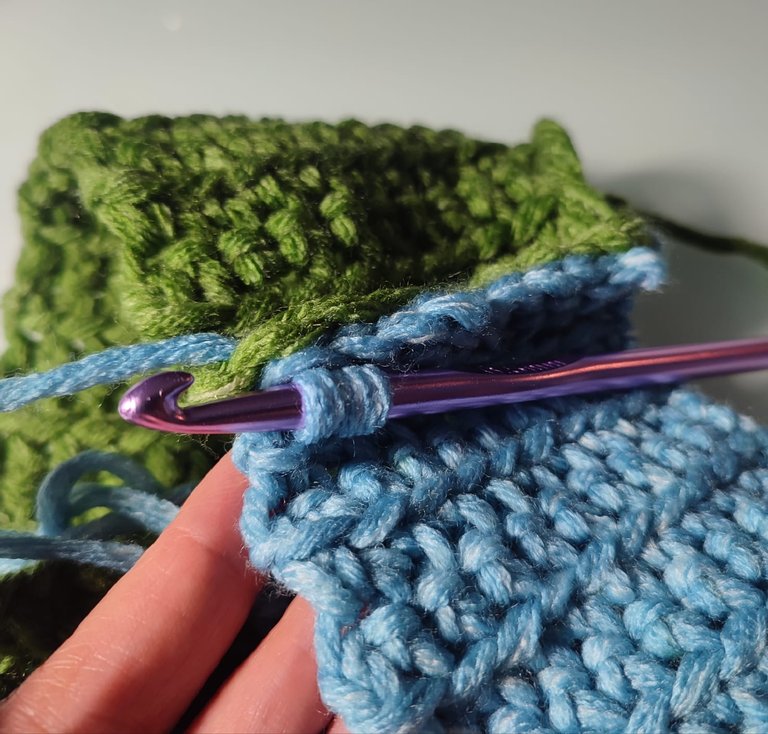
Slip stitch the short ends together to form a circle.
Work the Body of the Hat:
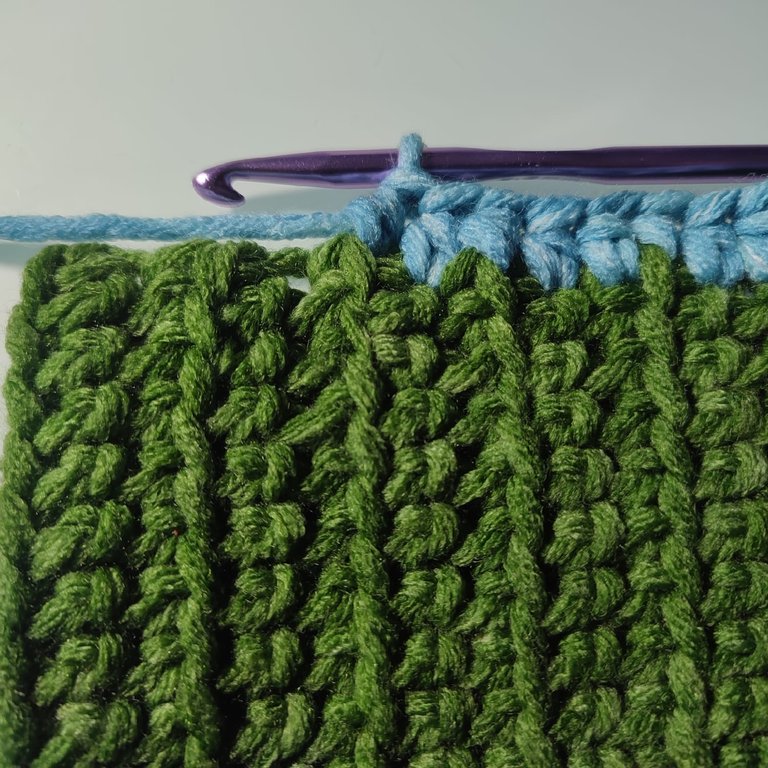
Row 1: Ch 1, work HDC stitches evenly around the edge of the band. Aim for 60-70 HDCs, depending on the size of your band. Join with a slip stitch.
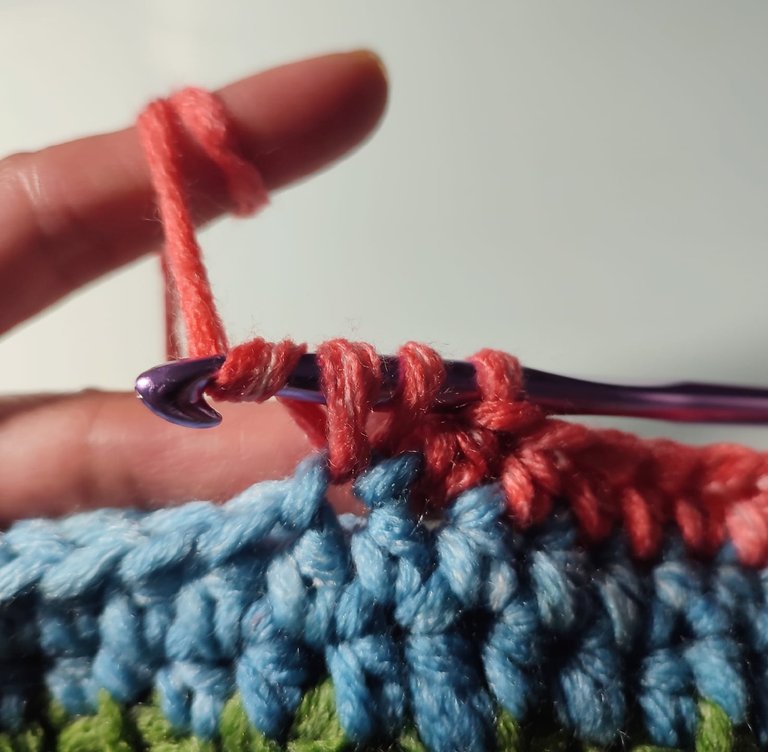
Rows 2–10: Ch 1, HDC in each stitch around. Join at the end of each row. (Adjust the number of rows for your desired hat height: ~8–9 inches tall before decreasing for a snug fit.)
Decrease for the Crown:
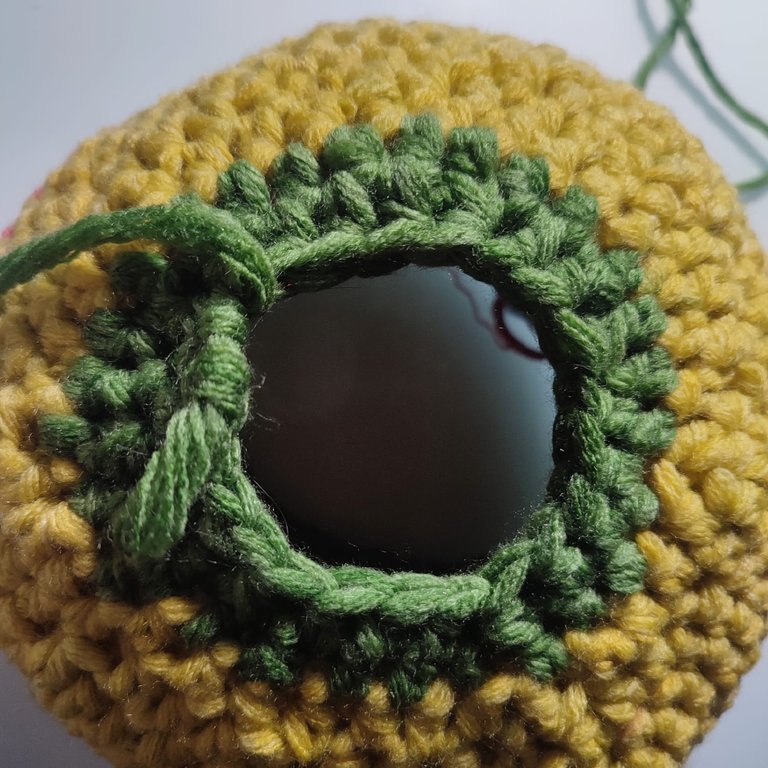
Row 11: HDC in the first 4 stitches, HDC2tog. Repeat around. Join with a slip stitch.
Row 12: HDC in the first 3 stitches, HDC2tog. Repeat around. Join with a slip stitch.
Row 13: HDC in the first 2 stitches, HDC2tog. Repeat around. Join with a slip stitch.
Row 14: HDC in the first stitch, HDC2tog. Repeat around. Join with a slip stitch.
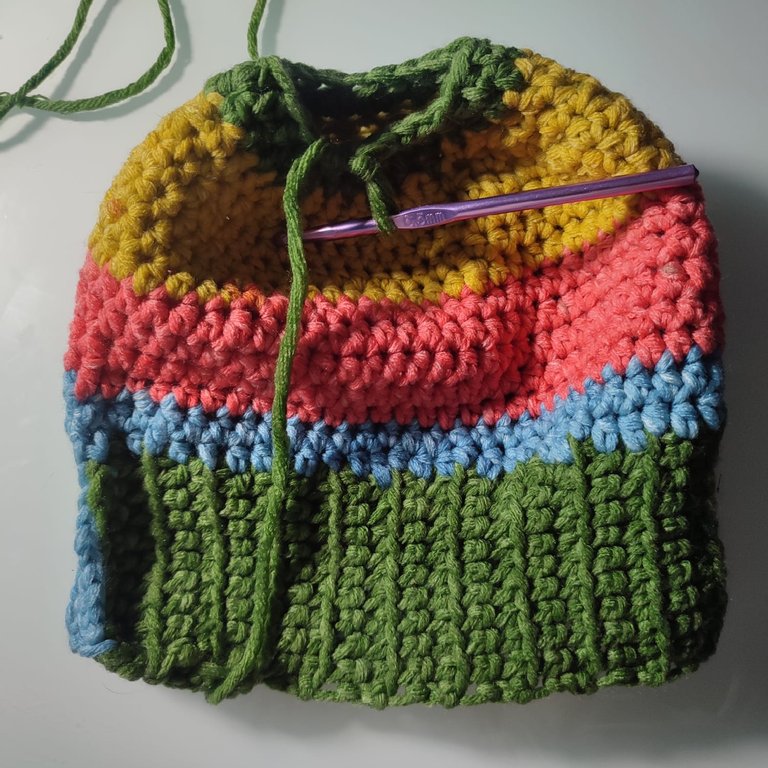
Final Row: HDC2tog around until 8–10 stitches remain.
Close the Top:
Cut the yarn, leaving a long tail. Use a yarn needle to weave through the remaining stitches.
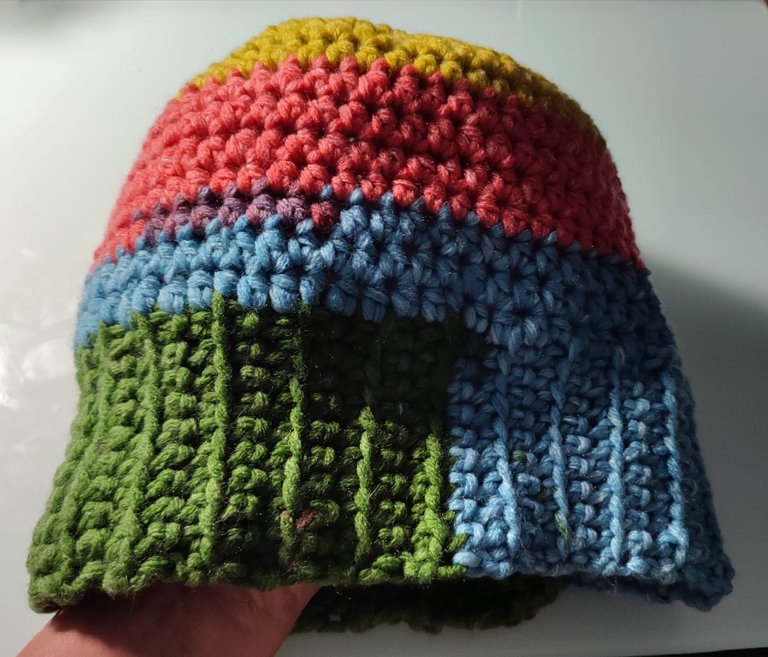
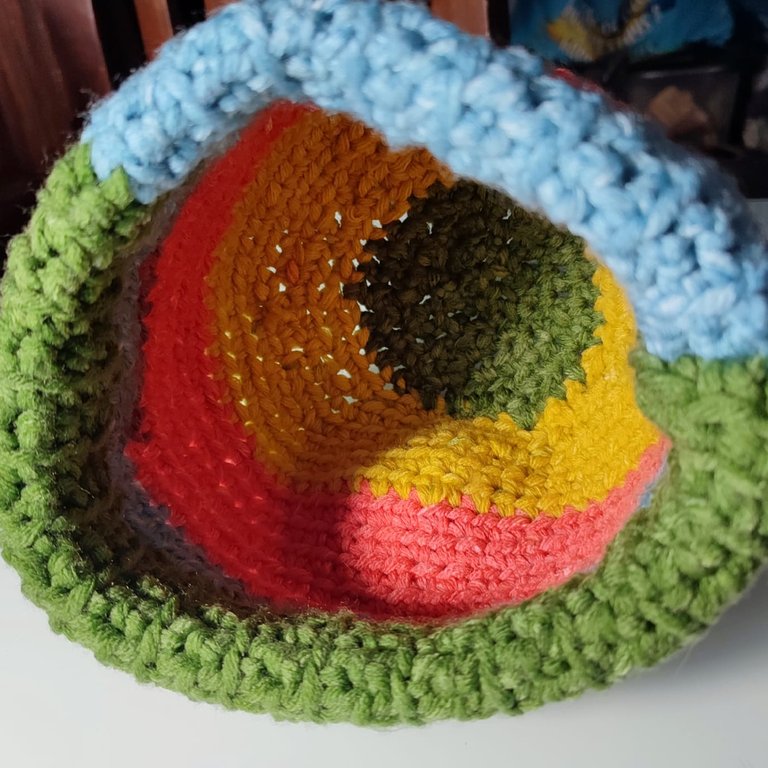
Pull the tail tight to close the top securely.
Tie a knot to secure and weave in the ends.
Optional:
Add a pom-pom ❄️
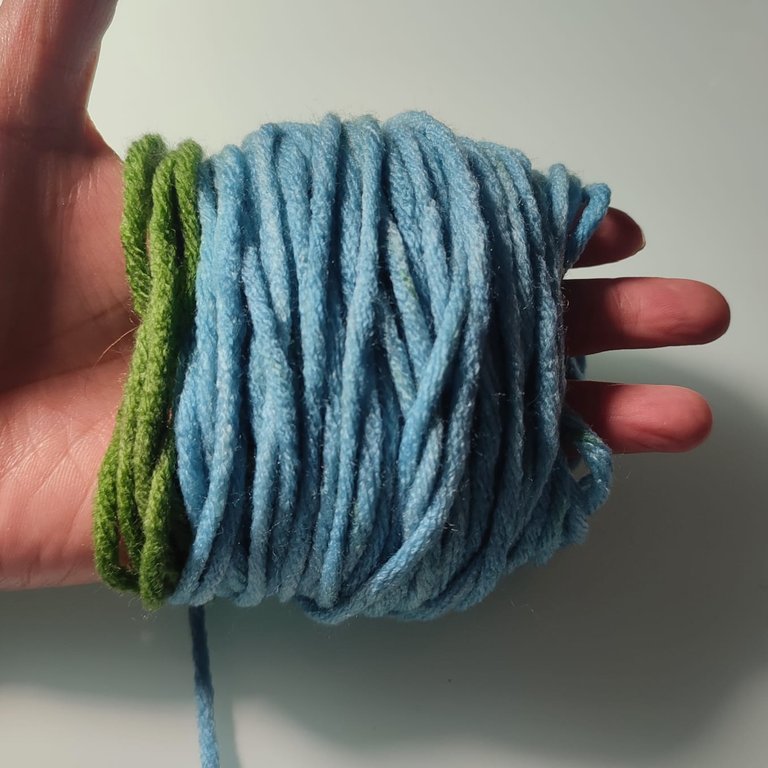
Hold your fingers together and wrap the yarn around them 50–100 times (depending on how full you want the pom-pom). Wrap loosely but evenly.
Slide the yarn bundle off your hand carefully.
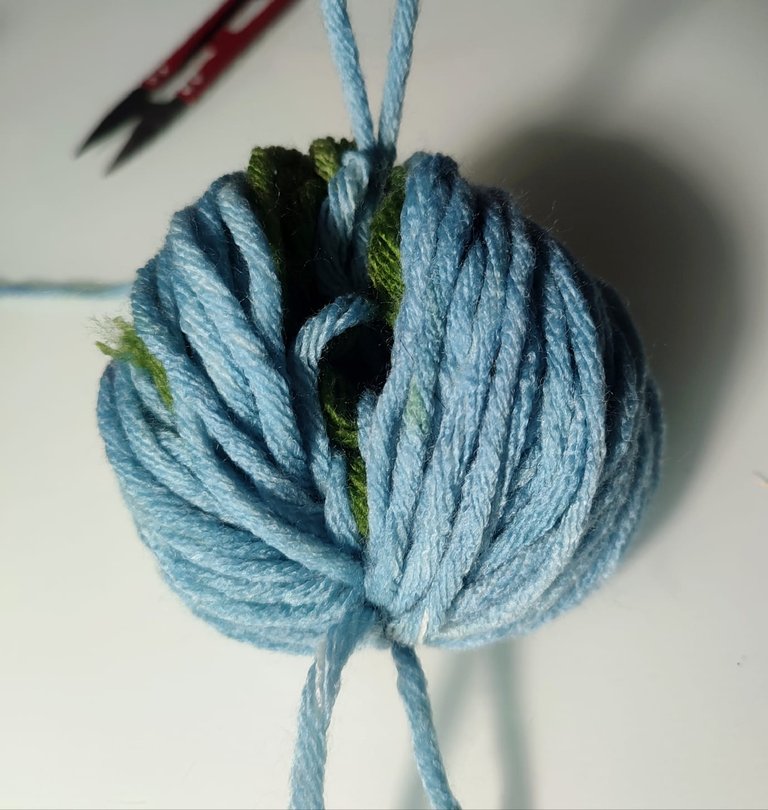
Double-knot it to secure.
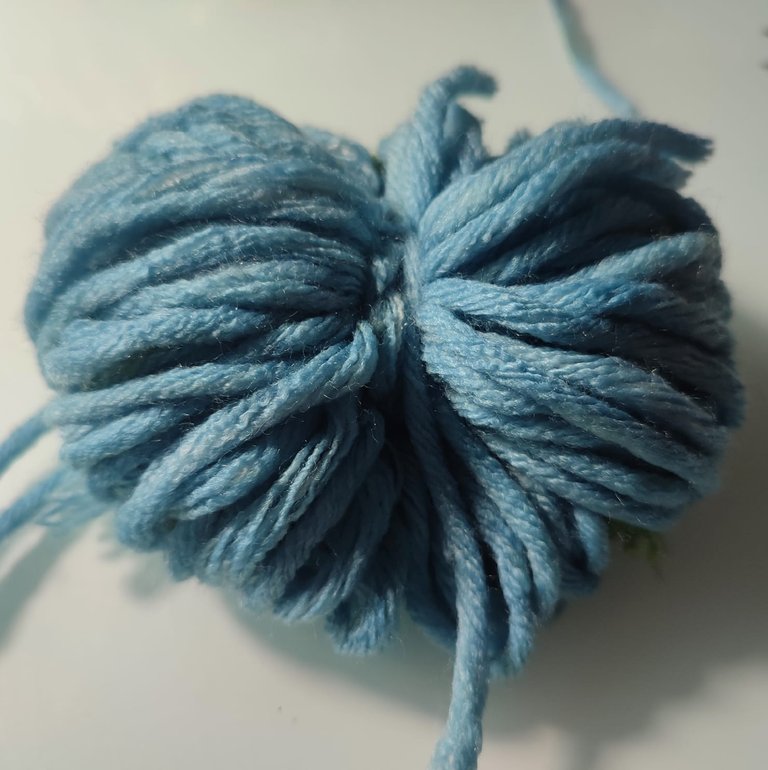
Use a long piece of yarn to tie around the middle of the bundle tightly.
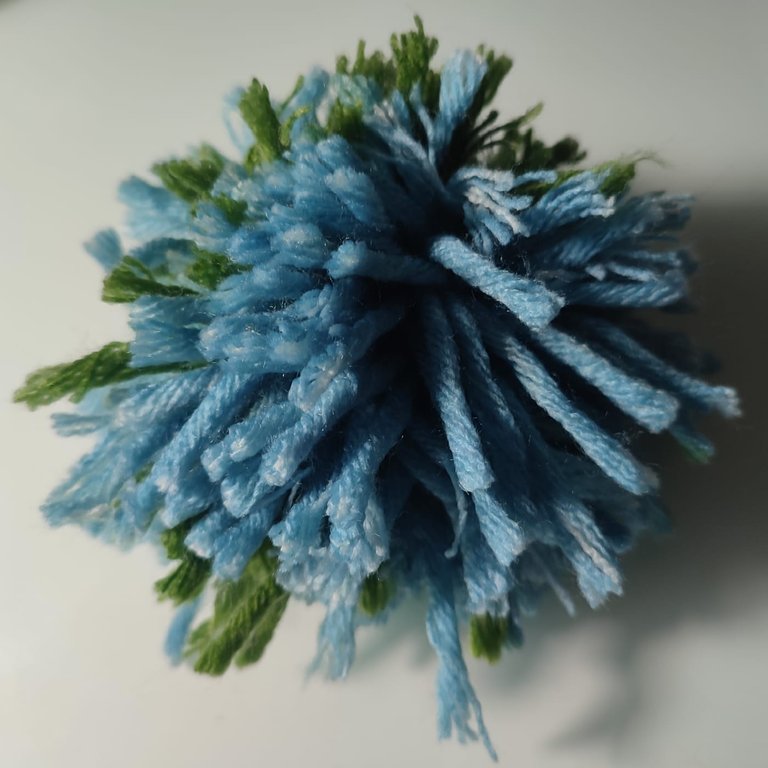
Use scissors to cut through all the loops on both ends of the bundle.
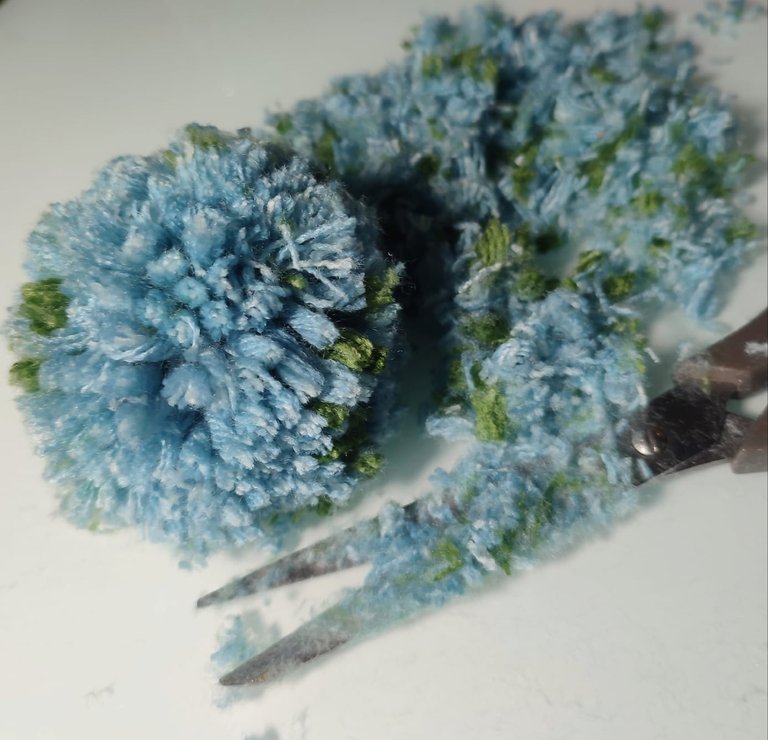
Trim the yarn pieces evenly to shape the pom-pom into a sphere.
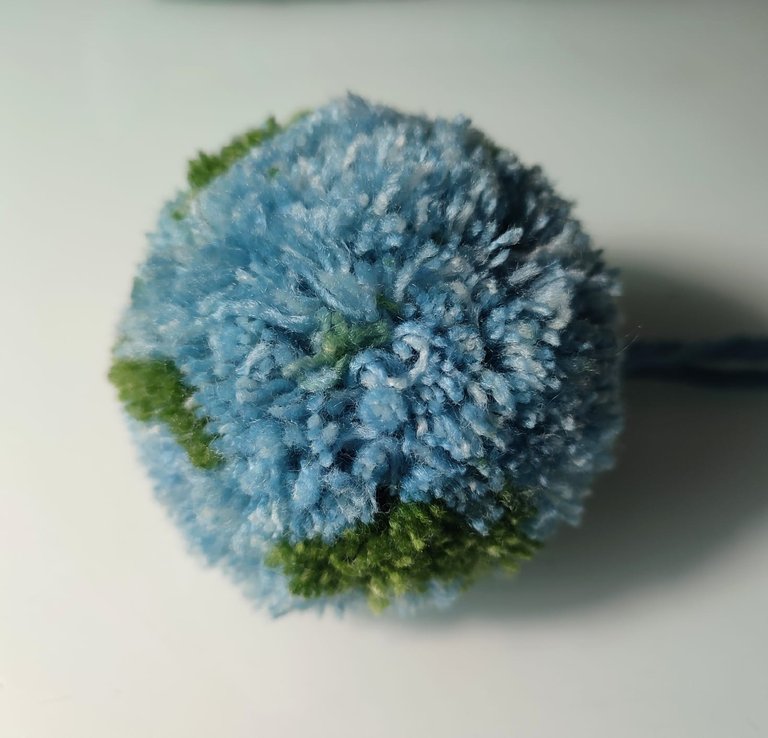
Keep fluffing and trimming until you’re happy with the look.
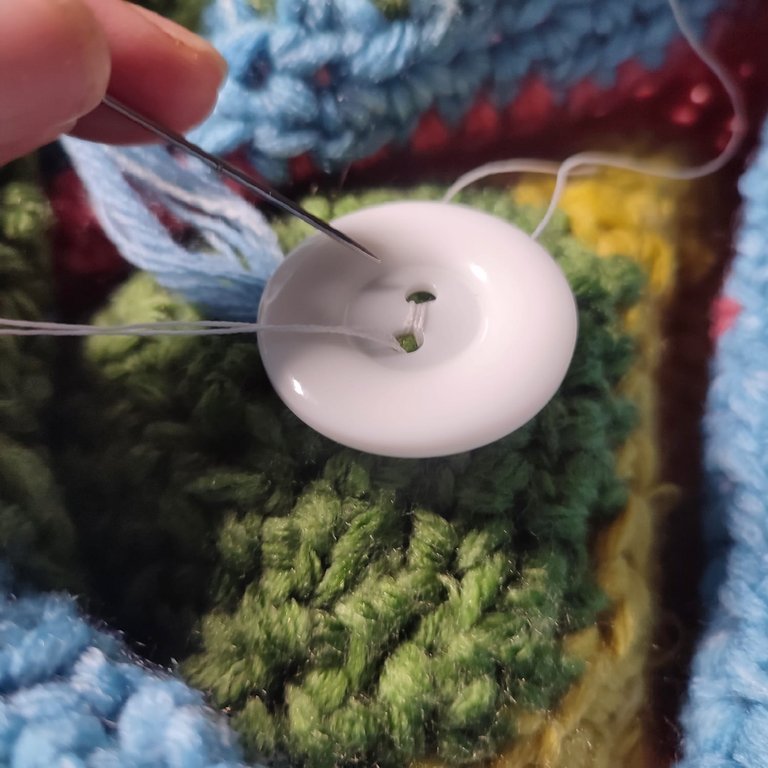
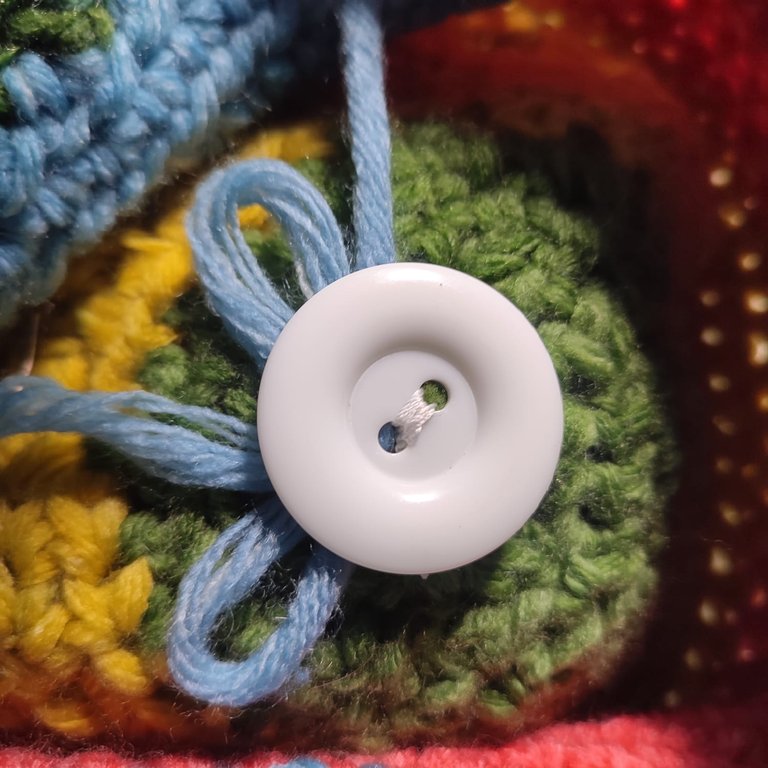
I attached a button inside the hat to make the pompom detachable and secure it.
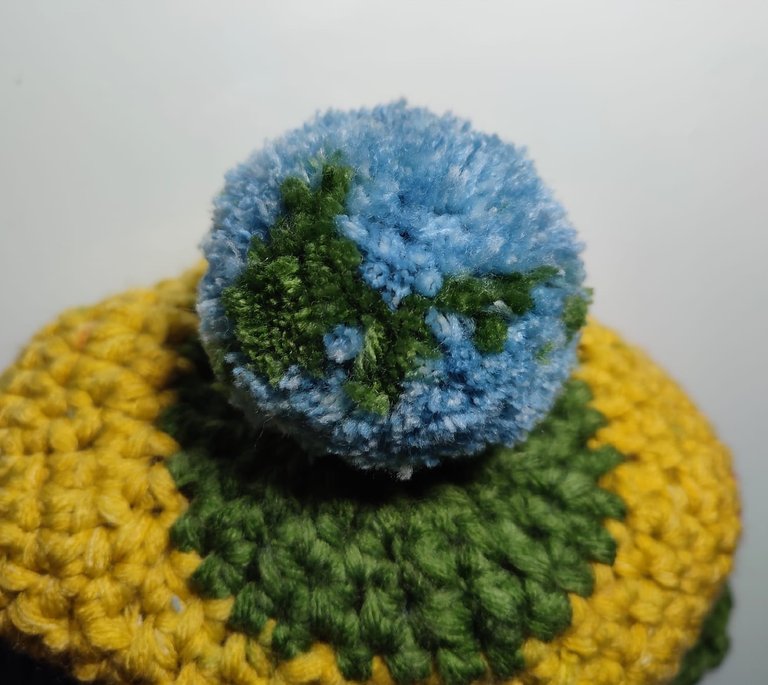
Detachable pompom!
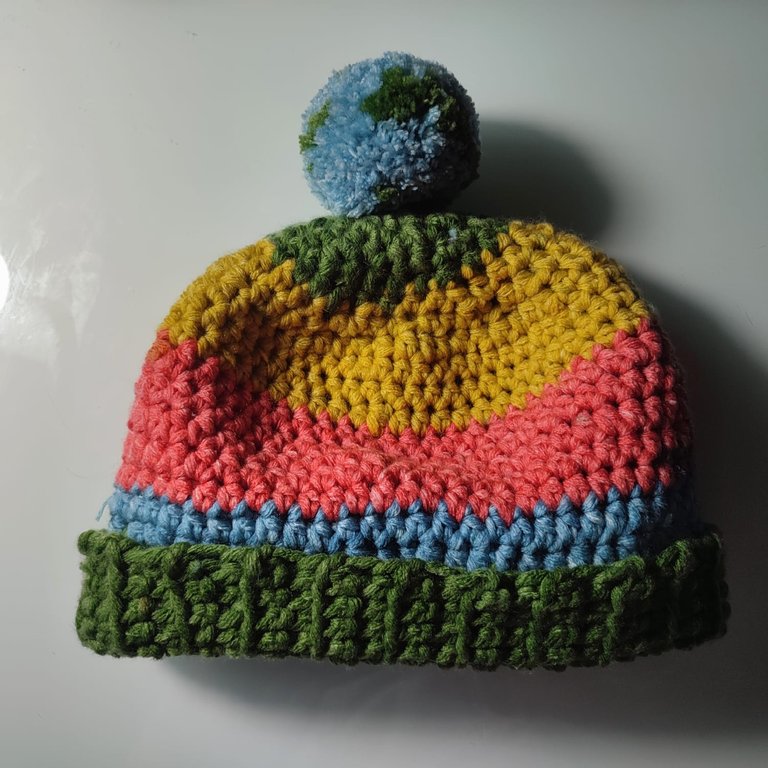
Winter hat done!
Now the mittens ...
Mittens Pattern 🧤
Materials:
Chunky yarn
6.5 mm crochet hook
Cuff 🧤
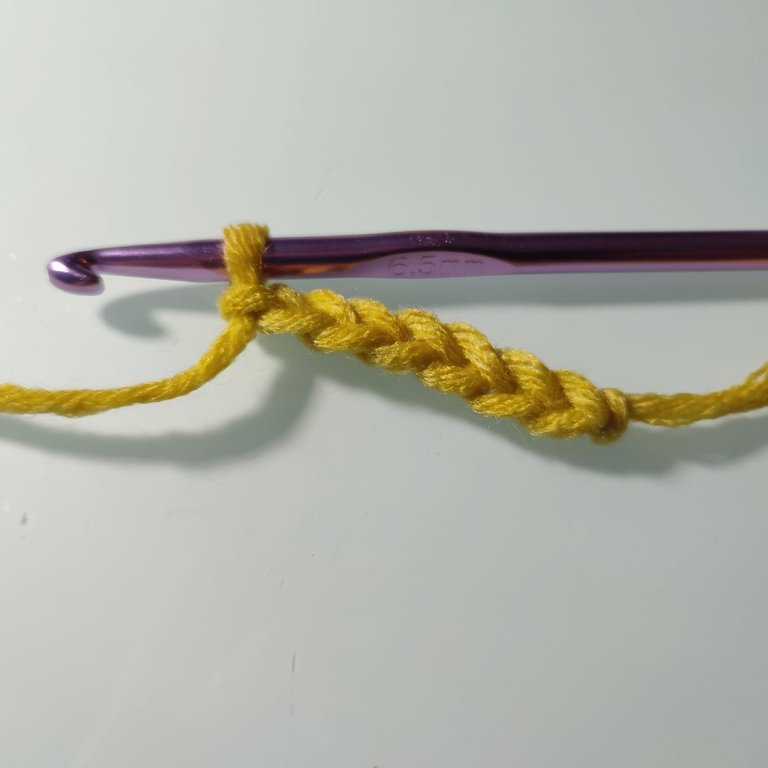
Chain 8.
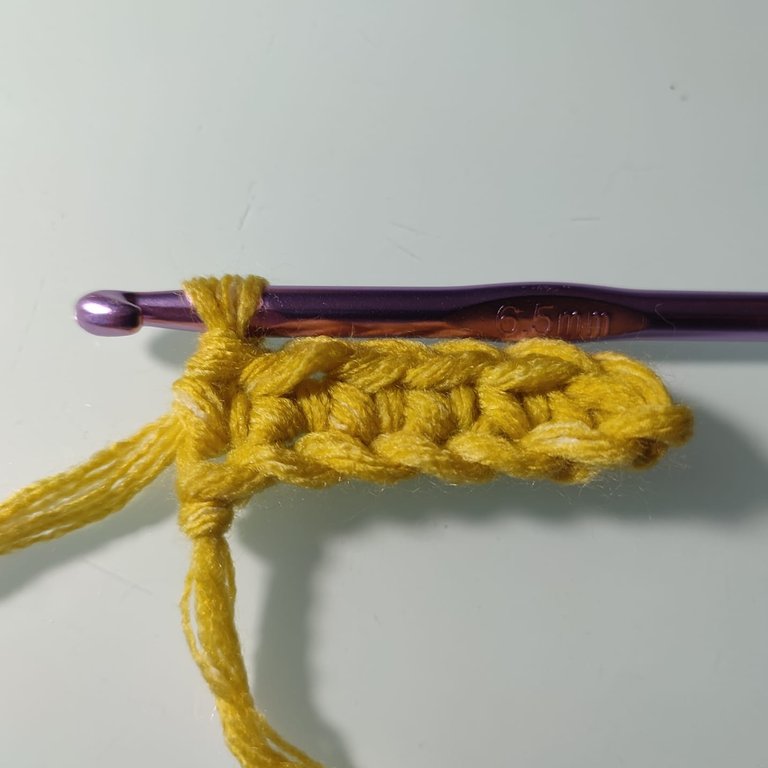
Row 1: SC in the 2nd chain from the hook and across. (7 SC)
Row 2: Ch 1, turn. SC in the back loop only.
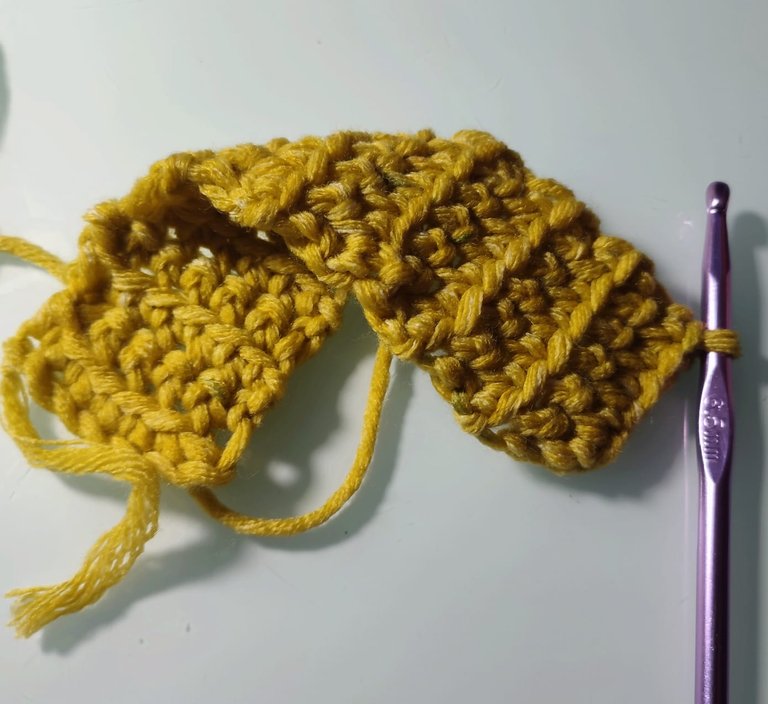
Repeat until the band fits snugly around your wrist.
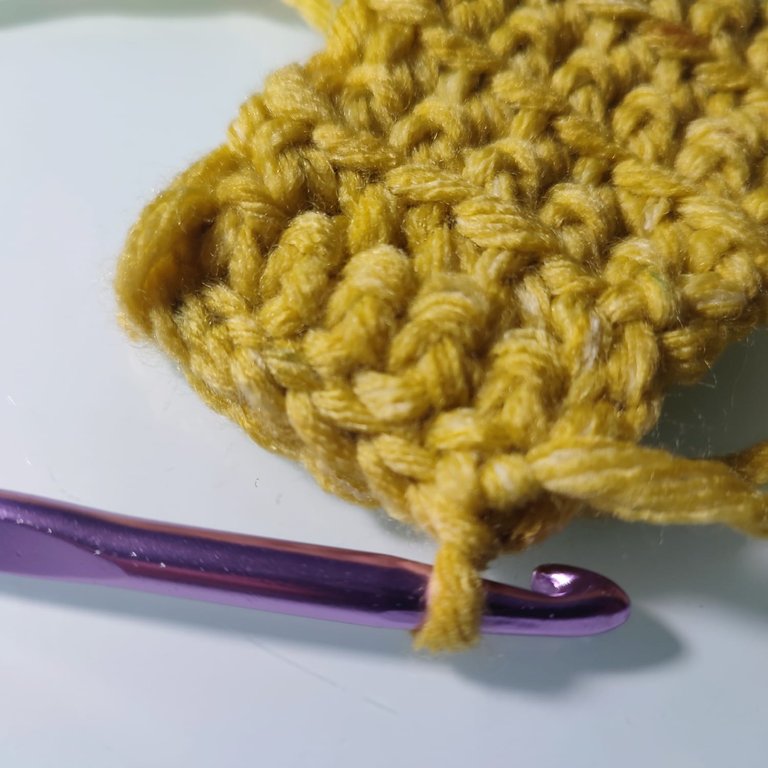
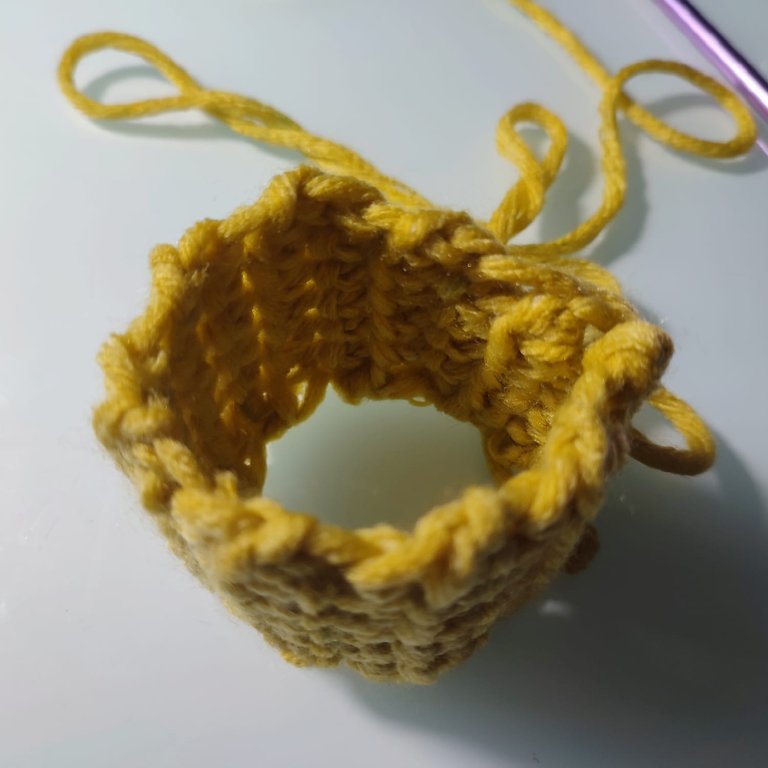
Slip stitch the ends together to form a circle.
Hand:
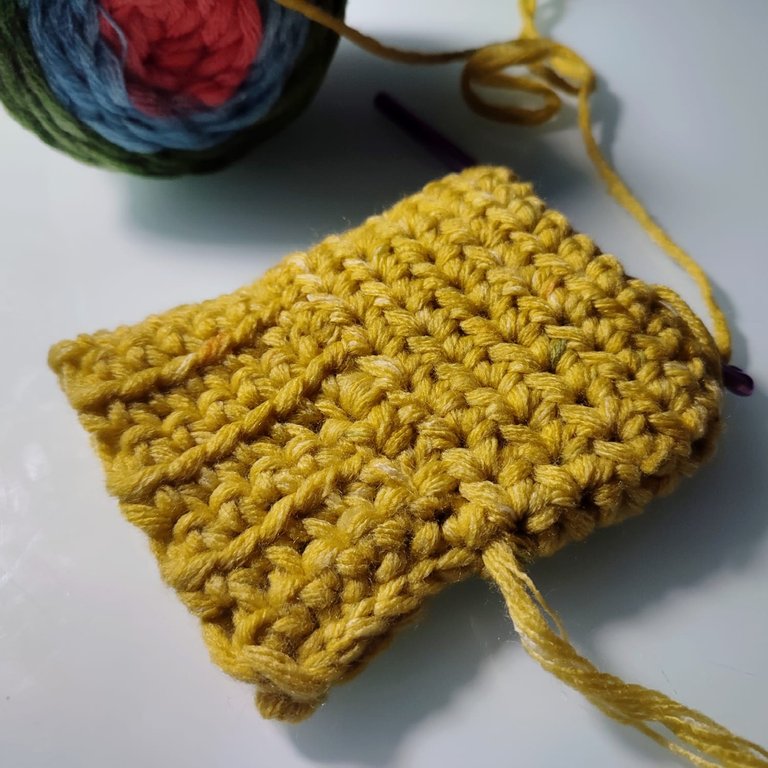
Round 1: Ch 1. Work HDC evenly around the edge of the cuff. Join.
Rounds 2-6: HDC in each stitch around. (Adjust for hand size.)
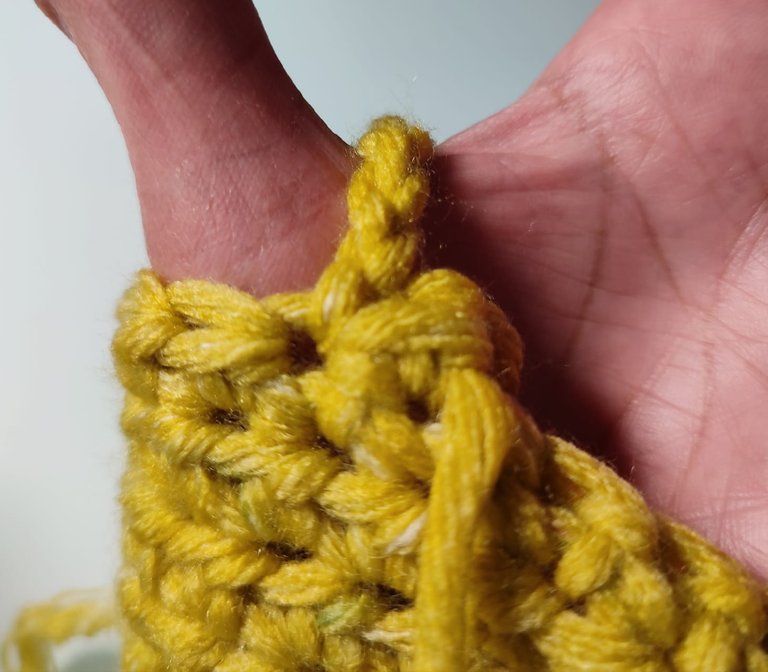
Thumb Hole:
Round 7: HDC in the first few stitches, then skip 5 stitches (or enough for the thumb). Ch 5, and continue HDC around.
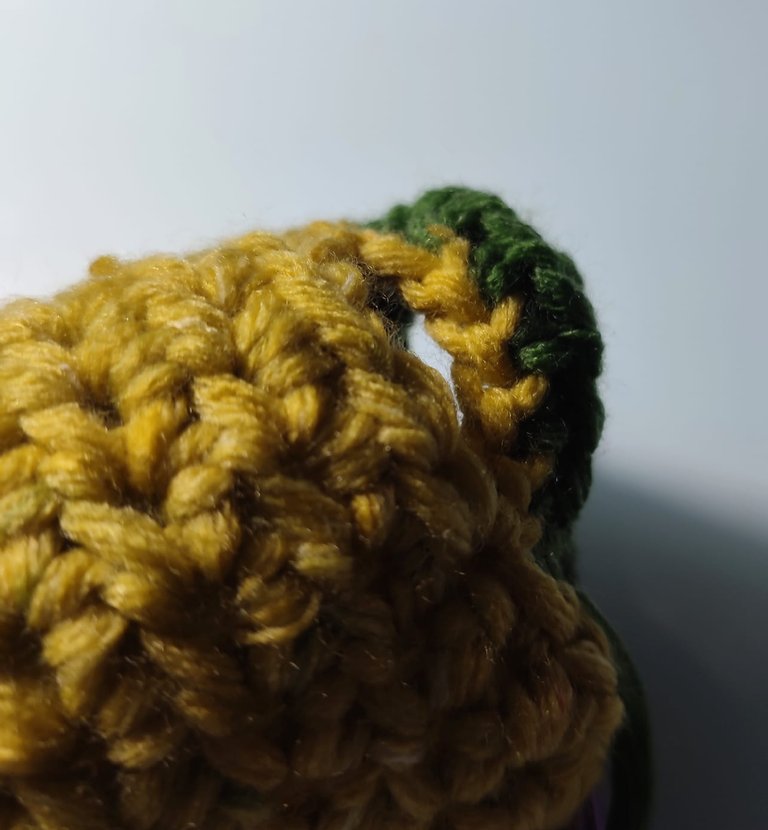
Round 8: HDC in each stitch and chain around until you are happy with the length to cover your fingers.
For a closed mitten, sew the top closed.
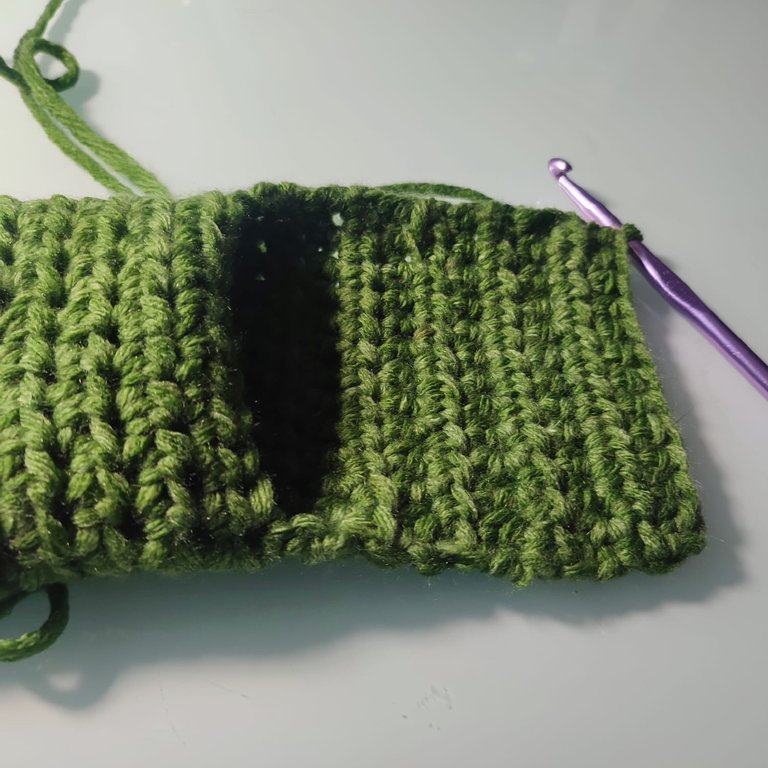
I have added an extra feature, half double crochet, to make a flap
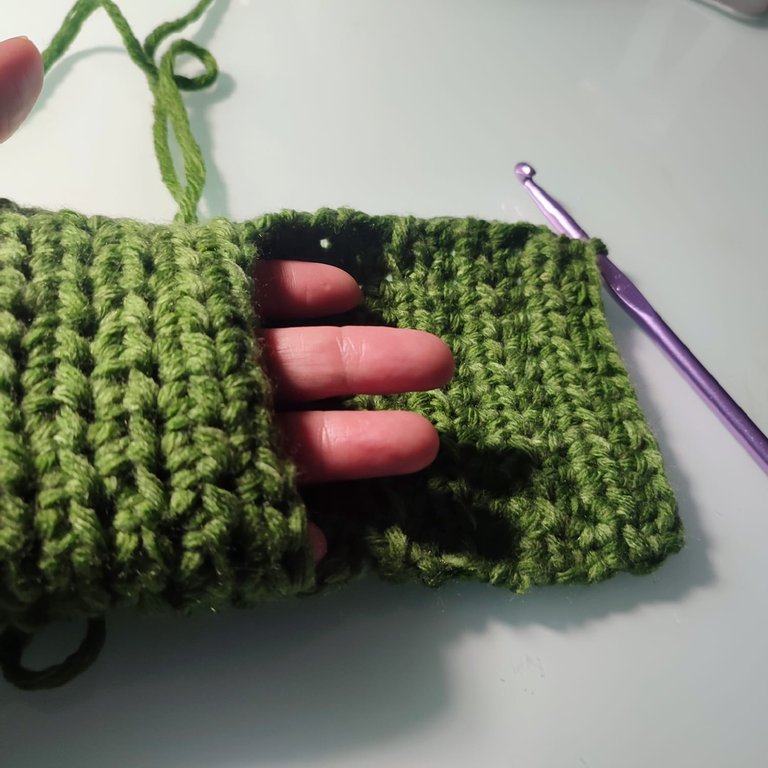
The flap should be long enough to cover the fingers. Add an extra inch to overlap.
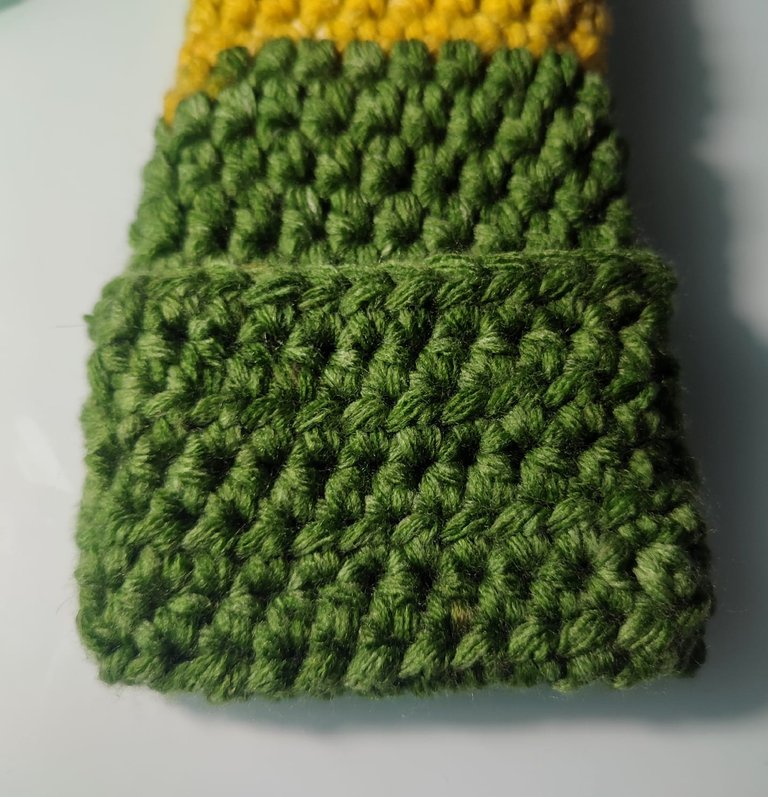
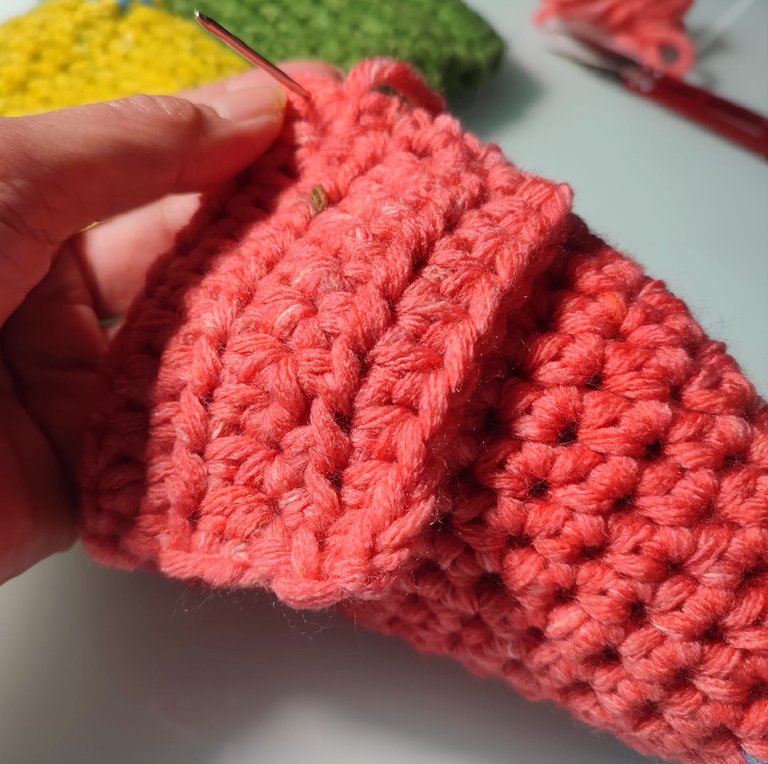
Turn your work inside out, fold the flap and stitch the sides to the glove.
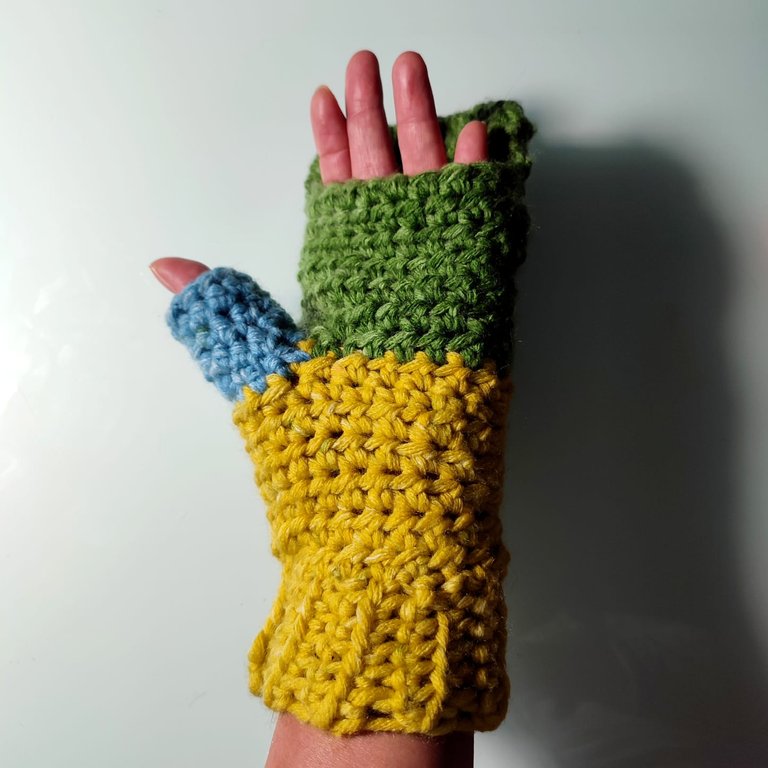
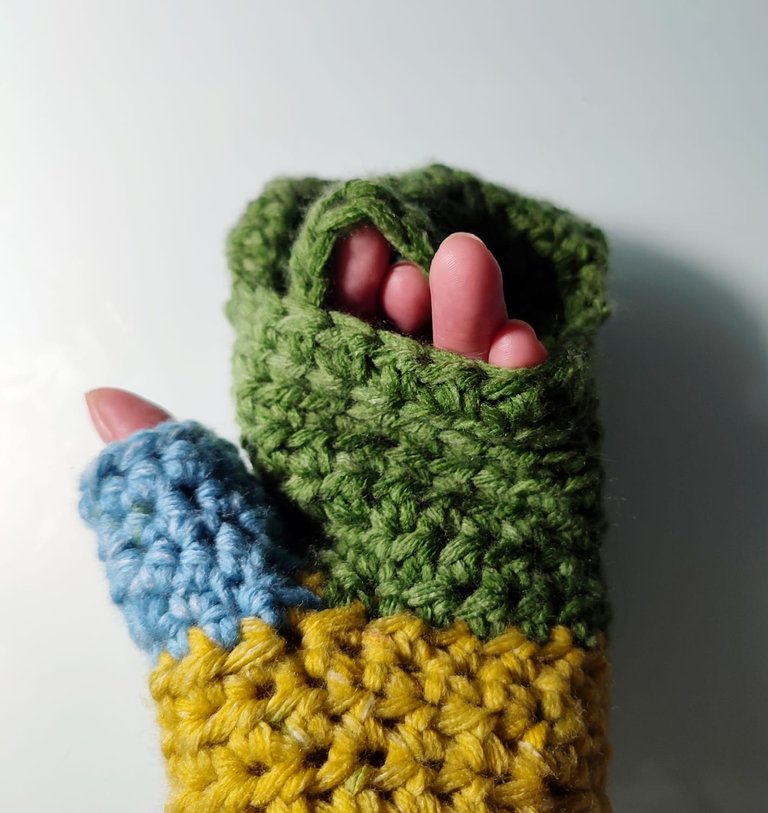
I have mittens that free my fingers, keeping the back warm, and I can tuck or slip my fingers inside when not using them. Ideal for working outdoors.
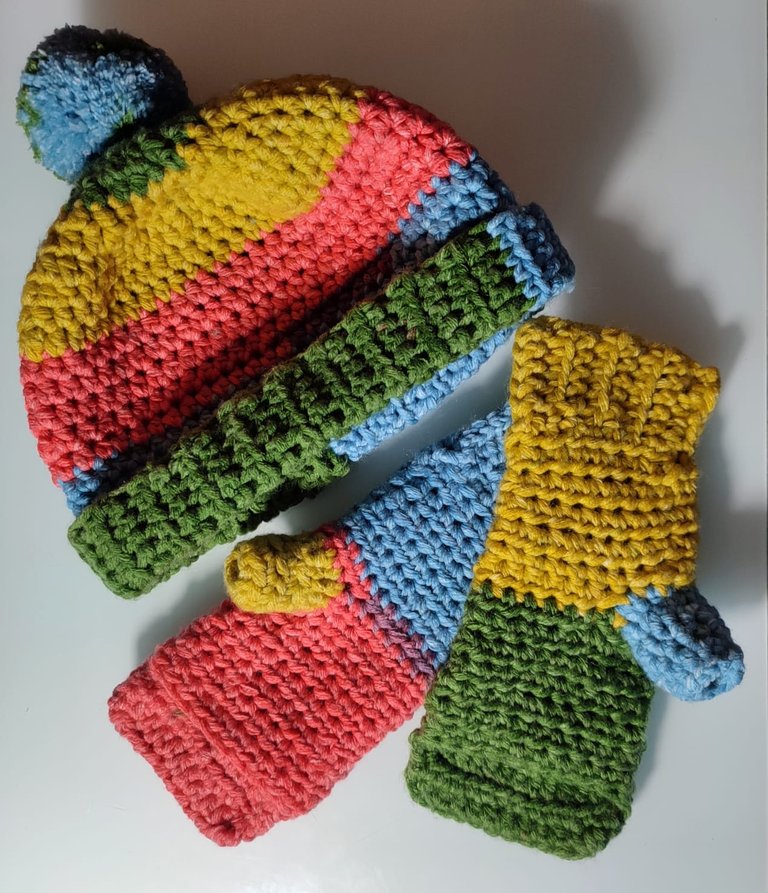
It's a winter set, which is just how I wanted it.
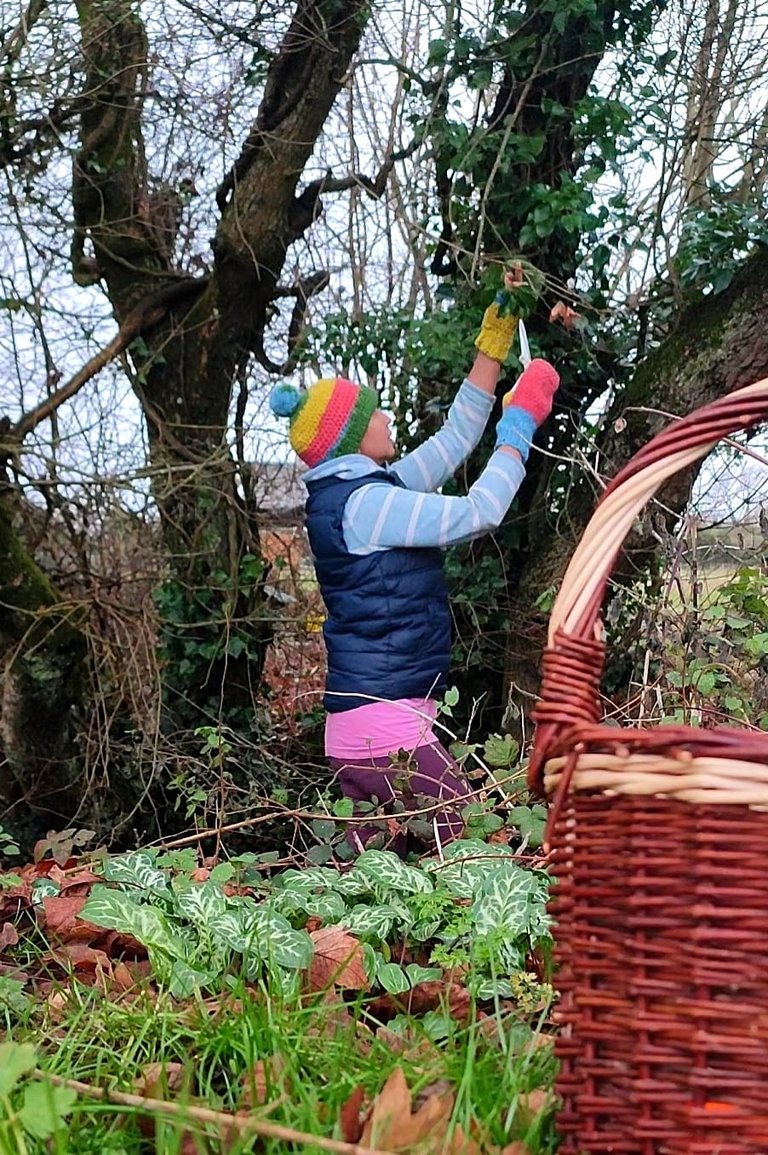
I went out foraging, and it was one of the best winter kits I have ever had! The hat kept my head very warm, and I could tuck my long hair out of the way.
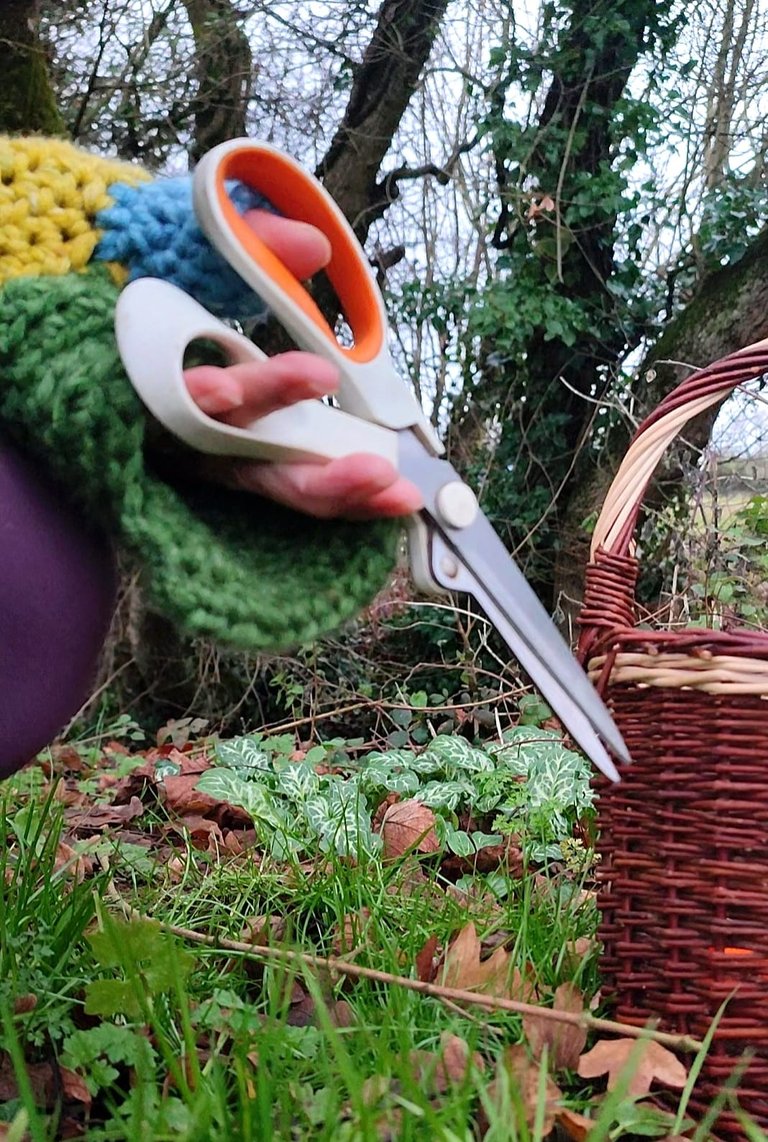
I could do things with my hands, warming the back of my fingers simultaneously, and they are not restricting my hands from doing things!
Being outdoors in the cold is so much more enjoyable.
Have a wonderful needleworking Monday, everyone.
Mariah 😊🧵
The rewards earned on this comment will go directly to the people( @theworldaroundme ) sharing the post on Reddit as long as they are registered with @poshtoken. Sign up at https://hiveposh.com. Otherwise, rewards go to the author of the blog post.
SUCH a beauuutiful set, dearest @theworldaroundme - so colourful and funky! You remind me yet again to learn to crochet 😇🥰😁
Thank you, I am.peased of themtoo. Yes definitely learn it, you'll love it. 😊🩷
Aha, so that is how a pompom is made 🙂! Nice work. The end result looks very warm and cozy.
Thank you. 😊🩷
wow! great idea with the button and removable pompom!!!! I didn't think of this myself. when you wash the hat, the pompoms take a long time to dry. And having a removable pompom is a real solution! bravo! I had mittens with a similar hood for the fingers - it's really very convenient! wonderful set!
Thank you, yes that's true, easier to wash. And mittens are so useful and easy to use. like this. 😊🩷
The winter hat looks great, thanks for sharing
Thank you 🩷😊
This is a great project, you did an excellent job!
Thank you @kattycrocher 😊🩷
Amazing work 👍
Thank you 😊💗
Congratulations @theworldaroundme! You have completed the following achievement on the Hive blockchain And have been rewarded with New badge(s)
Your next payout target is 5000 HP.
The unit is Hive Power equivalent because post and comment rewards can be split into HP and HBD
You can view your badges on your board and compare yourself to others in the Ranking
If you no longer want to receive notifications, reply to this comment with the word
STOP