Welcome once again, you delightful denizens of the digital domain. For today's post, I'll be doing a quick walk-through of building, installing, filling, and partially planting my new raised beds for onions and garlic. I don't like to waste time, so if you just want the build details, skip ahead to the paragraph after the fist picture.
Onions and garlic are two of my favorite things. I like the flavor, the 'heat', and the fact that it makes my breath bad enough to keep people at a fair distance. They both have a number of health benefits and medicinal uses.
They are also both supposed to be easy to grow, but I haven't had much luck with either here over the years. It's not that they don't survive, they'll live practically forever, they just won't grow. I've tried them in a few different places over the years, and my best results so far have been in raised beds loosely based on the Square Foot Gardening method. If you're unfamiliar with the method and into gardening, I highly recommend typing Square Foot Garden into your favorite search engine.
The peppers have been doing fantastic since they got their own raised beds a few years ago, so I decided it was time that onions and garlic got the same treatment. Okay, I actually made that decision the year after I made the beds for the peppers, but it's taken me this long to get around to it. The pepper beds are the plastic covered ones in the picture below, and we grow hot peppers in one, sweet peppers in the other. I don't know what kind of plastic covering that is exactly, it's something I got at work that it extremely durable, but porous enough to let water go right through it. The onions will be too close together to use this plastic effectively, so they'll be getting mulched instead.
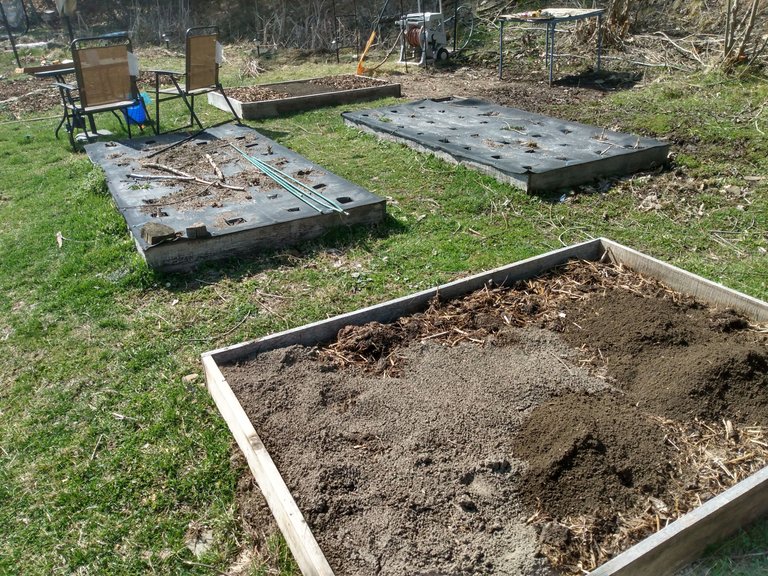
To make the newer, uncovered boxes you see in the picture above, I'll first have to select some lumber. For my raised beds, I like to use rough cut 1" x 6" boards that I cut from my own ash trees with the chainsaw mill I posted about here. The pepper beds were 4' x 8', giving me room for 32 peppers in each bed. The onions can be planted much closer together, so I'm only making their beds 4' x 6', which will give me room for 216 plants in each bed. Lumber selection isn't very important to me, because I'm happy to just rebuild the beds when they rot. The pepper beds are 5 years old now, and probably have at least another 5 to go before they'll need replacing, so I should have plenty of opportunity to make new boards before then.
One thing I do need to watch out for is boards that may have ants in them. All of the lumber I use for garden boxes is stuff that isn't good enough for 'finished' or weight bearing projects, and ant tunnels are one of the main reasons my ash boards end up not good enough. I don't like to use boards with ants on my garden boxes because they will sometimes still have eggs, which then hatch and try to build ant colonies in my garden boxes. I have enough problems with the gardens, I don't need extra colonizers!
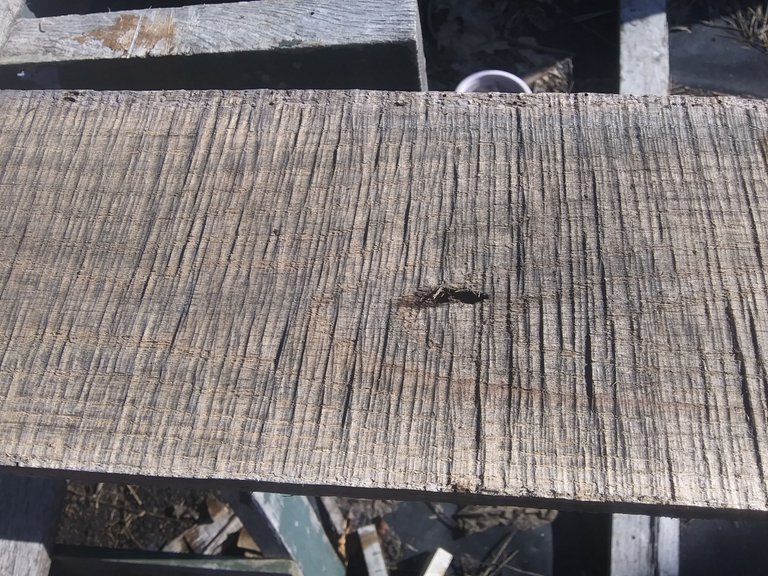
Below is what the other side of that little hole looked like. It seems to go straight through, so I'm going to take my chances with this one. For good measure, I give it few good whacks with the hammer to see if any spots sound hollow. This will also help shake loose any eggs or ants that may be hiding out in the little hole.
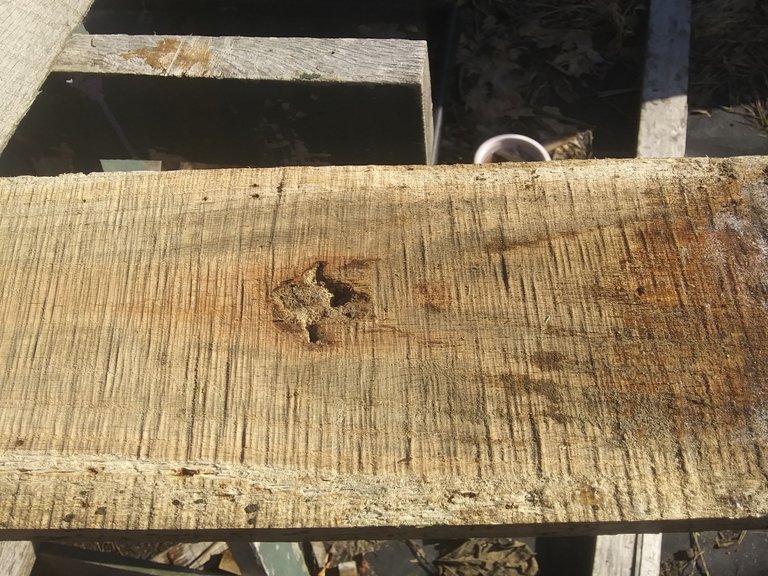
Just as a matter of good practice, I try to trim off split ends when I'm making my cuts, but splits won't matter too much for this project. Even if this crack widens out to an inch, which is highly unlikely, it still won't have any noticeable affect on my vegetables, it'll just be unappealing to look at.
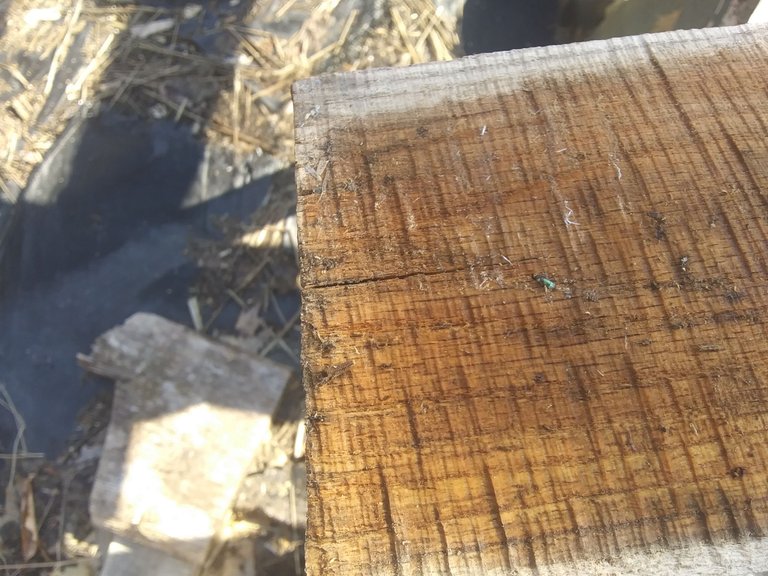
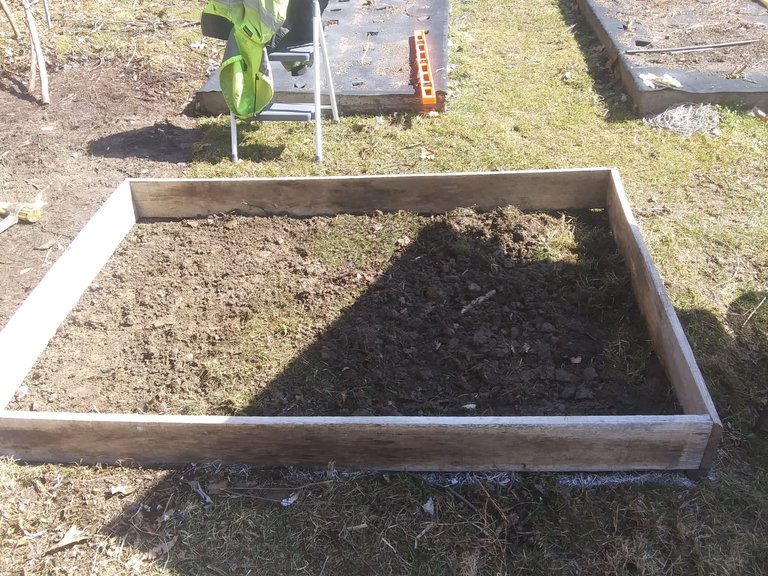
I'm not going to go into the details of making a box, other than to say that I highly recommend using screws or twisted nails to hold your box together. Straight nails will usually start to pull out after the first year, screws won't come apart until the wood rots. In another lifetime, I had a small pool in the area where these garden boxes are now, so they didn't require a LOT of leveling. It's not important that everything be perfectly level, but the closer it is to level, the more evenly filled your boxes will stay. In the picture below, you can see how I dug just a little bit from the high side, on the left, and used that to fill in the low side. I used the native soil and sod to level off a decent floor.
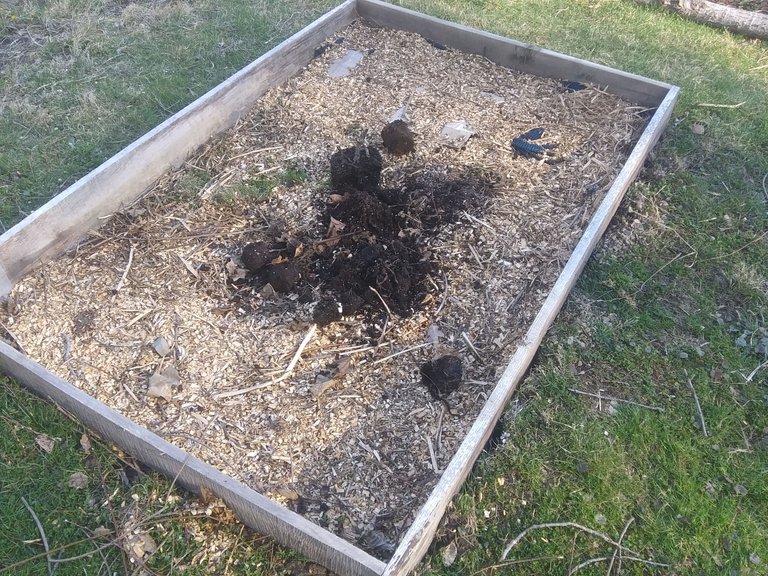
Once the floor level is in, I put in a couple of inches of loose organic fill. This year I had lots of fresh wood chippings, and several old plant containers to dump out. I'm not very fussy about this fill, as long as it will decompose over time and not bring in any really stubborn weeds. It should also be non-toxic, obviously, since I'll be growing food in here. This is something I need to pay close attention to, because we do have several varieties of toxic weeds on the property. What has worked well for me in my 6" raised beds is 2" of organic fill, 2" of compost, and 2" of topsoil. I try to make sure the fill layer is well mixed and raked flat before adding the compost.
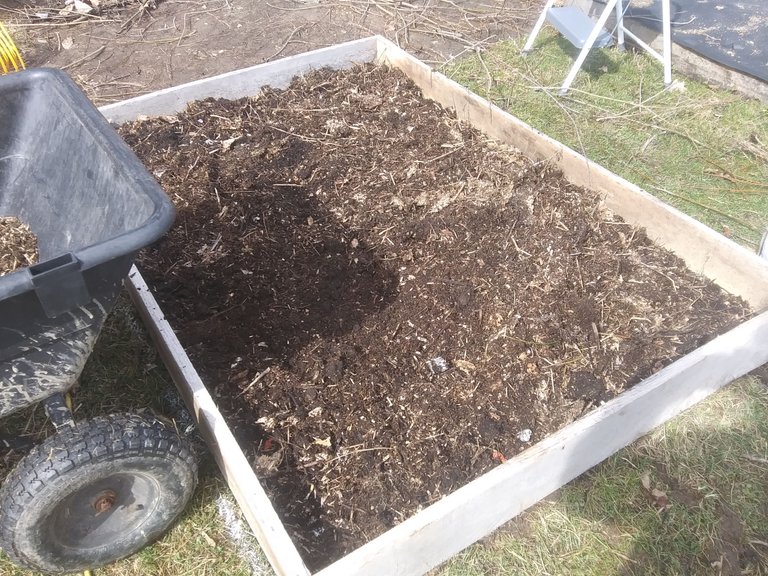
When I'm using compost as a direct planting medium, I like to screen it first to get rid of larger pieces of straw and twig. When I'm just using it to fill garden boxes, I use it straight from the pile. Just like the fill layer, I like to mix and level the compost layer with a rake before adding soil.
I have a few spots on the property with decent topsoil, and I use one of them to 'mine' topsoil when I need it. This particular patch had a little more sand than normal, which I've read the onions will enjoy. After filling the box, I draw on a square foot grid and poke 9 holes in each square. You don't have to poke the holes to plant onion sets, but this helps me get them all lined up nicely. They were lined up so nice, in fact, that the Hedge Witch volunteered to plant them for me, which freed me up to do some more heavy lifting.
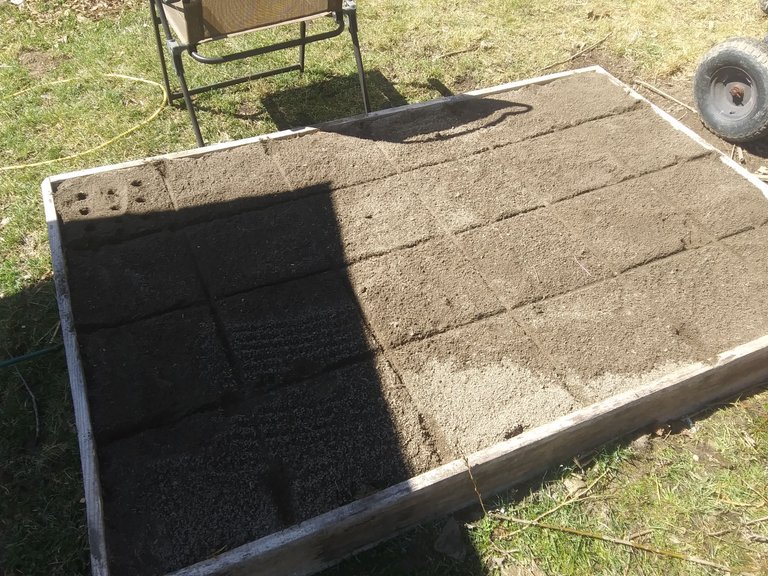
Here you see all the onion sets in place, with yellow on the right and purple on the left. We have some other onion-family seedlings indoors, like leeks and shallots, but they aren't quite ready to come outside just yet. We both really enjoy onions, so they may have to get another bed of their own someday for more variety. We may just get our variety from companion planting in other beds, if we can ever find a variety that wants to grow in our regular gardens.
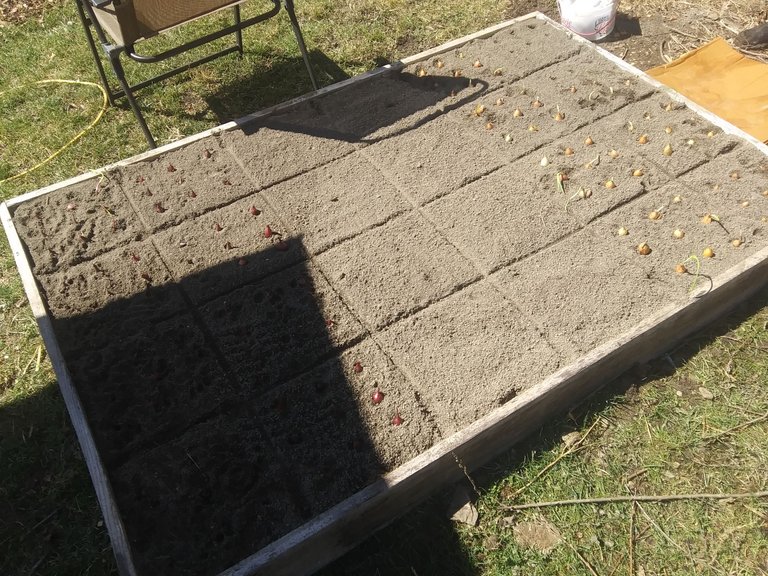
We have enough wood chips and straw to mulch pretty much everything this year. I've been pulling up lots of old plastic that we used for weed control before the mulch and discarding it. It served its purpose at the time, but over the years has been more headache really than help. I'm leaving the stuff on the pepper beds because they REALLY seem to like the extra warmth, and that plastic is much better stuff that what we had down in most places. I don't know if the onions will like wood chips or straw better, but the wood chips were already up here so we started with them. I'll use straw to mulch the ones we plant in the middle boxes. I like to keep the soil covered not just for weed control, but it also helps hold moisture and attracts worms, both of which are important to healthy soil and plants.
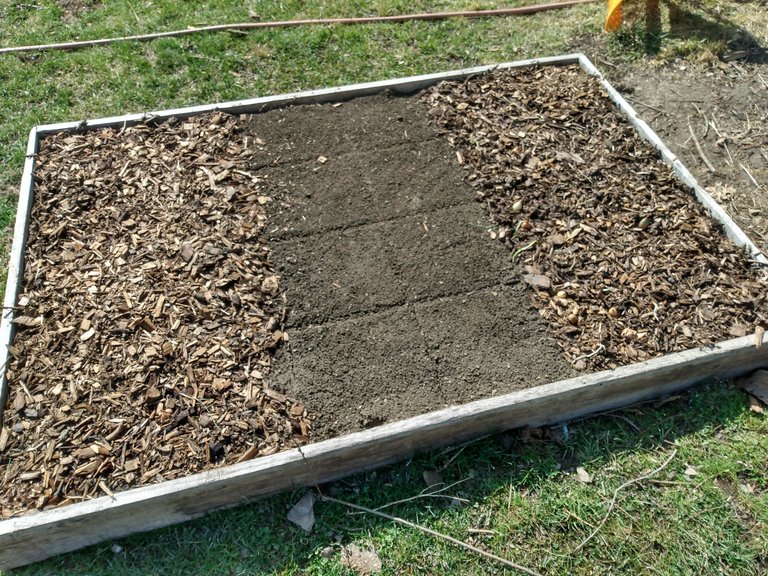
I still don't have anything planted in the garlic bed yet. Garlic doesn't get planted until July or August, but I was going to grow some peas and radishes while I wait. I like to grow peas in any empty space, because we all love to eat peas, and they fix nitrogen in the soil, which for me is like growing fertilizer. I like the radishes because they don't take much time, usually only about a month from seed to harvest.
That's a wrap, as far as this build goes. I'm also entering this one into the Garden Journal Challenge, hosted by @riverflows. You can find details at the link here, and lots of fantastic gardening, health, and cooking information at the Natural Medicine community page. PeakD doesn't like me using hashtags in the topics, so I'll drop the #naturalmedicine and #gardenjournal tags here. Now I'm off to see what the competition is up to 😁.
Thanks for stopping by, I hope you enjoyed!
Ah what gorgeous alliteration to start with! I'm hooked!
I love love love allium - although I dont eat much because my hubs is intolerant. Still I love to grow garlic, which I've been super sucessful at - just have never been able to grow leeks or onions (spring onions are fine, and he can eat those!)
I have seen the square foot gardening method but I've never done it - I'm so slap happy with my gardening lol.
I've never been good at peppers or eggplant either, but since I've used wicking buckets in the polytunnel they've been awesome. Probably extra water and fertiliser and heat. But stoked I've nailed it as I reckon I love jalapeno as much as you love onion, if not more!
I love how this post shows your bed making - great post, really enjoyed it, thankyou!
Oh, ps, I'm in Australia and we plant garlic at Easter ready for November!
Congratulations @paradoxtma! You have completed the following achievement on the Hive blockchain and have been rewarded with new badge(s) :
Your next target is to reach 600 replies.
You can view your badges on your board and compare yourself to others in the Ranking
If you no longer want to receive notifications, reply to this comment with the word
STOPCheck out the last post from @hivebuzz:
Support the HiveBuzz project. Vote for our proposal!
Hola , gracias por compartir cosas como éstas, creo tod@s deberíamos aprender y ejecutar en nuestra cotidianidad trabajos como éstos.
Saludos
Hello, thank you for sharing things like this, I think everyone should learn and execute in our daily life works like these.
Regards
Nice work on the raised beds!
I personally like the red onions better than other types.
I don't know if you're aware of this, but there are 2 types of onion sets, long day and short day onions. Long day onions do better in the northern latitudes where the summer daylight hours are longer, and short day onions do better in the southern latitudes.
I was not aware of the two different types, thanks for that info! I usually prefer to start my own from seed indoors, but the indoor seedlings didn't do well this year.
Yeah, I've struggled with starting seeds in the past. I never quite know what the problem is when I have poor germination rates.
At least onion sets are easy to find at the stores.
Our seed starts usually do well, but every season there is ONE thing that just doesn't cooperate. This year it was onions. Last year it was green peppers, the year before it was zucchini (of all things!). If I was smarter, I'd start a betting pool among the local gardeners, and use some of that money to purchase whatever vegetable didn't sprout that year!
Yeah, you never know which type of seed is going to be that one that doesn't cooperate...
This was super inspiring for me, tho we have tons of work again this year as always!!!! I don't think I'll have time to make garden beds and for sure no time to do any earthworks type thing so it will be an after season thing for next year's garden.
216 plant in a 4 x 6 box sounds amazing... that's so much. Is it really possible?
Thanks for this post 😁
My pleasure, thanks for stopping by!
I'll have to find out how possible the 216 plants per bed is... that's 9 plants per square foot, giving each onion a 4" square to grow in. It waa supposed to be possible to grow them in 3" squares, which is 16 plants per square foot, but I haven't had good luck growing onions that close. It does work good for radishes, and I hope to try it with carrots.