
English

Hiii, friends of the HiveDiy community, how are you doing this time, I hope very well!
I've always been a fan of girly accessories, among those bows, and it's one of the things I love about being a girl, that I can wear these kinds of cute things.
Well, hair bows are much more versatile than you think… Have you ever seen a bow in the shape of a butterfly?
Well, this time I'll take some red fabric, left over from the past (hehehe), and let's go for it!

Materials

- 17 cm diameter fabric circle.
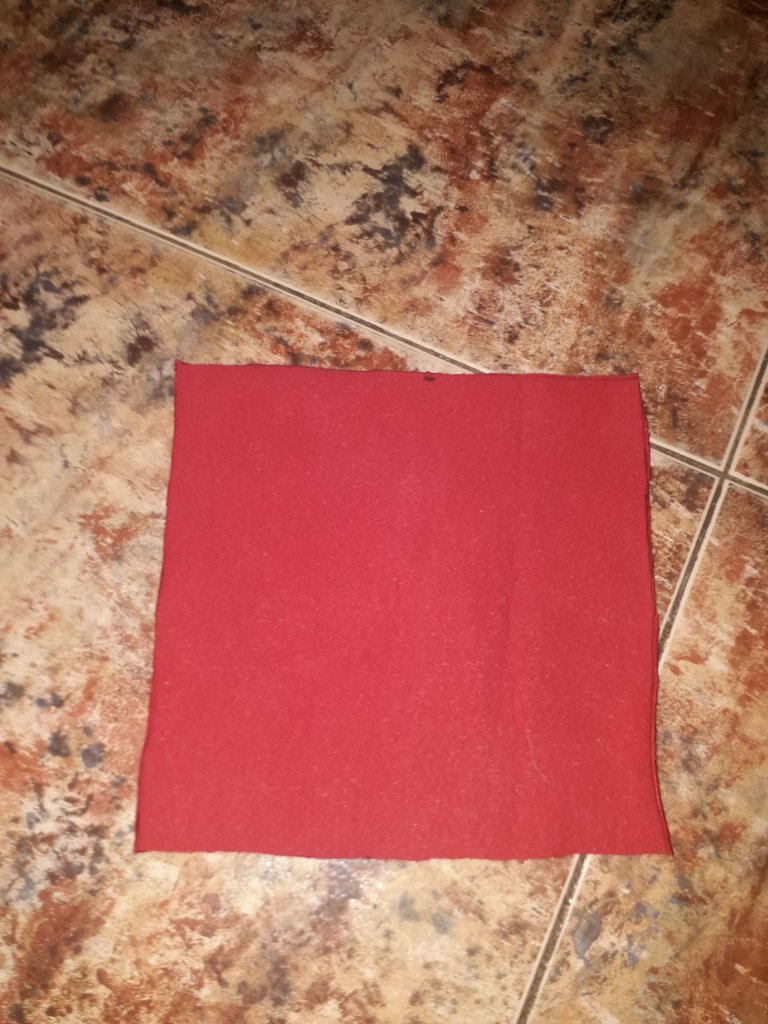
- Fabric square of 17x17 cm.
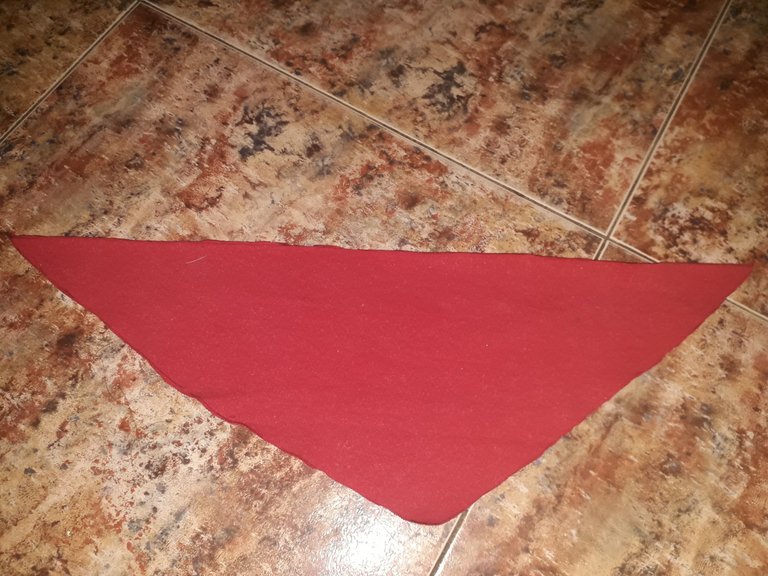
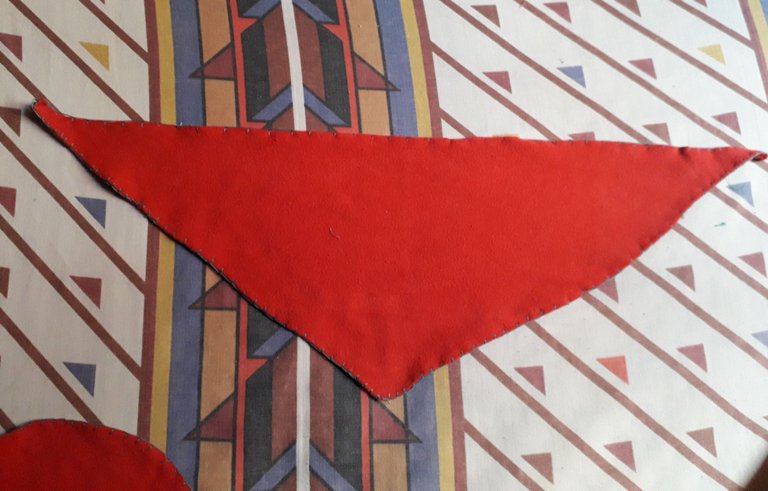
- Fabric triangle 35x52 cm.
- 3x8 cm fabric patchwork.
- Thread and needle.
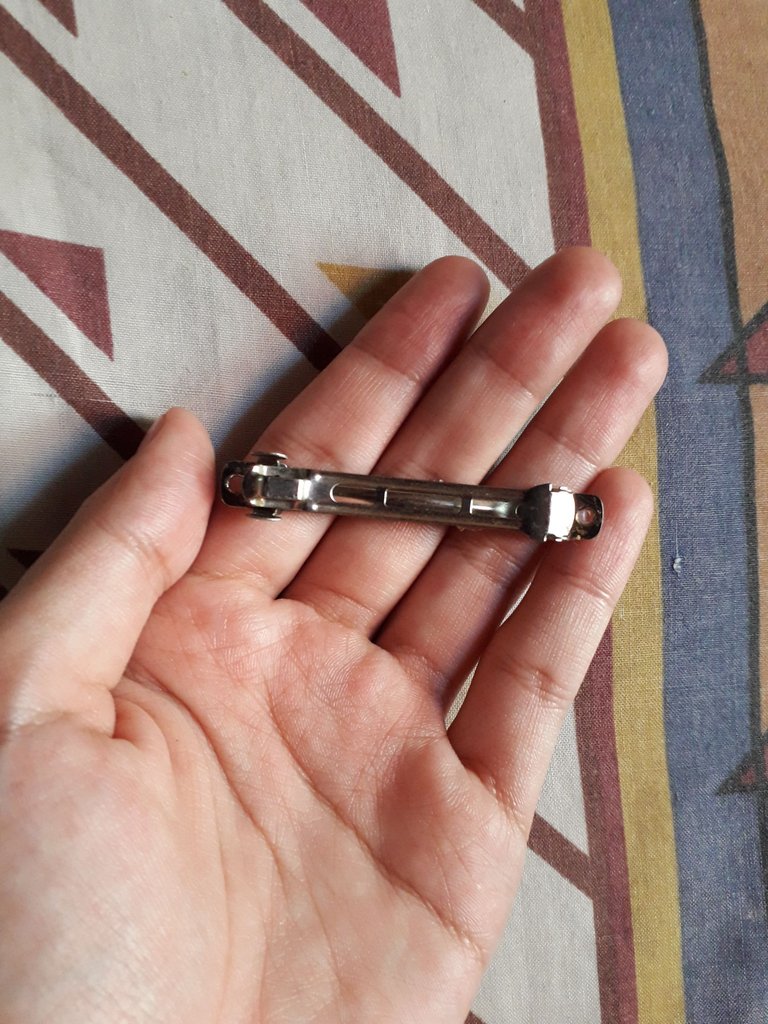
- Hair clip.
 |  |
|---|
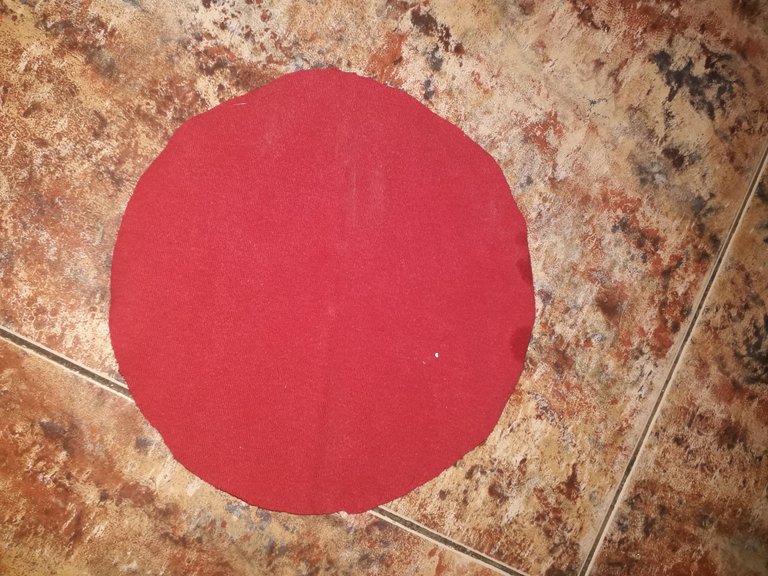
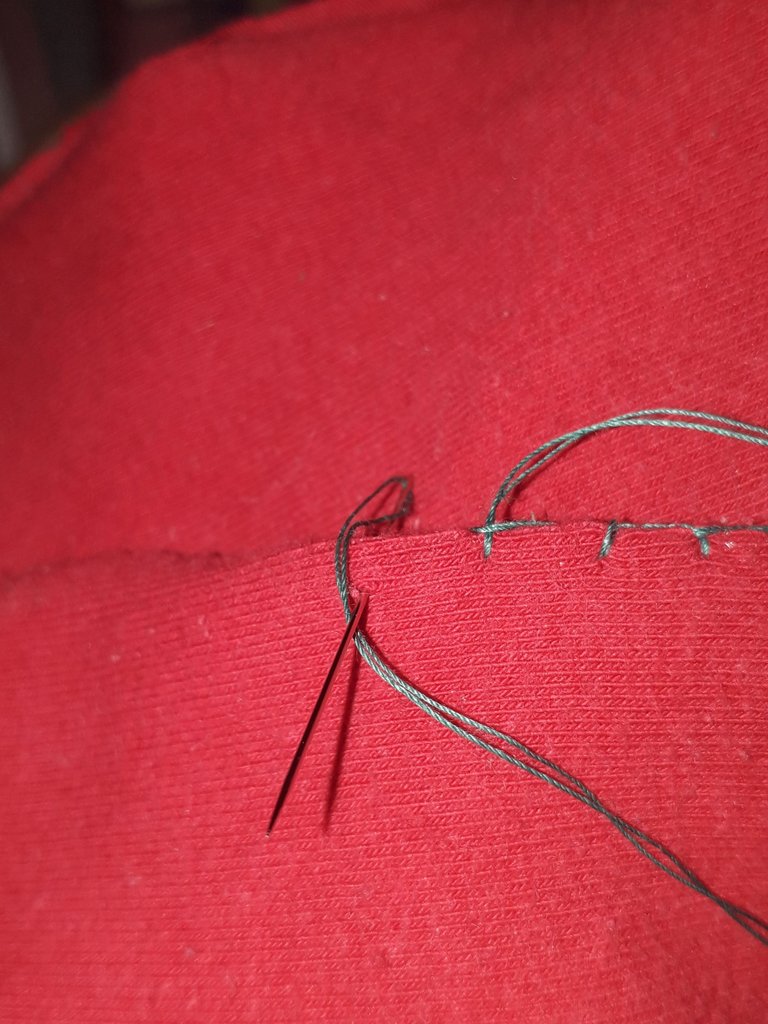
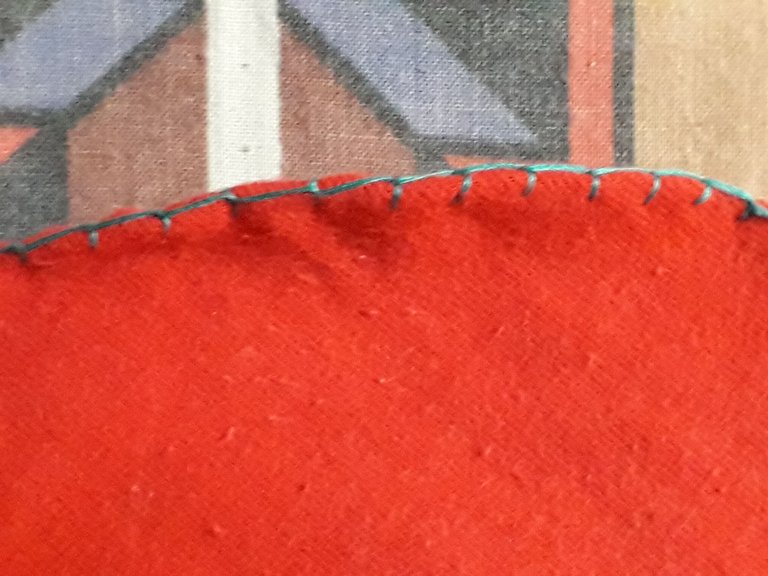
Here are the scraps of fabric I'll be using, but since I didn't want the edges to be too “rough”, I sewed a seam around each scrap. That is, I hemmed each piece of fabric.
 |  |
|---|
I show you up close what seam I did for the edges: I inserted the needle into the fabric, only halfway, passed the thread over it, and then pulled the needle. And this seam was staying.
I chose this seam and this color of thread because I wanted the whole thing to look like a strawberry, I don't know hahaha, the green would be the leaves. If the fabric had black polka dots, it would really look more similar, I think... or yellow polka dots, better, because if they were black, it would look like a watermelon.
Anyway, so it's a watermelon/strawberry (seedless) and butterfly, hehehehe.
 |  |
|---|
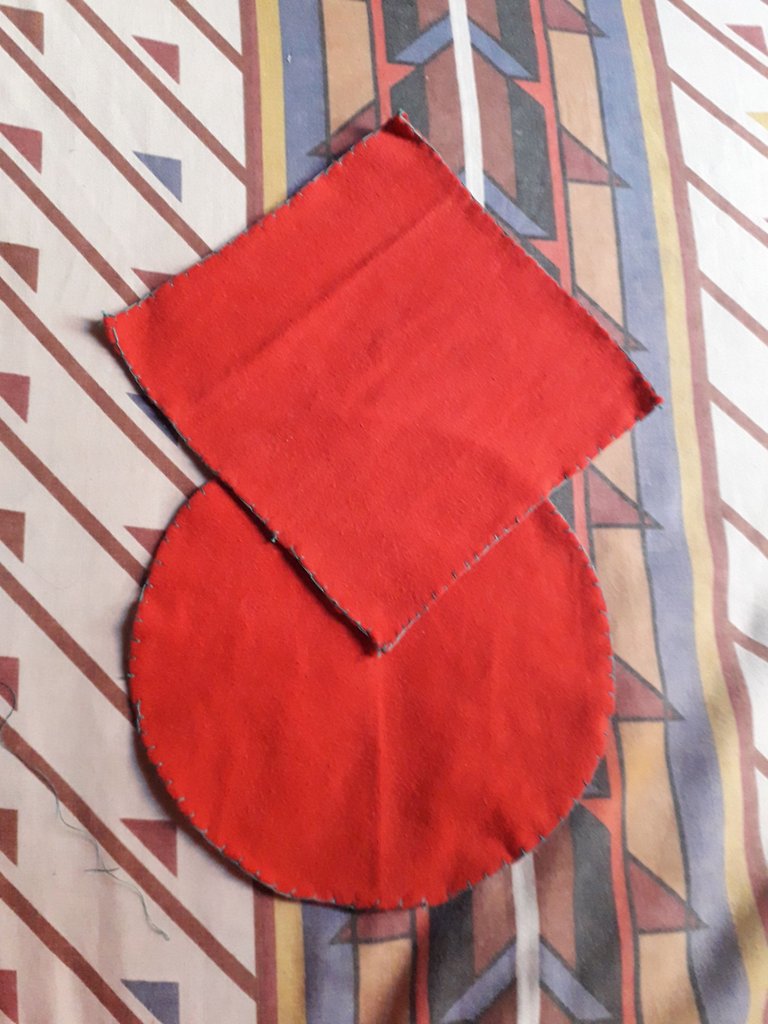
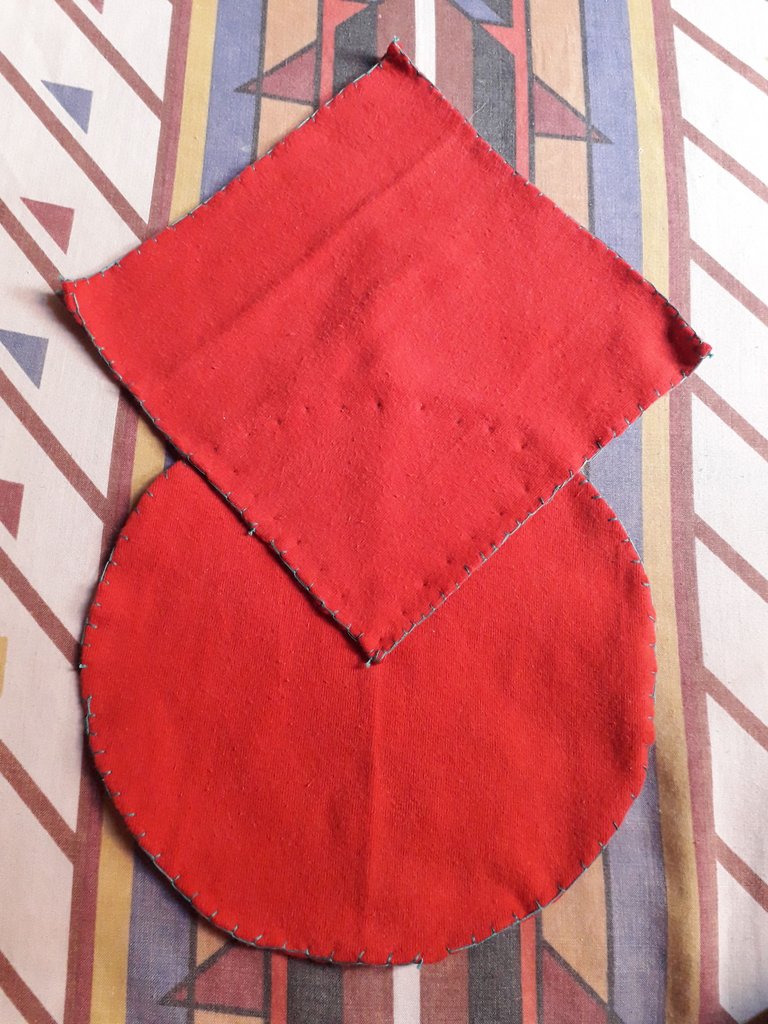
Now the edges were stitched. By the way, this step was personal taste, you don't need to do it. Depending on the type of fabric, you just need to burn the edge so it doesn't fray. You can also make this bow with two sides of fabric sewn together on the inside, I wanted to make a tutorial like this, but I didn't have enough red fabric.
Anyway, let's get to the assembly of the bow.
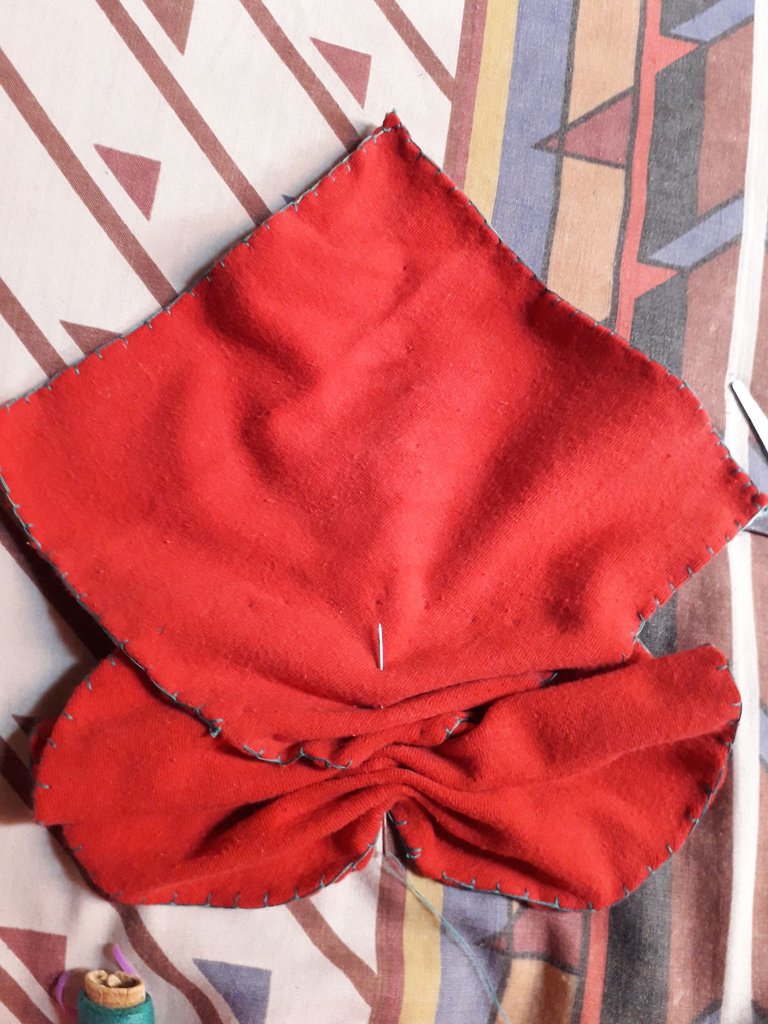
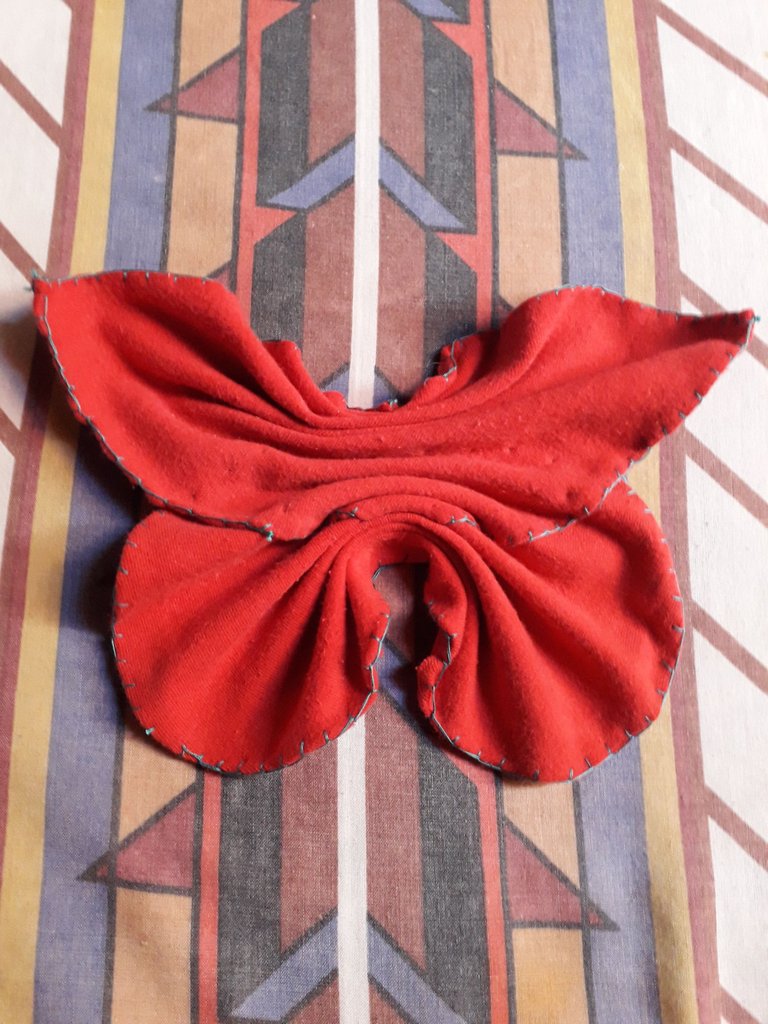
Let's put the fabric square on top of the fabric circle, as you can see in the pictures above. Then, where these two pieces of fabric meet, I made stitches all around; in the pictures on the right, you can see the stitching.
 |  |
|---|
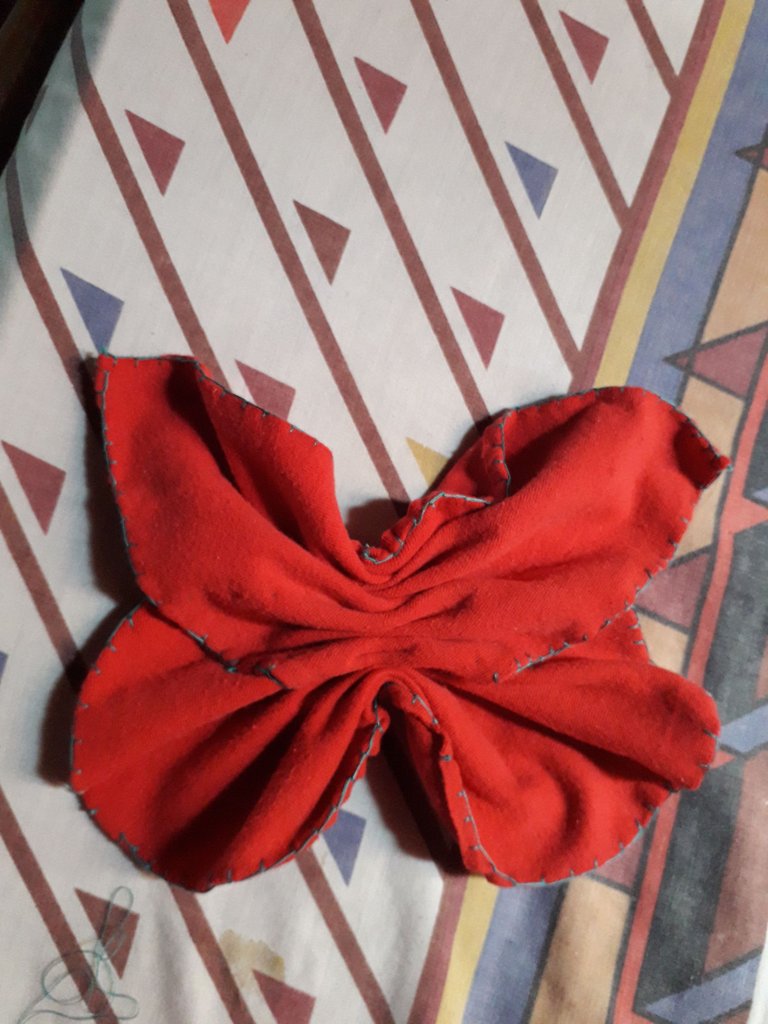
Now, right in the center, we pass a baste seam and start to gather the fabric as shown above. We pull the seam so it stays tight in place and don't forget to tie it off and cut the thread at the end.
I admit that I didn't really see the butterfly shape and I didn't have much faith in the ribbon, but you know as I say, you have to trust the process.
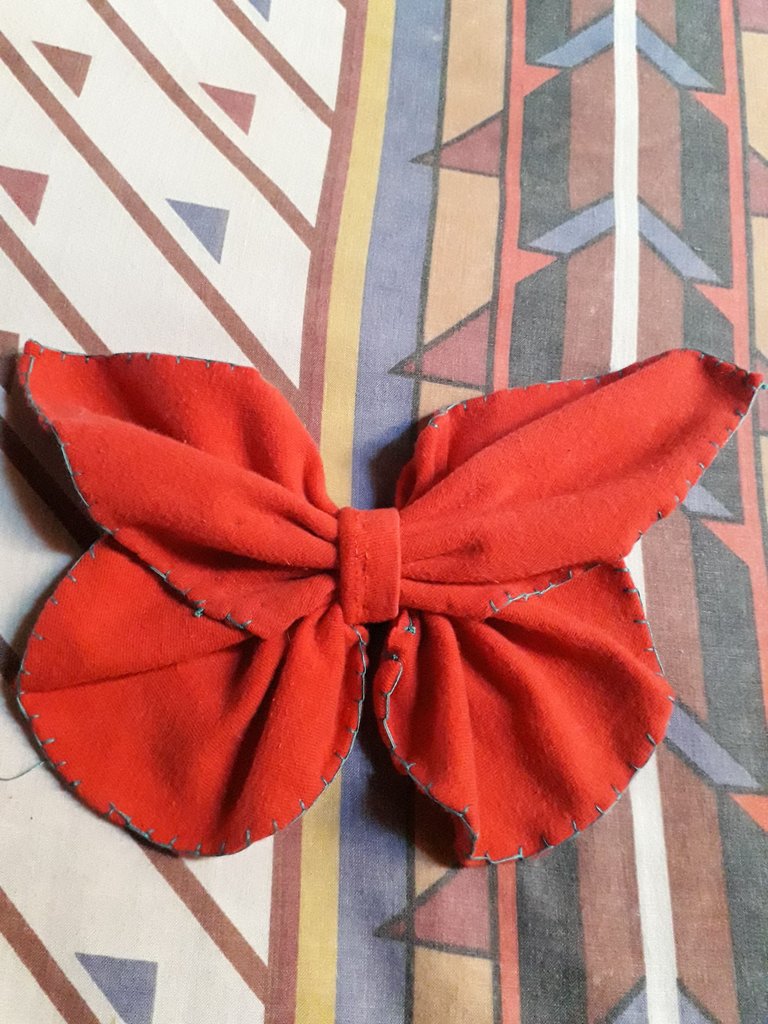
With a 3x8 cm piece of fabric, I made the ribbon in the center, which holds the bow and gives it shape. What I did was to fold the edges of the fabric back so that there were no rough edges, and then I sewed over it, so that the two edges were secured behind, am I making myself clear?
Then, that ribbon, I ran it around the bow, as you can see in the picture above, and stitched the back, so that the two ends were together, and cut off the excess fabric.
I hope I'm explaining myself well.
 |  |
|---|
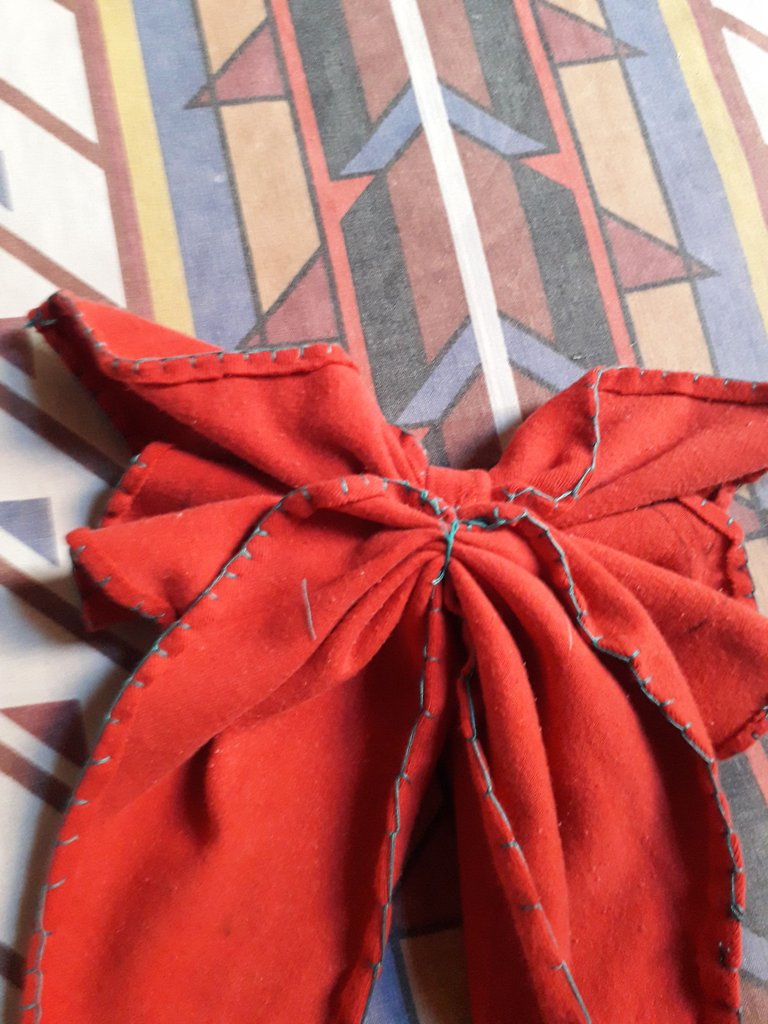
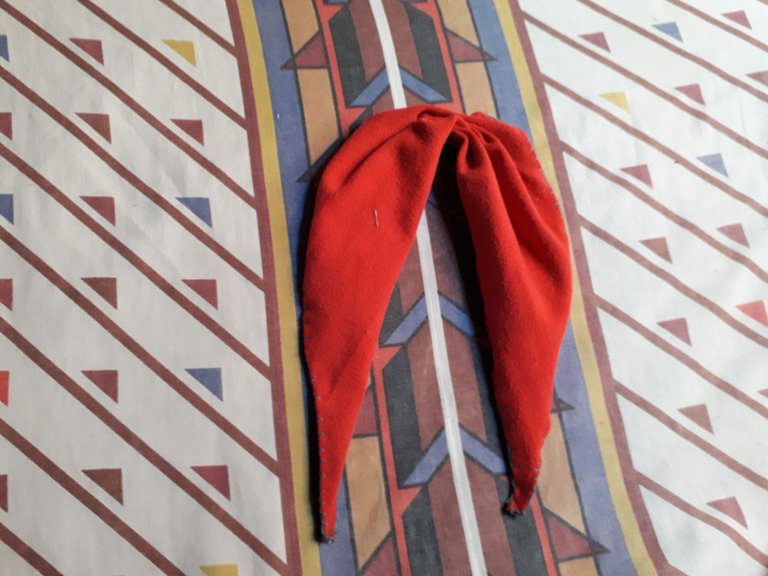
We take the triangle of fabric and repeat the above: we make a baste seam down the center and then pull to gather it.
This will be the bottom of the butterfly bow, so I sewed it just below.
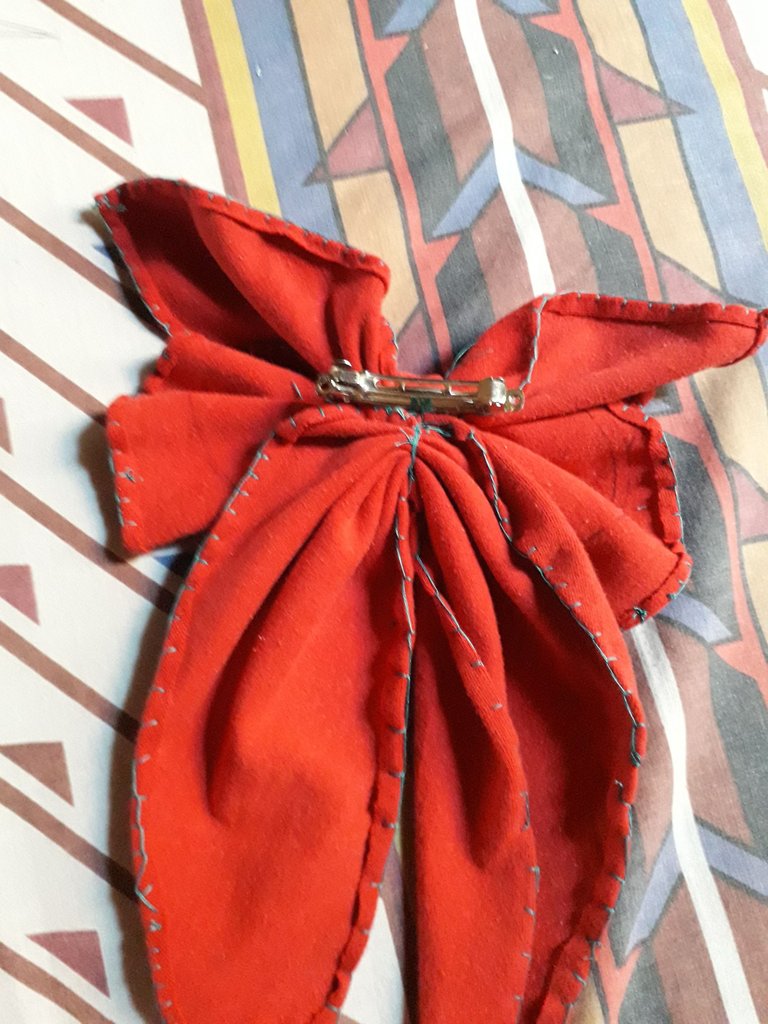
Here I made a mistake that I'll point out so you don't make it too. The ribbon in the center, which holds the bow, goes at the end, because it will also hold the clip.
Next, we sew the gathered triangle back here, as shown in the image above.
 |  |
|---|
Finally, we glue the hair clip. I stitched it pretty tightly and securely from the center and ends.
Normally, this is done with hot silicone, but I didn't have any at the time, so this bow is all stitched, plus it proves that you can do it, so always dare to try, even if it seems out of the ordinary (applies to everything).
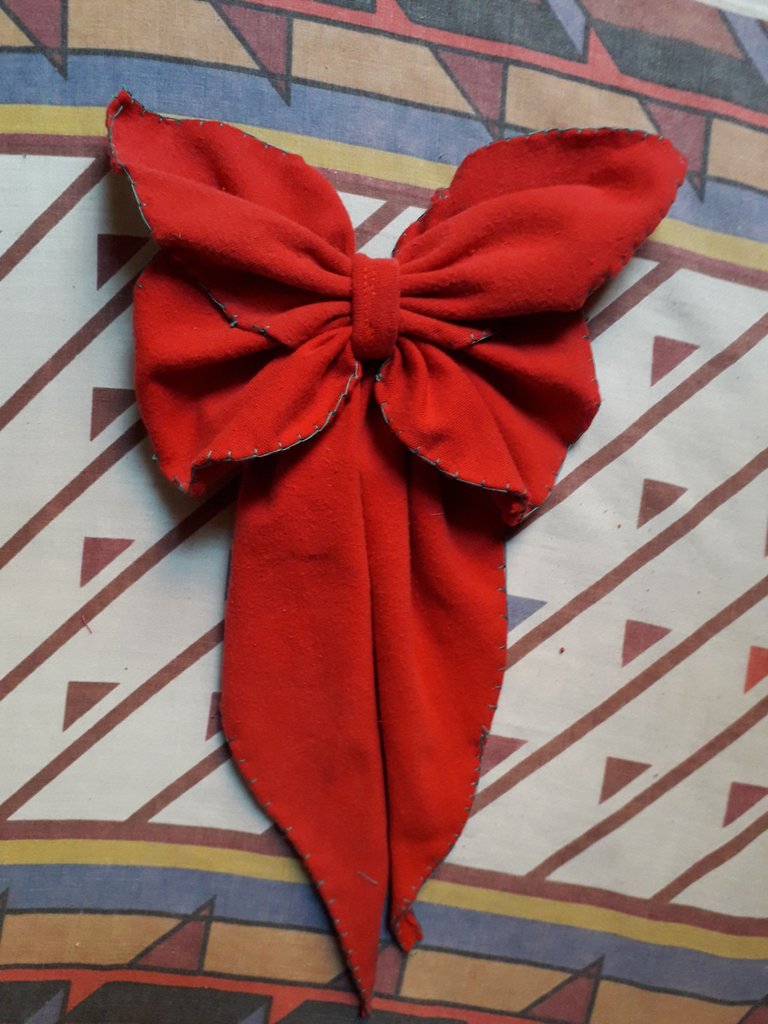
And this is how this beautiful butterfly ribbon turned out, wasn't it ugly, I told you!
It's also quite a bit bigger than you'd expect. It looks beautiful in a high ponytail, and it also...



It looks good in an over-the-shoulder ponytail, only the model isn't as pretty, haha.
And well, that ends this bow tutorial, which is pretty quick to make, and even quicker if you use silicone instead of sewing. I hope this post reaches people who are lovers of this kind of accessories, just like me, hehehe.

Without anything else to add, I hope you liked the process as much as I did. Take care, drink lots of water, don't forget to smile, and have a nice day!



Español

Yo siempre he sido fan de los accesorios femeninos, entre esos los lacitos, y es una de las cosas que me encantan de ser chica, que puedo usar esta clase de cosas lindas.
Pues bien, los lacitos para el cabello son mucho más versátiles de lo que uno cree… ¿Alguna vez habían visto un lazo con forma de mariposa?
Pues bien, en esta ocasión tomaré un poco de tela de color rojo, que me sobró de veces pasadas (jijiji), y ¡vamos allá!

Materiales

- Círculo de tela de 17 cm de diámetro.
- Cuadrado de tela de 17x17 cm.
- Triángulo de tela de 35x52 cm.
- Retacito de tela de 3x8 cm
- Hilo y aguja.
- Ganchito.
 |  |
|---|

Aquí están los retazos de tela que usaré, pero como no quería que los bordes quedaran tan “toscos”, les hice una costura alrededor a cada retazo. Es decir, le hice un dobladillo a cada retazo de tela.
 |  |
|---|
Les muestro de cerca qué costura hice para los bordes: insertaba la aguja en la tela, solo la mitad, pasaba el hilo por encima, y luego jalaba la aguja. Y esta costura iba quedando.
Elegí esta costura y este color de hilo porque quería que el conjunto asemejara una fresita, no sé jajaja, lo verde serían las hojitas. Si hubiera tenido lunares negros la tela, realmente se asemejaría más, yo creo… o lunares amarillos, mejor, porque si fueran negros, parecería una sandía.
En fin, entonces es una sandia/fresa y mariposa (sin semillas), jijijijiji.
 |  |
|---|
Ahora sí, ya estaban cosidos los bordes. Por cierto, este paso fue gusto personal, no es necesario que ustedes lo hagan. Dependiendo del tipo de tela, solo necesitan quemar el borde para que no se deshilache. También se puede hacer este lazo con dos caras de tela cosidas por dentro, yo quería hacer un tutorial así, pero no tenía suficiente tela roja.
En fin, vamos entonces con el ensamblaje del lazo.
Vamos a poner el cuadrado de tela encima del círculo de tela, así como se puede apreciar en las imágenes de arriba. Luego, en el lugar donde se unen estos dos retazos de tela, hice puntos de costura en todo alrededor; en las imagen de la derecha, se puede ver la costura.
 |  |
|---|

Ahora, justo en el centro, pasamos una costura basteada y comenzamos a arrugar la tela como se ve arriba. Jalamos la costura para que quede apretado en su sitio y no olvidemos amarrarla y cortar el hilo al final.
Admito que no le veía mucho la forma de mariposa y no le tenía mucha fe al lazo, pero ya saben como digo, hay que confiar en el proceso.

Con un retacito de tela de 3x8 cm, hice la cinta del centro, que sostiene el lazo y le da forma. Lo que hice fue doblar los bordes de la tela hacia atrás para que no quedaran bordes toscos, y luego le cosí por encima, de manera que se aseguraran los dos bordes detrás, ¿si me explico bien?
Luego, esa cinta, la pasé alrededor del lazo, tal como se puede ver en la imagen de arriba, y cosí por detrás, de manera que quedaran los dos extremos juntos, y corté el exceso de tela.
Espero que esté explicándome bien.
 |  |
|---|

Tomamos el triángulo de tela y repetimos lo anterior: hacemos una costura basteada por el centro y luego jalamos para fruncirla.
Esta será la parte inferior del lacito mariposa, así que lo cosí justo abajo
Aquí cometí un error que les recalcaré para que no lo cometan también. La cinta del centro, que sujeta al lazo, va al final, pues ella también va a sujetar al ganchito.
En fin, cosemos el triángulo fruncido acá atrás, como se ve en la imagen de arriba.
 |  |
|---|
Por último, pegamos el ganchito. Yo lo cosí bastante fuerte y asegurado del centro y los extremos.
Normalmente, esto se hace con silicón caliente, pero en ese momento no tenía, por eso este lazo es todo cosido, además de que demuestra que sí se puede, así que siempre atrévanse a intentarlo, aunque parezca fuera de lo común (aplica para todo).

Y así quedó este hermoso lazo mariposa, ¿verdad que no quedó feo?, ¡se los dije!
También es bastante más grande de lo que te esperas. Queda hermoso en una cola de caballo alta, y también…


Queda bien en una cola sobre el hombro, solo que la modelo no es tan linda, jajaja.
Y bien, con eso termina este tutorial del lazo, el cual es bastante rápido de hacer, y aún más si en vez de coser, usas silicón. Espero que este post llegue a personas que son amantes de esta clase de accesorios, igual que yo, jijiji.

Sin nada más que añadir, espero que les haya gustado el proceso tanto como a mí. Cuídense, tomen mucha agua, no se olviden de sonreír, ¡y que tengan un lindo día!



Credits | Créditos
- English translation DeepL (sorry for any mistakes, I don't know much English)
- Traducción al inglés DeepL (lo siento por cualquier error, no sé mucho inglés.)
- Cover, dividers, and banners made in Canva
- Portada, separadores y banners hechos en Canva
- Photos taken by me, using a Samsung Galaxy J6
Fotos tomadas por mí, usando un Samsung Galaxy J6
Posted Using InLeo Alpha
You turned your leftover fabric into something beautiful and that’s admirable friend. Your butterfly ribbon looks great and it looks nice on you. Well done.
With creativity, even the simplest thing can be turned into something beautiful. 🌻
Thank you very much. 💙 And thanks for the support as well. ✨
Hola Celely, que lindo moño, me encanta la forma en que aprovechaste los retazos de otros proyectos. Que tenga un broche para usarlo lo vuelve muy cómodo, te felicito por tu trabajo. Saludos 💕
Sí, es que me gusta ver una nueva oportunidad en algunas cosas. 💙 Muchas gracias, me alegra que te haya gustado. ✨
Lindo día. 🌻
Quedo genial
Gracias. ✨