BANDOLERO BLANCO TEJIDO.
WHITE WOVEN SHOULDER BAG.
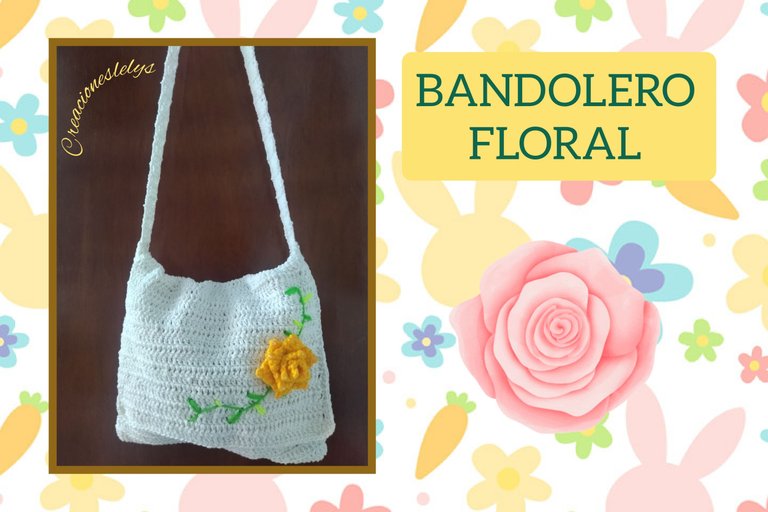
Hola mis queridos y apreciados artesanos, espero que estén todos muy bien el día de hoy. Yo como siempre vengo muy emocionada a compartirles mi más reciente creación en lencería o accesorios de vestir. En esta ocasión voy a presentarles un nuevo modelo de 👜 BOLSO; es un bandolero color blanco que tejí con hilos pabilos del grueso, ese que conocemos como hilo de alpargatas o para amarrar las hallacas. Es un hilo muy bondadoso porque dependiendo de su grosor he podido crear hermosos bolsos de diferentes diseños. Cómo este hilo que conseguí es un poco más grueso que los demás quise aprovecharlo para tejer un bolso más compacto, con el tejido más tupido o cerrado. Me apuré en tejerlo porque aquí en Venezuela son pocos los locales que venden este hilo una vez que han culminado las fiestas navideñas, además es menos común conseguir este hilo blanco 🤍 que el marfil. Así que por aquí les voy a mostrar el paso a paso para elaborar este bello bandolero. Bienvenidos.
Hello my dear and appreciated crafters, I hope you are all very well today. I as always come very excited to share with you my latest creation in lingerie or clothing accessories. This time I am going to present you a new model of 👜 BOLSO; it is a white bandolero that I knitted with thick pabilos yarn, the one we know as espadrille thread or to tie the hallacas. It is a very kind thread because depending on its thickness I have been able to create beautiful bags of different designs. As this yarn I got is a little thicker than the others, I wanted to use it to knit a more compact bag, with a tighter or closed weave. I hurried to knit it because here in Venezuela there are few stores that sell this yarn once the Christmas holidays are over, besides it is less common to get this white yarn 🤍 than the ivory one. So here I am going to show you the step by step to make this beautiful bandolero. Welcome.
Quiero empezar recordándoles que estoy trabajando con hilos pabilos. En los post anteriores les he mostrado las fotos del hilo, pero para este me emocioné mucho y no les tomé fotos nuevas. Sin embargo pueden pasar a mirar este video y conocer más sobre este hilo llamado pabilo. La información viene dada de mi propia fuente y experiencia.
Además del pabilo blanco también usé de otros colores para hacer los apliques de la decoración. Estos son hilos más delgados, más costosos y mejor trabajados, pero siguen siendo pabilos. Usé una aguja de 3,25mm. La aguja lanera. Alfileres. Tijeras.
I want to start by reminding you that I am working with pabilo yarns. In the previous posts I have shown you pictures of the yarn, but for this one I got too excited and didn't take any new pictures. However you can stop by to watch this video and learn more about this yarn called pabilo. The information is given from my own source and experience.
In addition to the white wick I also used other colors to make the applique decorations. These are thinner, more expensive and better worked threads, but they are still wicks. I used a 3.25mm needle. The wool needle. Pins. Scissors.
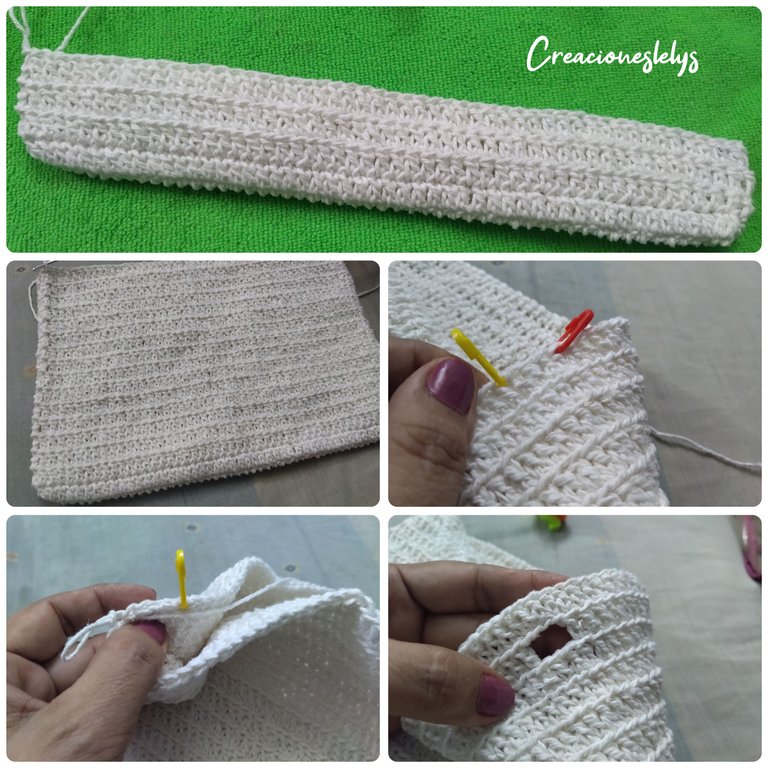
El proceso de elaboración comienza tejiendo una cadena del ancho deseado. Sobre estas cadenas se tejen puntos altos haciendo un aumento triple de puntos altos en cada uno de los extremos de la cadena. Luego se tejen vueltas de puntos altos tomando solo la hebra de atrás. Vamos a tejer el número de vueltas que sean necesarias para alcanzar el alto de nuestro bandolero procurando que mida unos centímetros menos del ancho que tenemos.
Una vez alcanzado la altura aproximada, tenemos que tomar las medidas para fijar los puntos donde vamos a colocar las asas. Medimos y marcamos con los alfileres o marcadores de puntos. En esos puntos, pueden ser cuatro o cinco de cada lado, es decir, a los laterales del bolso no lo vamos a tejer en la próxima vuelta, con la intención de que quede el espacio vacío para pasar el asa. Sobre esos puntos tejeremos cuatro o cinco cadenas.
The weaving process begins by weaving a chain of the desired width. Over these chains we weave a triple increase of high stitches at each end of the chain. Then we weave loops of high stitches taking only the back strand. We are going to knit the number of rows that are necessary to reach the height of our bandolier, making sure that it measures a few centimeters less than the width we have.
Once we have reached the approximate height, we have to take the measurements to fix the stitches where we are going to place the handles. We measure and mark the points with pins or markers. On those stitches, there can be four or five on each side, that is, on the sides of the bag we are not going to knit in the next round, with the intention of leaving an empty space to pass the handle. On those stitches we will knit four or five chains.
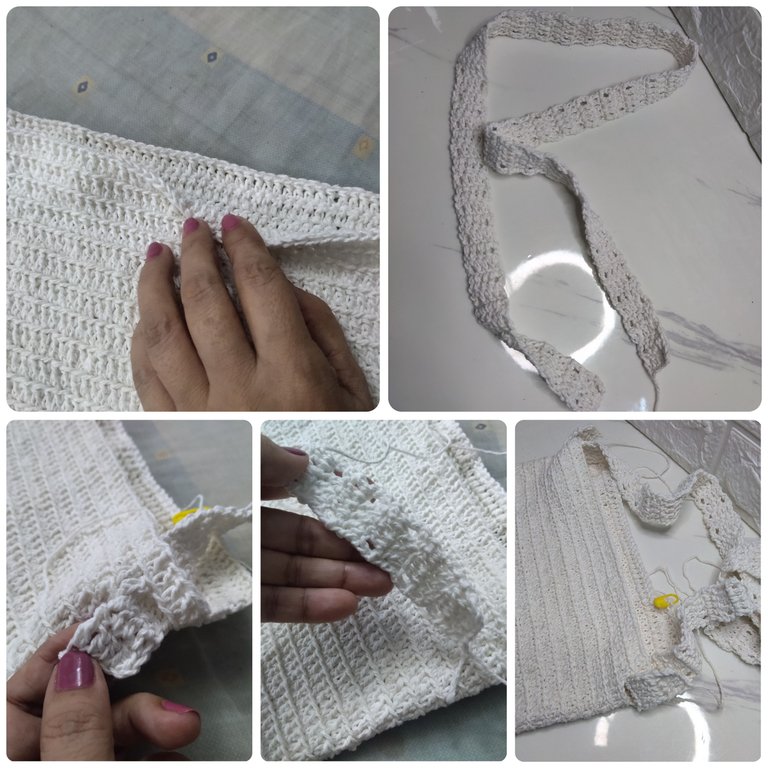
Terminamos el cuerpo del bolso y empezamos a tejer el asa, pero no vamos a cortar el hilo del tejido del bolso porque vamos a continuar tejiendo después.
Para hacer el asa empezamos tejiendo una cadena de seis puntos. Sobre esas cadenas vamos a tejer solamente cinco puntos altos por cada vuelta. Así seguimos hasta tener el largo deseado, pueden ser 100 cm o un poco más, depende de tu tamaño. Estos bandoleros se usan con el asa cruzada por lo que es mejor ir midiendo.
Cada uno de los extremos del asa lo vamos a pasar por el orificio que dejamos en el tejido del bolso. Cuadramos bien sobre los puntos y luego cosemos con el hilo blanco y la aguja lanera. Así debe verse este proceso ⬇️
We finish the body of the bag and start knitting the handle, but we are not going to cut the yarn of the bag fabric because we are going to continue knitting later.
To make the handle we start by knitting a chain of six stitches. On these chains we are going to knit only five double crochet stitches for each row. This way we continue until we have the desired length, it can be 100 cm or a little more, it depends on your size. These bandoliers are used with the handle crossed, so it is better to measure.
Each of the ends of the handle we are going to pass it through the hole that we left in the fabric of the bag. We square the stitches well and then sew with the white thread and the wool needle. This is how this process should look like
⬇️
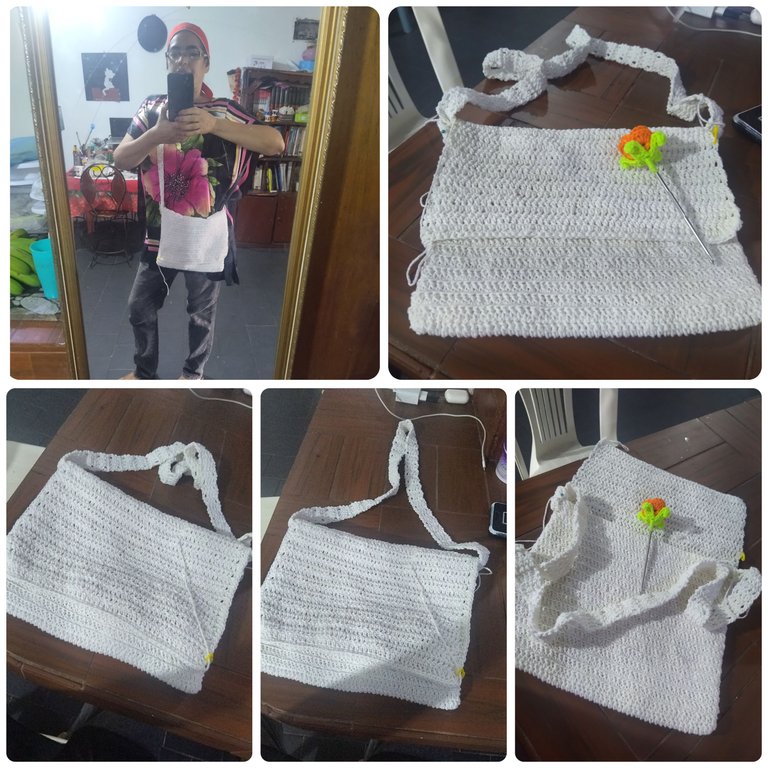
A continuación retomamos el tejido del bolso y ya no vamos a tejer en circular sino girando el tejido, de esta manera iremos formando la tapa o solapa del bolso. Esta tapa tendrá caída natural por peso sobre el bolso y será el seguro de nuestro bolso. Quedará de tu parte si deseas poner un cierre u otro seguro al bolso. La solapa debería llegar al menos una o dos vueltas antes de las que tejimos en el bolso. Echa un ojito a estas imágenes. ⬇️
Ahí estoy yo modelando mi nuevo bolso. La solapa se ve al ras con el bolso. La idea es que cuando tengamos el bolso lleno esta solapa no quede tan alta.
Next we take up again the weaving of the bag and we are not going to weave in circular but turning the fabric, in this way we will be forming the lid or flap of the bag. This flap will fall naturally by weight on the bag and will be the insurance of our bag. It will be up to you if you want to put a zipper or other security to the bag. The flap should come at least one or two loops before the ones we knitted on the bag. Take a look at these pictures. ⬇️
Here I am modeling my new bag. The flap looks flush with the bag. The idea is that when the bag is full this flap will not be so high.
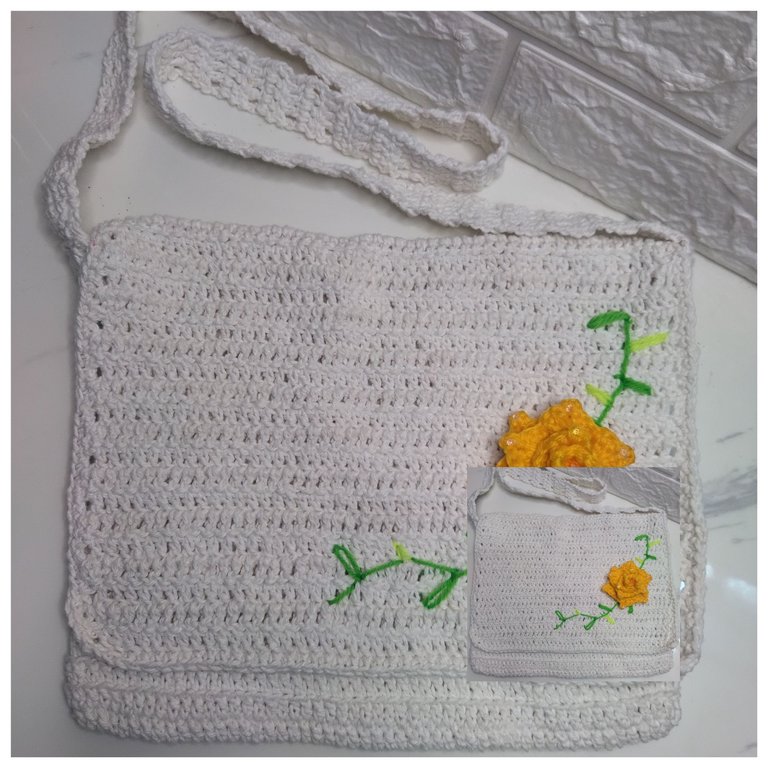
Ahora vamos a decorar el bolso con los apliques de nuestra preferencia. Para este primer modelo yo tejí flores y hojas. Con ayuda de la aguja lanera hice un bordado para simular las ramas. Se las acomodé a mi gusto sobre la solapa y las cosí con aguja lanera e hilo de coser color blanco. Esta parte la dejo a tu creatividad.
Now we are going to decorate the bag with the appliqués of our preference. For this first model I knitted flowers and leaves. With the help of the wool needle I made an embroidery to simulate the branches. I arranged them as I liked on the flap and sewed them with a wool needle and white sewing thread. I leave this part to your creativity.
Espero que les haya agradado esta nueva propuesta de bolsos tejidos a CROCHET. Lo que más me gusta es que hay una gama muy amplia de diseños en nuestra mente que podemos trasladar a la vida real tan solo con hilos y aguja de crochet. Tendremos bolsos únicos y exclusivos para modelar u ofrecer a los clientes. Muchas gracias por el apoyo. Todas las fotos son de mi propiedad. Edité con Polish. Usé el traductor de Deelp. Bendiciones.
I hope you liked this new proposal of CROCHET knitted bags. What I like the most is that there is a wide range of designs in our mind that we can transfer to real life just with threads and crochet needle. We will have unique and exclusive bags to model or offer to customers. Thank you very much for your support. All photos are my property. I edited with Polish. I used Deelp translator. Blessings.
Me encanta el modelo y con esa rosa lo hace muy elegante listo para usar con unos jeans y salir a buscar tesoros... esa sería yo jajaja hermoso bolso Lelys. Bonito día!🤗
Hola. Lindo día amiga.
Si! También me lo imaginé así tipo informal. 😁
Muchas gracias 😌
Muy hermoso trabajo, siempre!😃
🤗🤗🤗
Hermoso, me encanta el detalle de la flor, excelente trabajo 😍
¡Hola! Muchas gracias 😌 me alegra saber que te gustó 🥳
Que hermoso bolso tejido, este es un arte muy lindo y que no todos saben, gracias por mostrarnos el paso a paso
Hola. Bienvenida ☕
Muchas gracias por apreciar esta creación 🙋🏽♀️
WOW! It is so beautiful, charming, and lovely. Love its design and it makes it more attractive. Well done!
Thanks a lot. 🙋🏽♀️🇻🇪😁
La modelo luciendo sus creaciones ajajja, amiga otro hermoso trabajo tejido como siempre compartes, un gusto mirar tus creaciones.
Hola. Buenas noches. Muchas gracias. Me alegra que te guste. A tu orden. 😁
Hola amiga, que lindo bolso, me encanta la rosa el color es hermoso.
Saludos!
Muchas gracias 🫂