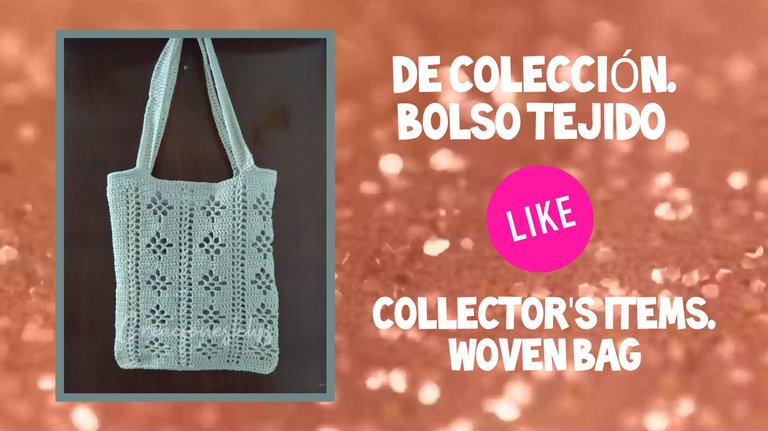
Hola amigos, feliz día para todos. Este 2025 será un año de mucha inspiración para mí, gracias a Dios empezó repleto de creatividad y de mucha imaginación. Como pueden ver hoy les voy a presentar mi nueva creación, se trata de un nuevo diseño de bolso tejido a crochet. Espero que les guste. ¡Bienvenidos!
Hello friends, happy day to all of you. This 2025 will be a year of much inspiration for me, thank God it started full of creativity and lots of imagination. As you can see today I am going to present you my new creation, it is a new crochet bag design, I hope you like it. I hope you like it, welcome!
Este nuevo diseño de bolso lo empecé a tejer con el hilo pabilo color marfil que me quedó luego de tejer el bolso playero. Es un hilo bastante resistente y duradero. Usé la aguja de tejer de 3,25mm porque quiero que las puntadas queden sueltas. El dibujo o la figura que se va formando en todo el diseño es sumamente sencilla, la he visto en mantas y manteles.
La mayoría de los bolsos que estoy tejiendo tienen una medida de 28 cm de ancho por 30 cm de alto aproximadamente. Mi intención es sacar diferentes modelos para tener en exhibición y ofrecer al público. Este bolso se inicia desde la base tejiendo una cadena de puntos del ancho que queramos el bolsito, sobre esa cadena se tejen puntos altos haciendo un aumento de puntos en los extremos. Luego se teje en la siguiente vuelta 13 puntos altos, 2 cadenas, 3 puntos sin trabajar en la base, 1 punto alto-1 cadena-1 punto alto dentro del siguiente punto, de nuevo tres cadenas, contamos 3 puntos sin trabajar y tejemos 13 cadenas. Esto lo vamos a repetir por toda la vuelta.
I started knitting this new bag design with the ivory-colored pabilo yarn that I had left over after knitting the beach bag. It is a very strong and durable yarn. I used the 3.25mm knitting needle because I want the stitches to be loose. The pattern or figure that is forming throughout the design is extremely simple, I've seen it on blankets and tablecloths.
Most of the bags I am knitting are 28 cm wide by 30 cm high approximately. My intention is to make different models to have on display and offer to the public. This bag starts from the base knitting a chain of stitches of the width we want the bag, on that chain we knit high stitches making an increase of stitches at the ends. Then we knit in the next round 13 double crochet stitches, 2 chains, 3 stitches without working in the base, 1 double crochet-1 chain-1 double crochet inside the next stitch, again three chains, we count 3 stitches without working and we knit 13 chains. We will repeat this for the whole round.

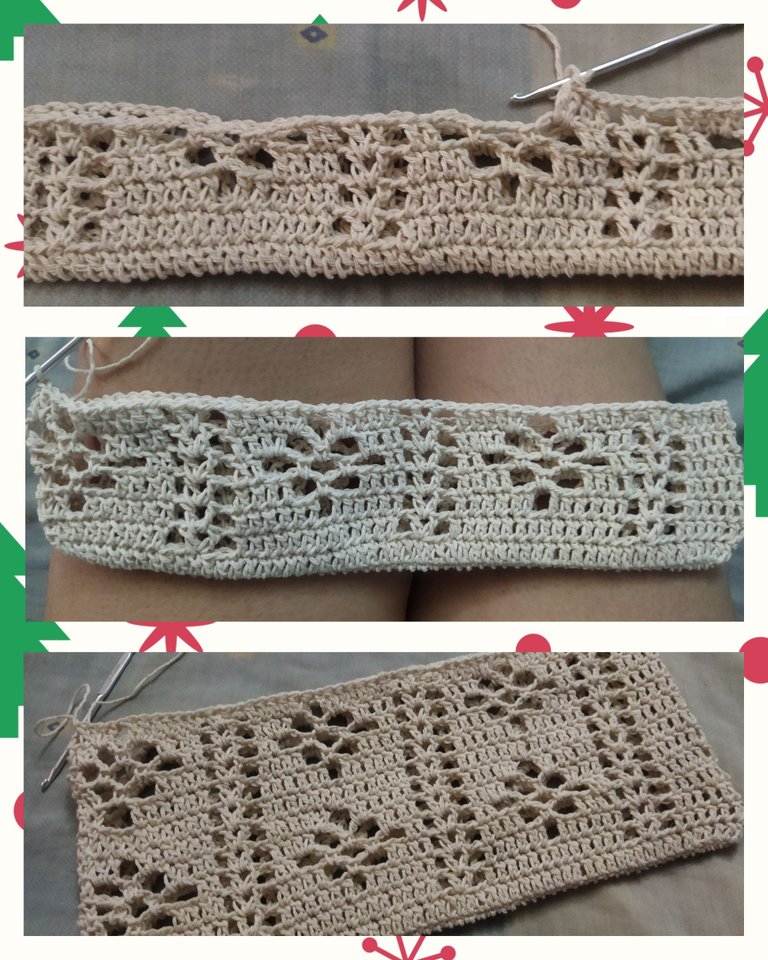
El diseño consta de cinco vueltas. Luego de esa tercera vuelta vamos a tejer la cuarta; tejemos siempre el punto en V, este se va a repetir por todo el tejido. Sobre el diseño que empezamos en la vuelta 3 vamos a tejer 6 puntos altos, 2 cadenas, 6 puntos altos. En la siguiente vuelta tejeremos 3 cadenas, 1pb, 3 cadenas, 1 pb, pasamos a tejer los puntos altos para luego formar el punto en V que se repite. Este patrón lo vamos a tejer por toda la vuelta.
La próxima vuelta volvemos a repetir los puntos altos y la fila del punto en V, sobre el diseño tejeremos 3 cadenas, 1pb-3 cadenas,1pb-3 cadenas y puntos altos. Tejeremos hasta terminar toda la vuelta.
The design consists of five rows. After that third row we are going to knit the fourth row; we always knit the V-stitch, this is going to be repeated throughout the knitting. On the design we started in row 3 we will knit 6 double crochet, 2 chains, 6 double crochet. In the next row we will knit 3 chains, 1pb, 3 chains, 1pb, we will knit the double crochet and then we will form the V-stitch that is repeated. We will knit this pattern for the whole round.
The next row we repeat the double crochet and the row of the V-stitch, over the design we will knit 3 chains, 1pb-3 chains, 1pb-3 chains and double crochet. We will knit until we finish the whole row.

Todos los puntos que elegí para tejer los bolsos se llaman puntos calados porque el tejido se ve abierto, es decir, los puntos dejan ver muchos huequitos a pesar de que se pueden diseñar figuras en él. Se puede tejer cualquier diseño tan solo viendo el resultado final del proyecto. Si se fijan bien en las imágenes se ve perfectamente el diseño de la puntada. Bastante fácil. Me gustan porque se teje rápido, incluso si estás conversando con algún miembro de tu familia mientras tejes.
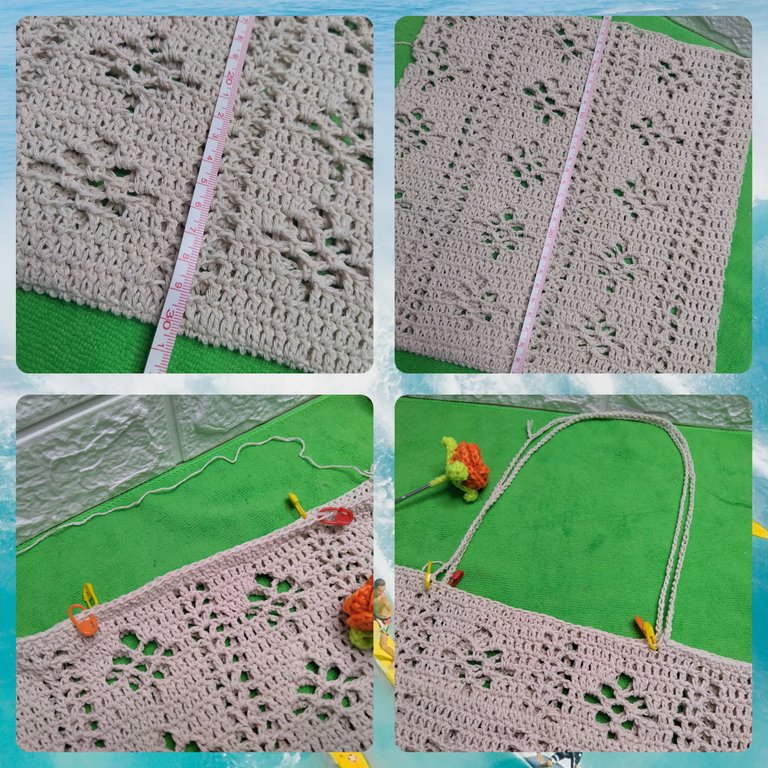
Las dos vueltas siguientes que debemos tejer para formar el diseño final son las mismas primeras dos, vamos a tejer en forma de espejo; primero las que forman dos arcos y luego la que solo separa en dos grupos de dos los 13 puntos altos. Vamos a tejer todas las vueltas que sean necesarias para alcanzar el alto o largo del bolso, siempre terminando el diseño. Después se empieza a tejer la pretina, solo se tejen pb. Se marca con los alfileres el punto desde donde iniciarán las asas hasta donde terminarán. Desde ese punto donde inicia se teje una cadena de 100 puntos, se hace un pb en dónde terminará el asa y seguimos tejiendo pb hasta llegar al otro lado donde irá la otra asa.
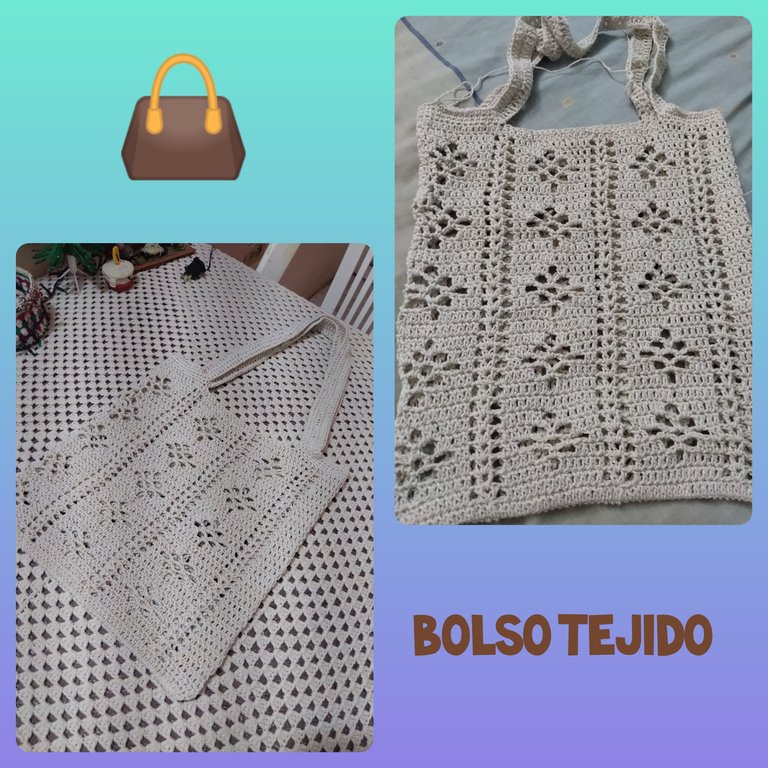
Sobre la asa tejemos solamente puntos altos y en la pretina solamente puntos bajos. Esta asa la tejí con tres vueltas de puntos altos para que quede más ancha. Todo el bolsito se ve muy lindo. Es un diseño que saqué rápido, el próximo voy a mejorarlo. ¿Qué les pareció? ¿Usarían uno así?
All the stitches I chose to knit the bags are called openwork stitches because the fabric looks open, that is, the stitches show a lot of holes even though you can design figures in it. You can knit any design just by looking at the final result of the project. If you look closely at the pictures you can see the stitch design perfectly. Pretty easy. I like them because they are quick to knit, even if you are chatting with a family member while knitting.
The next two rows that we must knit to form the final design are the same first two, we are going to knit in mirror form; first the ones that form two arches and then the one that only separates in two groups of two the 13 high stitches. We are going to knit as many rounds as necessary to reach the height or length of the bag, always finishing the design. Then we start to knit the waistband, only knit bp. Mark with the pins the point from where the handles will start to where they will end. From that point where it starts, we knit a chain of 100 stitches, we make a stitch where the handle will end and we continue knitting stitches until we reach the other side where the other handle will go.
On the handle we only knit high stitches and on the waistband we only knit low stitches. I knitted this handle with three rounds of double crochet to make it wider. The whole bag looks very nice. It's a design I made quickly, the next one I'm going to improve it. What do you think? Would you use one like this?

Continúo tejiendo y sacando otros modelos de bolsos para mostrarles. Muchísimas gracias por el apoyo. Todas las fotos son de mi propiedad. Edité con Polish. Usé el traductor de Deelp. Hasta pronto.
I continue to knit and bring out other models of bags to show you. Thank you very much for your support. All photos are my property. I edited with Polish. I used Deelp translator. See you soon.
Lovely bag. It looks like a tote bag. Thank you for sharing.
Gracias
Gracias por valorar mi contenido. Su apoyo es realmente importante para mi. \ Thank you for appreciating my content. Your support is really important to me. 🙋🏽♀️
Saludos que hermosos bolsos, Bendiciones sigue adelante
Muchas gracias 🫂
Muy lindo y coqueto el diseño, se ve hasta agradable para usarlo con el calor jeje te quedo muy elegante 😘
Gracias!!! Si, muy veraniego 😊
Your bag is very beautiful.
Thank you so much 🙋🏽♀️
You're welcome
Hermosooooooo! Este proyecto está súper fashionista! Para usarlo como tote bag o bolsita para compras y estar a la moda , Feliz año por cierto ! 😊💜✨
Hola. ¡Feliz año!
Gracias amiga. Me da gusto saber que te agradó esta creación. Ando sacando otros modelos. 😉
Wow, eso quedó hermoso, amiga. Me encantó el acabado y la combinación de los patrones separados con las hileras verticales. Gracias por compartir. Saludos.
Hola. MUCHAS gracias 🫂
☺️🫂
Un bolso más bonito que otro, una gran colección estás armando, seguro los vendes!!! Me encantan!😃
Dios te oiga!!! 🙏🏽
Hola amiga. Si, ando sacando varios diseños. Mientras consiga de ese tipo de hilo estaré ensayando y haciendo muestras. 😉
De corazón espero los vendas y muy bien!
Cool
Thank you 🙋🏽♀️