

Greetings, friends of the community!
After some time off, I am back to being active again and bringing you more of my repair tutorials. This time, I will be showing you how to repair a SACO rechargeable fan. These fans are very common in my country, since on summer nights the heat becomes unbearable when there is no electricity.
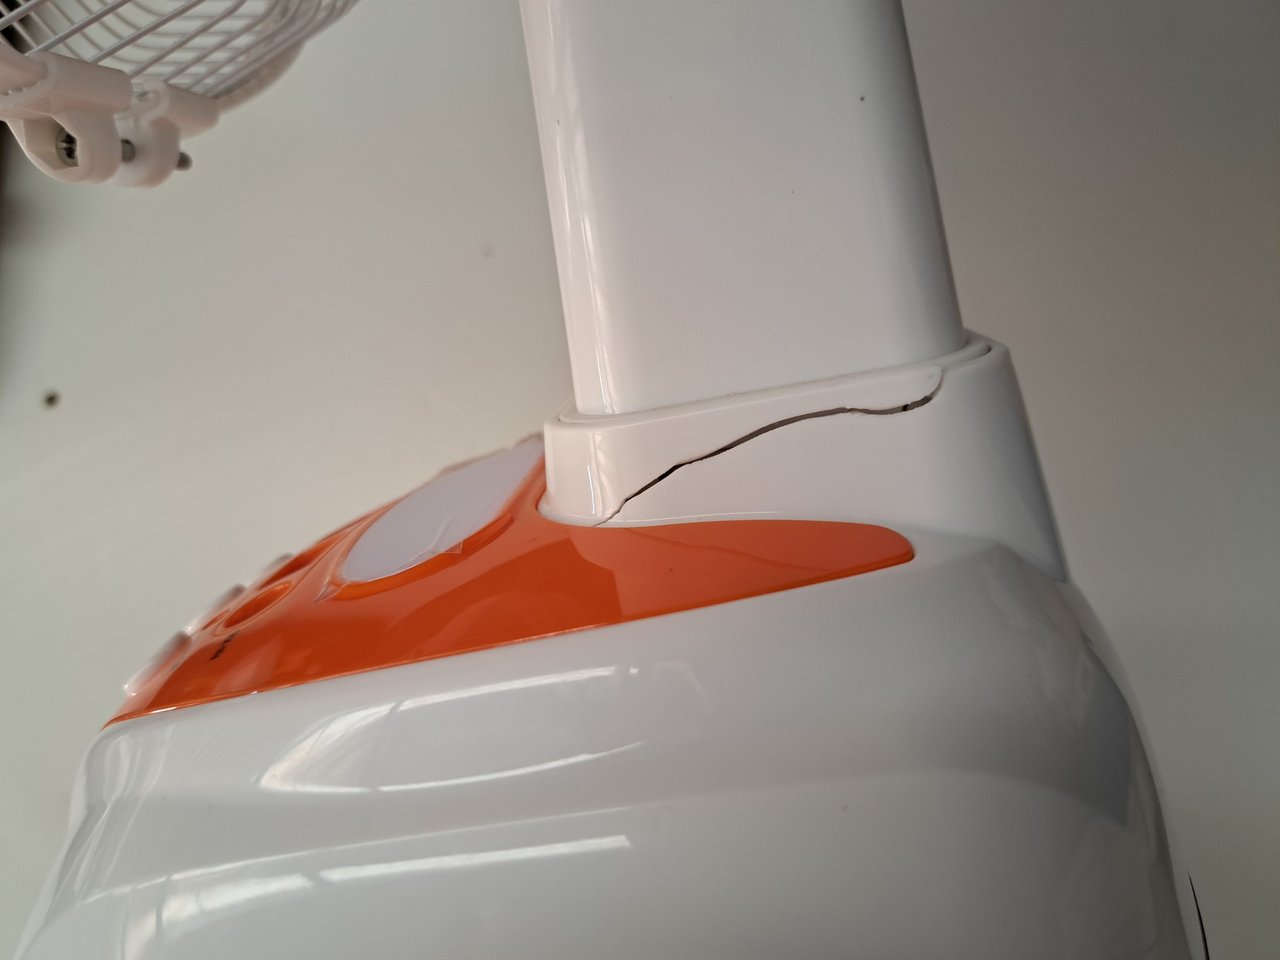
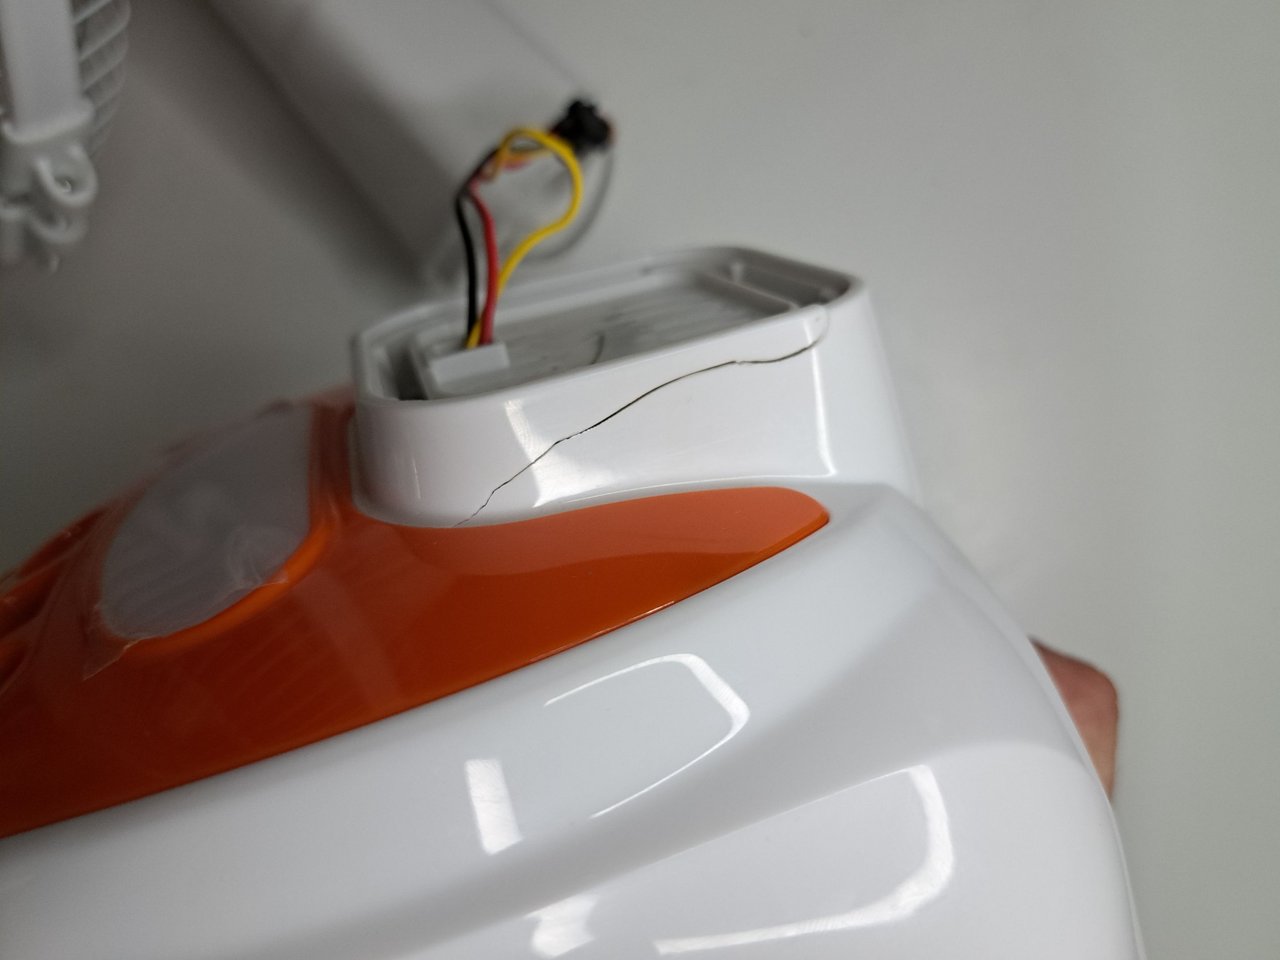
The fan arrived to my hands with a fracture in the system of union of the upper part with the base and a problem with the ignition switch. The power switch apparently works fine, but after some time of use the fan shuts off and needs to be pressed again to get it to start again. These symptoms can be either a problem with the switch, a problem with the battery or even a false contact in one of the wires. If you want to know what problem I had and how I solved it, I invite you to join me in the following tutorial.
¡Saludos, amigos de la comunidad!
Tras un tiempo de descanso, vuelvo a estar activo nuevamente y trayéndoles más de mis tutoriales de reparación. En esta ocasión, les estaré mostrando cómo reparar un ventilador recargable de la marca SACO. Estos ventiladores son muy comunes en mi país, ya que las noches veraniegas el calor se hace insoportable cuando no hay fluido eléctrico.
El ventilador llegó a mis manos con una fractura en el sistema de unión de la parte superior con la base y un problema con el interruptor de encendido. El interruptor de encendido aparentemente funciona bien, pero tras un tiempo de uso se apaga el ventilador y es necesario volver a presionarlo para que comience a andar nuevamente. Estos síntomas pueden ser tanto un problema con el interruptor, un problema con la batería o incluso algún falso contacto en alguno de los cables. Si quieren saber qué problema tenía y cómo lo solucioné, los invito a acompañarme en el siguiente tutorial.
📋 Objectives // Objetivos 📋
Based on the irregular operation of the fan, my work objectives would be:
- Check the power button
- Check the battery and its connections
- Repair the fracture at the base of the neck joint
En base al funcionamiento irregular del ventilador mis objetivos de trabajo serian:
- Chequear el botón de encendido
- Revisar la batería y sus conexiones
- Reparar la fractura en la base de la unión del cuello

🛠 Tools // Herramientas 🛠
| ✔️ Set of screwdrivers | ✔️ Set de desarmadores |
| ✔️ Soldering iron and flux-cored solder | ✔️ Soldador y estaño con fundente |
| ✔️ Cutting pliers | ✔️ Pinzas de corte |
| ✔️ Pegamento acrílico (Super Glue) | ✔️ Acrylic glue (Super Glue) |
| ✔️ Voltmeter | ✔️ Voltímetro |


Hands on // Manos a la obra
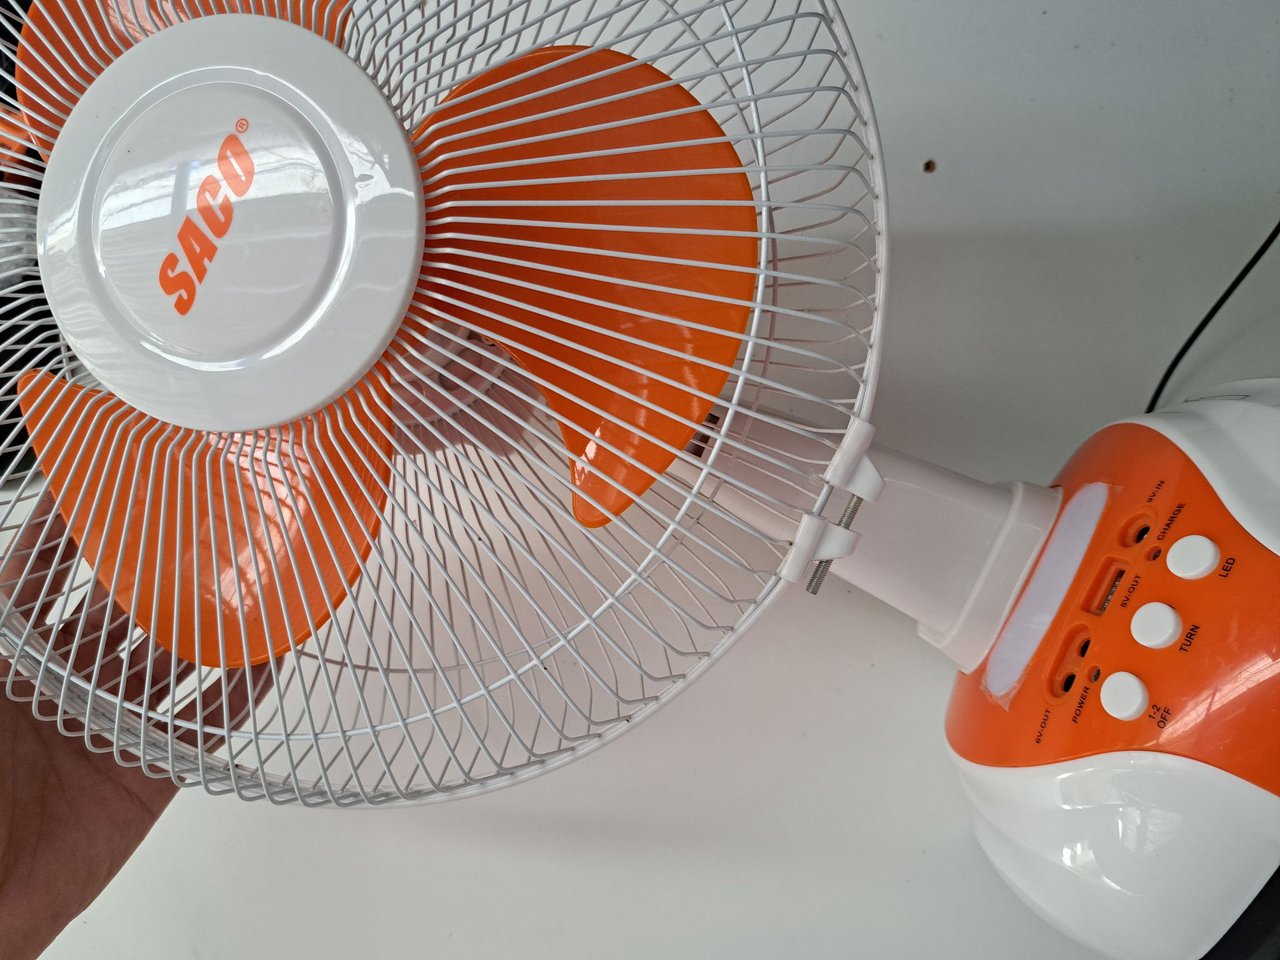
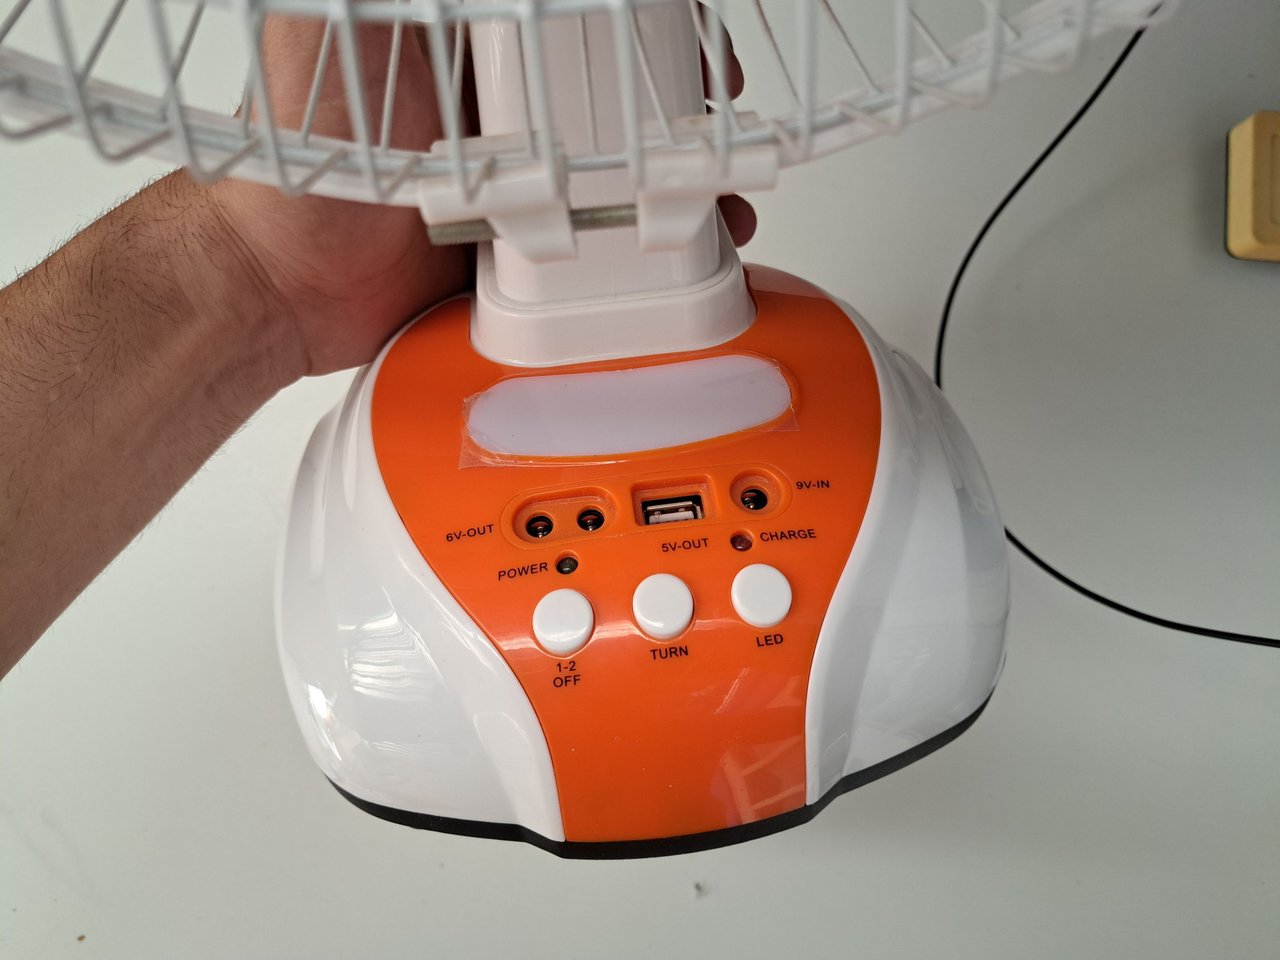
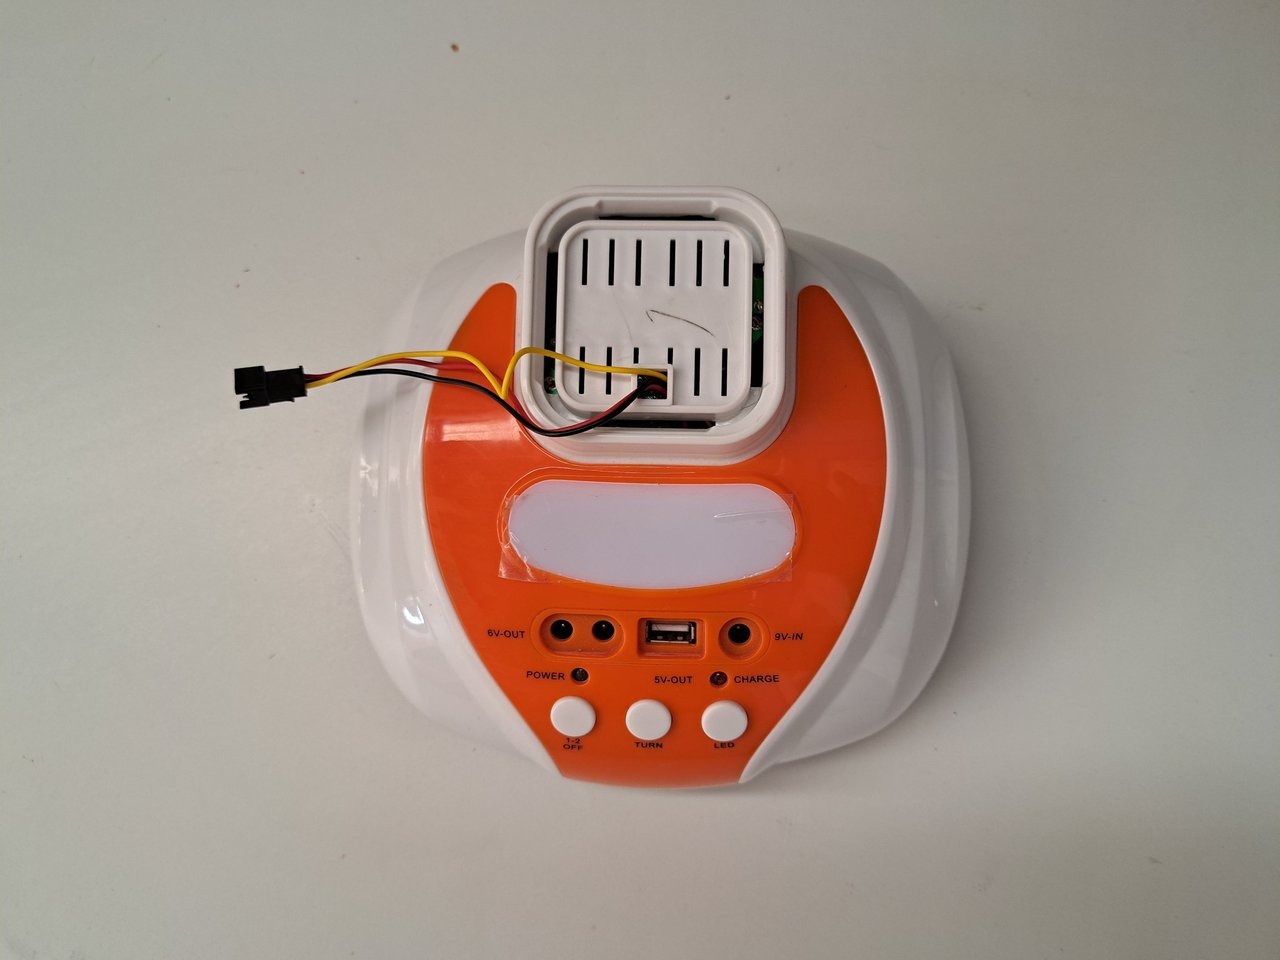
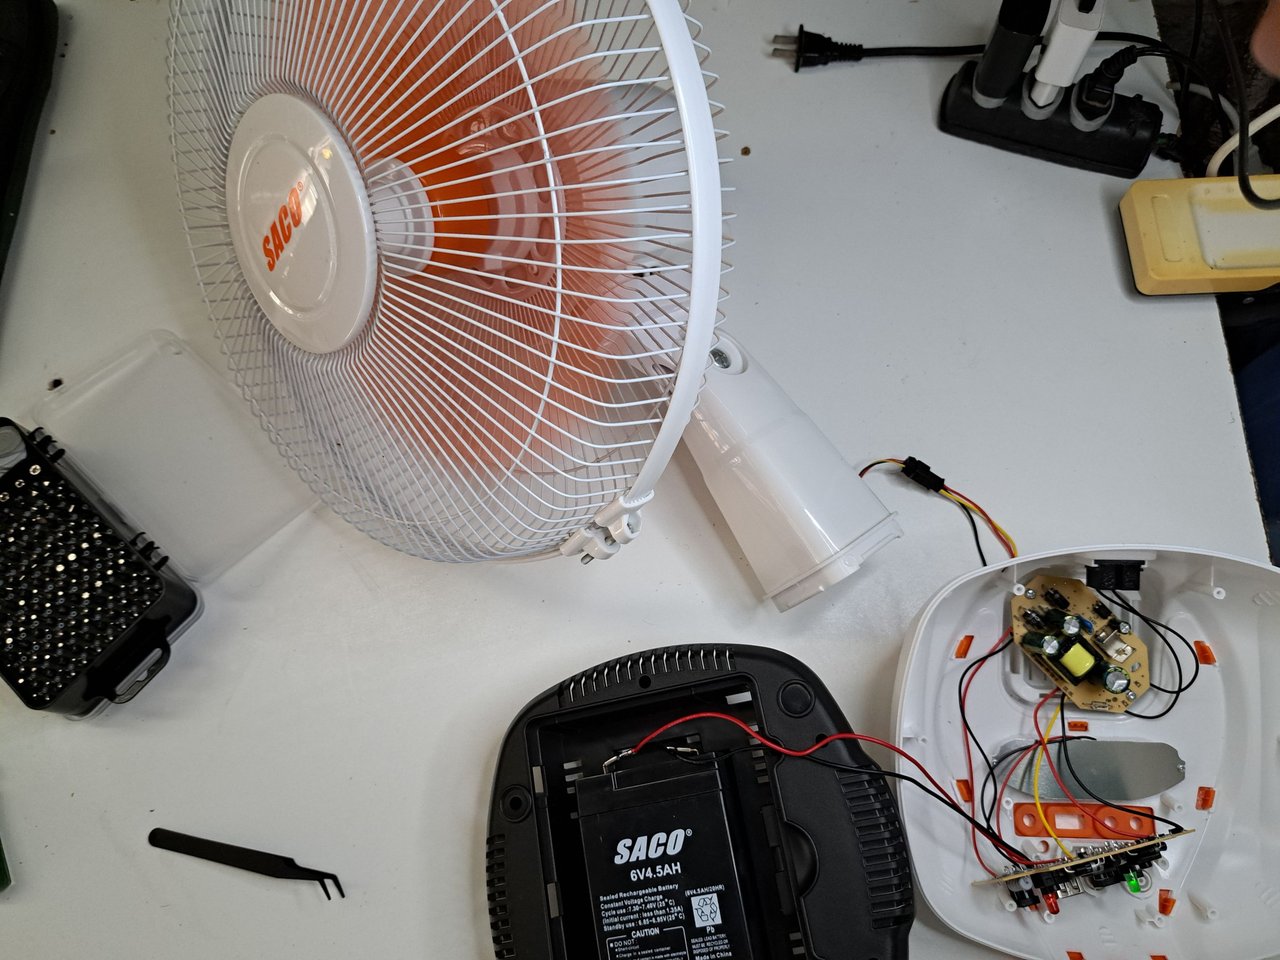
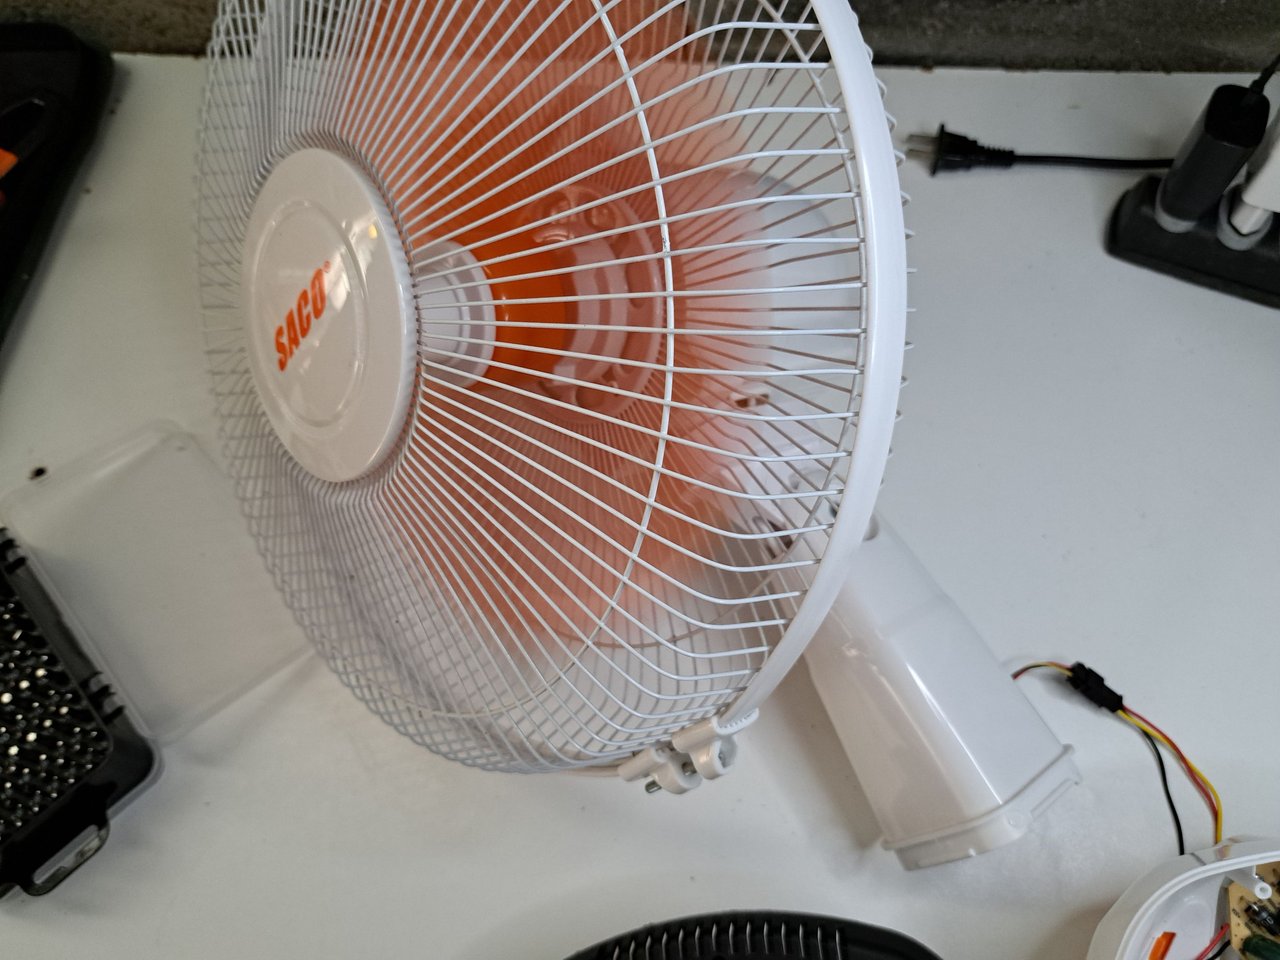
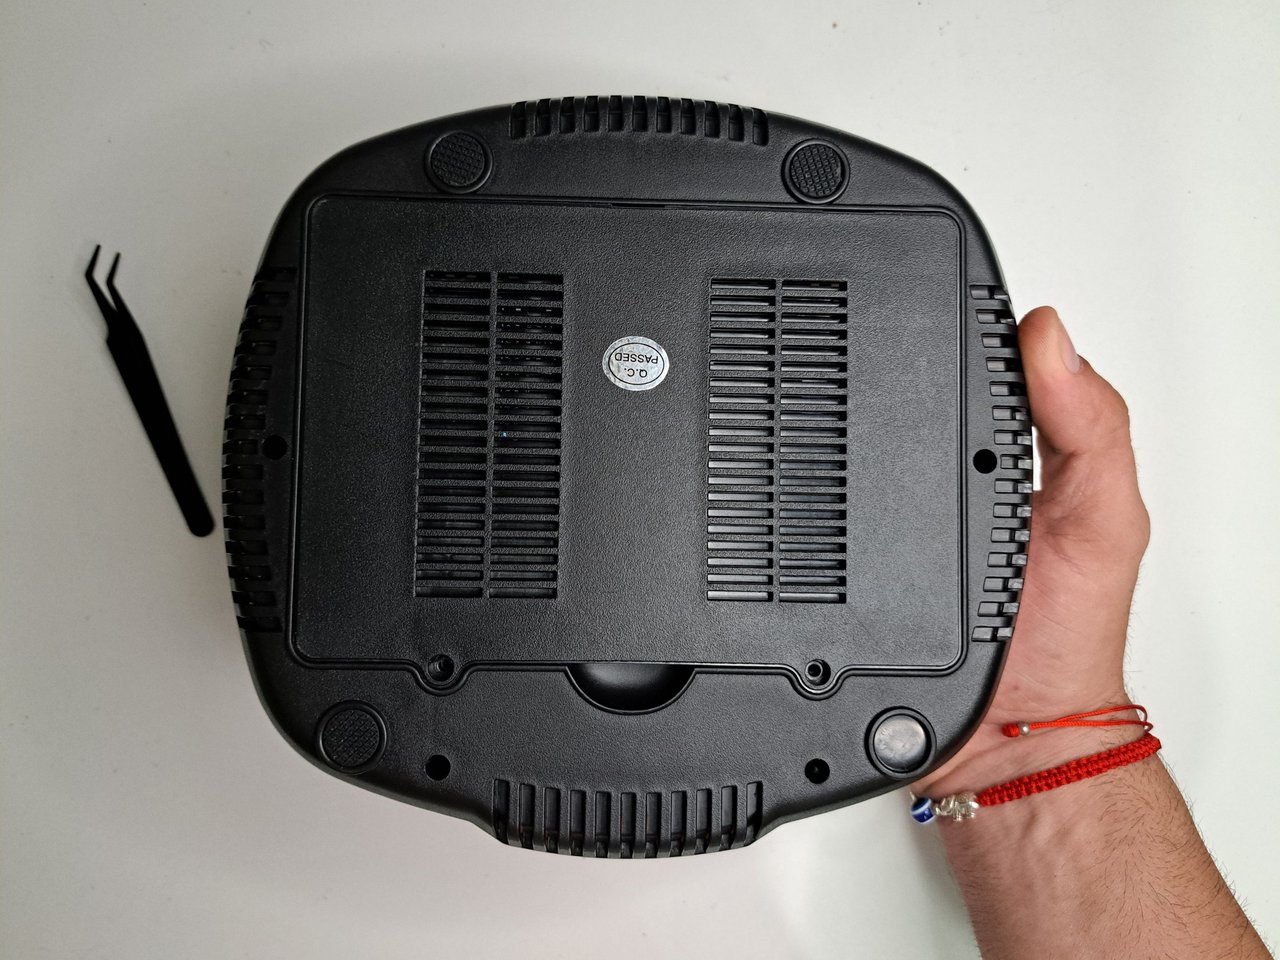
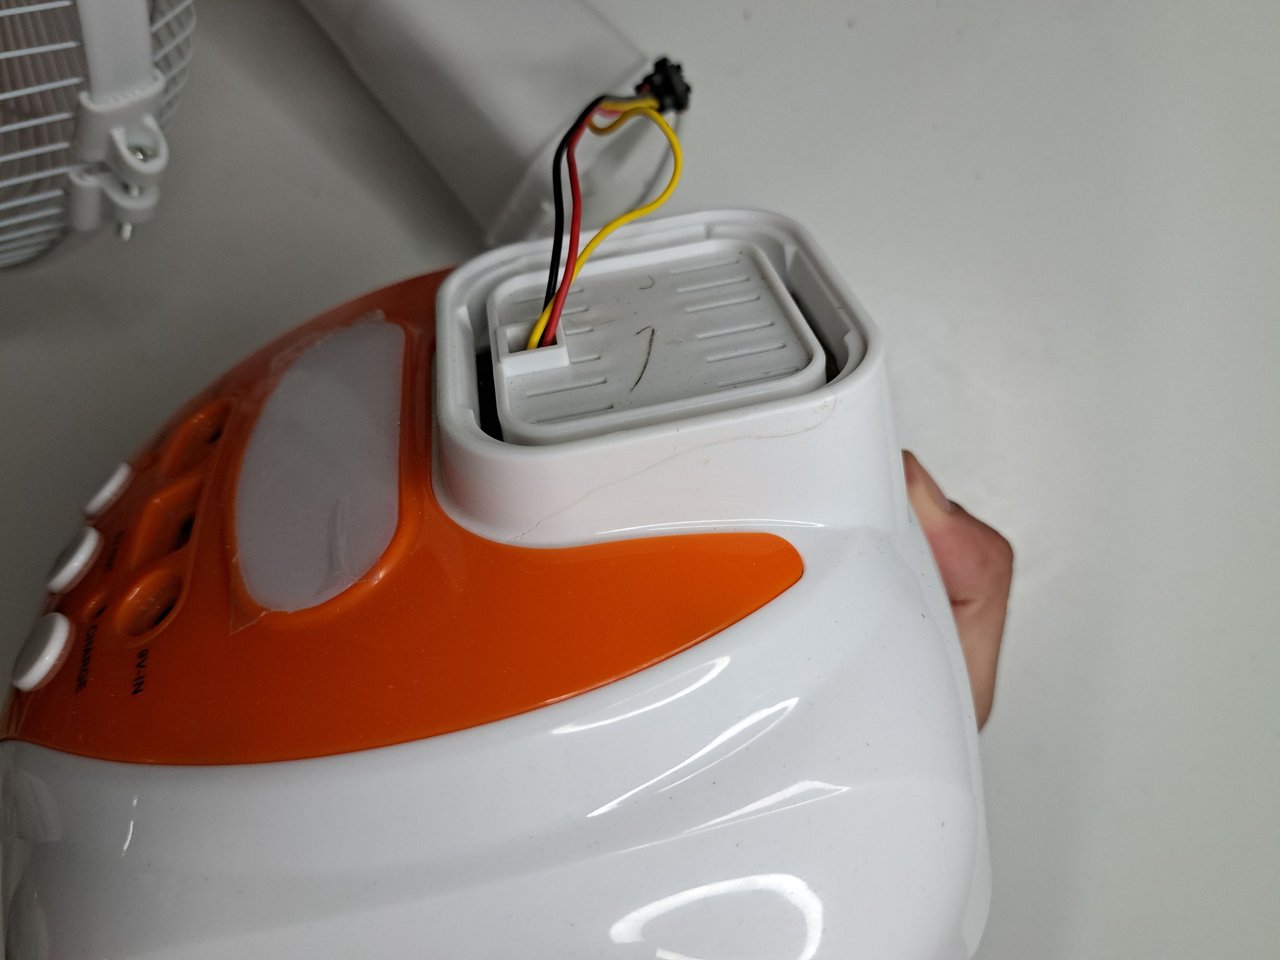
The first thing I did was to separate the upper end containing the motor and blades from the lower end where the circuitry and battery are. This must be done very carefully so as not to damage the fan neck attachment mechanism. In my case, the precaution was extra as the plastic was fractured.
Lo primero que hice fue separar el extremo superior que contiene el motor y las aspas del extremo inferior en el cual están los circuitos y la batería. Esto debe hacerse con mucho cuidado para no dañar el mecanismo de unión del cuello del ventilador. En mi caso, la precaución fue extra ya que el plástico estaba fracturado.
 |  |
 | 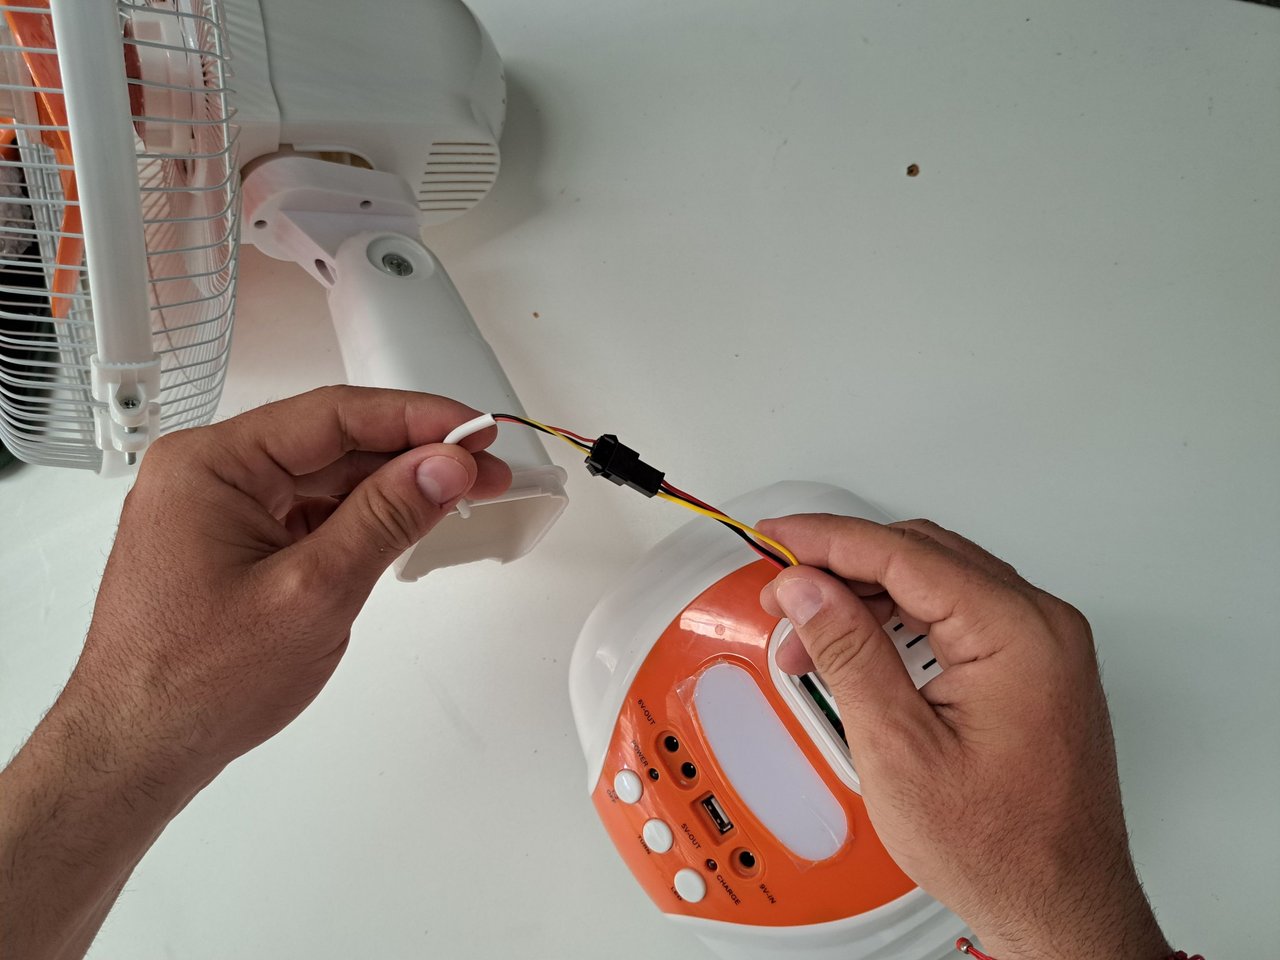 |  |
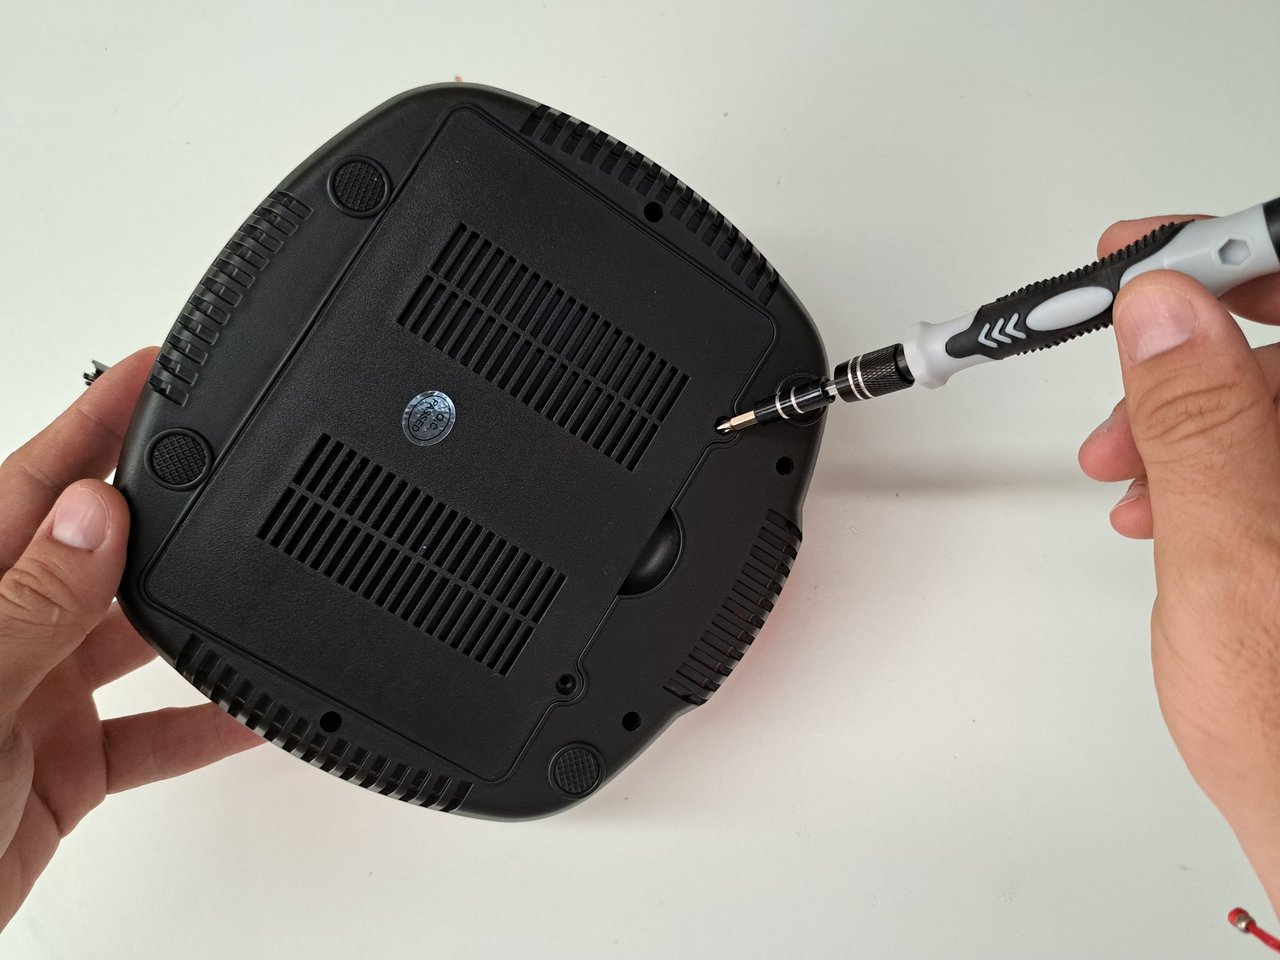
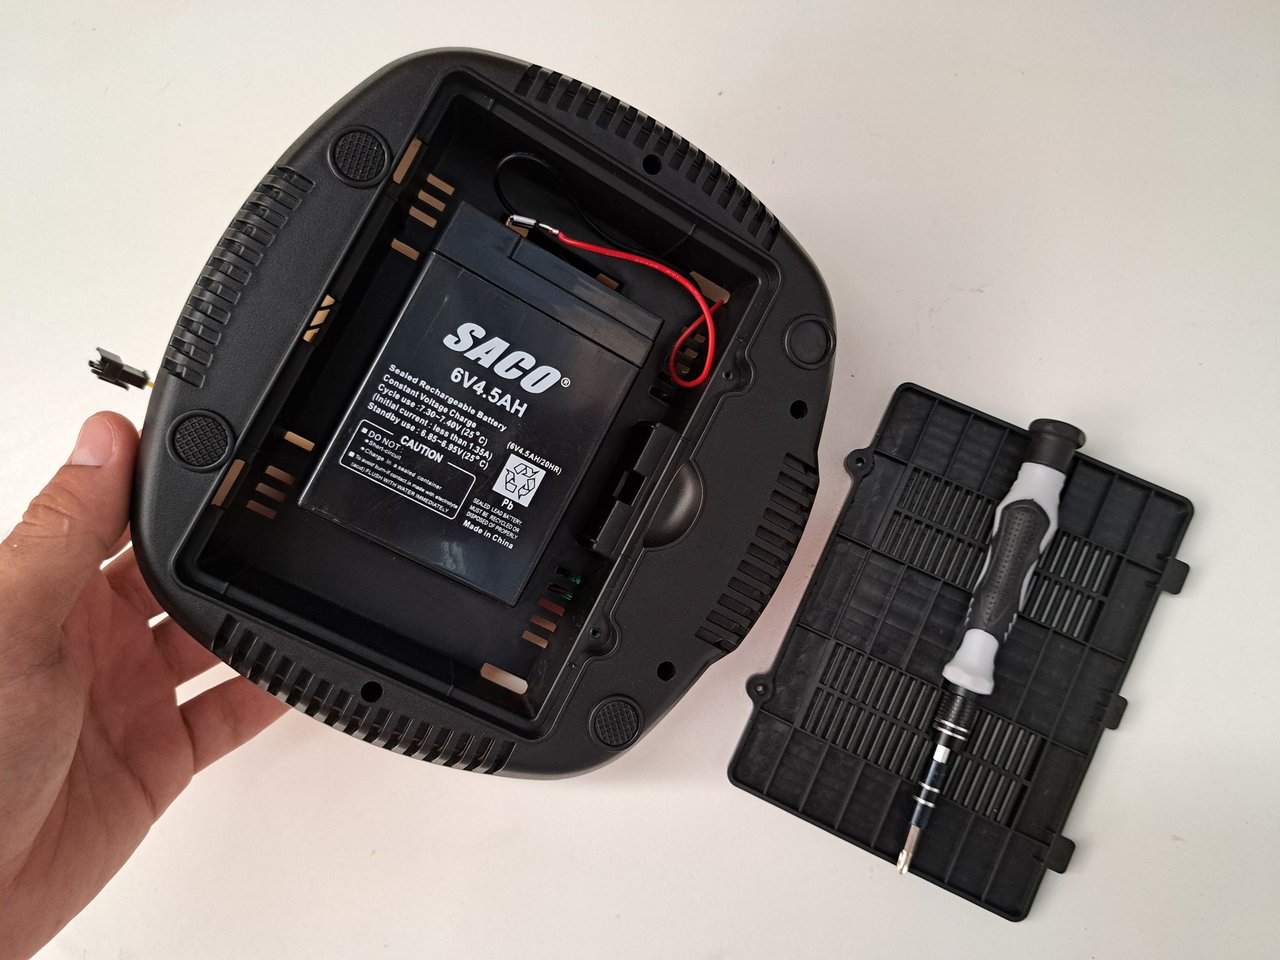
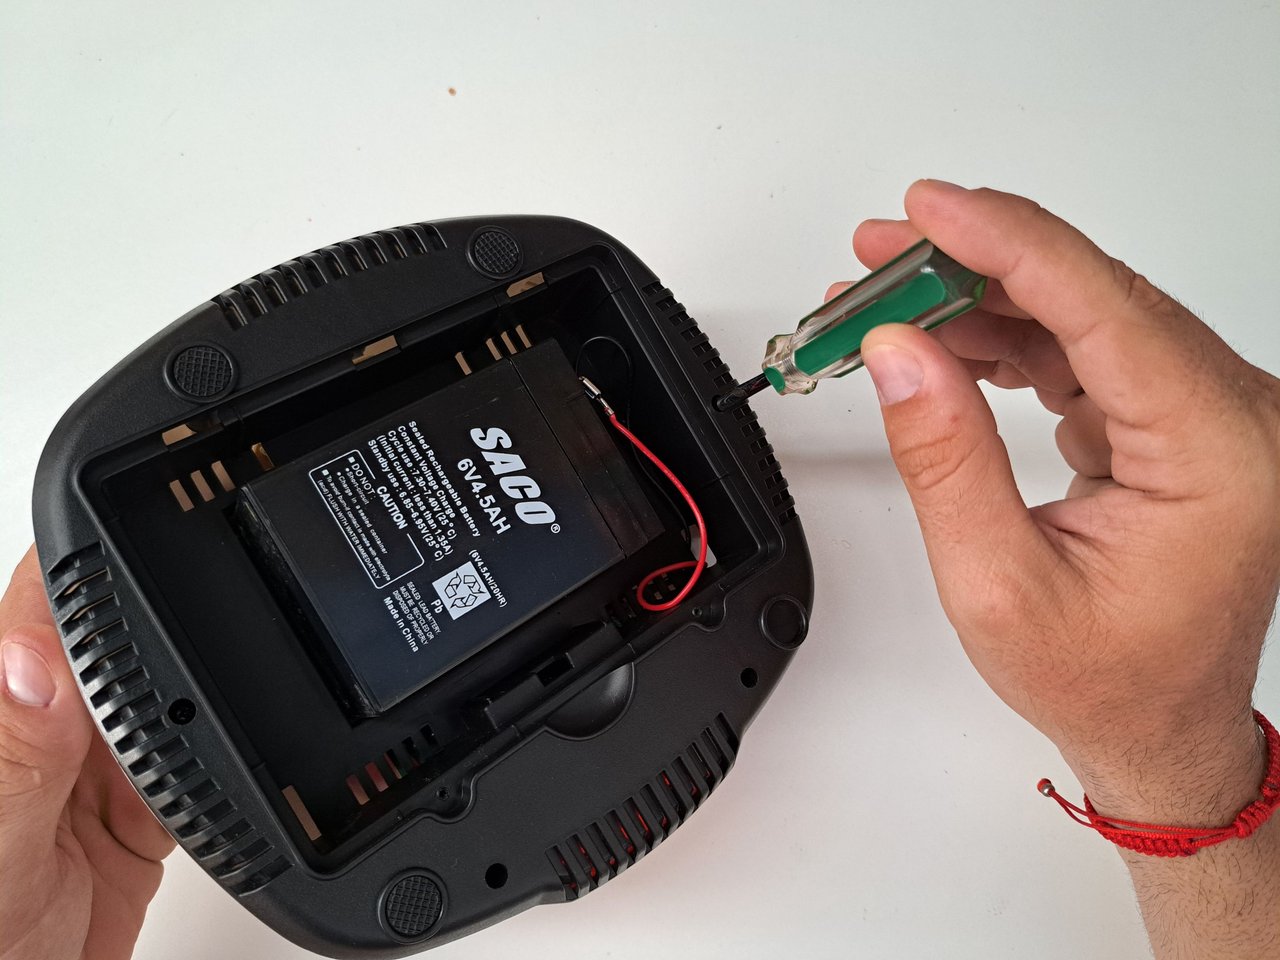
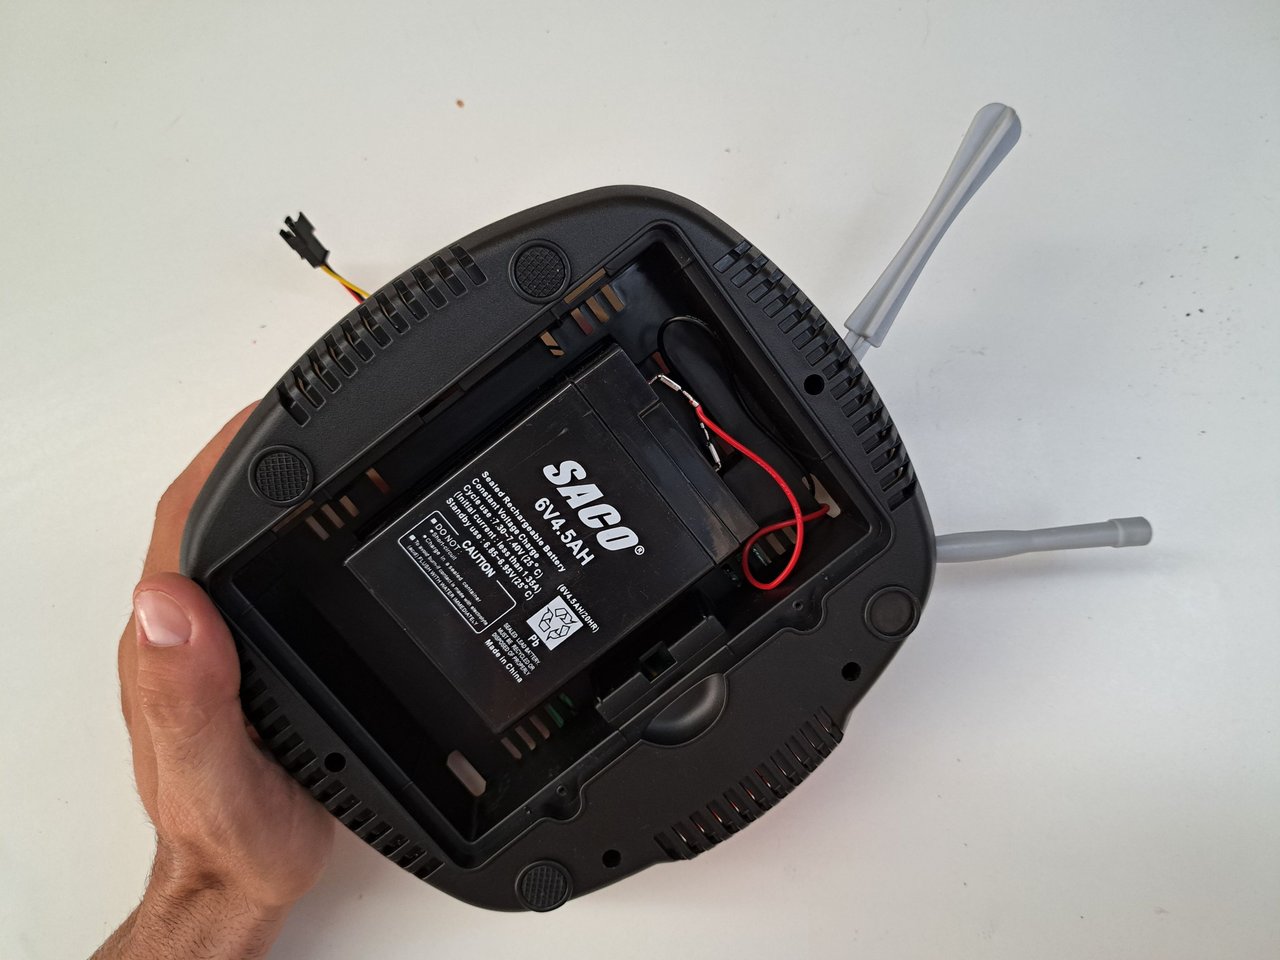
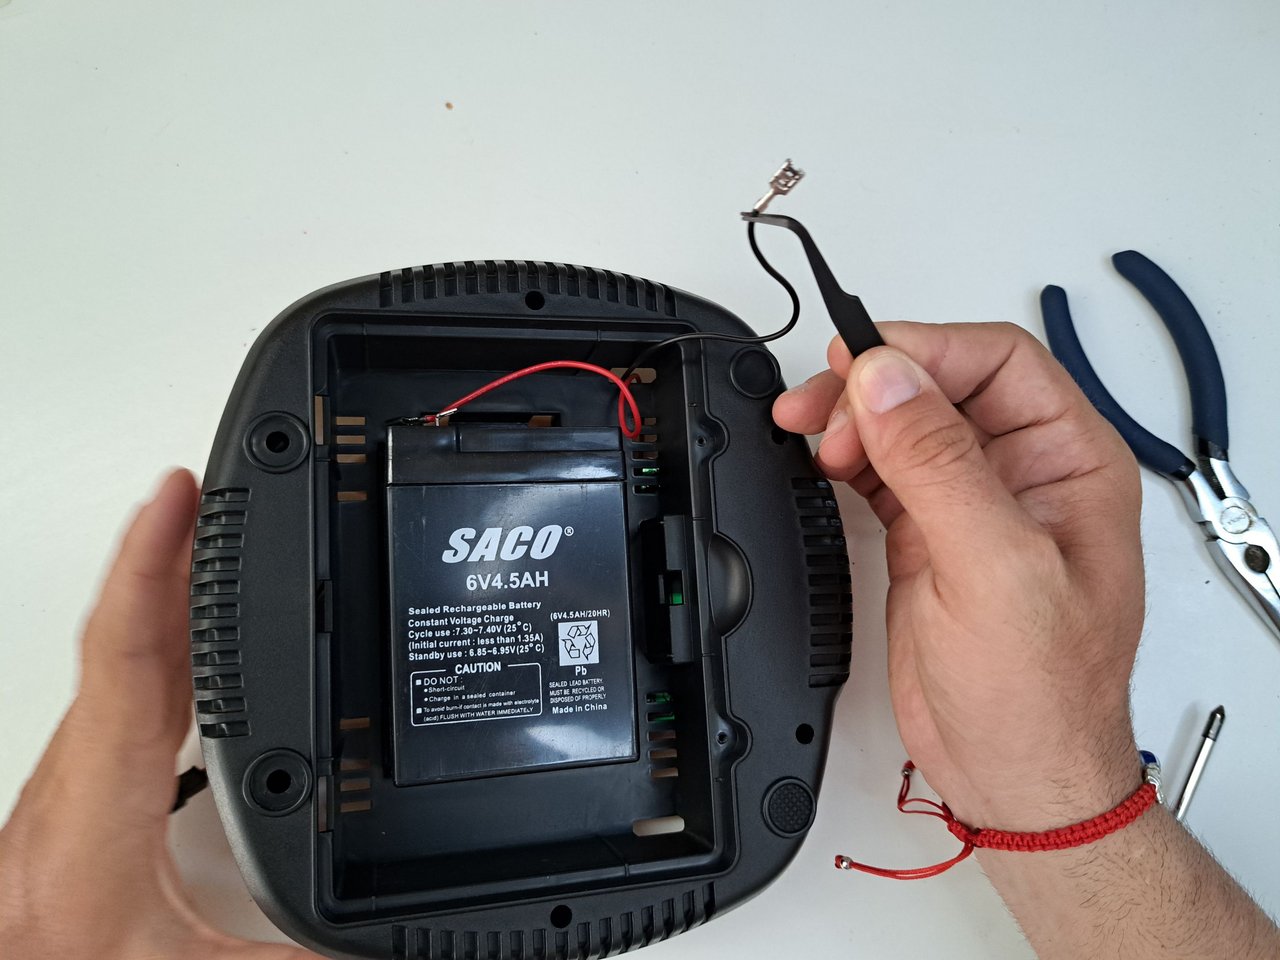
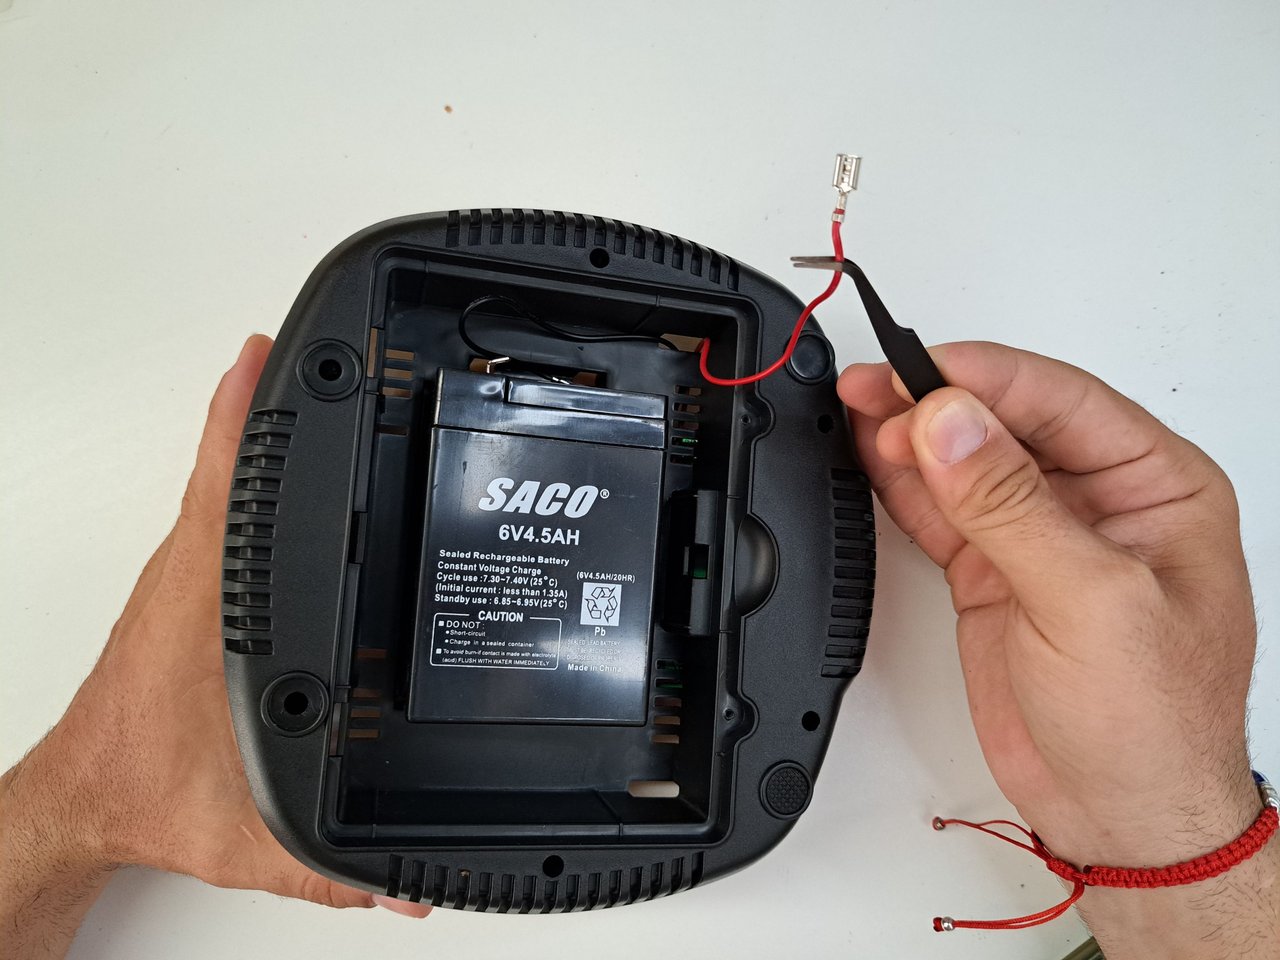
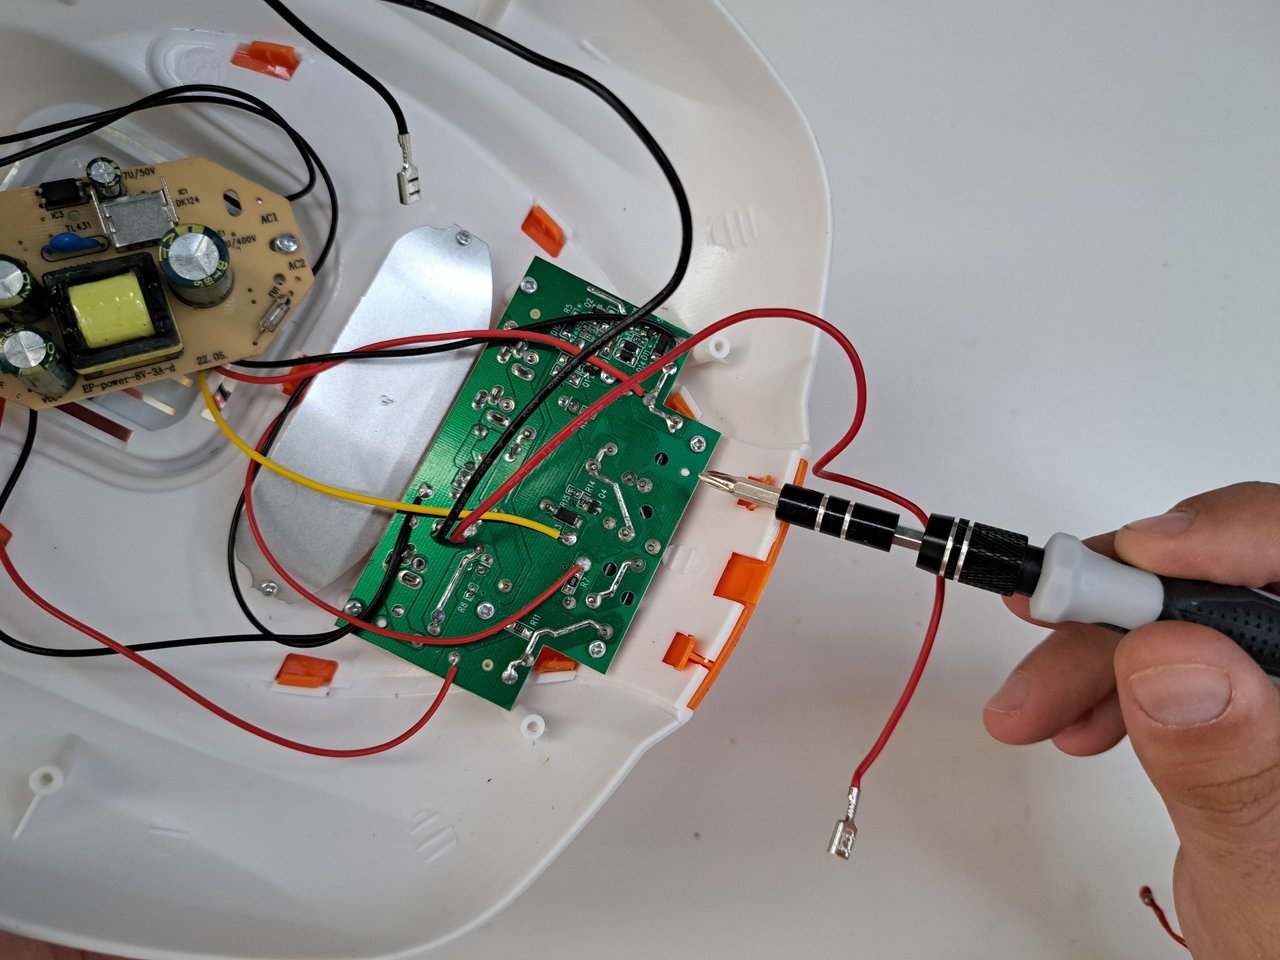
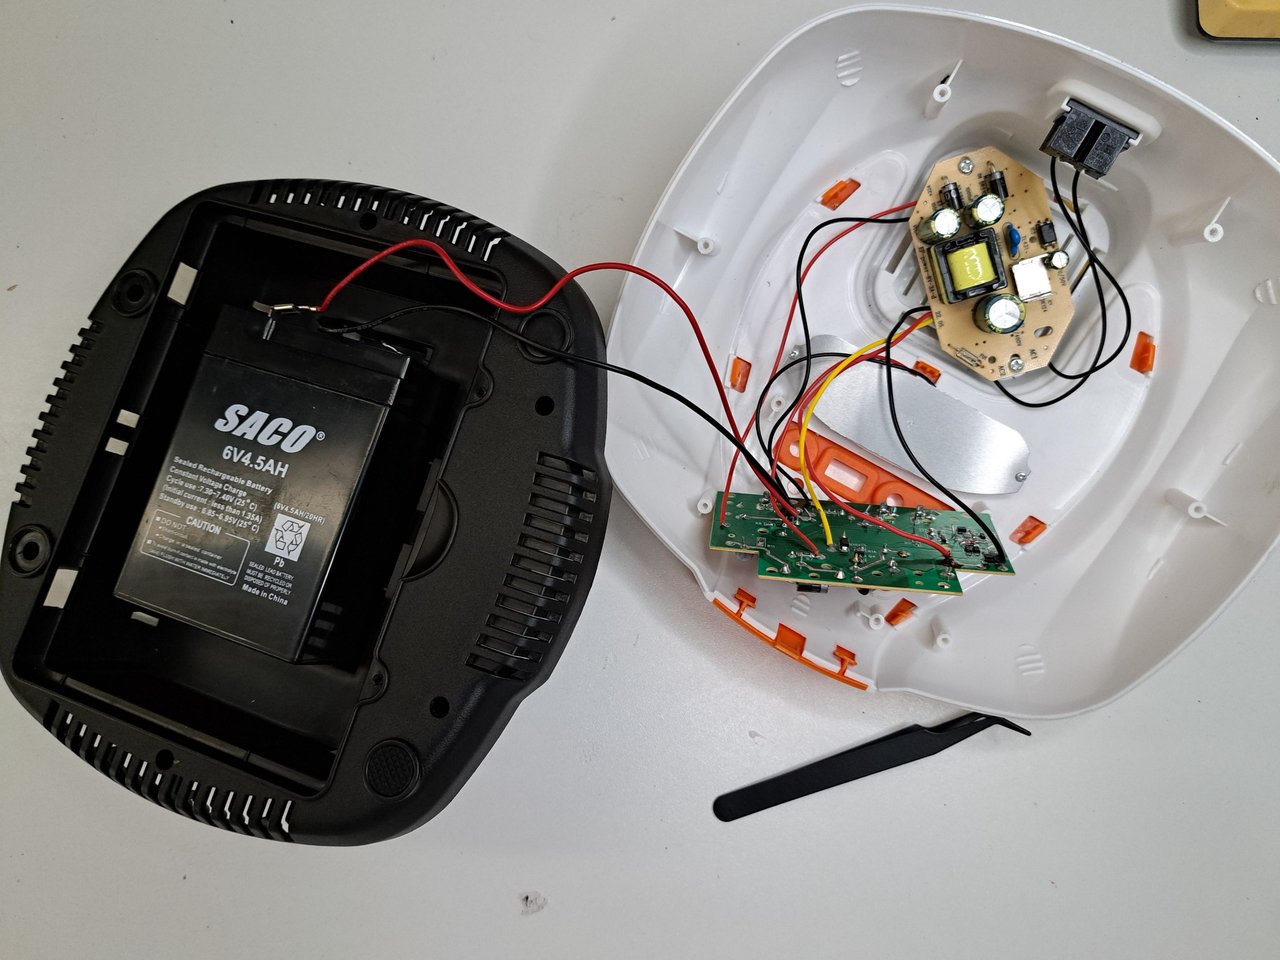
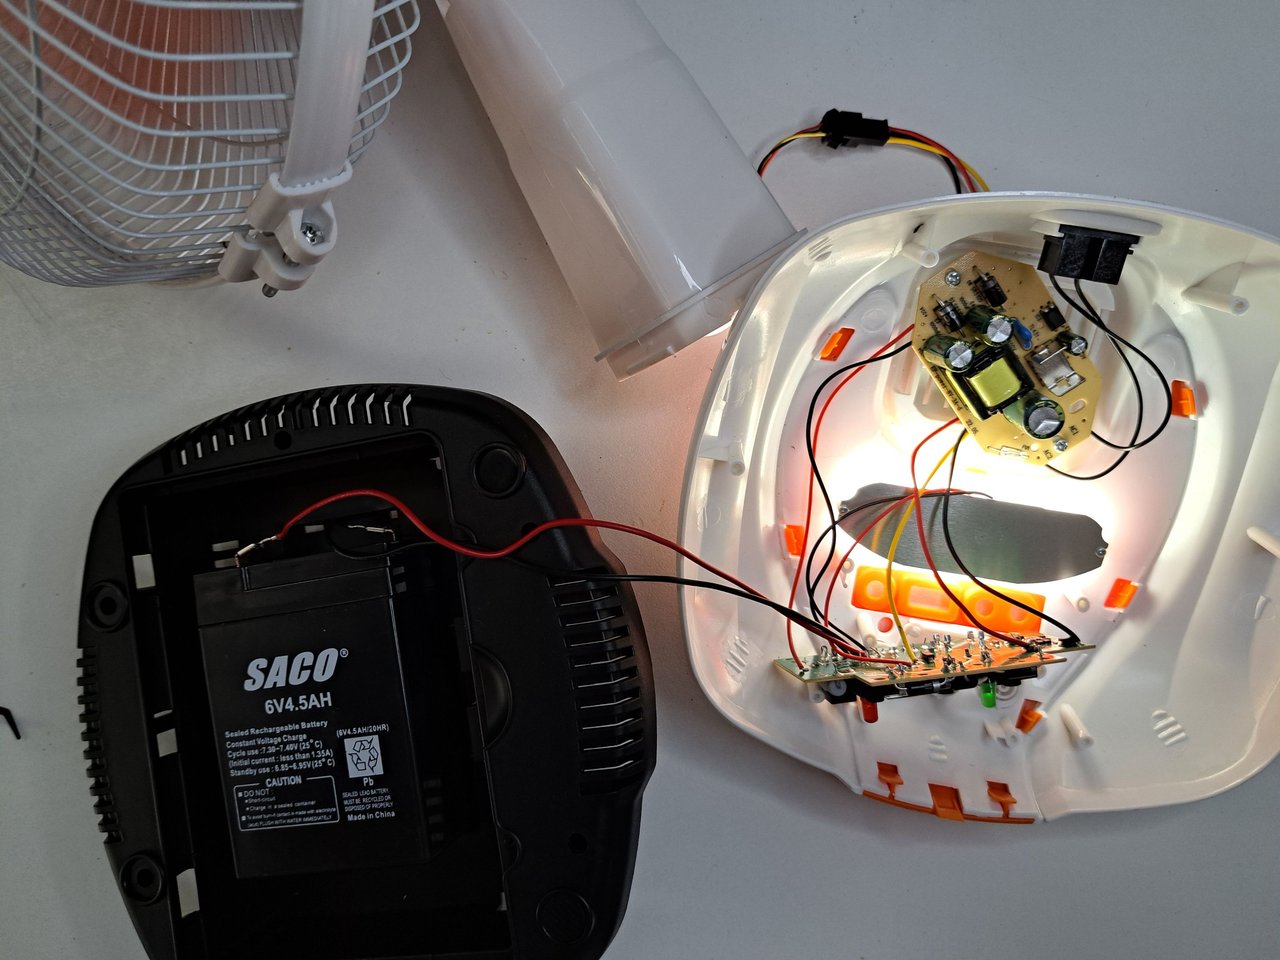
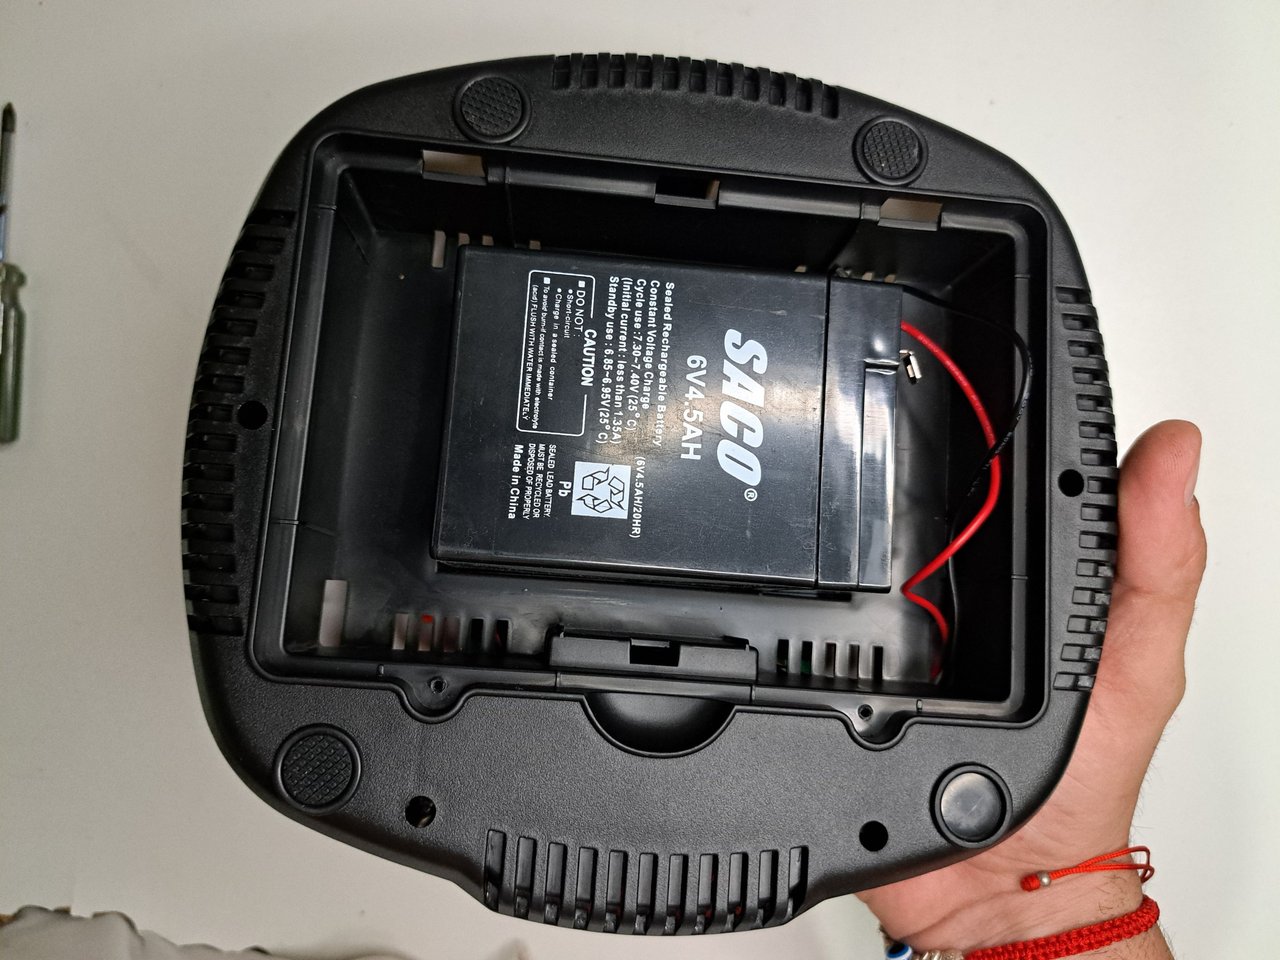
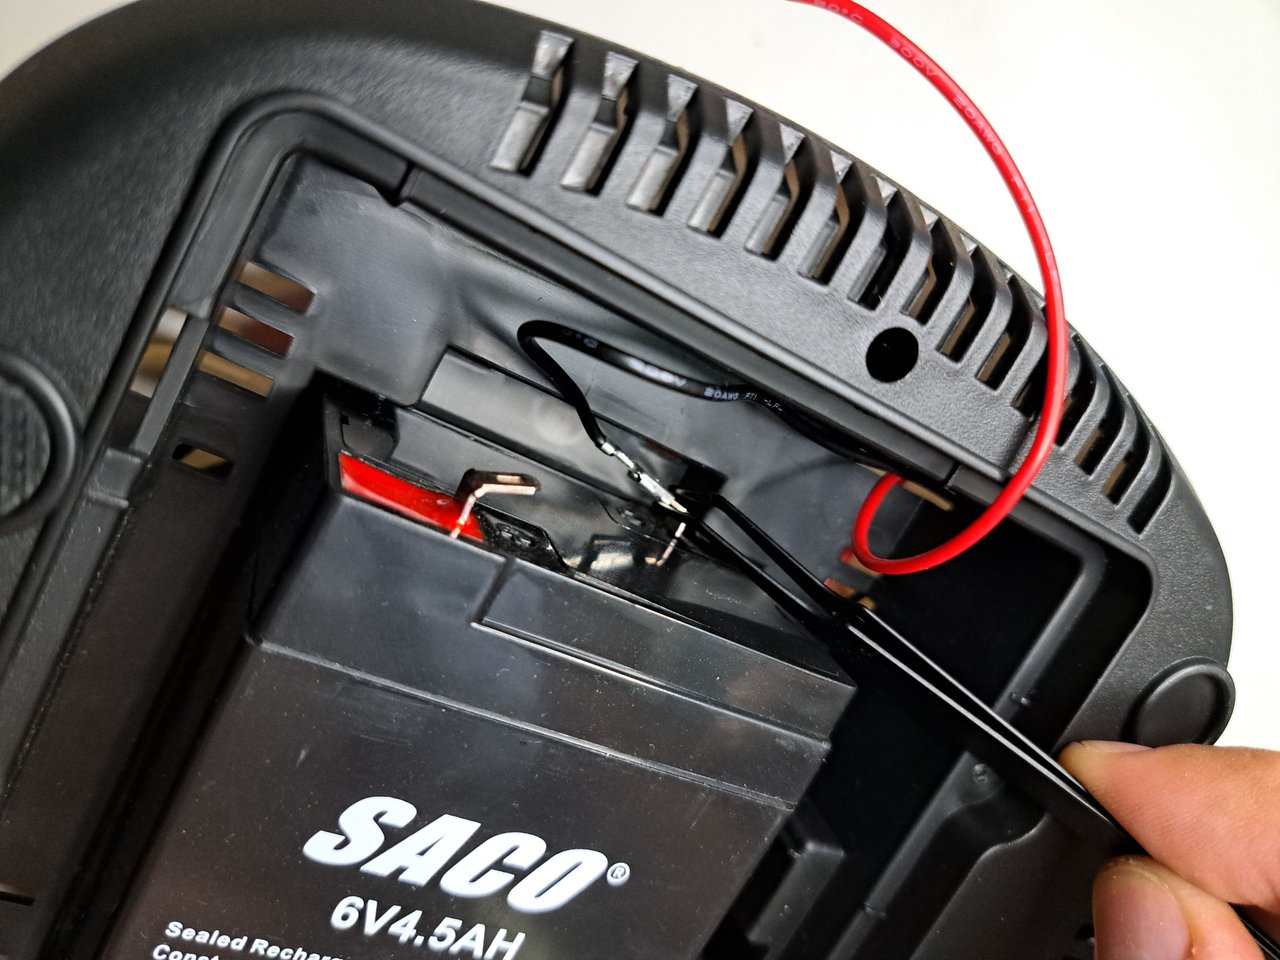
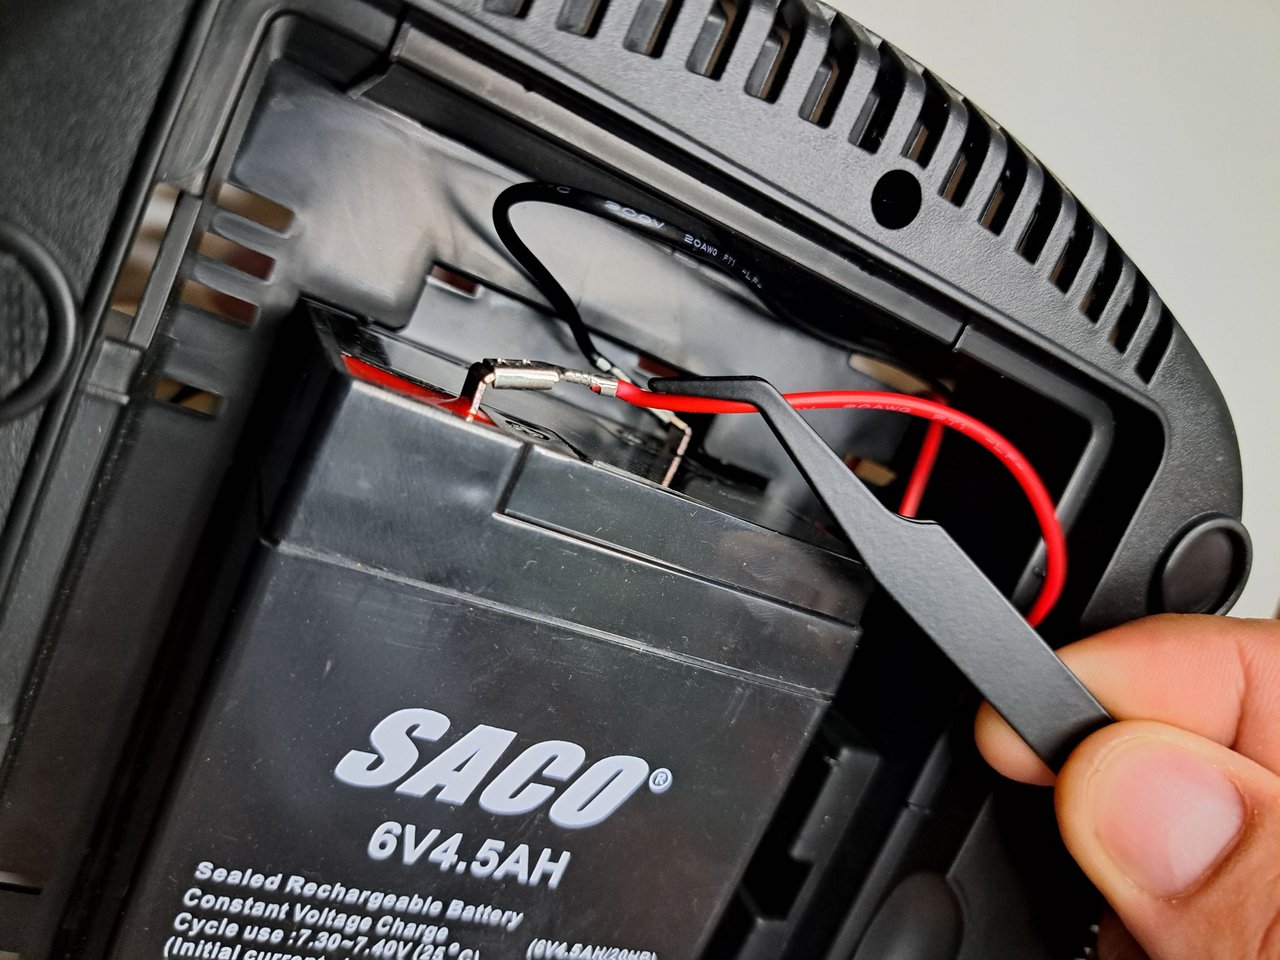
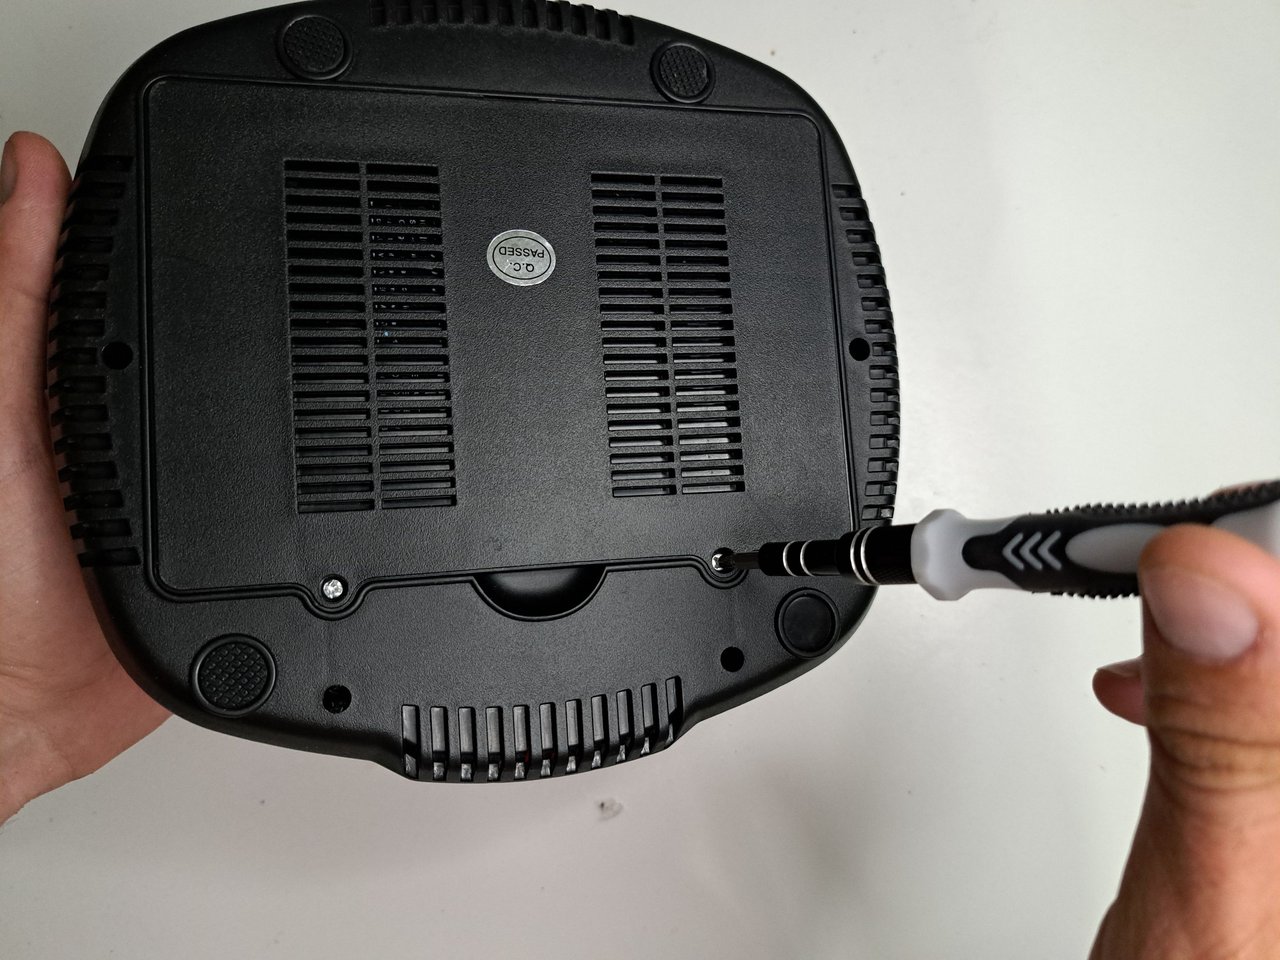
Once the top part was separated and the lines that join them disconnected, I proceeded to disassemble the base to remove the battery and the circuits. As the 6 V battery is glued to the base and connected to the board with some extenders, I chose not to detach the battery and just disconnect it.
Una vez separada la parte superior y desconectadas las líneas que las unen, procedí a desarmar la base para extraer la batería y los circuitos. Como la batería de 6 V viene pegada a la base y conectada a la placa con unos extensores, escogí no despegar la batería y solo desconectarla.
 |  |
 |  |  |
 | 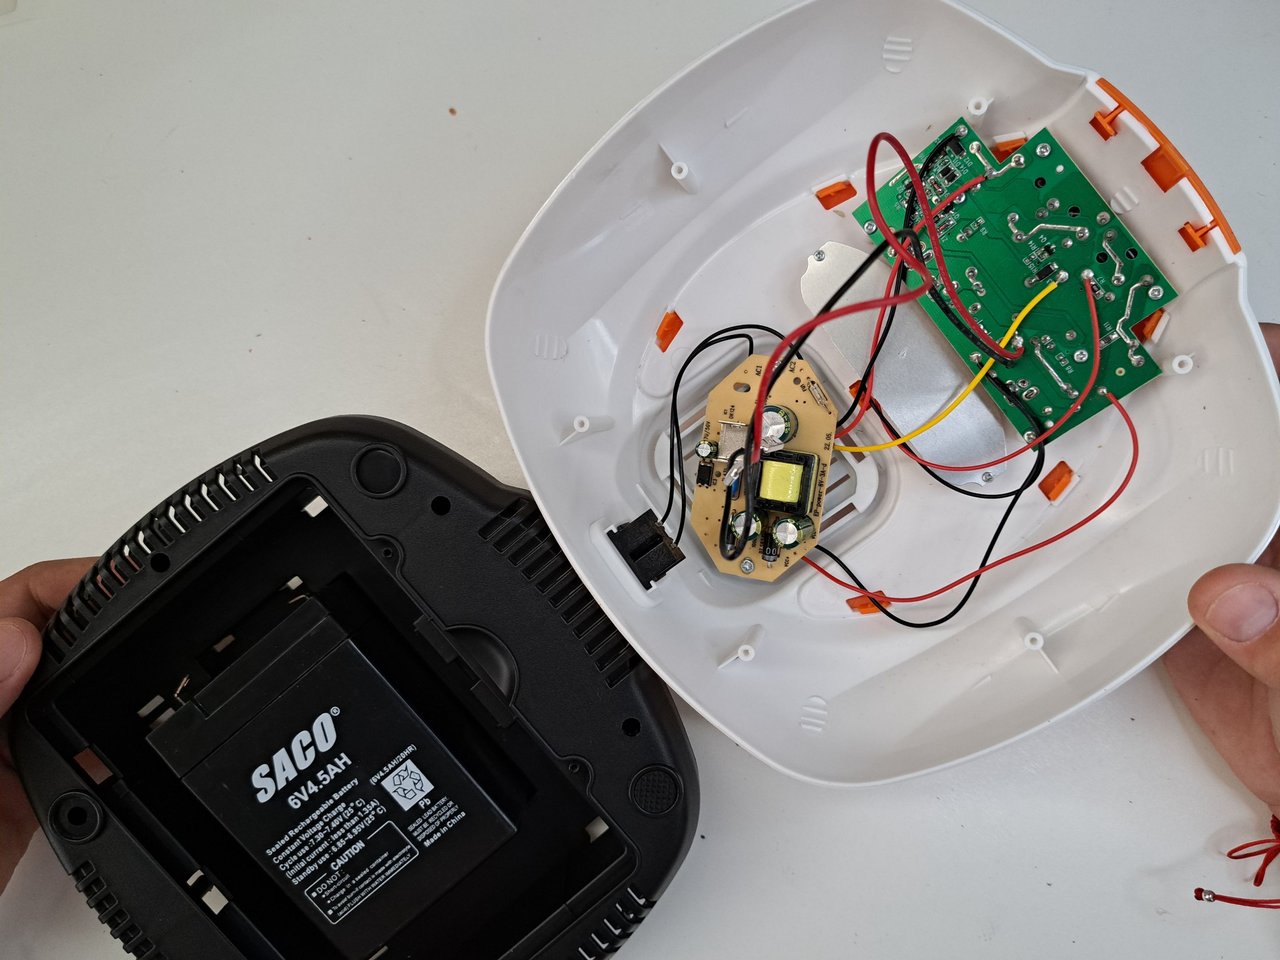 |
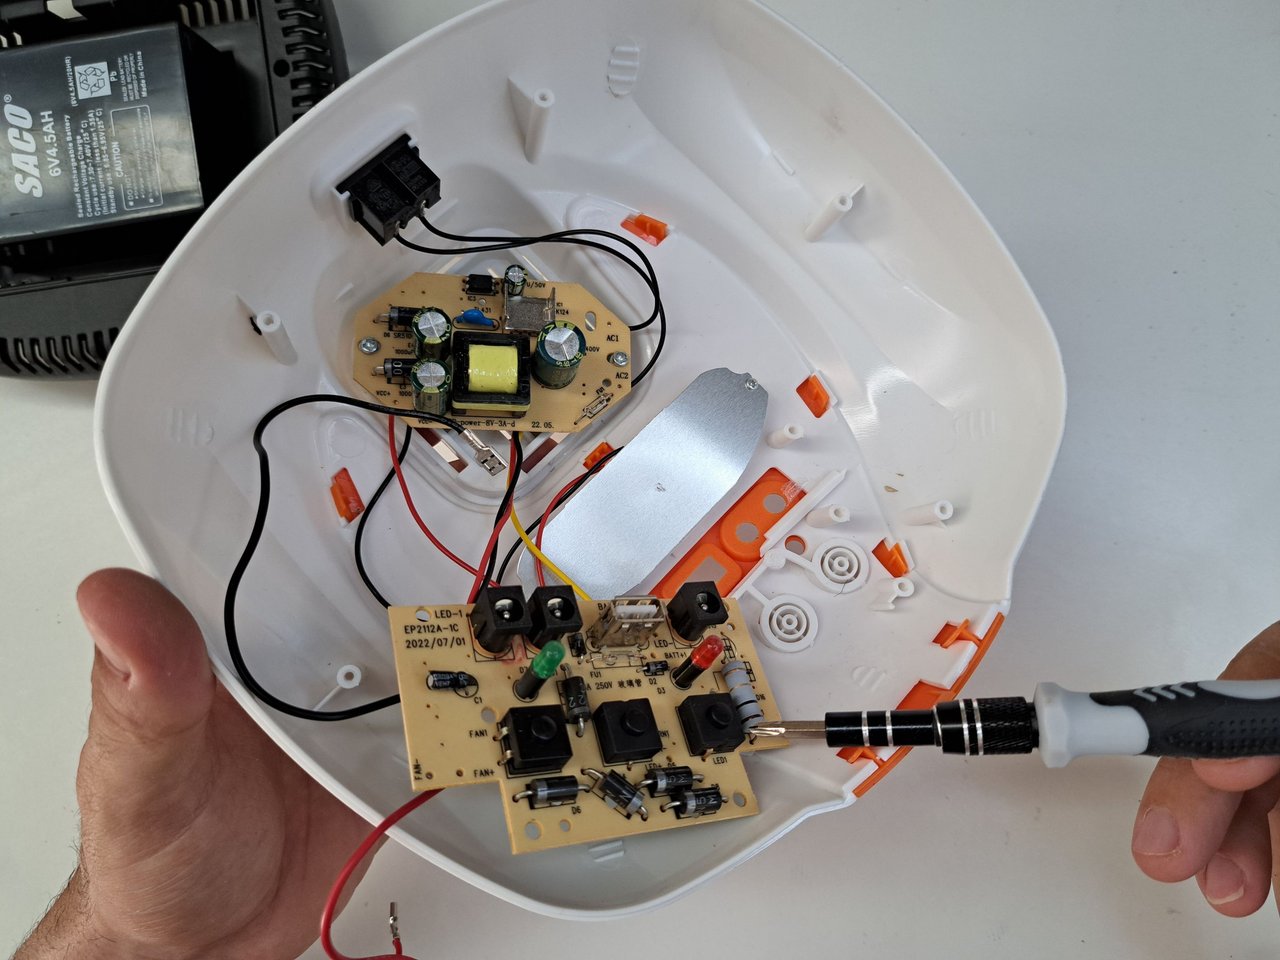
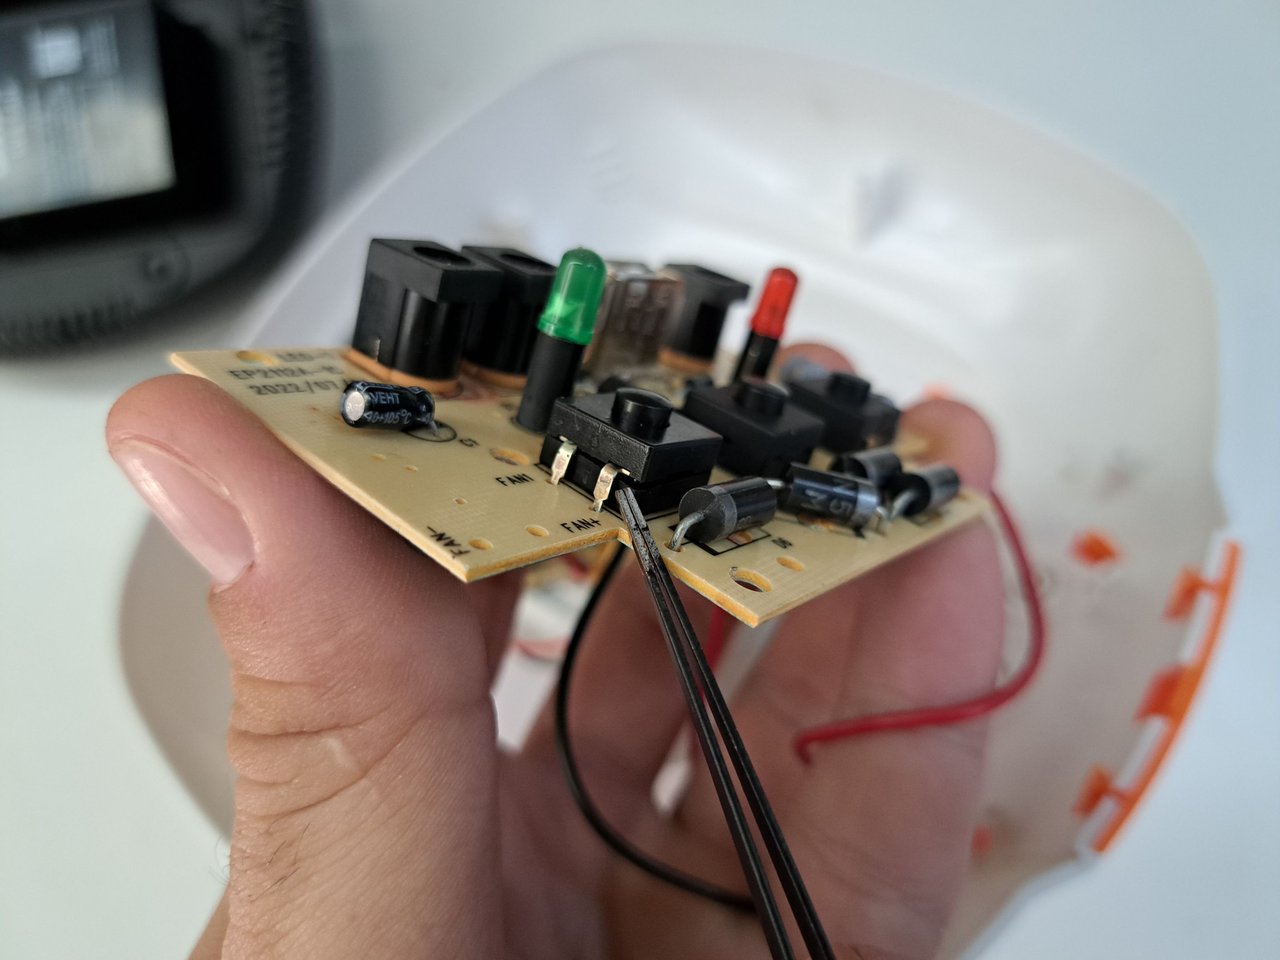
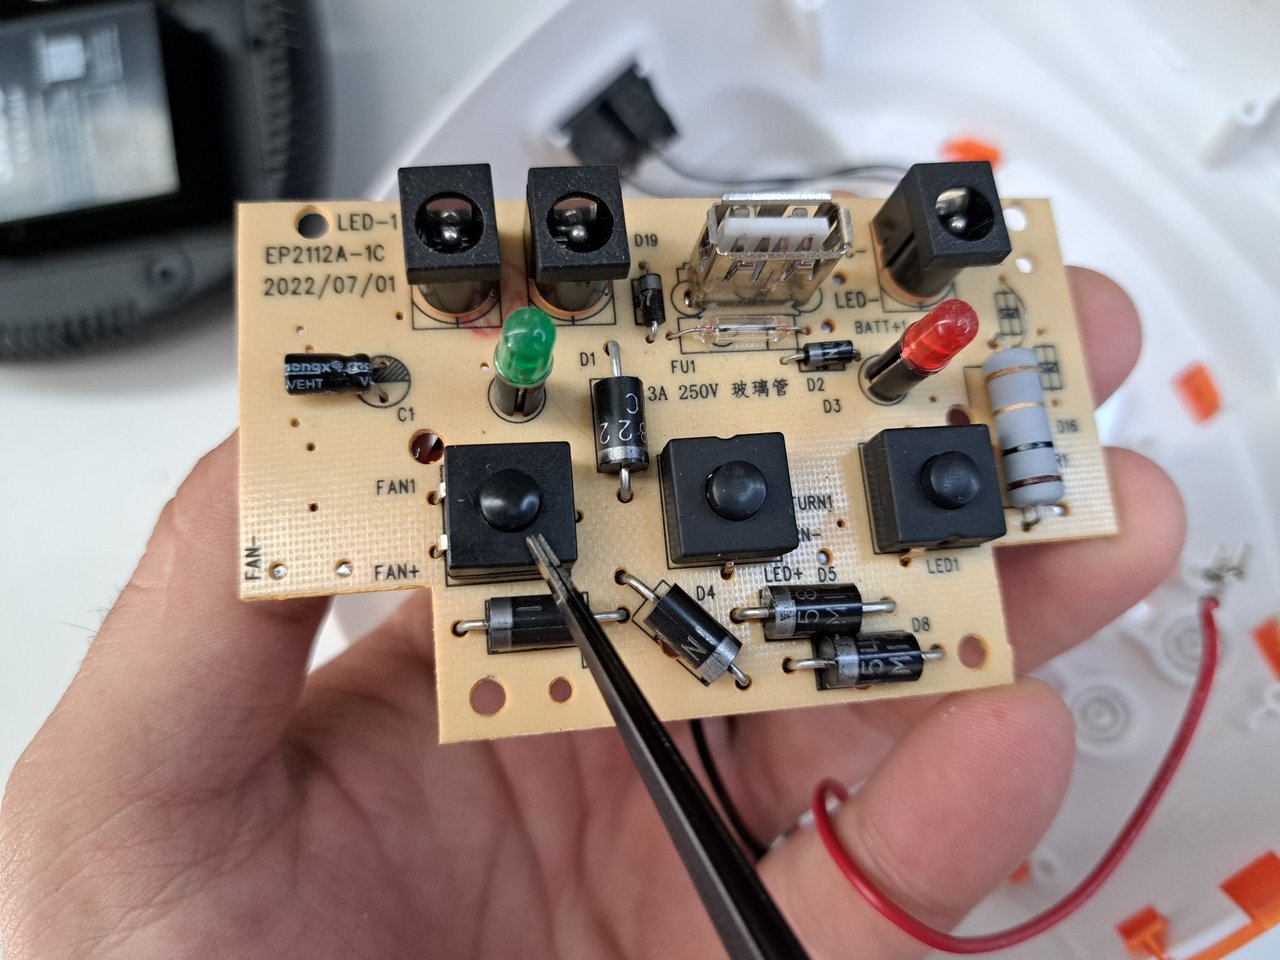
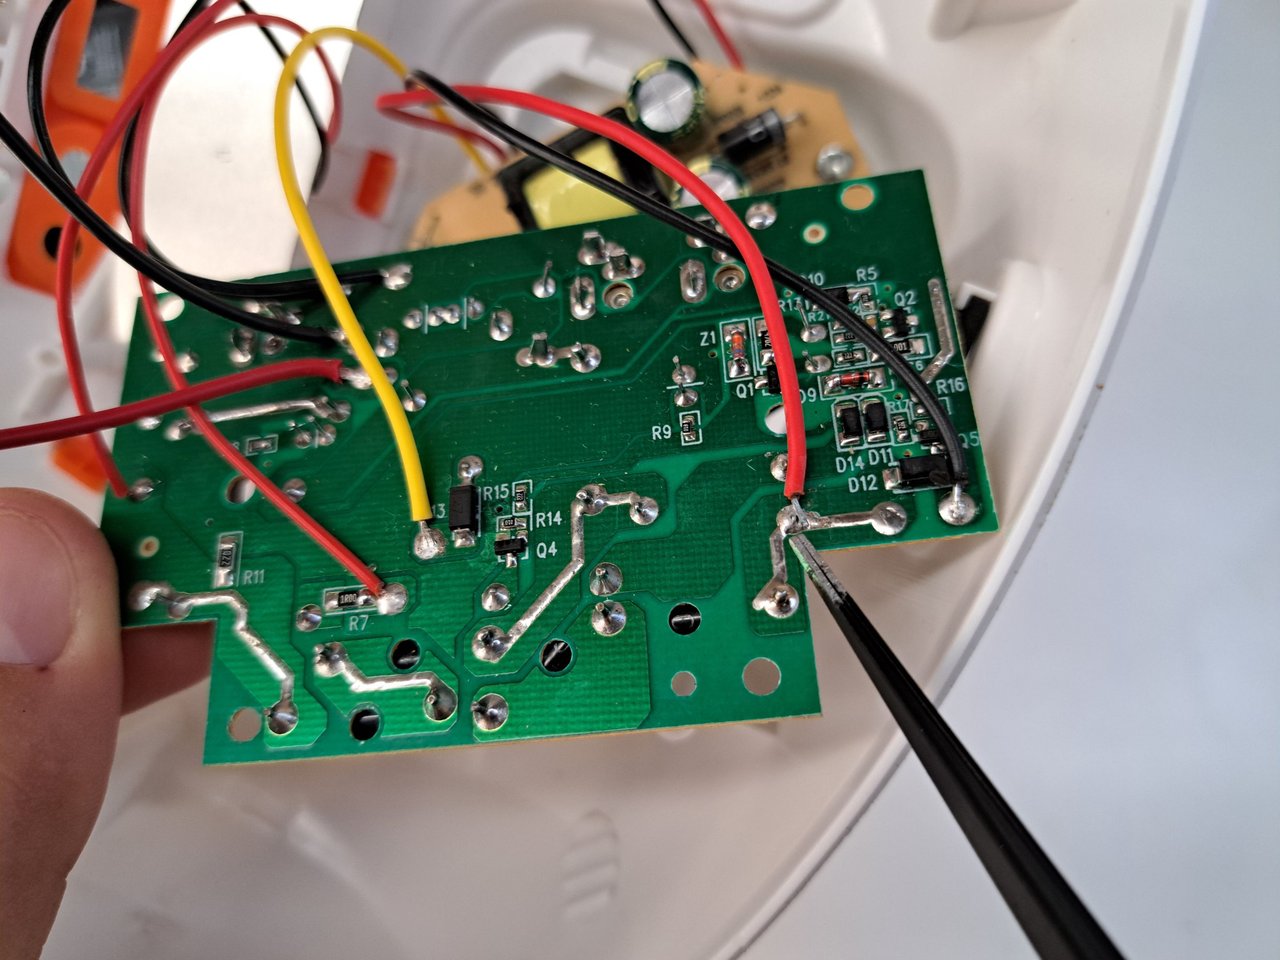
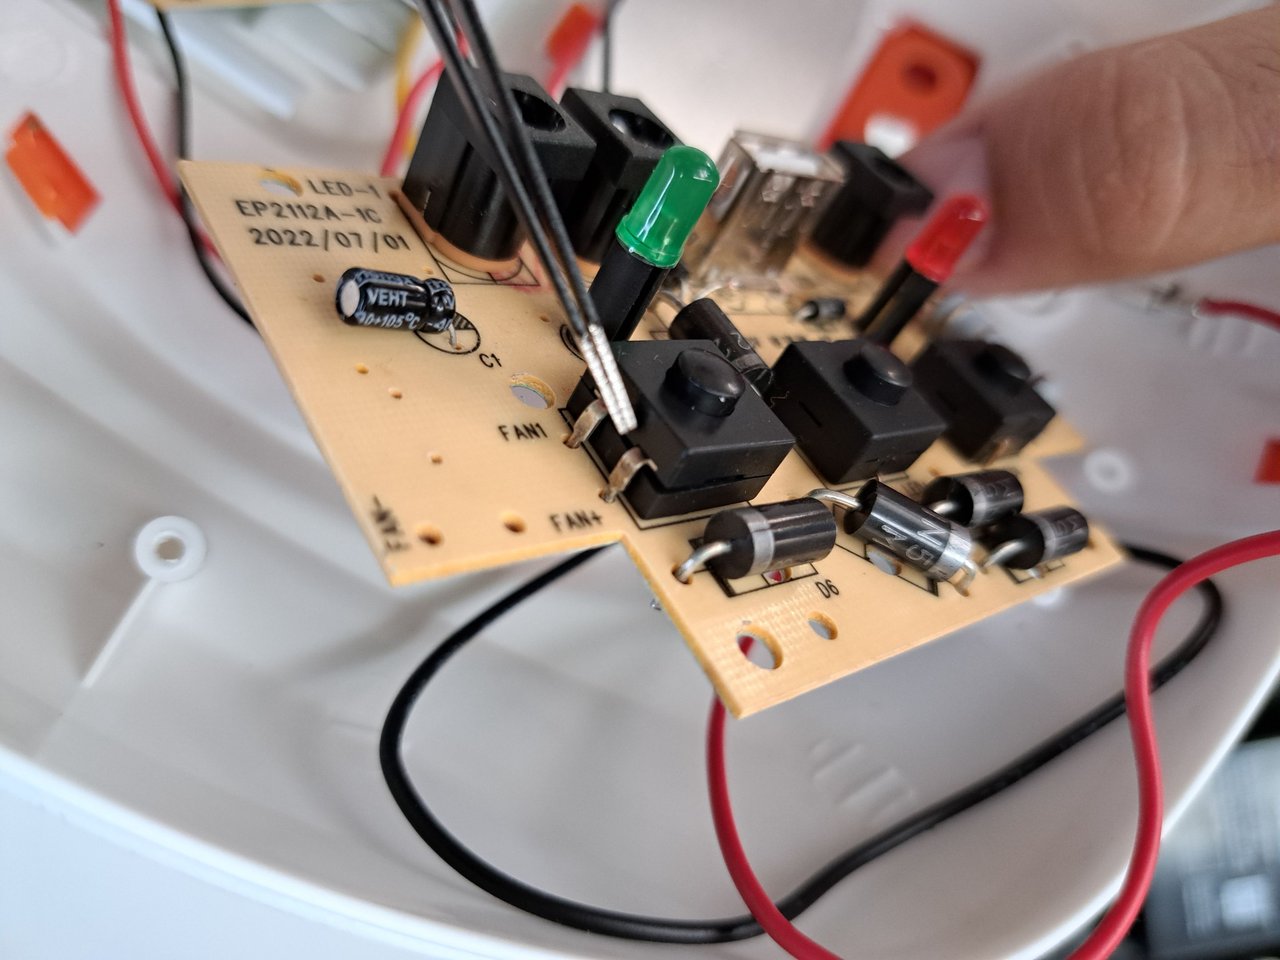
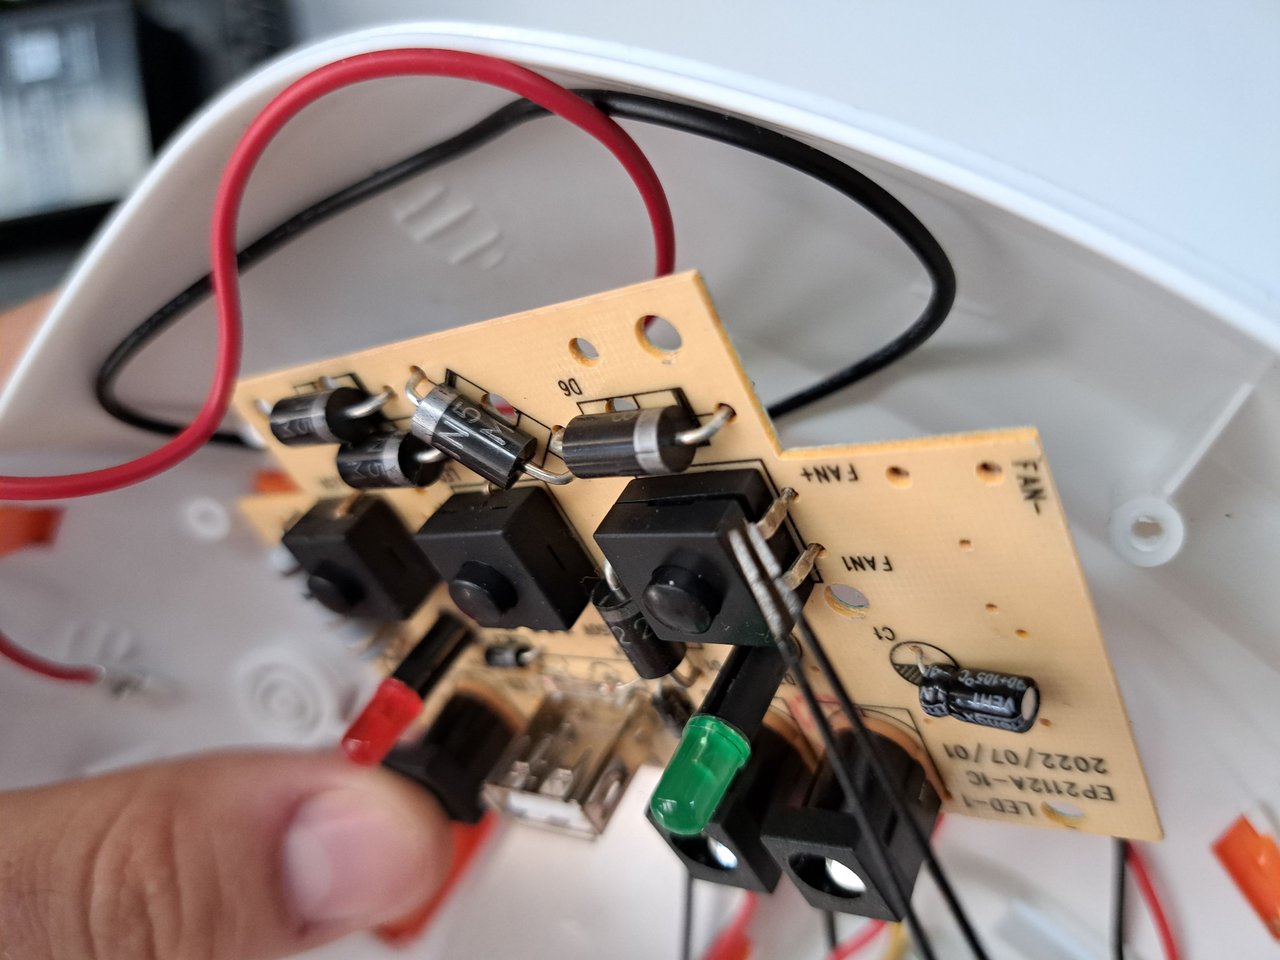
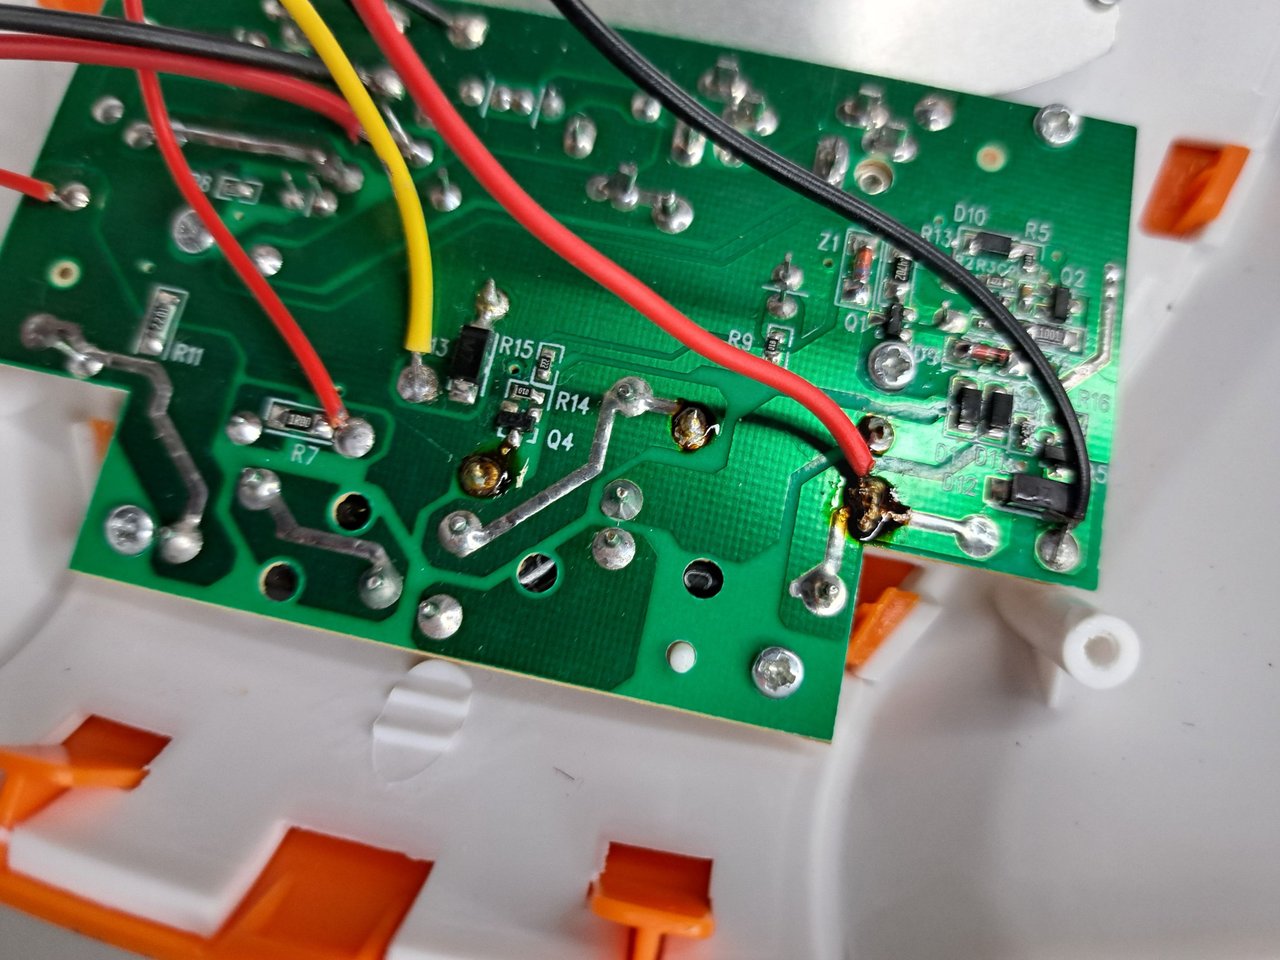
After disassembling and exposing the circuit, I verified that there were no signs of electrical shorts or breaks in the components and cables. After checking that everything was apparently OK, I looked at the ignition switch and noticed something strange.
Unlike the other switches, this one was half open as if it had heated up and started to give way.
Luego del desarme y de exponer el circuito, verifiqué que no existieran señales de cortos eléctricos o roturas en los componentes y cables. Al comprobar que todo estaba aparentemente bien, me fijo en el interruptor de encendido y noto algo raro.
A diferencia de los demás interruptores, este estaba semiabierto como si se hubiese calentado y empara a ceder.
 |  |
 |  |  |
 |  |
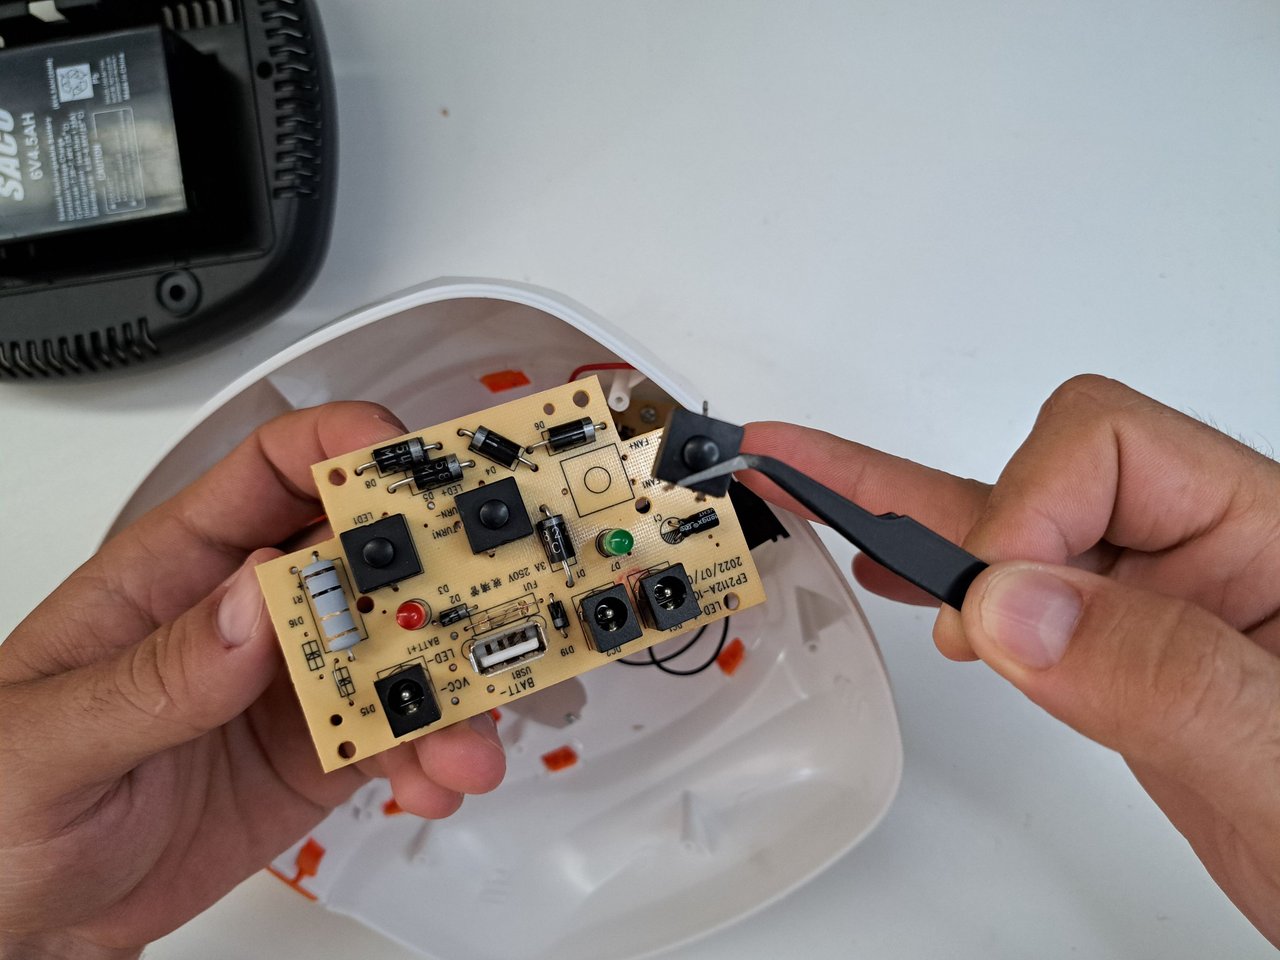
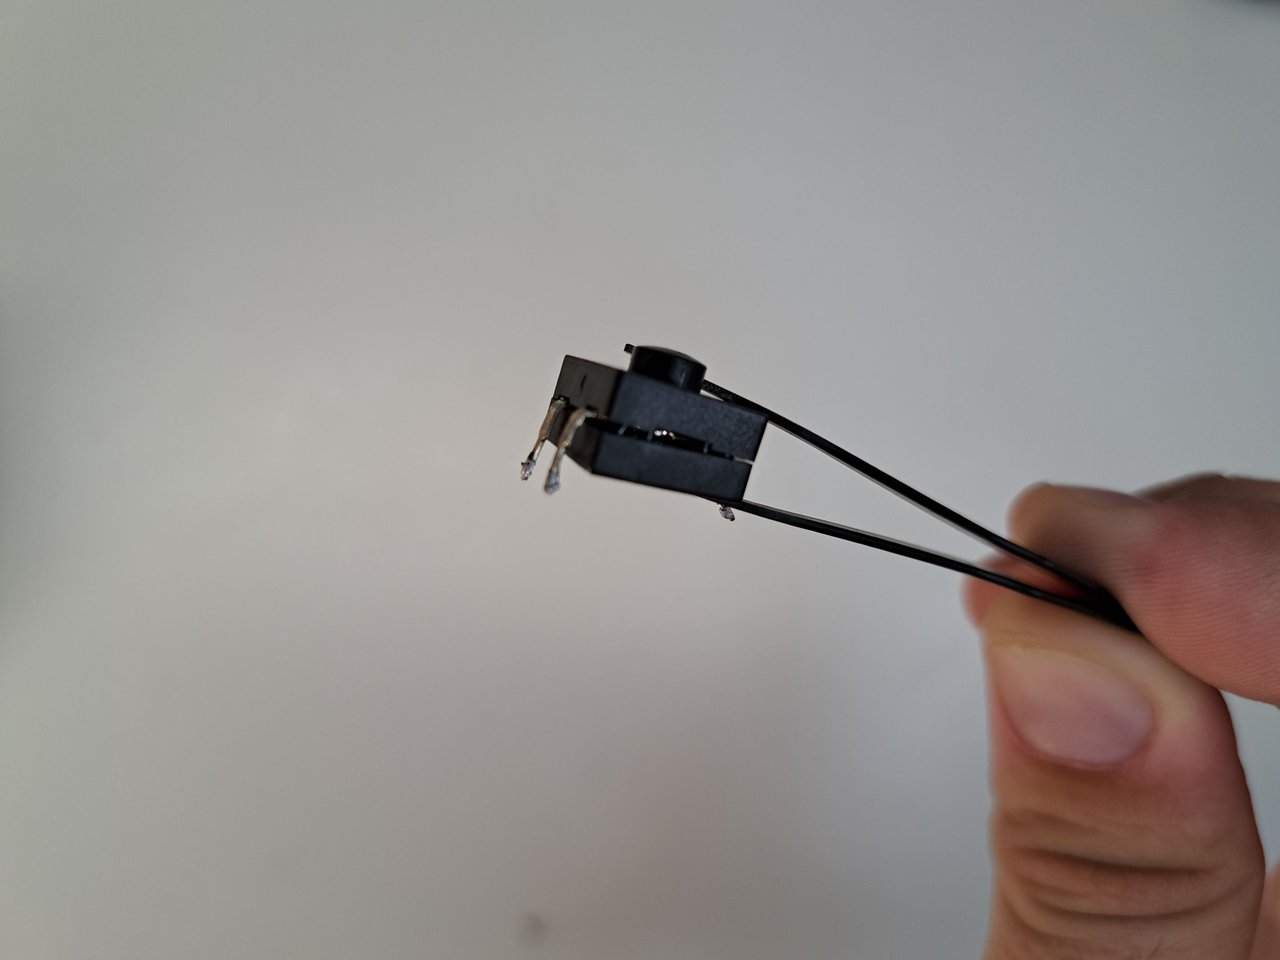
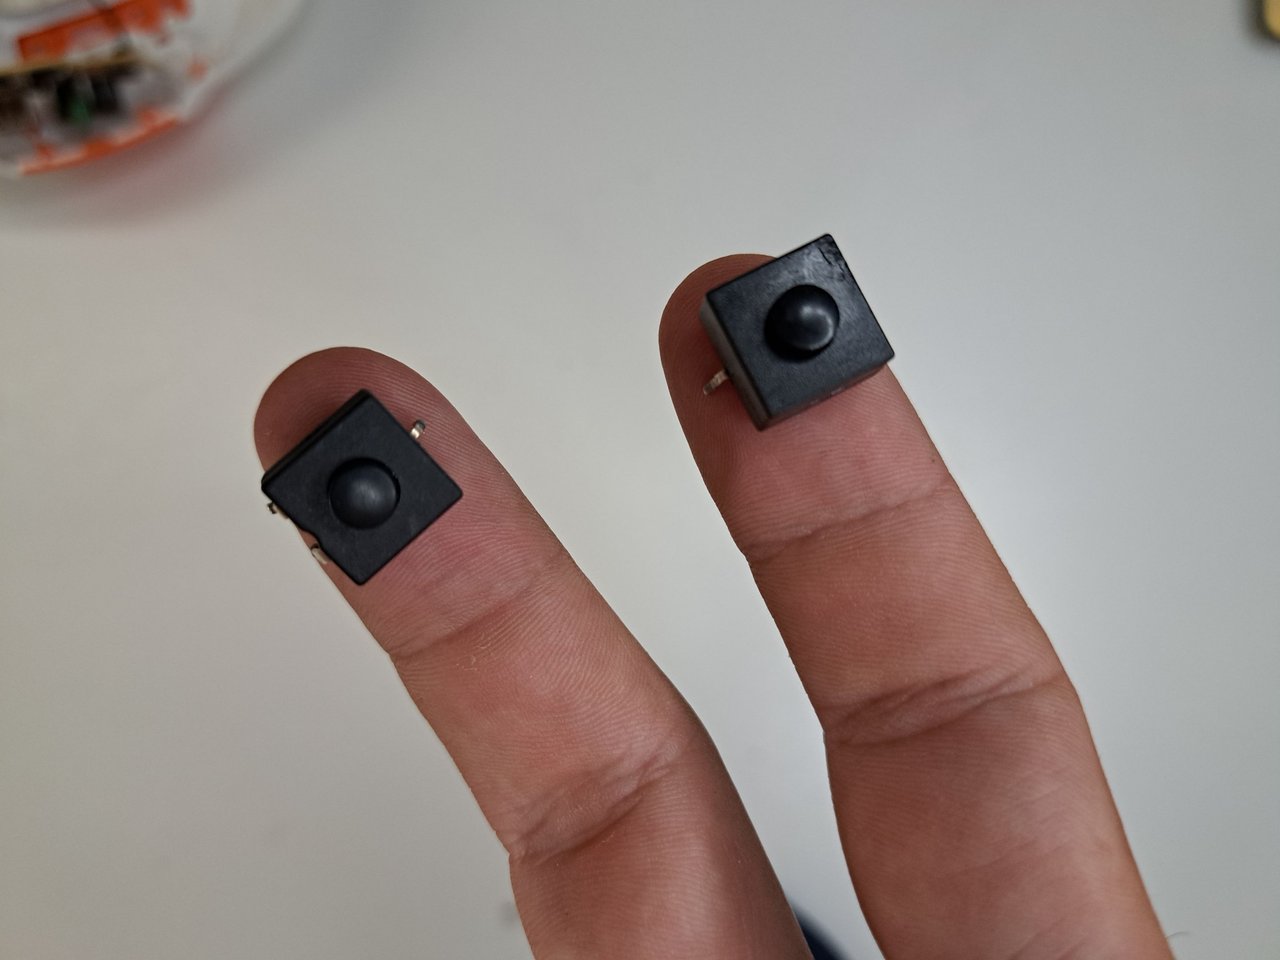
I then proceeded to remove the power switch and the one next to it, which is responsible for spinning the fan. Since I had no spare switches, I had the idea of swapping the power switch with the spin switch and thus sacrificing that function, but guaranteeing that the fan would work again.
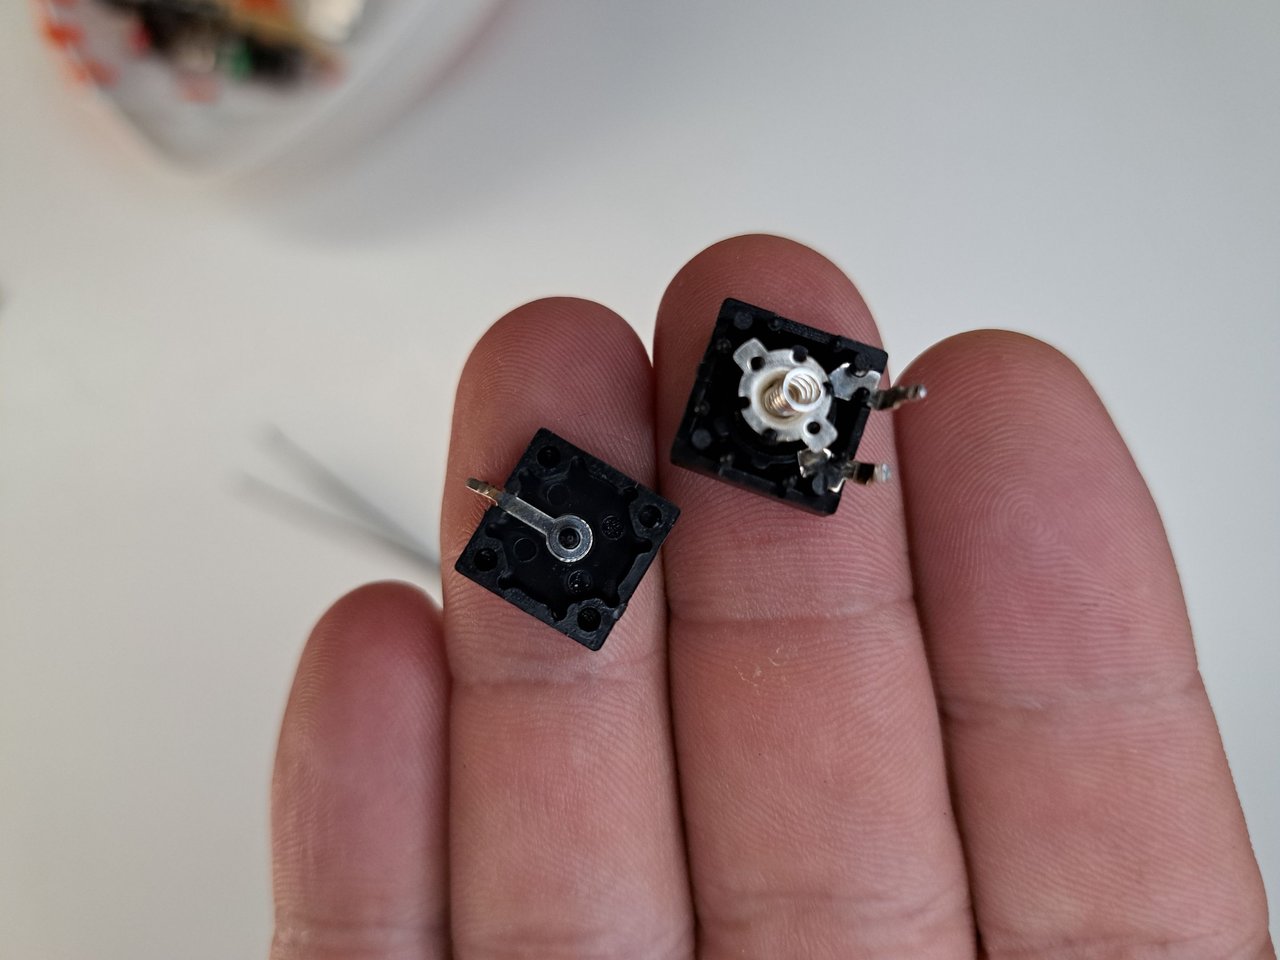
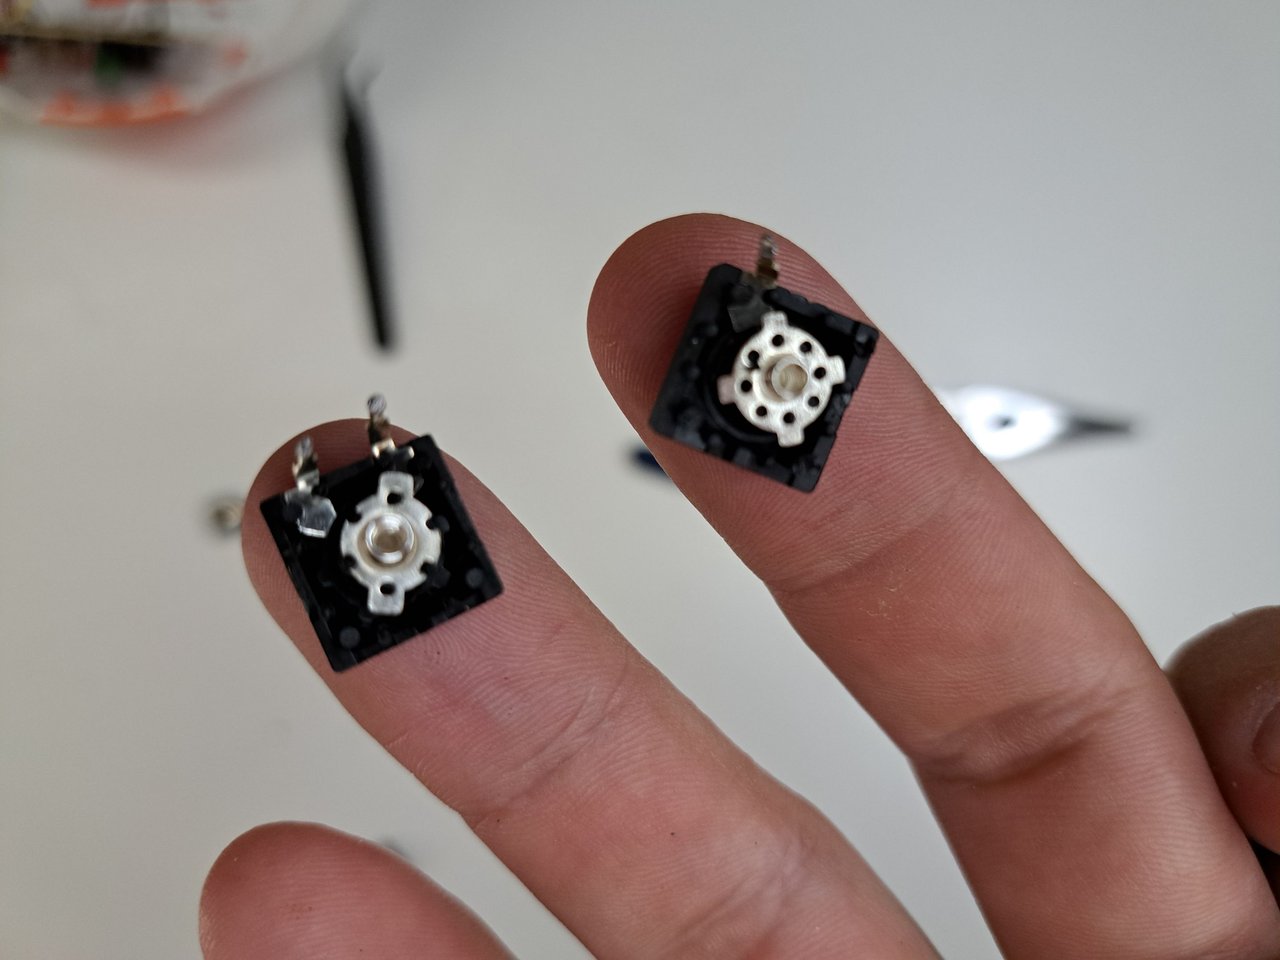
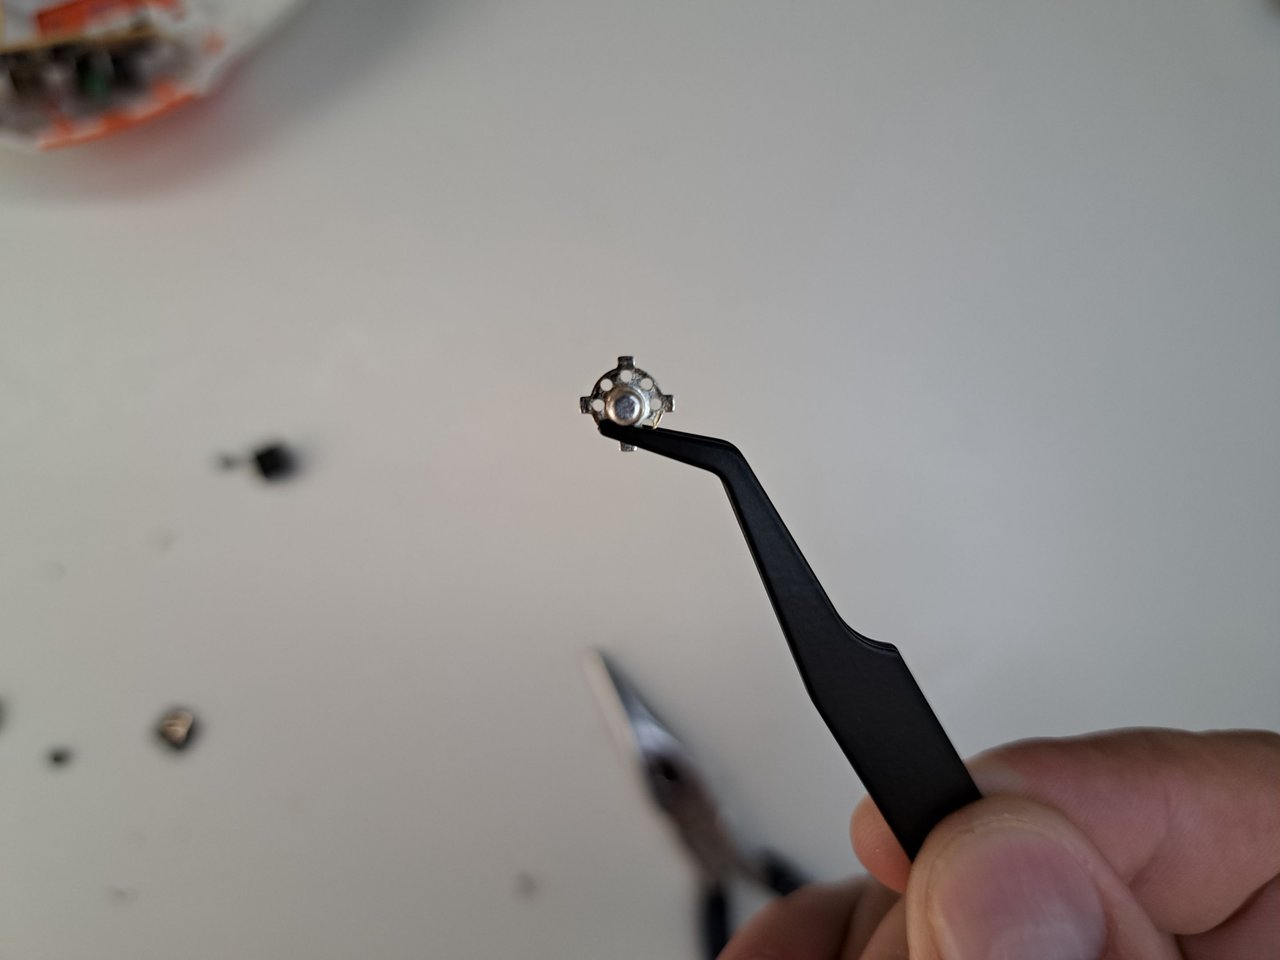
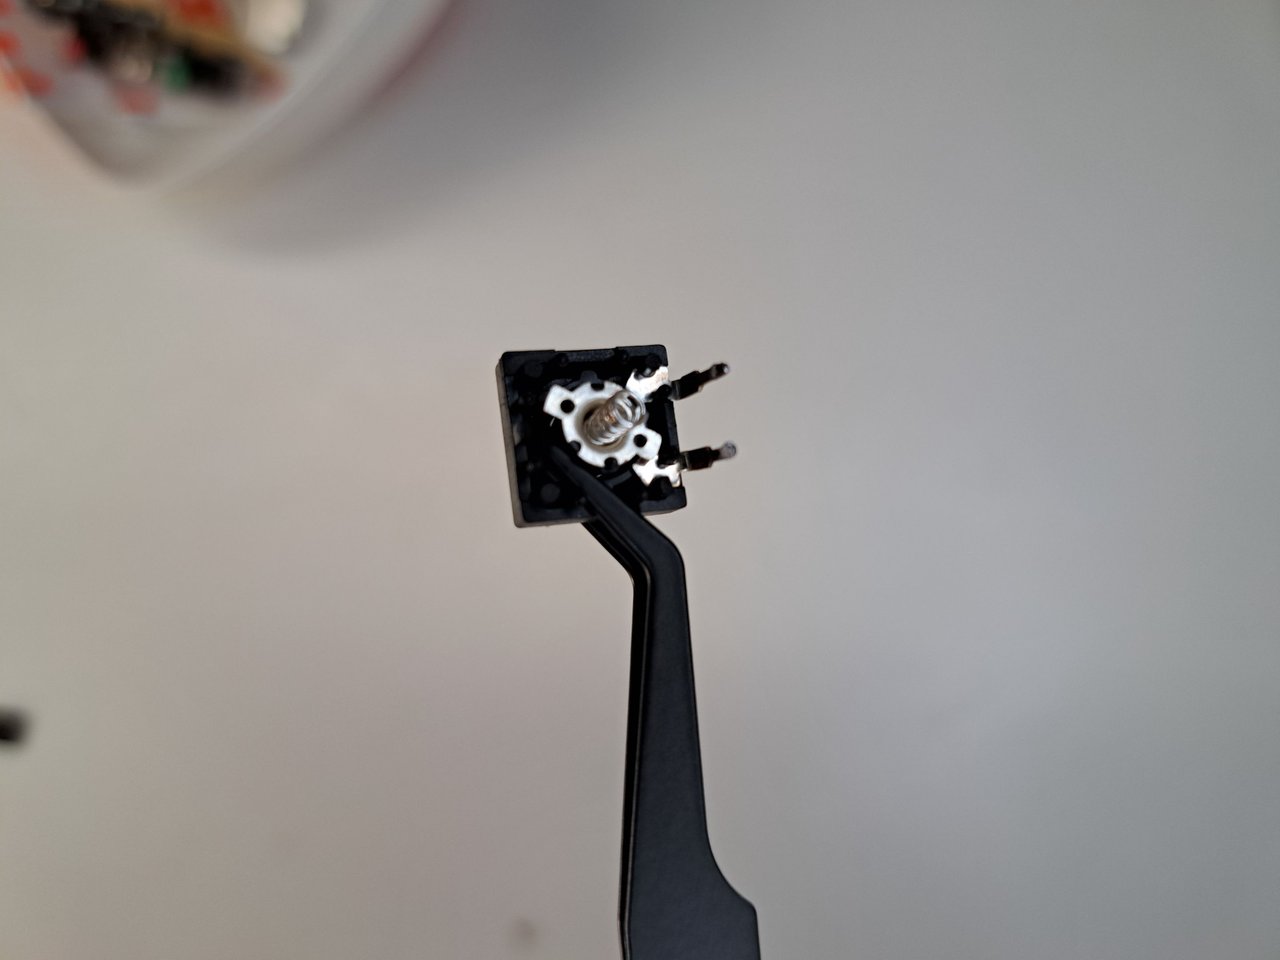
The big problem here is that the switches were very similar, but not the same, as they did not have the same number of connections to the board, since the power switch was two-step and the rotary switch was only one step. To solve this problem, I had to disassemble the switches and, after a series of modifications, I was able to interchange the action mechanisms from one to the other.
A continuación, procedo a retirar el interruptor de encendido y el de al lado, el cual se encarga de hacer girar al ventilador. Como no tenía interruptores de repuesto, tenía la idea de intercambiar el interruptor de encendido con el de girar y así sacrificar dicha función, pero garantizando que el ventilador volviera a funcionar.
El gran problema aquí es que los interruptores eran muy parecidos, pero no iguales, ya que no poseían la misma cantidad de conexiones con la placa, pues el de encendido era de dos pasos y el de girar, solo uno. Para solucionar este inconveniente, tuve que desarmar los interruptores y, luego de una serie de modificaciones, pude intercambiar los mecanismos de acción de uno al otro.
 |  |
 |  |  |
 |  |
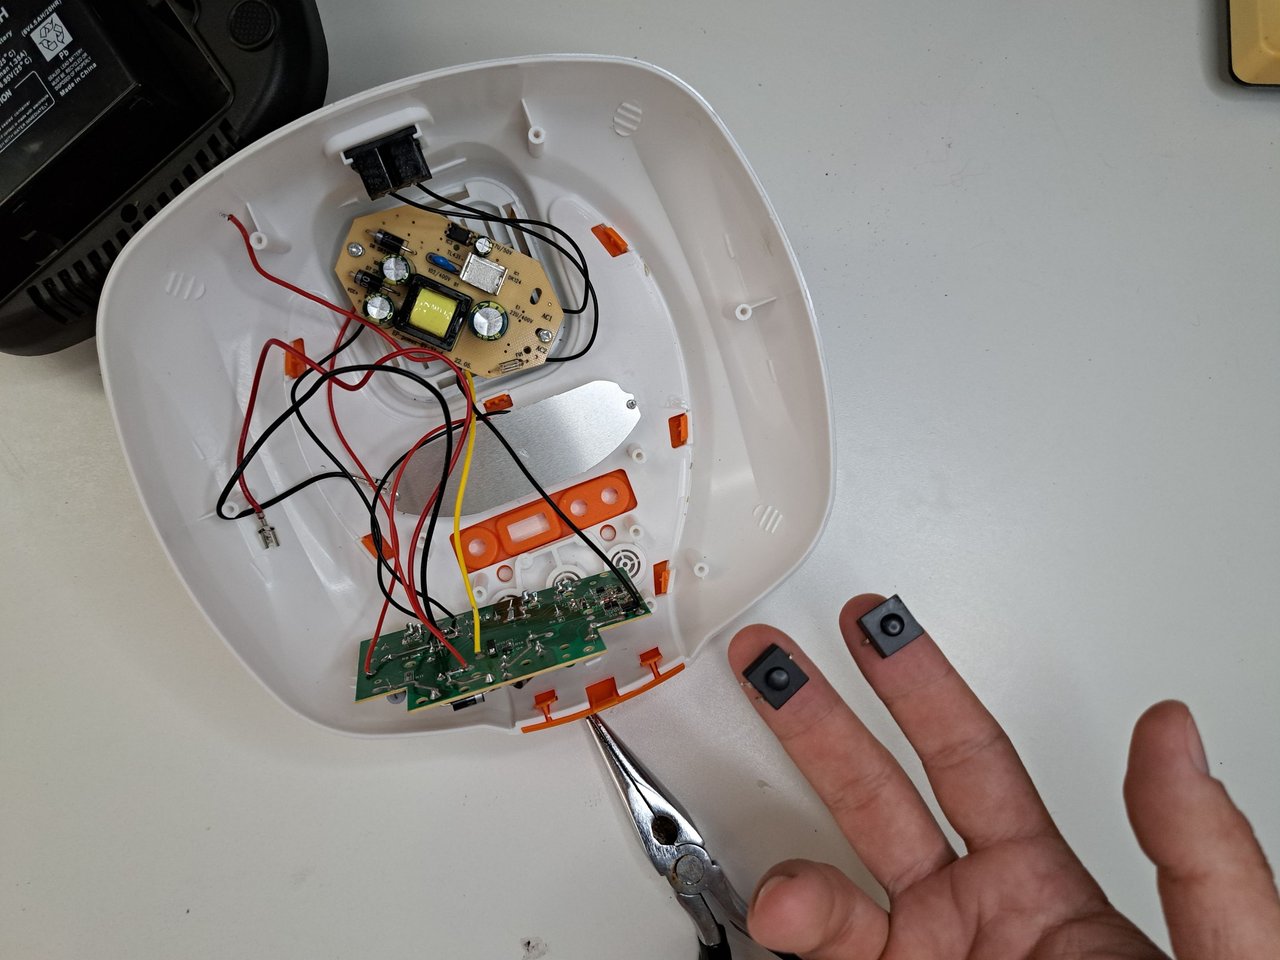
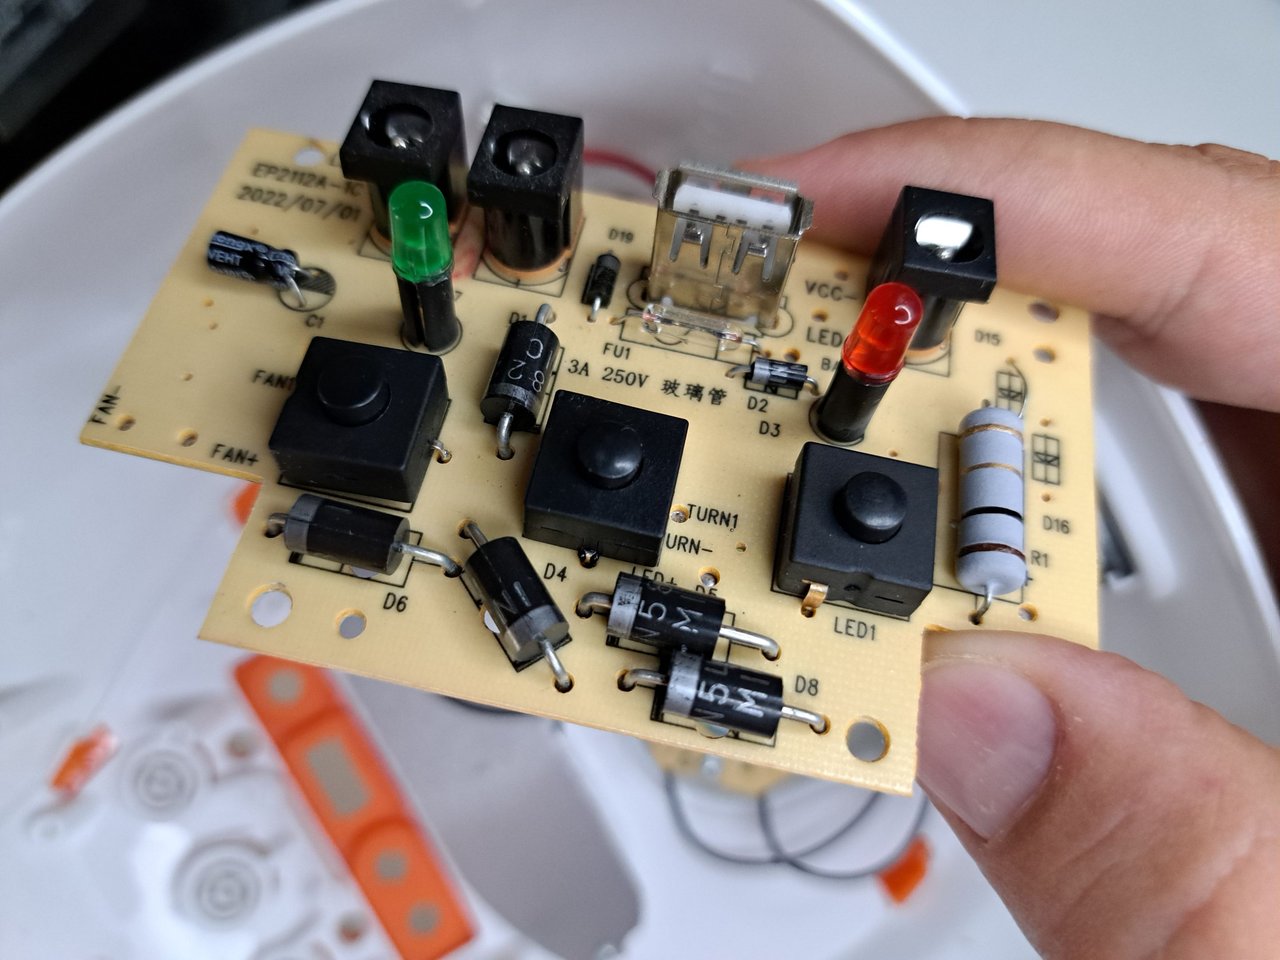
After measuring continuity with the voltmeter, I verified that the switches were working properly, so I proceeded to reposition them on the circuit board, because until I tested them on the circuit board, I would not know for sure whether or not they would work properly.
Tras medir continuidad con el voltímetro, verifiqué que los interruptores estaban funcionando bien, así que procedí a recolocarlos en la placa del circuito, pues hasta que no los probara en ella, no sabría con certeza si funcionarían o no de manera correcta.
 |  |
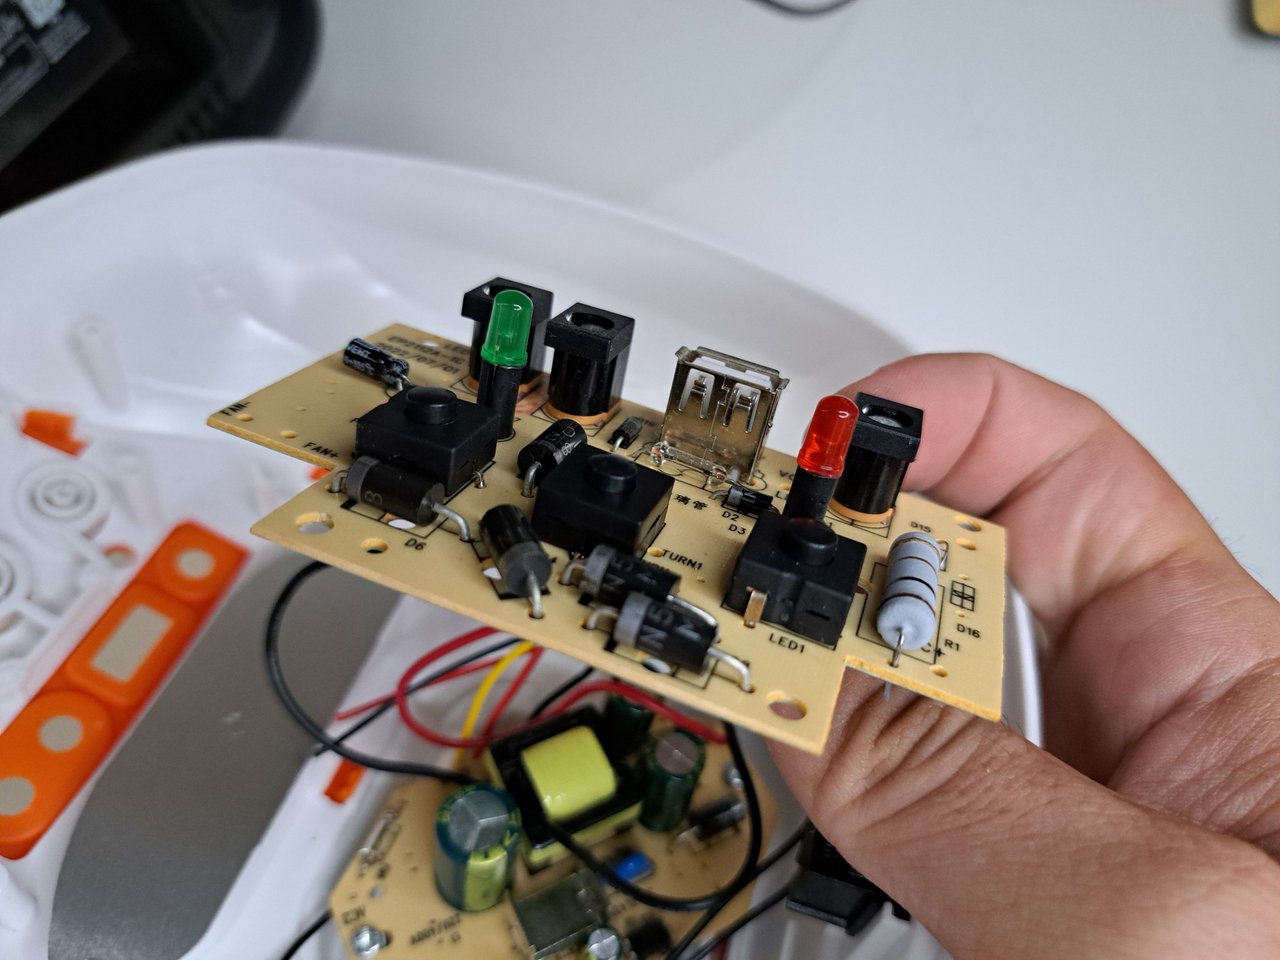 | 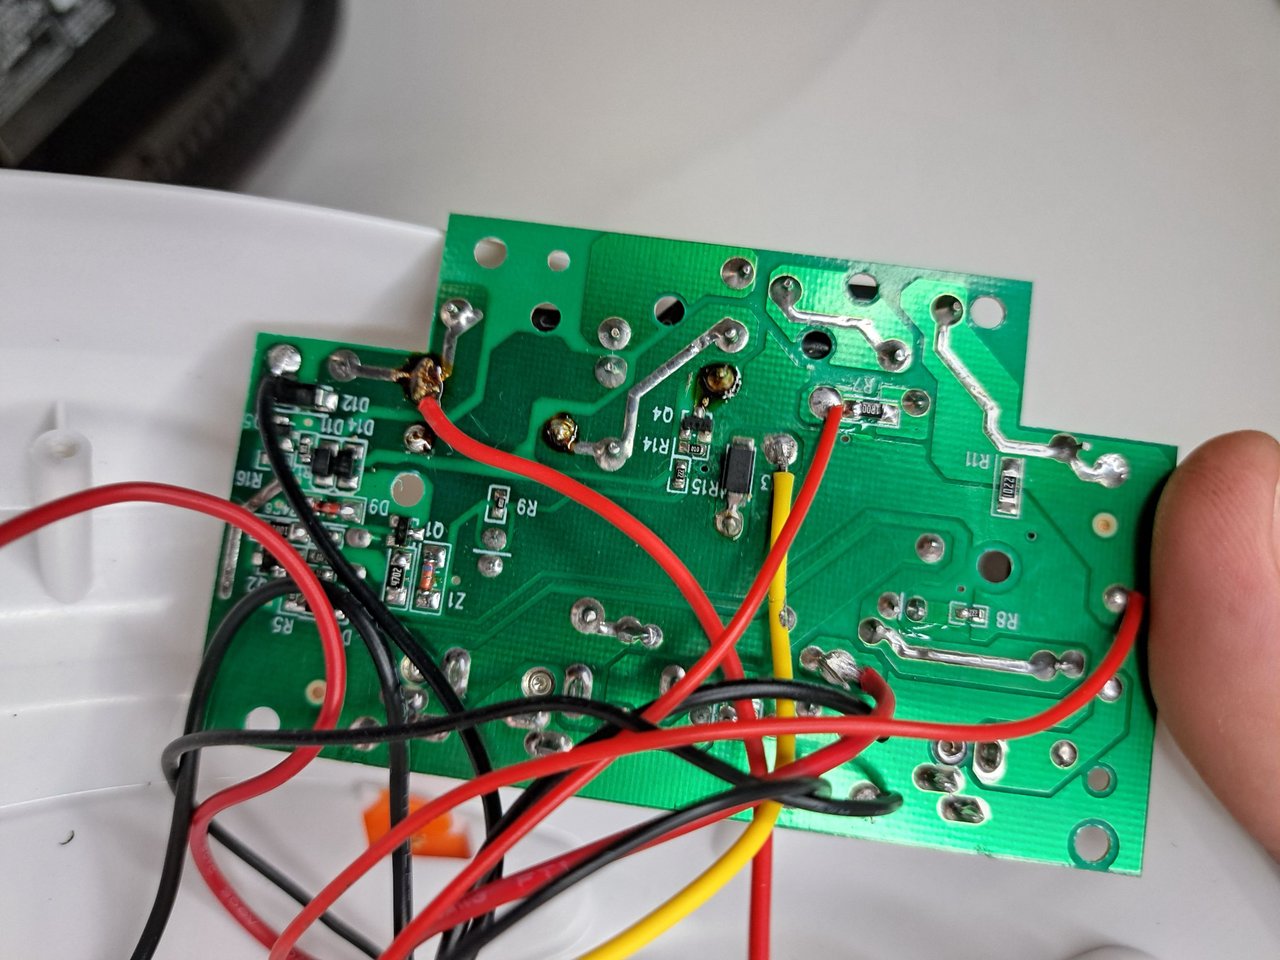 |
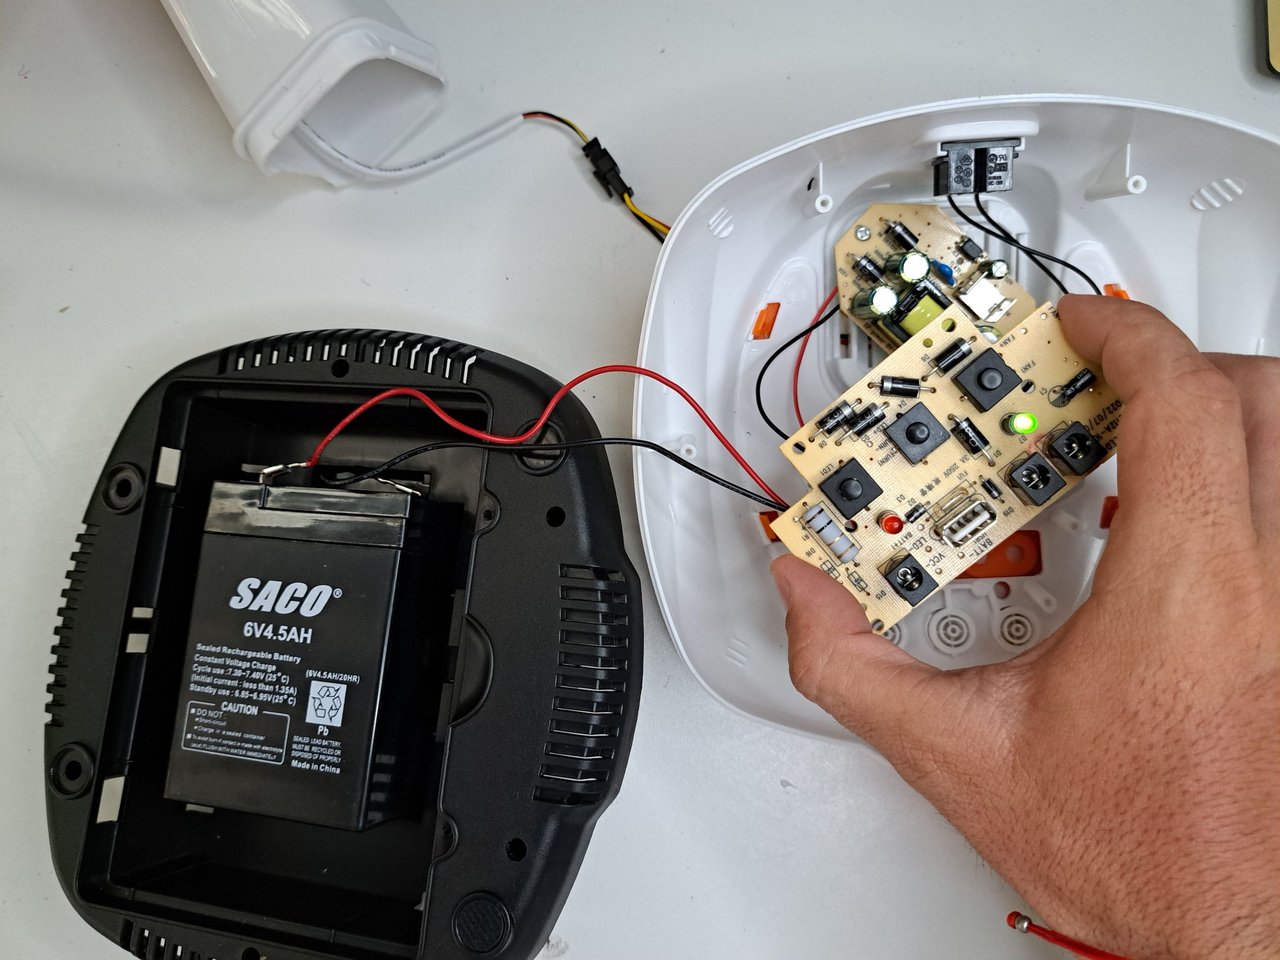
After soldering the switches in place, I did a pre-assembly to test the operation of the switches. I started with the most important one, which is the on/off switch, which worked flawlessly. Then, I tested the one to turn on the lamp and, to finish, I also tested the one to turn, which, to my surprise, also worked, but we already know that one has problems.
To perform some minor tests, I left the fan on for quite a while and when I saw that it did not turn off, I concluded that the battery and its connections were in perfect condition and that it was all a problem with the power switch.
Luego de soldar los interruptores en su lugar, hice un pre-armado para probar el funcionamiento de estos. Empecé por el más importante, que es el de encendido y apagado, el cual funcionó sin problemas. Luego, probé el de encender la lámpara y, para finalizar, también probé el de girar, que, para mi sorpresa, también funcionó, pero ya sabemos que ese tiene problemas.
Para realizar algunas pruebas menores, dejé encendido el ventilador por un buen tiempo y al ver que no se apagó, llegué a la conclusión de que la batería y sus conexiones estaban en perfecto estado y que todo era problema del interruptor de encendido.
 |  |
 |  |  |
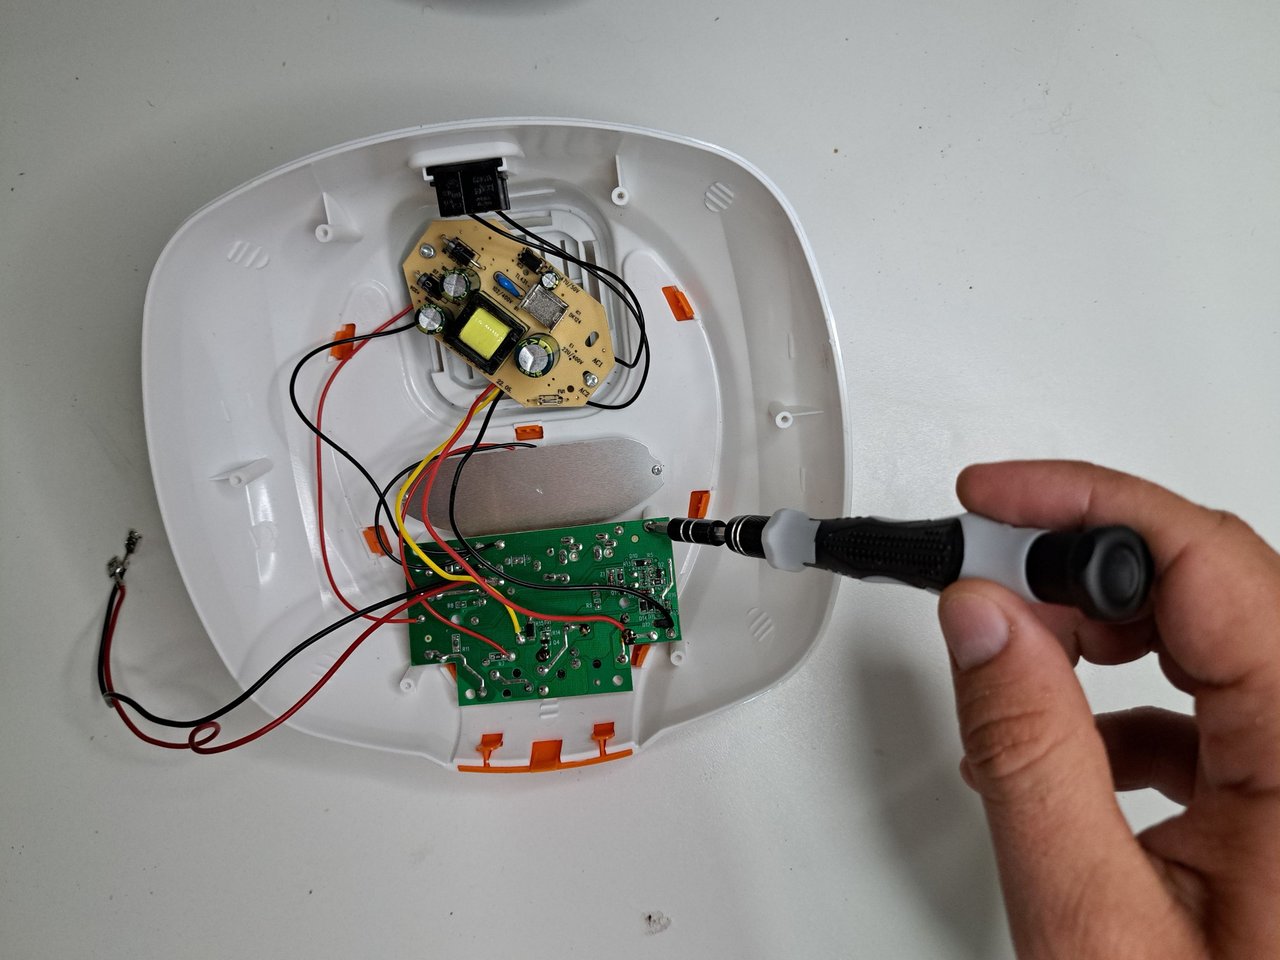
Once I made sure everything was working properly, I began to reassemble the fan base, part by part, making sure that no components were loose or out of place.
Una vez me aseguré de que todo funcionaba correctamente, comencé a rearmar la base del ventilador, parte por parte, cerciorándome de que no quedase ningún componente flojo o fuera de lugar.
 |  |
 |  |  |
 |  |
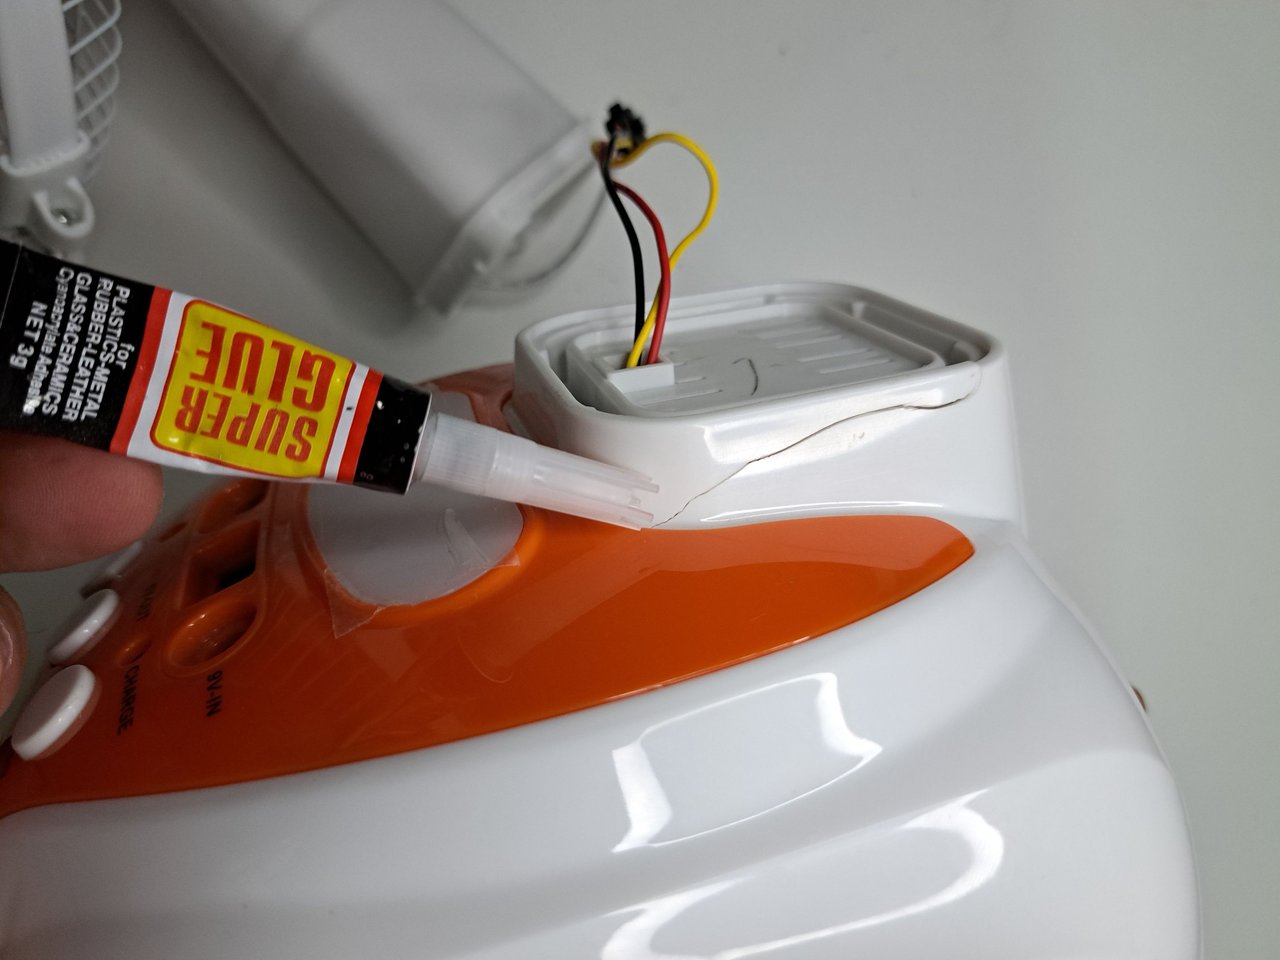
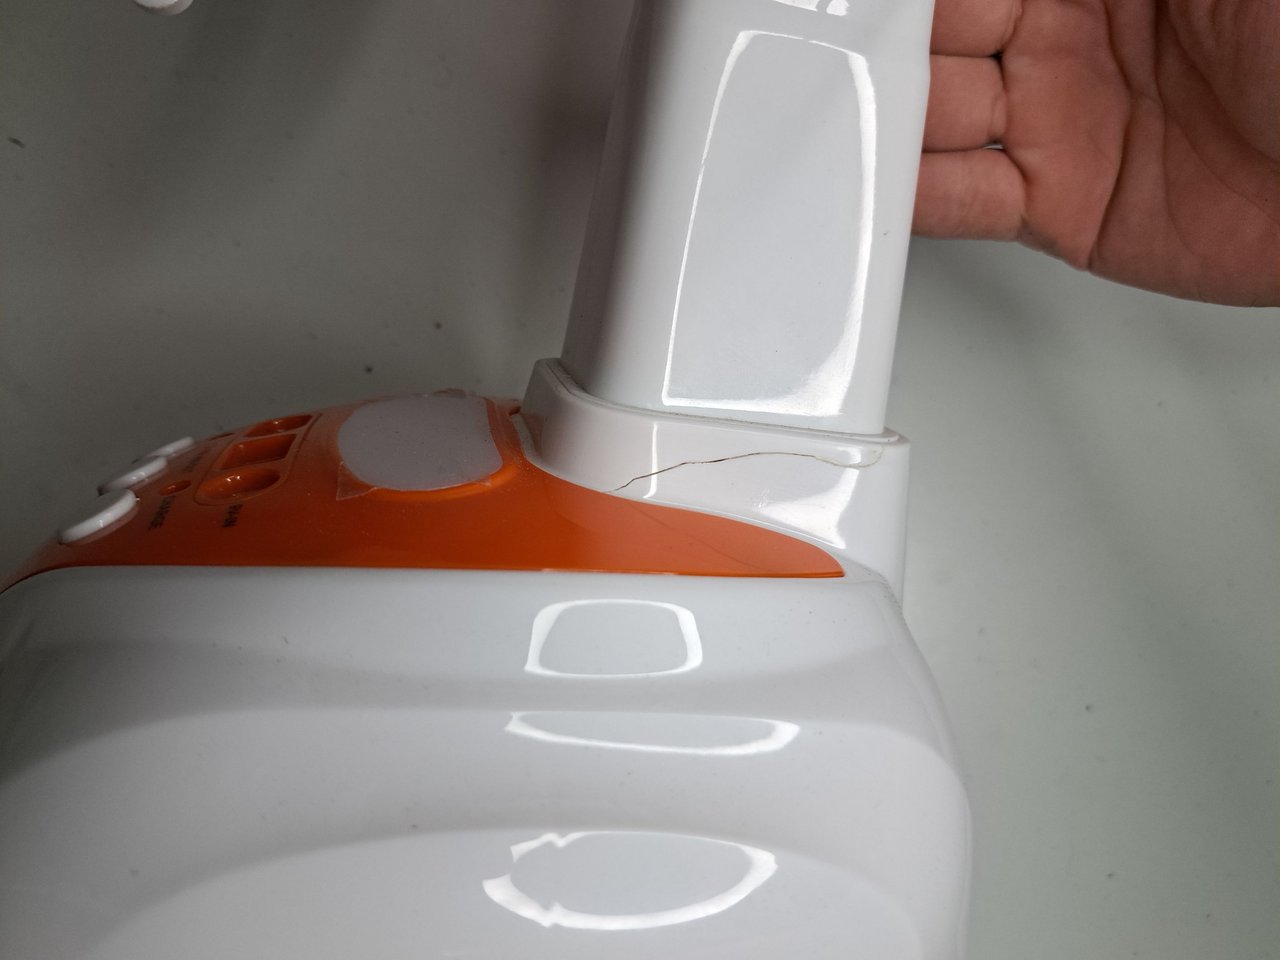
With the base ready to attach to the top, I only had to repair the fracture in the fan neck joint, and for this I used quick-drying plastic glue. I opted to glue the two parts of the neck together because the joint mechanism is pressurized, and in the future, if it were to separate, it would cause it to break. Anyway, the fan can be disassembled from the base, and the power lines feeding the motor can be soldered and unsoldered.
Con la base lista para unirla a la parte superior, solo me quedaba reparar la fractura en la unión del cuello del ventilador, y para ello utilicé pegamento plástico de secado rápido. Opté por pegar las dos partes del cuello porque el mecanismo de unión es a presión, y a futuro, si se intentase separar, causaría la rotura de este. De todas formas, el ventilador puede ser desarmado desde la base, y las líneas de corriente que alimentan al motor se pueden soldar y desoldar.
 |  |
 |  |
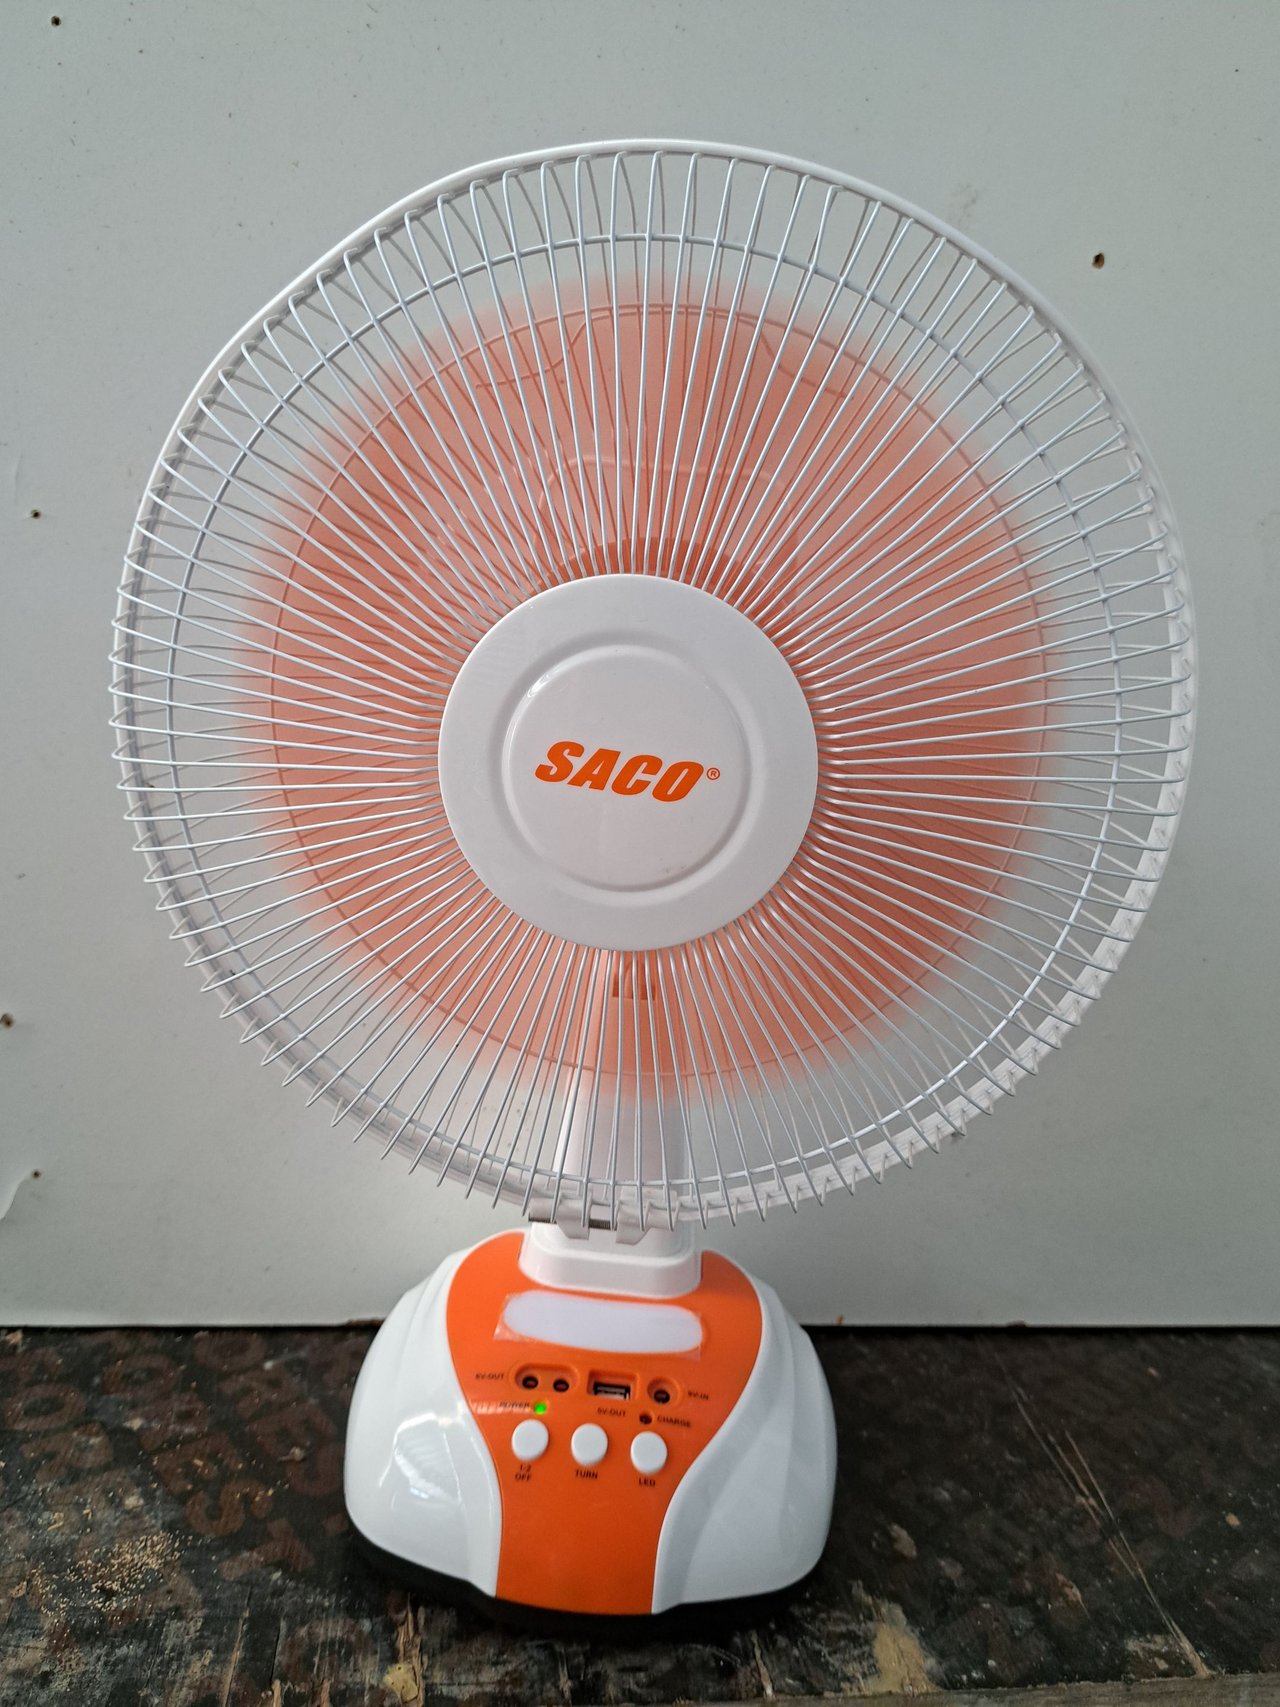
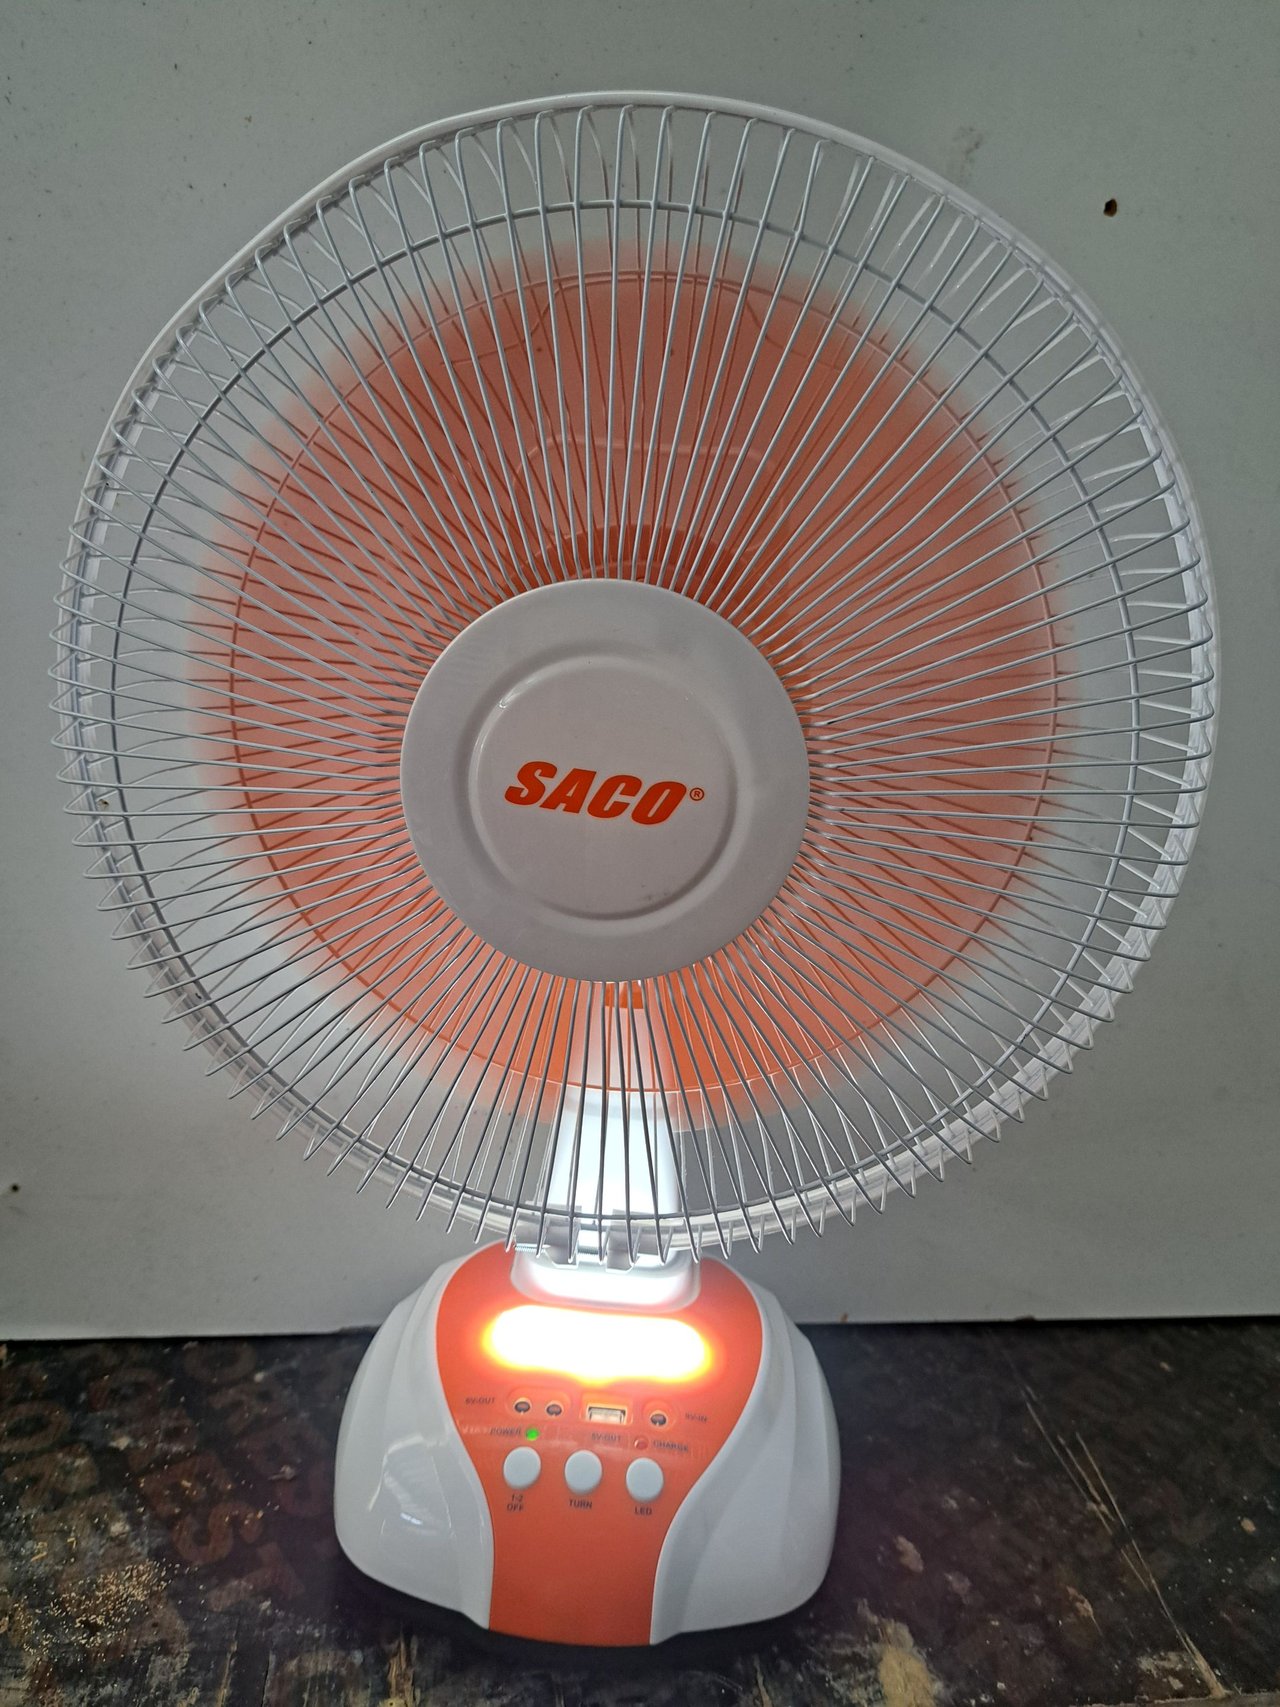
Thus concludes the repair of this rechargeable fan, which is in perfect working order and ready to cool the environment in these summer days when there is a lack of electricity. I hope this tutorial has been to your liking. For now I say goodbye, but it is not a goodbye, it is a see you later.
De esta manera concluye la reparación de este ventilador recargable, el cual se encuentra en perfecto estado operativo y listo para refrescar el ambiente en estos días de verano en los que falta el fluido eléctrico. Espero que este tutorial haya sido de su agrado. Por ahora me despido, pero no es un adiós, es un hasta luego.
Final Result // Resultado Final
 |  |


Thank you very much for reading my post. If you liked it, please leave a comment and consider following me so you don't miss my next posts. I'd love to know your opinion and your thoughts about the topic I discussed in this post, see you in the next one!

Credits and Resources // Créditos y Recursos
Cover page created in Canva
Translated by DeepL
Images captured with my Samsung Galaxy A53 5G


Posted Using InLeo Alpha
Excelente gracias por compartir esta micro capacitación, feliz tarde
Un verdadero placer, feliz tarde para usted también.
👍🤗👏
Hola amigo. Te felicito por tu conocimiento capaz de arreglar cosas como estás, nada más útil que podés arreglar algo para volver a hacerlo funcional. Que bueno que el ventilador no tenía nada tan grave, pero bien por revisar todas las posibles causas. Quedó genial. Te mando un saludo ❣️.
Por suerte no tenía nada grave. Muchísimas gracias por pasarte y comentar. Feliz día y saludos.
En mi experiencia reparando electrodomésticos son los mecanismos lo que en general fallan, la parte eléctrica es la que sigue y la electrónica es lo último. Si bien lo que faltaba en este ventilador era parte de la electrónica fue por el desgaste mecánico. Excelente trabajo reparando ese ventilador, cliente feliz 💪🤘
Tienes razón cuando dices que la electrónica es lo último en fallar y es que la construyen con ese propósito. Gracias por comentar. Saludos.
Está muy bien presentada las imágenes de la publicación, no he visto ese modelo de ventilador, en verdad tengo ganas de encontrar uno para desarmarlo, me toca esperar un poco.
En la rotura del plástico por dentro, si me permite una recomendación: unas grapas colocadas con calor le darán una unión más robusta.
Muy buen trabajo amigo.
Lo de las grapas me parece una muy buena opción veré si la puedo poner en práctica. Agradezco muchísimo la sugerencia. Saludos.
No soy tan bueno para explicar como usted, pero tengo publicado como hacer esa soldadura con plástico y grapas.
Espero que le pueda ser de alguna utilidad, amigo.
Revisaré en su perfil para ver cómo aplica dicha técnica. Nunca está de más aprender algo nuevo.