FULL ENGLISH VERSION
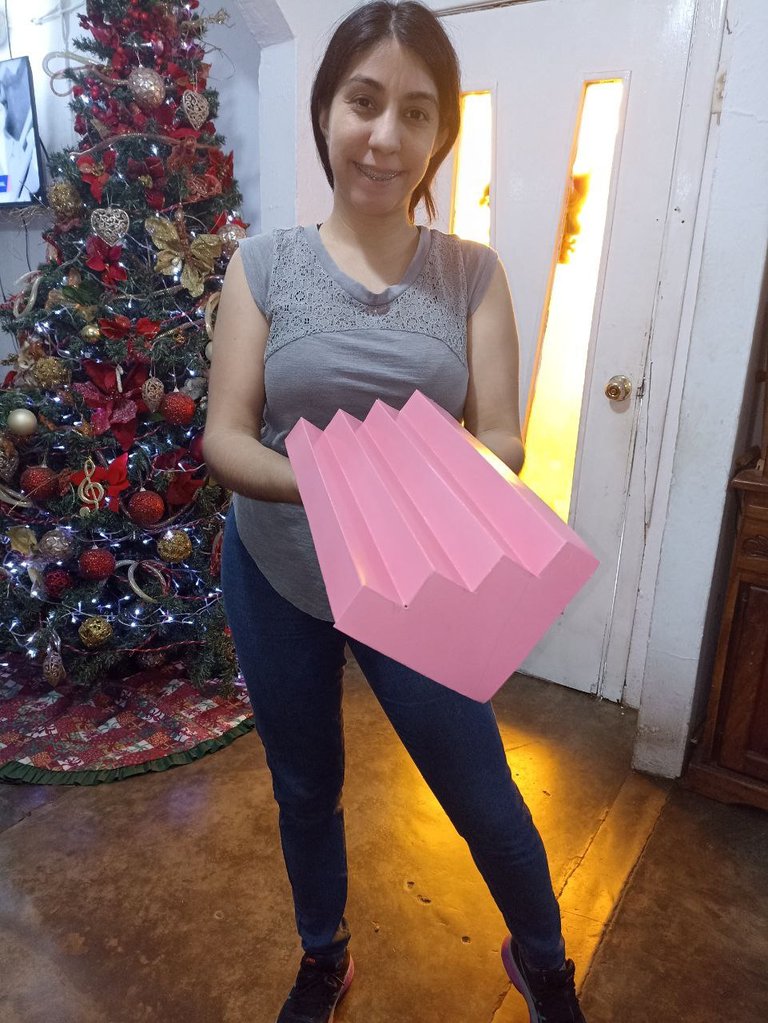
Join me in making this beautiful cardboard stand.
Hello dear HIVERS, especially to all the beautiful people who make life in the HIVE DIY community ❤️🤗 this is my second publication here with you and it is that for my baking work sometimes I also have to make some handmade stationery.
In this opportunity I am going to show you how I made this beautiful and practical stand, which was made completely by hand and with my own pattern created at the time of its elaboration.
Materials:
*Double-sided cardboard
*Silicone gun.
*Silicone.
*Ruler 📏📐
*Pencils.
*Pencils
*Scissors ✂️
 |  |  |
|---|
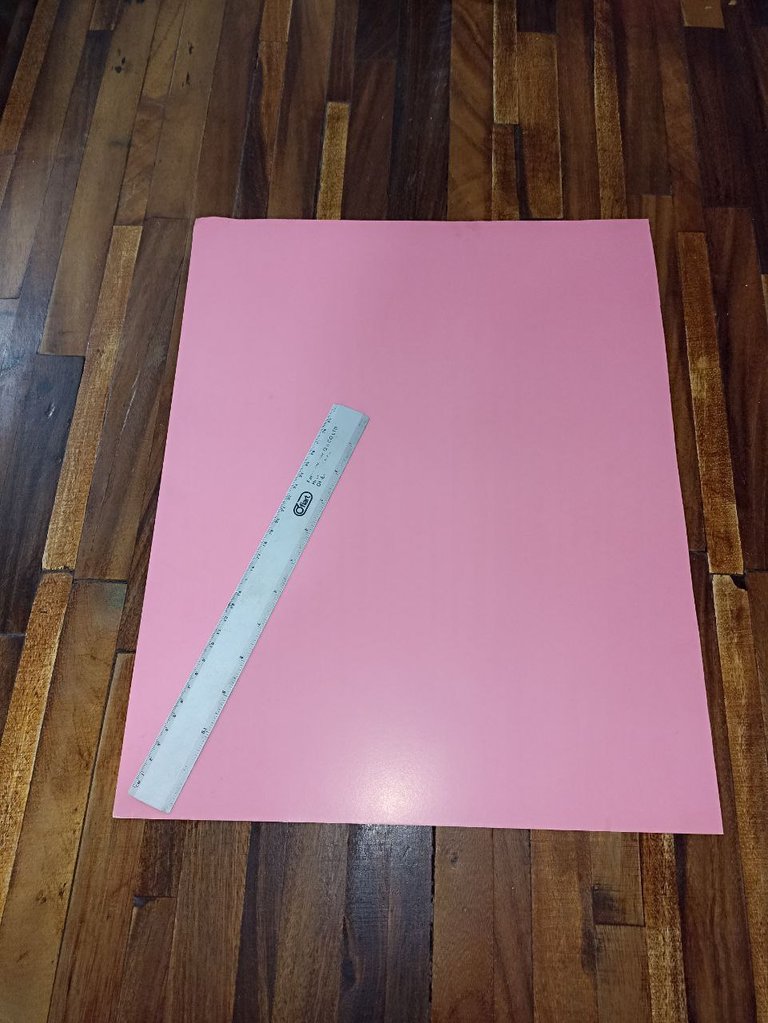
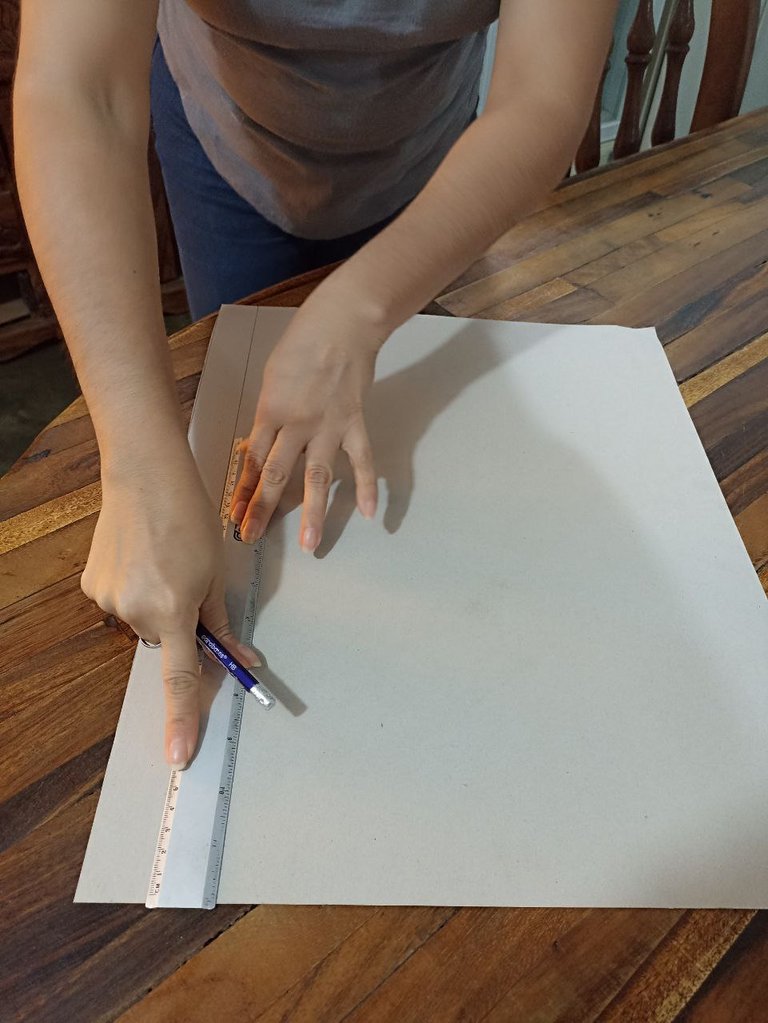
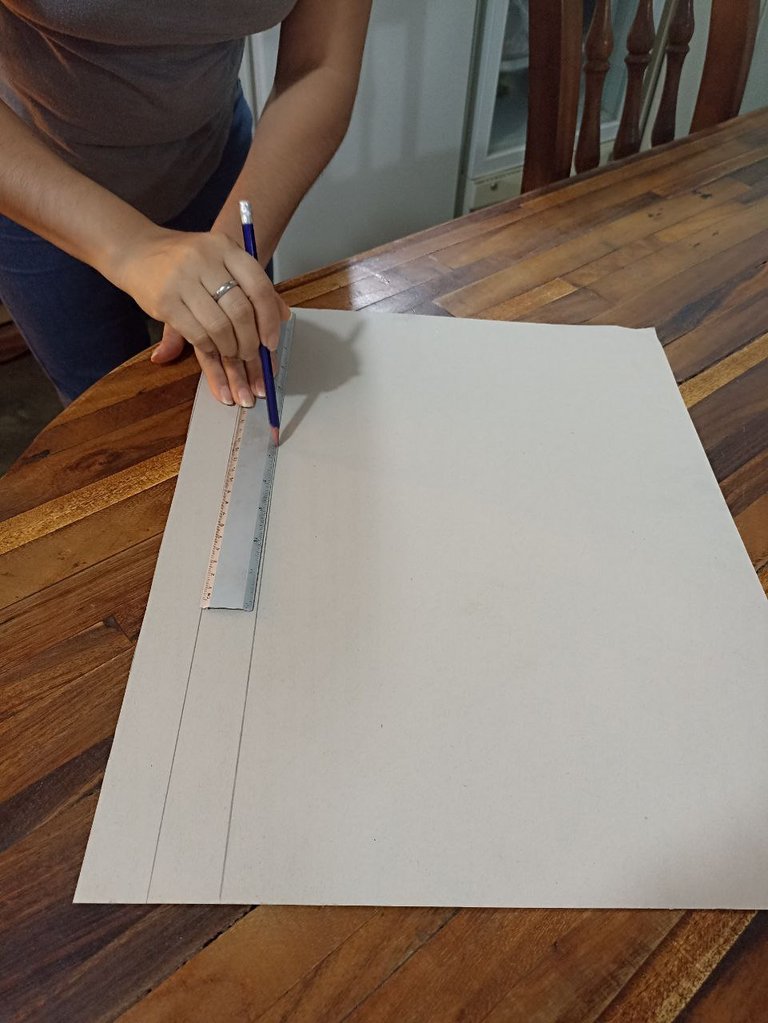
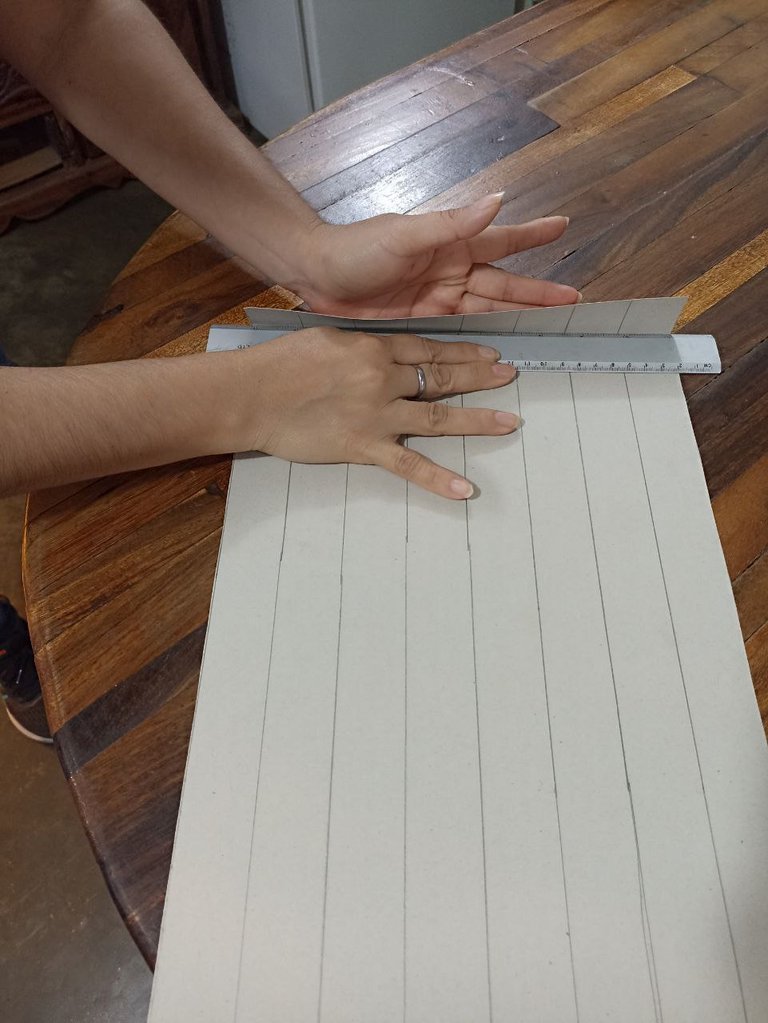
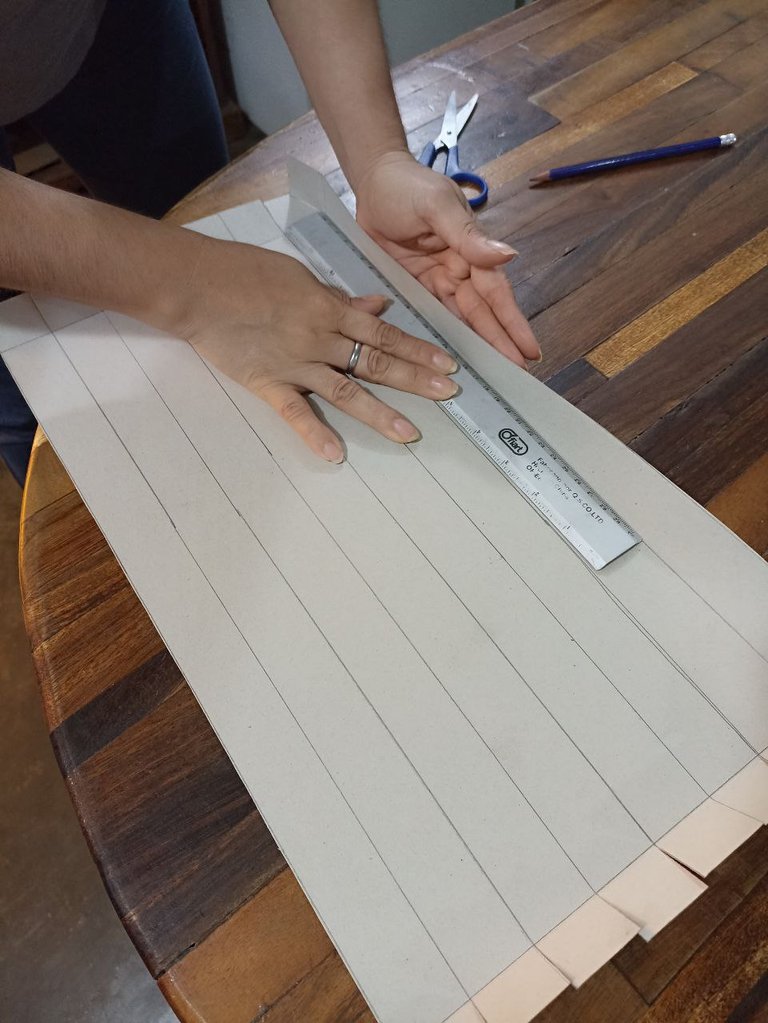
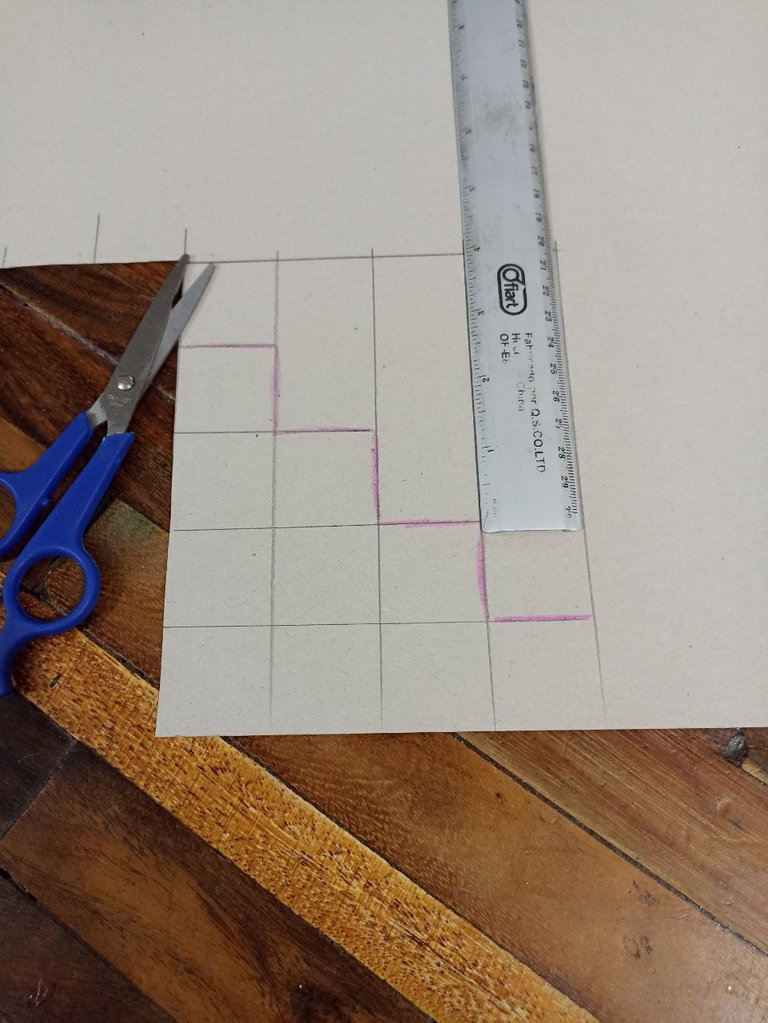
We take the cardboard, a pencil and the ruler to start drawing the lines that will mark the points where we are going to fold.
I used the ruler as a base measurement, the width of the ruler was my width of each section, but you can give it the measurement you want, at the end of the post I will leave a pattern to guide you better.
 |  |  |
|---|
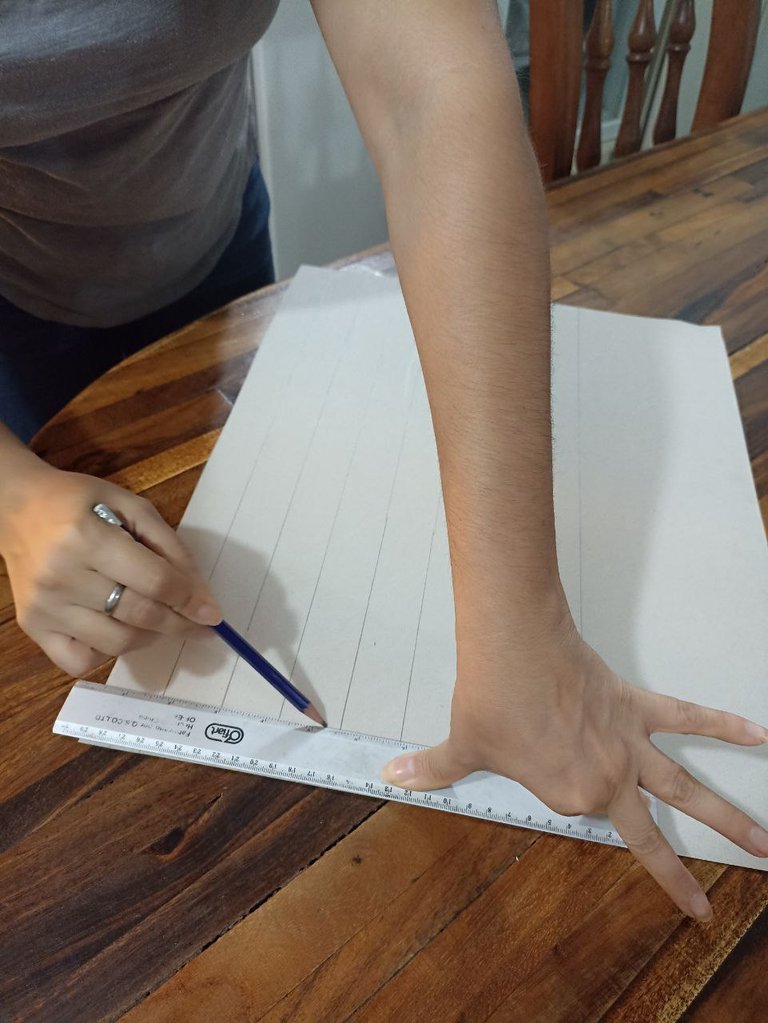
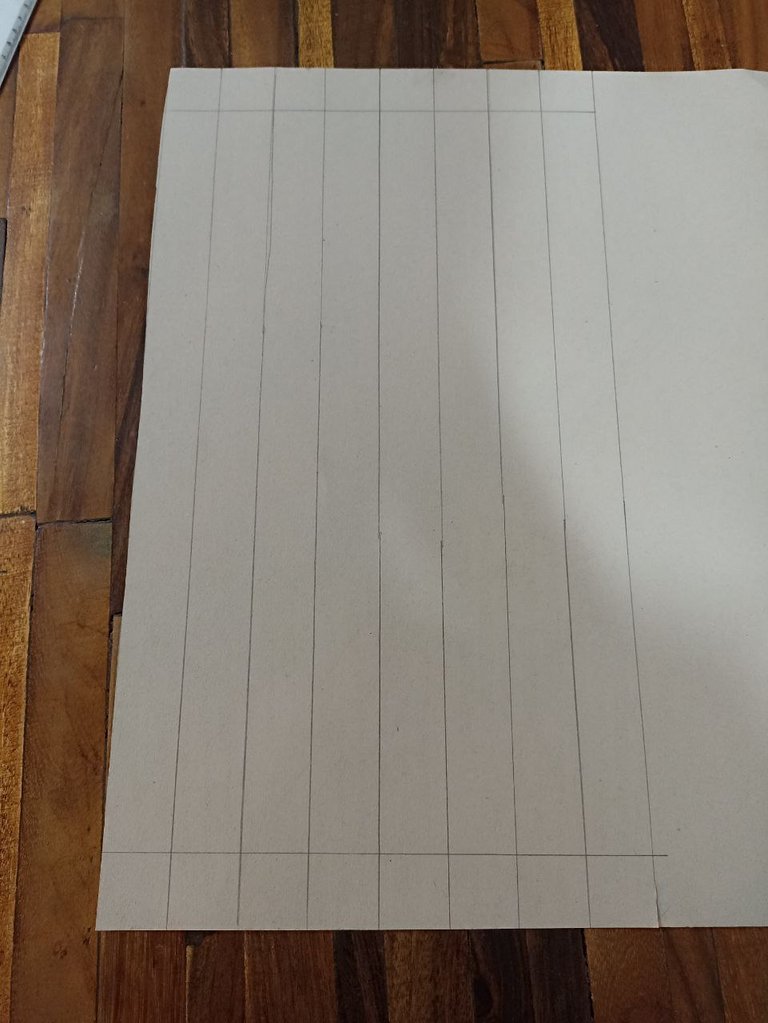
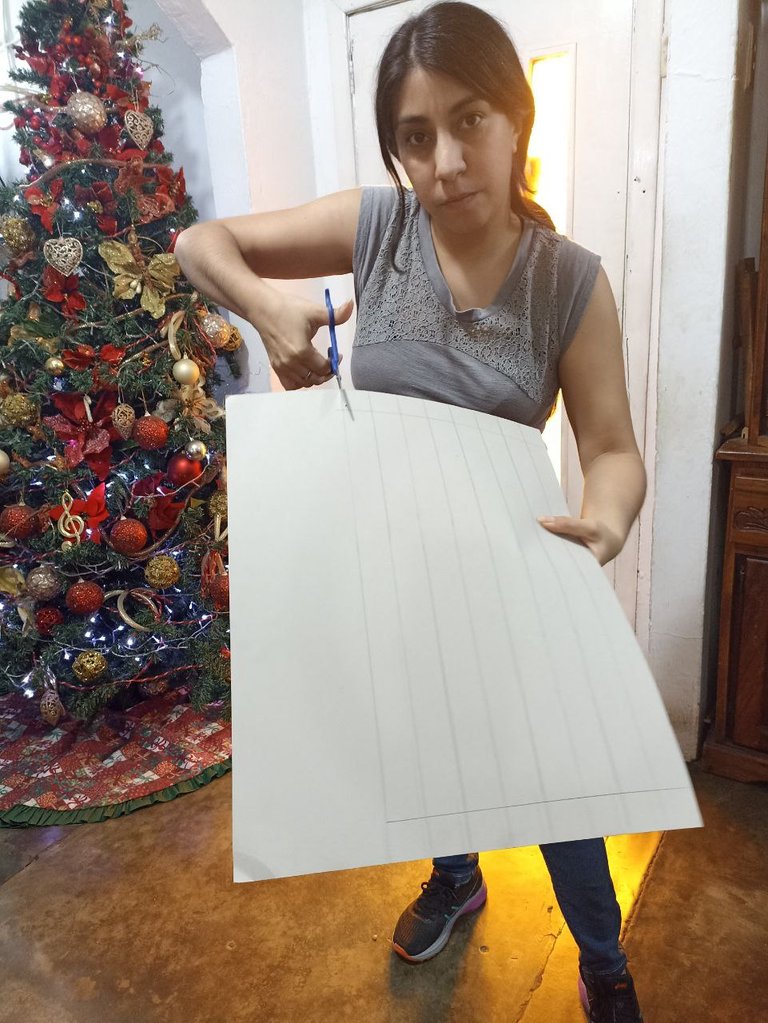
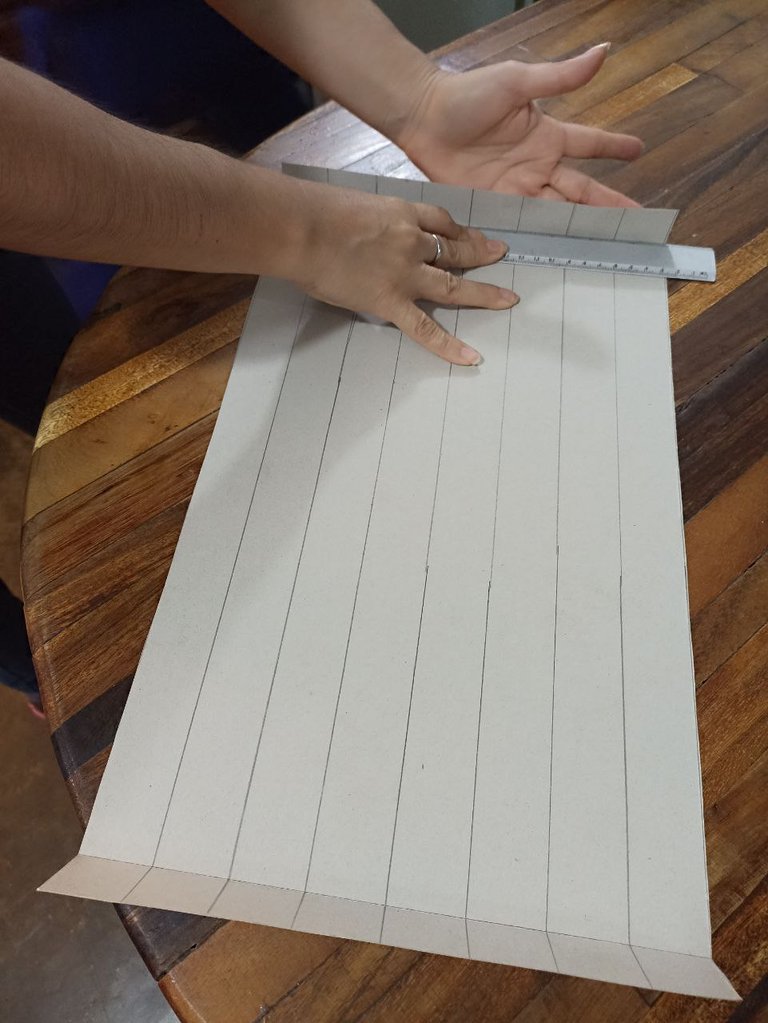
First I drew on the longest part of the cardboard 8 long sections, all the width of my ruler. And then I drew perpendicularly a section of the same width at each end of the paper as you can see in the photo.
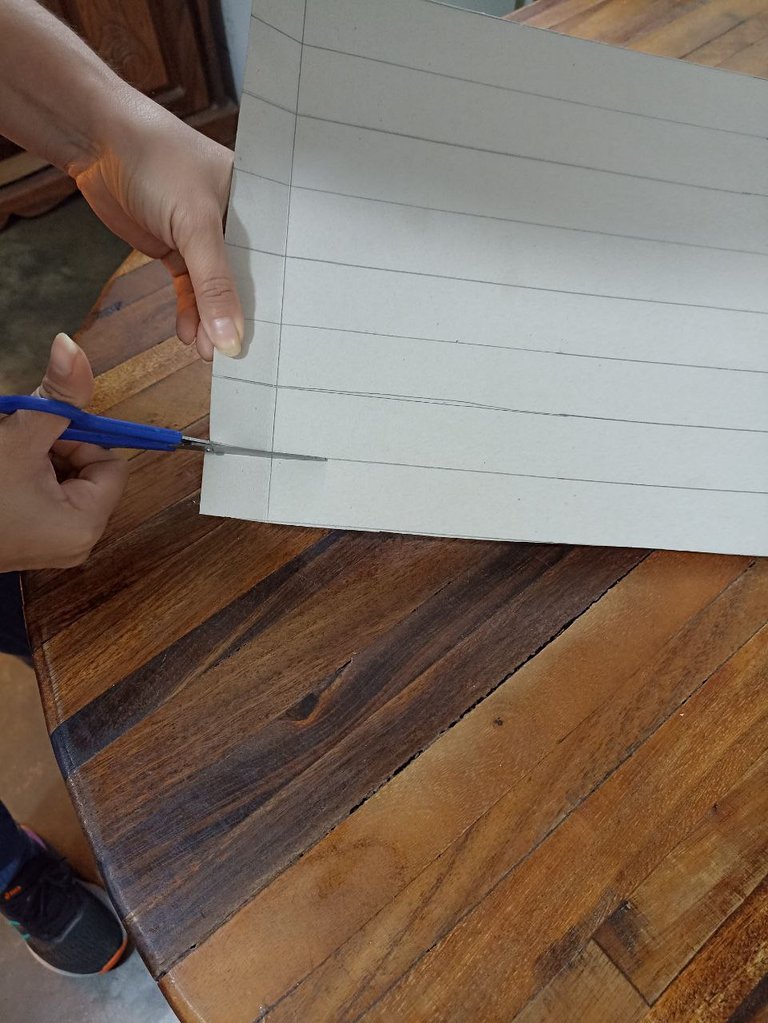
I was left with a kind of rectangle, with eight long sections and each section has a little square at each end that will be used later to glue and shape. After that I proceeded to cut with the scissors.
 |  |  |  |
|---|
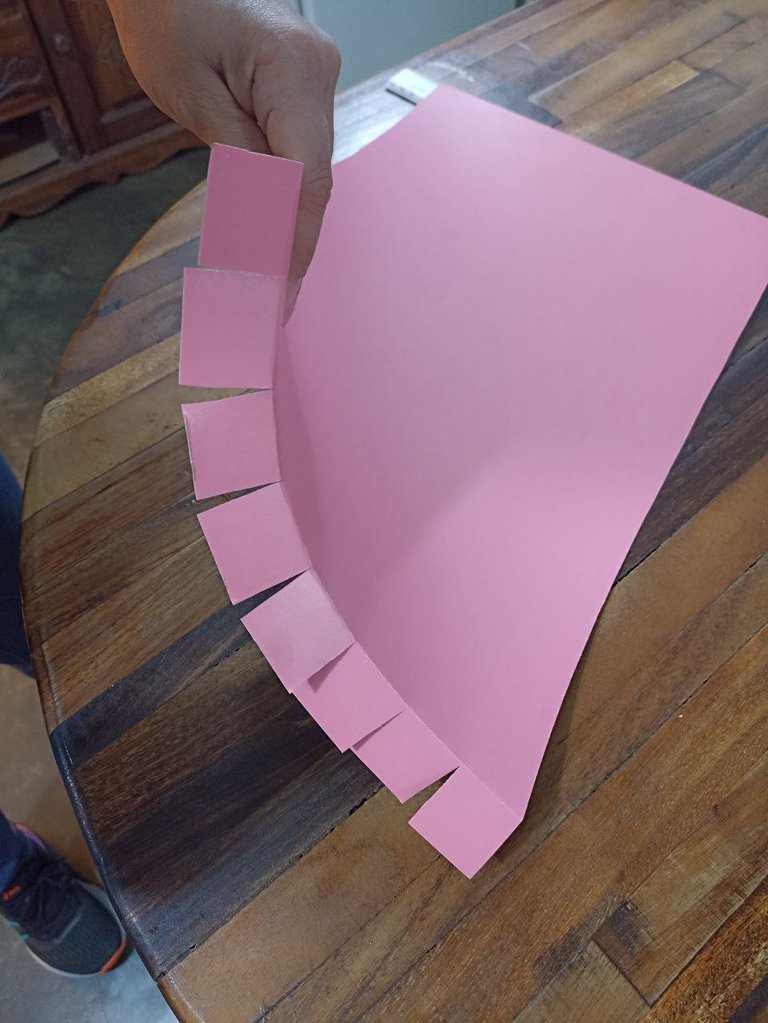
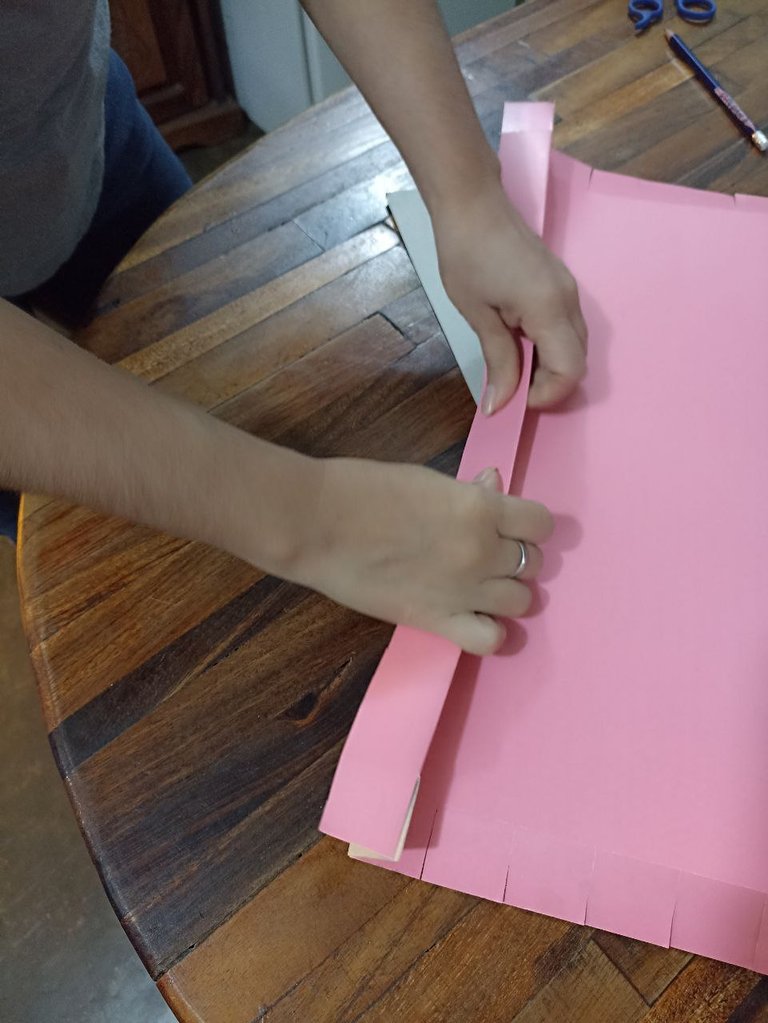
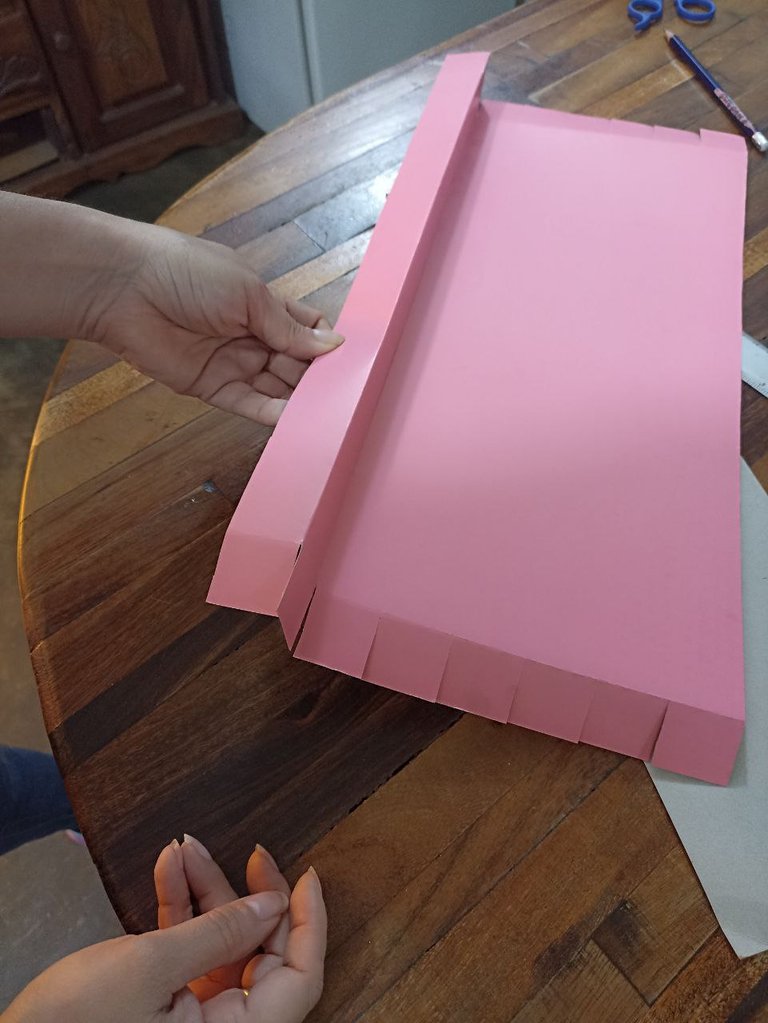
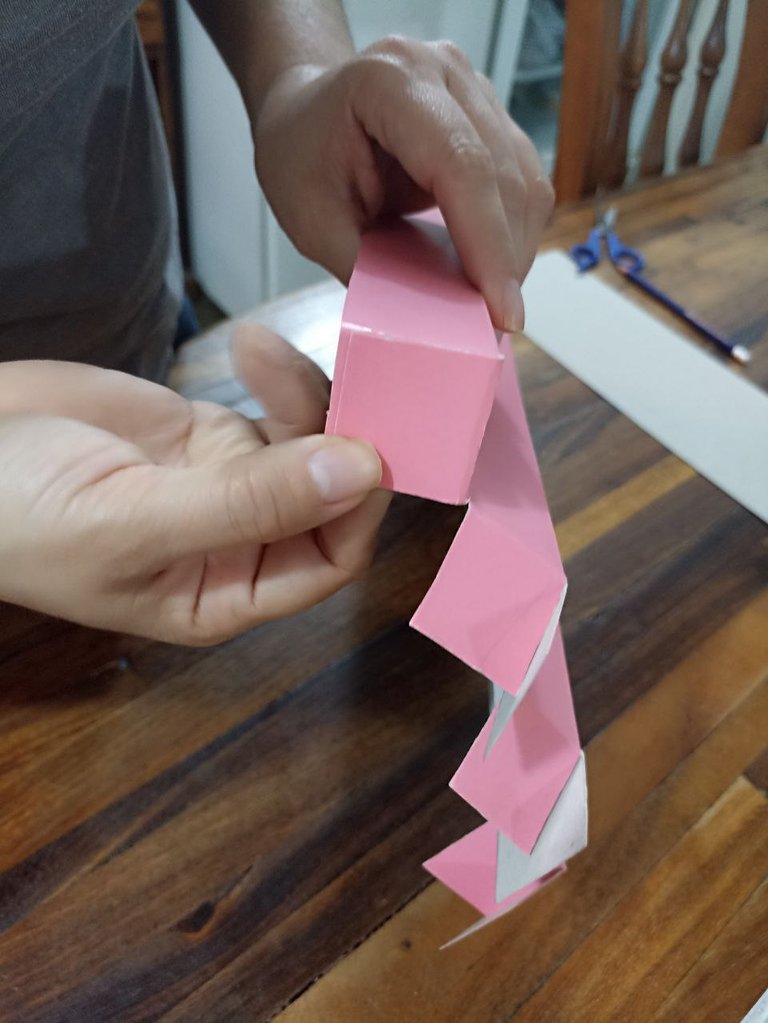
After cutting the rectangle with the lines already marked, we proceed to fold the two ends where the two perpendicular sections are.
Once we have bent these two sections of the ends we proceed to cut and leave some kind of tabs in the form of squares.
 |  |  |  |
|---|
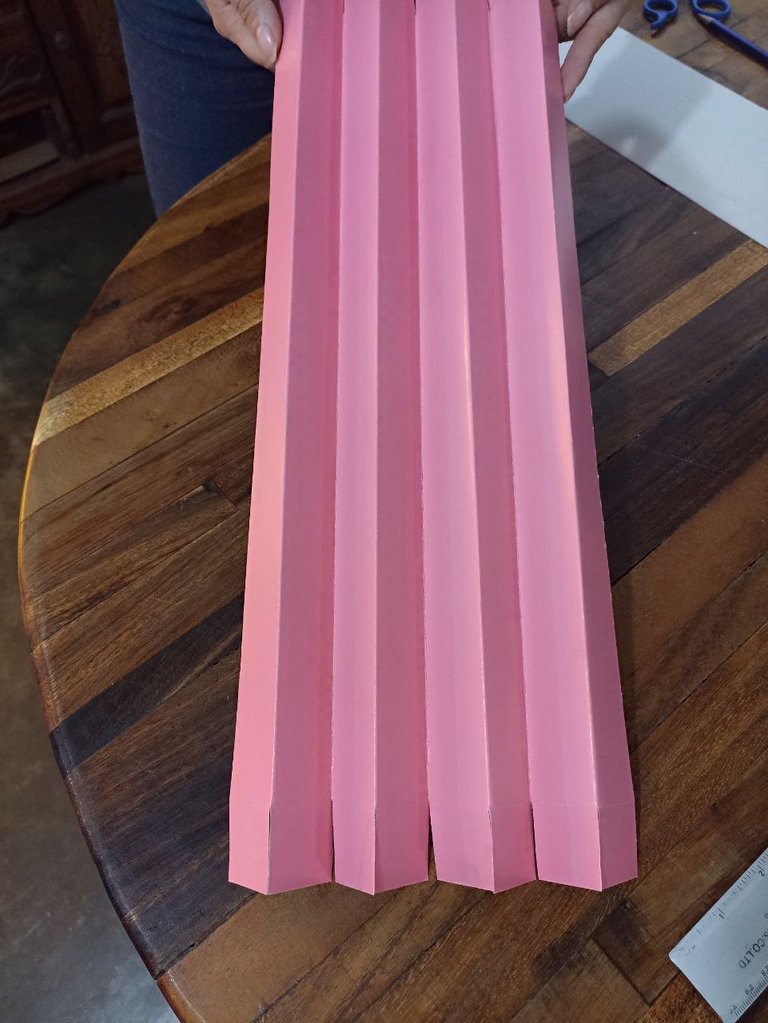
Then we proceed to fold in each line and intercalating one folding inward and another outward and so on until we have folded the 8 sections that will give us as a result the 4 steps of our stand.
Once we have bent all the sections, we proceed to glue square upon square of each end to start giving support to the structure.
 |  |  |  |
|---|
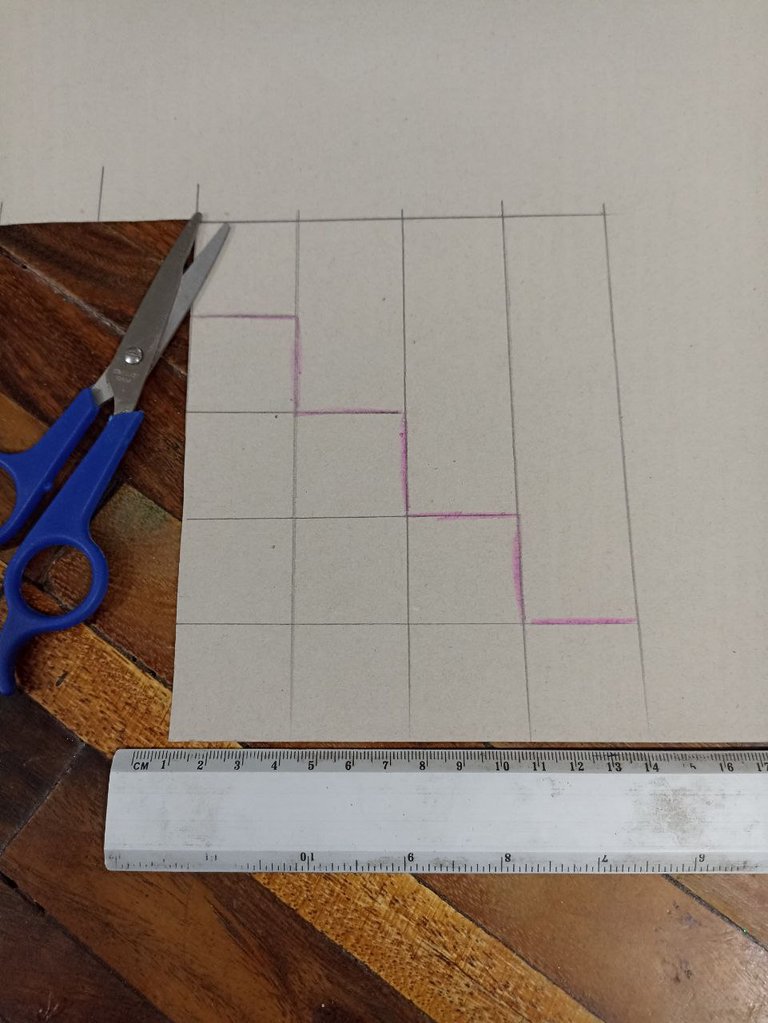
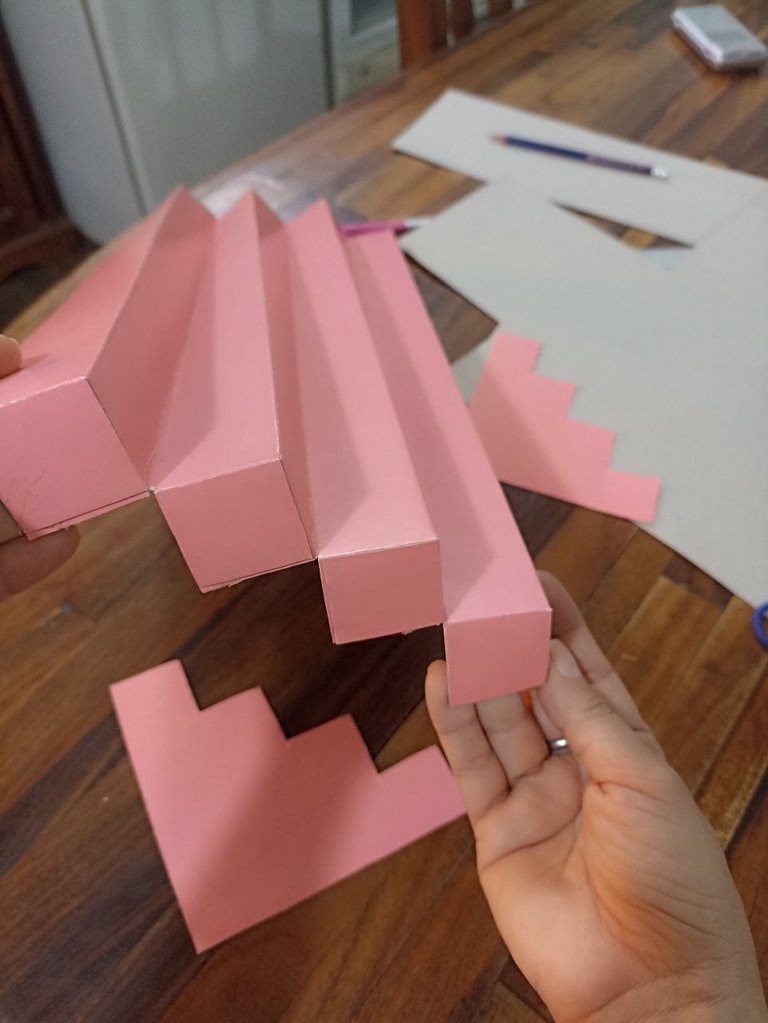
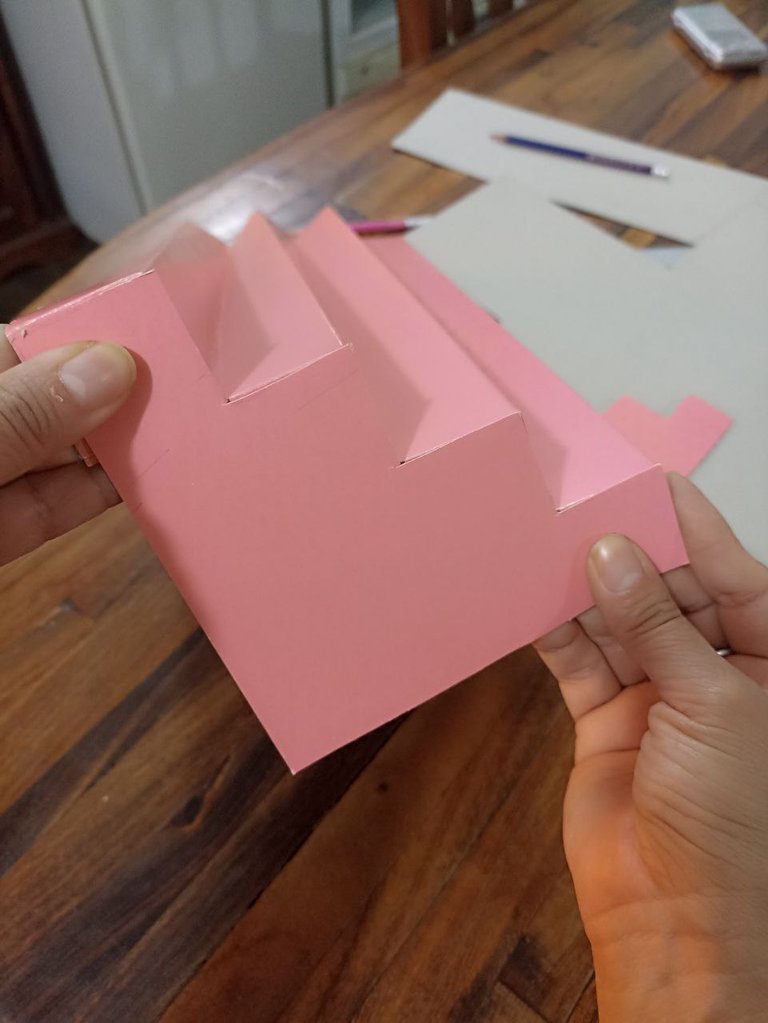
To give stability and final shape to our structure we draw a kind of steps of 4 levels which we will use to glue on each side and give firmness and stability to our stand.
In the pictures you can see how I made the drawing, here I also used the width of the ruler to have the same proportion. As I mentioned at the beginning I did not use any pattern, I simply developed this design with inspiration and mental guidance.
 |  |
|---|
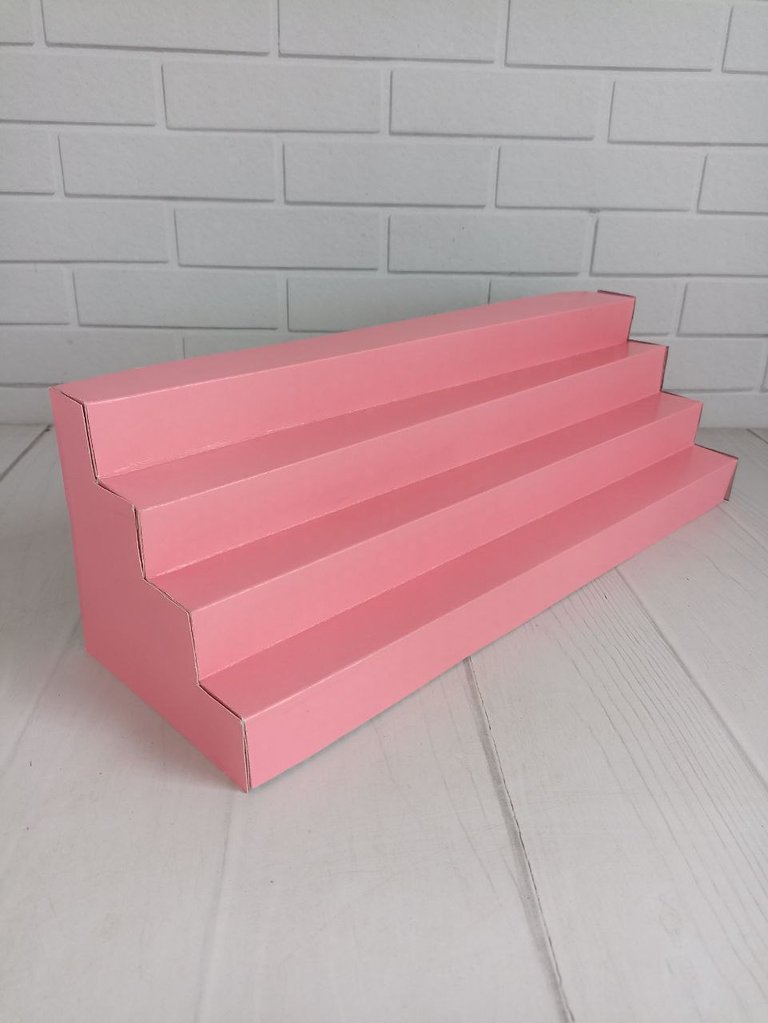
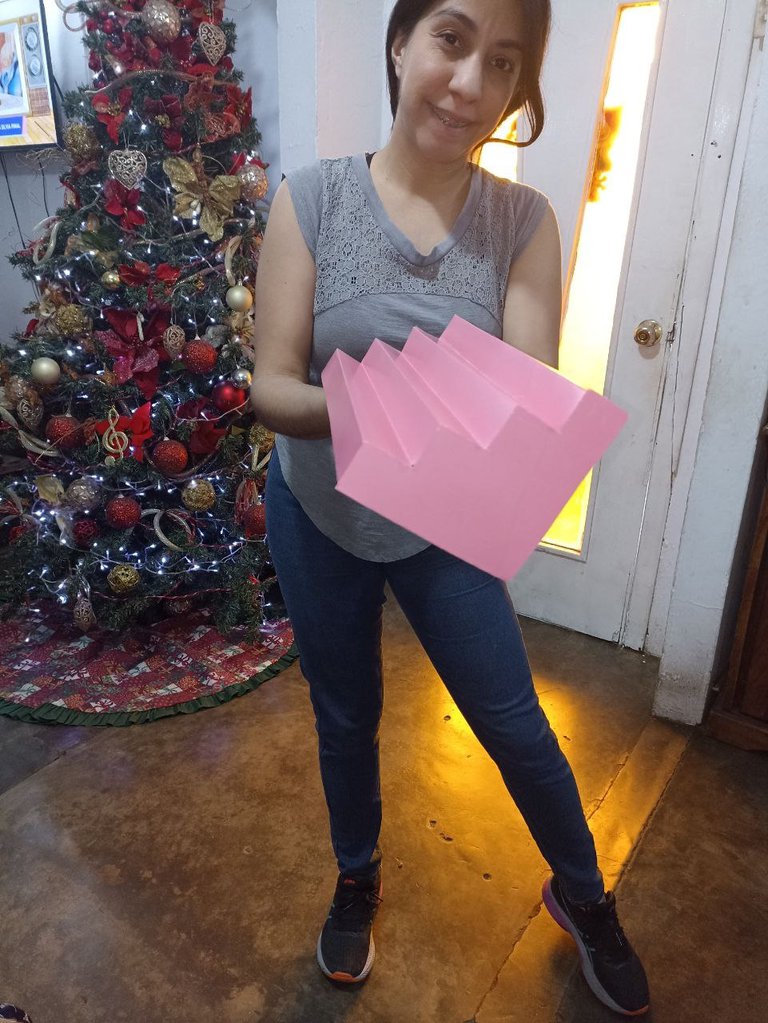
After we cut out our steps we glue them on each side and this is the structure 😍 this practical and super economical stand can be used to take pictures of small products, organize small merchandise, display mini candies or the design can be used for something bigger.
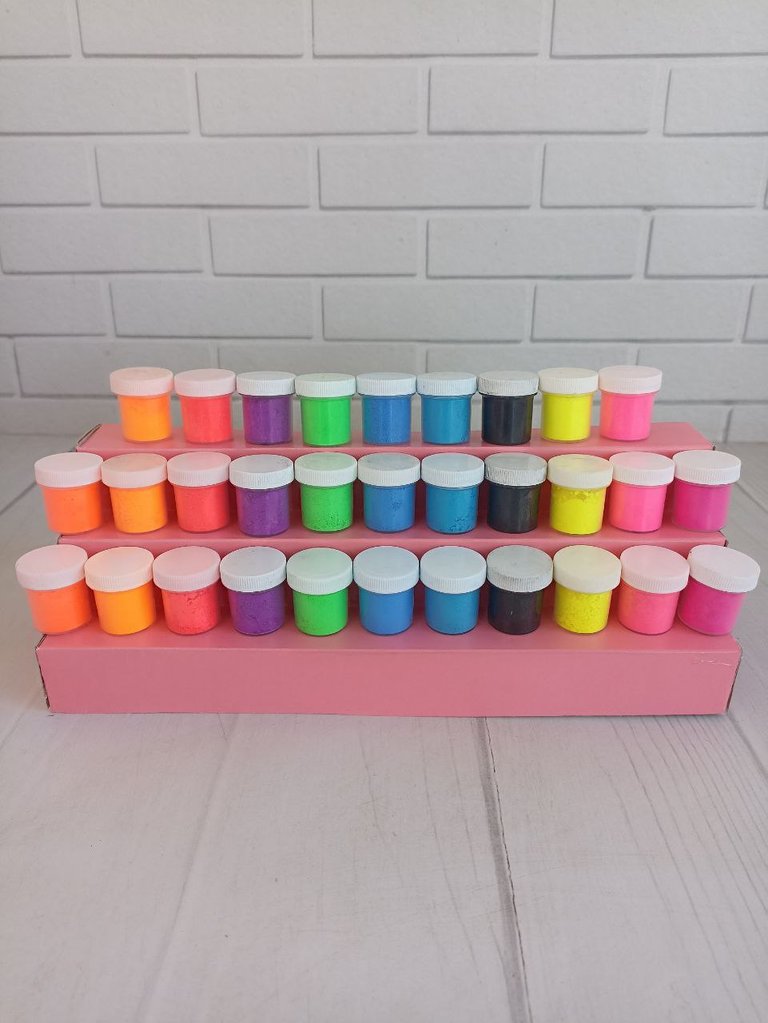
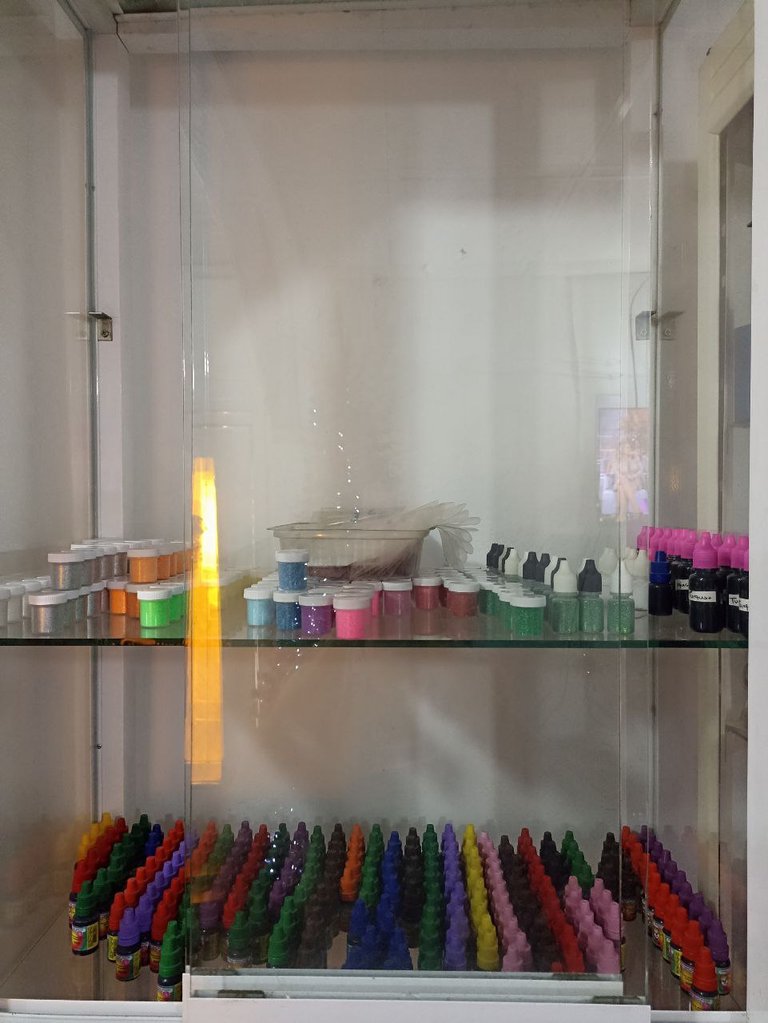
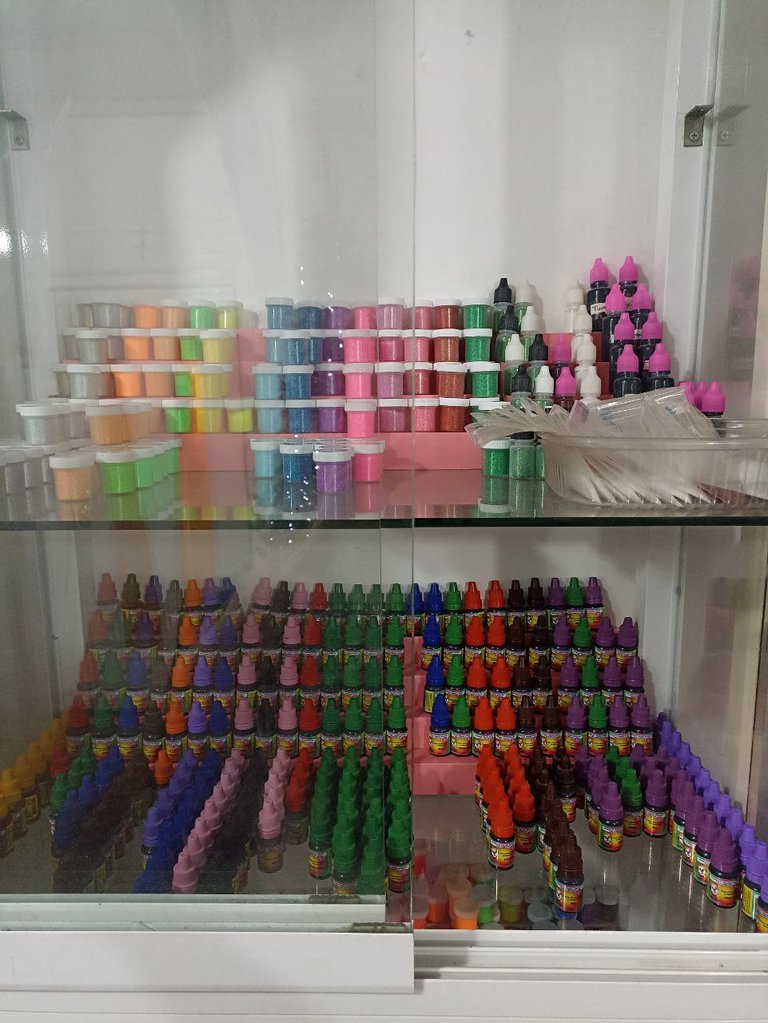
I used them to take pictures of baking colorings that I sell in my online store and I also took the opportunity to make several to better organize the merchandise in the window of my little shop. Here in the following pictures you can see the before and after of my showcase after having made these mini stands with cardboard.
 |  |
|---|
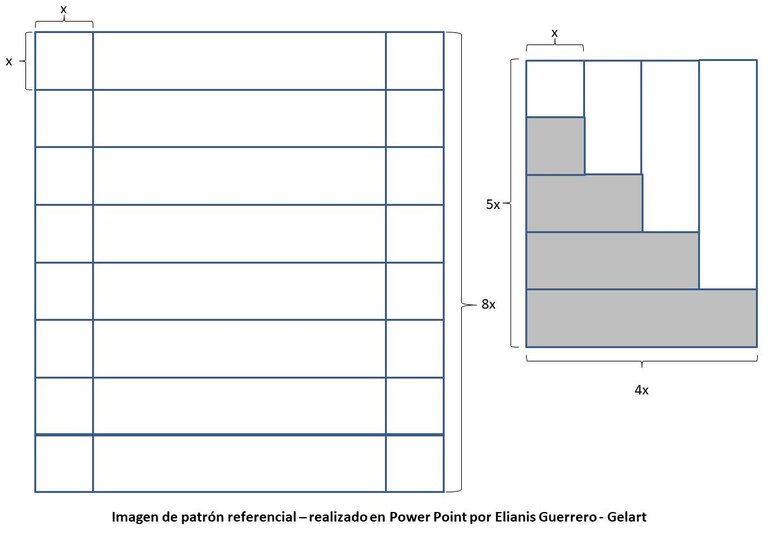
And although I made this without any kind of pattern I took the time to make one in powerpoint so that you have it as a guide if you want to make this work or something similar.
I put “X” for the measure of the width of the sections so that if someone wants to do it they can give it the measure they want. The measure of my “X” was the width of the ruler which is approximately 4cm. Here I leave in the following image the pattern that I made for you. I hope it serves as a reference in case someone wants to develop this design ❤️
I hope you liked my publication today ❤️ that is a valuable contribution for those who can serve 🙏 the idea is to add constructive content that you can take advantage 💪 I say goodbye for now, a big hug 🤗 blessings to all 🙏 thank you for reading me.
The photos used throughout the post were taken with my Redmi 10S phone.
Banners & Signatures Made in Corel Draw Photo-Paint
Translation to English with DeepL
My Social Media


Español

Acompáñame a hacer este bello stand de cartulina.
Hola queridos HIVERS en especial a toda la gente linda que hace vida en la comunidad de HIVE DIY ❤️🤗 está es mi segunda publicación por acá con ustedes y es que para mí trabajo de repostería a veces también toca hacer un poco de papelería artesanal.
En esta oportunidad les voy a enseñar como hice este bello y práctico stand, el cual fue realizado completamente a mano y con un patrón propio creado al momento de su elaboración.
Materiales:
*Cartulina doble faz
*Pistola de silicón.
*Silicón.
*Regla 📏📐
*Lápices
*Tijera ✂️
 |  |  |
|---|
Tomamos la cartulina, un lápiz y la regla para comenzar a trazar las líneas que nos van a marcar los puntos donde vamos a doblar.
Yo utilicé la regla como medida base, el ancho de la regla fue mi ancho de cada tramo, pero ustedes pueden darle la medida que deseen, al final del post les voy a dejar un patrón para que se guíen mejor.
 |  |  |
|---|
Primero dibujé por la parte más larga de la cartulina 8 tramos largos, todos del ancho de mi regla. Y luego trace en perpendicular un tramo del mismo ancho en cada extremo del papel como lo pueden observar en la foto.
Me quedo una especie de rectángulo, con ocho tramos largos y cada tramo tiene un cuadrito en cada extremo que será usado luego para pegar y dar forma. Luego de tener esto procedí a cortar con la tijera.
 |  |  |  |
|---|
Luego de cortar el rectángulo con las líneas ya marcadas, procedemos a doblar los dos extremos donde están los dos tramos perpendiculares.
Una vez tenemos doblados esos dos tramos de los extremos procedemos a cortar y dejamos unas especies de pestañas en forma de cuadros.
 |  |  |  |
|---|
Luego procedemos a doblar en cada línea y vamos intercalando una doblamos hacia adentro y otra hacia afuera y así sucesivamente hasta tener doblados los 8 tramos que nos dará como resultado los 4 escalones de nuestros stand.
Una vez que tenemos doblados todos los tramos, procedemos a pegar cuadrito sobre cuadrito de cada extremo comenzar a darle soporte a la estructura.
 |  |  |  |
|---|
Para dar estabilidad y forma final a nuestra estructura dibujamos una especie de escalones de 4 niveles los cuales usaremos para pegar en cada lado y dar firmeza y estabilidad a nuestro stand.
En las fotos pueden observar como hice el dibujo, aquí también me guíe por el ancho de la regla para que tuviera la misma proporción. Como les comenté al principio no utilicé ningún patrón, simplemente desarrollé este diseño con inspiración y guía mental.
 |  |
|---|
Luego que recortamos nuestros escalones los pegamos en cada lado y así queda está estructura 😍 este práctico y súper económico stand lo pueden utilizar para hacer fotos de productos pequeños, organizar mercancía pequeña, exhibir mini dulces o el diseño les puede servir quizás para algo más grande.

Yo los utilicé para tomar fotos a colorantes de repostería que vendo en mi tienda virtual y también aproveché de hacer varios para organizar mejor la mercancía en la vitrina de mi tiendita. Acá en las siguientes fotos pueden ver el antes y después de mi vitrina luego de haber realizado estos mini stands con cartulina.
 |  |
|---|
Y aunque esto lo realice sin ningún tipo de patrón me tomé el tiempo para hacerles uno en powerpoint para que lo tengan como guía por si quieren realizar este trabajo o algo similar.
Coloqué "X" para la medida del ancho de los tramos para que si alguien desea hacerlo pueda darle la medida que desee. La medida de mi "X" fue el ancho de la regla que es aproximadamente unos 4cm. Acá les dejo en la siguiente imagen el patrón que les realice. Espero sirva de referencia por si alguien desea desarrollar este diseño ❤️

Espero que les haya gustado mi publicación de hoy ❤️ que sea un aporte valioso para quien le pueda servir 🙏 la idea es sumar contenido constructivo al que le puedan sacar provecho 💪 me despido por ahora, un fuerte abrazo 🤗 bendiciones para todos 🙏 gracias por leerme.

Las fotos usadas a lo largo del post fueron tomadas con mi teléfono Redmi 10S.
Banners y Firma Hechos en Corel Draw Photo-Paint
Traducción al Inglés con DeepL
Mis Redes Sociales


Quedó demasiado lindo, aparte explicas muy bien cómo hacerlo, tanto que me siento capaz de replicarlo.
Hiciste un hermoso trabajo ✨
Gracias me alegra que te haya gustado ❤️ seguro que si puedes hacerlo es súper sencillo y puede ser muy útil 🥰❤️ gracias por tu comentario 🤗 saludos
Me gusta ese color de cartulina jijij, muy creativo y practico amiga, gracias por compartirlo, saludos.
Siii también me encanta el color 😍 combina con mi emprendimiento 👌 gracias por pasarte por aquí 🤗
As a community, we applaud your creativity. You didn’t just create a cardboard stand for the fun of it but for what it can do for you. Brilliant work!
Thank you ❤️ yes it is something quite functional to organize or display things, easy to make inexpensive 👌
Que esperas para unirte a nuestro trail de curación y formar parte del "proyecto CAPYBARA TRAIL"
Qué cambio, le hacía falta ese detalle para poder apreciar todos los productos. Muy buen trabajo y el acabado del stand quedó genial, parece de otro material, un abrazo! sigue así1 💕
Si 😍 ayudó mucho a darle mejor vista a los colorantes.
Inicialmente cuando hice el primero fue hace un tiempo con un pedacito de cartulina que me quedaba y fue con la idea de usarlo para tomar las fotos, pero luego lo terminé usando para organizar colores y pues aproveche la necesidad que surgió de hacer más para compartir el proceso por acá ❤️
Gracias por comentar y el apoyo 😘🤗❤️
Congratulations @gelart! You have completed the following achievement on the Hive blockchain And have been rewarded with New badge(s)
Your next target is to reach 3750 upvotes.
You can view your badges on your board and compare yourself to others in the Ranking
If you no longer want to receive notifications, reply to this comment with the word
STOPCheck out our last posts: