Saludos queridos amigos de HIVE DIY, espero tengáis un excelente día 🥰❤️
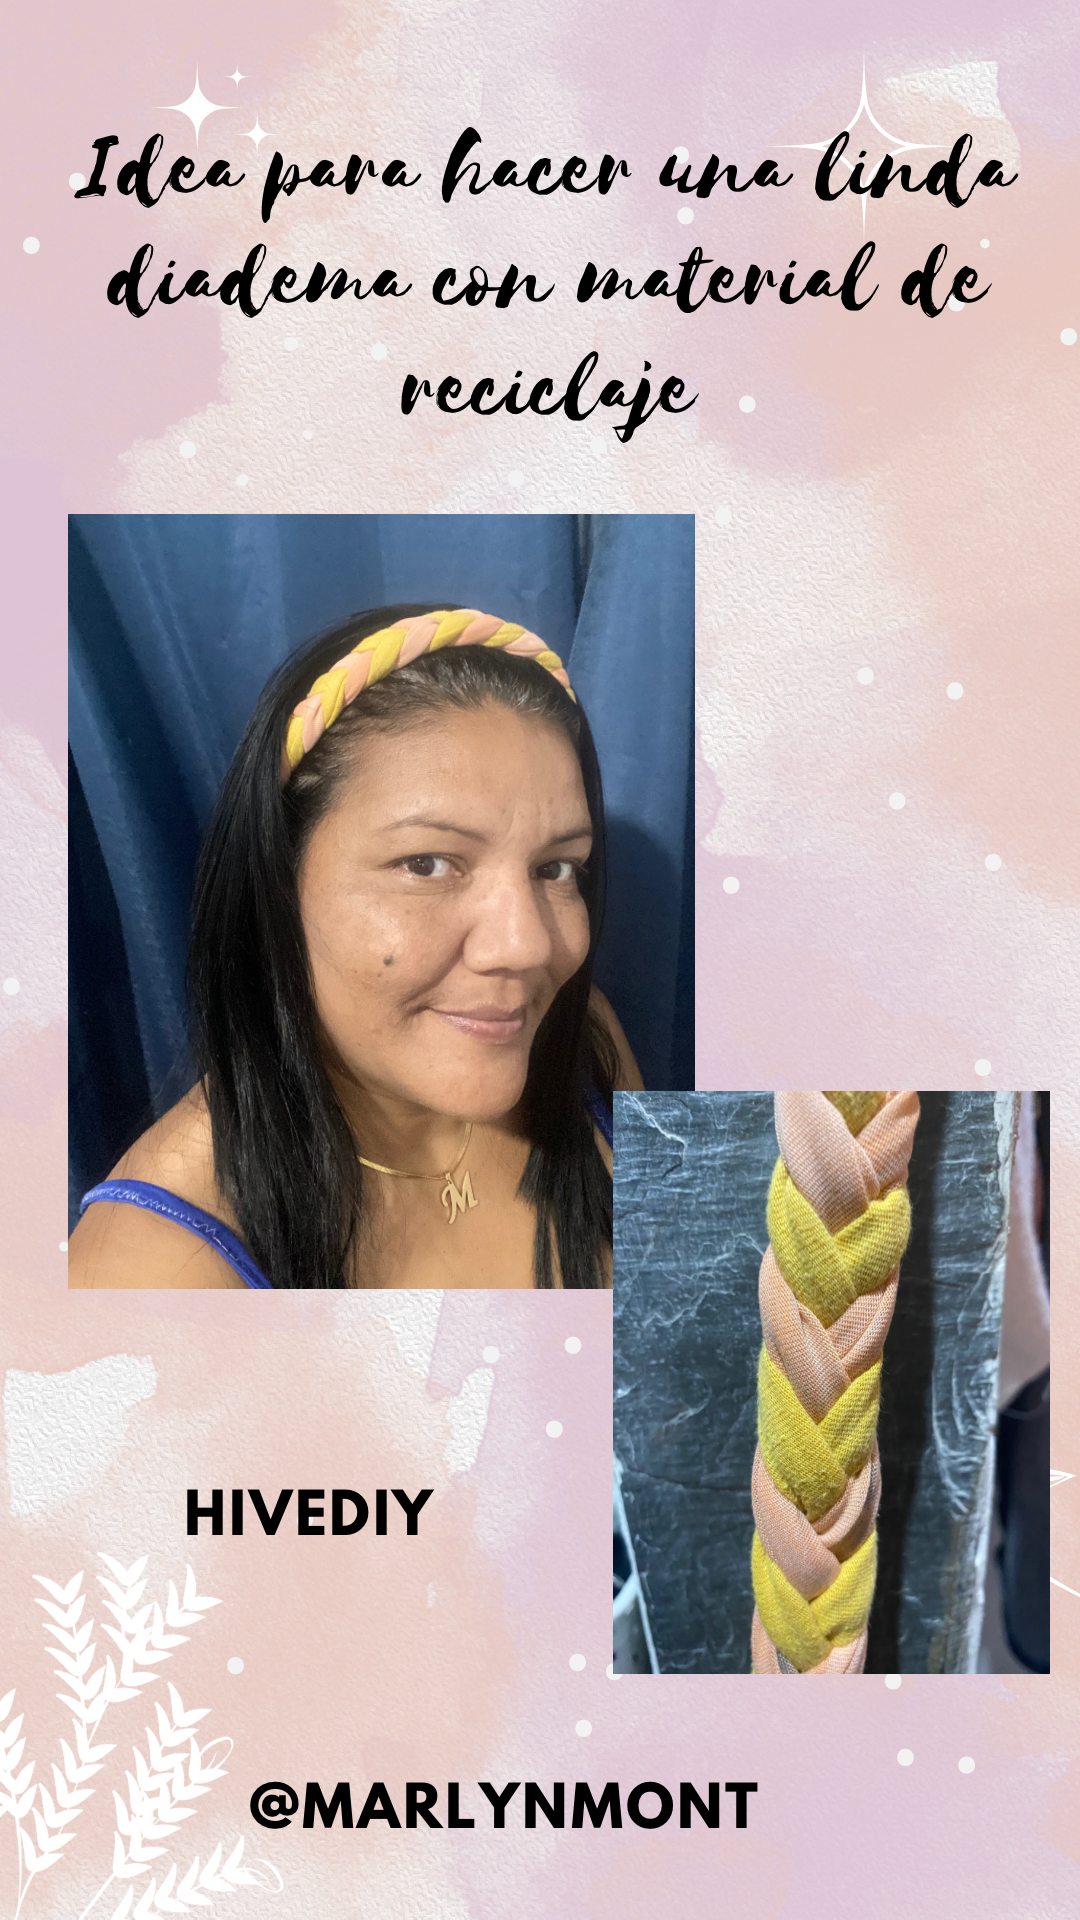
Tienes algunas franelas viejitas en tu casa y la vas a tirar?, alto, no lo hagas, hoy les traigo una idea para reutilizarlas haciendo un lindo accesorio para tu cabello, con estas franelas crearemos una linda diadema para nuestro cabello y lucir hermosas, ven y te muestro cómo hacerlas:
Greetings dear friends of HIVE DIY, I hope you have a great day 🥰❤️
Do you have some old flannels in your house and are you going to throw them away? Stop, don't do it, today I bring you an idea to reuse them by making a nice accessory for your hair, with these flannels we will create a nice headband for our hair and look beautiful, come and I will show you how to make them:
MATERIALES
MATERIALS
Siempre que cargo mi cabello suelto me molesta cuando la brisa me lo trae hacia la cara, recordé que hace un tiempo tuve unos cintillo o diadema tejidos pero deseaba algo diferente, entonces recordé unas franelas que tenía guardadas con la esperanza de encontrarles algún propósito y hoy ya se lo he encontrado.
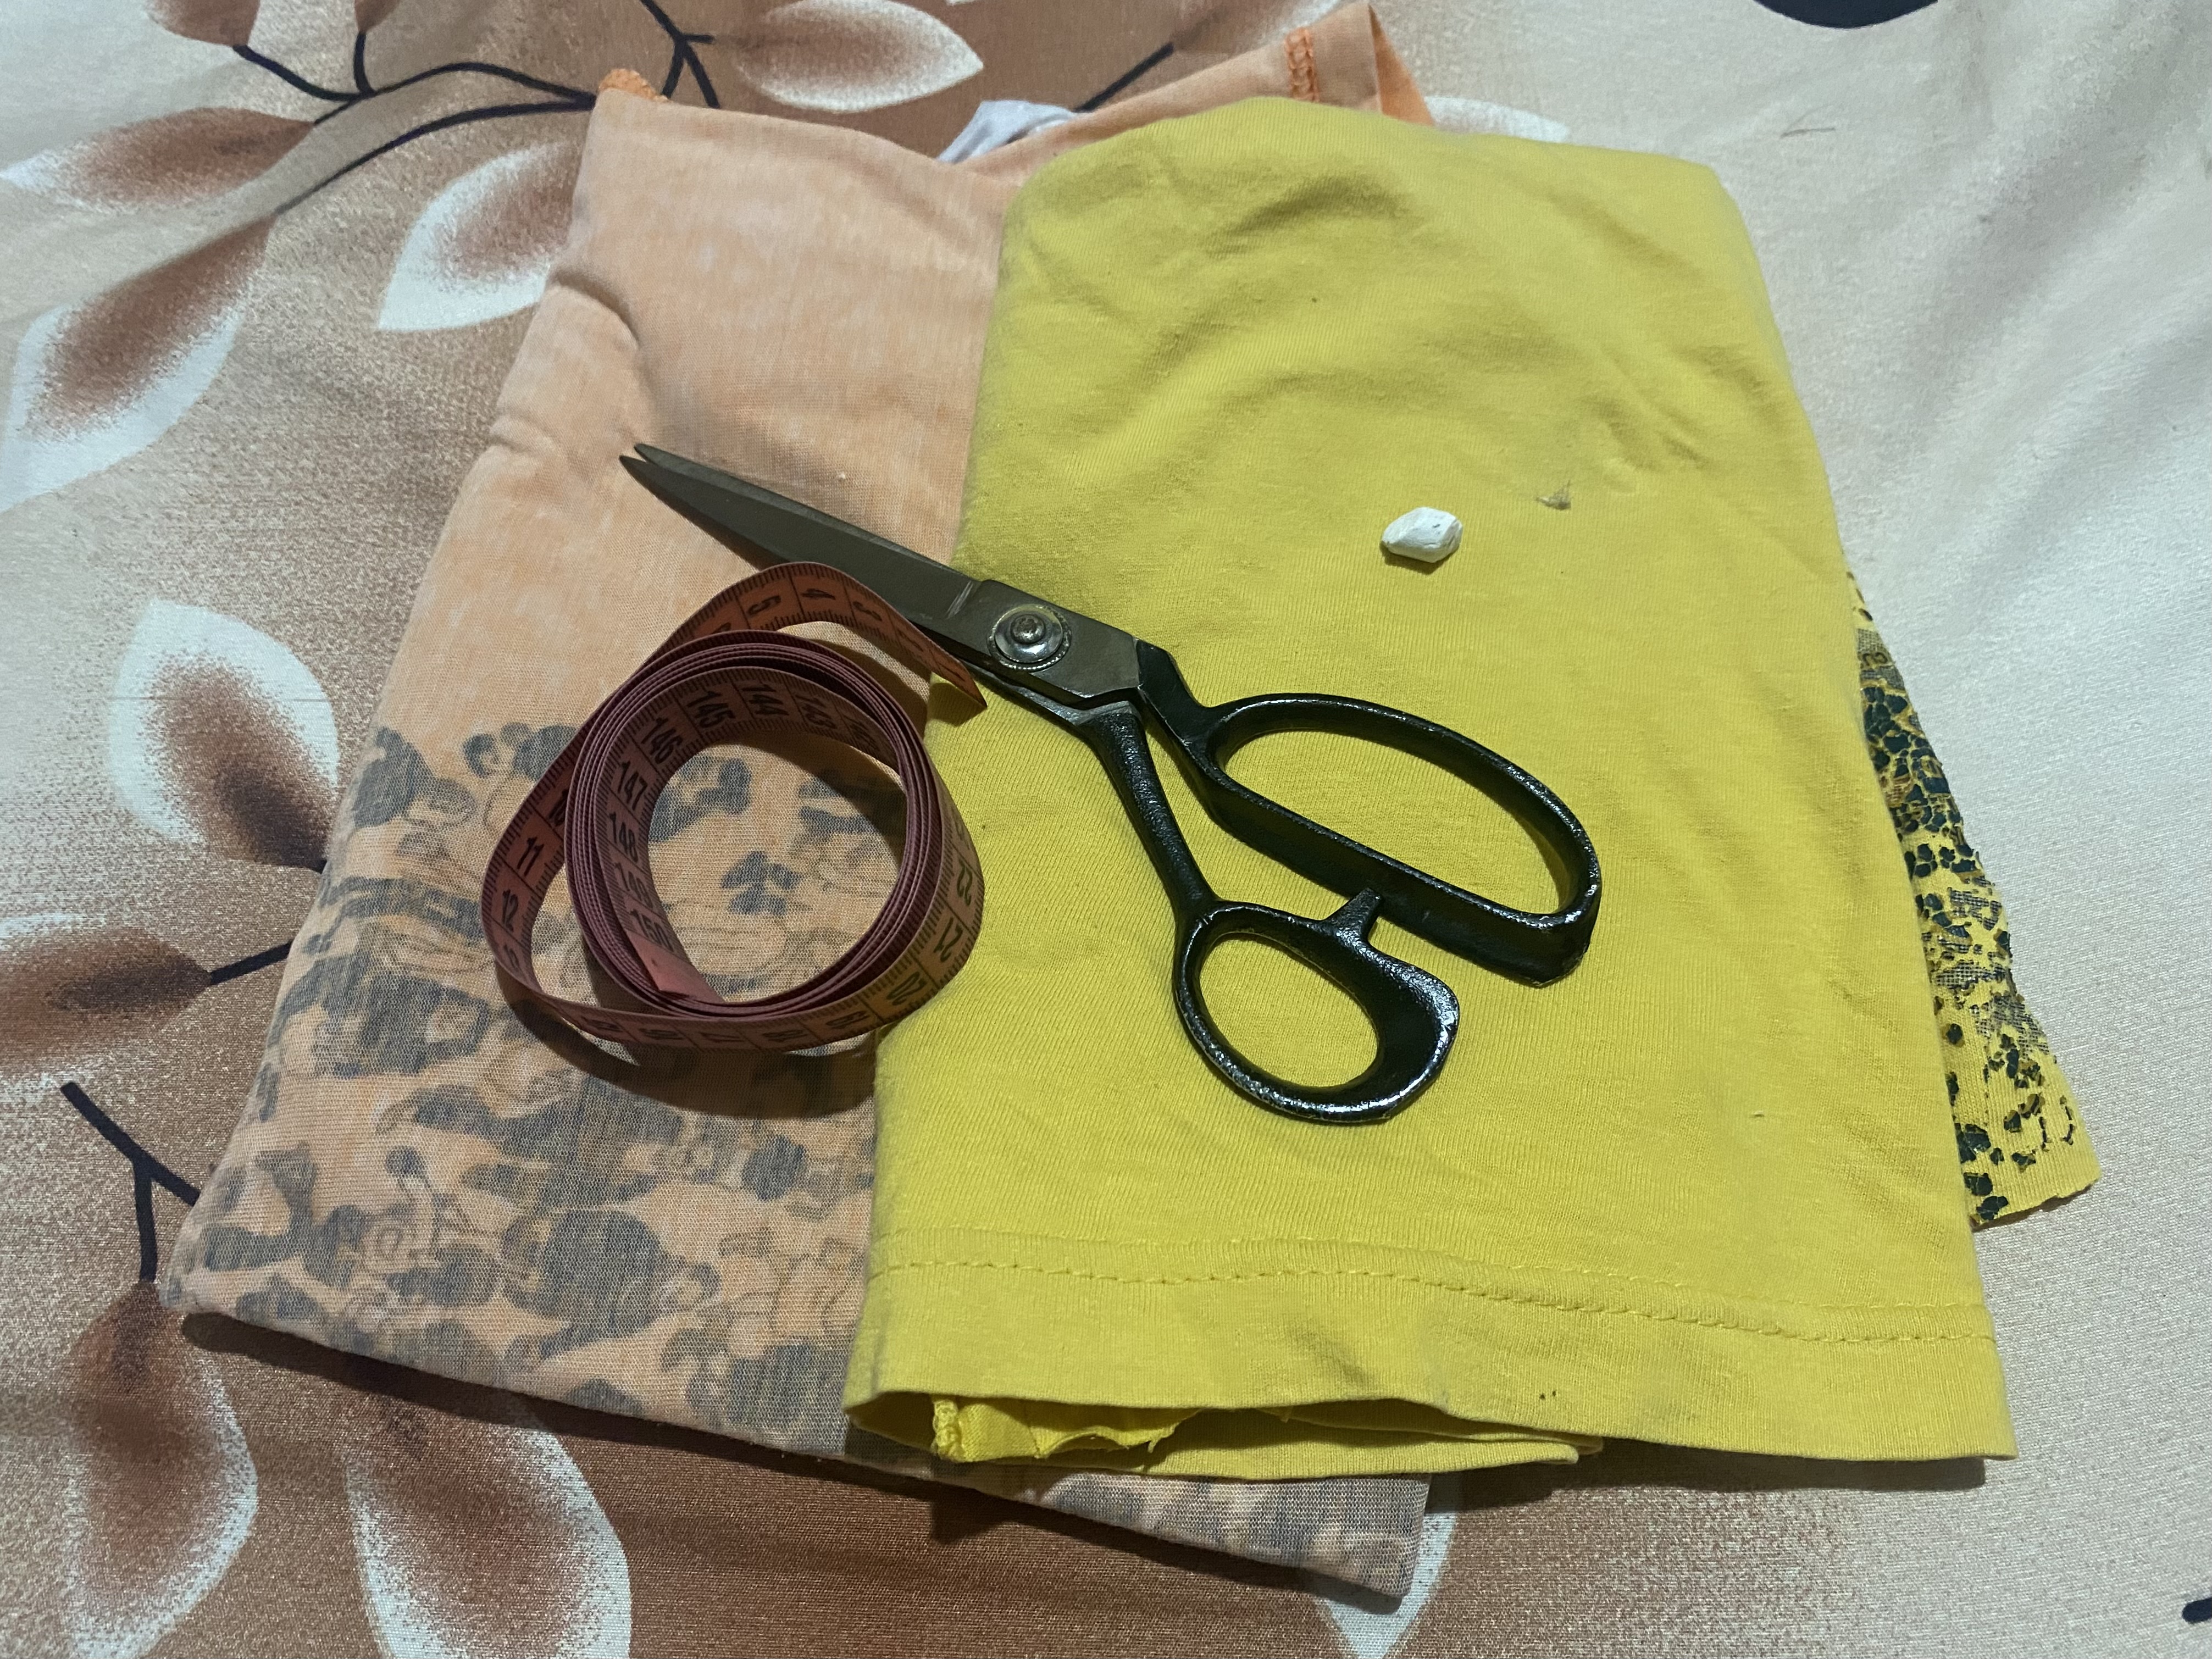
Lo mejor de esta idea es que puedes colocarle varios colores de franela, al finalizar la diadema también puedes colocarle cualquier tipo de decoración, aquí te dejo la lista de materiales a utilizar:
- franelas viejas que ya estén desgastadas
- tijeras
- cinta métrica
- tiza para marcar
- aguja e hilo 🪡🧵
Whenever I wear my hair down it bothers me when the breeze blows it towards my face. I remembered that a while ago I had some knitted headbands but I wanted something different, so I remembered some flannels that I had stored away in the hope of finding a purpose for them and today I have found it.
The best thing about this idea is that you can put various colors of flannel on it, when you finish the headband you can also put any type of decoration on it, here is the list of materials to use:
- old flannels that are already worn
- scissors
- measuring tape
- chalk to mark
- needle and thread 🪡🧵
PASO A PASO
STEP BY STEP
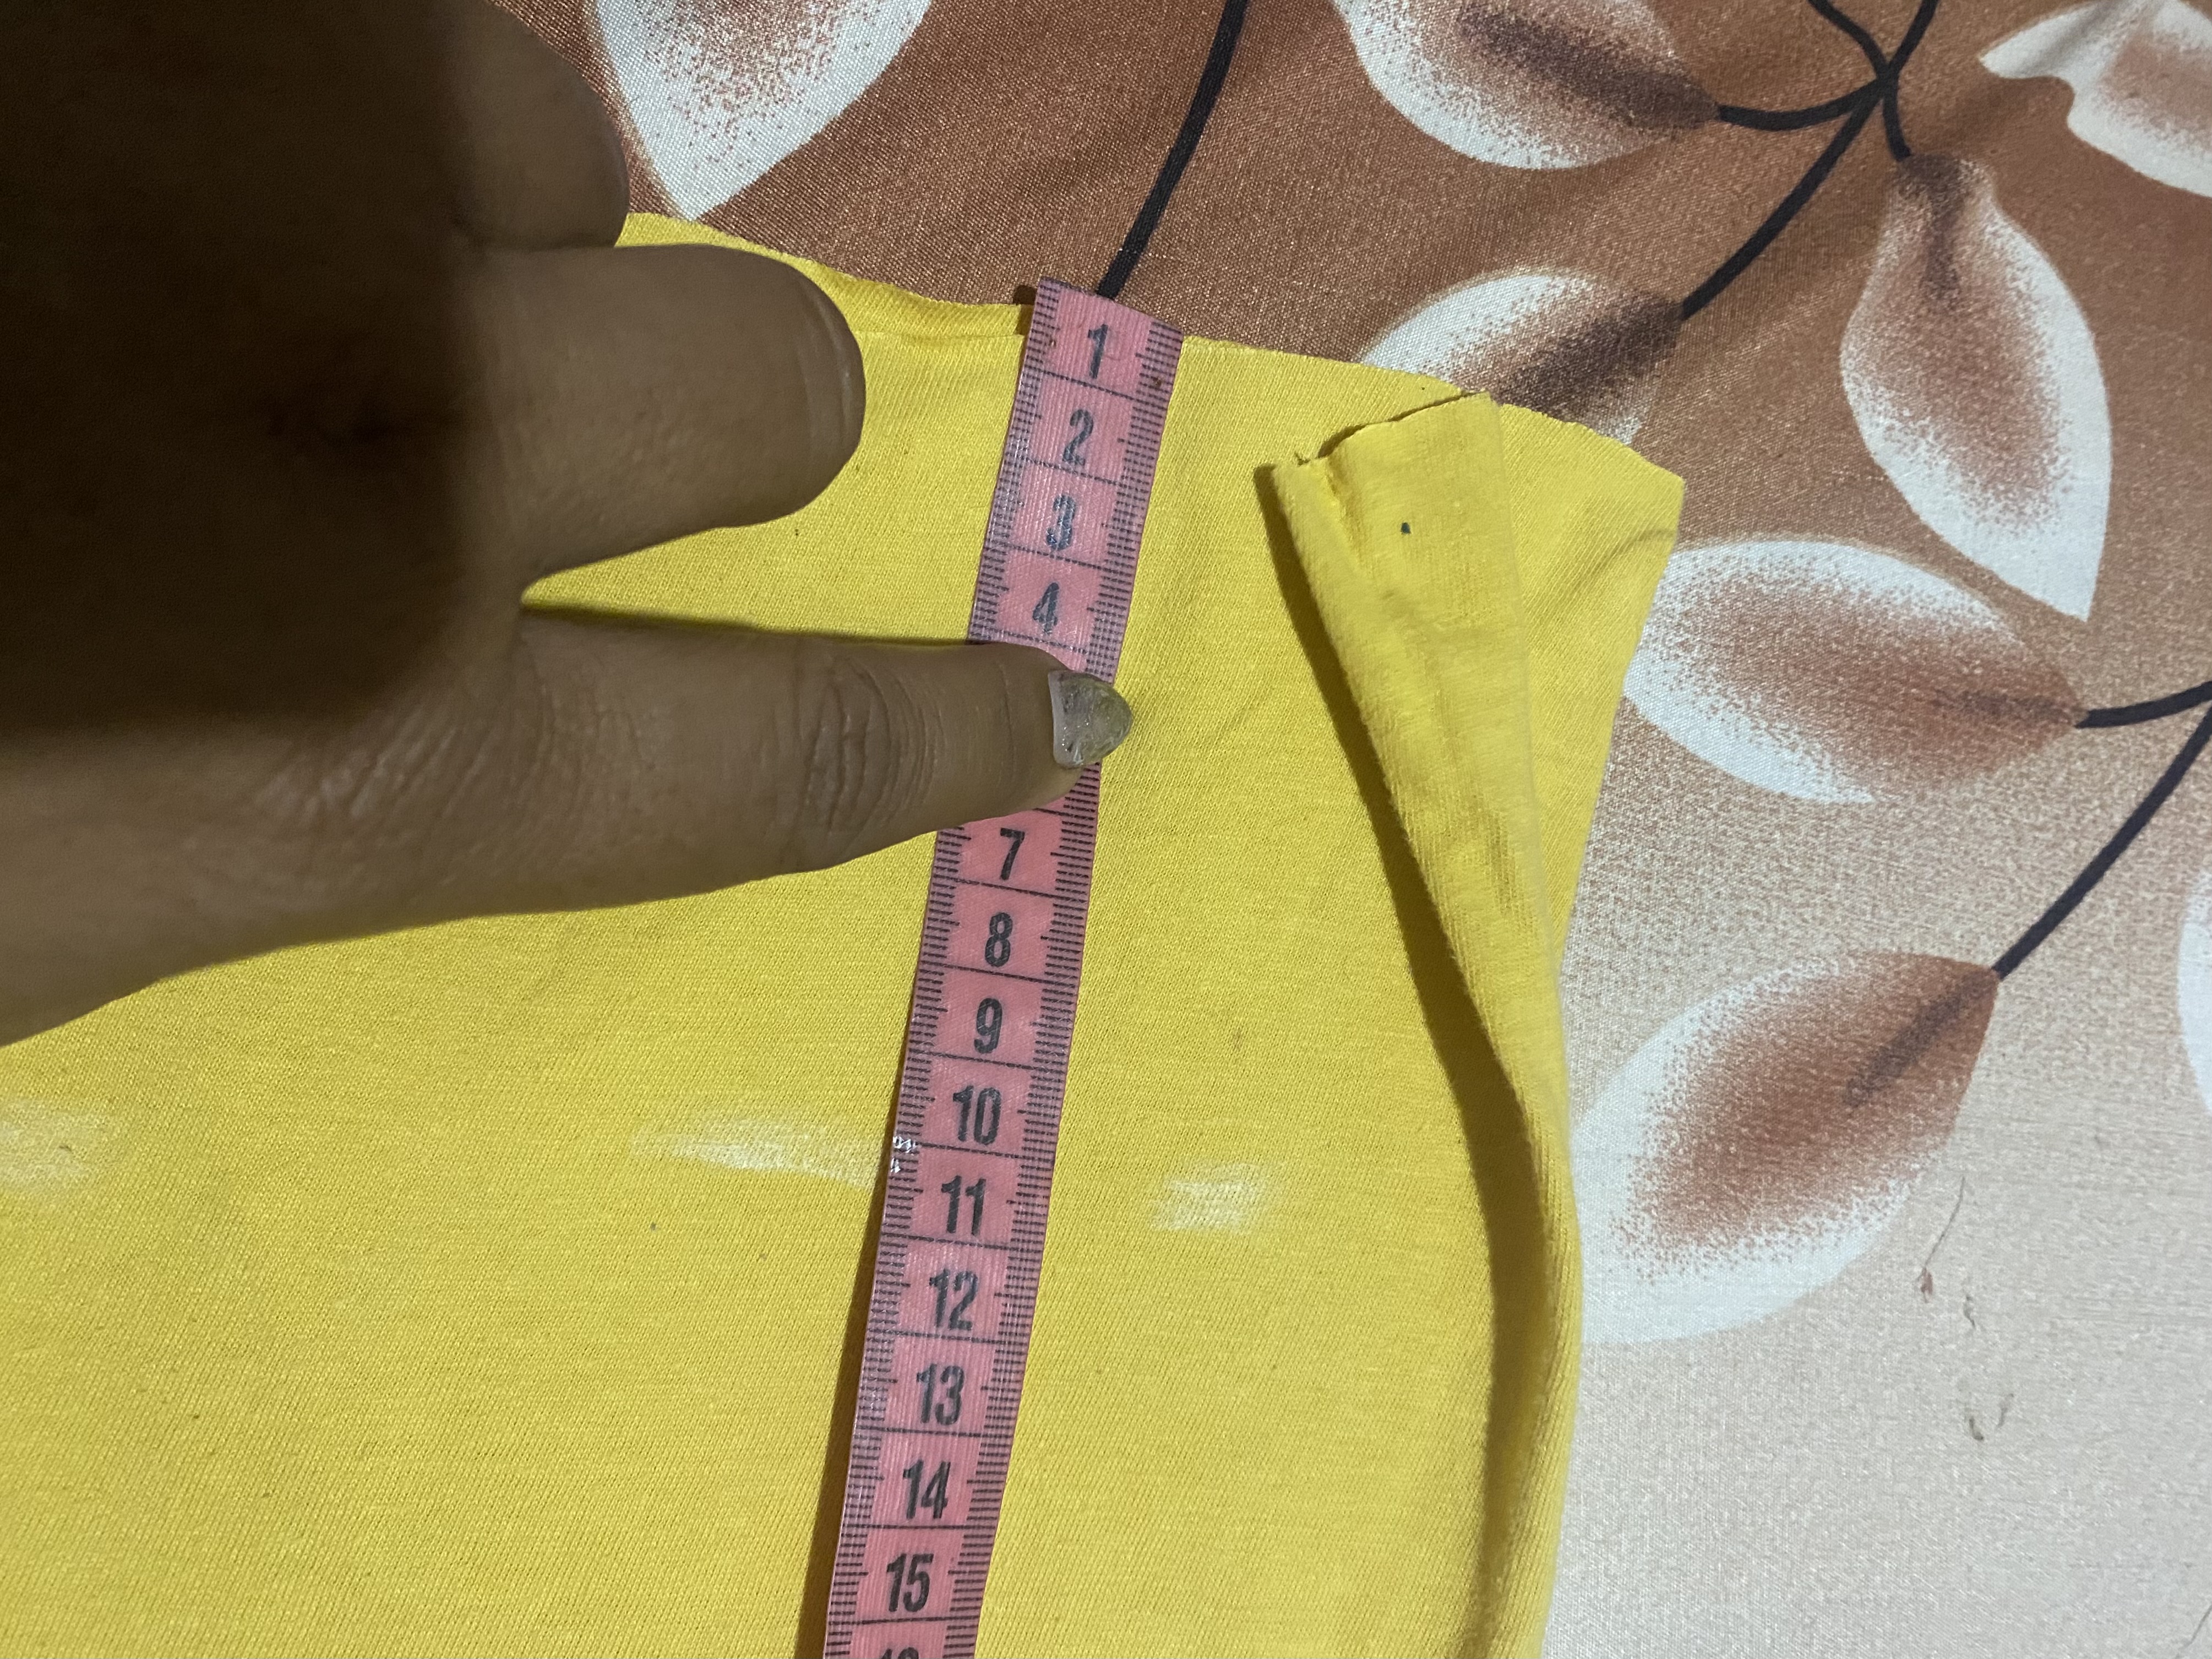
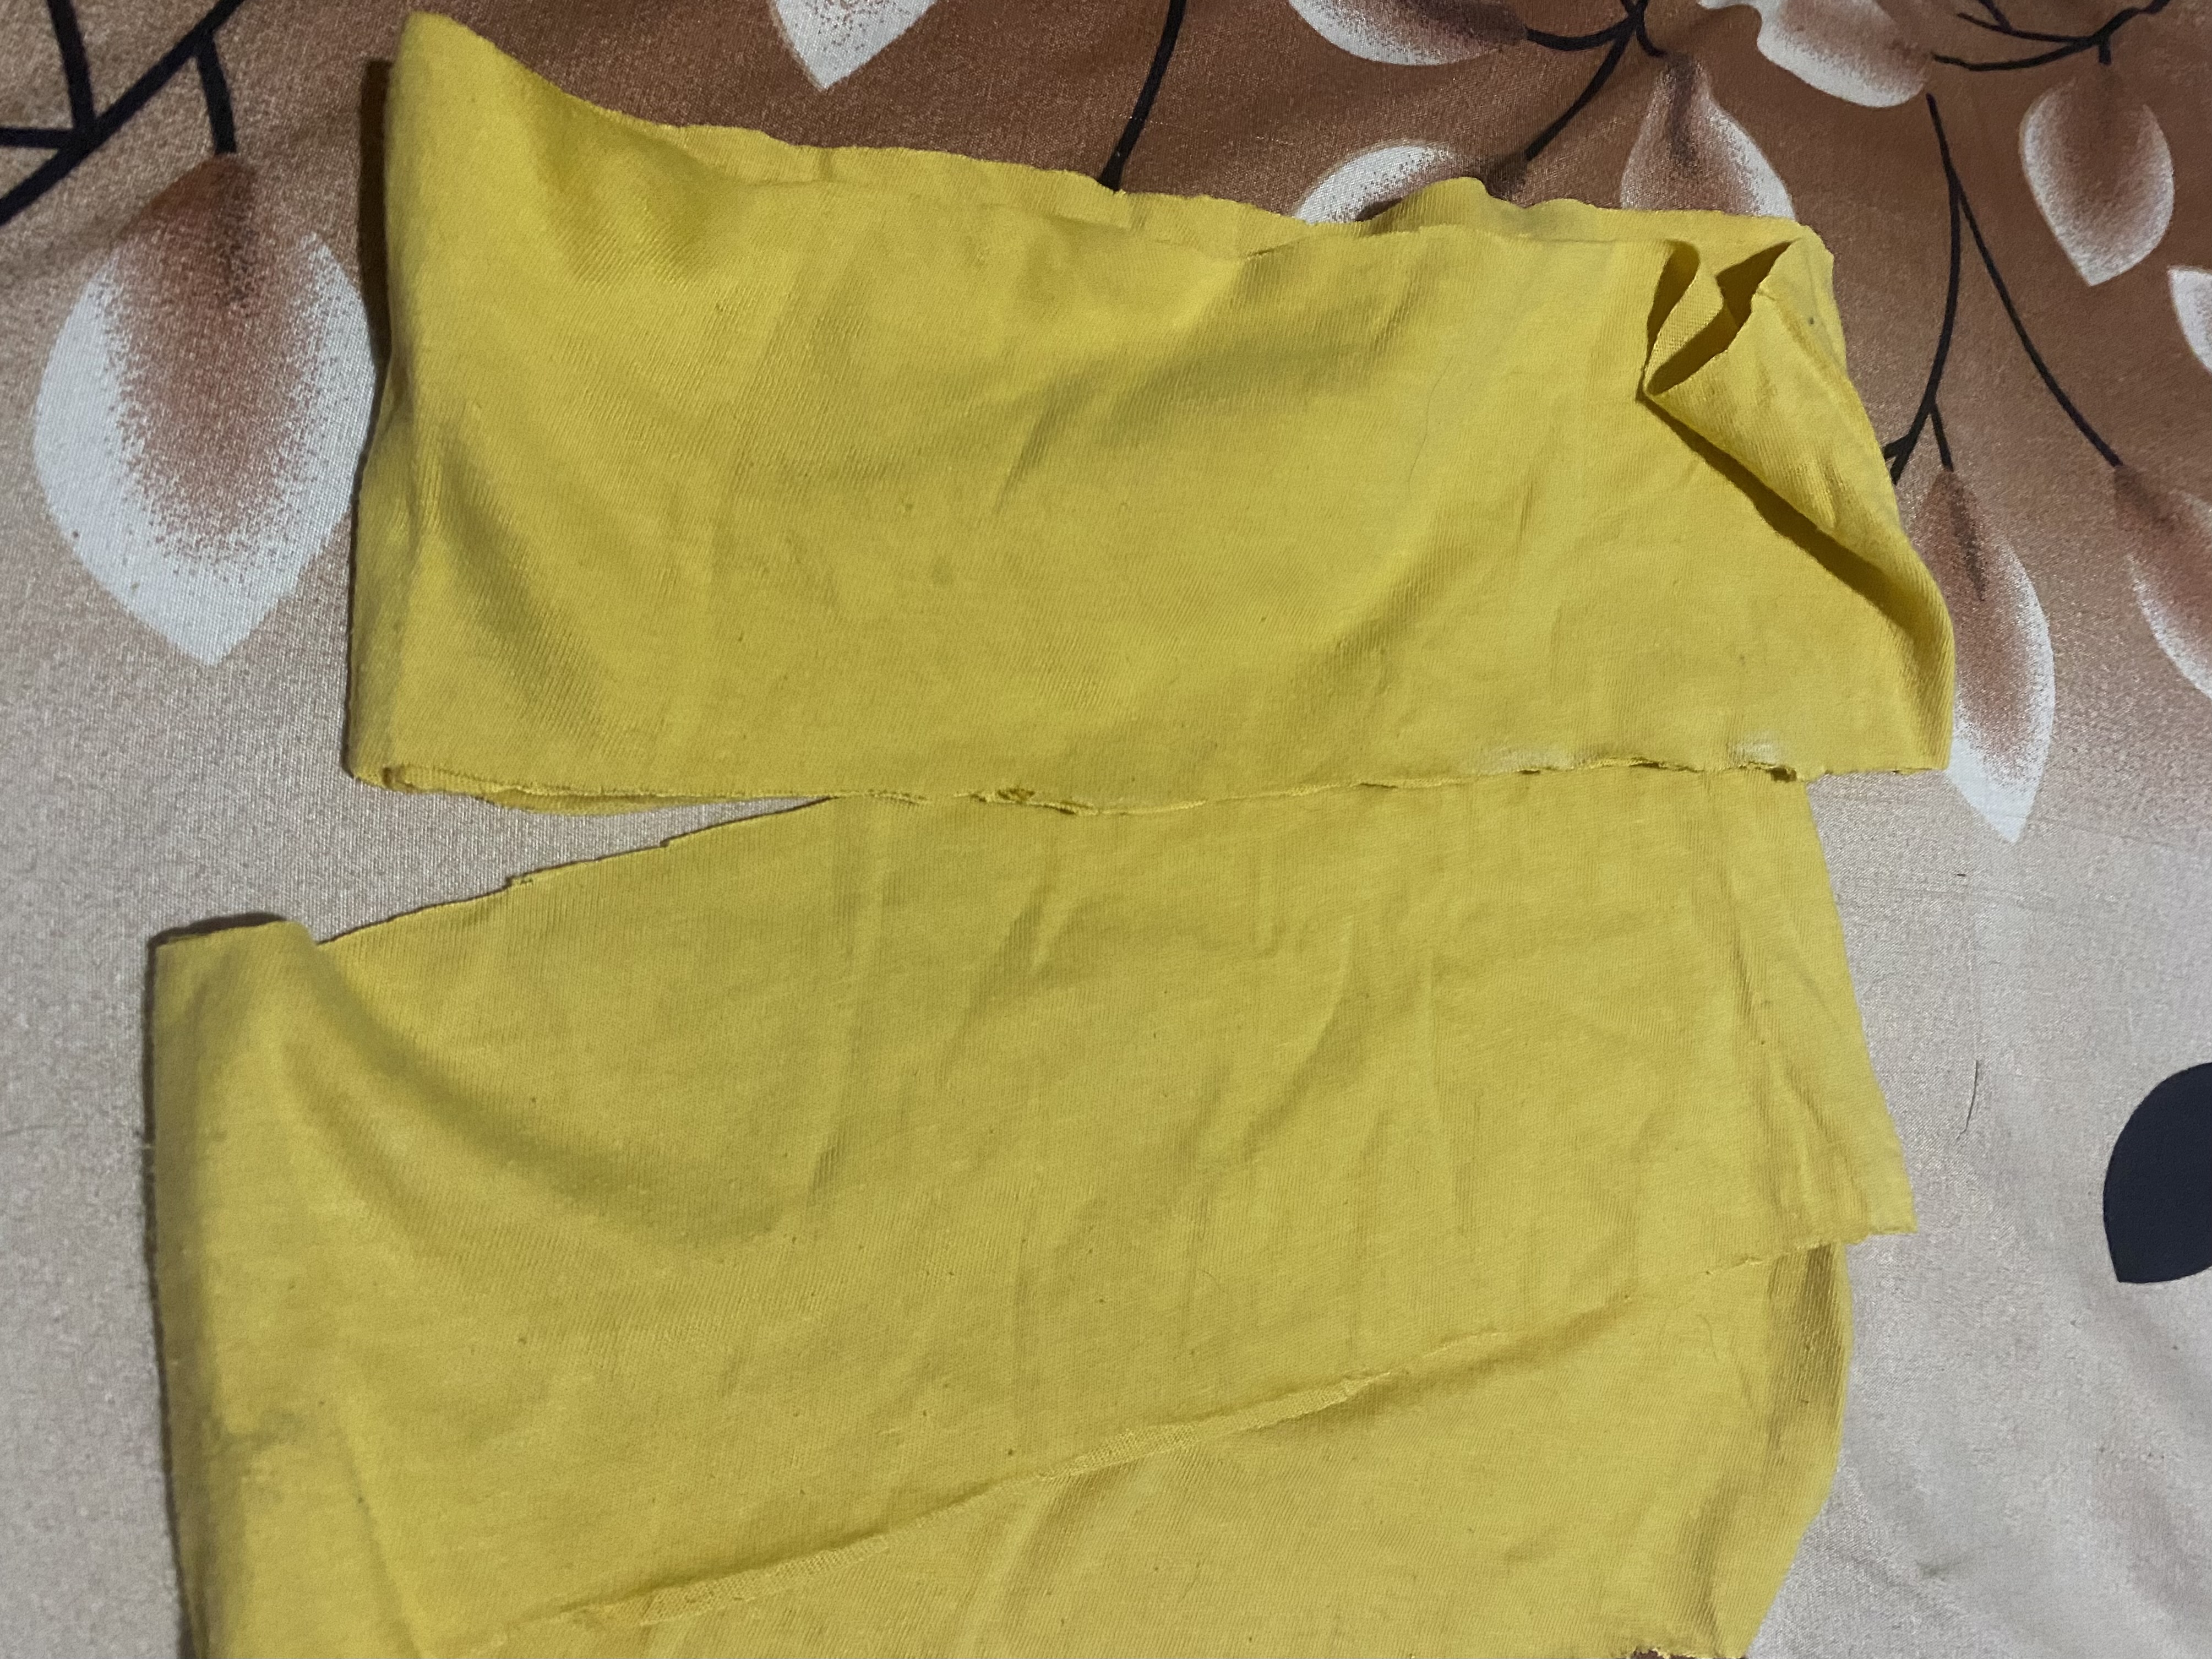
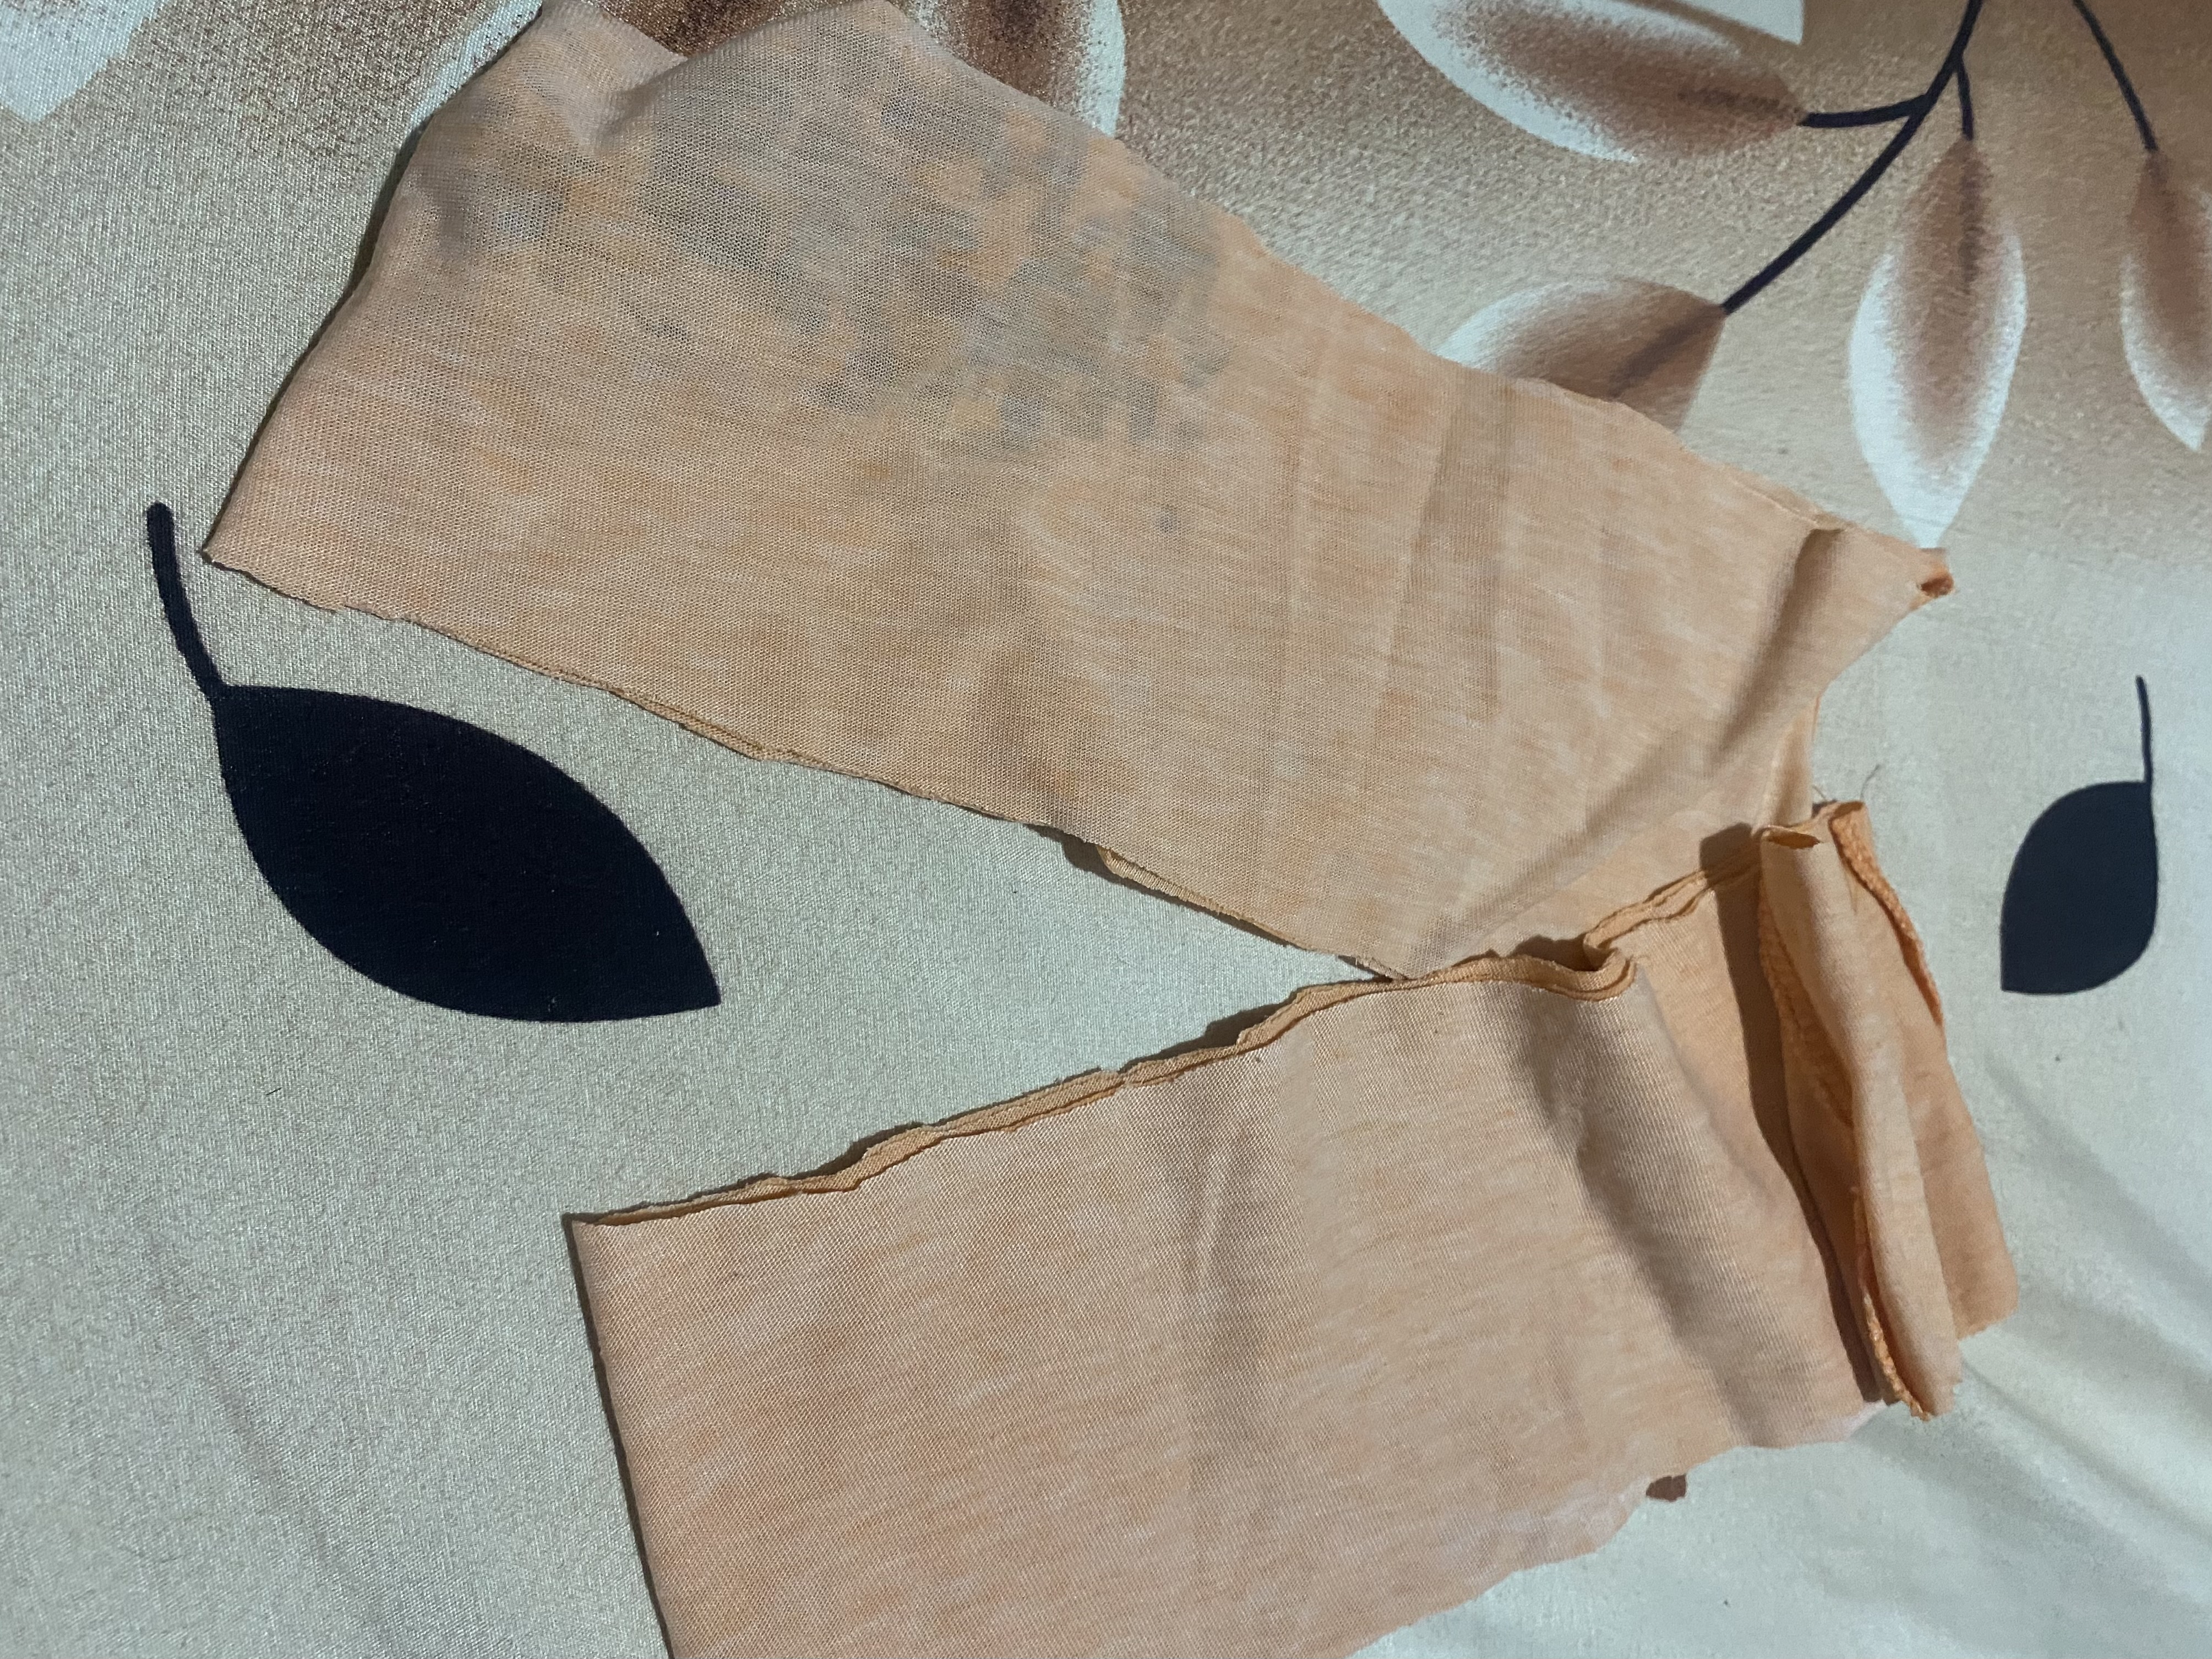
Para nuestro primer paso vamos a marcar tiras de nuestras franelas, para luego cortarlas, mis franelas miden aproximadamente 55 cm de ancho doble, las tiras las podemos hacer del grosor que deseemos , yo las hare de 10 cm de alto por el ancho que tiene la tela, en total cortaré dos tiras amarillas y dos tiras color naranja
For our first step we are going to mark strips of our flannels, to then cut them, my flannels measure approximately 55 cm double width, we can make the strips as thick as we want, I will make them 10 cm high by the width of the fabric, in total I will cut two yellow strips and two orange strips.
 |  |
|---|---|
 |
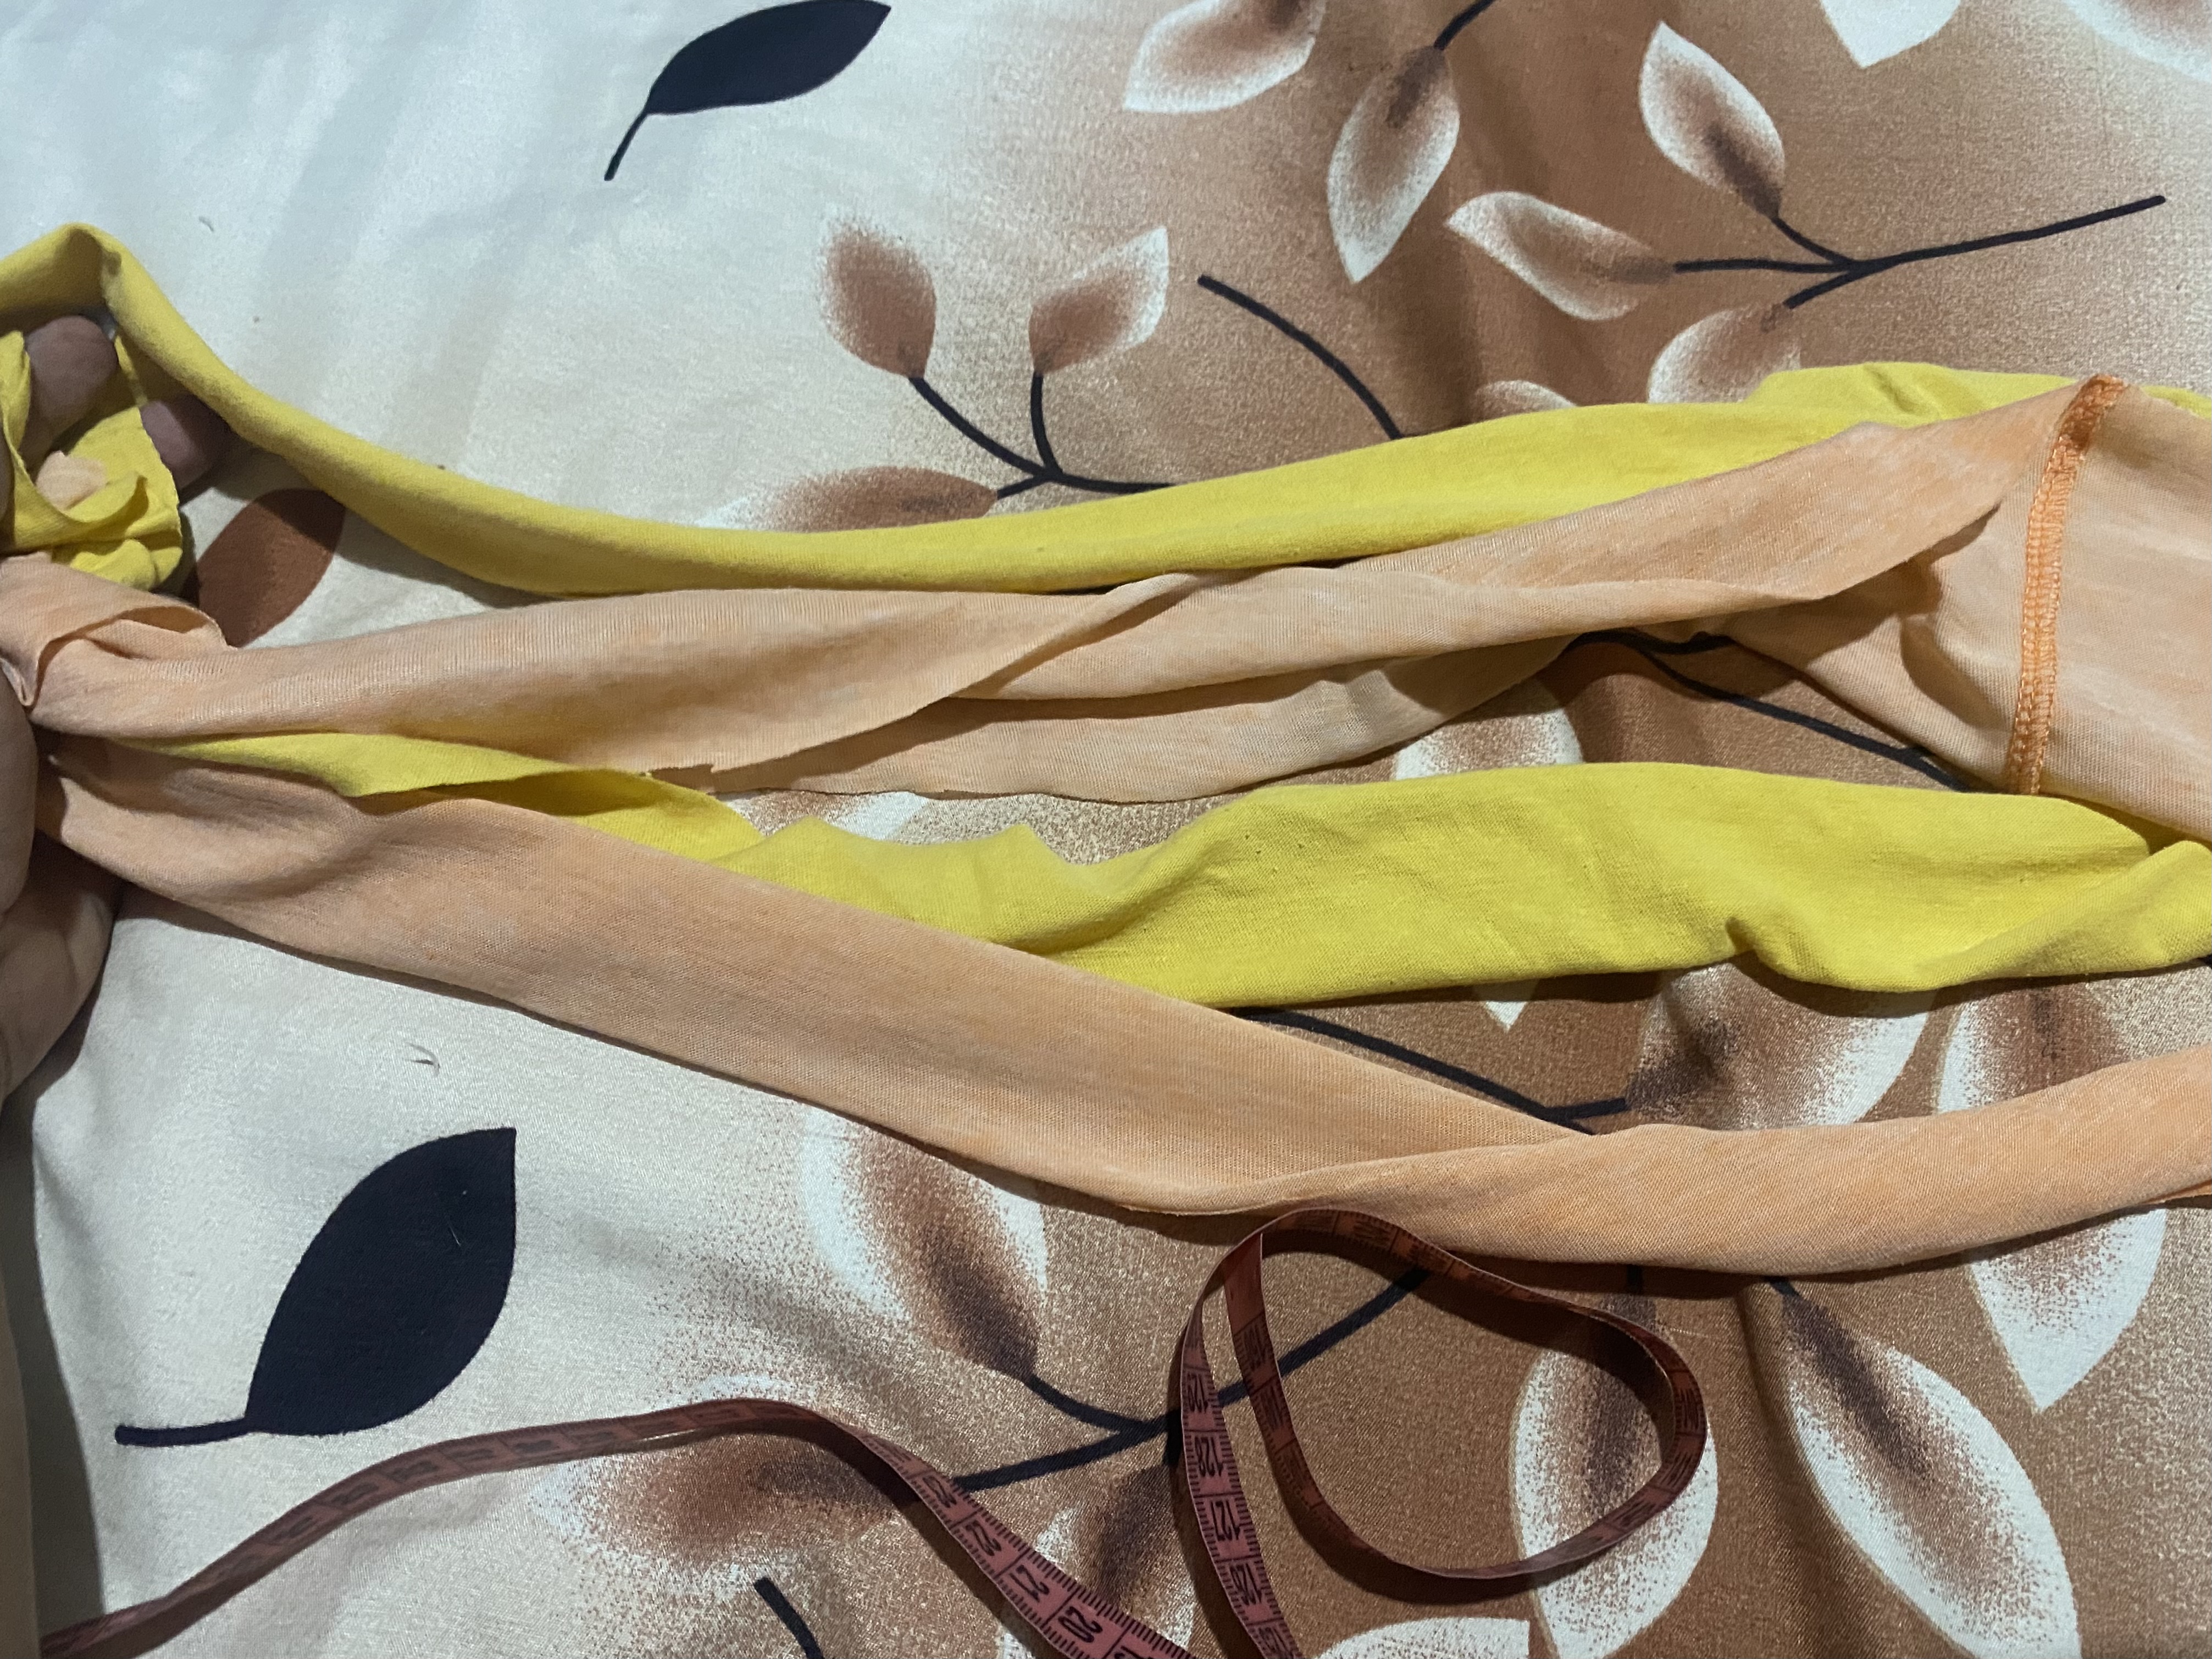
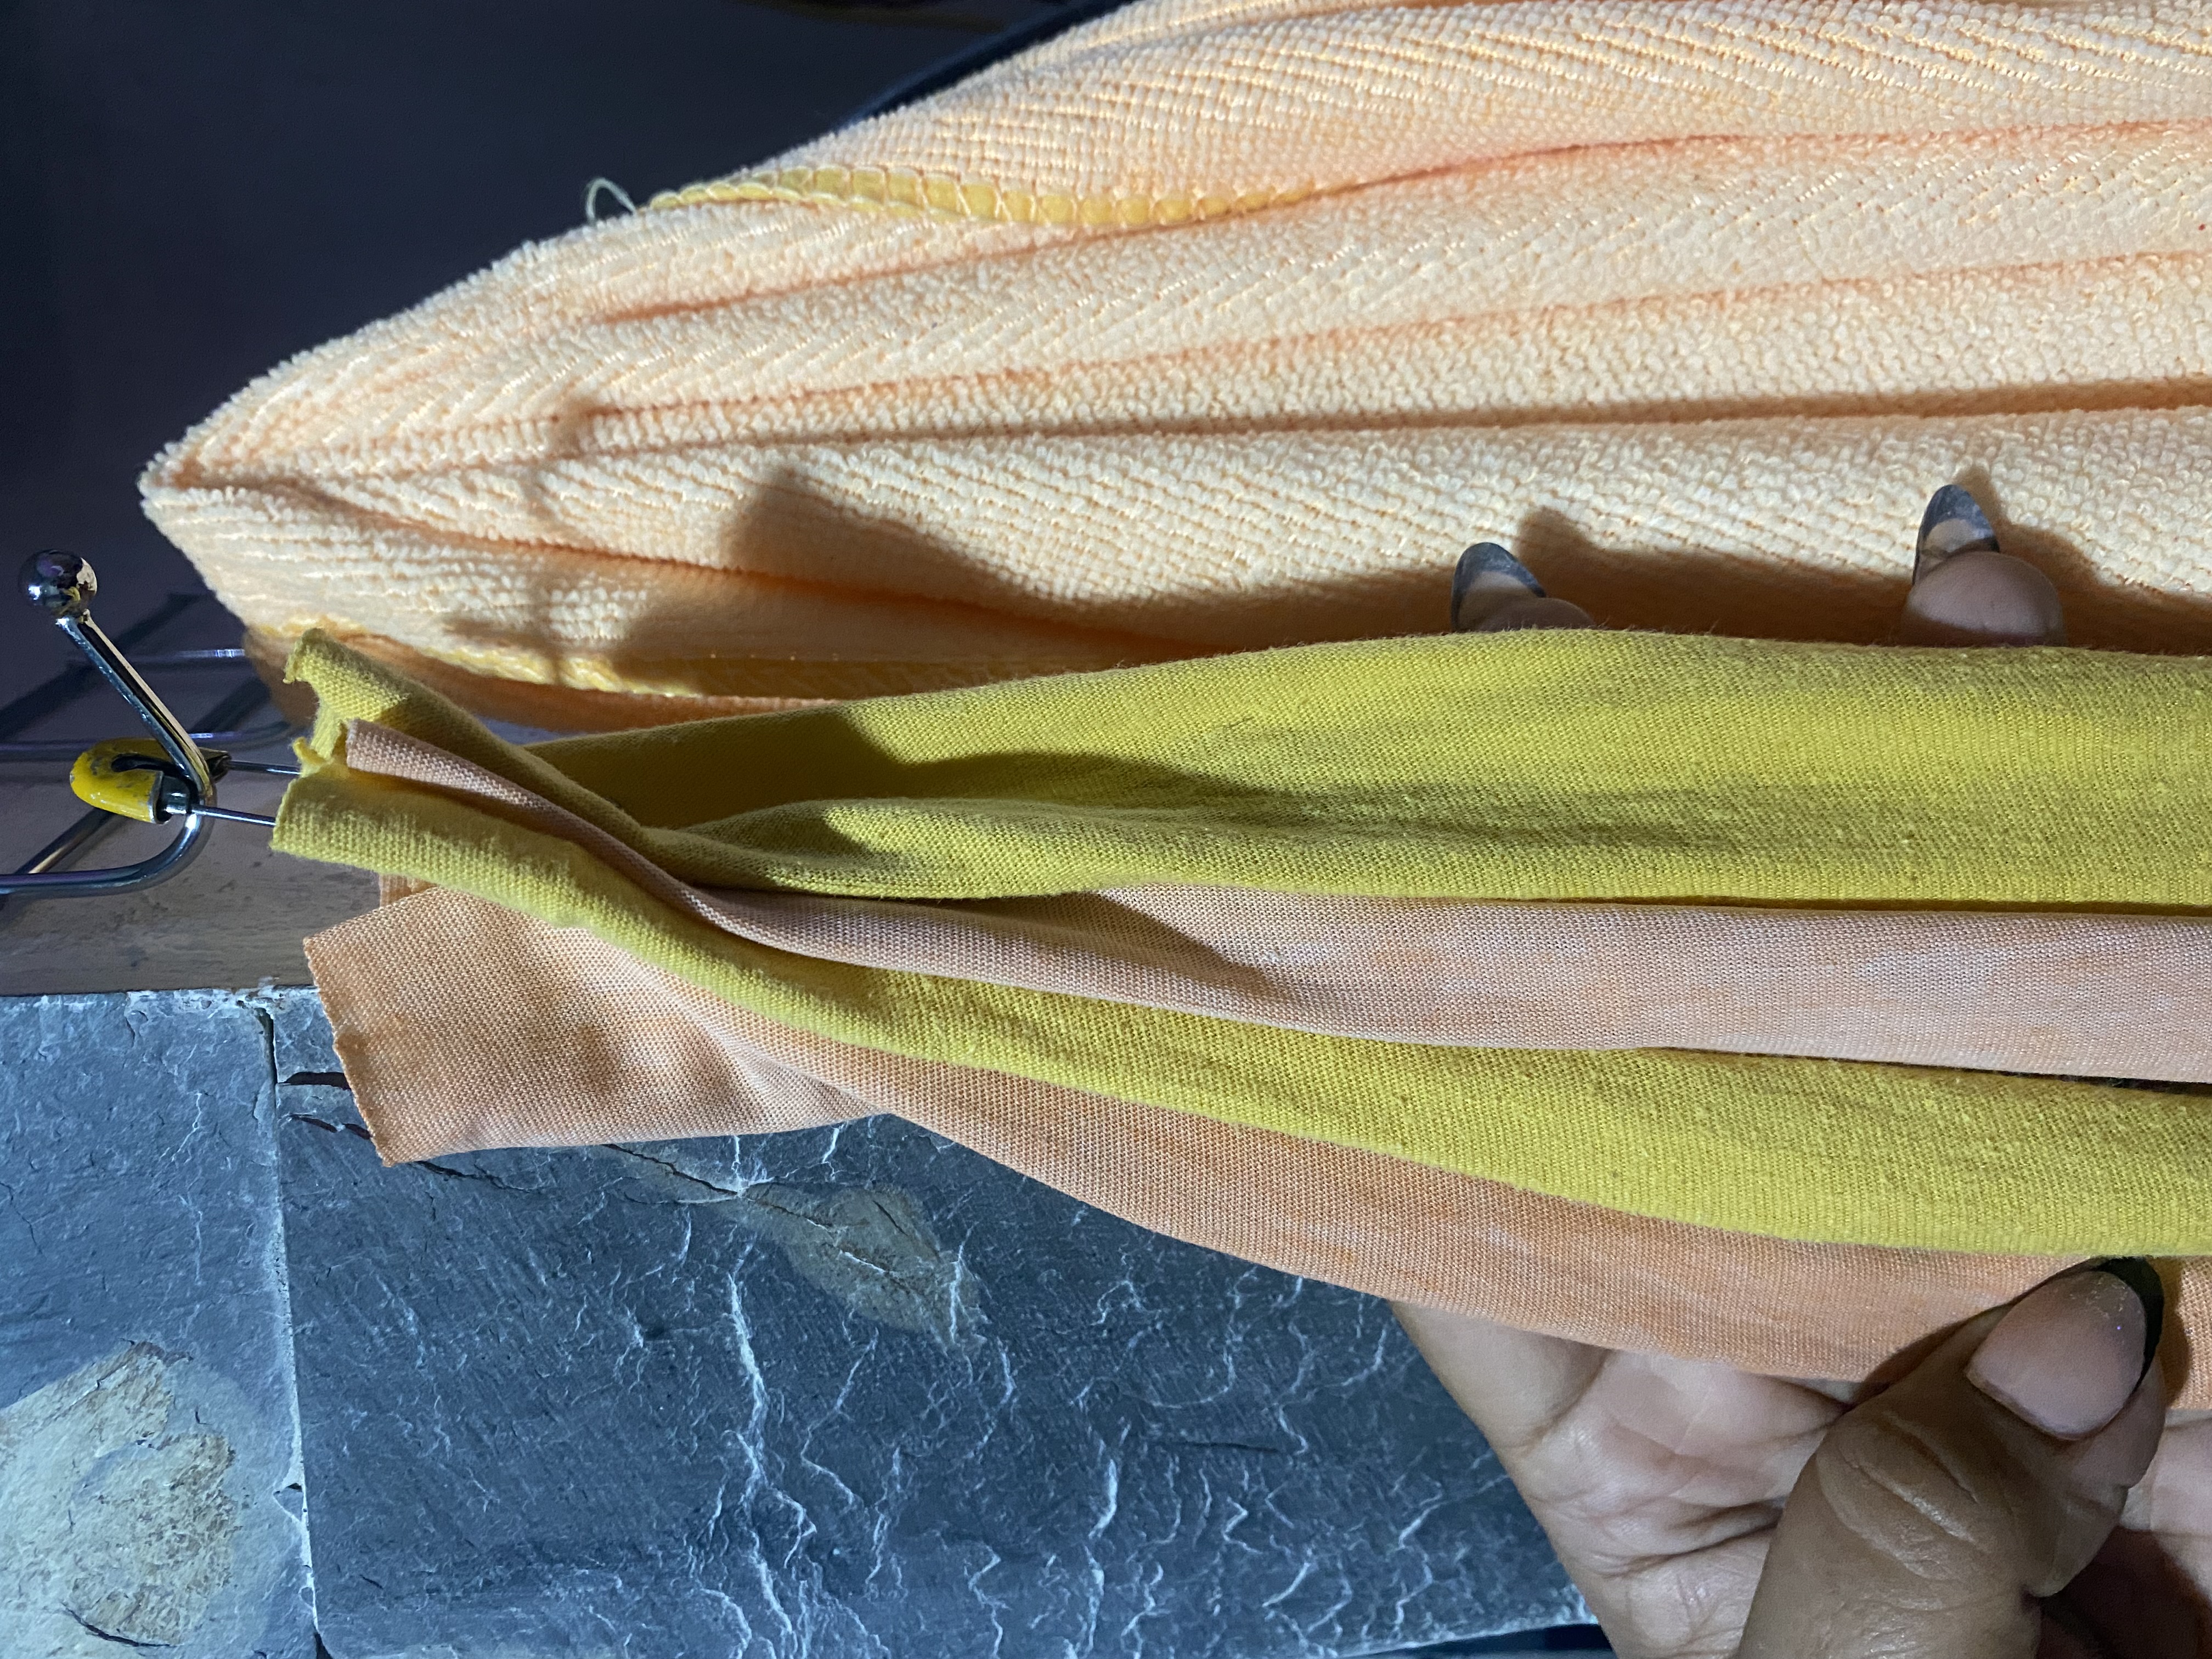
Para el siguiente paso vamos a extender nuestras tiras abriéndolas en uno de los extremos, luego
las estiramos para que se enrollen, luego las vamos a sostener para tejerlas, este será un trenzado de 4 hebras, yo les coloqué un gancho de metal y así se me hizo más fácil para trenzarlas.
For the next step we are going to extend our strips by opening them at one end, then
we stretch them so that they roll up, then we are going to hold them to weave them, this will be a 4-strand braid, I put a metal hook on them and that made it easier for me to braid them.
 |  |
|---|---|
 | 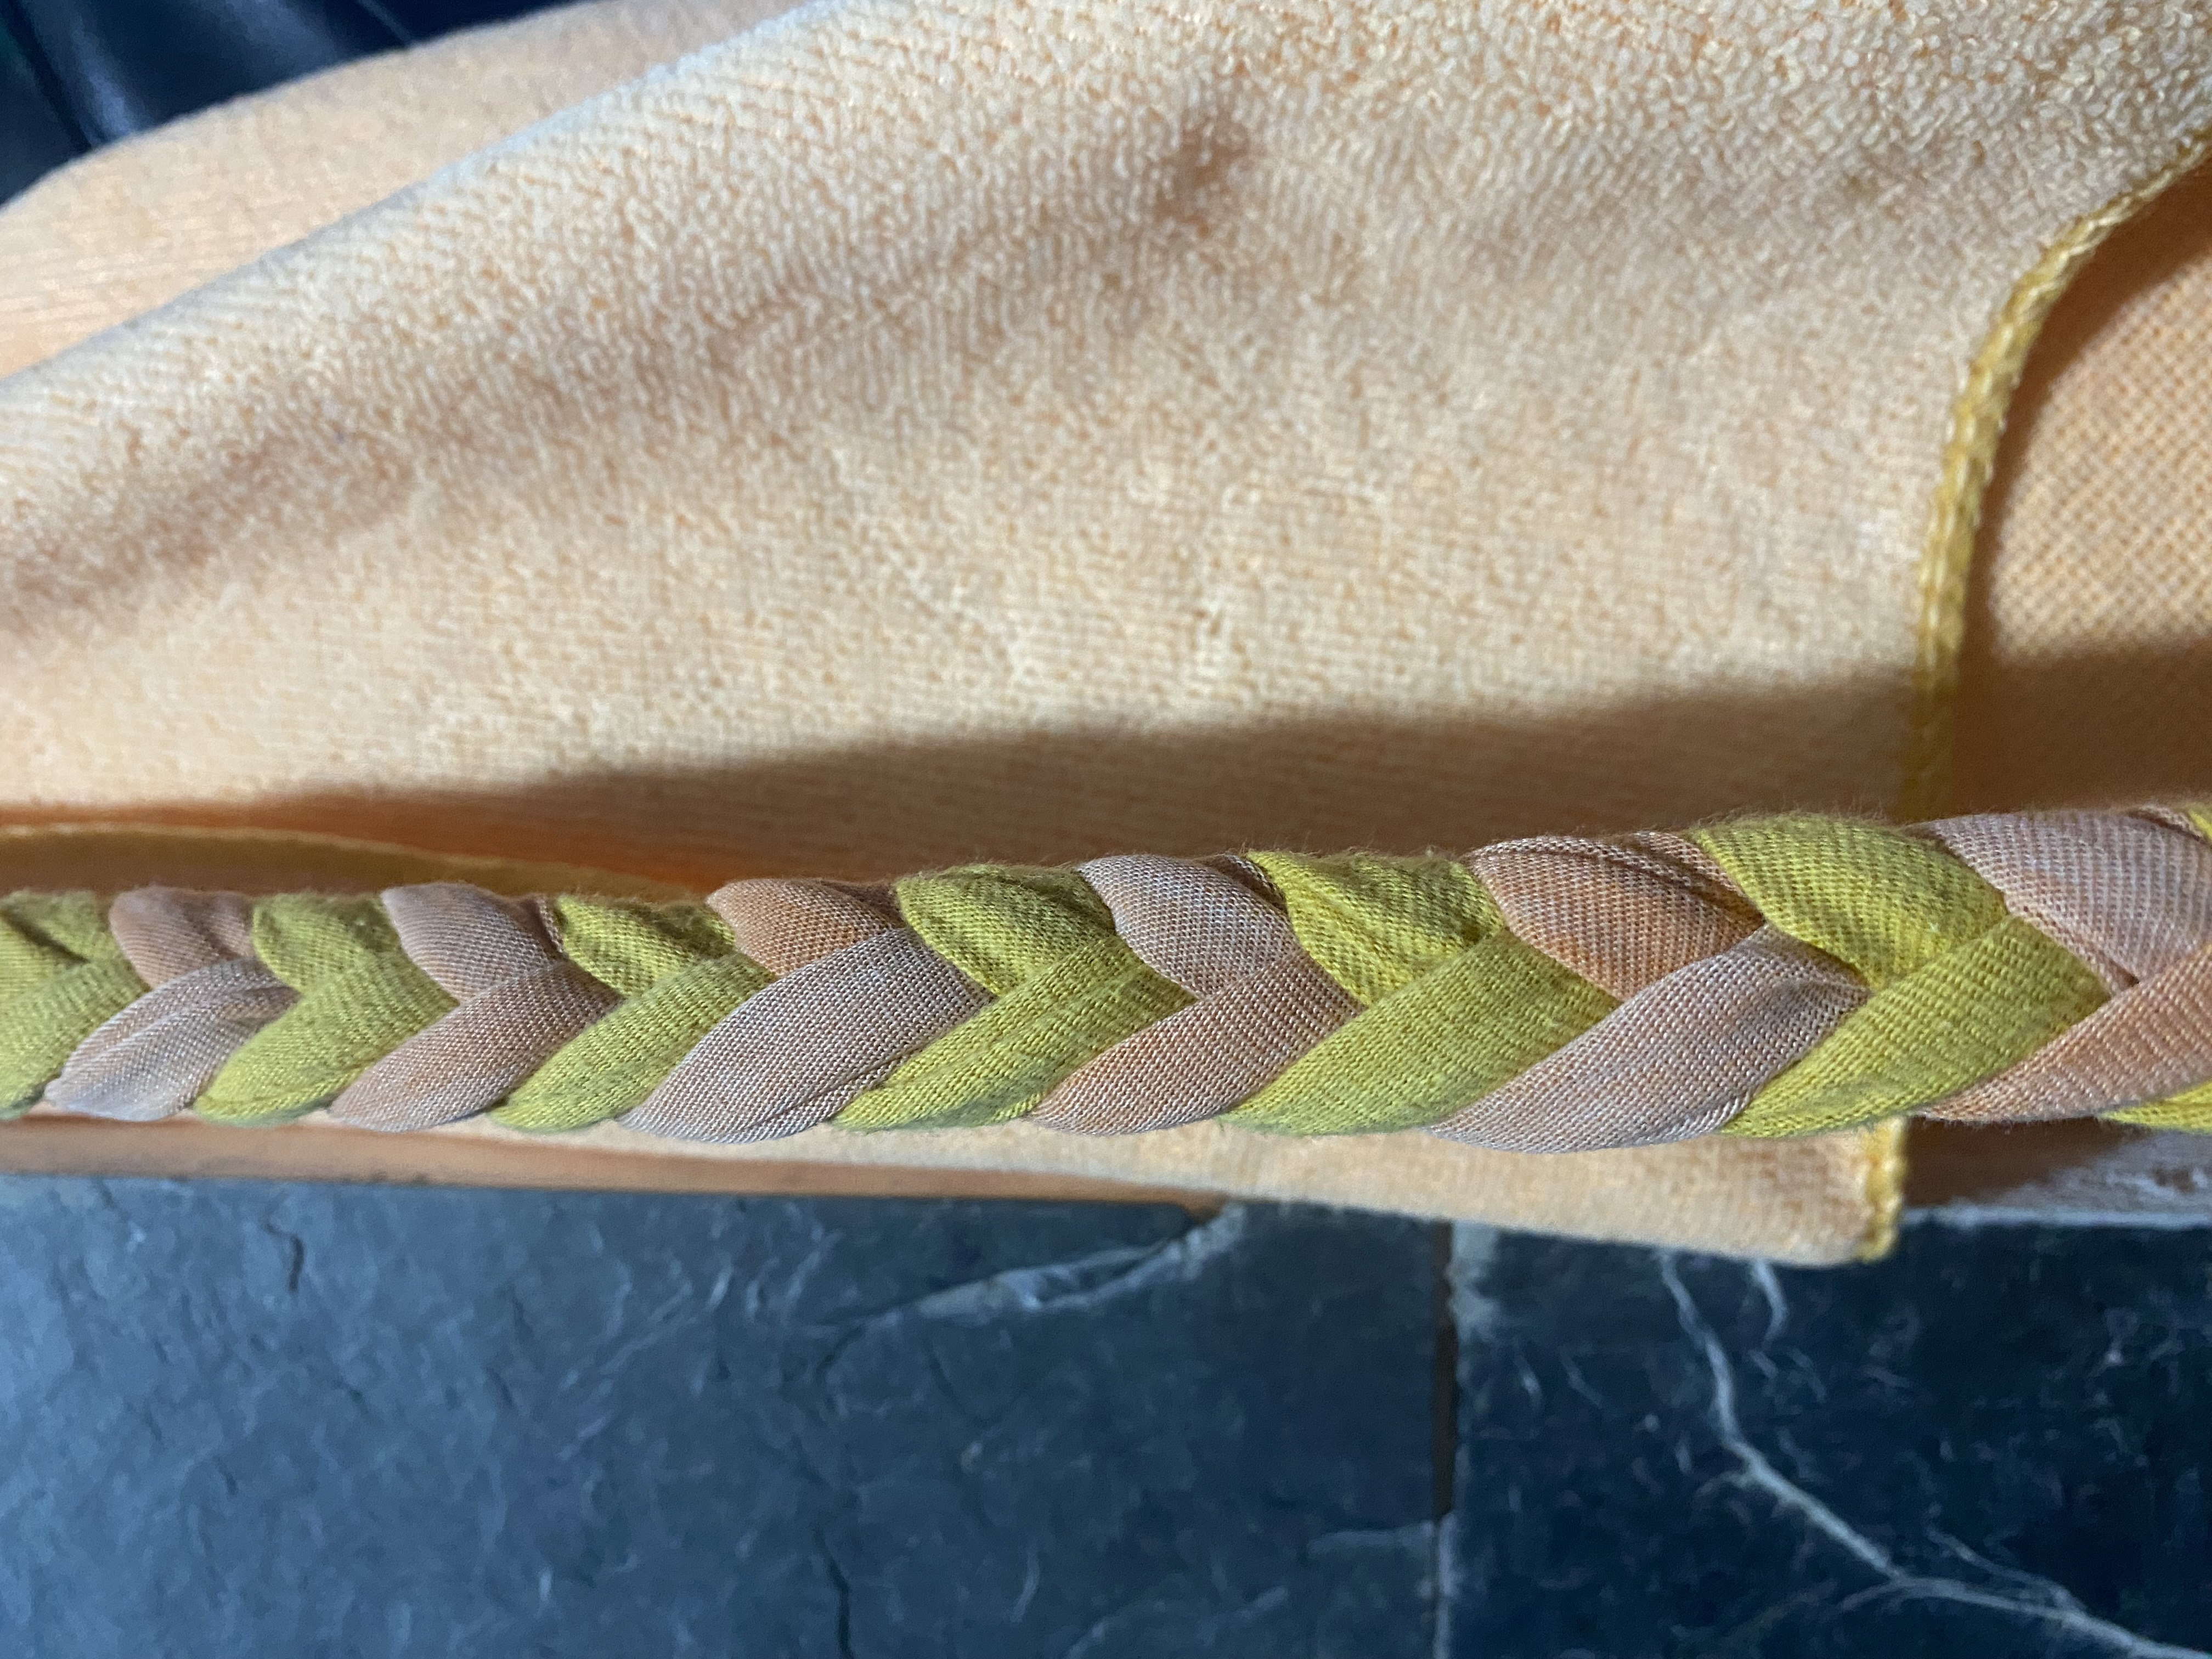 |
el procedimiento de trenzado de 4 hebras es sencillo vamos pasando la tira que quede en el extremo hacia el centro de un lado y del otro y así hasta finalizar
The 4-strand braiding procedure is simple. We pass the strip that remains at the end towards the center on one side and the other and so on until finished.
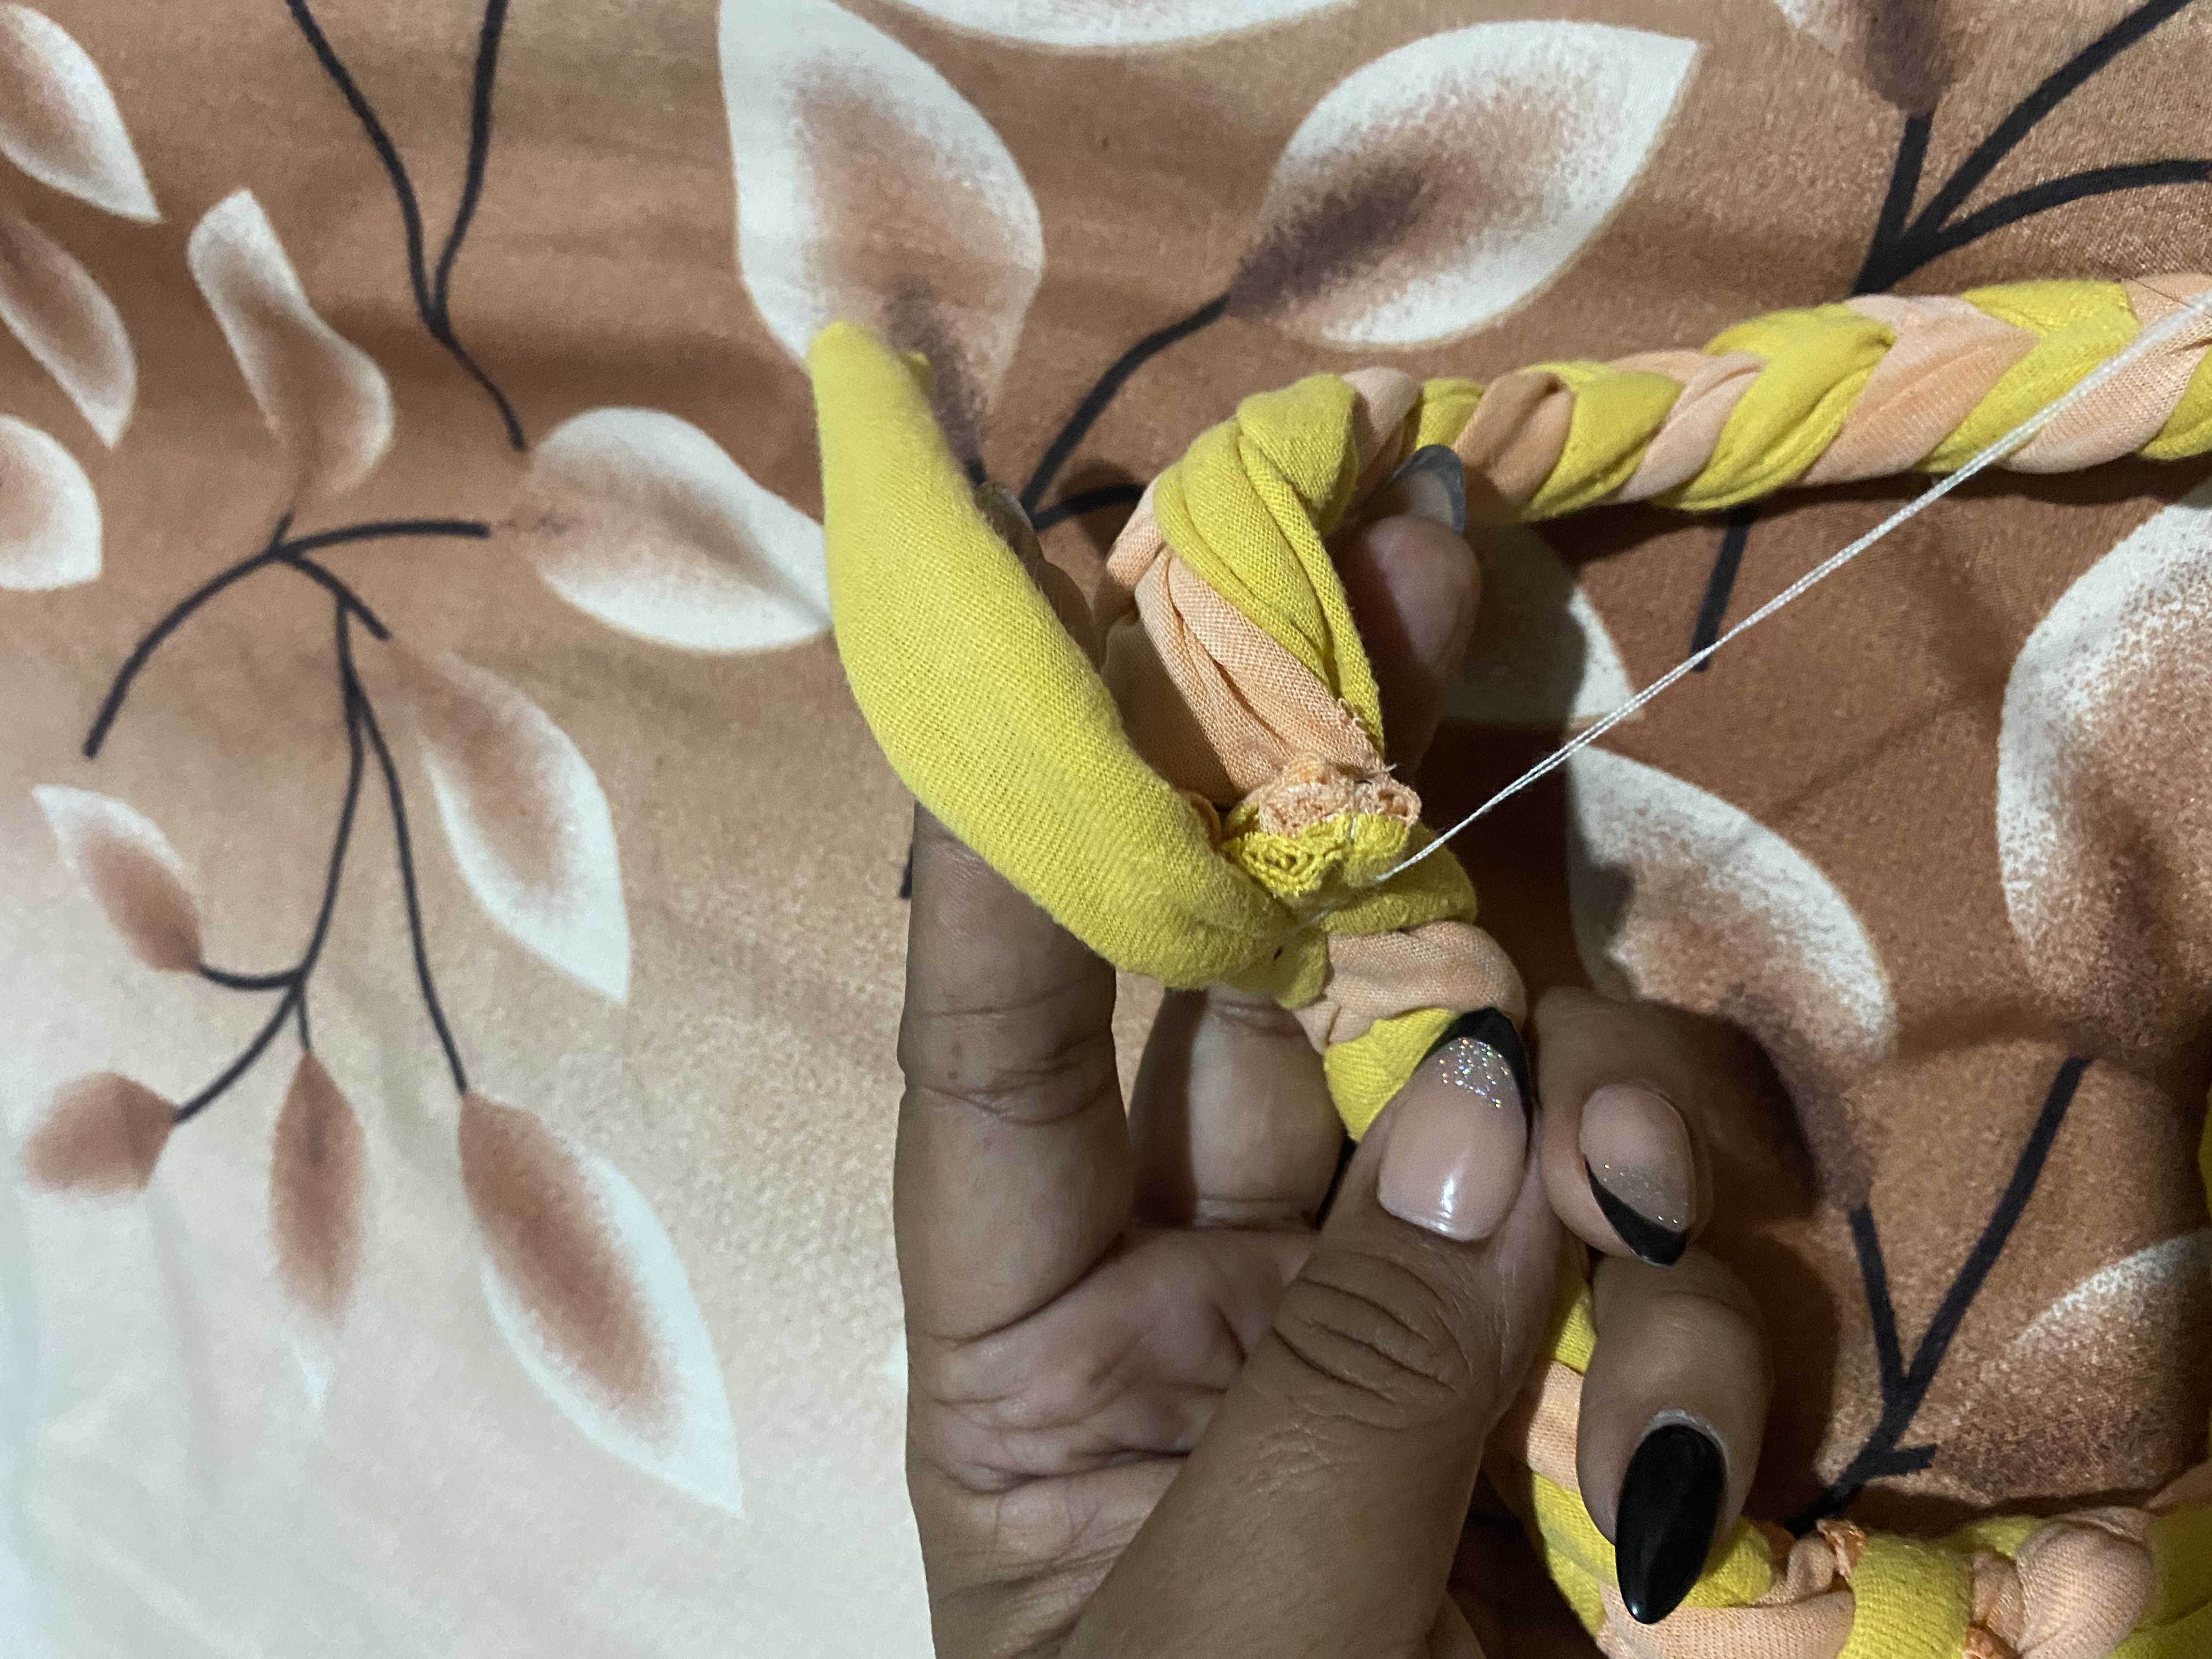
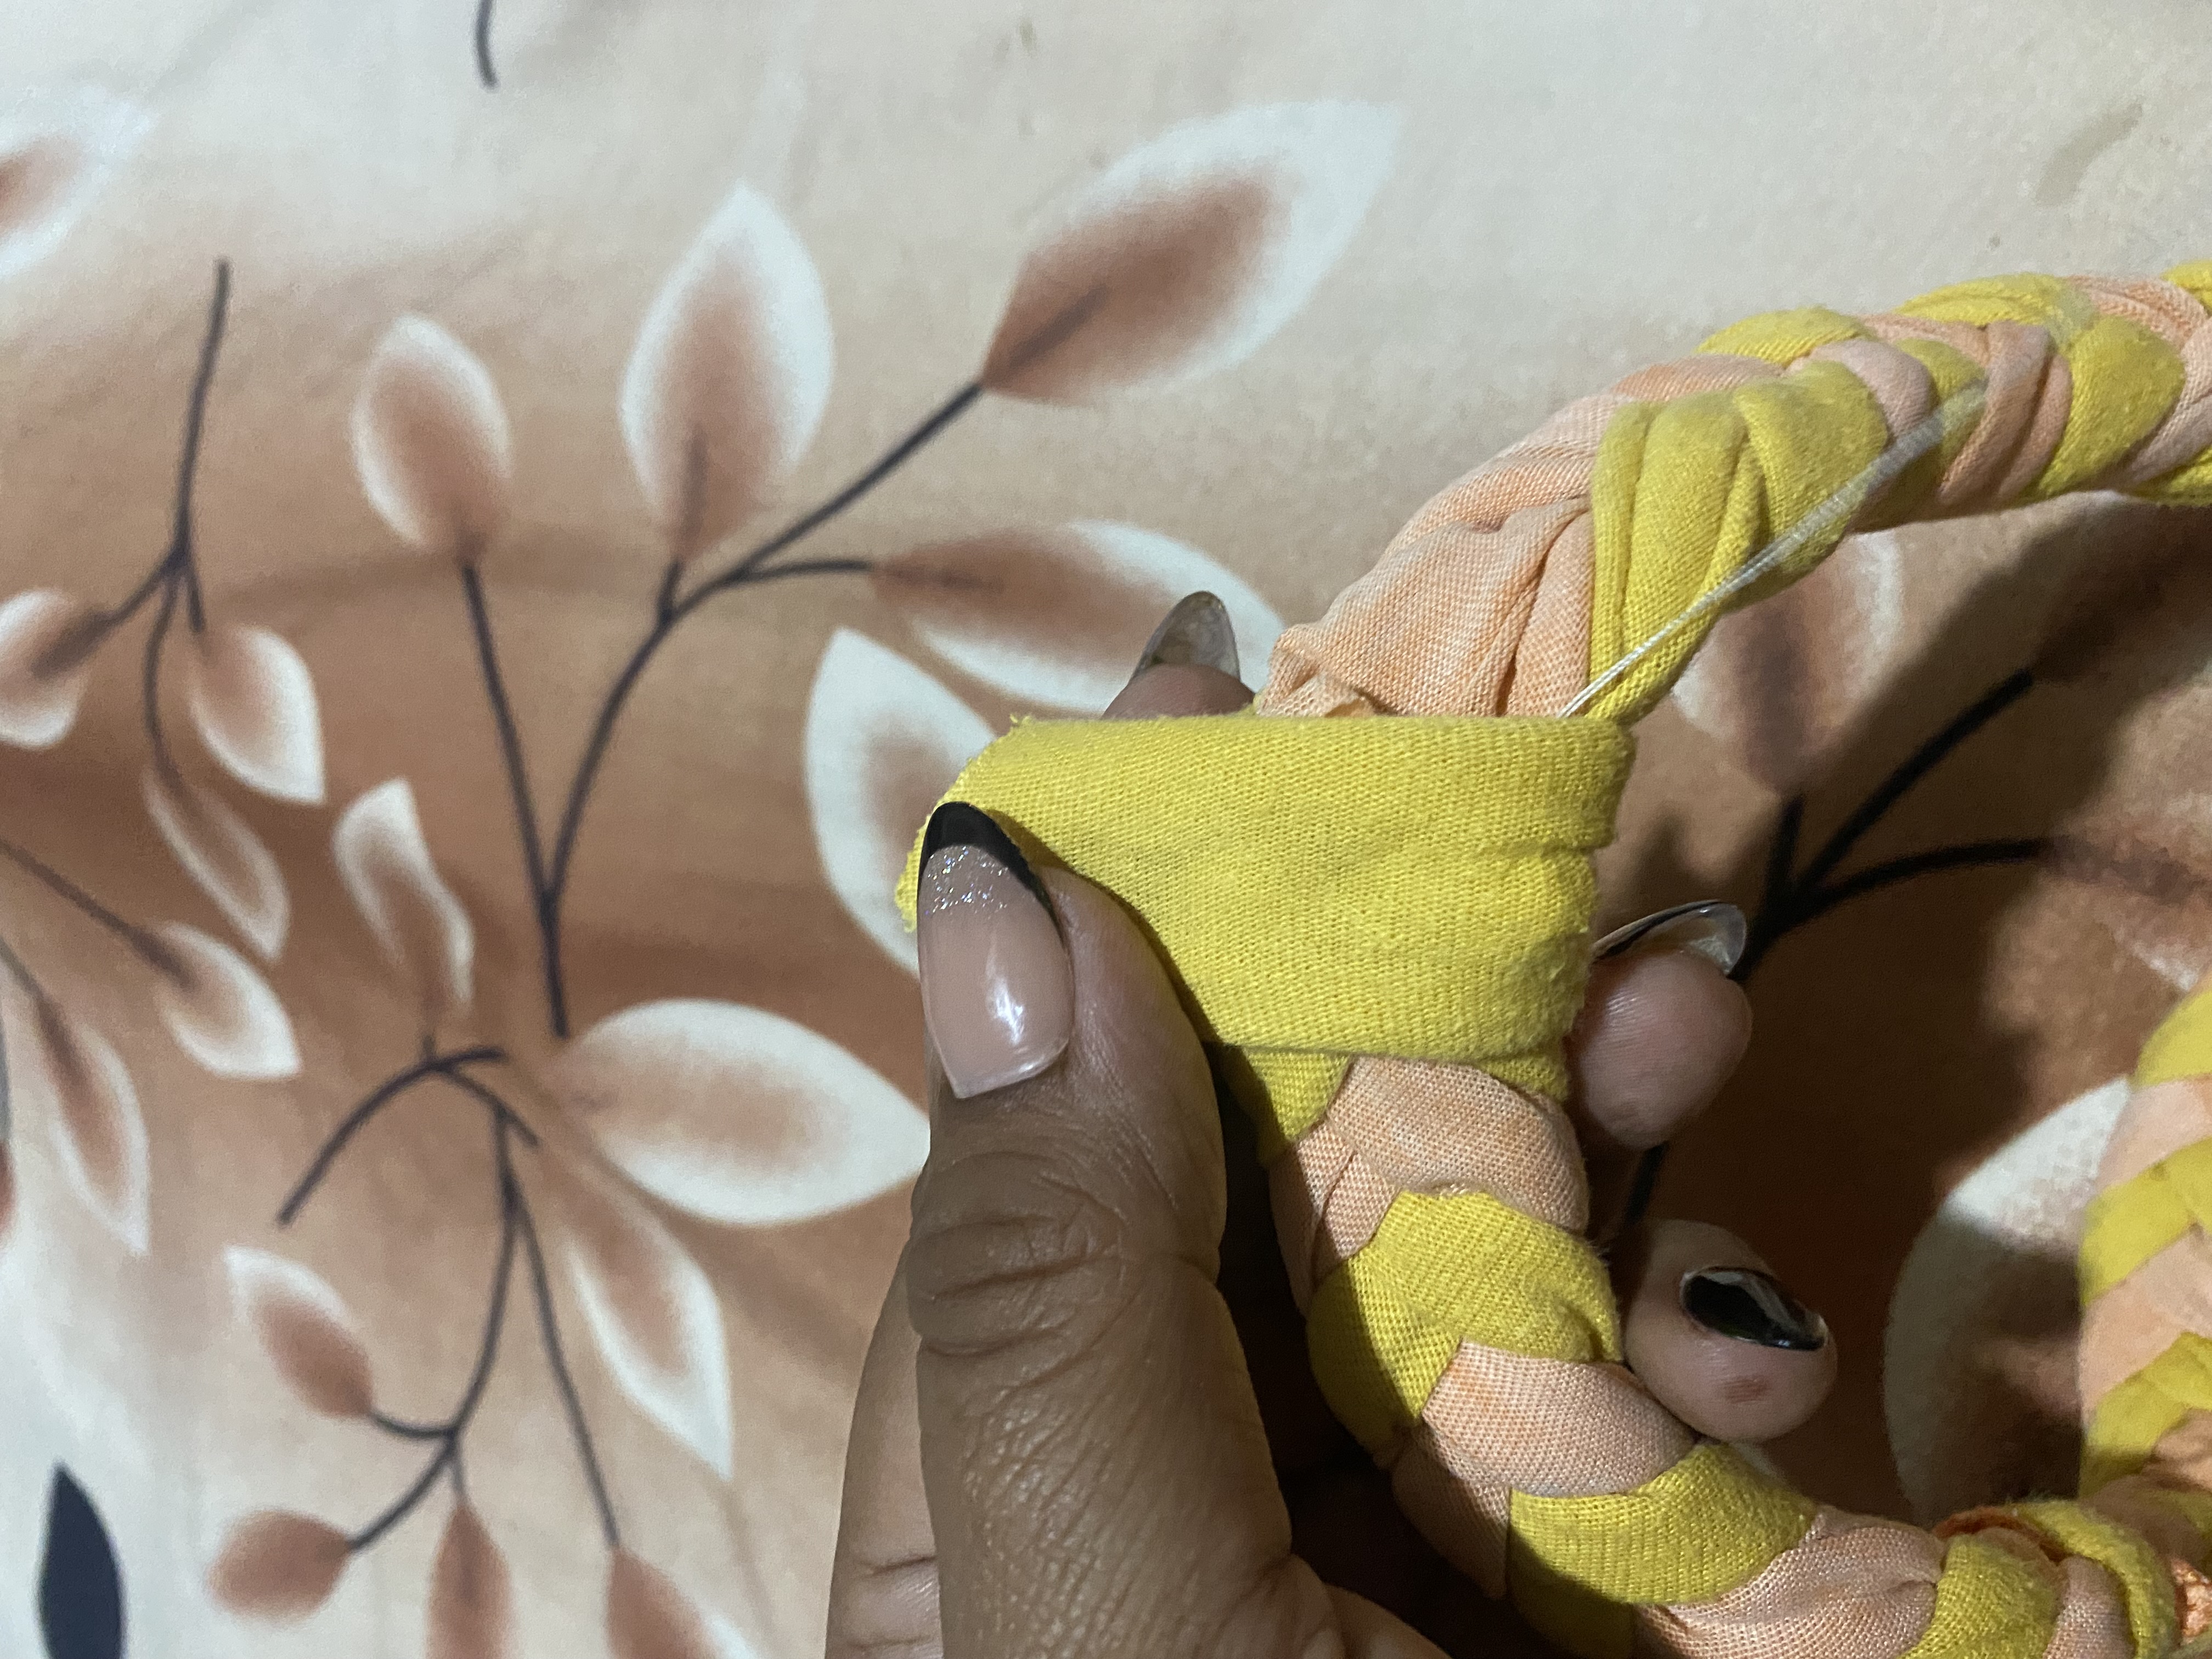
Al tejer hasta el tamaño deseado la vamos a unir con costura, dejamos una tira de aproximadamente 10 cm de larga de una de las hebras de la trenza, con esta tira vamos a cubrir la costura luego de unirlas y darle un mejor acabado, y así ya está lista nuestra linda diadema para nuestro cabello, me encantó el resultado ya que no se nota que sean franelas desgastadas
When weaving until the desired size we are going to join it with a seam, we leave a strip of approximately 10 cm long from one of the strands of the braid, with this strip we are going to cover the seam after joining them and giving it a better finish, and so our cute headband for our hair is ready, I loved the result since you can't tell that they are worn flannels.
 |  |
|---|
Es increíble que logremos hacer cosas tan lindas con algo que pensamos que ya no sirve, espero les haya gustado esta idea y puedan hacer hermosas diadema para lucir en su cabello, me despido por hoy deseándoles muchos éxitos y bendiciones
It's amazing that we manage to make such beautiful things with something that we think is no longer useful. I hope you liked this idea and can make beautiful headbands to wear in your hair. I say goodbye for today wishing you much success and blessings.

Hola amiga, excelente idea para aprovechar la ropa que no usamos al máximo, es un proyecto sencillo de hacer y muy útil, gracias por compartir.
Feliz miércoles!
Así es amiga, quien pensaría que es de telas usadas 🤭, ja ja, gracias por comentar, saludos 🥰
Hola Marlyn, que buena idea para aprovechar estas telas hasta que ya casi no dan más jajaja. Se ven geniales estos accesorios, y a vos también te quedan bien. Felicitaciones 💕
🤭 así es amiga, me gusto mucho como se ve, no se nota lo usada de la tela 😂, gracias por comentar, saludos 🥰
The final result is gorgeous and your tutorial is superb. You did an amazing job, thanks for sharing this with the community.
Thank you very much, it's a pleasure 🥰
Thank you 😊