Hola, colonias digitales que conforman el universo de Hive. Reciban un fuerte abrazo.
Hoy les traigo ¡Como crear un lazo tipo mariposa con un toque especial!
Hello, digital colonies that make up the Hive universe. Receive a big hug.
I hope you're doing well from the other side of the screen.
Today I bring you How to create a butterfly ribbon with a twist!
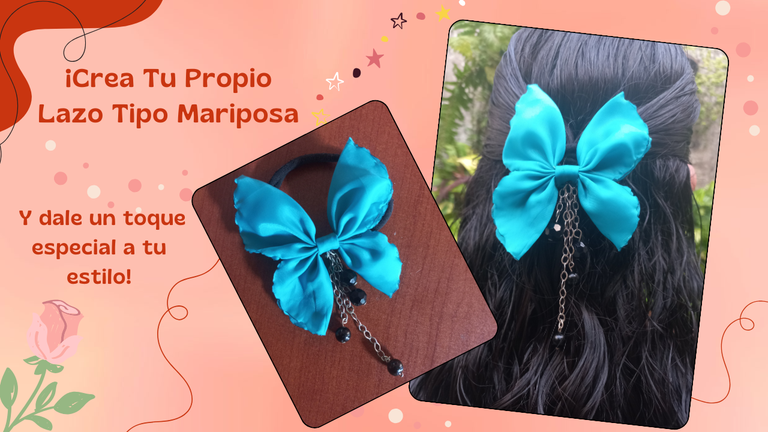
¿Alguna vez has querido añadir un toque especial y único a tu look mientras cuidas del medio ambiente? ¡Hoy es tu día de suerte! Te voy a mostrar cómo crear un hermoso lazo en forma de mariposa utilizando principalmente materiales reciclables. Este accesorio no solo es sencillo de hacer, sino que también es una excelente manera de reutilizar y dar una nueva vida a materiales que de otro modo se desecharían.
Es el complemento perfecto para un día de paseo al aire libre, combinando estilo y sostenibilidad. Además, es una actividad creativa y divertida con un toque final que hará que destaques.
¡Prepárate para dejar volar tu creatividad y contribuir al cuidado del planeta al mismo tiempo!
Sin más preámbulo comencemos con el paso a paso.
Have you ever wanted to add a special and unique touch to your look while taking care of the environment? Today is your lucky day! I'm going to show you how to create a beautiful butterfly bow using mostly recyclable materials. Not only is this accessory simple to make, but it's also a great way to reuse and give new life to materials that would otherwise be thrown away.
It's the perfect complement to a day outdoors, combining style and sustainability. Plus, it's a fun and creative activity with a finishing touch that will make you stand out.
Get ready to let your creativity run wild and contribute to the care of the planet at the same time!
Without further ado, let's start with the step by step.
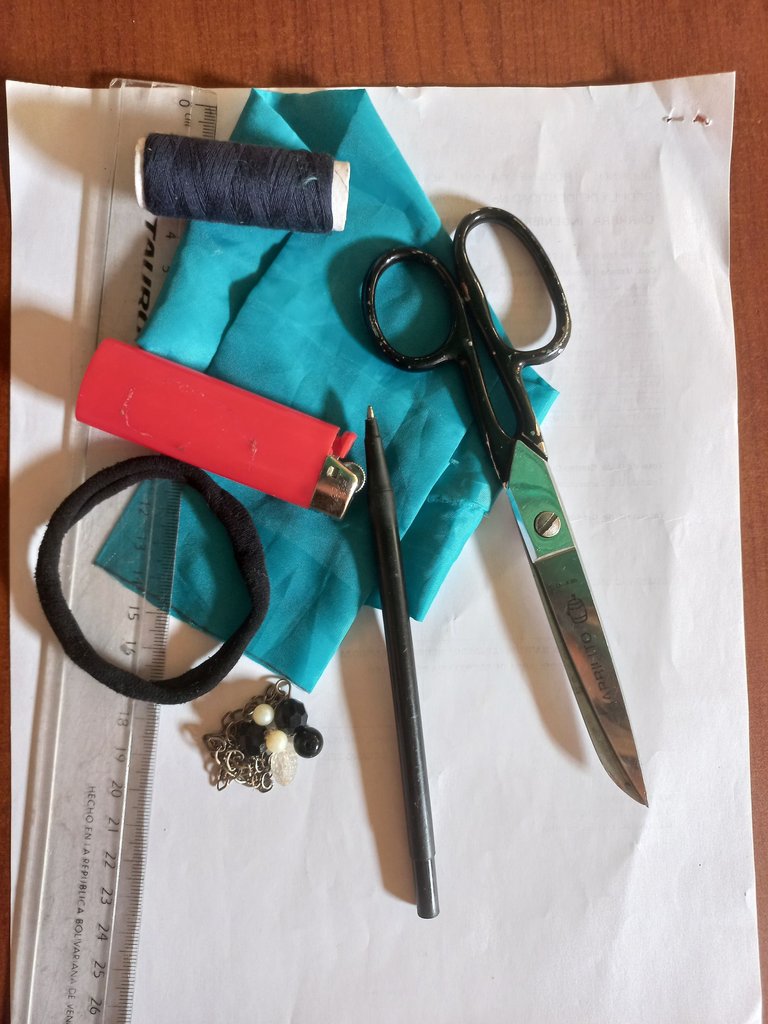
Materiales
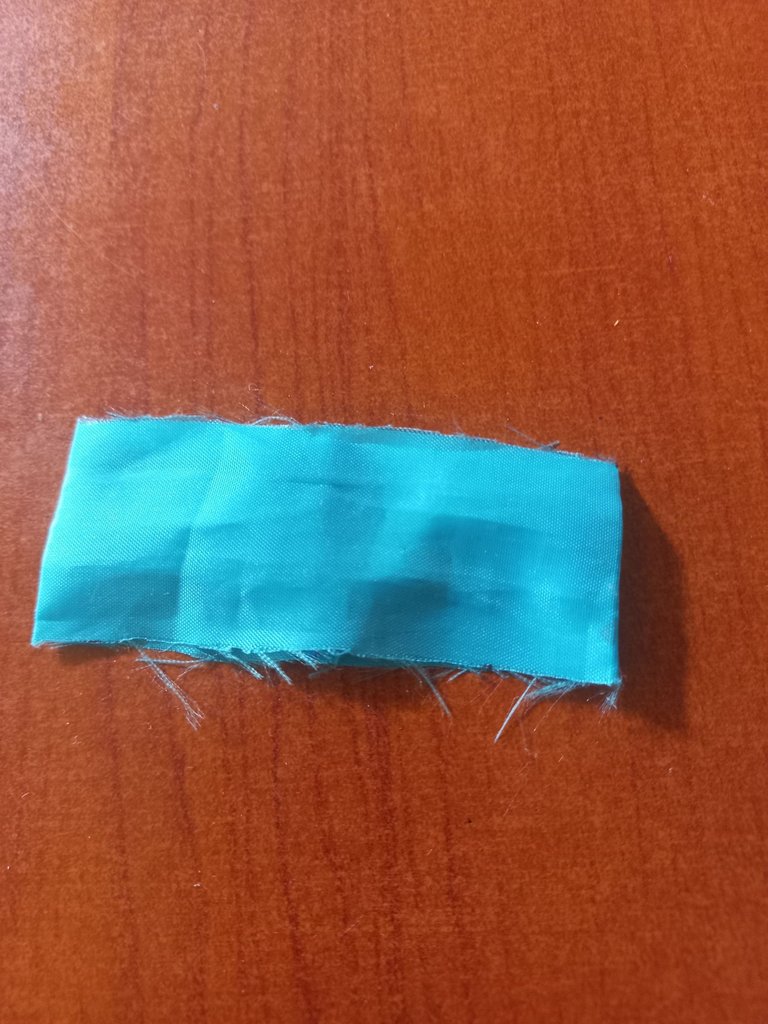
1)Retazos: puede ser de tela, cintas, fieltro entre otros. En mi caso utilice cinta satinada. (venían en un arreglo floral).
2)Liga para el cabello.
3)Tijeras
4)Alfileres.
5)Hilos de costura de acuerdo con el retazo seleccionado.
6)Trozo de papel (para diseñar el patrón).
7)Regla y lápiz.
8)Retazos de bisutería (en desuso).
9)Encendedor.
Materials
1)Scraps: can be fabric, ribbons, felt, among others. In my case I used satin ribbon (they came in a floral arrangement).
2)Hair garter
3)Scissors
4)Pins.
5)Sewing threads according to the selected patchwork.
6)Piece of paper (to design the pattern).
7)Ruler and pencil.
8)Pieces of costume jewelry (in disuse).
9)Lighter.
11) Cold painting (red)
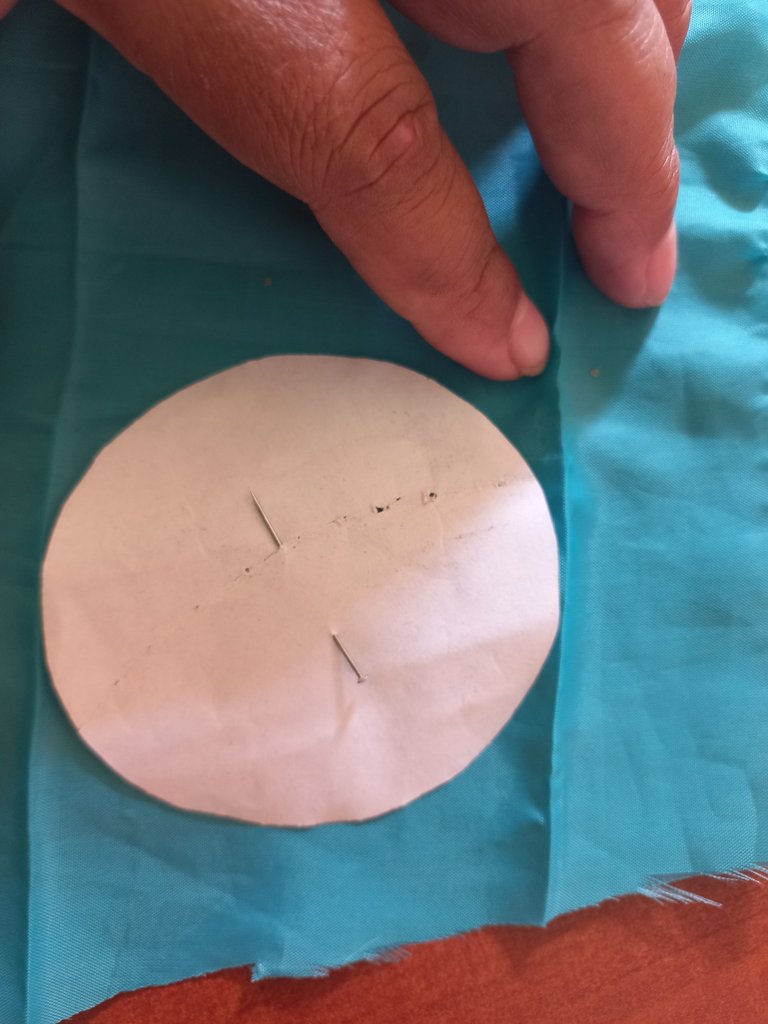
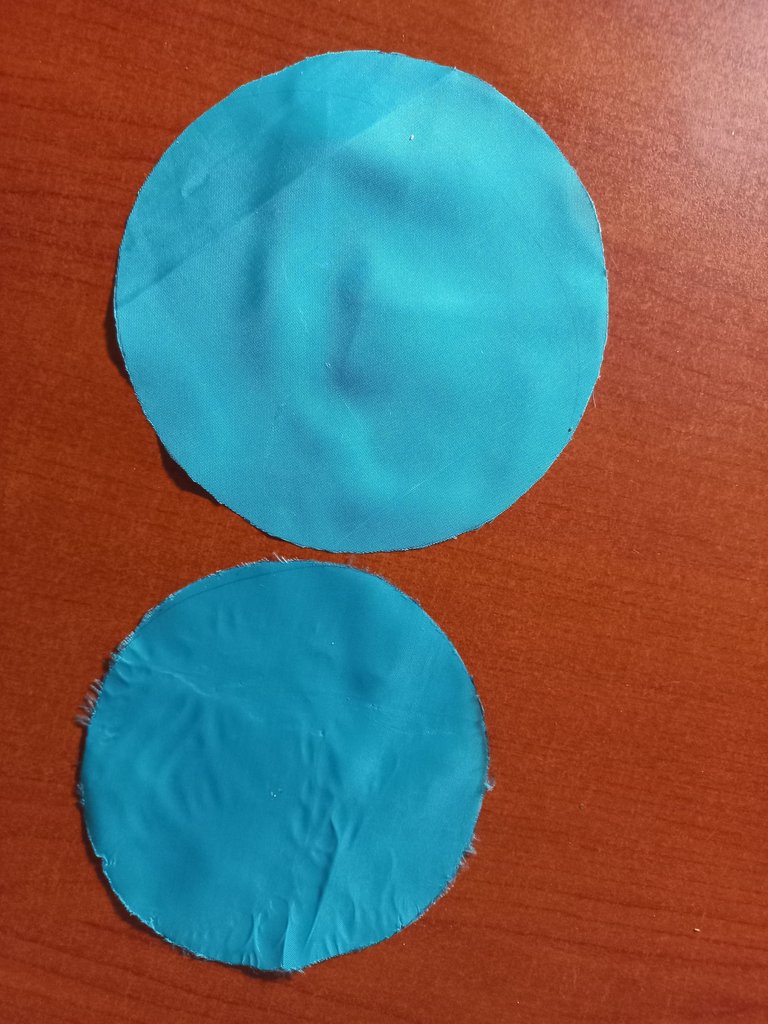
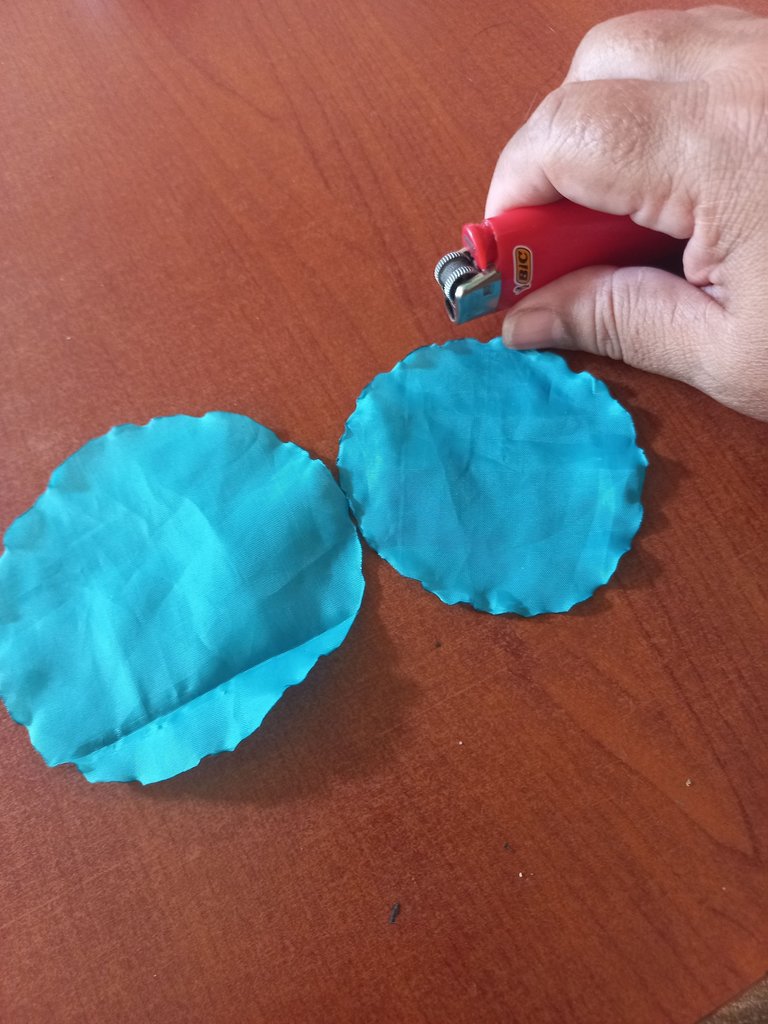
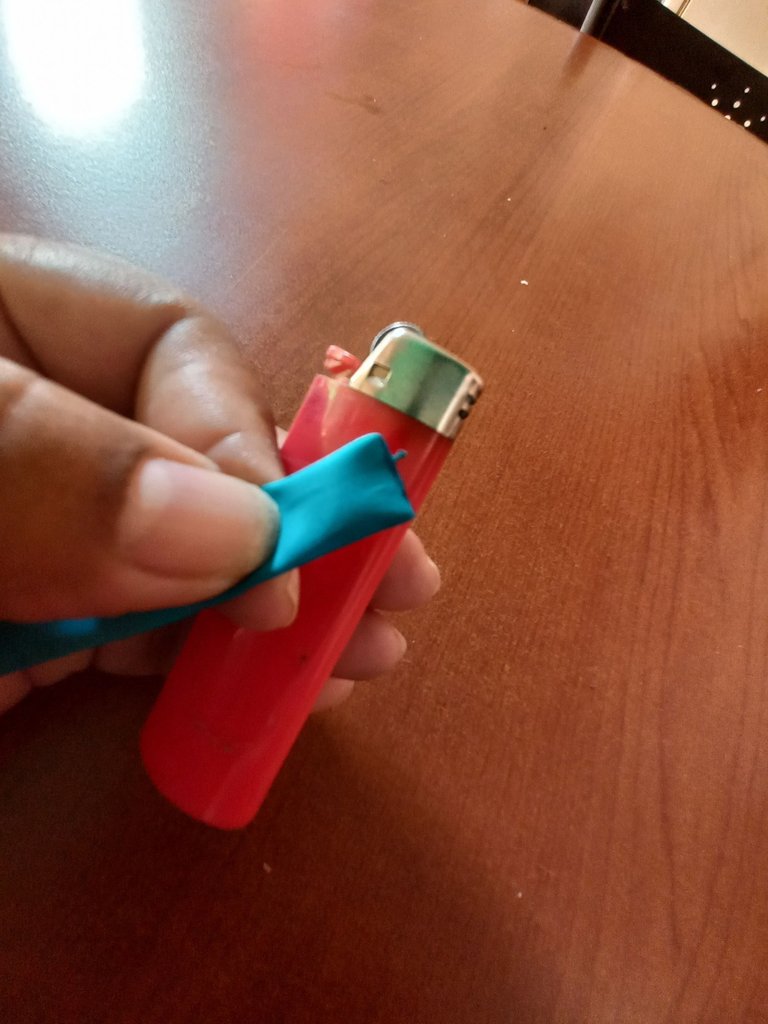
Una vez reunidos los materiales, procedemos a diseñar el patrón que consiste en dos círculos. El primero tendrá un diámetro de 10 centímetros y el segundo de 9 centímetros. Después de transferir el patrón a la cinta, sellamos los bordes con calor, teniendo cuidado de no excedernos. Aprovechando el sellado, haremos pequeños pellizcos en los bordes para obtener un efecto ondulado. Aunque este paso dependerá del tipo de retazo que utilices.
Once the materials are gathered, we proceed to design the pattern consisting of two circles. The first will have a diameter of 10 centimeters and the second of 9 centimeters. After transferring the pattern to the tape, we heat seal the edges, being careful not to overdo it. Taking advantage of the sealing, we will make small pinches on the edges to achieve a wavy effect. Although this step will depend on the type of patchwork we use.

 |  |  |
|---|
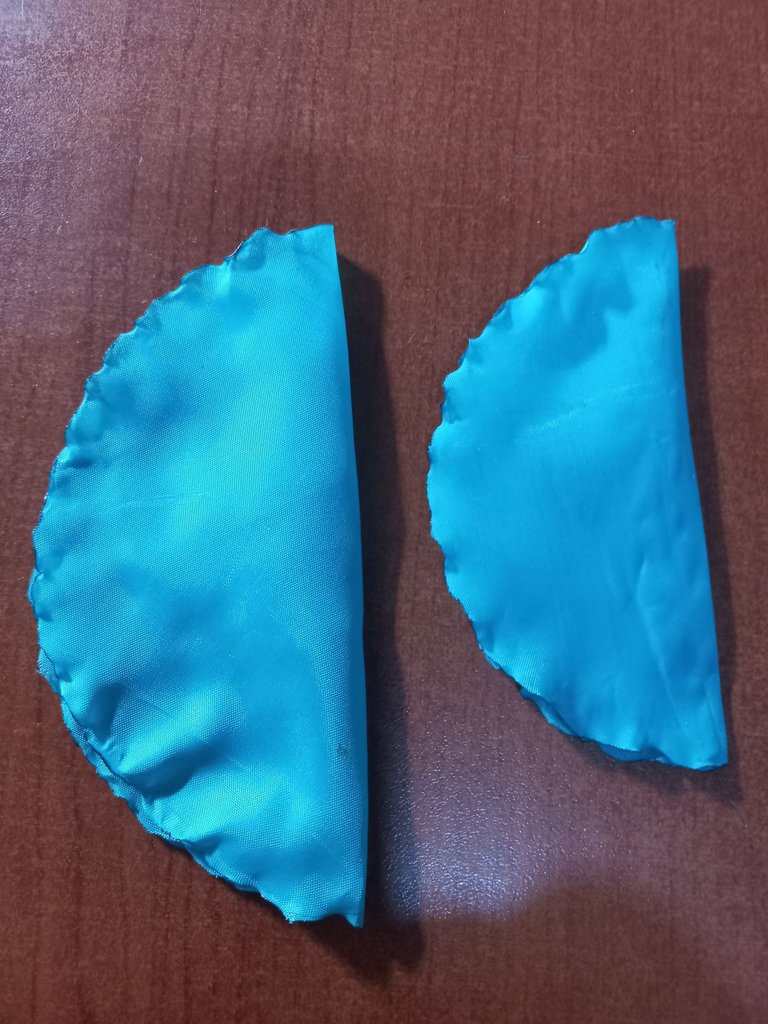
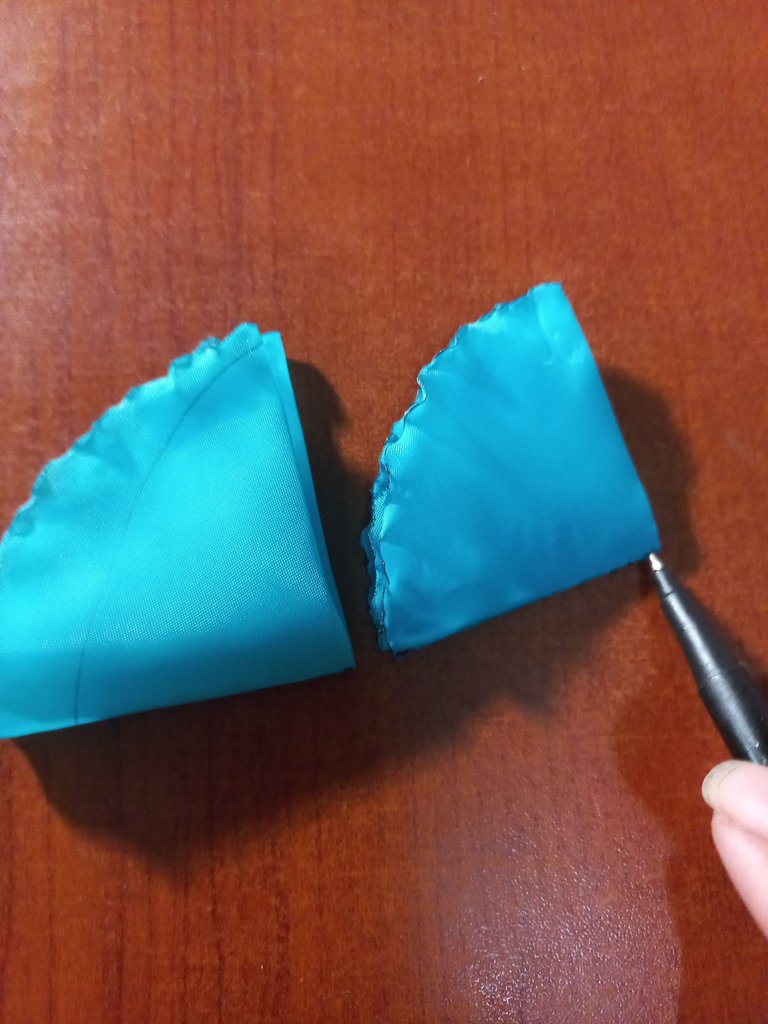
A continuación, doblamos cada círculo y lo volvemos a doblar para localizar el centro de la pieza. Posteriormente, procedemos a marcarla con precisión.
Next, we fold each circle and fold it again to locate the center of the piece. Then, we proceed to mark it accurately.
 |  |
|---|
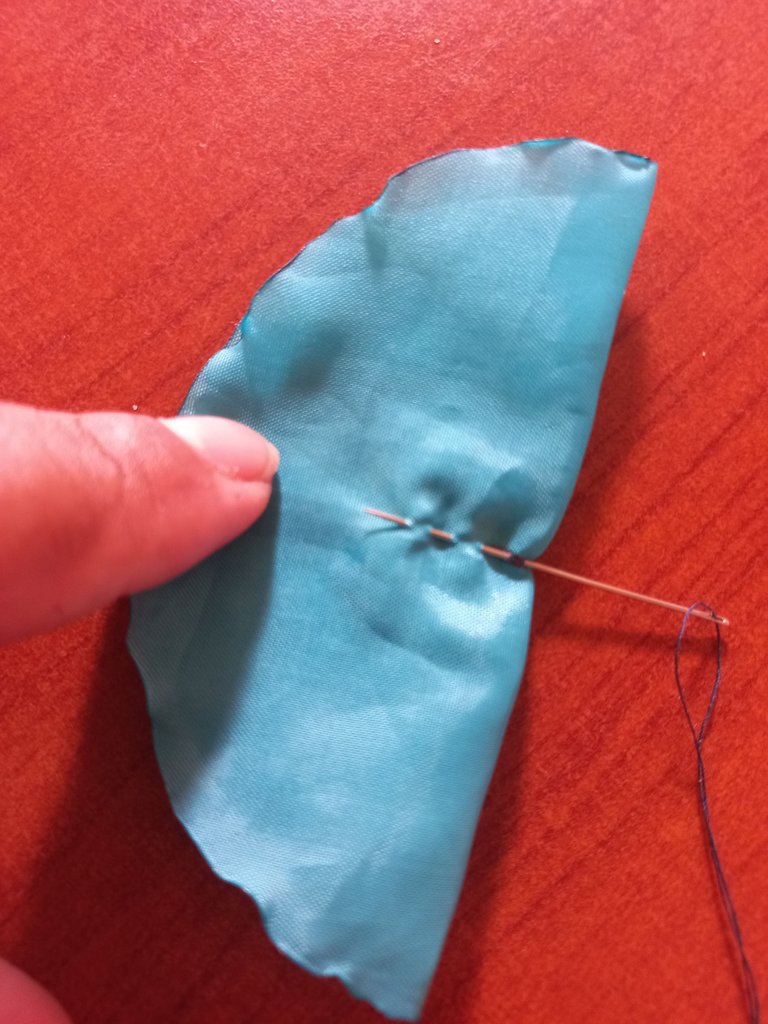
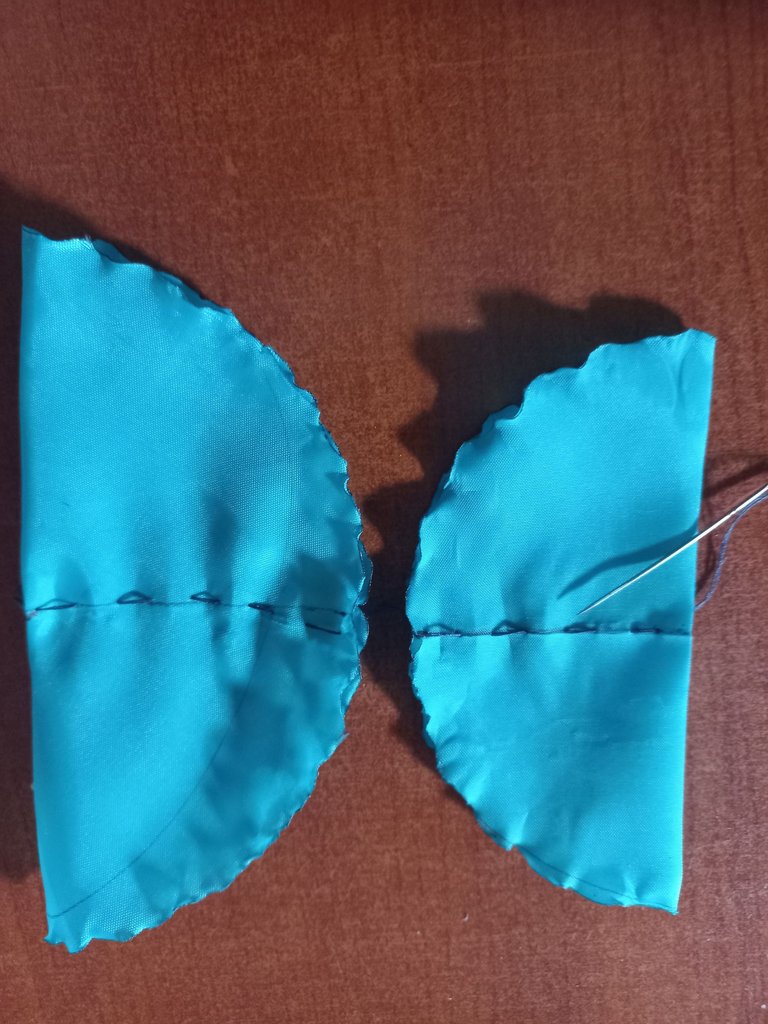
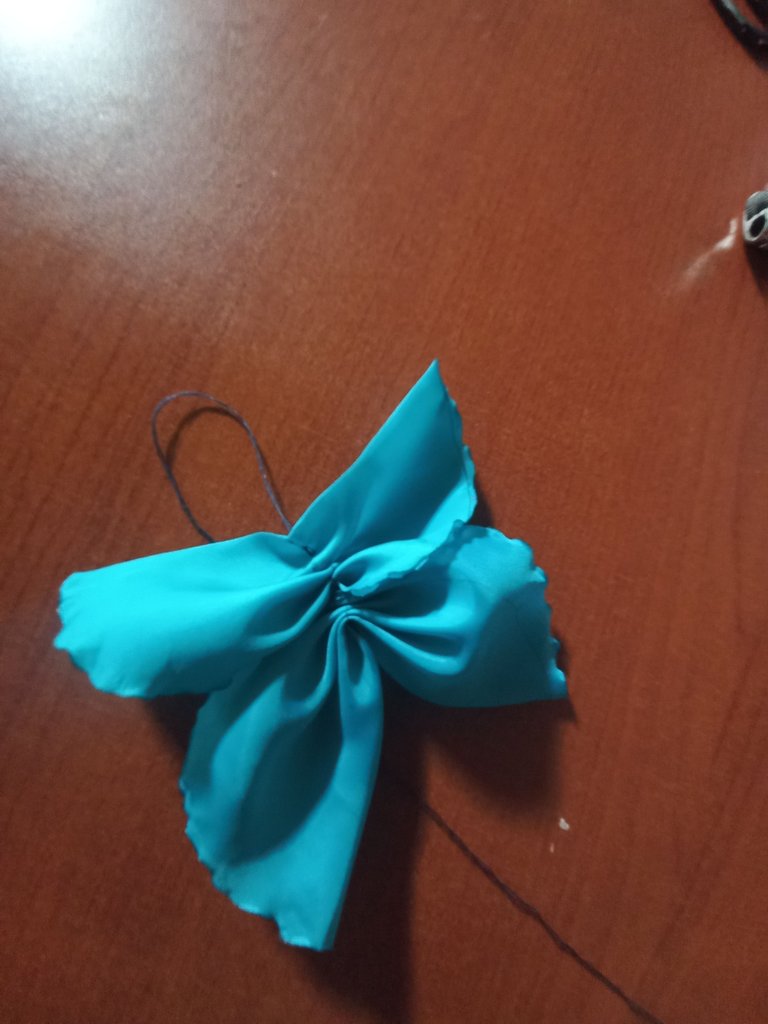
Con el centro ya definido, tomamos una de las piezas y realizamos una costura recta. Sin cortar el hilo, unimos la pieza restante. Al finalizar la costura, tensamos el hilo para formar pliegues.
With the center already defined, we take one of the pieces and make a straight seam. Without cutting the thread, we join the remaining piece. At the end of the seam, we tighten the thread to form pleats.
 |  |  |
|---|
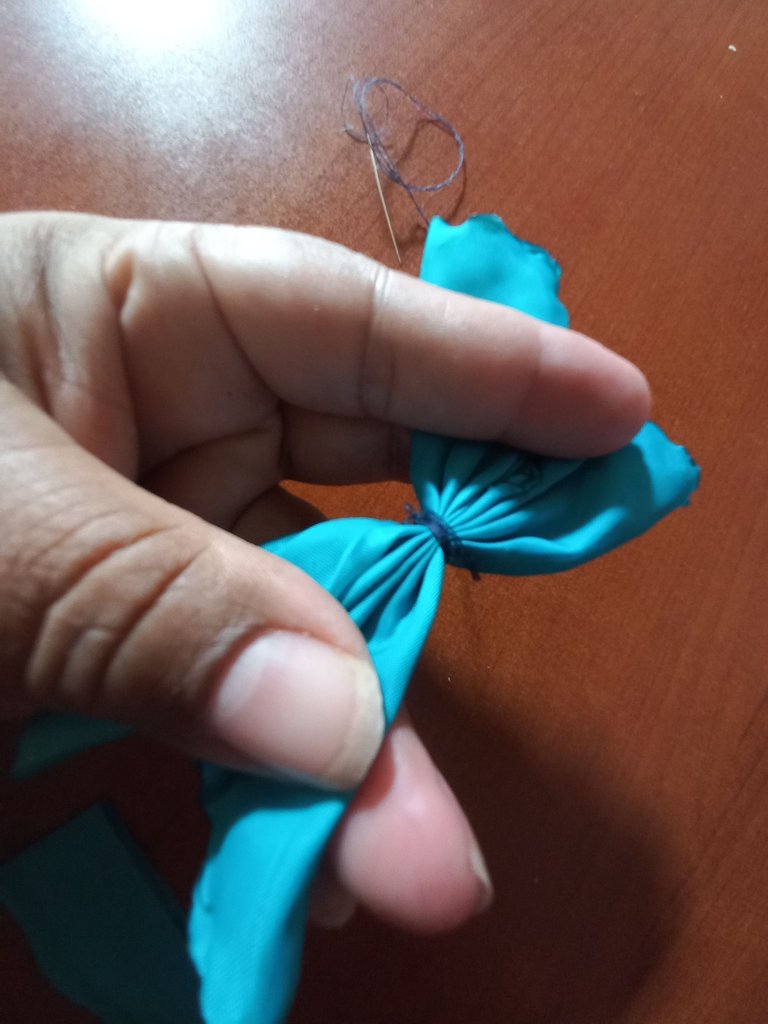
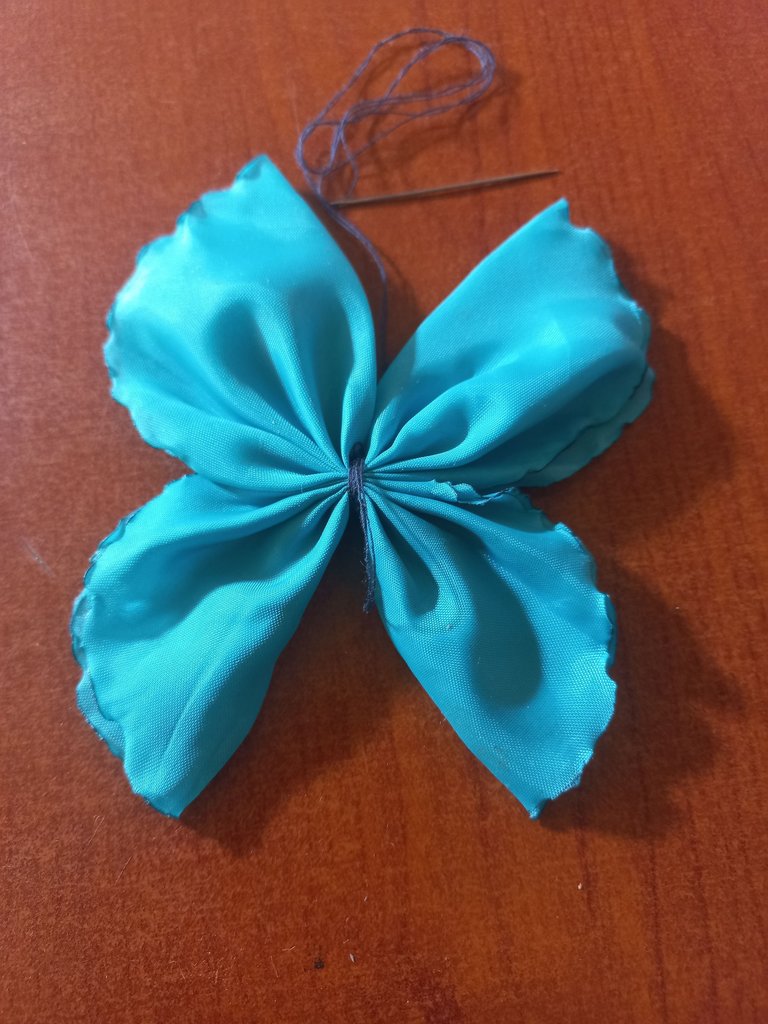
Definimos bien los pliegues, damos varias vueltas con el hilo y cerramos con costura. Y listo ya está la parte principal de nuestro lazo.
We define the folds well, make several turns with the thread and close with stitching. The main part of our bow is ready.
 |  |
|---|
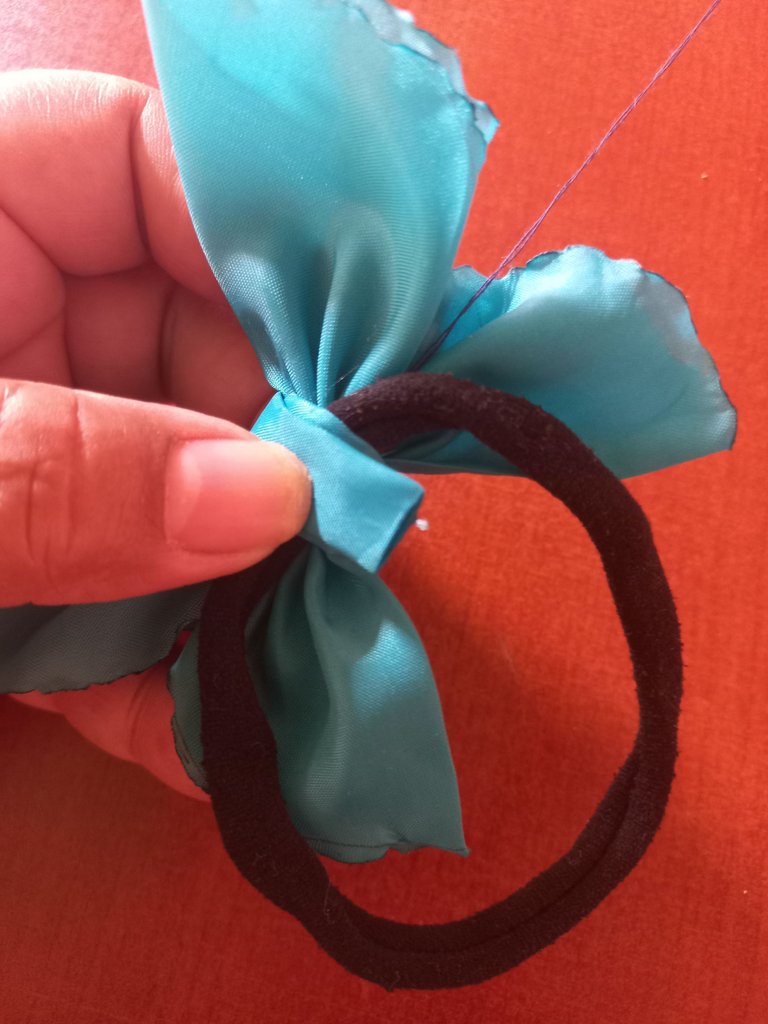
Para esta etapa, cortaremos una tira de 6 centímetros de largo por 3 centímetros de ancho. Luego, la doblaremos desde los bordes hacia el centro, de manera que quede de 1 centímetro de ancho, sellando las puntas con calor para evitar que se deshilache. Una vez lista, la colocaremos en el centro de nuestra pieza principal, asegurándonos de colocar la liga para el cabello.
For this stage, we will cut a strip 6 centimeters long by 3 centimeters wide. Then, we will fold it from the edges towards the center, so that it is 1 centimeter wide, sealing the ends with heat to avoid fraying. Once ready, we will place it in the center of our main piece, making sure to attach the hair tie.
 |  |  |
|---|
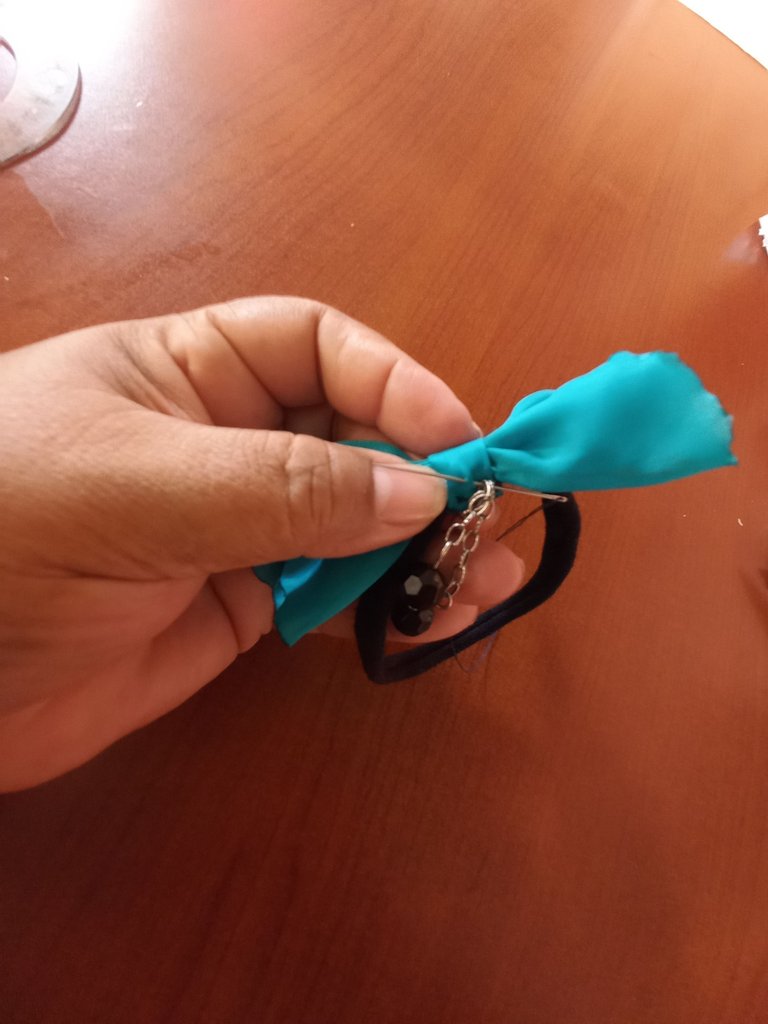
Cortamos el excedente y sellamos con costura y calor. En el siguiente paso, entra en juego tu imaginación, ya que es la etapa de personalizar tu lazo. Usa la bisutería para crear el diseño que le dará ese toque único que te identificará. En mi caso, me inspiré en los adornos de época asiáticos, como cadenas y cuentas.
We cut off the excess and seal with sewing and heat. In the next step, your imagination comes into play, since this is the stage to personalize your bow. Use costume jewelry to create the design that will give it that unique touch that will identify you. In my case, I was inspired by Asian vintage ornaments, such as chains and beads.
 |  |
|---|
Ha sido un verdadero placer compartir esta experiencia con ustedes. Espero que lo ponga en práctica y le den ese toque de originalidad.
¡Cuídense mucho y hasta la próxima!
It has been a real pleasure to share this experience with you. I hope you will put it into practice and give it that touch of originality.
Take care and see you next time!
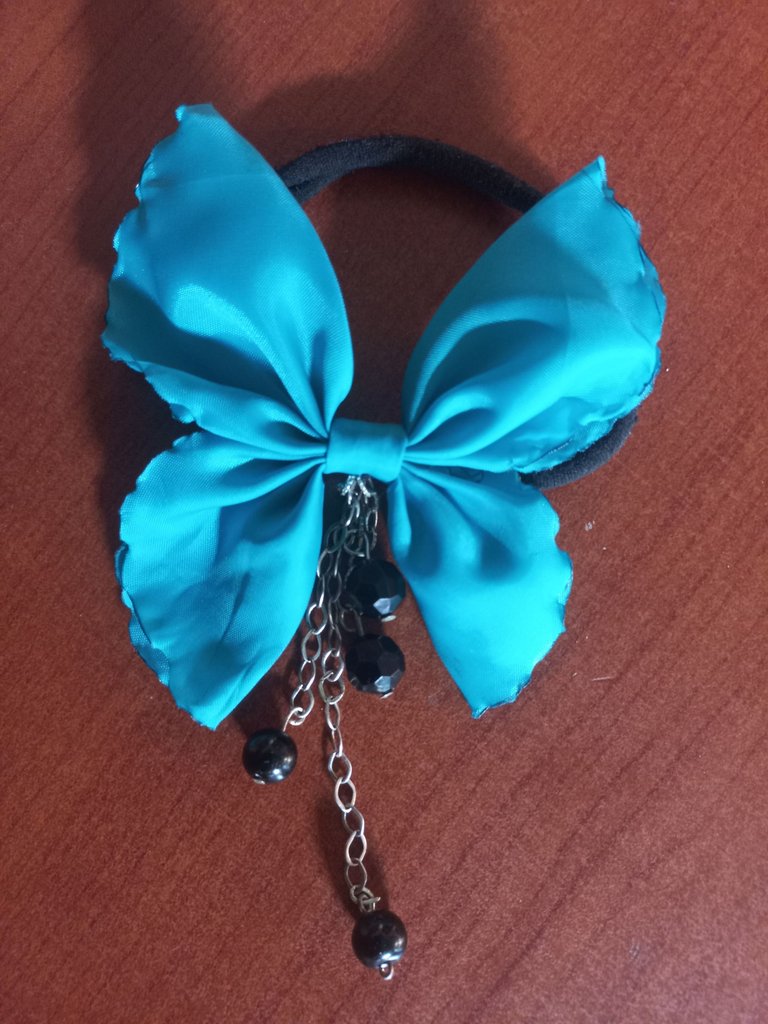
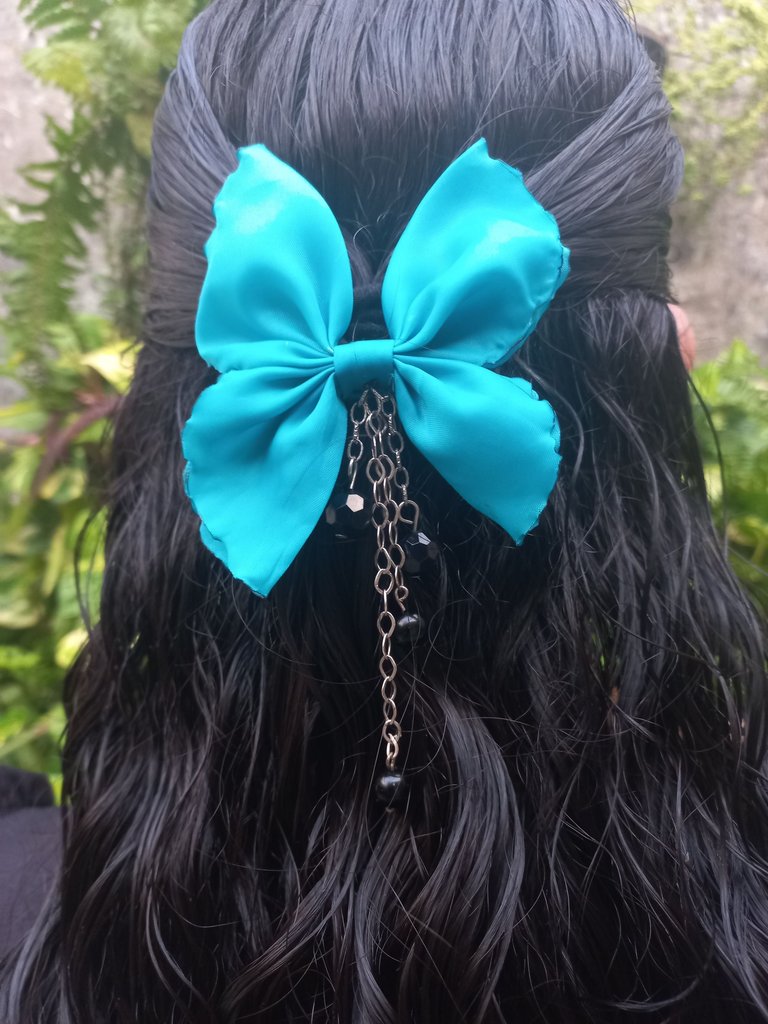
Foto de mi autoría / Photo by me
Imagen de portada editada en Canva / Cover image edited in Canva
Traducción: DeepL Translate / Translation: DeepL Translate
Imagen de portada editada en Canva / Cover image edited in Canva
Traducción: DeepL Translate / Translation: DeepL Translate
Pero que hermoso lazo😍, sin duda personaliza el atuendo de cualquiera. El paso a paso muy bien explicado me sirve para el momento en que me atreva hacer uno!!
¡Disfruta creando! 🎀
Congratulations @mily0202! You have completed the following achievement on the Hive blockchain And have been rewarded with New badge(s)
Your next target is to reach 600 upvotes.
You can view your badges on your board and compare yourself to others in the Ranking
If you no longer want to receive notifications, reply to this comment with the word
STOPCheck out our last posts: