Today I want to make my entry to the contest "World of fabric" I tell you that when I read about the theme of this contest I felt very encouraged because my mind went back to my childhood long afternoon with my friends creating costumes for our dolls and it is difficult not to feel this bad feeling to know that now in this time our little ones can not have fun in such a way, I hope you like this cute dress that I made.
Hola querida comunidad #HiveDiy, espero la estén pasando muy bien le agradezco que hayan tomando un tiempo para visitar mi blog.
Hoy quiero hacer mi entrada al concurso de "Mundo de la tela" les cuento que al leer sobre el tema en que se trataba este concurso me sentí muy animada ya que mi mente retrocedió a mi infancia largas tarde con mis amigas creando vestuarios para nuestras muñecas y es difícil no sentir está mala sensación al saber que ahora en este tiempo nuestros pequeños no se pueden divertir de tal manera, espero les guste este lindo vestido que realicé.
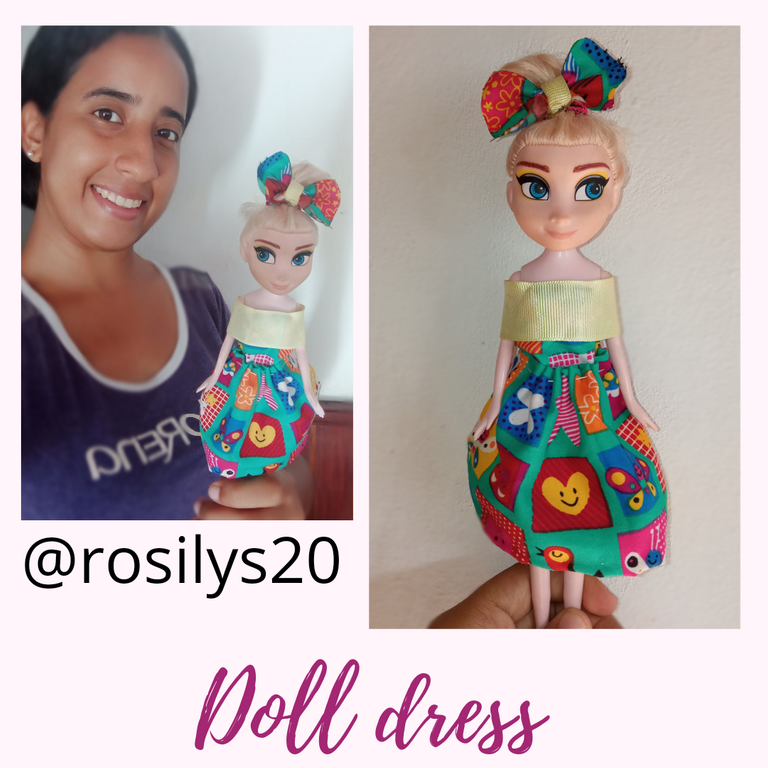
Making a doll dress
Confección de un vestido para muñecas
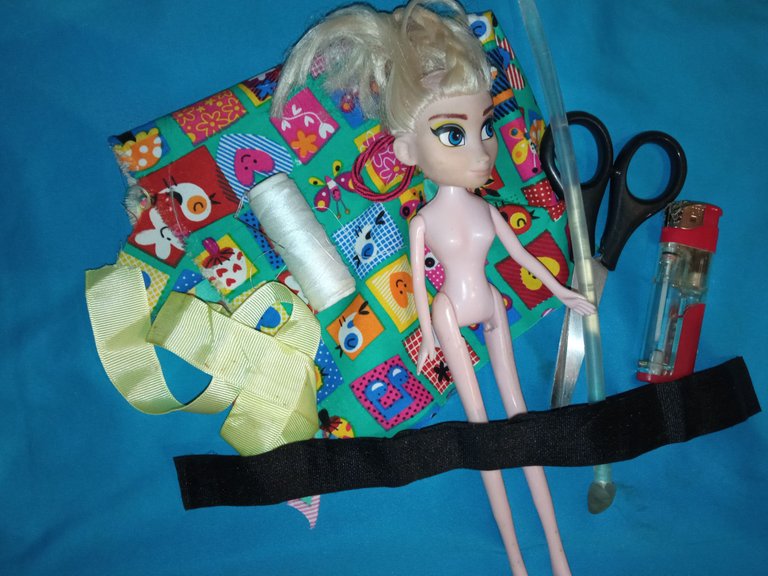
Materials used:
Fabric scrap
Recycled ribbon
Silicone stick
Lighter
Son
Needle
Hair clip
Scissors
Doll
Magical closing
Materiales utilizados:
Retazo de tela
Cinta reciclada
Barra de silicón
Encendedor
Hijo
Aguja
Cola para el cabello
Tijera
Muñeca
Cierre mágico
Steps to follow | Pasos a seguir
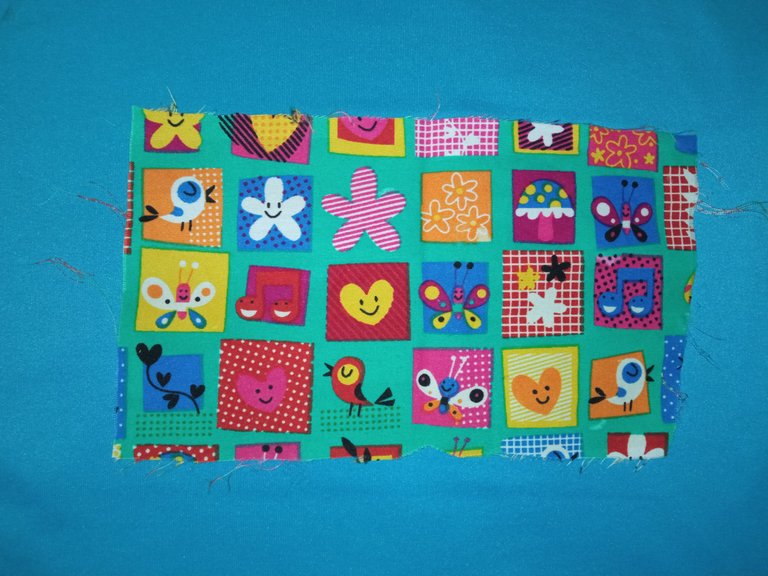
To start our work, we will cut out a square of fabric (its width should be the same as the wrist's size).
Para iniciar nuestro trabajo recortaremos un cuadro de tela (De ancho debe tener la medida de la muñeca).
We sew the sides and the bottom.
Cosemos los lados y la parte de abajo.
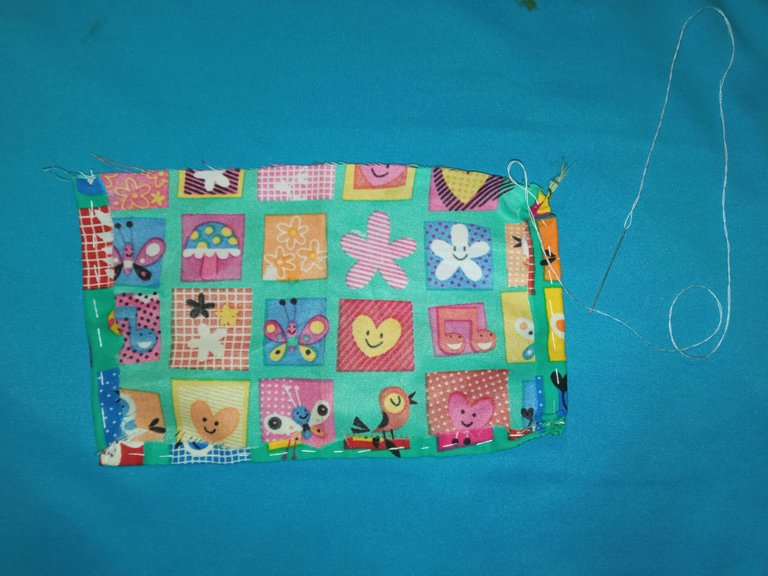
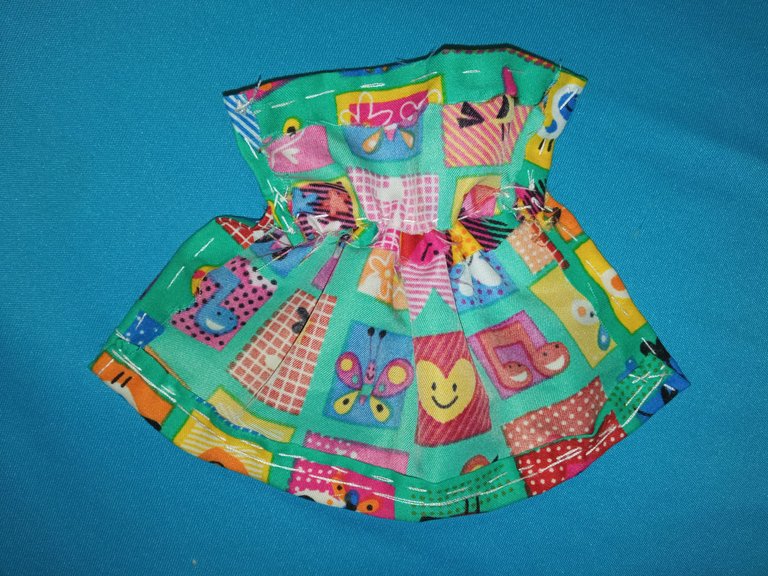
Now we sew the top and together all the fabric forming a kind of skirt (This is done by sewing and stretching the thread that we introduce into the fabric).
Ahora cosemos la parte de arriba y juntas toda la tela formando una especie de falda (Esto lo hacemos cosiendo y estirando el hilo que introducimos en la tela).
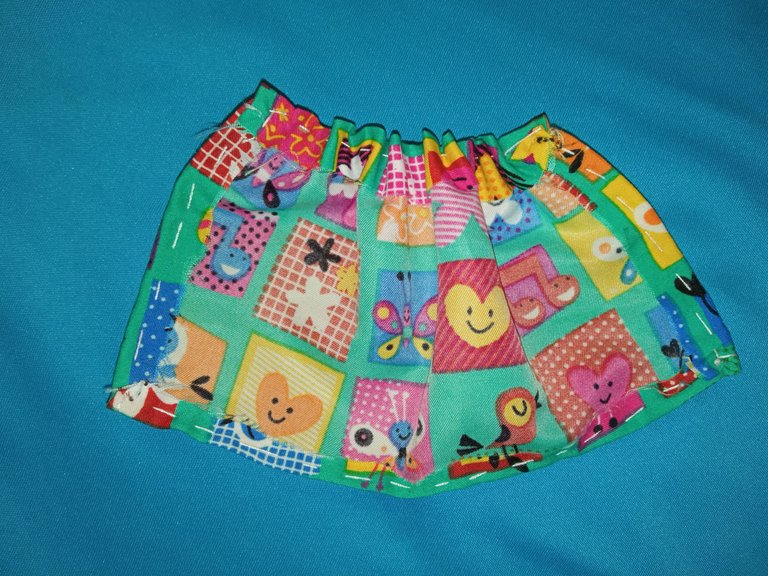
Fold the bottom part and sew trying not to show the seam in the front part.
Doblamos la parte de abajo y cosemos tratando que en la parte de adelante no se note la costura.
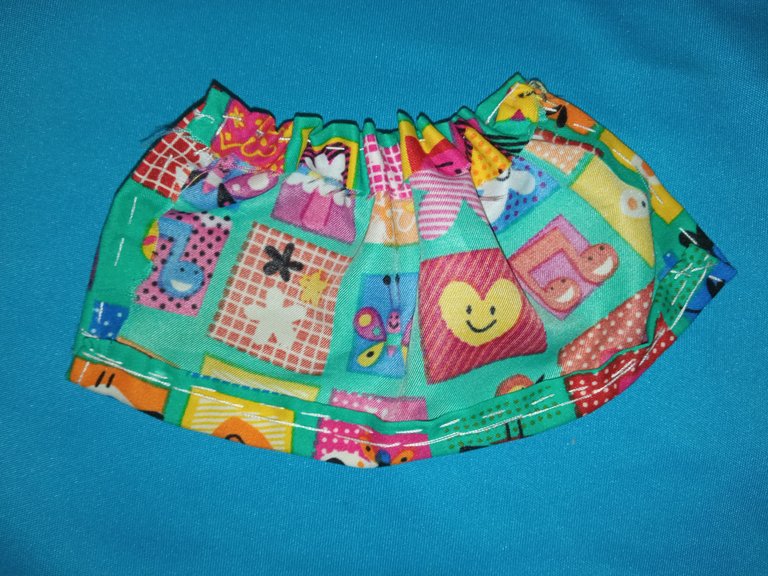
It should look like this:
Debe quedar así:
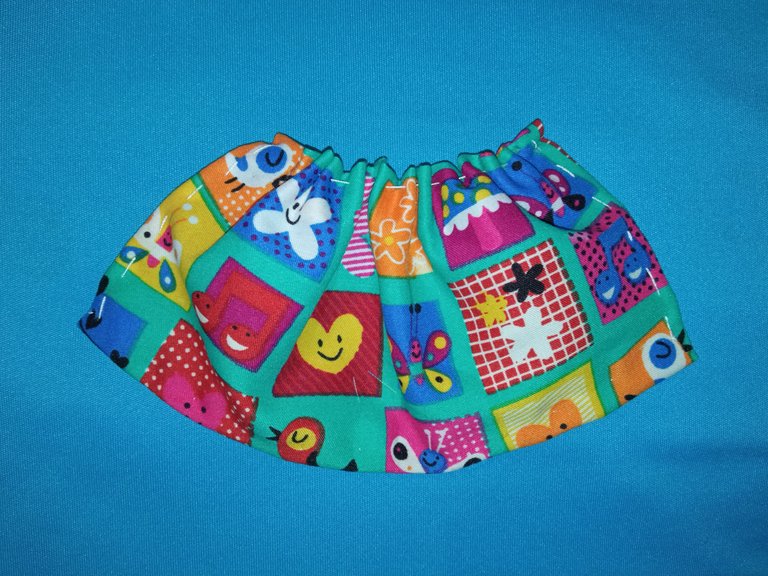
We cut a thick strip of fabric.
Recortamos una tira gruesa de tela.
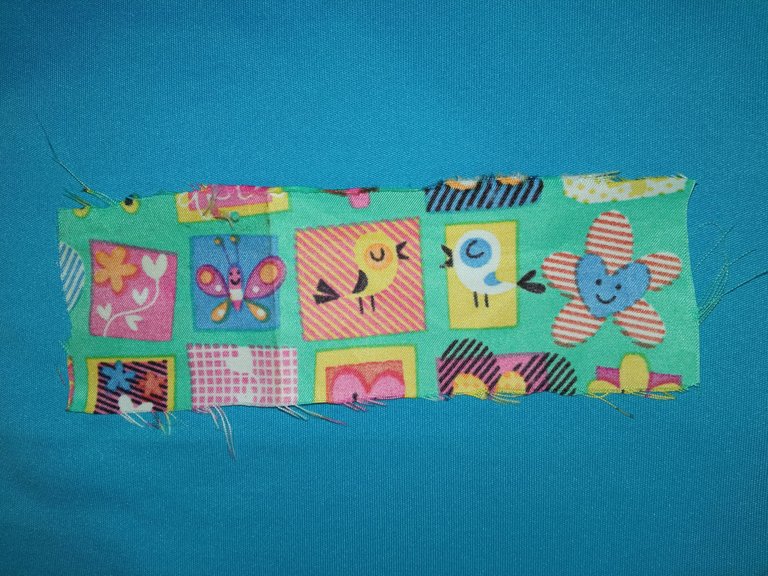
We do the same procedure as in the fabric square (We sew the sides but this time we will sew the seam on the top side.
Hacemos el mismo procedimiento que en el cuadro de tela (Cosemos los lados pero está vez haremos la costura en la parte de arriba).
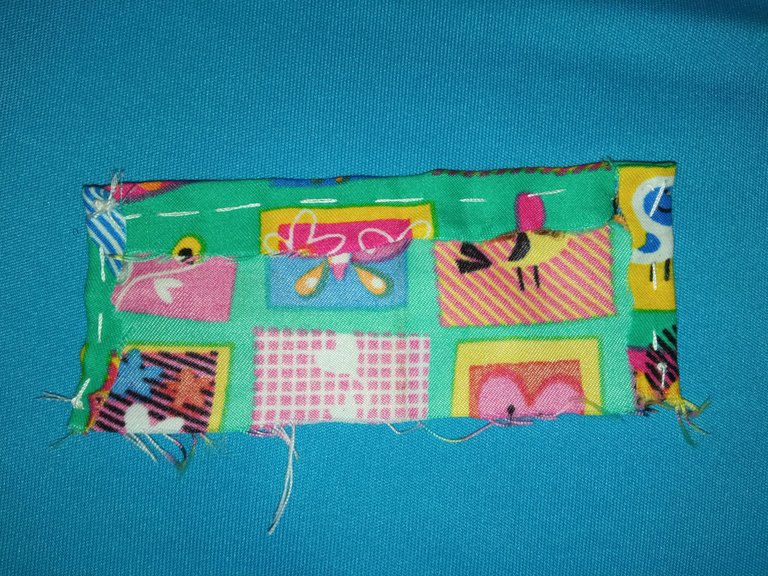
We sew the thick strip to the foul stitch.
Unimos cosiendo la tira gruesa a la costura tipo falta.
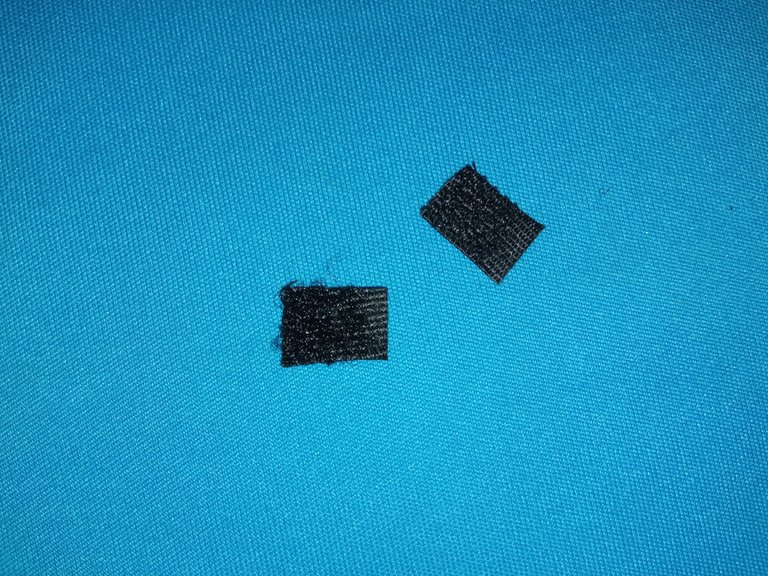
We cut out a piece of magic clasp.
Recortamos un pedazo de cierre mágico.
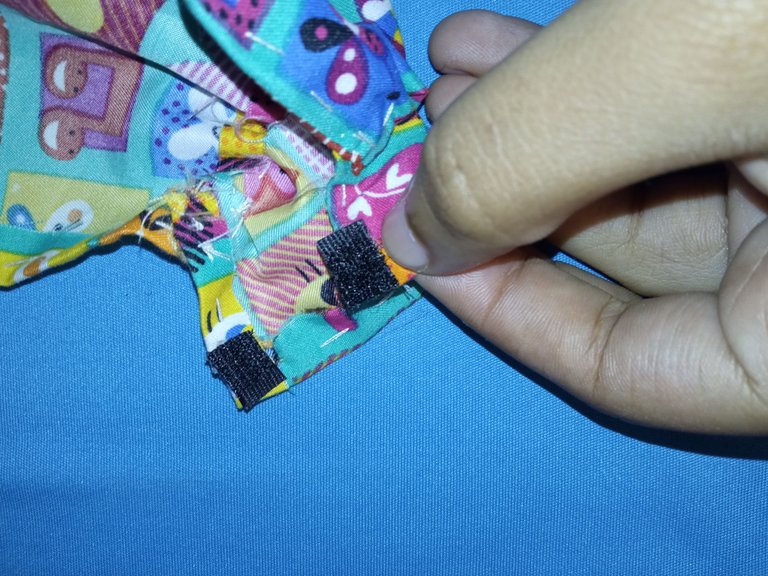
We glue the magic zipper on both sides of our seam (We do this with the help of the silicone stick and in this step we can integrate our little ones to help us in the process).
Pegamos el cierre mágico en ambos lados de nuestra costura (Esto lo hacemos con ayuda del silicón en barra y en este paso podemos integrar a nuestros pequeños para que nos ayuden en el proceso).
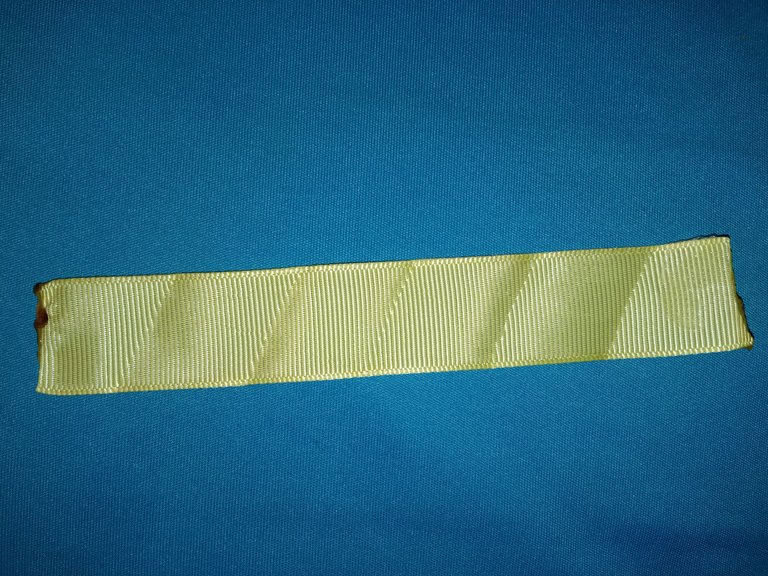
We cut a piece of recycled ribbon to the wrist size and seal the sides with the lighter to prevent it from unraveling.
Recortamos un pedazo de cinta reciclada a la medida de muñeca y sellamos los lados con el encendedor para evitar que se vaya deshaciendo.
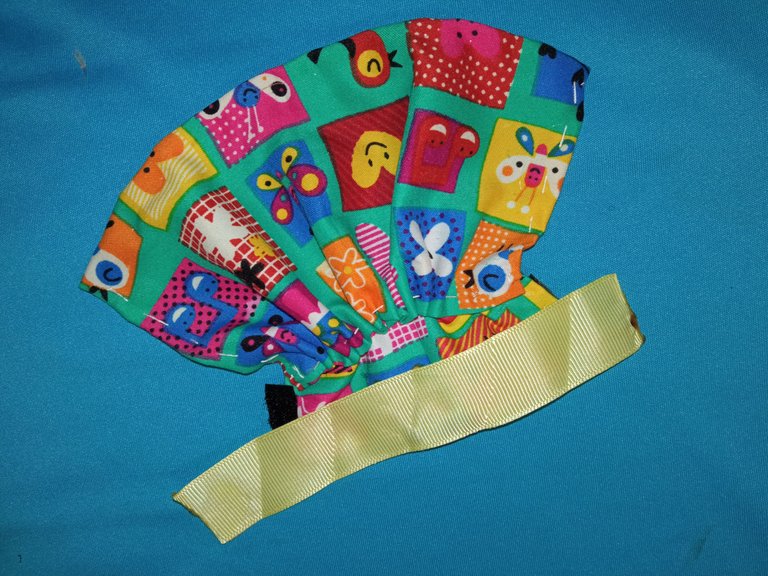
We glue the recycled ribbon to the front of our seam.
Pegamos la cinta reciclada en la parte delantera de nuestra costura.
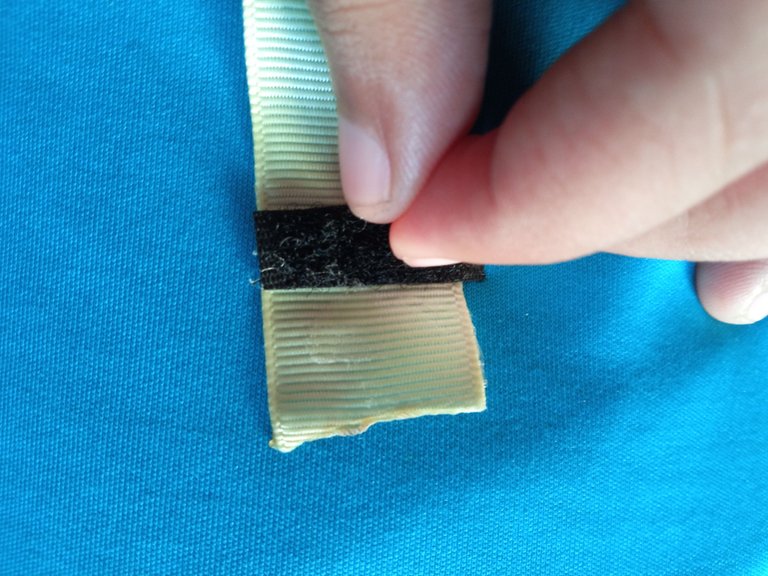
We glue a piece of magic zipper on both sides of the tape glued on the seam (Remember that in the steps where we use silicone we can integrate our children).
Pegamos un pedazo de cierre mágico en ambos lados de la cinta pegada en la costura (Recuerden que en los pasos dónde utilizamos silicón podemos integrar a nuestros niños).
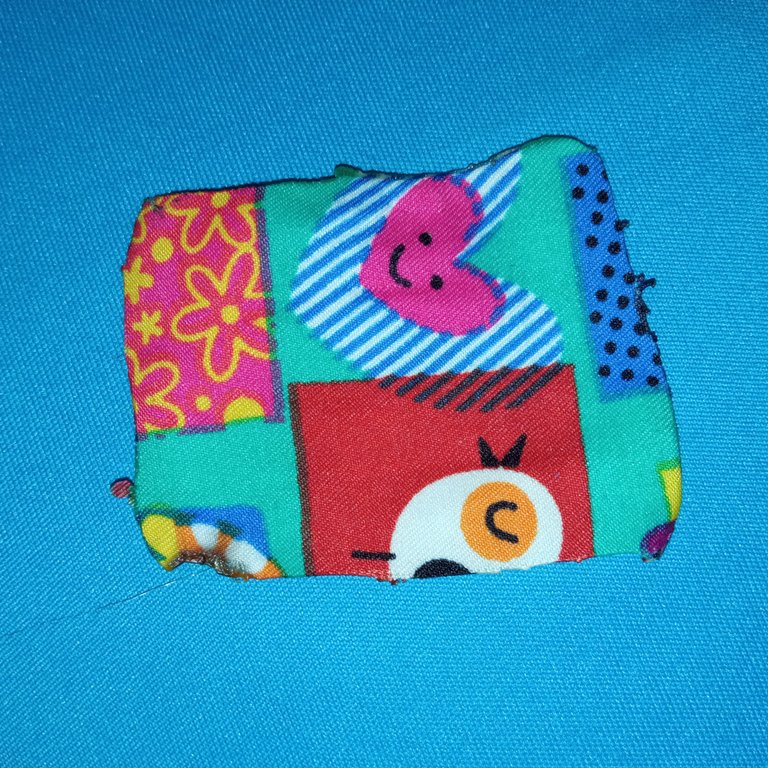
Now that we have the doll's dress ready, we are going to make a bow to make the doll look more elegant. To make the bow, we cut a small square of fabric and seal the sides with the lighter.
Ya que tenemos listo el vestido de la muñeca vamos a realizar un lazo para que se vea la muñeca más elegante para hacer el lazo cortamos un pequeño cuadro de tela y sellamos los lados con el encendedor.
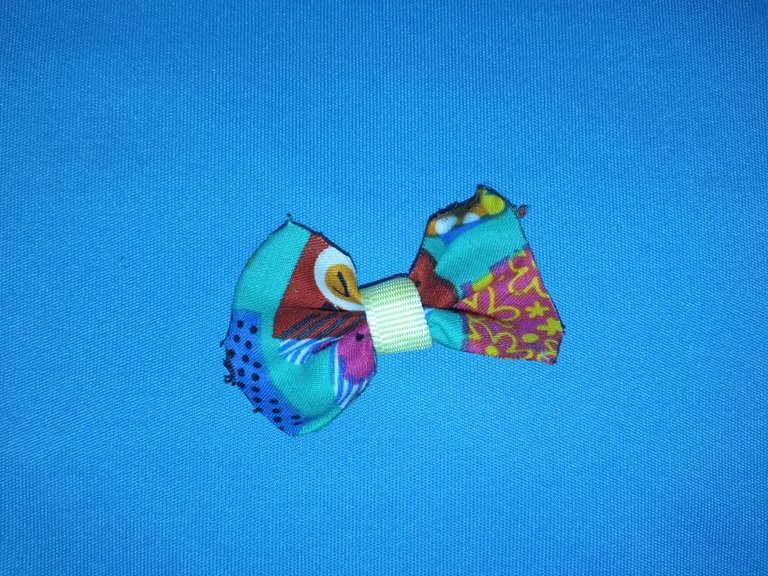
Then in the center we glue a piece of ribbon to form the bow.
Luego en el centro pegamos un pedazo de cinta para formar el lazo.
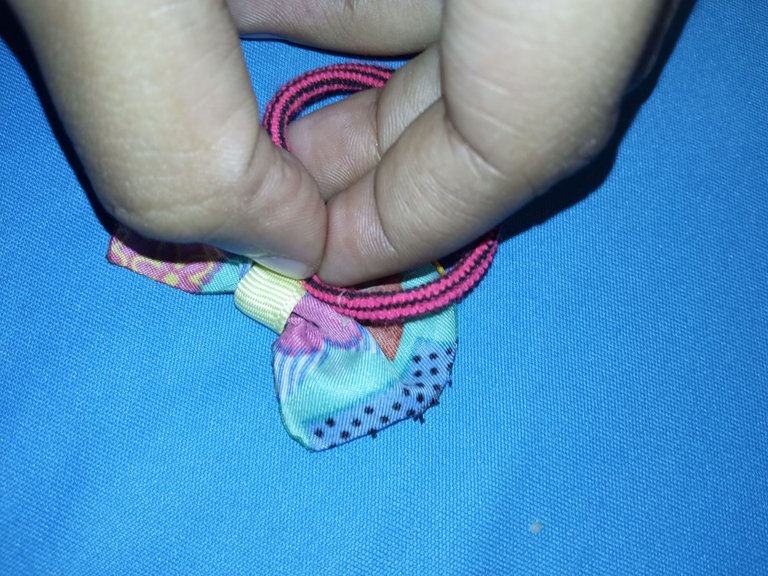
We glue the ribbon to the hair tail.
Pegamos el lazo a la cola de cabello.
Finally, we dress our doll.
Para finalizar vestimos a nuestra muñeca.
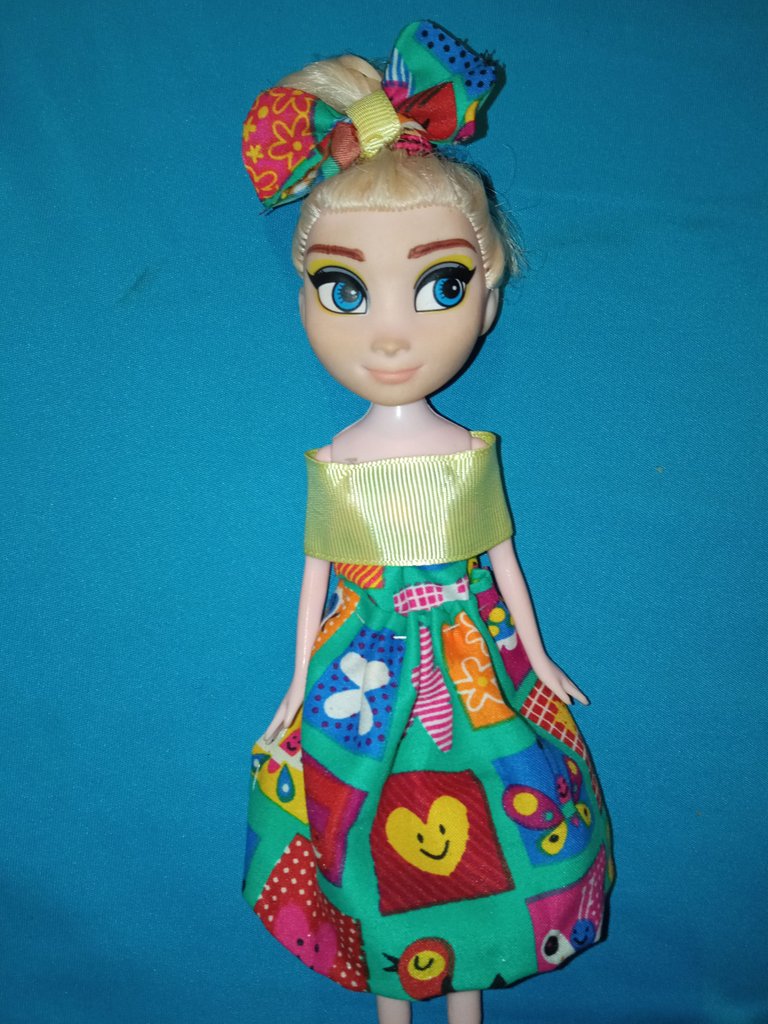
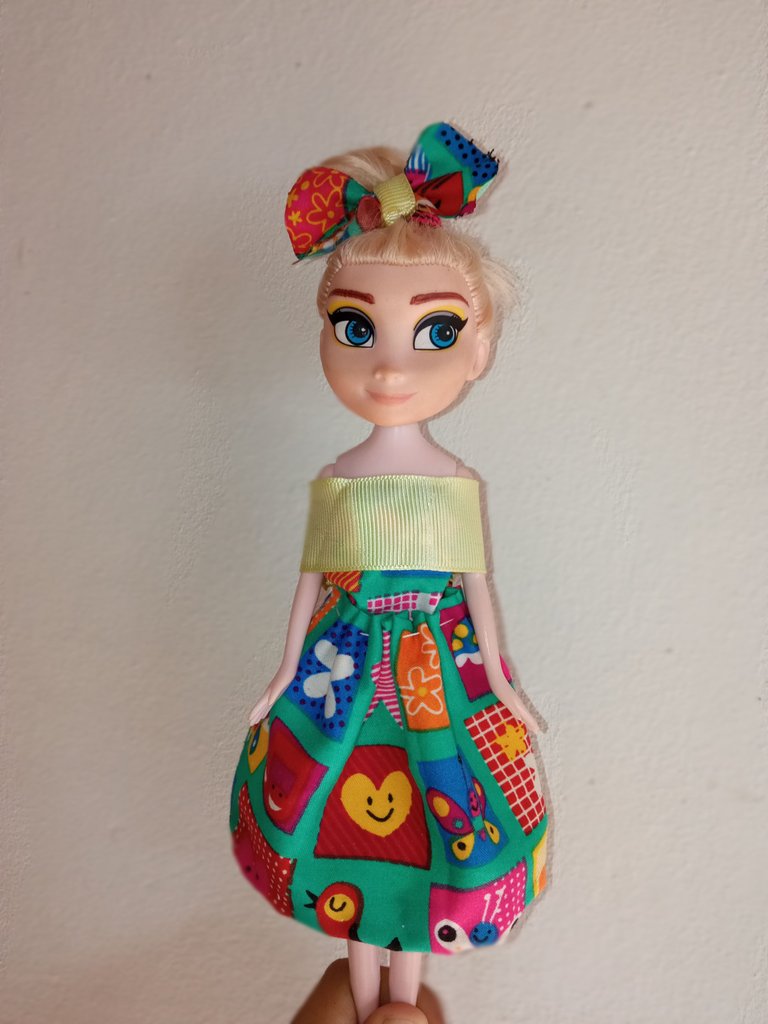
Here is the cute doll ready for our children to play with.
Así quedó la linda muñeca lista para que nuestros niños jueguen.
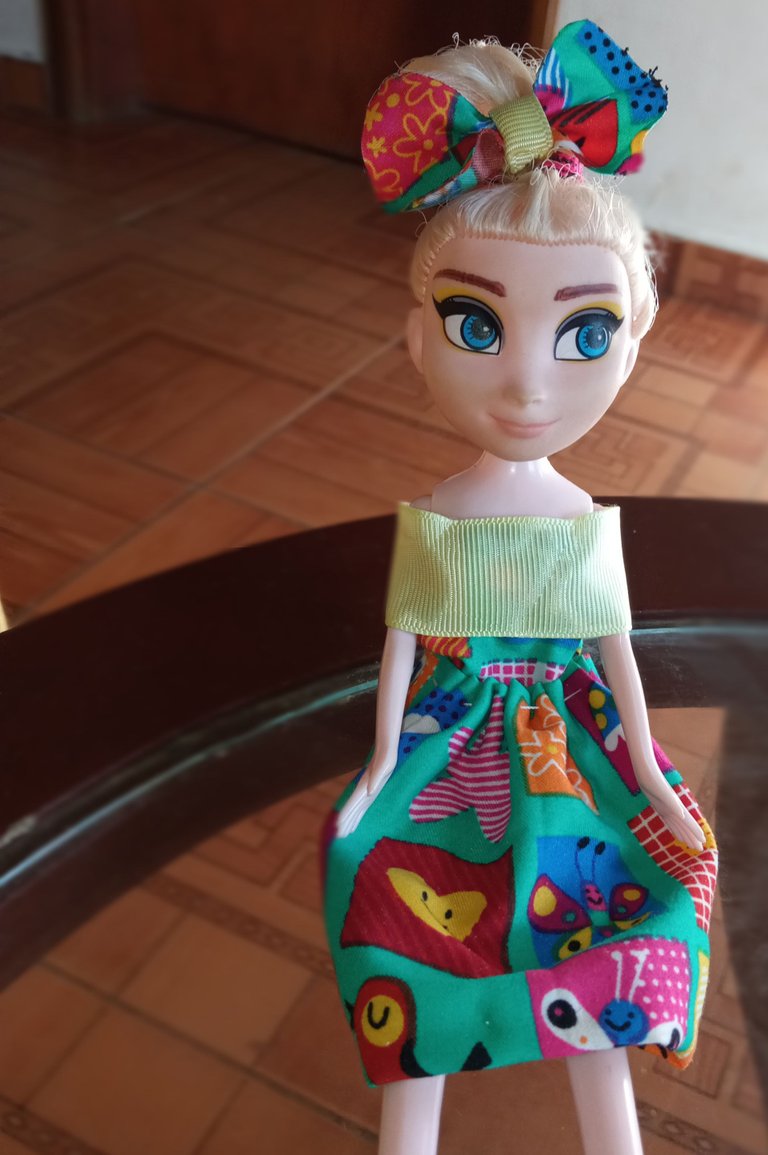
I hope you liked my participation in this contest and have fun like me creating this beautiful doll outfit, I take this opportunity to invite to participate to my great friends @loyferm @diomara and @sarahic95.
Espero les haya gustado mi participación en este concurso y se diviertan al igual que yo creando este hermoso atuendo para muñecas, aprovecho la oportunidad para invitar a participar a mis grandes amigas @loyferm @diomara y @sarahic95.
I bid you farewell until a future post, always wishing you the best success.
Me despido hasta un próximo post, siempre deseándoles los mejores éxitos.
¡See you!
¡Nos vemos!
@rosilys20

Ay yo mío! qué vestidito tan cute!. Gracias por participar en nuestro concurso <3
Gracias a ti por visitar mi post, estoy encantada de ser parte de este concurso @equipodelta!
Hermoso vestido ❤️❤️❤️❤️❤️ Muy prolijo, te felicito!
Gracias linda por visitar mi post @lauramica, saludos!
Congratulations @rosilys20! You have completed the following achievement on the Hive blockchain and have been rewarded with new badge(s) :
Your next target is to reach 4500 upvotes.
You can view your badges on your board and compare yourself to others in the Ranking
If you no longer want to receive notifications, reply to this comment with the word
STOPCheck out the last post from @hivebuzz:
Lindo vestido, me gustó mucho el estampado de la tela, muy vistoso. Felicidades.
Gracias @mariela-b me alegra que te haya gustado, nuevamente gracias!
Este vestido es una ternura me encanto tus detalles en los cierres el moño todo muy encantador, amiga te felicito gracias por participar
Muchas gracias por visitar mi post, gracias a ustedes por creer este divertido concurso. Saludos!
Estamos a orden gracias por participar y te esperamos en los proximos concursos
Claro que sii, esperando de que se trata el próximo concurso 🥳