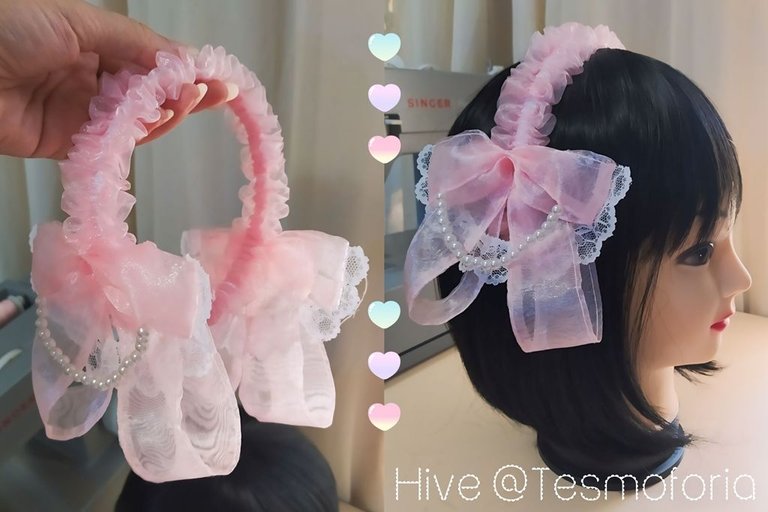
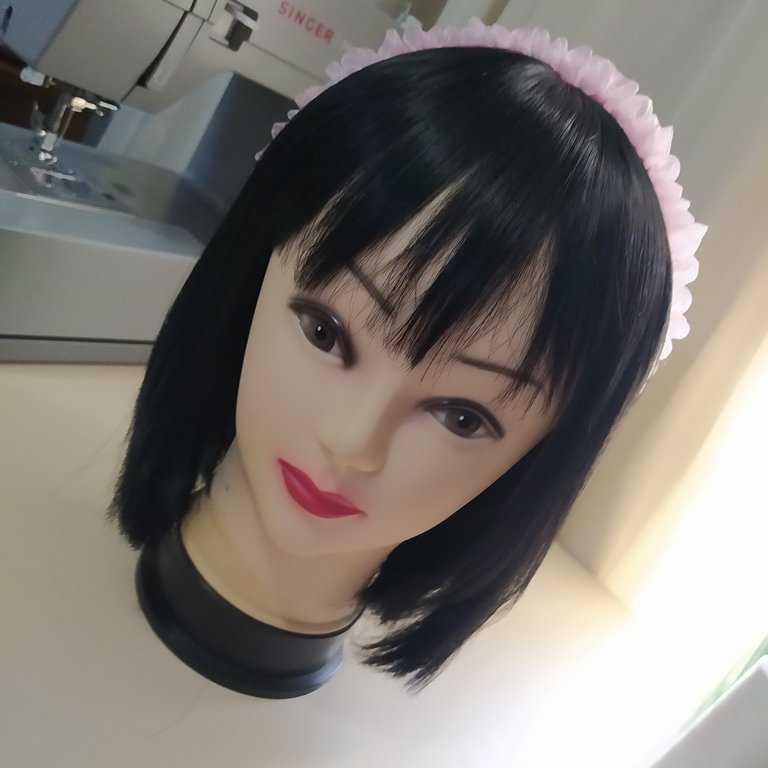
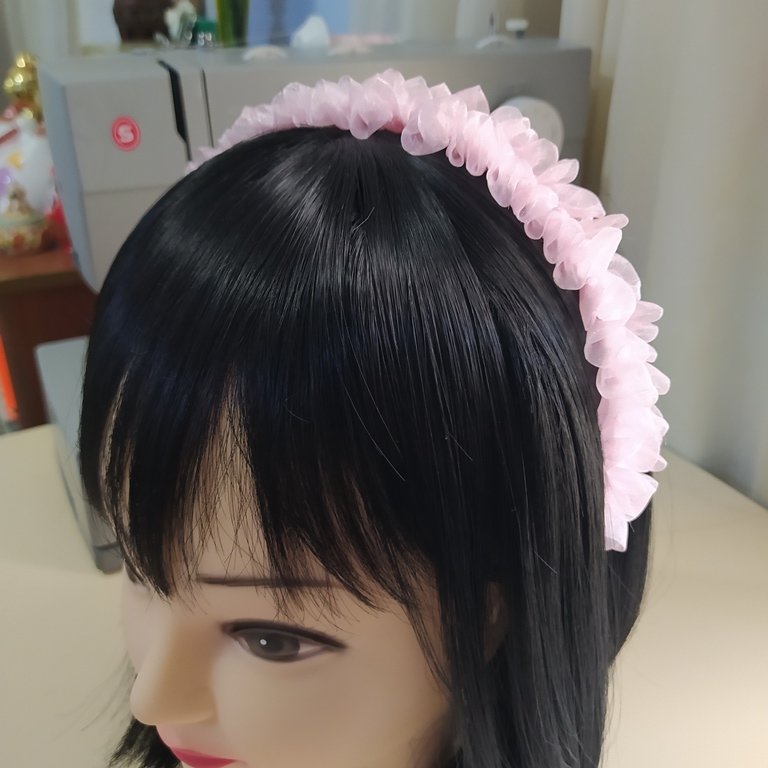
✦ A hybrid trend (kawaii culture + pastel core) accessory was successfully tested - Collage & Edition in FotoJet-Remini-PicsArt, photos by @Tesmoforia ✦

🇪🇸 ~ ¡Este es un diseño que tenía en mi libreta de bocetos hace mucho!, los scrunchies son súper cotizados ahora y existen variantes tipo cintillo con elástica:
🇺🇸 ~ This is a design I had in my sketchbook a long time ago! Scrunchies are super trendy now, and there are elastic headband variations:
 |  |  |
|---|
✦ "¿Por qué realizar este proyecto?" ✦
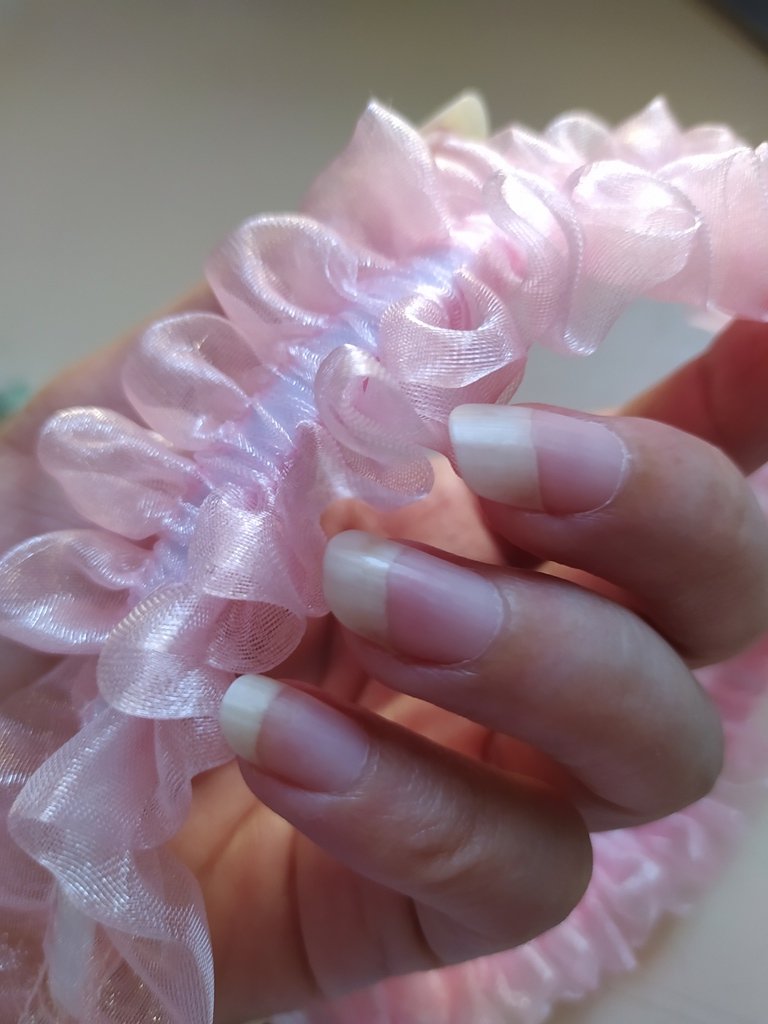
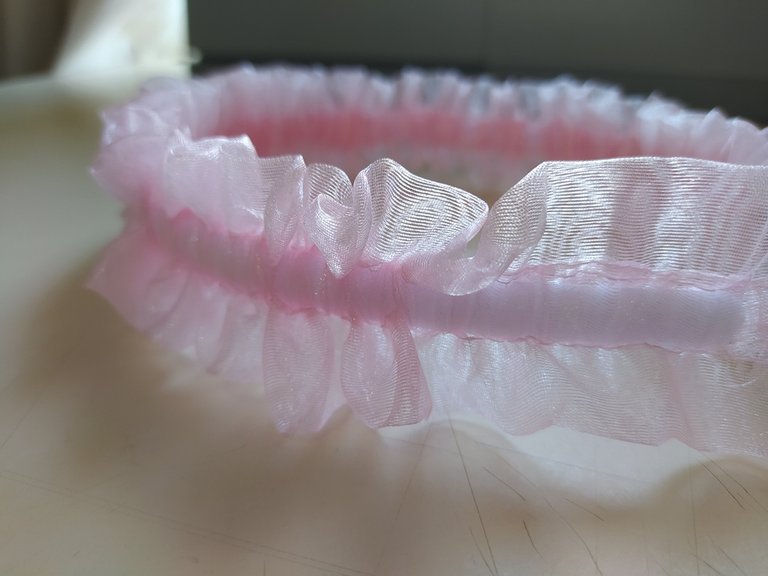
Aunque el tul ilusión es un material difícil de utilizar, el efecto de la luz pasando a través de el es maravilloso y hace que el accesorio tenga un aura sutil, ligera y muy dulce.
⏳ Tiempo: ⭐⭐⭐/ 5.
🚀 Dificultad: ⭐⭐⭐⭐/ 5.
🪙 Costo aproximado: ⭐⭐⭐/ 5.
✦ "Why do this project?" ✦
Although Illusion Tulle is a difficult material to work with, the effect of light passing through it is wonderful, giving the accessory a subtle, light and very sweet aura.
⏳ Time: ⭐⭐⭐/ 5.
🚀 Difficulty: ⭐⭐⭐⭐/ 5.
🪙 Approximate cost: ⭐⭐⭐/ 5.

« 𝕋 𝕆 𝕆 𝕃 𝕊 • 𝔸 ℕ 𝔻 • 𝕄 𝔸 𝕋 𝔼 ℝ 𝕀 𝔸 𝕃 𝕊 »

 |  |
|---|---|
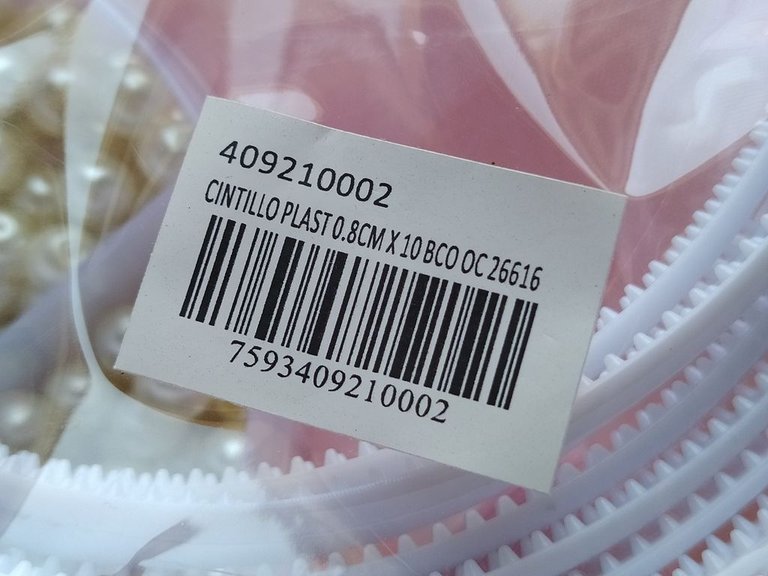 | 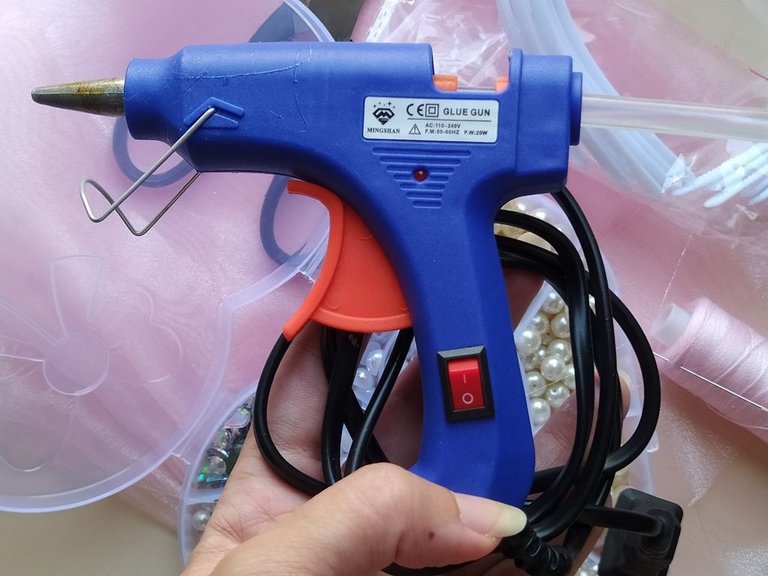 |
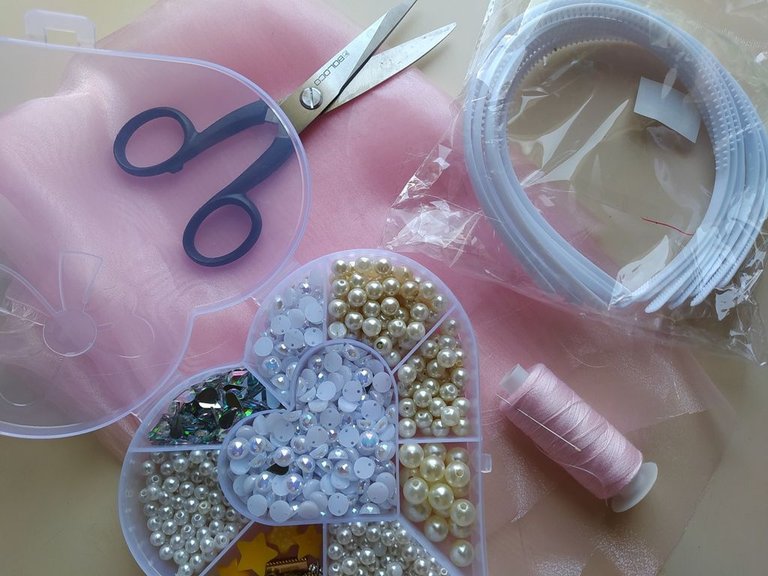
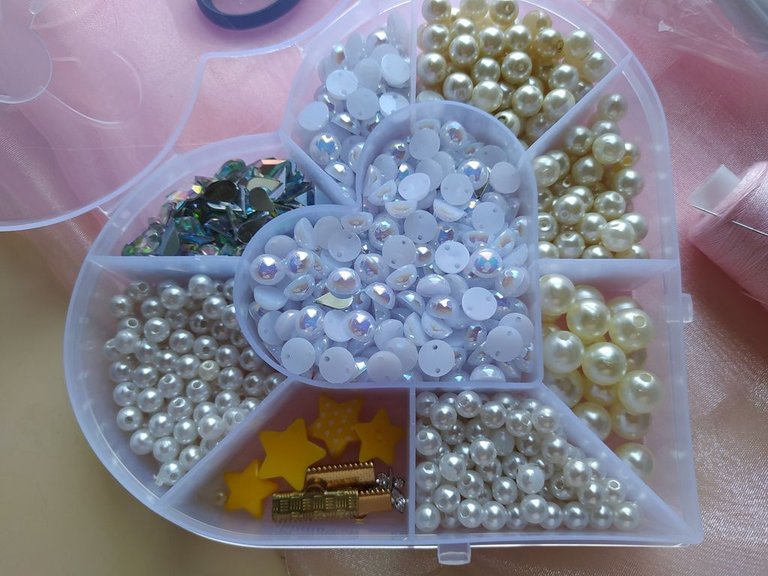
| 🇪🇸 ✦ Las herramientas y materiales que necesitas para elaborar este proyecto son: | 🇺🇸 ✦ The tools and materials you need to make this project are: |
|---|---|
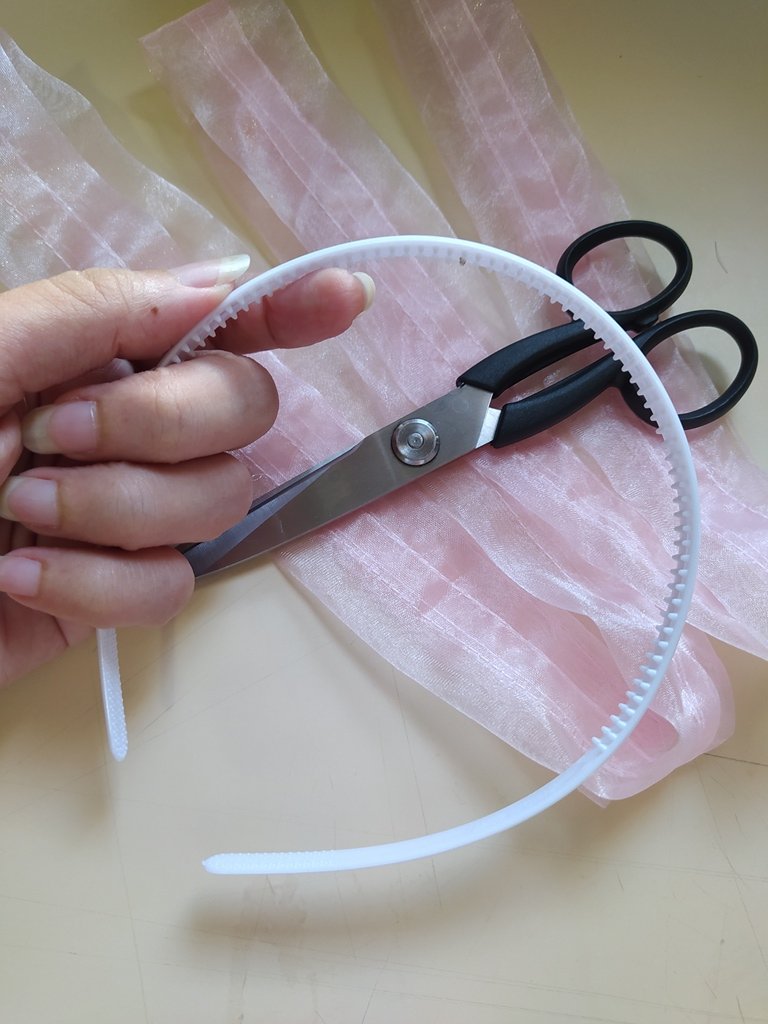
| Tijeras, una pieza de tela de tul ilusión, hilo color rosa, maquina de coser, pistola de silicón, barras de silicón, perlas sintéticas de 0,5 cm, y cintillo de plástico de 0.8 cm de ancho x 10 de diámetro, regla, cinta métrica, lápiz, pinzas de costura, alfileres. | Scissors, one piece of illusion tulle fabric, pink thread, sewing machine, silicone gun, silicone sticks, 0.5 cm synthetic beads, and 0.8 cm wide x 10 cm diameter plastic headband, ruler, measuring tape, pencil, sewing pliers, pins. |
• ℙ ℝ 𝕆 𝕐 𝔼 ℂ 𝕋 •
« How to make a pastel core scrunchie headband step-by-step »

 |  |
|---|---|
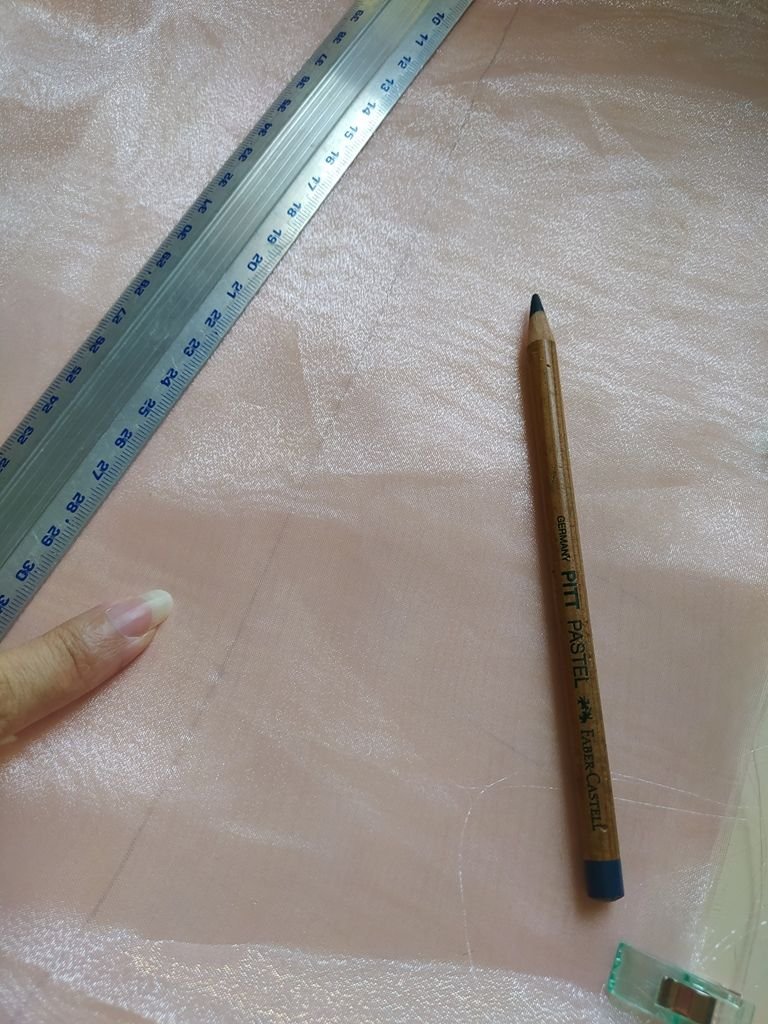 | 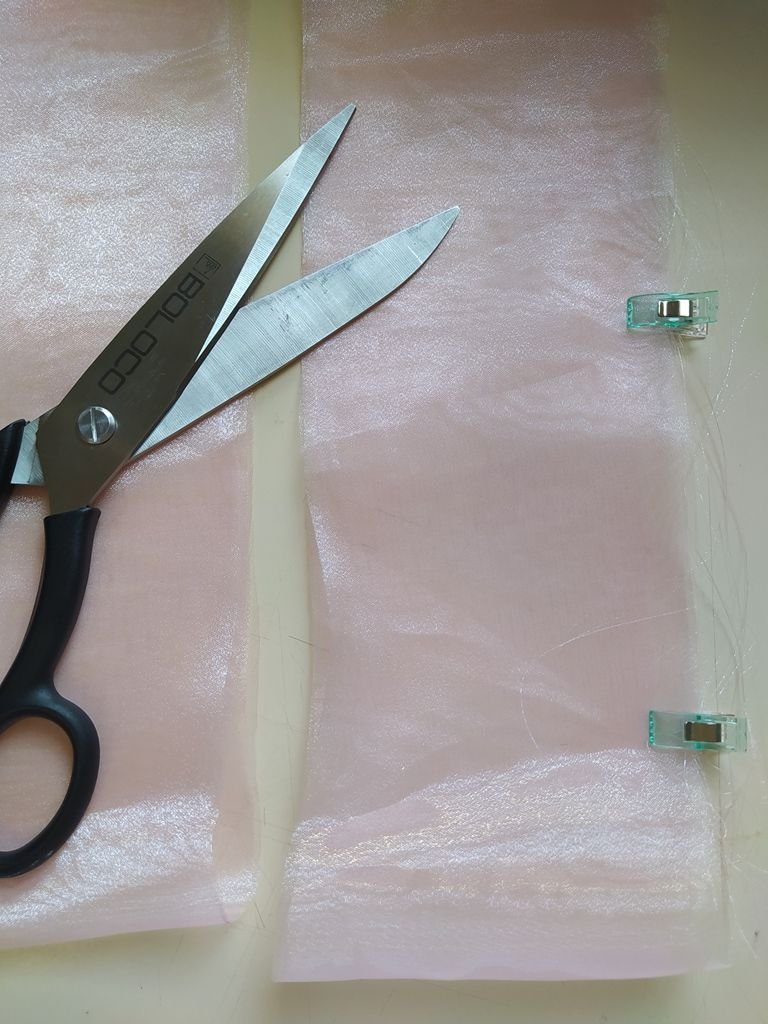 |
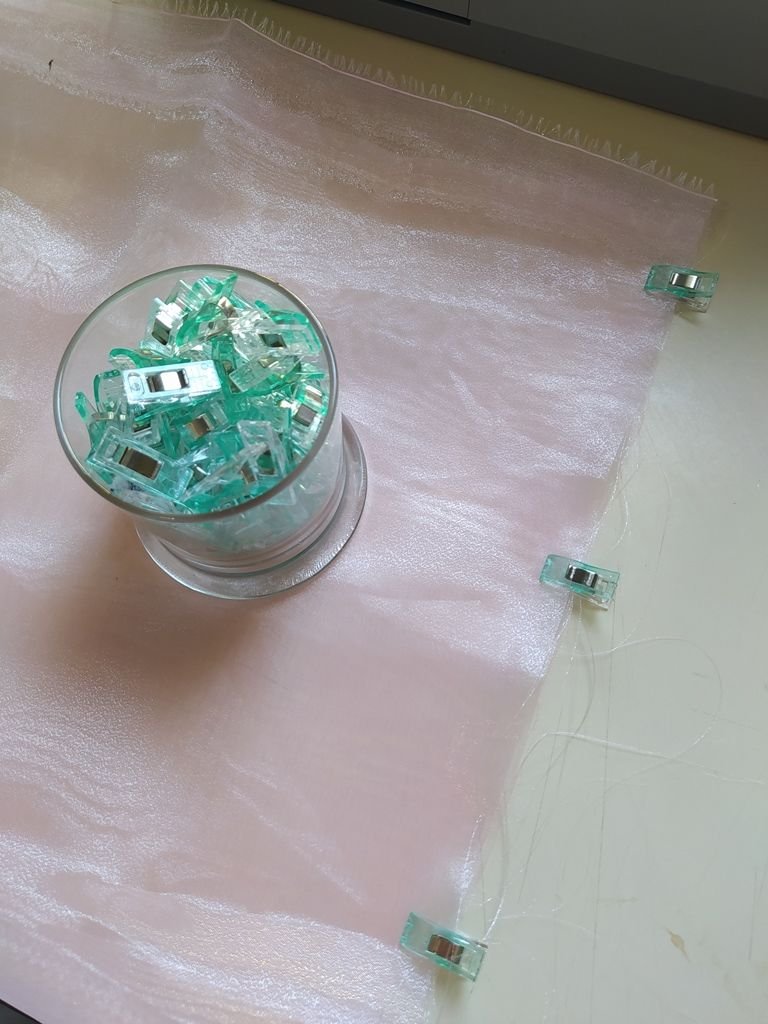
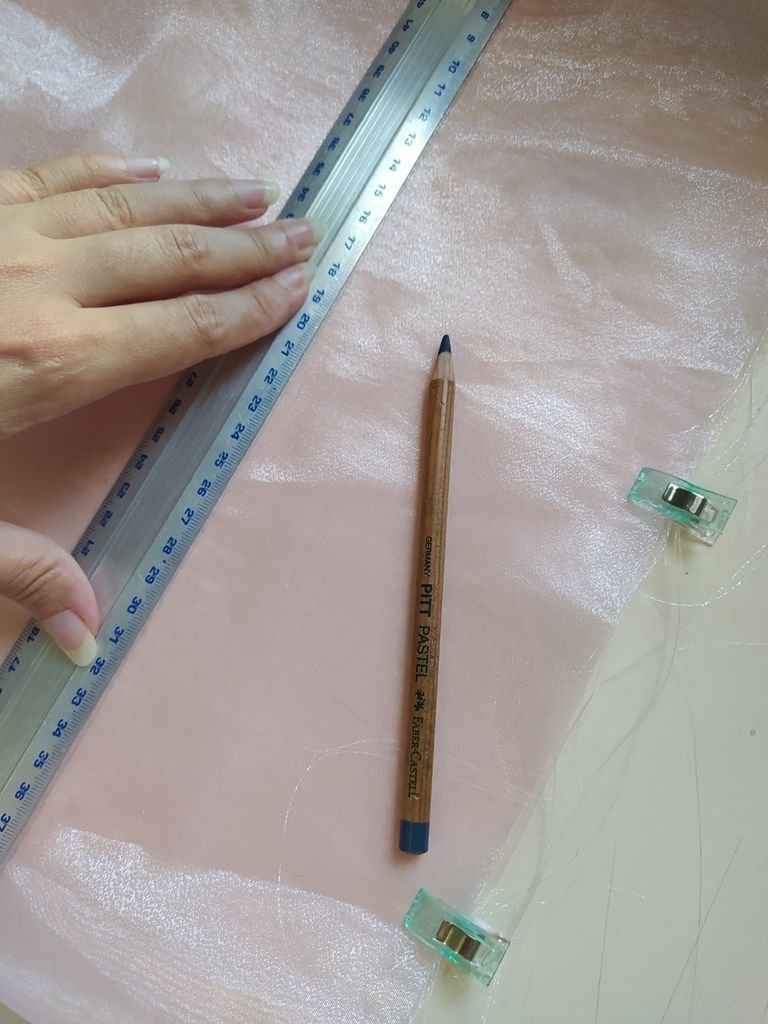
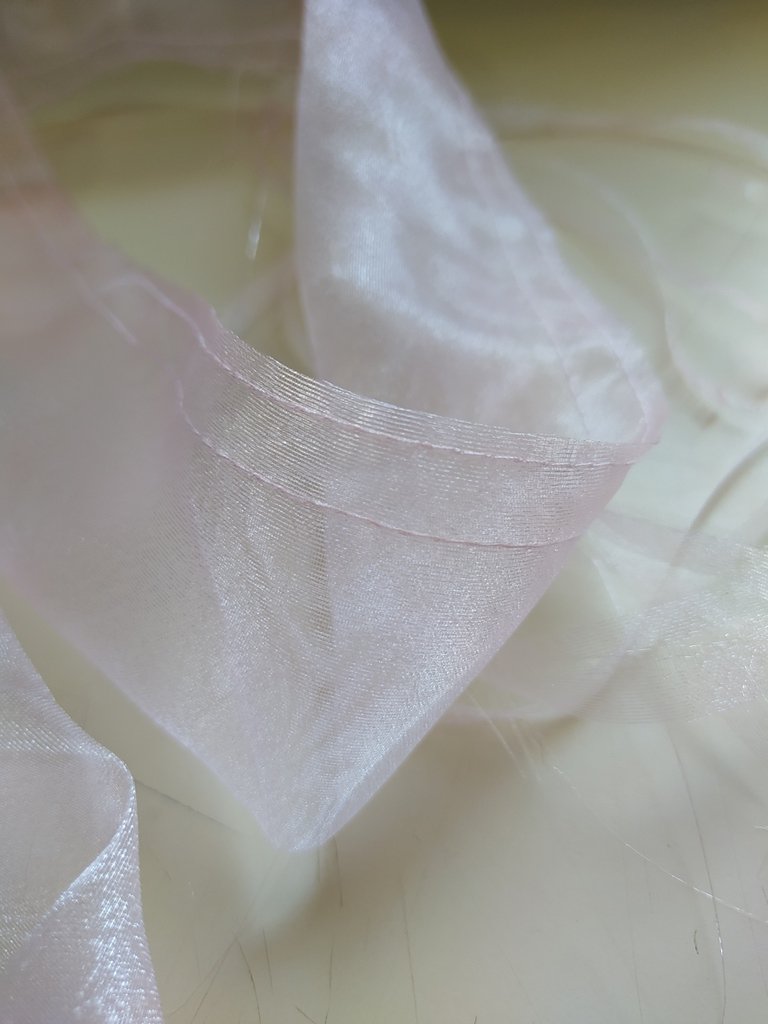
【 PASO 1 】 Extiende la tela y dóblala por la mitad, sostén sus esquinas con las pinzas de costura, marca a lo largo una línea recta a 10 cm de distancia del borde y corta.
【 STEP 1 】 Lay out the fabric and fold it in half, hold the corners with the sewing clamps, mark along a straight line 10 cm from the edge and cut.

 |  |
|---|---|
 |  |
 |  |
 |  |
 |  |
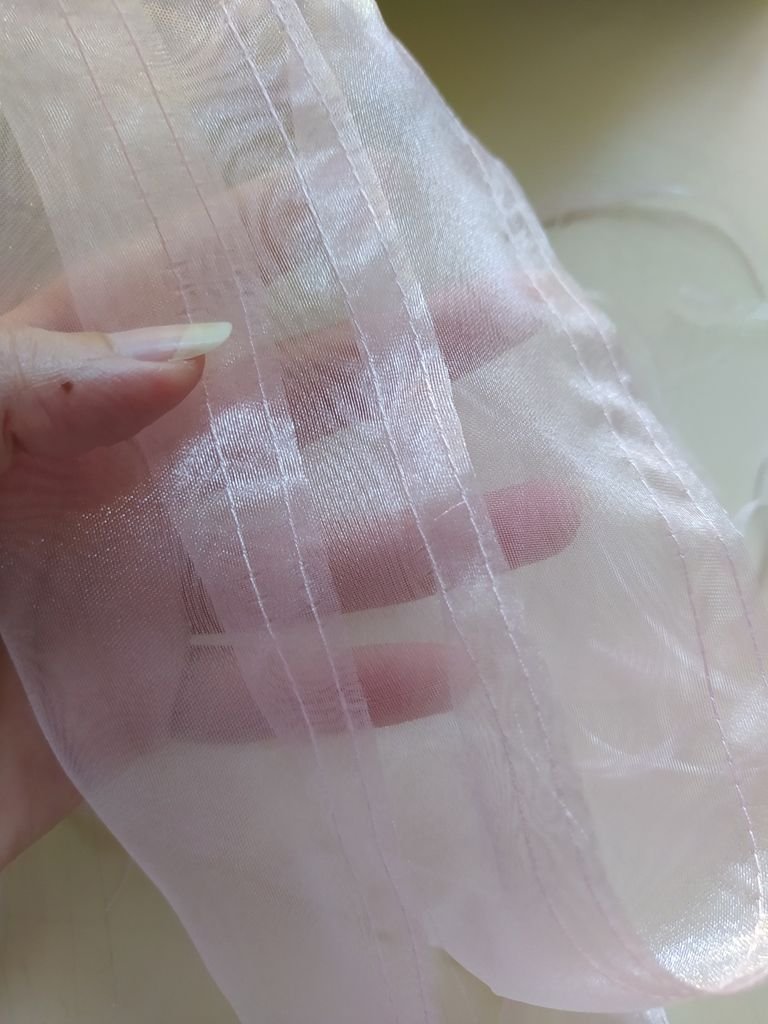 |  |
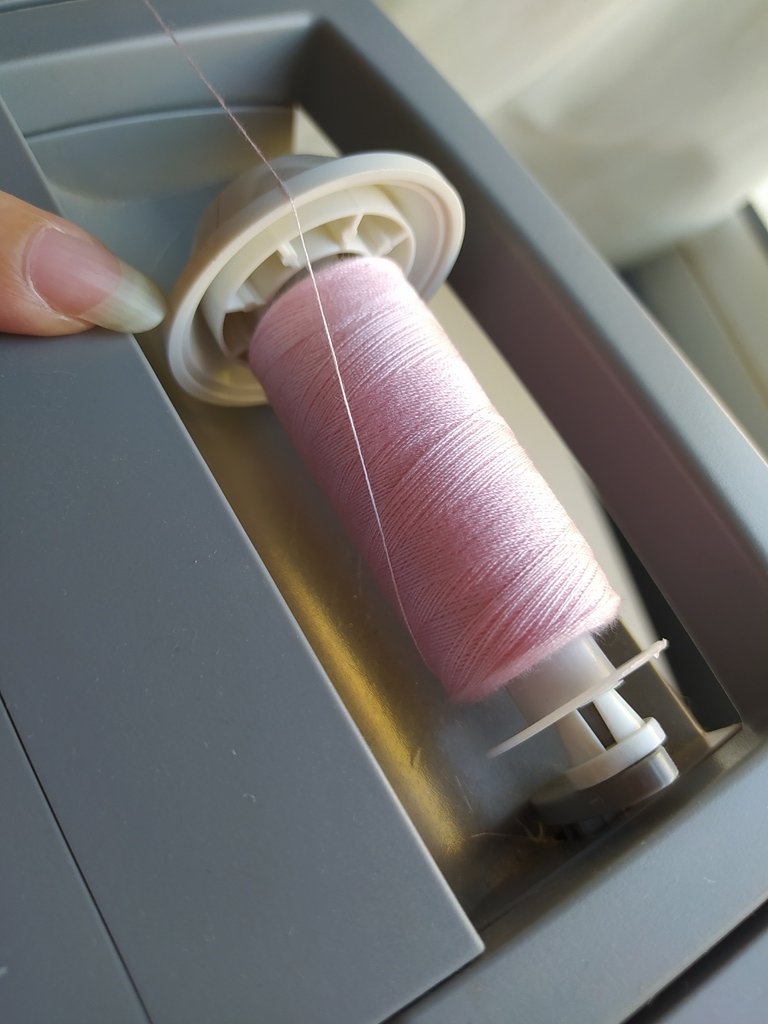
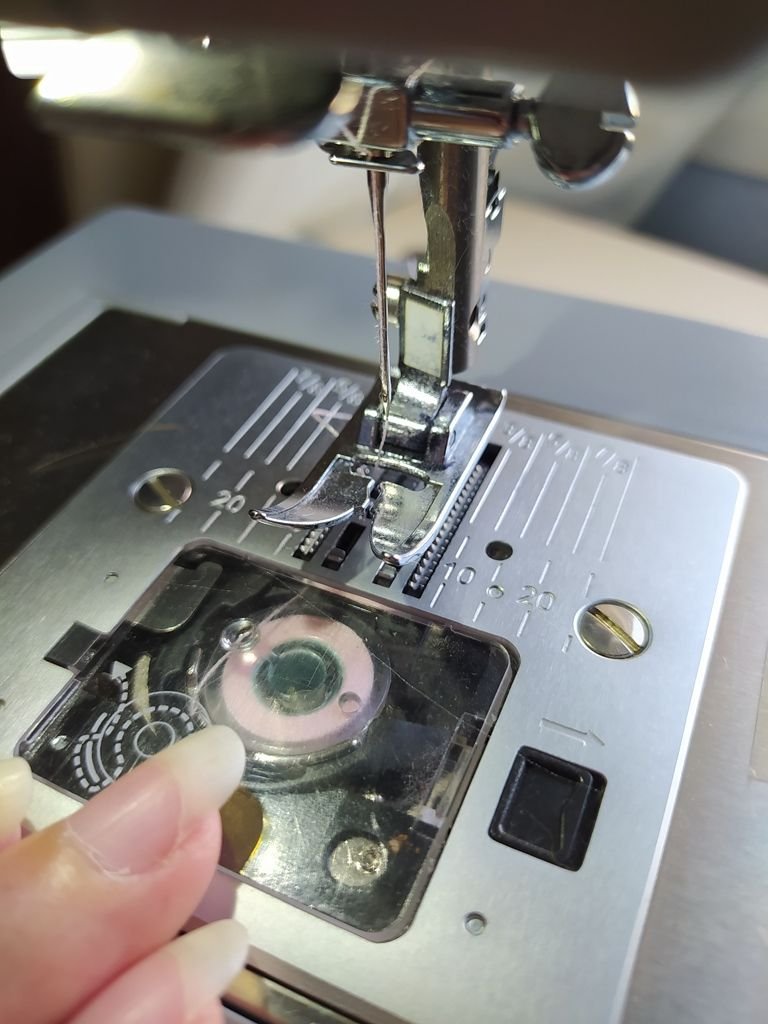
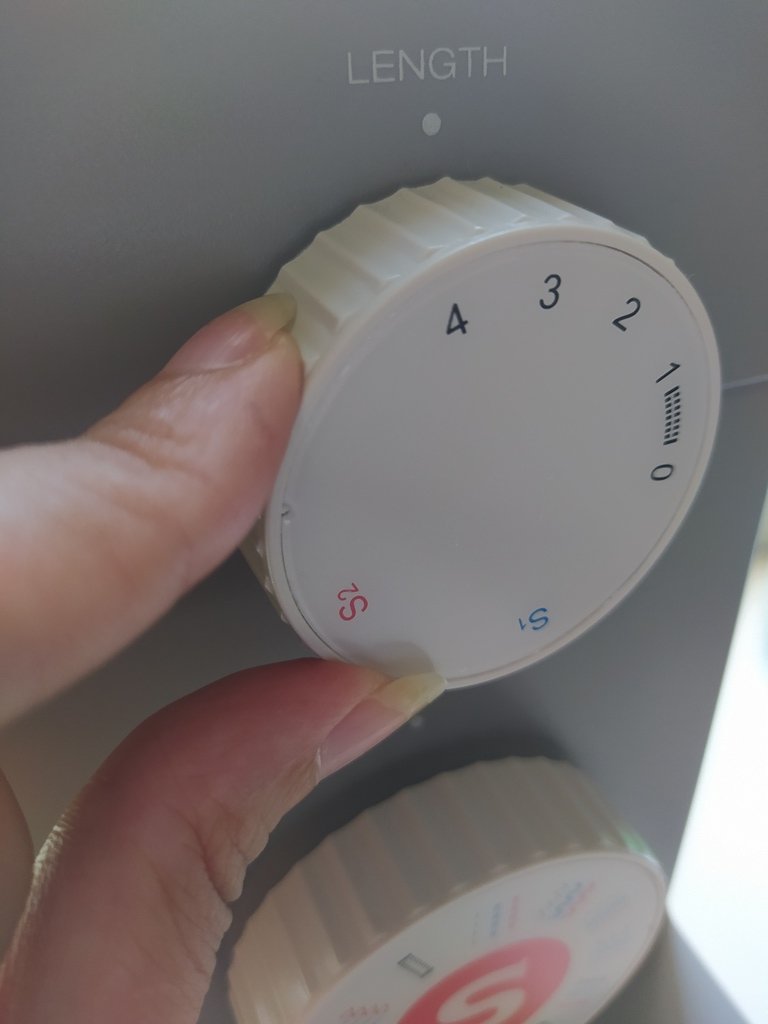
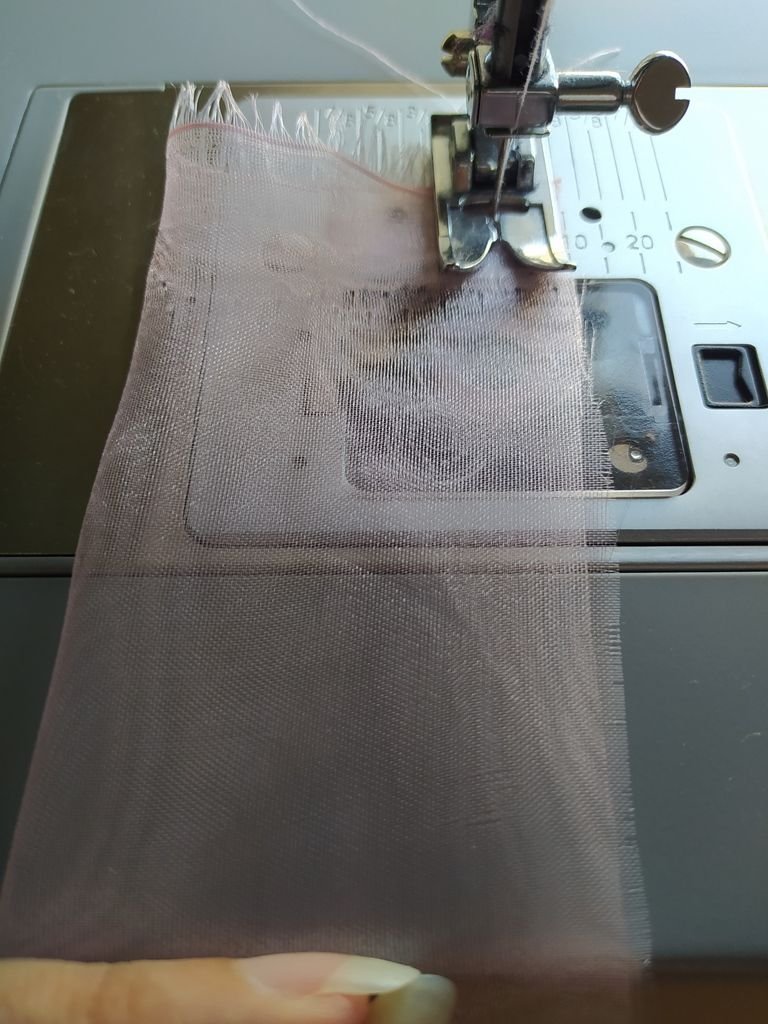
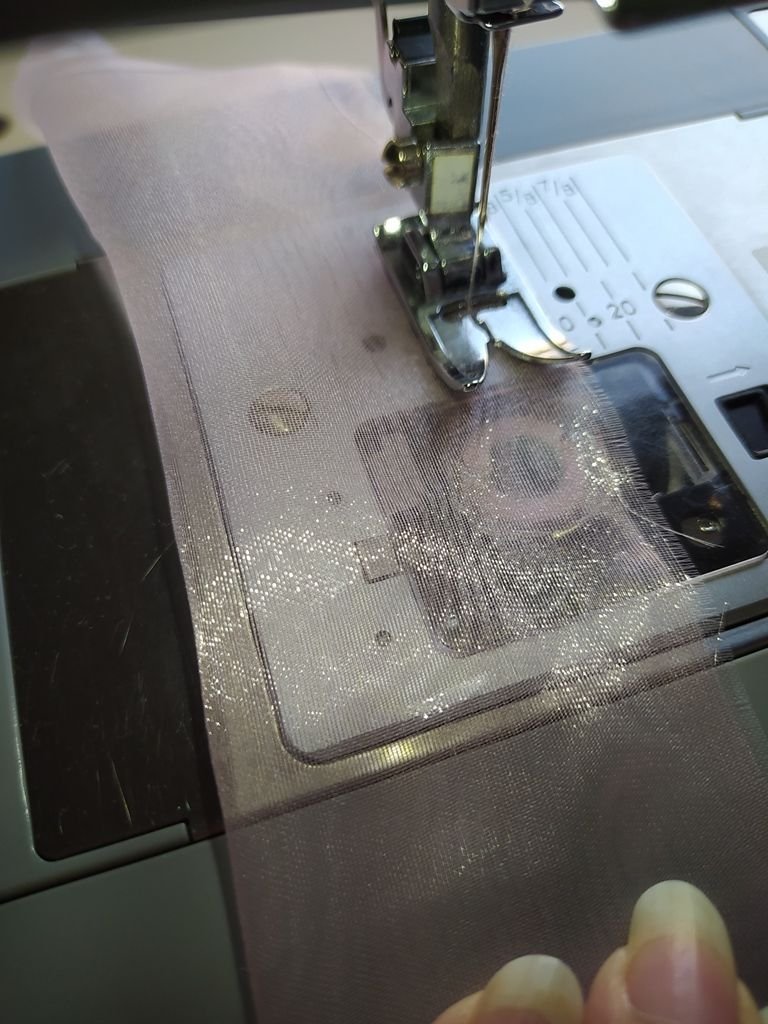
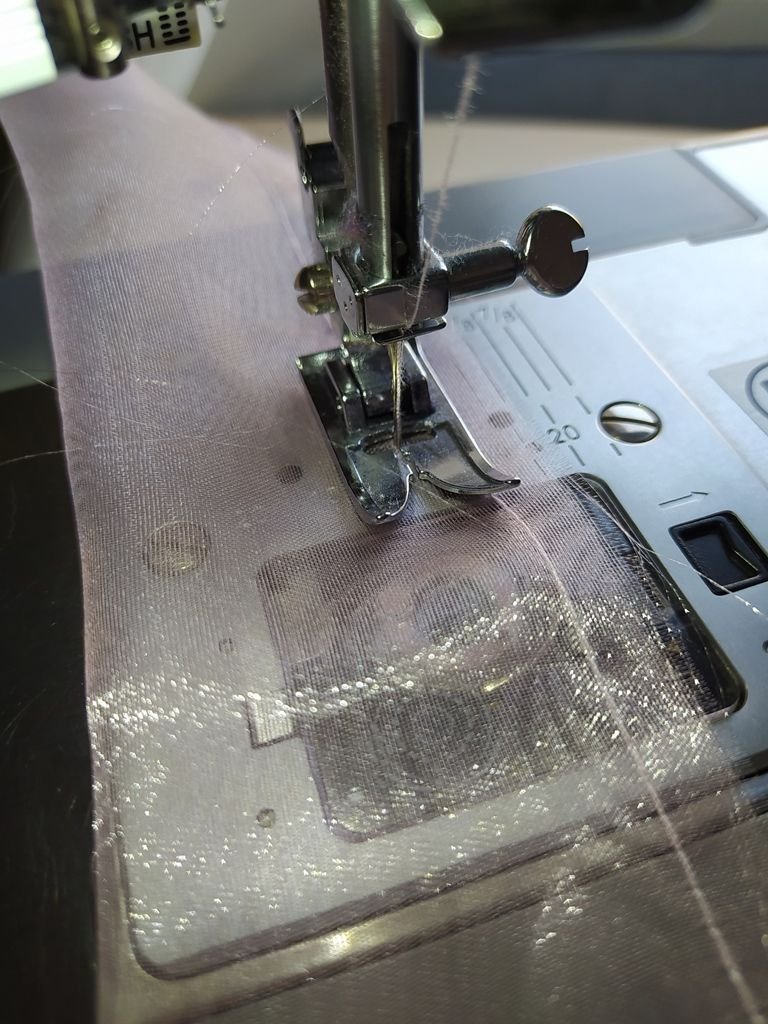
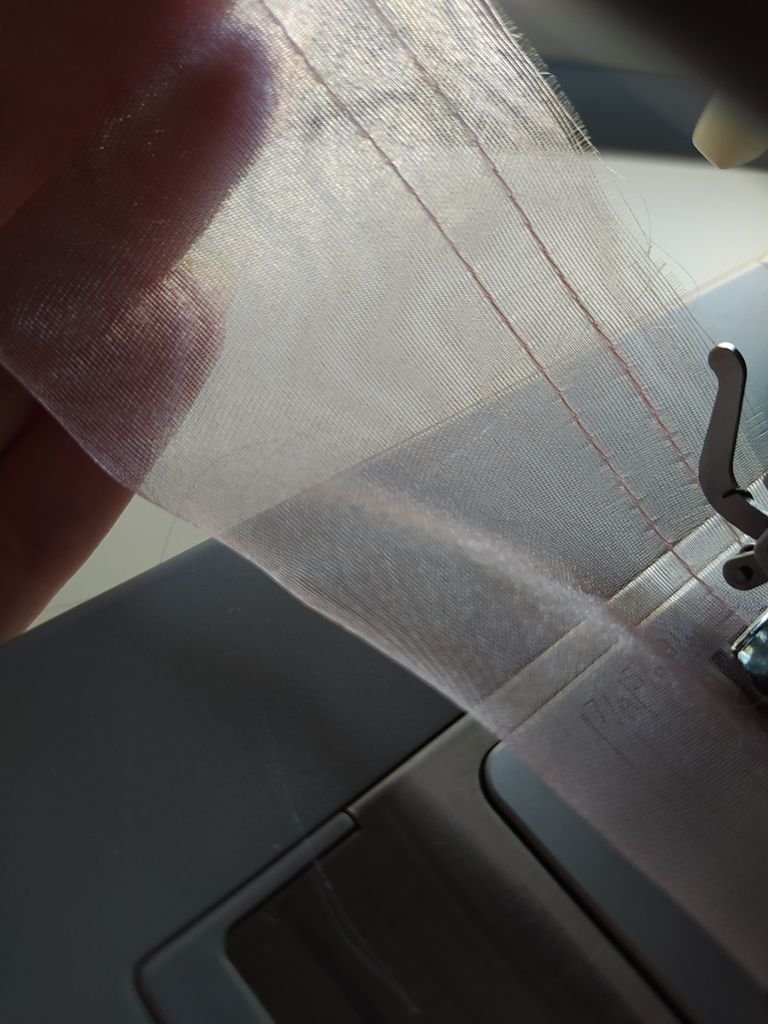
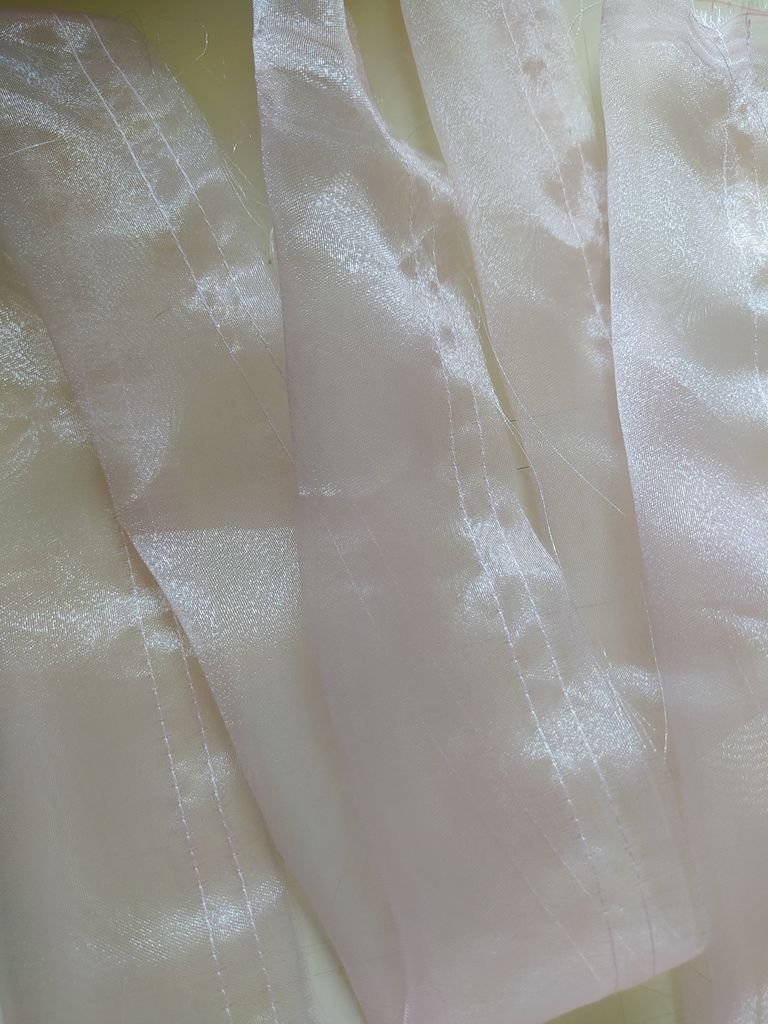
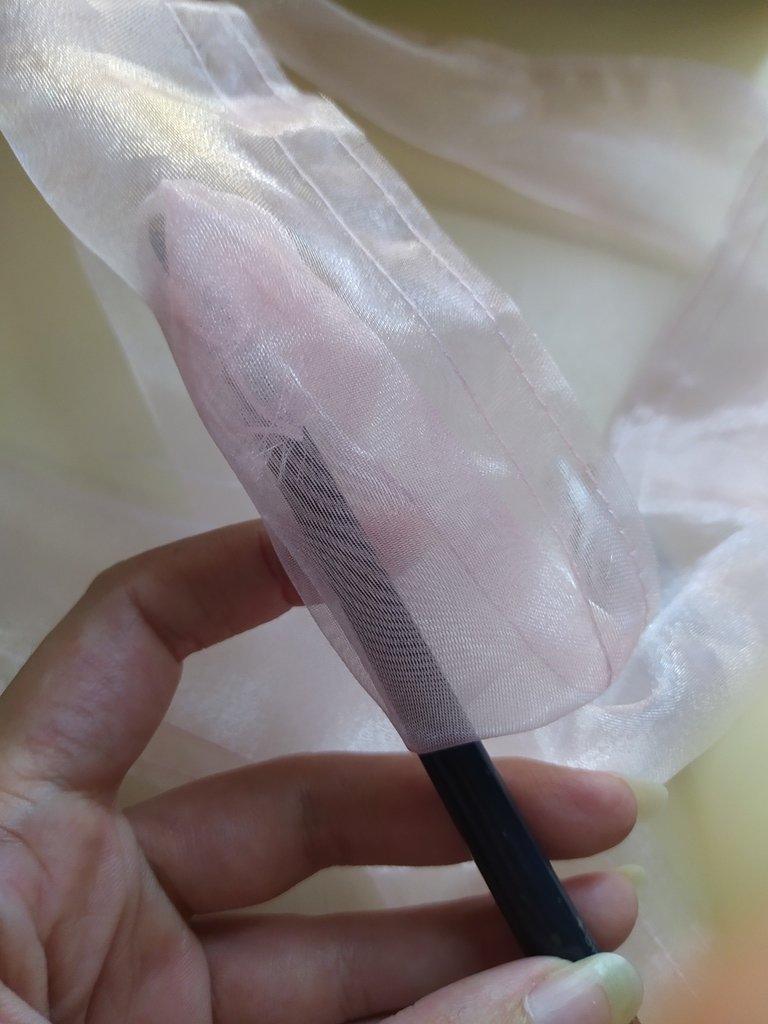
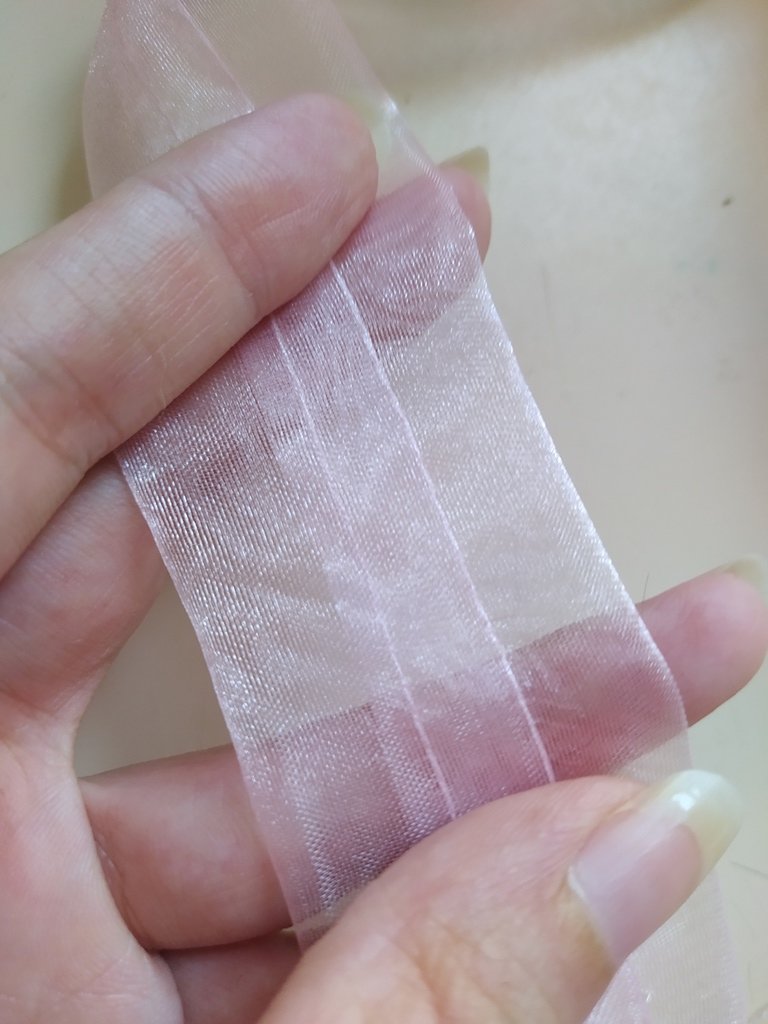
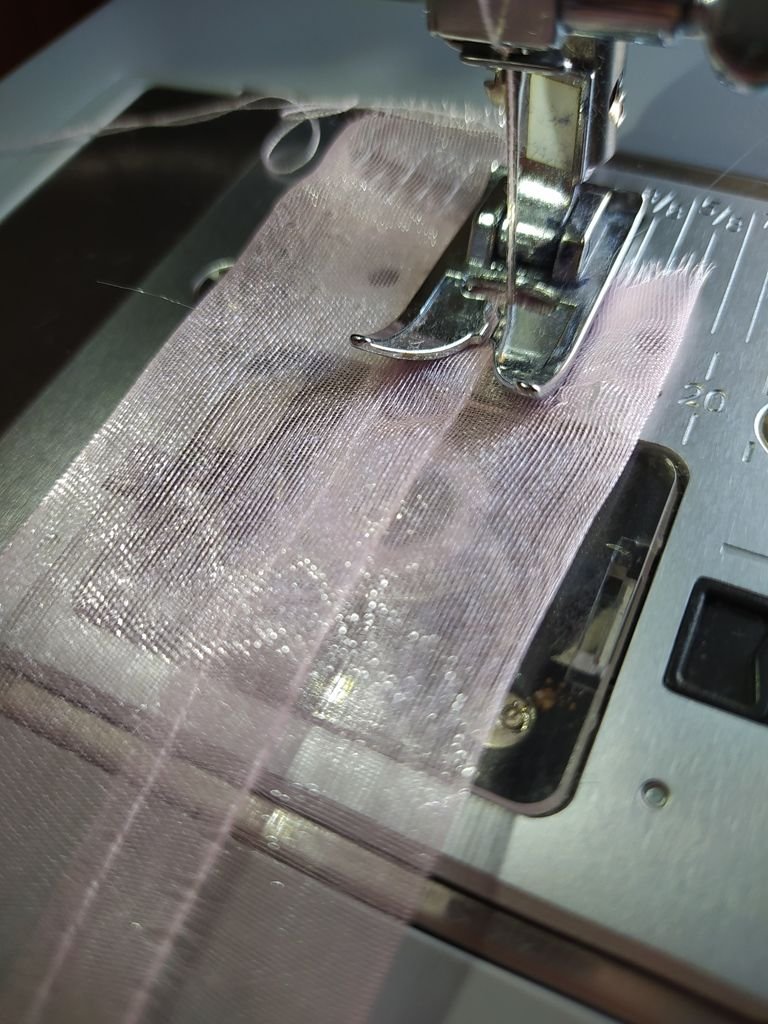
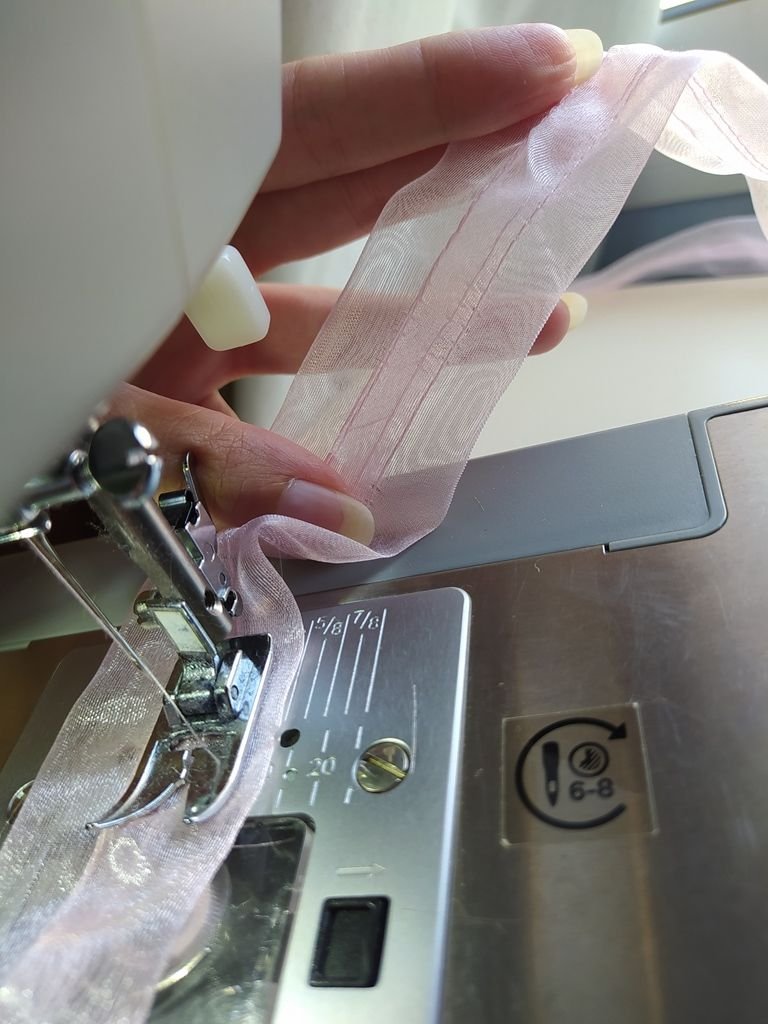
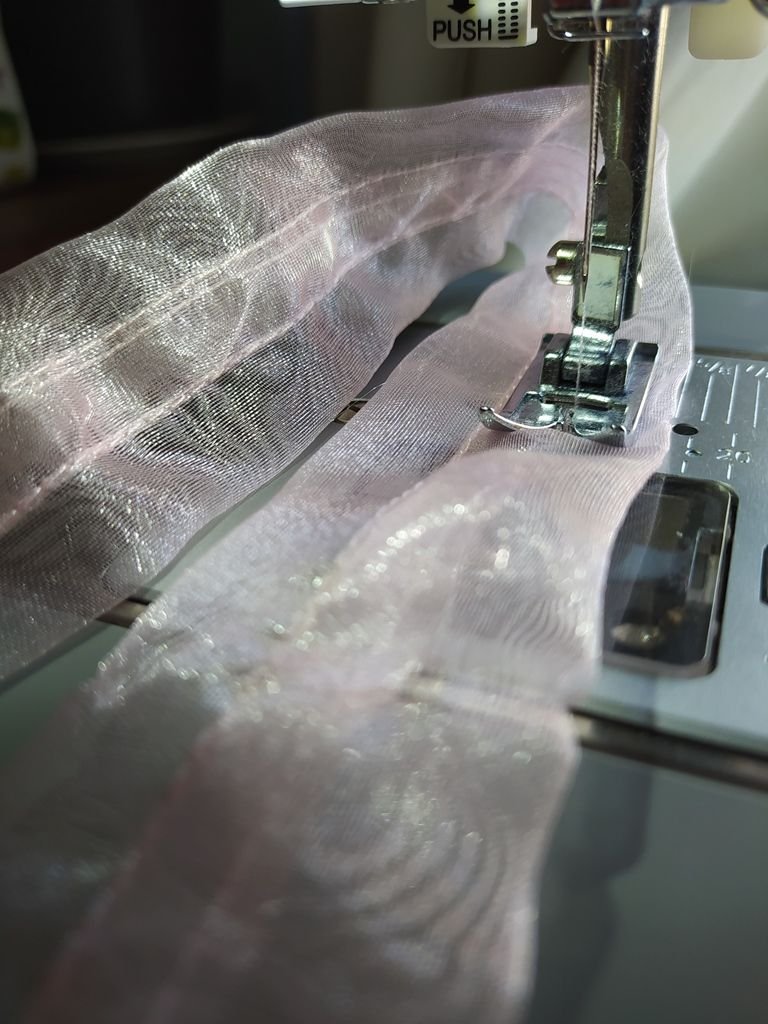
【 PASO 2 】 Carga la bobina de la máquina de coser de color rosa y coloca el carrete en su lugar, ajusta en una puntada N° 4, dobla la pieza de tela que cortaste por la mitad. Cose un margen en línea recta, luego repite este paso y has un segundo margen a partir de la línea de hilo anterior.
【 STEP 2 】 Load the bobbin on the pink sewing machine and place the bobbin in place, set for a #4 stitch, fold the cut piece of fabric in half. Sew one seam allowance in a straight line, then repeat this step and make a second seam allowance from the previous thread line.

 |  |
|---|---|
 |  |
 |  |
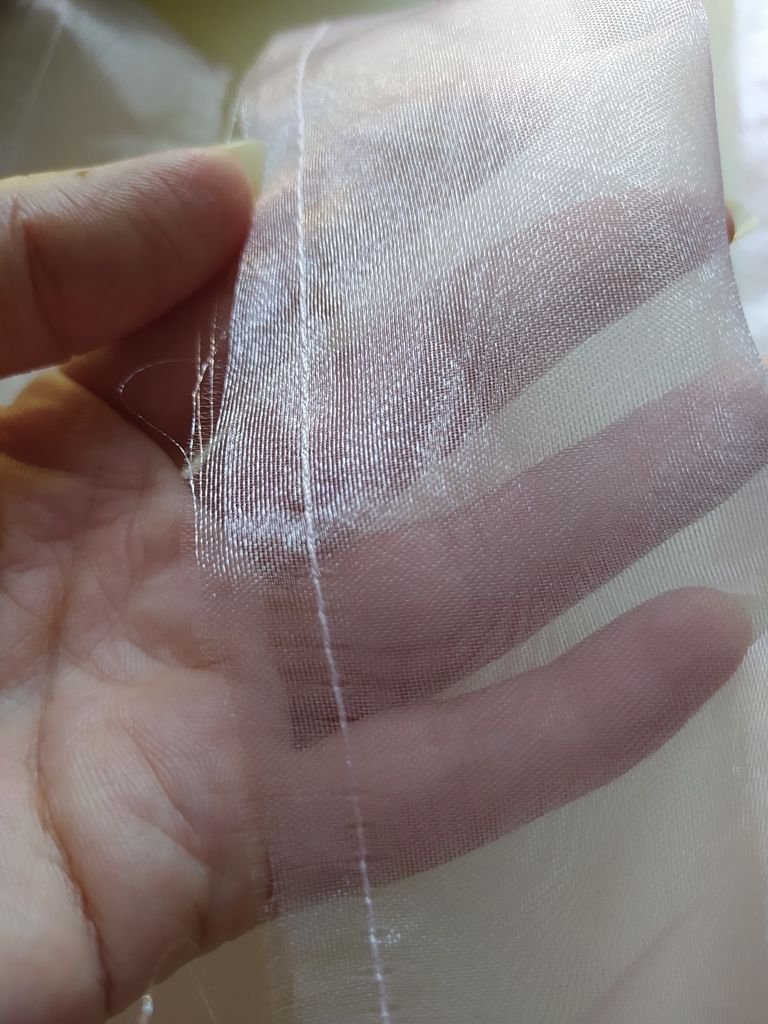
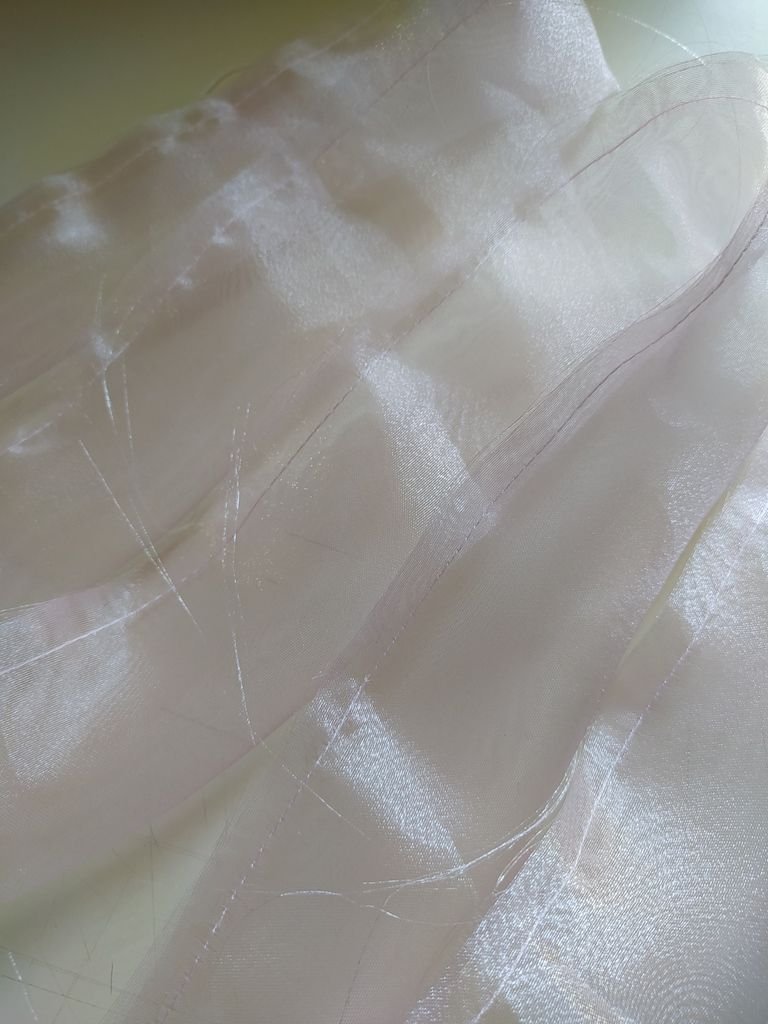
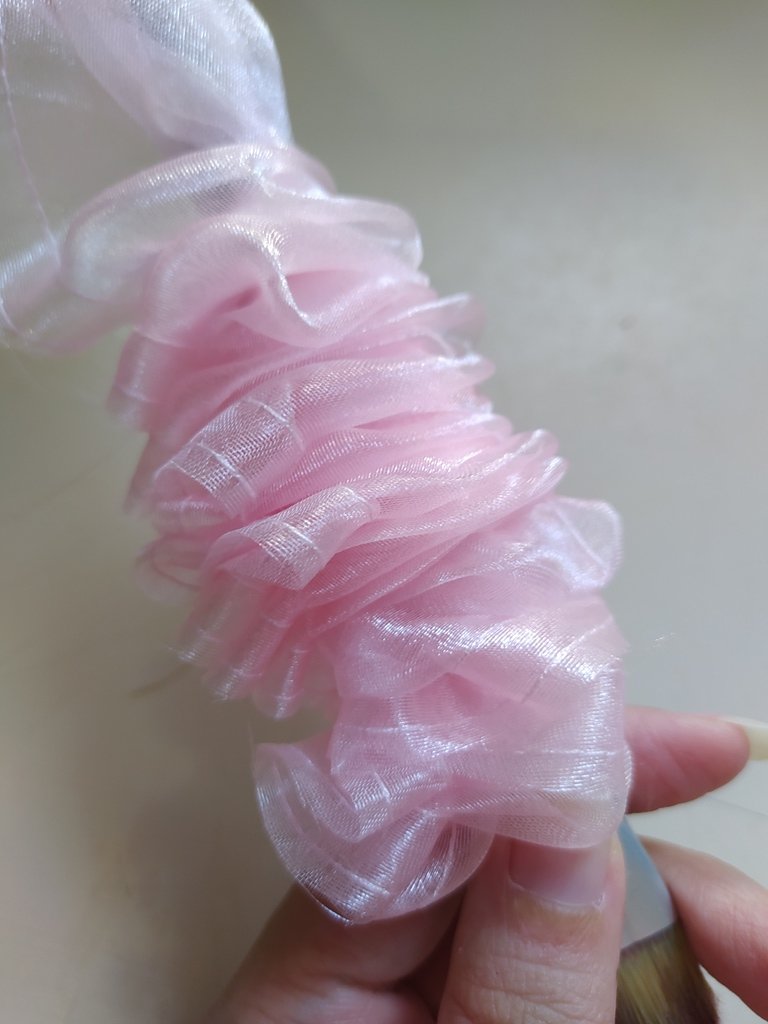
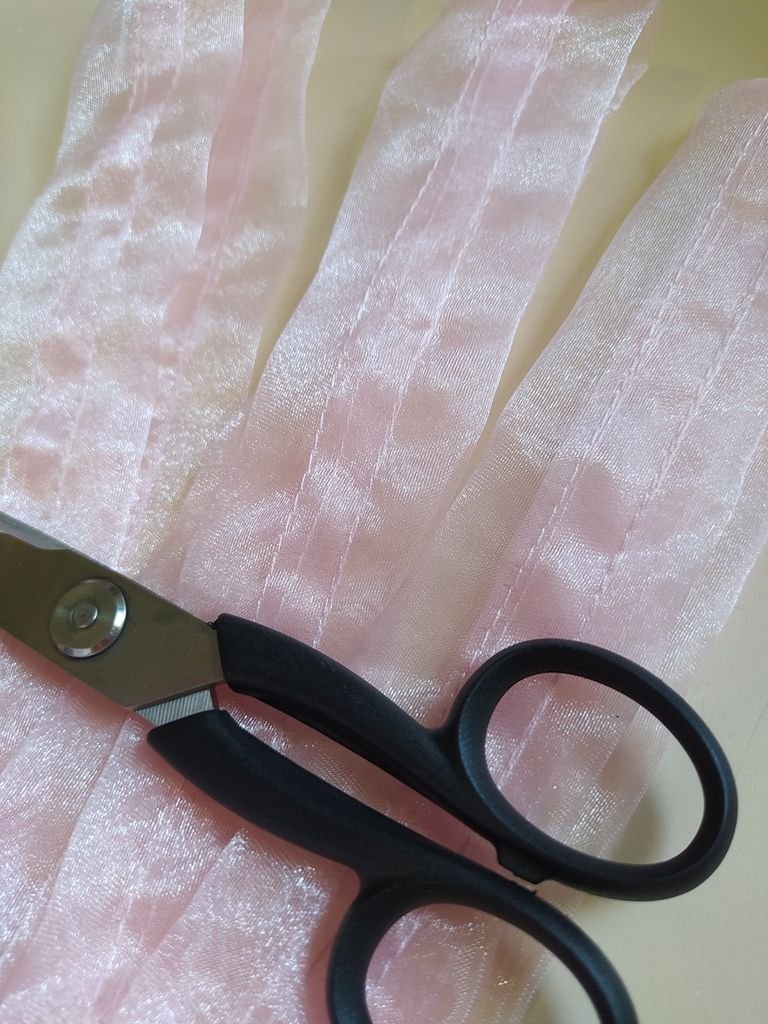
【 PASO 3 】 Corta el exceso de tela, y con ayuda de un palito de madera o pincel dale vuelta a este "tubo de tela". Aplana con la mano dejando las 2 costuras del paso anterior lo mas centrado posible, y cose una línea recta sobre ellas pero cambiando a una puntada N° 3.
【 STEP 3 】 Cut off the excess fabric and turn this "fabric tube" over using a wooden stick or paintbrush. Flatten with your hand, keeping the 2 seams from the previous step as centered as possible, and sew a straight line over them, but change to a #3 stitch.

 |  |
|---|---|
 |  |
 |  |
 |  |
 |  |
 |  |  |
|---|---|---|
 |  |  |
 |  | 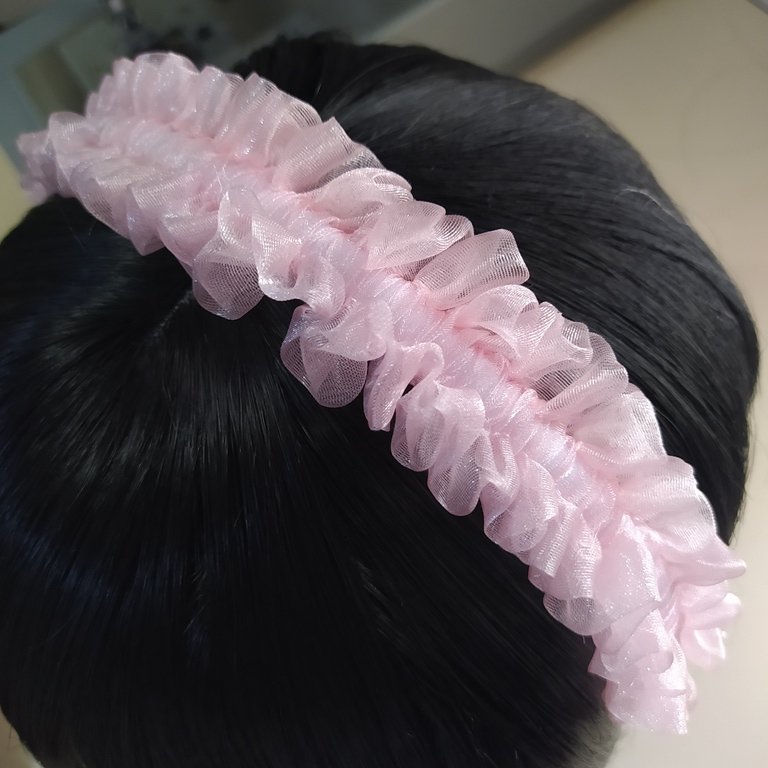 |
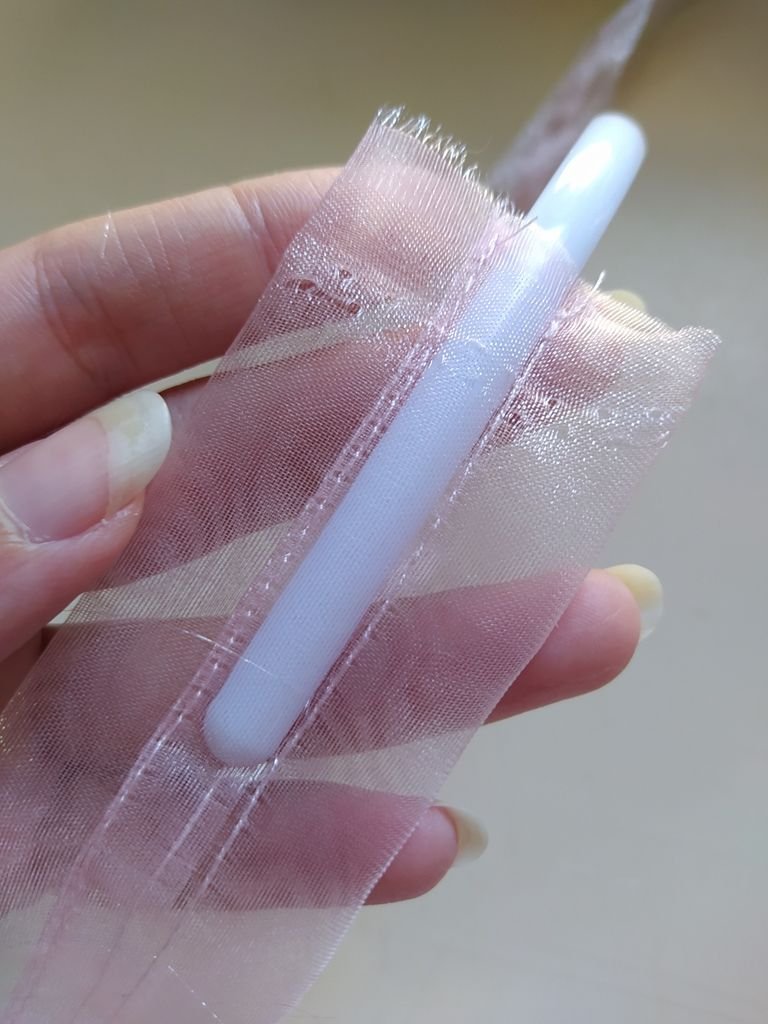
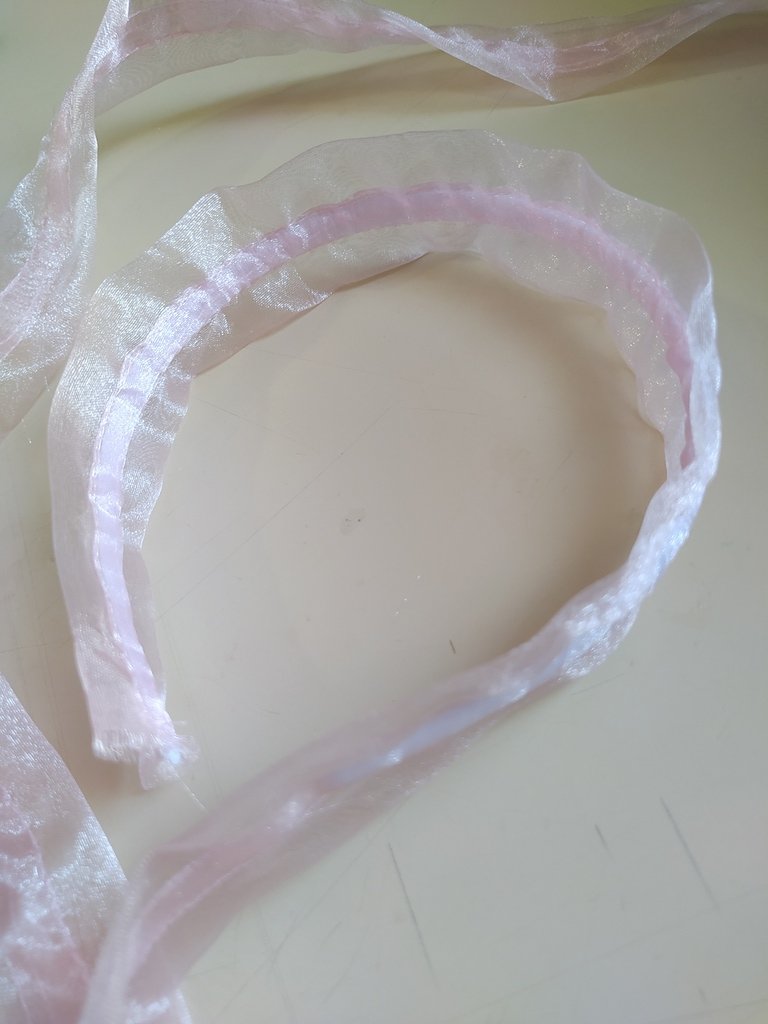
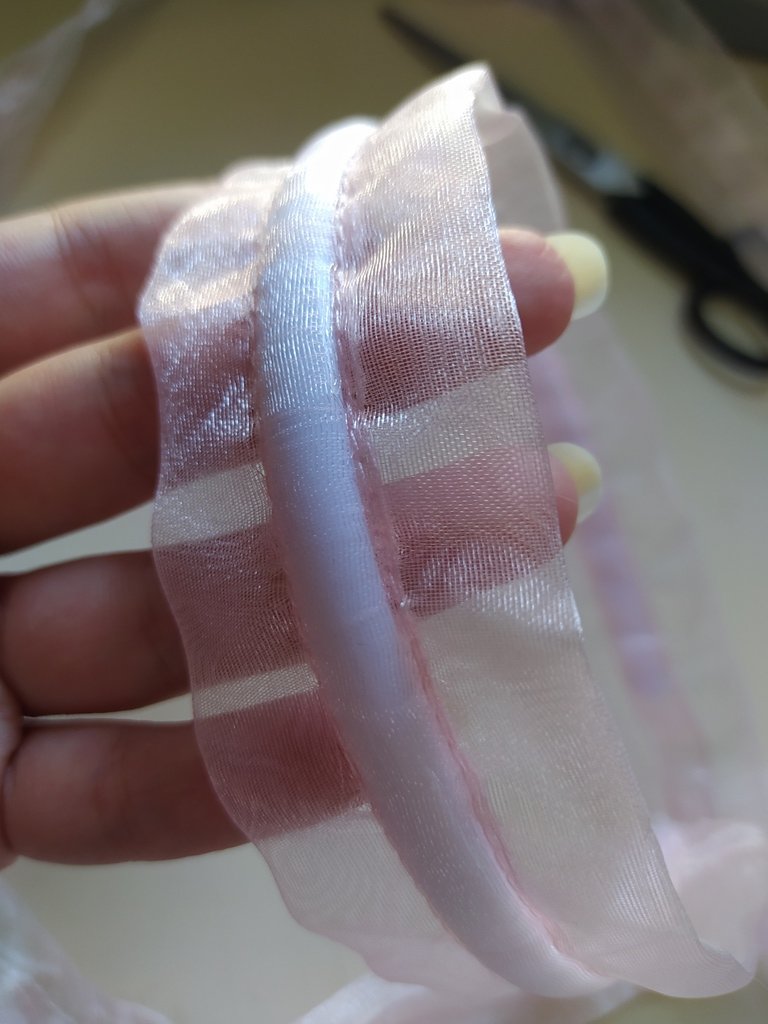
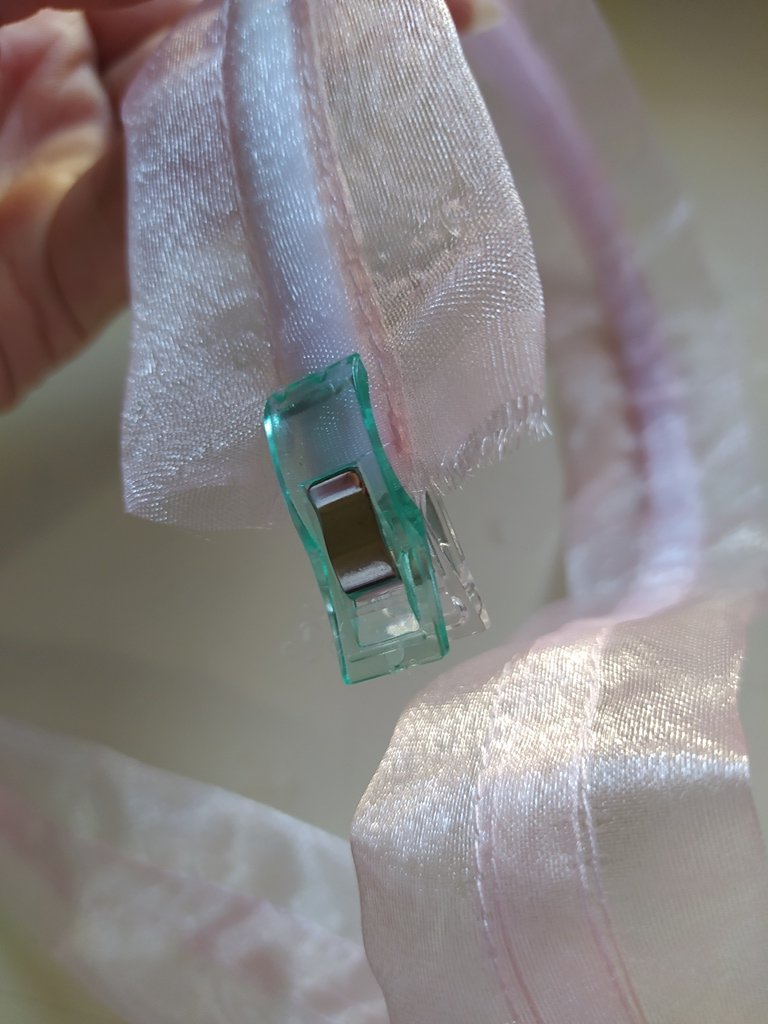
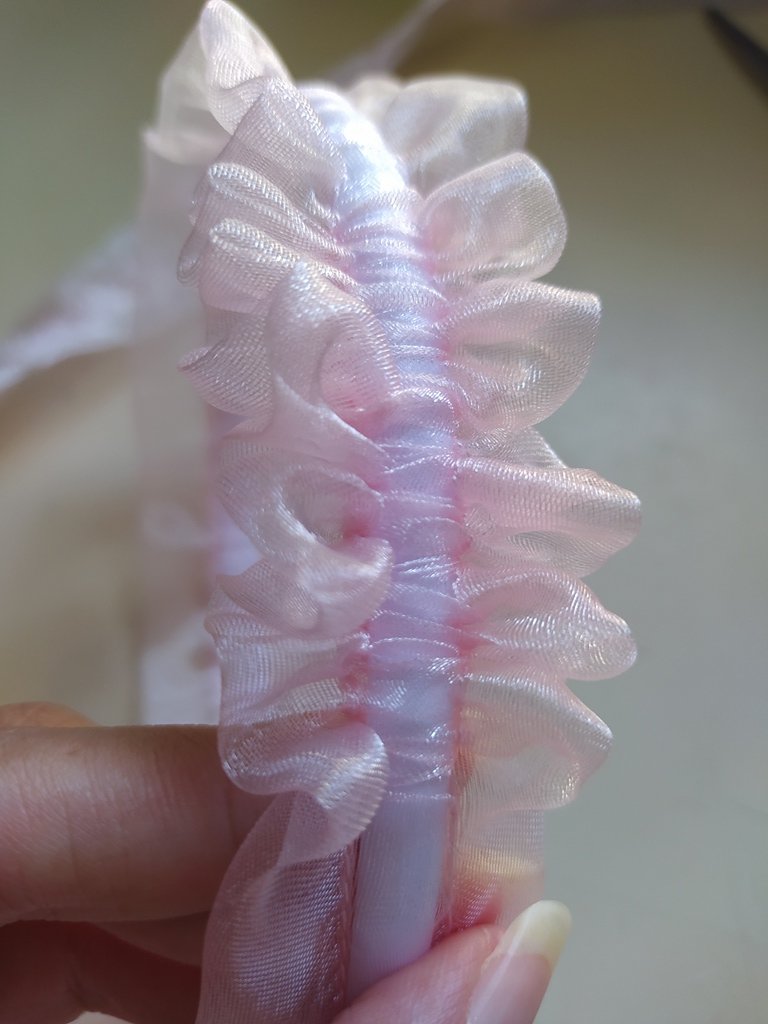
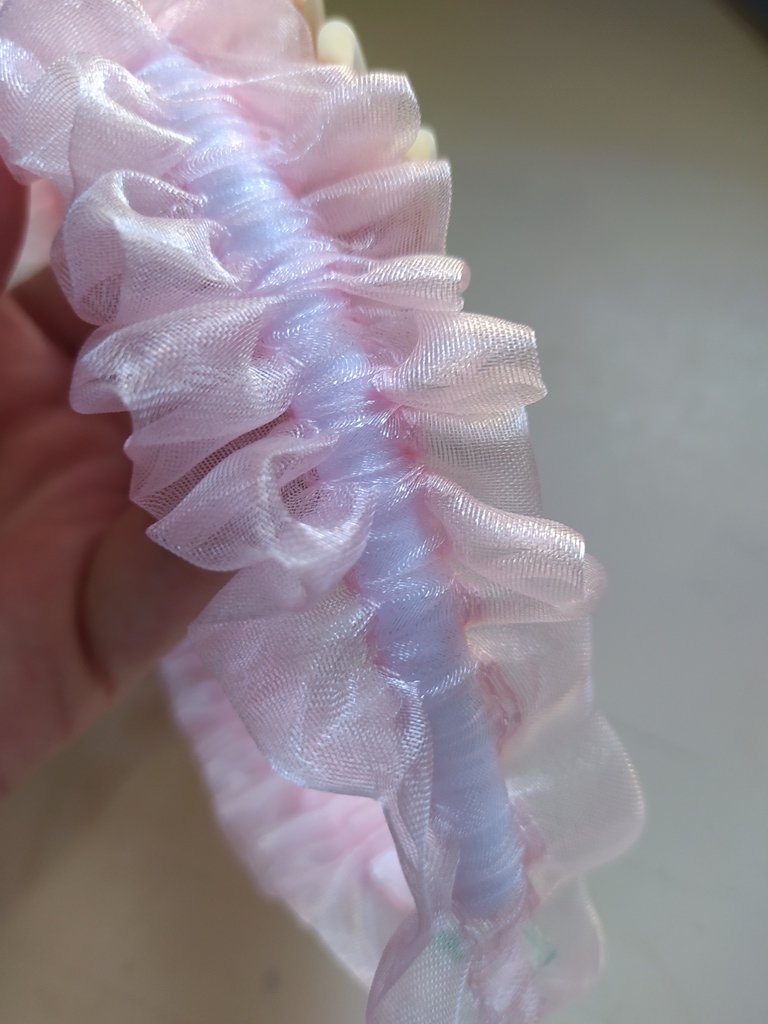
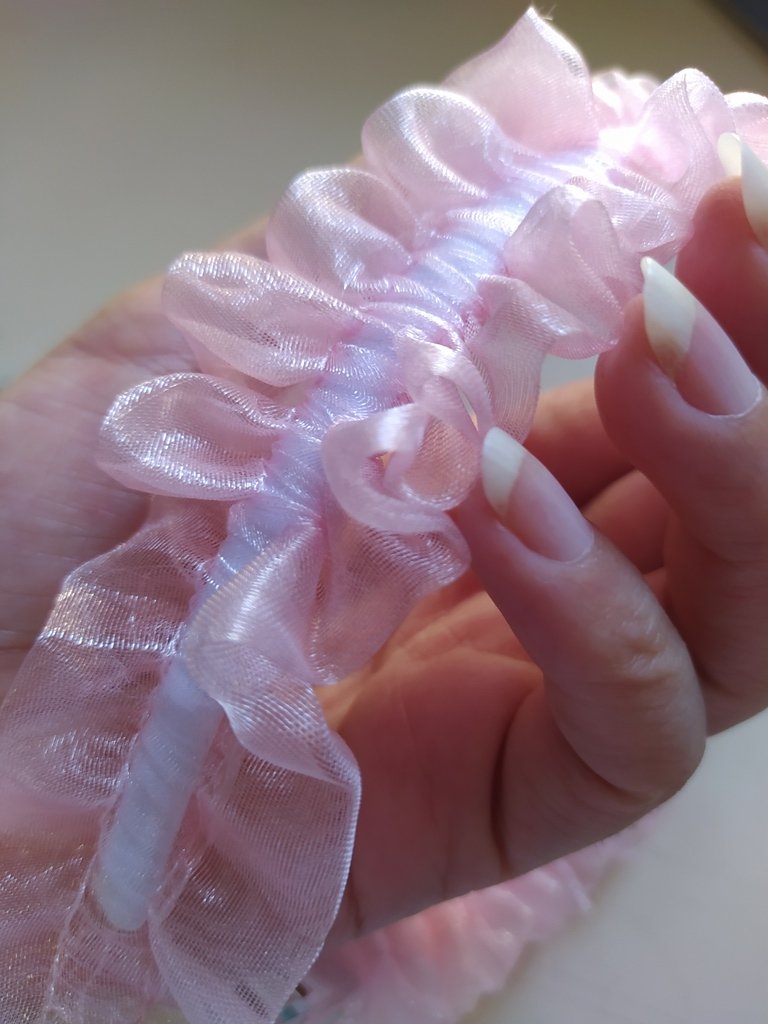
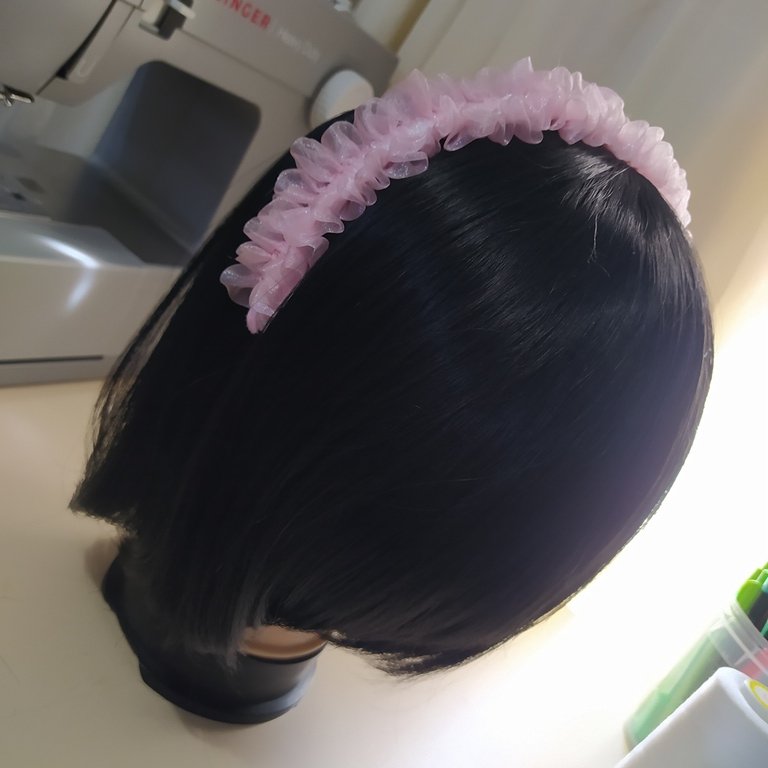
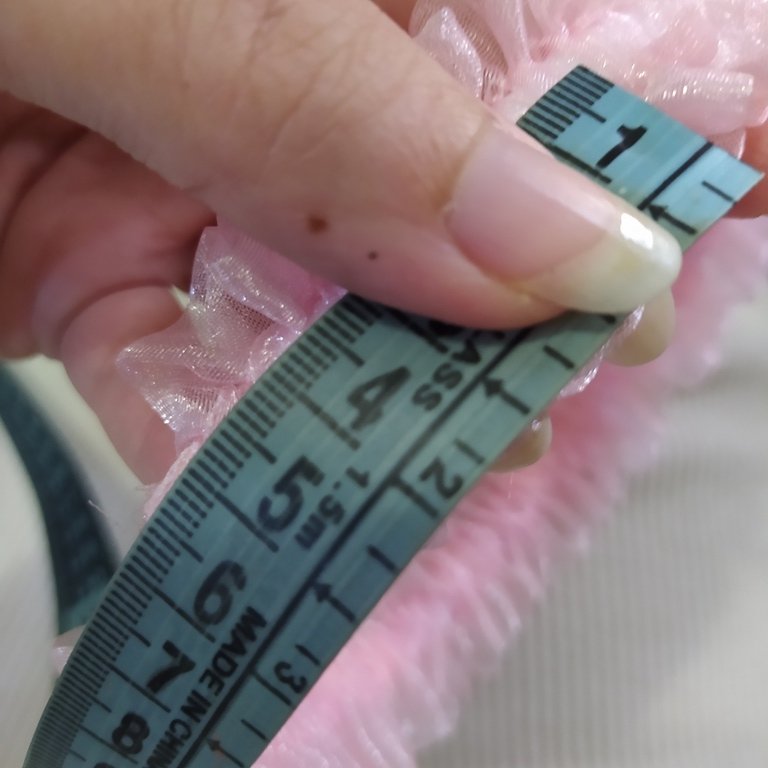
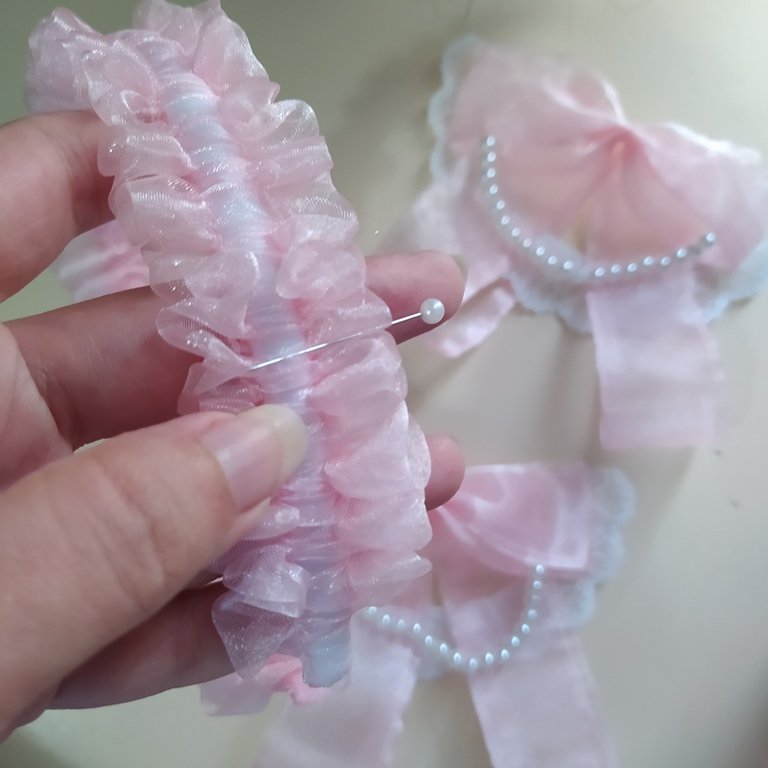
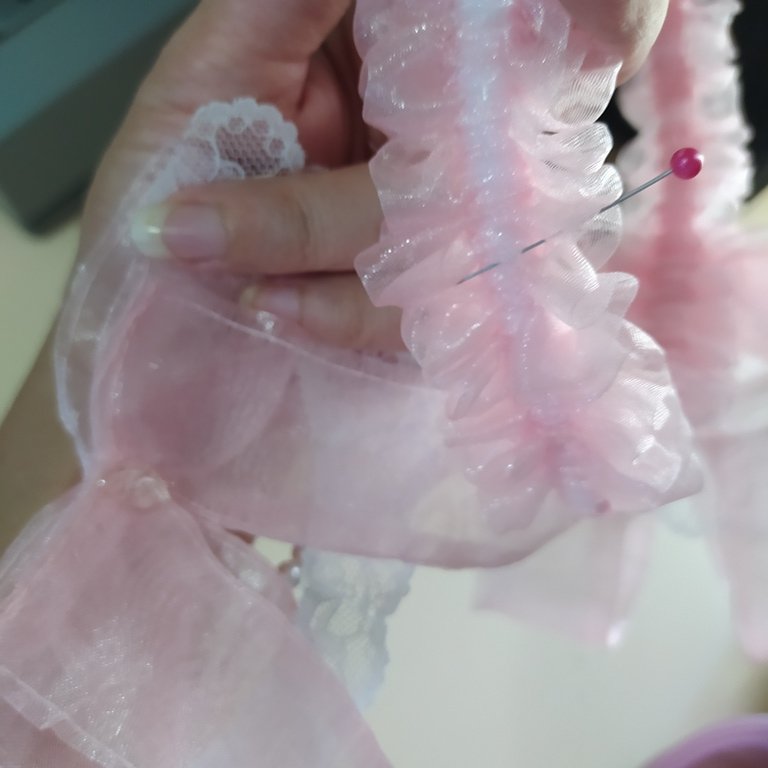
【 PASO 4 】 Toma el cintillo y comienza a deslizar por el túnel central de la pieza de tela uno de sus extremos, hazlo lentamente para que los dientes del cintillo no rasguen el material. Sostén en sus extremos con pinzas de costura, y comienza a distribuirla tela equilibradamente por todo el cintillo. Finalmente sella con silicón caliente las terminaciones del cintillo.
【 STEP 4 】 Take the headband and begin to slide one of its ends through the center tunnel of the fabric piece, doing so slowly so that the teeth of the headband do not tear the fabric. Hold the ends of the headband in place with tongs and begin to evenly distribute the fabric throughout the headband. Finally, seal the ends of the headband with hot silicone.

 |  |
|---|---|
 |  |
 |  |
 |  |
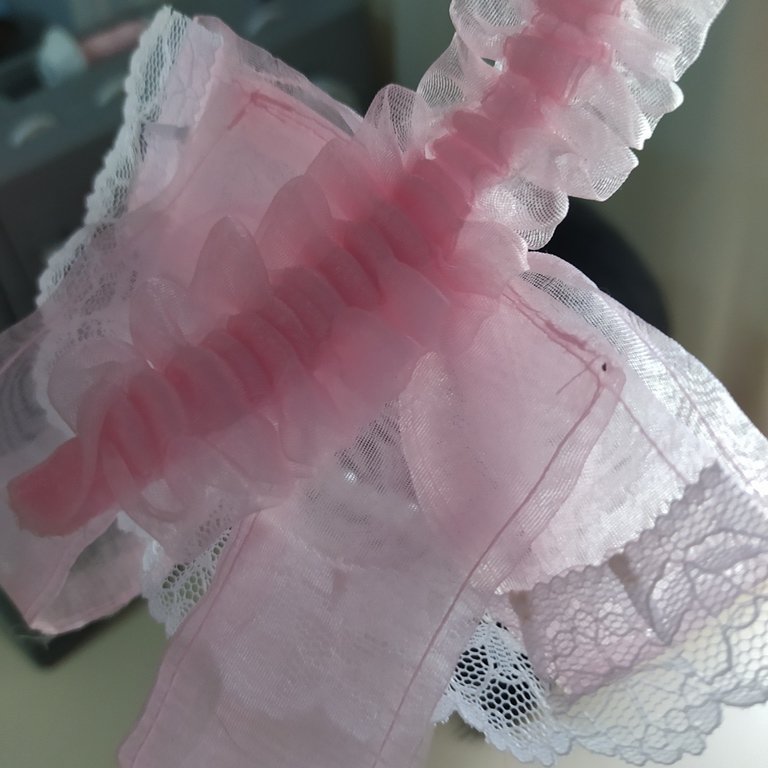 | 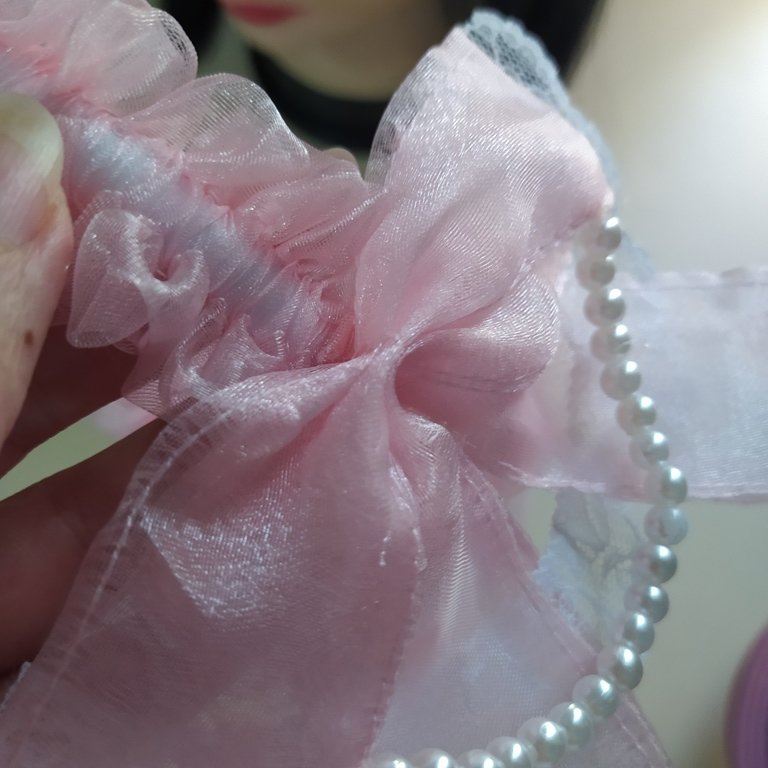 |
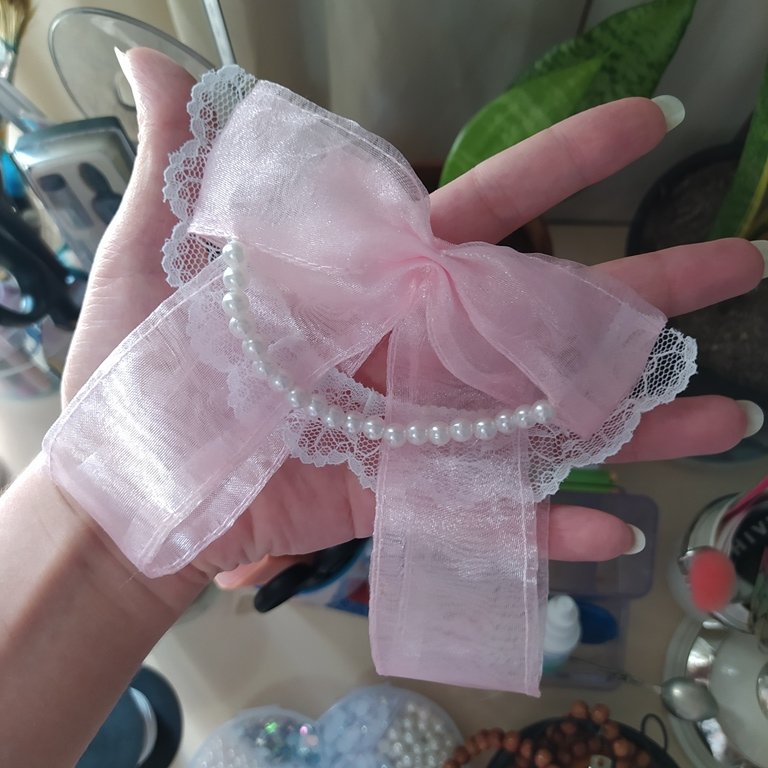
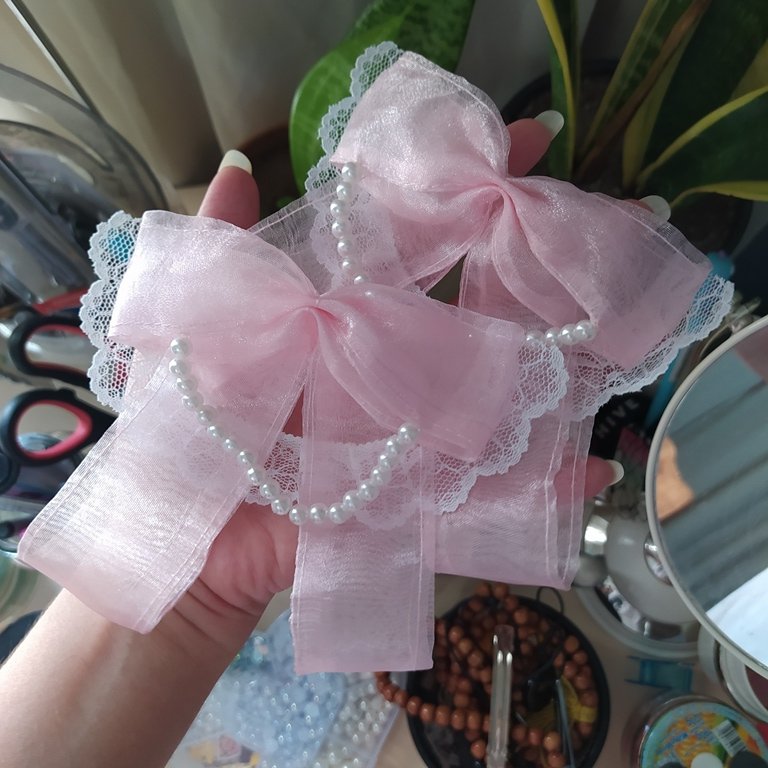
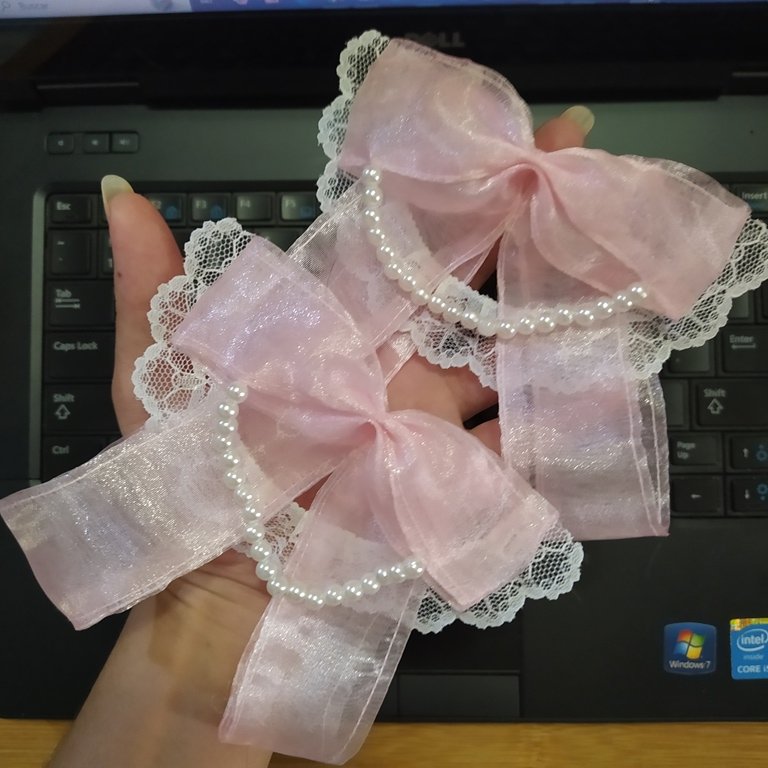
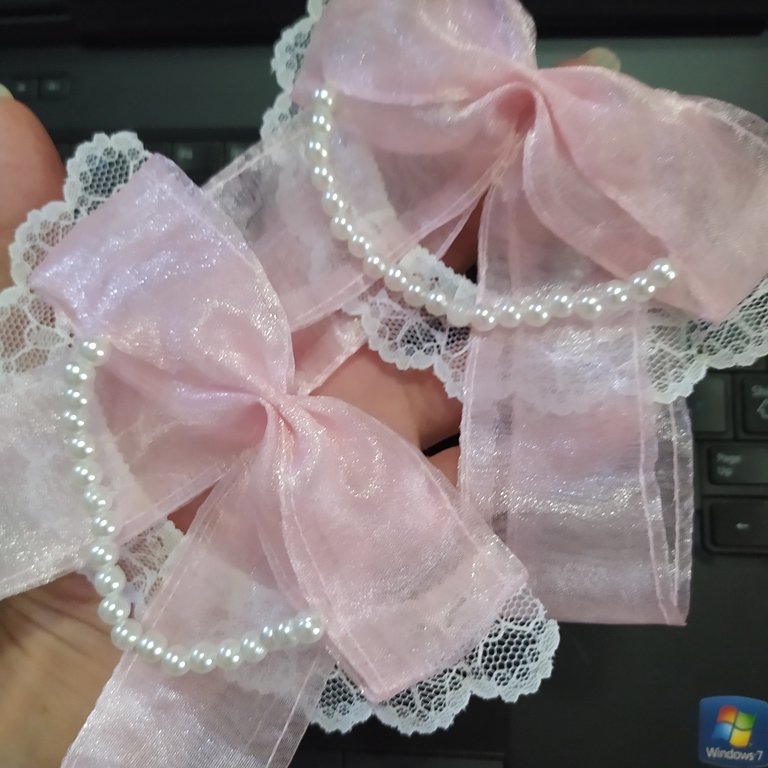
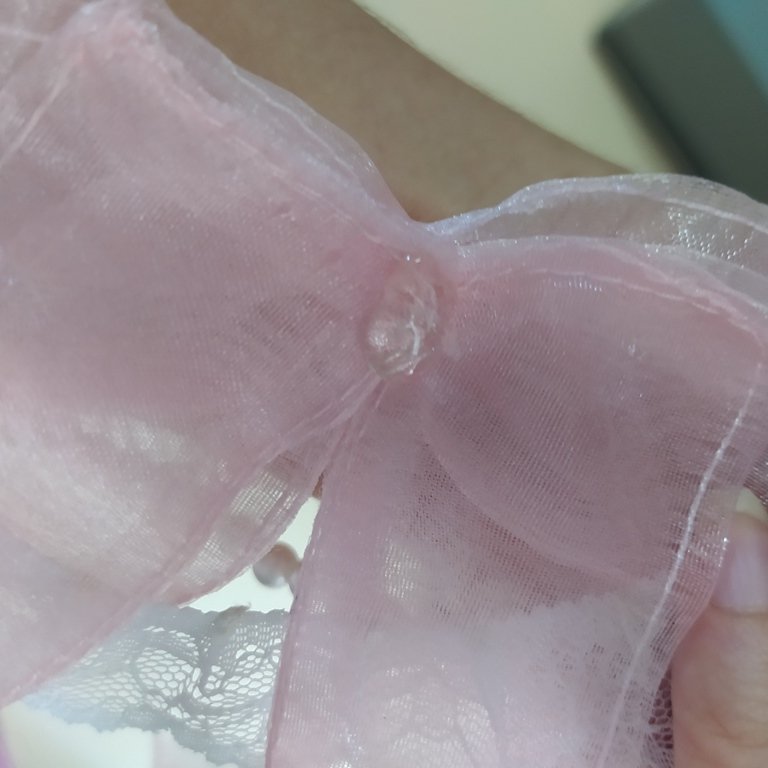
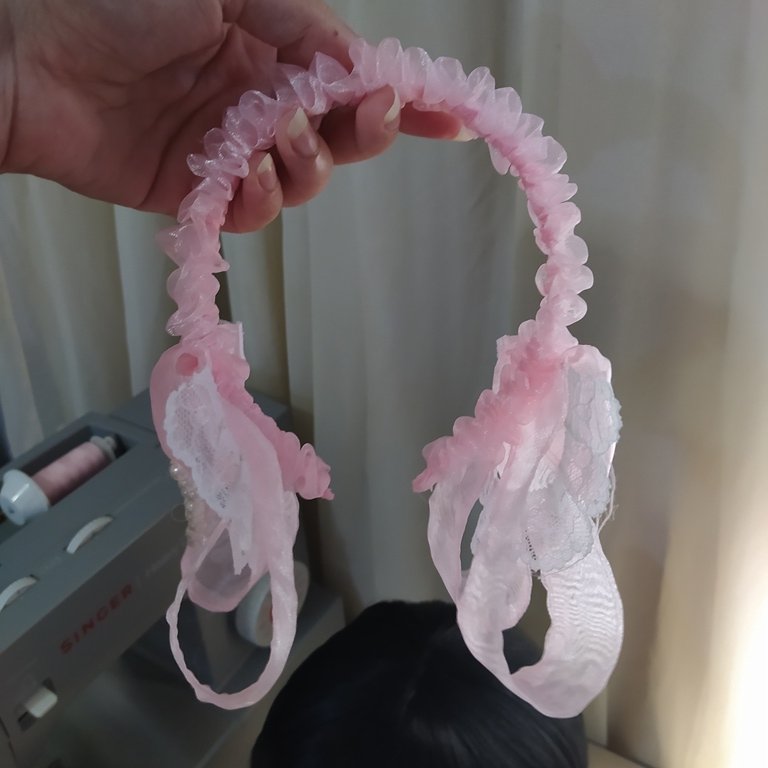
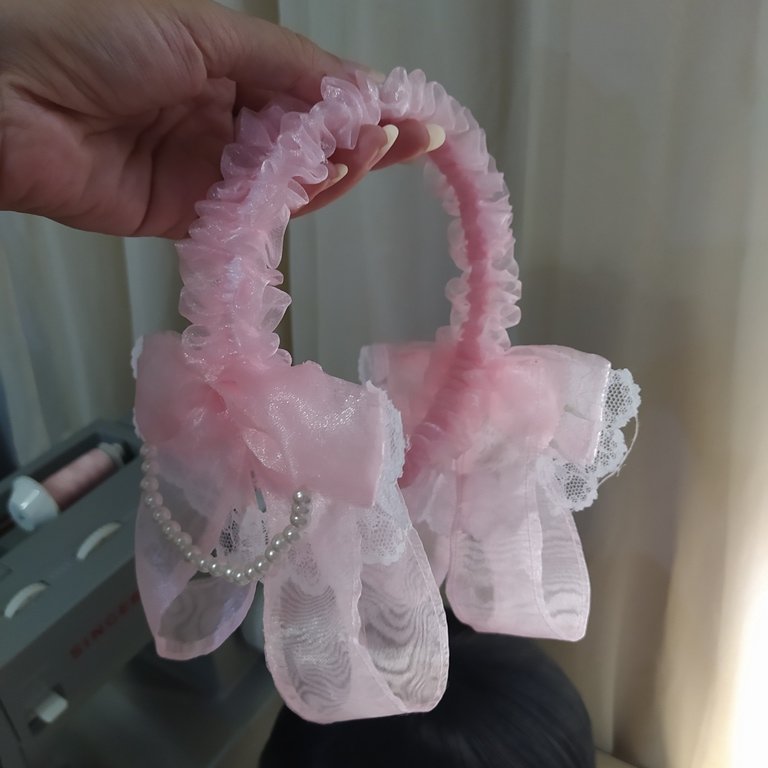
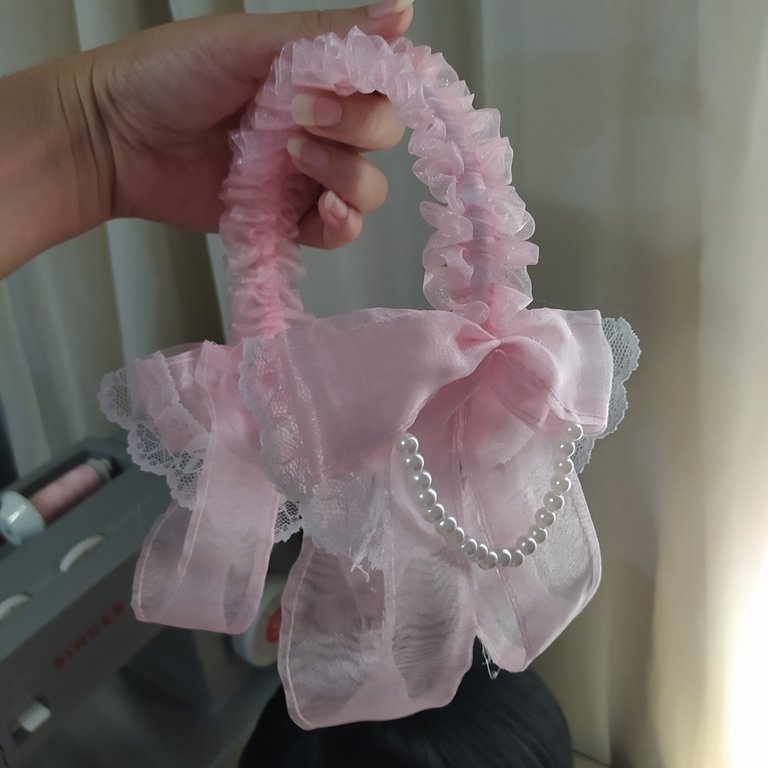
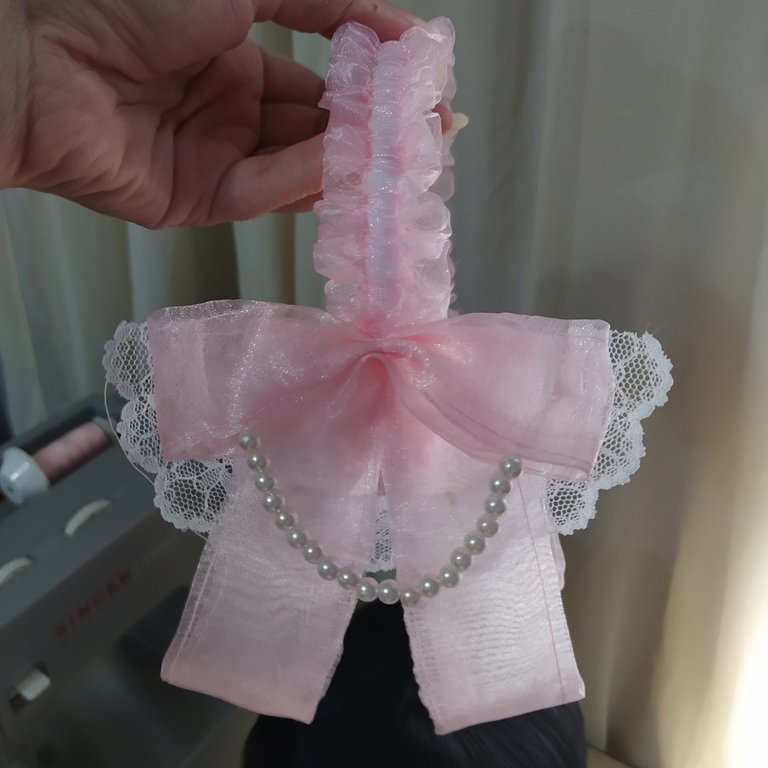
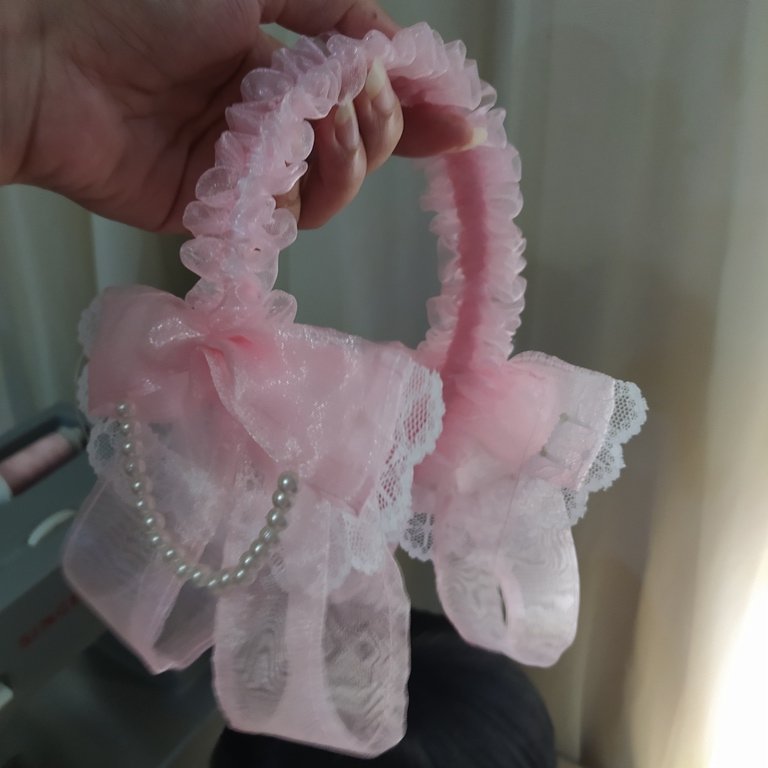
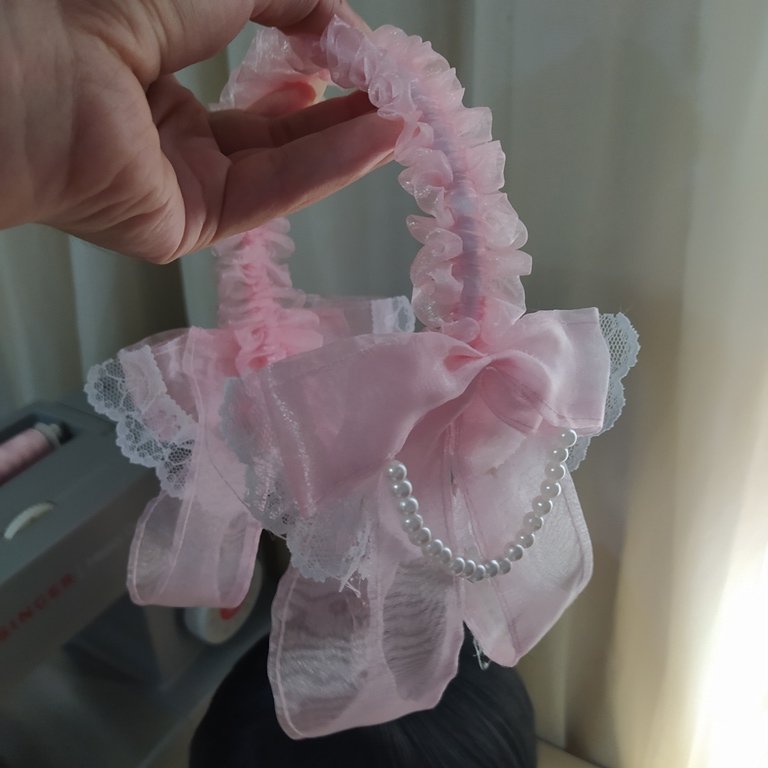
【 PASO 5 】 Elabora unos lazos decorativos del mismo material con algunas perlas, sugiero una cadeneta simple de 20 cuentas. A 6 cm del final de las esquinas del cintillo, fija de forma permanente los lazos con una cantidad generosa de silicón caliente.
【 STEP 5 】 Make some decorative ribbons from the same material with some beads, I suggest a simple chain of 20 beads. 6 cm from the end of the corners of the headband, fix the loops with a generous amount of hot silicone.
 |  |  |
|---|
 |  |
|---|---|
 |  |
 |  |

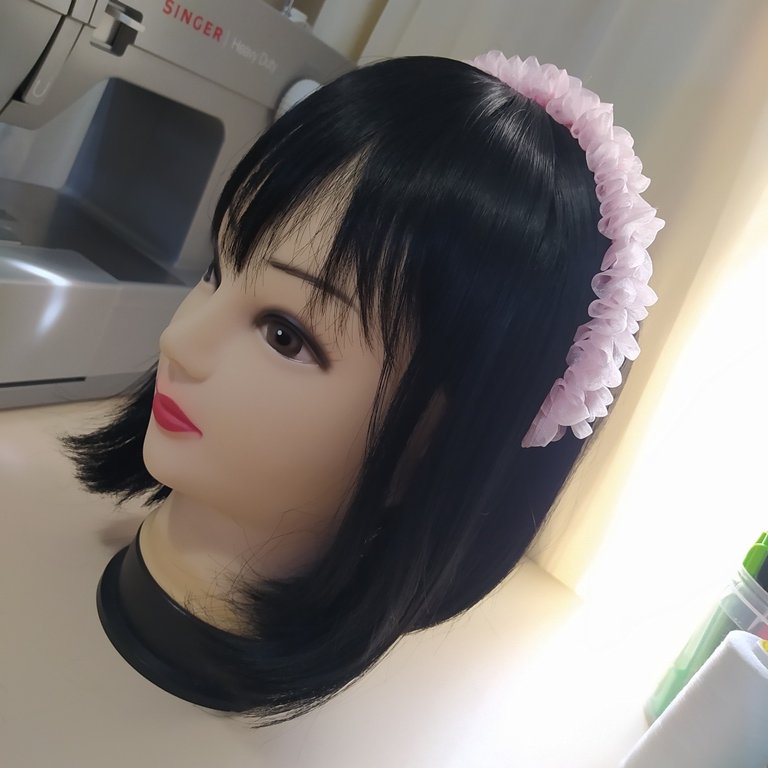
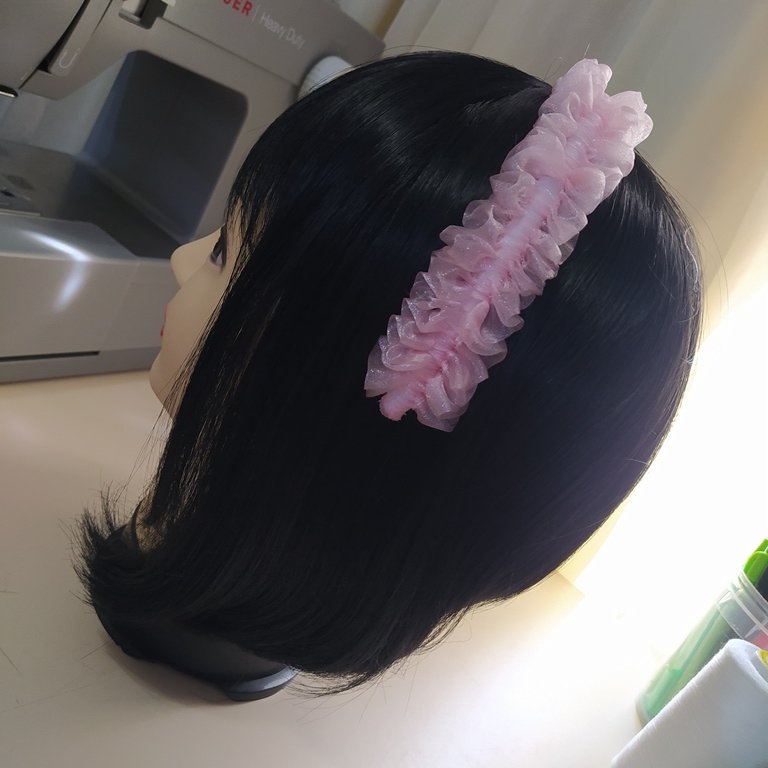
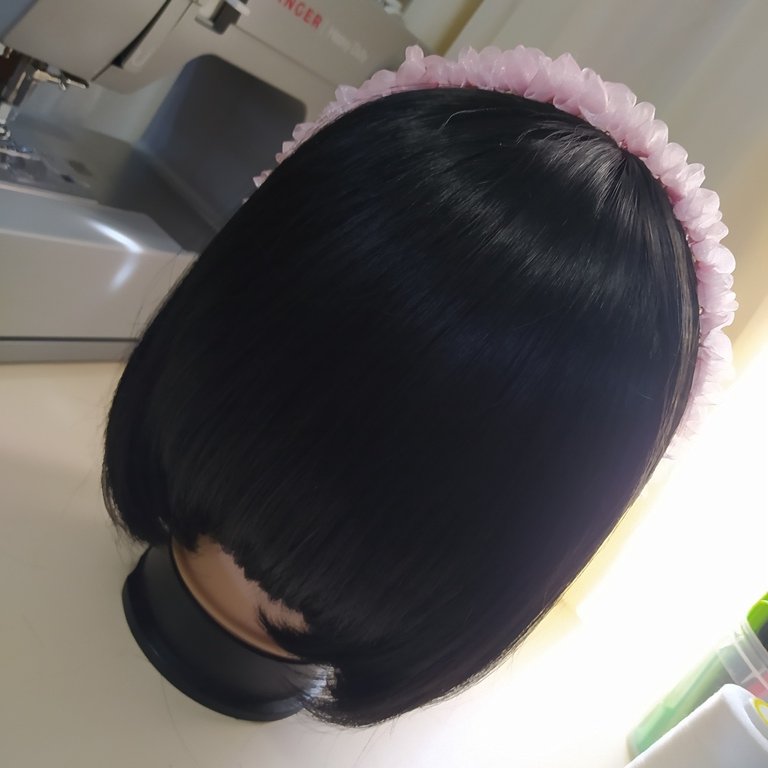
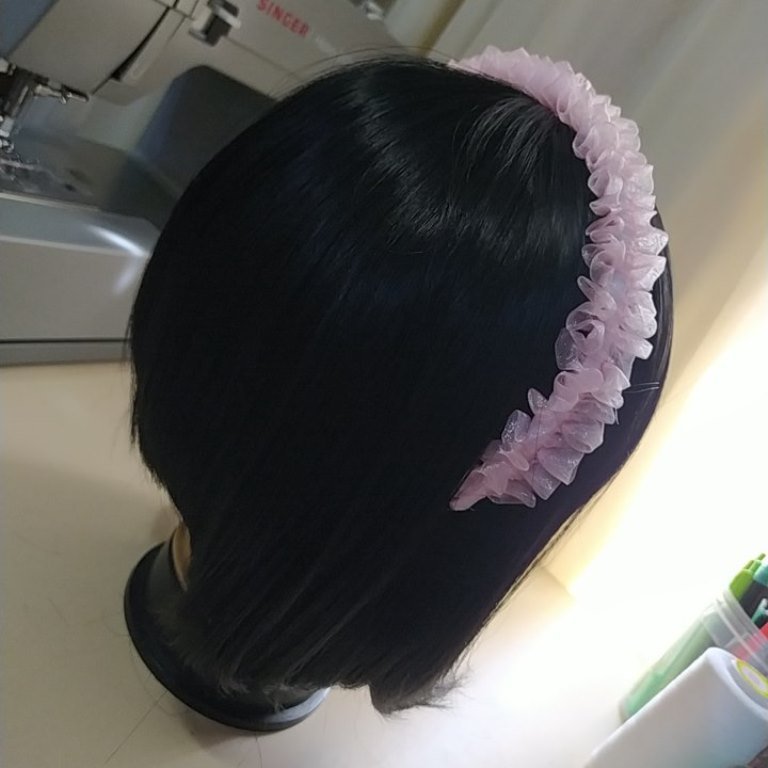
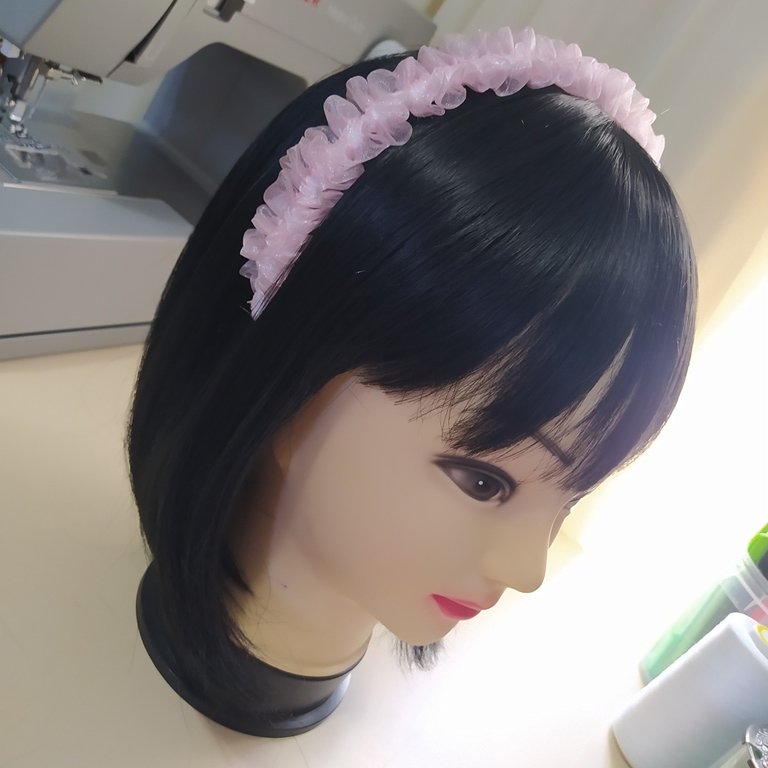
✦ The headband used is a child size ✦
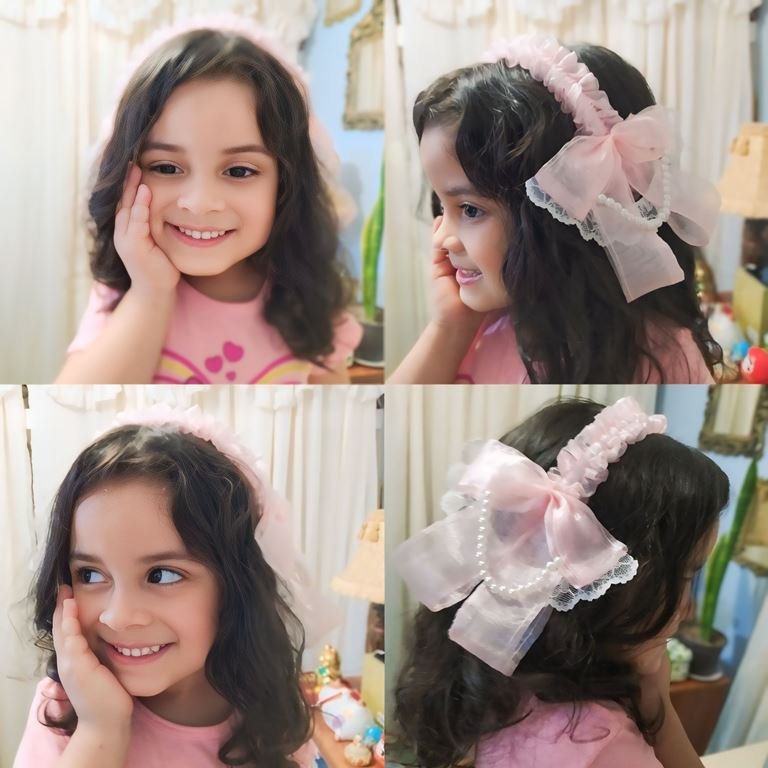
✦ My model this time was Anne! I gave her this accessory as a thank you because she has always been very sweet treating the cats we take care of, she is the daughter of a neighbor friend ✦
 |  |  |
|---|

 |  |  |  |  |  |  |  |  |
|---|
✨ 🍓 All texts and images by @Tesmoforia 🍓 ✨
📸 Tools: Smartphone 📲 Snow 🎬 Remini 🌓 FotoJet 📐
🚨 ¡Please do not take, edit or republish my material without my permission! 🚨
💌 ¿Do you wish to contact me? Discord #tesmoforia 💌
🌙 Banner, signature and separators by Keili Lares / / 1 - 2 - 3 - 4 - 5 - 6 - 7 - 8 - 9
Posted Using INLEO
Lo ame 🤩, te ha quedado hermoso amiga me encanta un cintillo demasiado delicado, el color y todo, la princesa se le ve hermoso ❤️✨️
Muchas gracias Yoli! Aprecio mucho tu opinion, justo antes de este modelo diseñe unos mas sencillos para 2 niñas el día de su bautizo, tienen mucho potencial estos cintillos y Ana justo ayer la vi jugando con el todavía puesto, verla feliz es el mejor halago porque es una niña exigente 🫡
Que preciosa diadema amiga @tesmoforia, la guarde para luego ver si recreo una para mí nena, se ve tan tierno y coqueto. Lo adore amiga.
Me gustaría mucho ver que la recrearas para tu bebé, si se puede guarda el proceso y compártelo en tu blog también Karo 😍 😍 😍
Ya lo guarde, ojalá que pueda lograrlo
Quedó demasiado cuchi y hermoso este lazo para las nenas , además con un toque como vintage y a la vez elegante para llevar a una fiesta o evento especial. Excelente tutorial ♥️🎀
Ay ay cuantas palabras bonitas omg, gracias por ese feedback tan lindo @mergusa88!
Está hermoso listo para usarlo en para un outfit bien Lolita o para darle un toque dramático y grily a un outfit sencillo ✨🤌 definitivamente es arte 🤌✨
Oooh tu si sabes Mily, justo estoy tratando de adaptar elementos de la moda lolita a otros accesorios que no sean propiamente una headdress, una amiga muy linda a la que le pedi consejo me dijo "tu publico no es tranquilo así que déjale los lazos como con las cofias que ya has hecho" cuando yo preocupada no sabía si le gustaría a los niños jajaja y me quede pensando en eso; me encanta el drama en la ropaaaaa! Muchas gracias!
Hola querida @tesmoforia, espero que estés bien, y bueno aquí estoy una vez más maravillada con este cintillo que nos compartes, sobre todo la originalidad que le das a esos lazos de ambos lados es realmente un trabajo impresionante e impecable como todos tus proyectos, felicidades muchos abrazos hermosa, se te quiere mucho.
Yo también espero que estes bien y estes pasando un super bonito viernes! Mil gracias por todos esos halagos tan bonitos! La tela es super mañosa y confiezo que al inicio no estaba segura de si funcionaria pero uyuyuuuuiii, se logró 😳 mucho cariño y abrazos para ti también ! ! Leerte siempre se un gran regalo Lau-Lau 🙏 🙏 🙏
¡Gracias corazón, que lindaaa amen!!! Muchas Felicidades, Bendecida noche.
Una belleza este accesorio, digno de estar en Boom en tiendas especializadas. Todos los aspectos son absolutamente preciosos, y creo que a tu modelo le encantó también.
Asombrosamente Ana estaba muy feliz, su reacción fue lo mejor porque es una niña a la que no le gusta cualquier cosa 😂 su sinceridad la hace la cliente perfecta. Muchísimas gracias por esas palabras tan bonitaaaas! -estamuyfeliz-
¡Que hermoso trabajo!
Y lo mejor es ver la cara de felicidad de la niña, con su cintillo!
Gracias por compartirlo.
Verdad que su carita es preciosa? También es una buena modelo y entiende cuando le pides que mire de perfil, Ana es súper inteligente 🥹 ¡muchas gracias Betty!