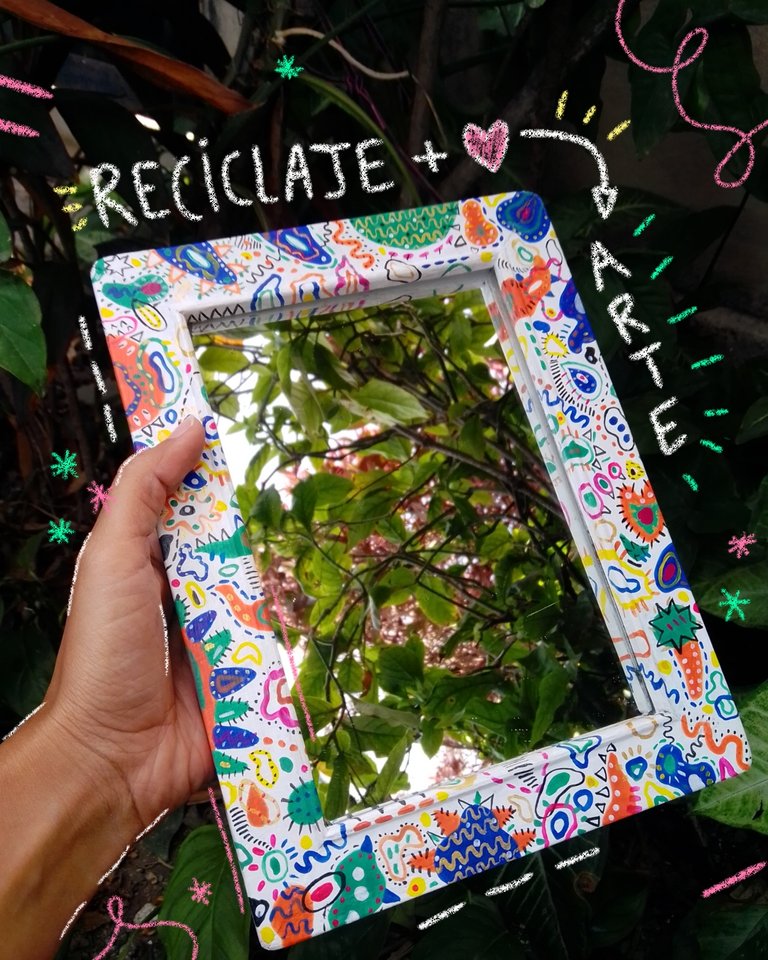
¡Saludos queridos hivers!
Mi fin de semana tuvo un espejo roto, pintura y un portarretrato que cambio de profesión 🤭
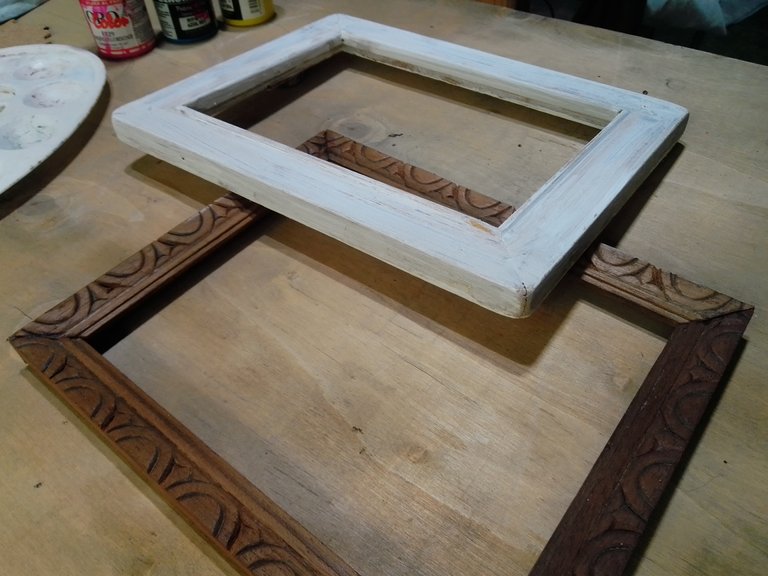
Quizás tengas un portarretrato que se vea un poco viejito y muchas ideas en la cabeza, por aquí tengo dos que ya no se usan porque el vidrio se les partio y guardé los marcos con la idea de que se volverán a usar en otro momento. Así pasaron unos tres años y esos marcos todavía guardados 😅, hasta que se rompió mi espejo, que no tenía nada de especial, era un espejo cualquiera de los que compras en el abasto.
Por otro lado, mi grupo de amigos me ven casi siempre pintando cositas, un cuadro, un llavero, un adorno para la casa, en fin, una variedad de objetos. Algunas veces me guardan cosas que ellos piensan "Esto le puede servir a Roxy" 🤭 y sí, entre mis cosas tenía un espejo que me habían dado, alguien lo tenía pegado en su pared y cuando lo quitaron, quedó con un poquito de cemento pegado detrás, eso no lo pude quitar por completo porque podría dañarlo y quedarme sin espejo, ¡otra vez!, pero hice lo que pude.
Todavía no lo iba a usar, e inesperadamente ya llegó su momento de volver a ser útil. Tengo dos opciones de marco: uno es un lienzo en blanco para plasmar una idea y el otro se ve bonito así como es. Pero el espejo solo calzó en el blanco, parece que el otro esperara un poco más. Ahora vamos con los materiales 👇🏼
Materiales:
•Marco de portarretrato
•Espejo.
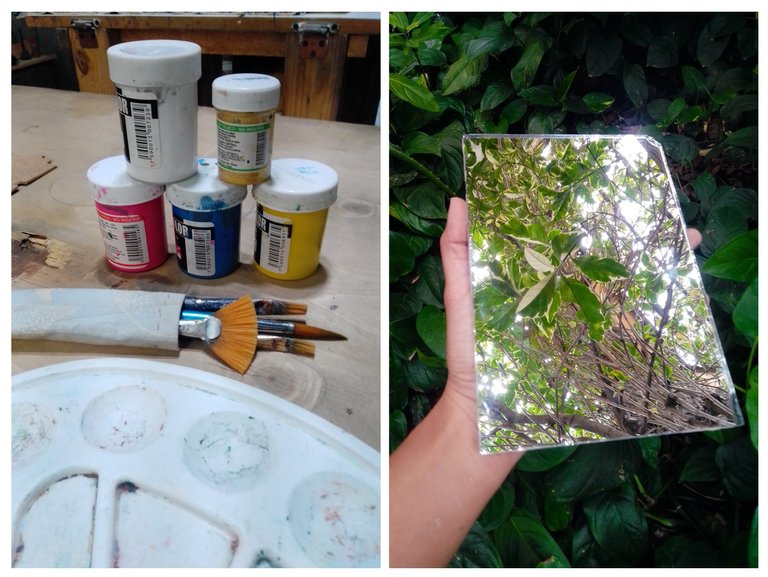
•Pinceles varios.
•Pintura blanca y negra.
•Pintura al frío magenta fluorescente.
•Pintura al frío amarillo.
•Pintura al frío azul.
•Pintura al frío dorada.
•Clavos para madera.
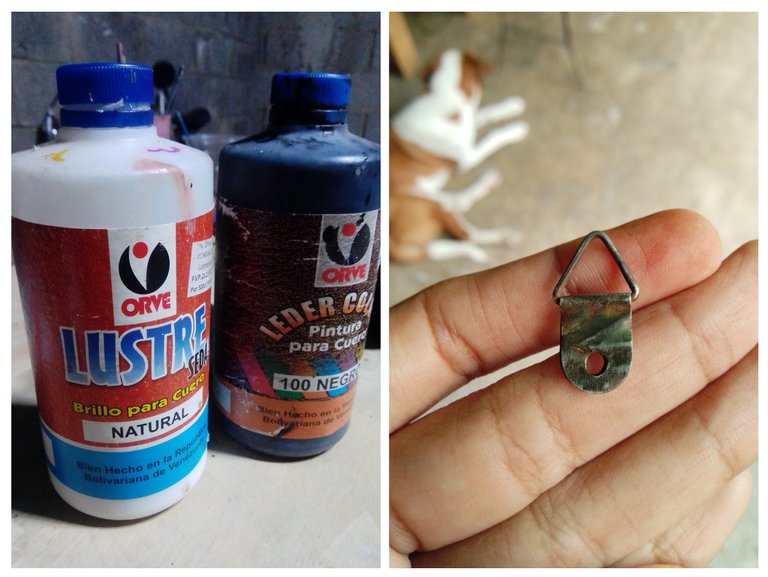
•Gancho sujetador.
•Carton del tamaño del marco.
•Brillo (opcional).

Paso 1
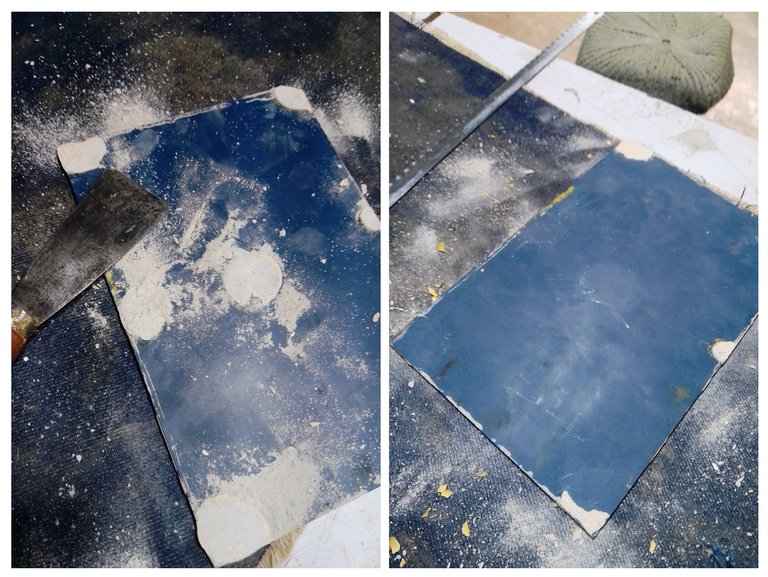
Así fue como deje el espejo, no pude quitar más residuos porque parecía que iba a quedar sin pintura en esas zonas, use una paleta, mis uñas, hasta una hoja de segueta 😐

Paso 2
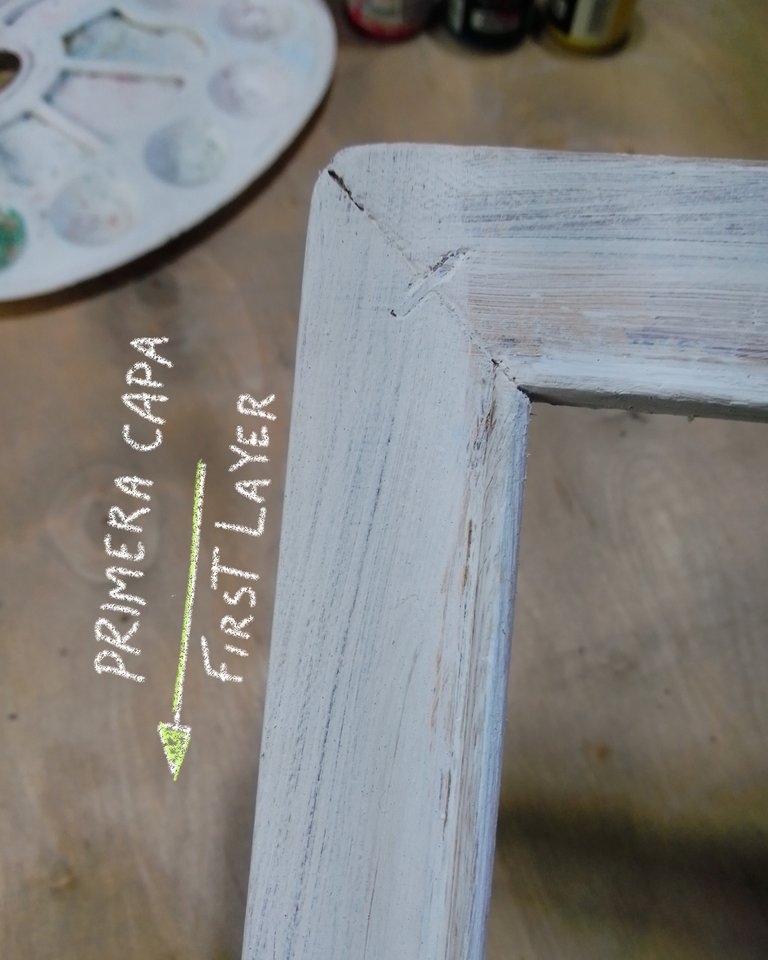
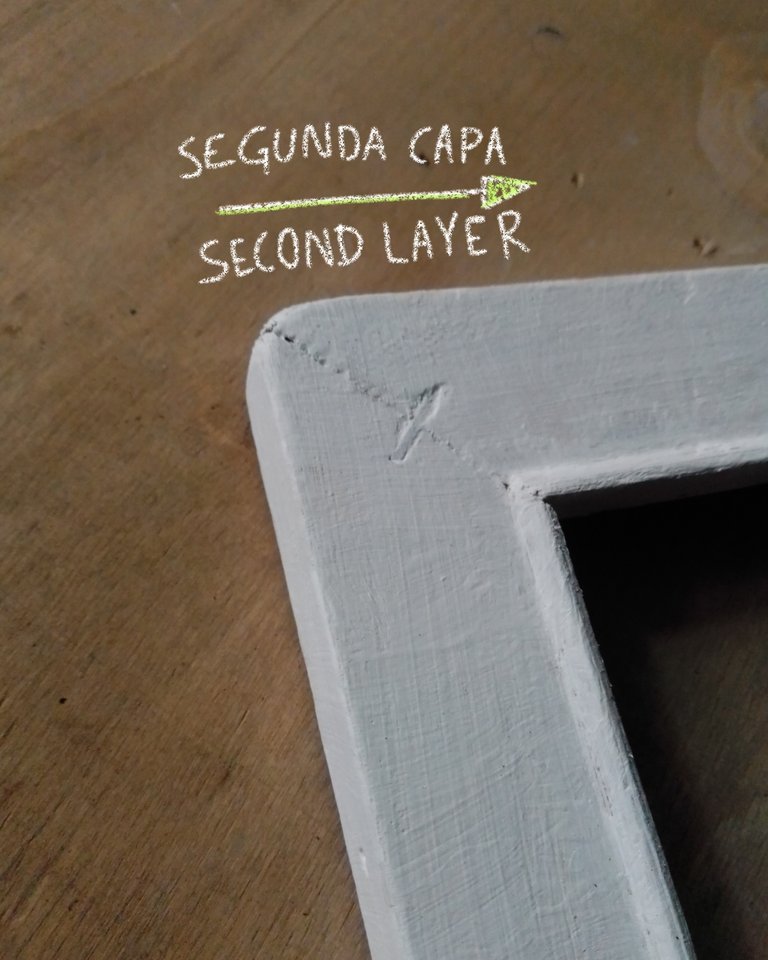
La base será el color blanco, no importa si no queda perfecto, solamente debe cubrir el color de la madera y con dos o tres pasadas, será suficiente. Hay que tomar en cuenta que cuando se pinta sobre una superficie lisa, la primera capa de pintura debe ser en una dirección 👆🏼👇🏼(hacia arriba o abajo) y la segunda en otra 👉🏼👈🏼 (hacia la derecha o hacia la izquierda). Si pintaramos en una sola dirección, no cubriria bien la superficie y en cada pasada del pincel quitarías un poco de la pintura húmeda 😊
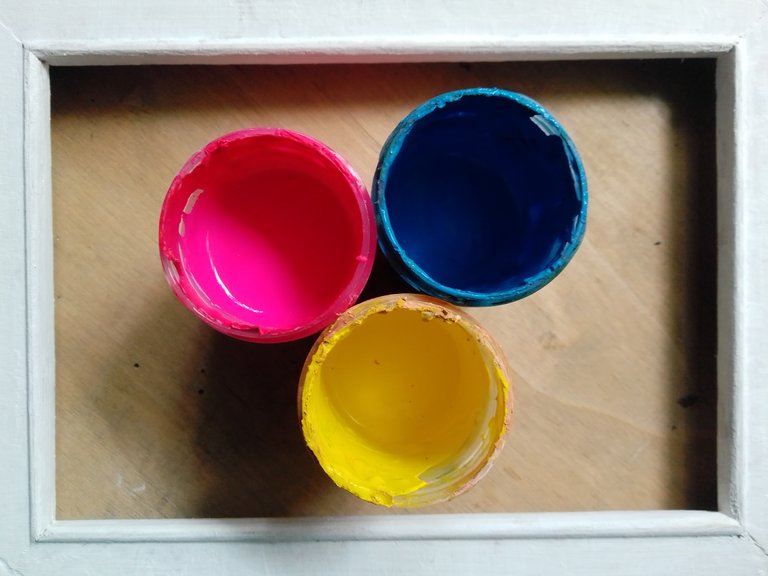
Para pintarlo no hace falta tener muchas pinturas, con solo los colores primarios, una pintura blanca y una negra, se puede armar una paleta básica para este tipo de manualidades en casa. Dependiendo del tono de rojo, amarillo y azul, obtendrás unos colores que se vean más brillantes, o por el contrario, unos que se vean más oscuros. Pero te recuerdo que ambos estarían bien, ya que al fin y al cabo es una actividad que hacemos por el gusto de renovar algo que ha permanecido en desuso.♻️
Solo es un pequeño consejo que puedes tener en cuenta para ir variando al comprar pintura y así tener varios tonos de rojo, de amarillo y azul. Esto te permite experimentar, hasta que tengas tu propia selección de colores primarios.

Paso 3
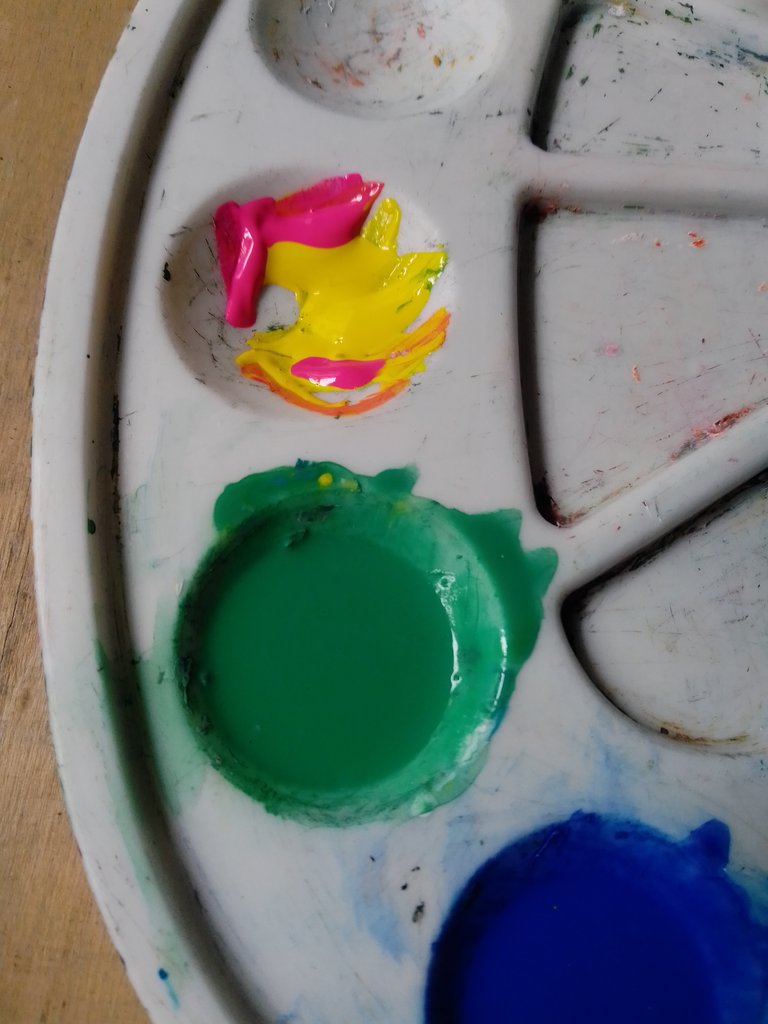
Sustituyo el rojo por el color magenta fluorescente porque al mezclar con otro color este es más brillante, y me gusta más 🤭 los colores elegidos👇🏼
•Magenta + Azul: Morado
•Amarillo + Azul + Blanco: Verde medio.
•Amarillo + Magenta: Naranja oscuro.
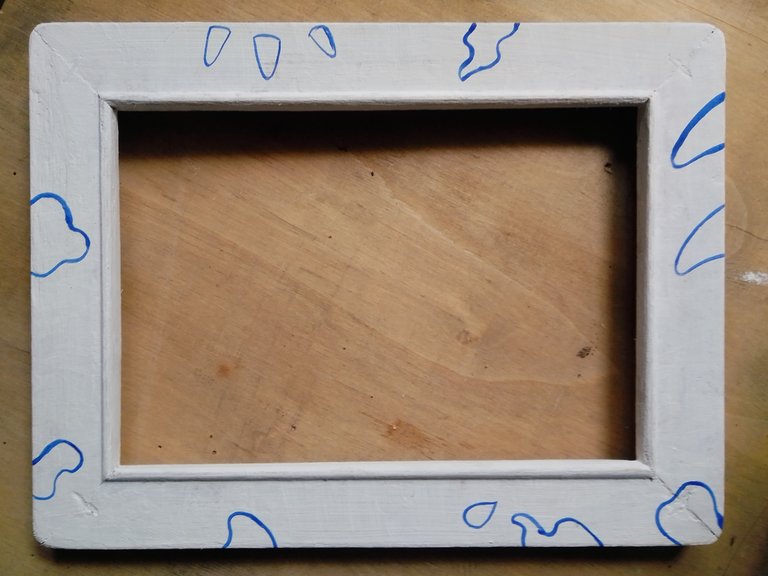
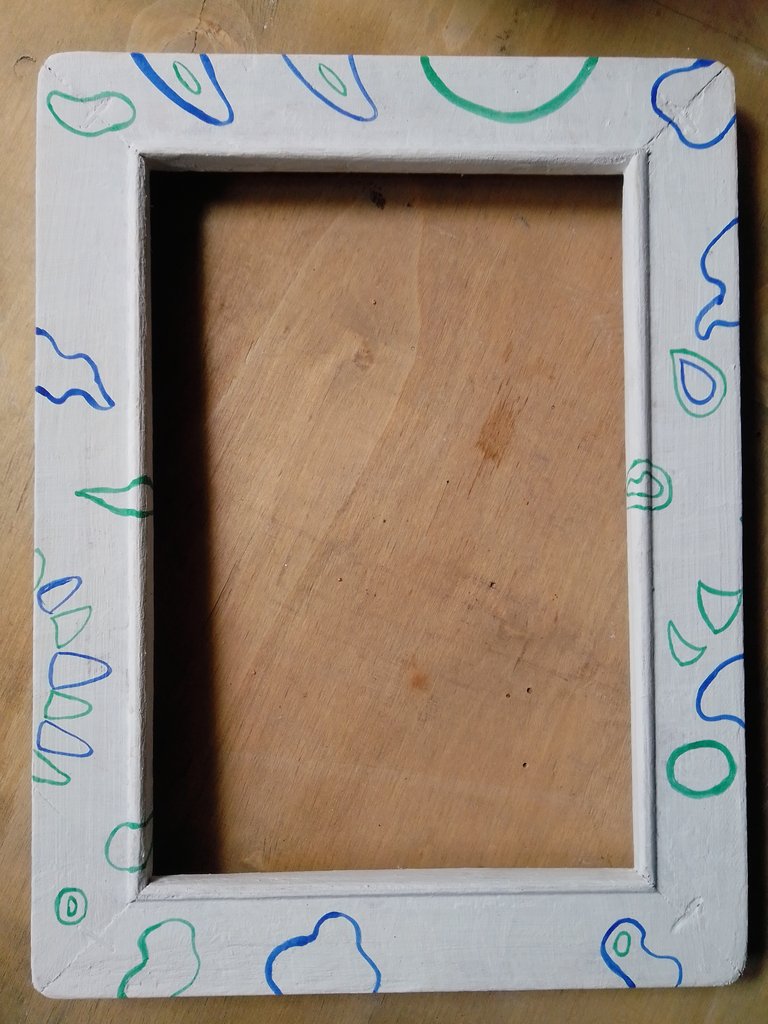
Comienzo haciendo lineas orgánicas con el color morado, luego con el verde medio y por último con el naranja oscuro.
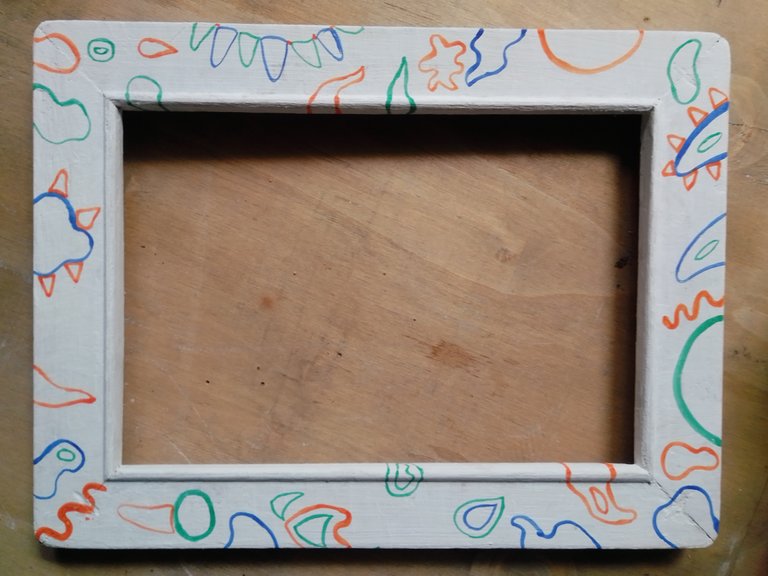

Paso 4
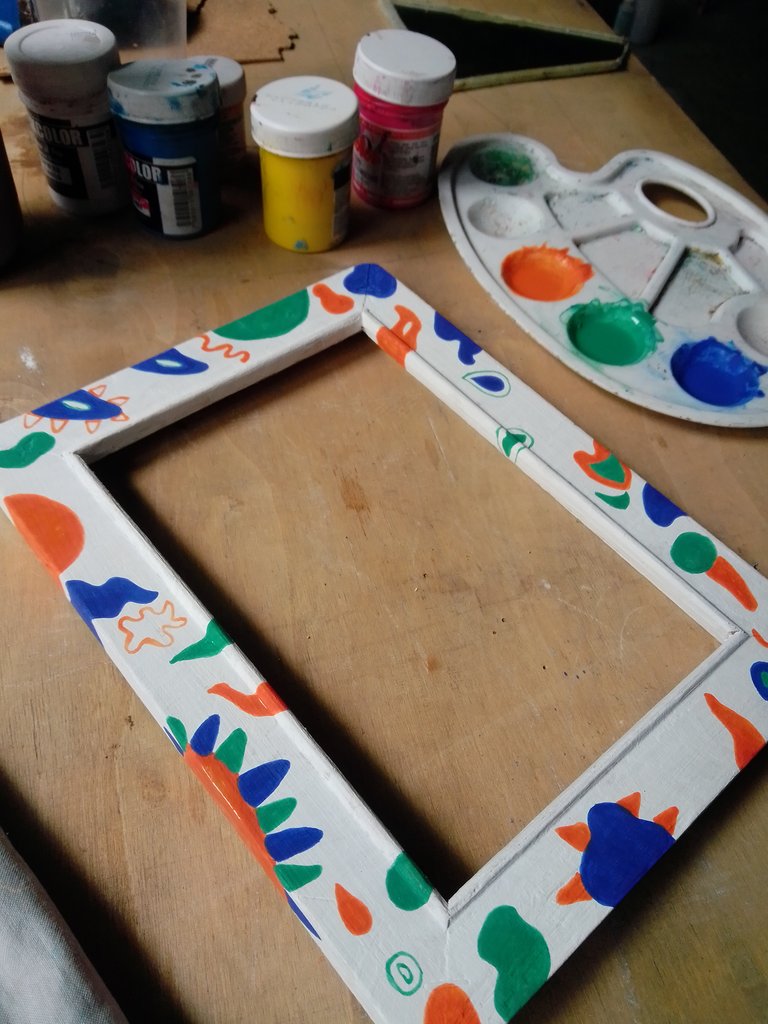
Ahora relleno cada forma con el color seleccionado. Pero 🤔 ¿Que son estás formas abstractas de colores?
Son una expresión de mi lenguaje plástico, que utilizo en los trabajos que hago, lo llevo a diferentes materiales como: lienzo, papel, madera, adornos o una ilustración. Me baso en el concepto del arte Naif que tiene su origen en lo ingenuo y en el uso de los colores brillantes. Y pues este proyecto no es la excepción, llevará un toque artístico 👌🏼
(Inspiración // Obras realizadas en 2023) 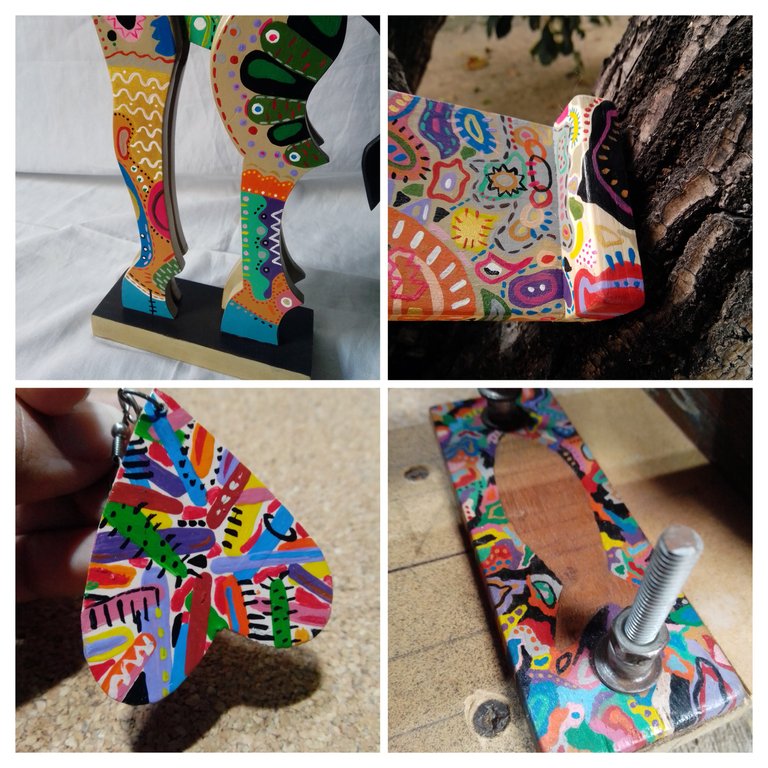
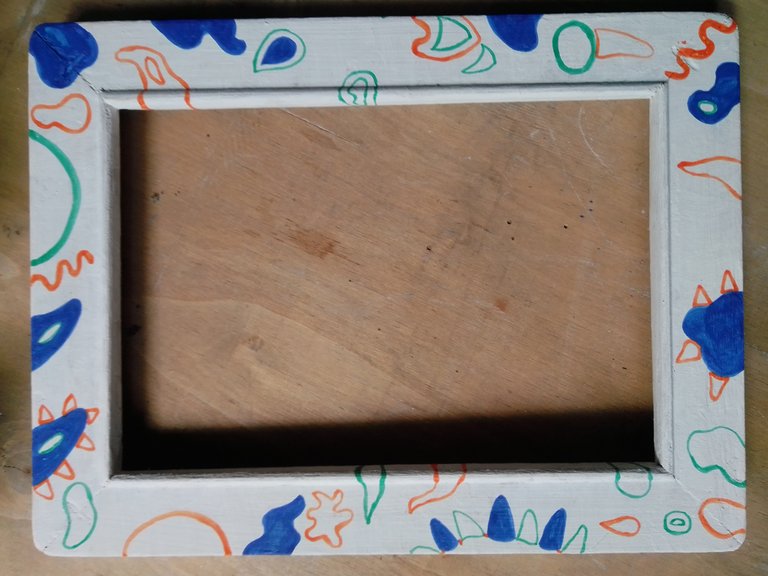
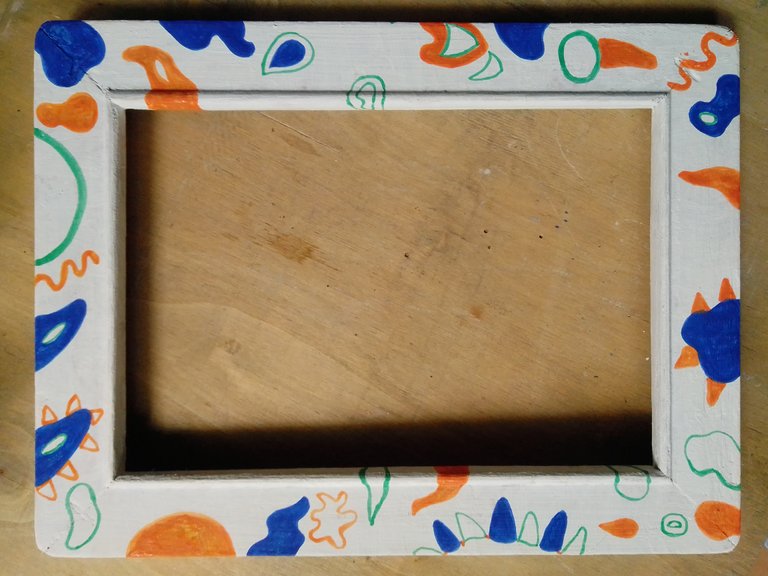

Paso 5
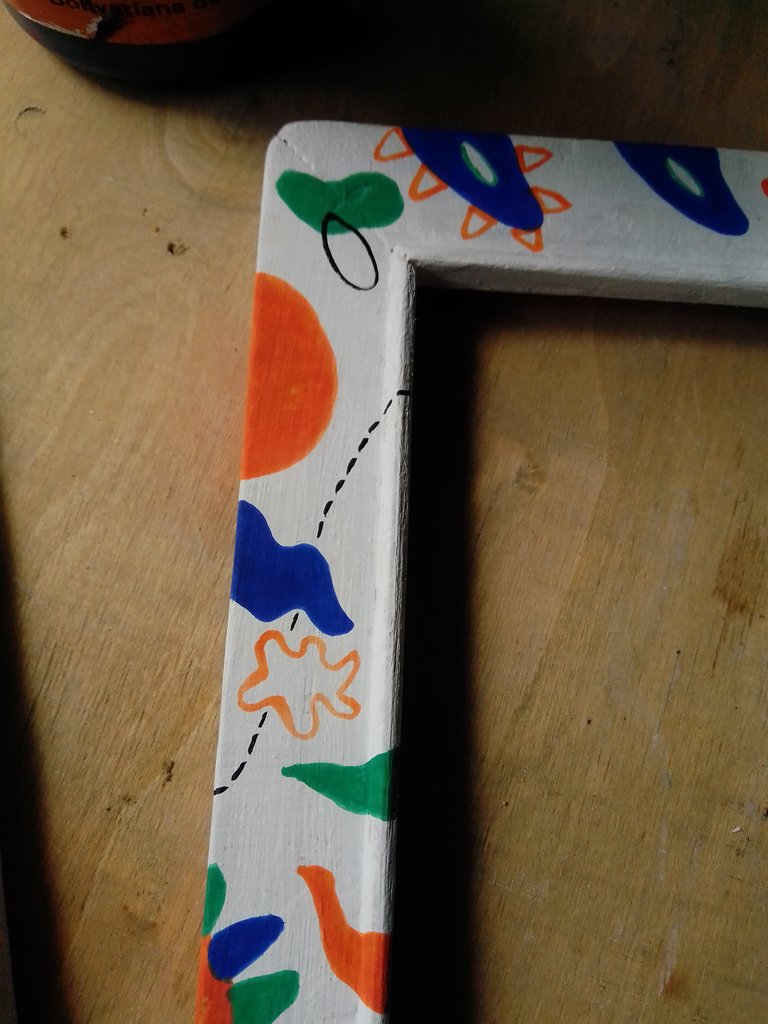
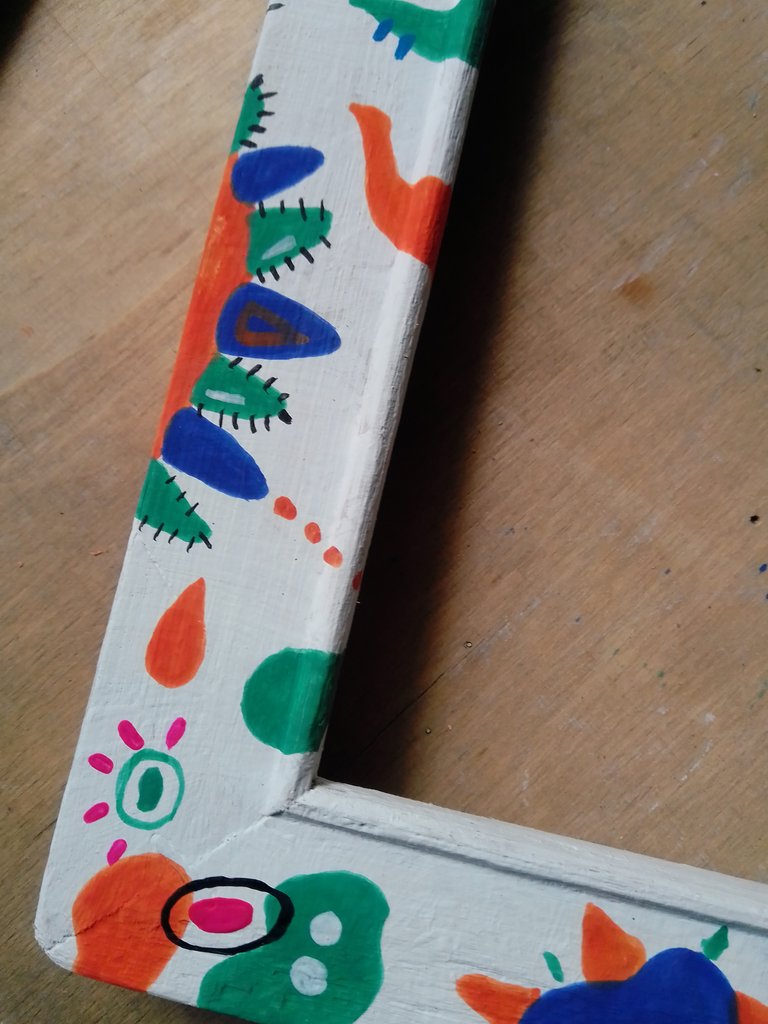
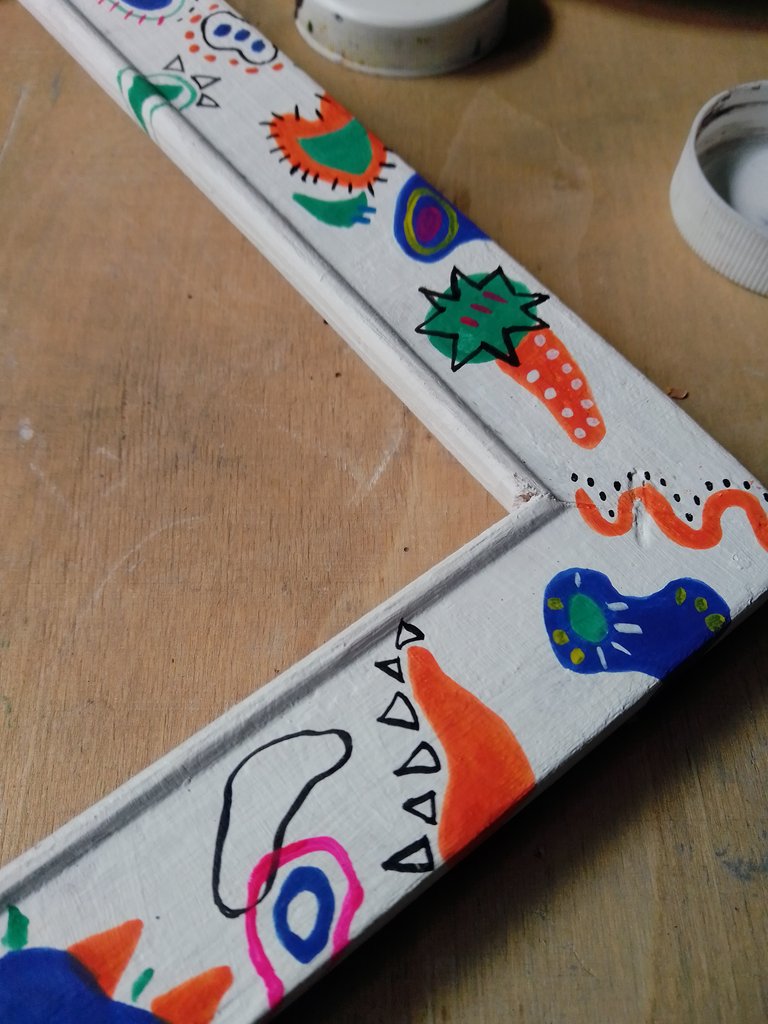
Esta es la parte que deja salir el ingenio, voy a usar negro en "pintura para cuero" es que resulta que al secarse queda más brillante que el color negro en pintura al frío y como hace rato que no se usa para el cuero, la usaré, también usaré los primarios, y las mezclas que hice para llenar todo pero todo el espacio.
Es que también hay matices de horror vacui en este lenguaje de manchas 🤭 te explico rápidamente, el horror vacui (miedo al vacío) es un concepto que se aprecia de forma más profunda en la arquitectura y simplemente es la acción de llenar cada espacio vacío en una obra.
Bueno más o menos en eso se resumen, mis manchitas 😬
Tal vez ésta no sea la pieza arquitectónica del año pero yo quería poner un poco de lo que hago a este pequeño proyecto.
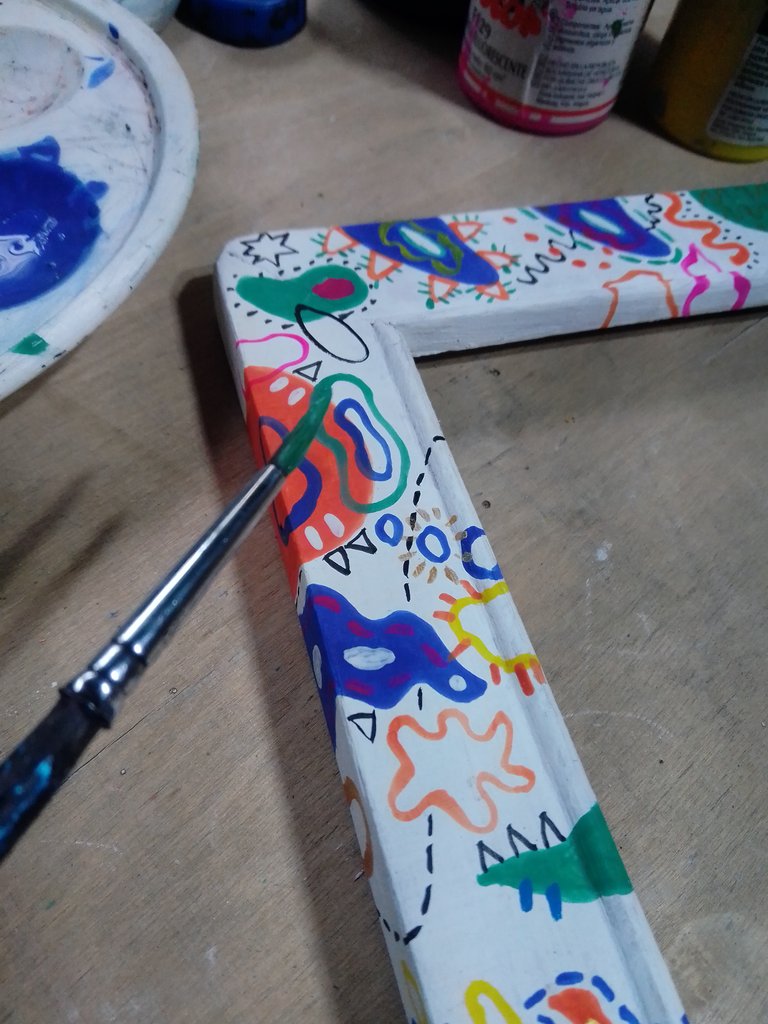

Paso 6
El brillo ✨ este si es el último paso, una capa de brillo, que también es para cuero y funciona muy bien sobre la pintura 🎨 , el gancho se coloca en la parte de atrás, en esto me ayudara el querido Roberto porque él es más preciso con estas cosas, se recorta el cartón del tamaño del espejo para hacer una tapa, se coloca detrás del espejo y con mucho más cuidado se pondrán los clavos, ahora sí terminamos.
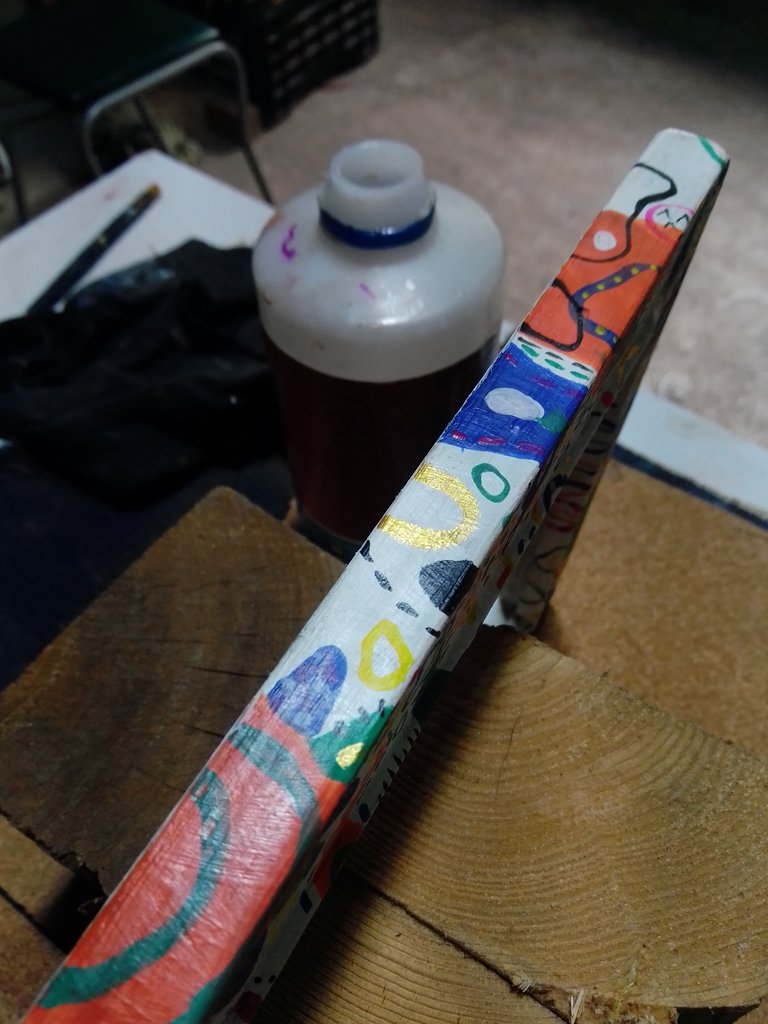
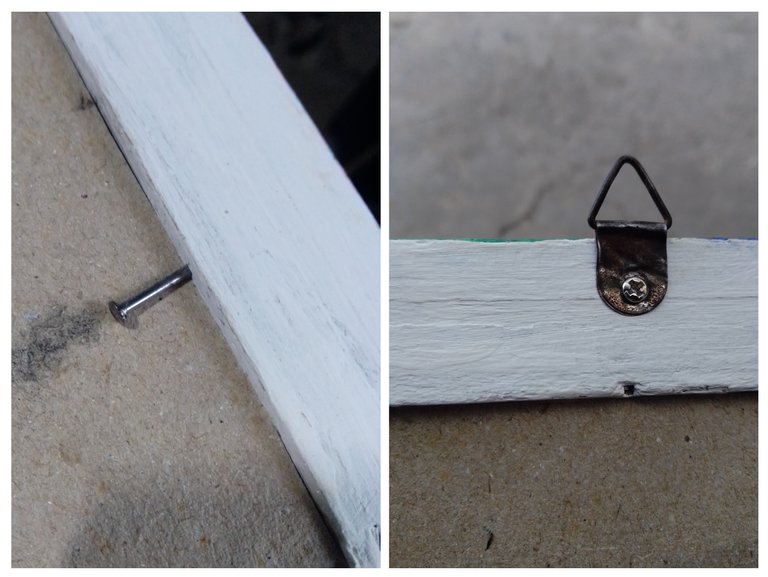
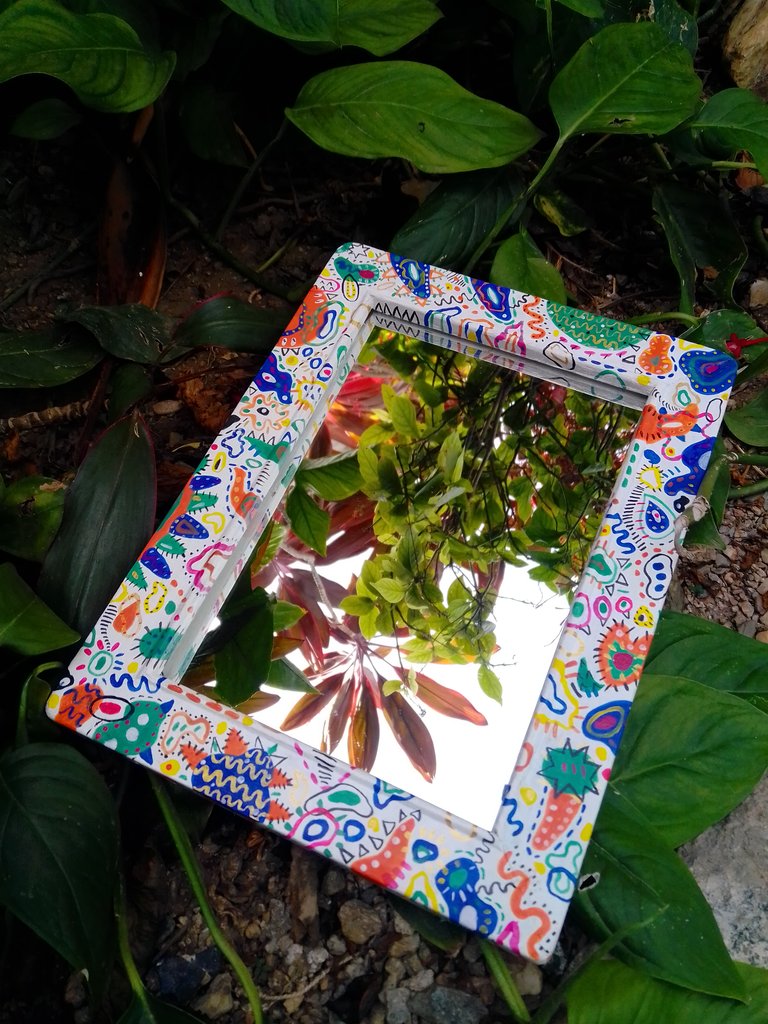
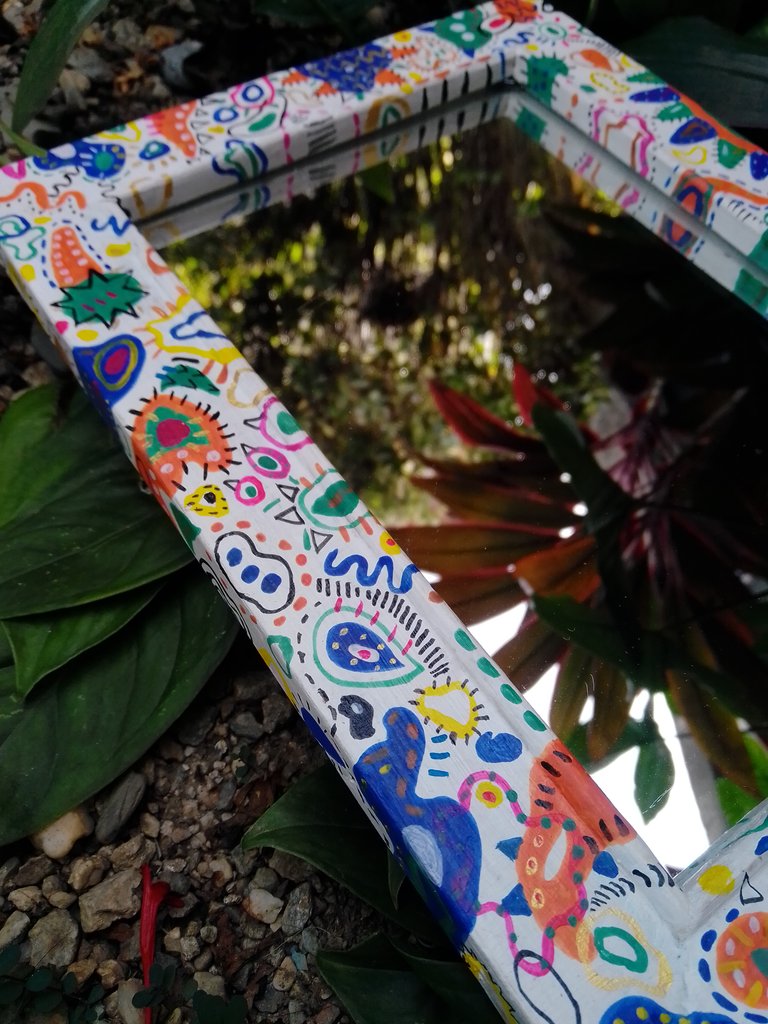
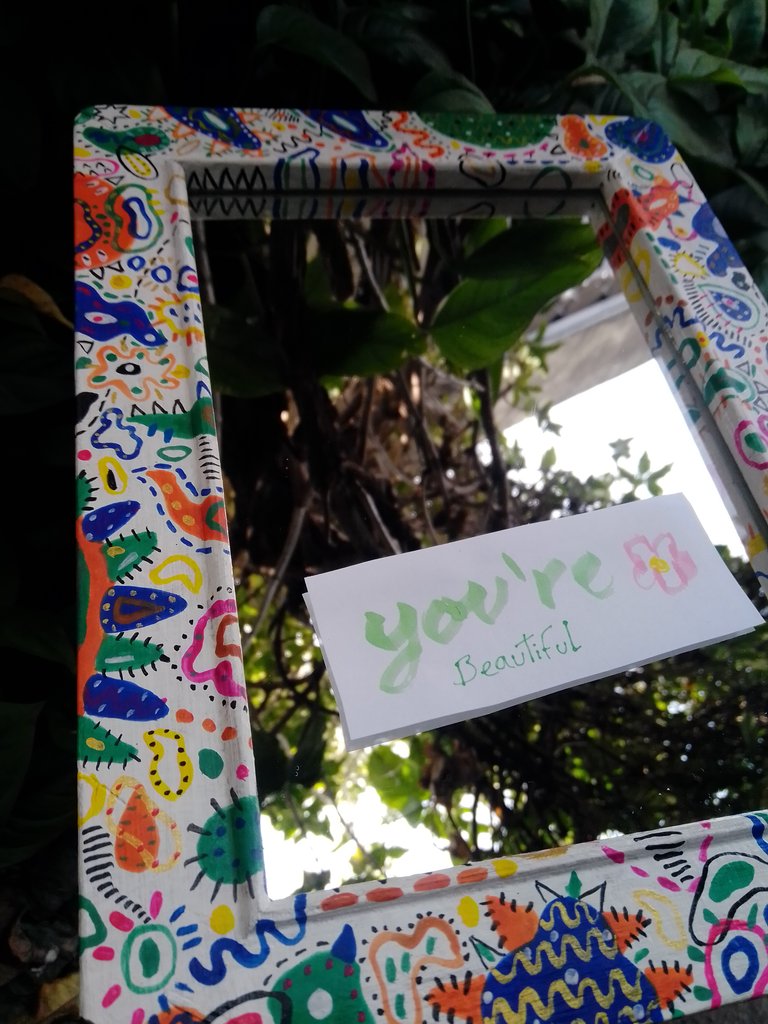
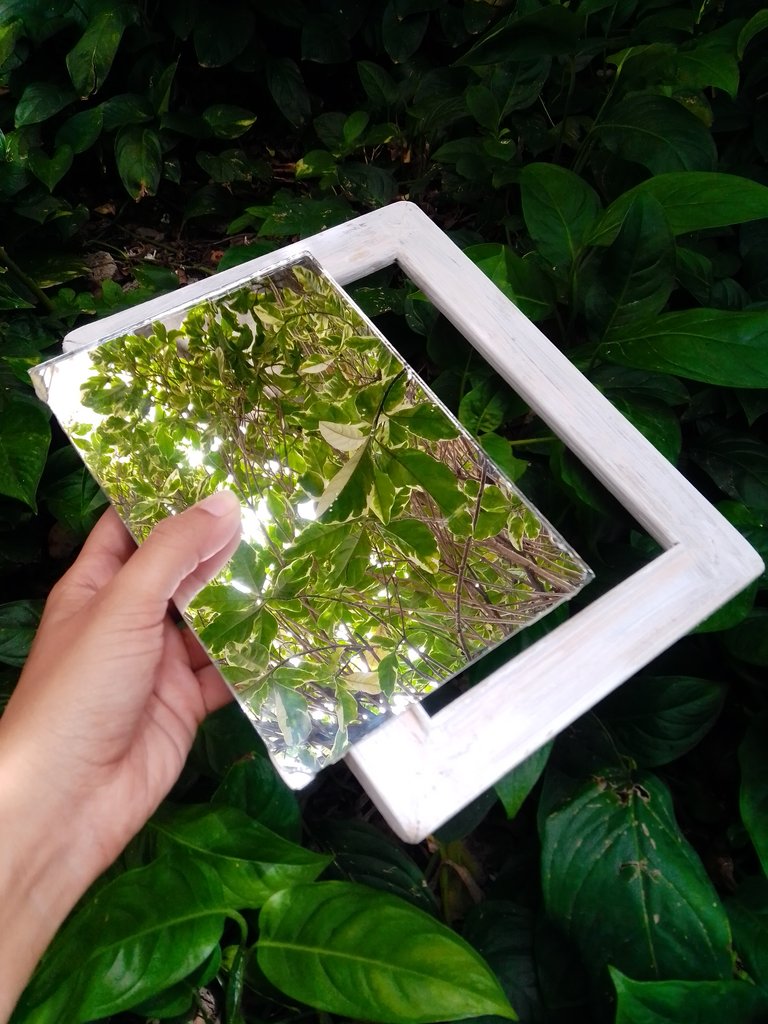
Me gusta el nuevo espejo y pensar que antes era solo un portarretrato sin foto, sin vidrio y escondido en una caja y un espejo pegado en alguna pared, finalmente...
Todo se transforma ♻️
Gracias por leerme 🐝 ¡Espero que pronto rescates algún objeto de tu hogar y lo pases muy chévere convirtiéndolo en algo más!

Creditos:
-Traducción con DeepL.
-Fotos editadas con IbisPaint X.
-Separador realizado por mí en Adobe Illustrator.
-Todas las fotografías son de mi propiedad.

English

Greetings dear hivers!
My weekend had a broken mirror, paint and a portrait frame that changed profession 🤭
Maybe you have a portrait frame that looks a bit old and a lot of ideas in your head, around here I have two that are no longer used because the glass broke and I kept the frames with the idea that they will be used again at another time. So about three years went by and those frames were still stored 😅, until my mirror broke, which was nothing special, it was just any mirror you buy at the grocery store.
On the other hand, my group of friends see me almost always painting little things, a painting, a keychain, an ornament for the house, in short, a variety of objects. Sometimes they keep things that they think "This can be useful for Roxy" 🤭 and yes, among my things I had a mirror that they had given me, someone had it stuck on their wall and when they removed it, it was left with a little bit of cement stuck behind, I couldn't remove it completely because I could damage it and be left without a mirror, again, but I did what I could.
I wasn't going to use it yet, and unexpectedly its time to be useful again has come. I have two frame options: one is a blank canvas to capture an idea and the other looks nice as it is. But the mirror only fit in the white one, it seems that the other one waited a little longer. Now on to the materials 👇🏼
Materials:
•Portrait frame.
•Mirror.
•Various brushes.
•White and black paint.
•Fluorescent magenta cold paint.
•Yellow cold paint.
•Blue cold paint.
•Gold cold paint.
•Nails for wood.
•Hook fastener.
•Cardboard the size of the frame.
•Glitter (optional).


Step 1
This is how I left the mirror, I couldn't remove more residue because it looked like I was going to run out of paint in those areas, I used a trowel, my nails, even a saw blade 😐


Step 2
The base will be the white color, it does not matter if it is not perfect, it should only cover the color of the wood and with two or three passes, it will be enough. It is necessary to take into account that when painting on a smooth surface, the first coat of paint must be in one direction 👆🏼👇🏼 (up or down) and the second in another 👉🏼👈🏼 (to the right or to the left). If we paint in only one direction, it would not cover the surface well and in each pass of the brush you would remove a little of the wet paint 😊


To paint it, it is not necessary to have a lot of paints, with only the primary colors, a white and a black paint, you can assemble a basic palette for this type of crafts at home. Depending on the shade of red, yellow and blue, you will get some colors that look brighter, or on the contrary, some that look darker. But I remind you that both would be fine, since at the end of the day it is an activity that we do for the pleasure of renewing something that has remained in disuse. ♻️
This is just a small tip that you can keep in mind to vary when buying paint and thus have several shades of red, yellow and blue. This allows you to experiment, until you have your own selection of primary colors.


Step 3
I replace the red with the fluorescent magenta color because when mixed with another color this one is brighter, and I like the colors better 🤭 elegidos👇🏼
-Magenta + Blue: Purple
-Yellow + Blue + White: Medium Green.
-Yellow + Magenta: Dark orange.
I start by making organic lines with the purple color, then with the medium green and finally with the dark orange.


Step 4
Now I fill each shape with the selected color. But 🤔 What are these colored abstract shapes?
They are an expression of my plastic language, which I use in the works I do, I take it to different materials such as: canvas, paper, wood, ornaments or an illustration. I base my work on the concept of Naif art, which has its origins in naivety and the use of bright colors. And this project is no exception, it will have an artistic touch 👌🏼
(Works completed in 2023) 


Step 5
This is the part that lets the ingenuity come out, I will use black in "leather paint" is that it turns out that when it dries it is brighter than the black color in cold paint and as it has not been used for leather for a while, I will use it, I will also use the primaries, and the mixtures I made to fill all but all the space.
There are also shades of horror vacui in this language of stains 🤭 I'll explain quickly, horror vacui (fear of emptiness) is a concept that is appreciated more deeply in architecture and is simply the action of filling every empty space in a work.
Well more or less that's pretty much what it boils down to, my little blobs 😬
Maybe this is not the architectural piece of the year but I wanted to put a little of what I do to this little project.


Step 6
The gloss ✨ this is the last step, a coat of gloss, which is also for leather and works very well on the paint 🎨 , the hook is placed on the back, in this dear Roberto will help me because he is more precise with these things, the cardboard is cut to the size of the mirror to make a cover, is placed behind the mirror and with much more care the nails will be placed, now we are done.


I like the new mirror and to think that before it was just a picture frame with no photo, no glass and hidden in a box and a mirror stuck on some wall, finally....
Everything transforms ♻️
Thanks for reading me 🐝 I hope you soon rescue some object from your home and have a great time turning it into something else! more!

Credits:
-Translate with DeepL.
-Photos edited with IbisPaint X.
-Separator made by me in Adobe Illustrator.
-All photographs are my property.
Posted Using InLeo Alpha
Congratulations @verdeayer! You have completed the following achievement on the Hive blockchain And have been rewarded with New badge(s)
Your next target is to reach 20 posts.
Your next target is to reach 100 comments.
You can view your badges on your board and compare yourself to others in the Ranking
If you no longer want to receive notifications, reply to this comment with the word
STOPCheck out our last posts:
¡Buenas! Que bueno que pusiste manos a la obra con este portarretratos y pudiste recuperarlo. Se ve lindo como espejo, muy colorido para decorar cualquier espacio. Felicitaciones por tu proyecto ❤️.
¡Hola @lauramica! Gracias!✌🏼 pues sí, casi me deshago de el en varias oportunidades, pero mi esposo lo volvia a guardar 😁. Creo que a uno siempre le gusta lo que hace. Pero de verdad me gusto mucho el resultado final, recibió muchos elogios en mi familia 🤭😊
Me gusta quedo precioso...Espejito...Espejito
Saludos @verdeayer
Saludos de vuelta @mafalda2018 ✌🏼😁 jeje gracias por leer y verlo finalizado 😊 ¡hay que reciclar para crear conciencia en nuestro entorno! Felices días🌷
😊✌🏼¡Gracias @enfocart @marysenpai por valorar mi publicación!