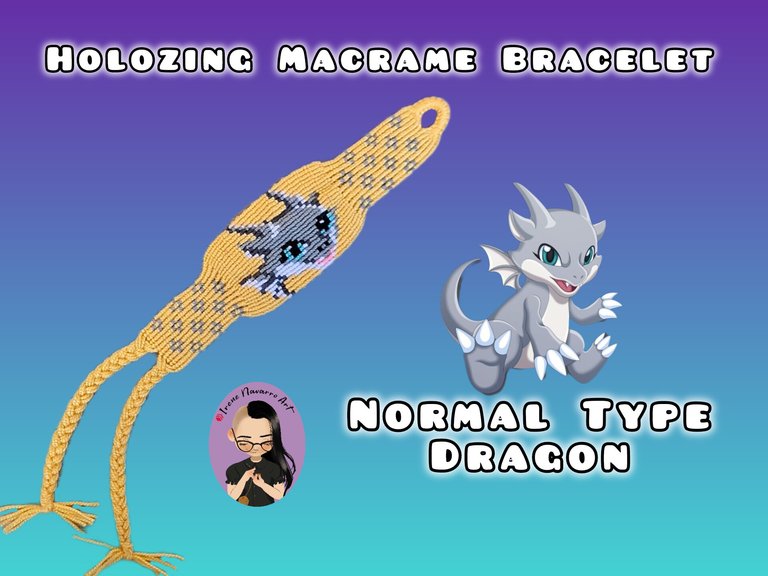
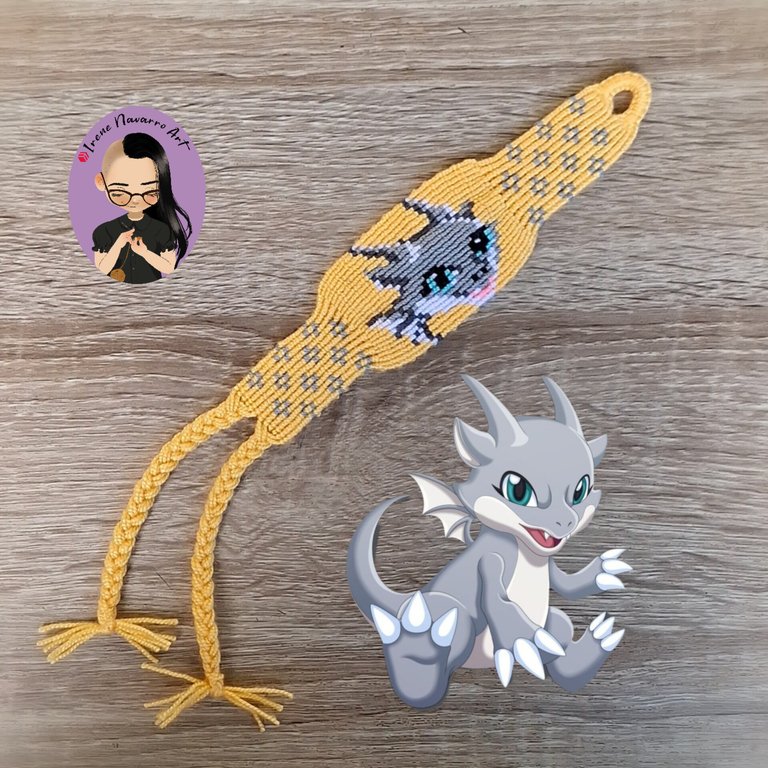
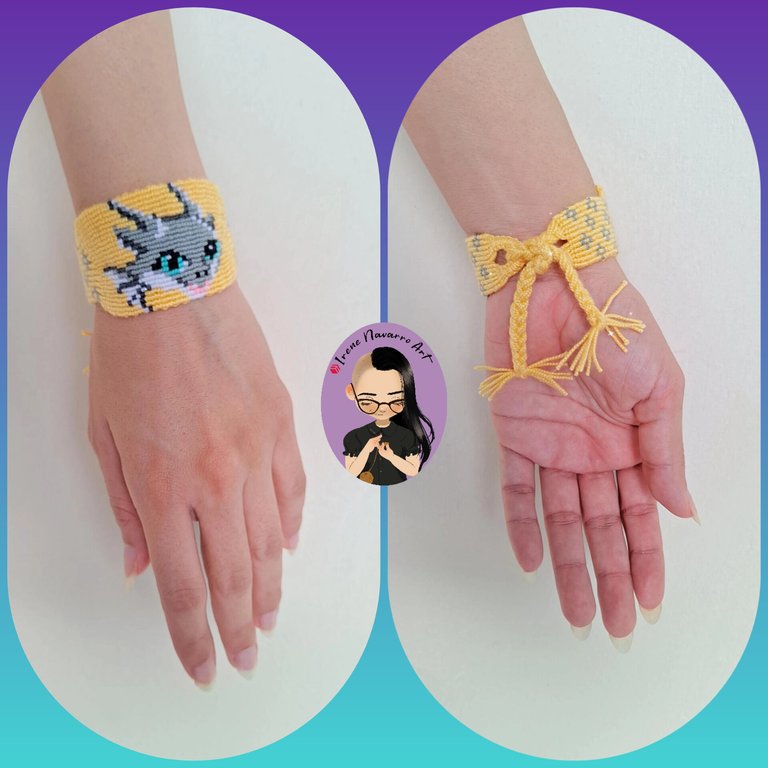
HOLO! Greetings to everyone in the community, the new Holozing creatures were recently revealed, the dragons of different types, so I felt inspired to do my macramé art, that’s why I chose the starter creature, that is, the normal type Dragon to make a bracelet, I hope you like seeing the process 🥰
HOLO! Saludos a todo en la comunidad, hace poco se revelaron las nuevas criaturas de Holozing, los dragones de diferentes tipos así que me sentí inspirada para hacer mi arte en macramé, por eso escogí la criatura iniciadora es decir el Dragón de tipo normal para hacer un brazalete, espero les guste ver el proceso 🥰
Materials / Materiales


- Acrylic crochet yarn: Yellow, light grey, dark grey, black, white, pink and blue.
- Clipboard
- Scissors
- Ruler
- Pattern
- Hilo acrílico para crochet: Amarillo, gris claro, gris oscuro, negro, blanco, rosado y azul.
- Tabla con clip
- Tijera
- Regla
- Patrón
Process / Proceso

To start I decided to make the pattern, with the Pixel Station application I created a canvas 24 squares high by 29 squares wide. This pattern only includes the central bracelet figure.
Para iniciar decidí hacer el patrón, con la aplicación Pixel Station creé un lienzo de 24 cuadros de alto por 29 cuadros de ancho este patrón solo incluye la figura central de brazalete.


Since the pattern is 24 squares high, it means that 24 guide threads are needed. To do this, I cut 12 60 cm strands of yellow thread. I held the strands in half with the board. With the first and last strands, I made 20 flat knots that wrapped around the center strands. The flat knots are made by alternating the figure 4 knot and the P knot.
Como el patrón tiene 24 cuadros de alto quiere decir que se necesitan 24 hilos guías, para esto con hilo amarillo corté 12 hebras de 60 cm, sujeté las hebras por la mitad con la tabla, con la primera y ultima hebra hice 20 nudos planos que envolvieran a las hebras de centro, los nudos planos se hacen alternado el nudo en forma de 4 y el nudo forma de P.


I folded it into a U shape and fastened it with the board again, so that there are 24 guide threads. In this technique, the knotting thread wraps around each guide thread twice, but this time I decided to work it differently, working the first and last 21 rows of knots with double guide threads, meaning that instead of taking one thread, I took two guide threads for each knot.
I added the yellow knotting thread and made 2 rows of knots. Since the guide threads are double, you only get 12 knots per row. I added the grey thread and made a simple design alternating the yellow and grey guide threads. On row 21, I only worked with yellow thread.
Doblé en forma de U y sujeté de nuevo con la tabla, de ese modo quedan 24 hilos guía, en esta técnica el hilo anudador envuelve dos veces cada uno de los hilos guía, pero esta vez decidí trabajar de forma diferente, trabajado las primeras y últimas 21 hileras de nudos con hilos guía dobles, es decir que en lugar de tomar un hilo tomé dos hilos guía para cada nudo.
Agregué el hilo anudador amarillo e hice 2 hileras de nudos, al ser dobles los hilos guía se obtiene solo 12 nudos por hilera, agregué el hilo gris e hice un diseño simple alternando el hilo guía amarillo y el gris, en la hilera 21 solo trabajé solo con hilo amarillo.


In row 22 I began to follow the pattern of the dragon figure, for this I worked with the 24 guide threads, following the sequence of color changes of the guide threads of the pattern, where each square corresponds to a knot.
En la hilera 22 comencé a seguir el patrón de la figura de dragón, para esto si trabajé con los 24 hilos guía, siguiendo la secuencia de cambios de color de hilos guía de el patrón, donde cada cuadro corresponde a un nudo.


After finishing the dragon figure, I worked with double guide threads again, and repeated the sequence of guide thread color changes between yellow and grey for the next 21 rows. Then I divided the strands into two parts and made two braids.
Al finalizar la figura del dragón, volví a trabajar con hilos guía dobles, es y repetí la secuencia de cambios de color de hilo guía entre amarillo y gris las siguiente 21 hileras. Luego dividí las hebras en dos partes e hice dos trenza.
Result / Resultado


Imágenes tomadas con dispositivo Samsung A54. Portada editada en Inshot
Pictures taken with Samsung A54 device. Cover edited in Inshot
Espero les haya gustado. Les invito a leer mis próximas publicaciones y siempre estaré dispuesta a responder sus preguntas y comentarios, también pueden seguirme y contactarme en cualquiera de mis redes sociales. ¡Muchas gracias!
I hope you liked it. I invite you to read my next publications and I will always be willing to answer your questions and comments, you can also follow me and contact me on any of my social networks. Thank you!
Facebook
Twitter
Instagram
Ko-Fi
Discord: irenenavarroart#0361
Posted Using InLeo Alpha


The rewards earned on this comment will go directly to the people( @irenenavarroart ) sharing the post on Reddit as long as they are registered with @poshtoken. Sign up at https://hiveposh.com.
Esta bonito, me gusta el detalle de los ojos.
Muchas gracias ☺️
Woow! No sabía que se podían hacer aumentos en este tipo de tejido, eres la más pro!
Me encanta el diseño del dragoncito! 🤩💐
Ay muchas gracias Yetsi 🥰