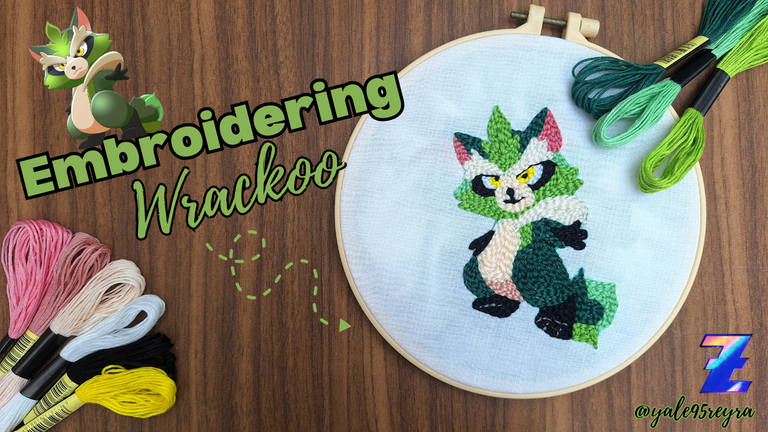
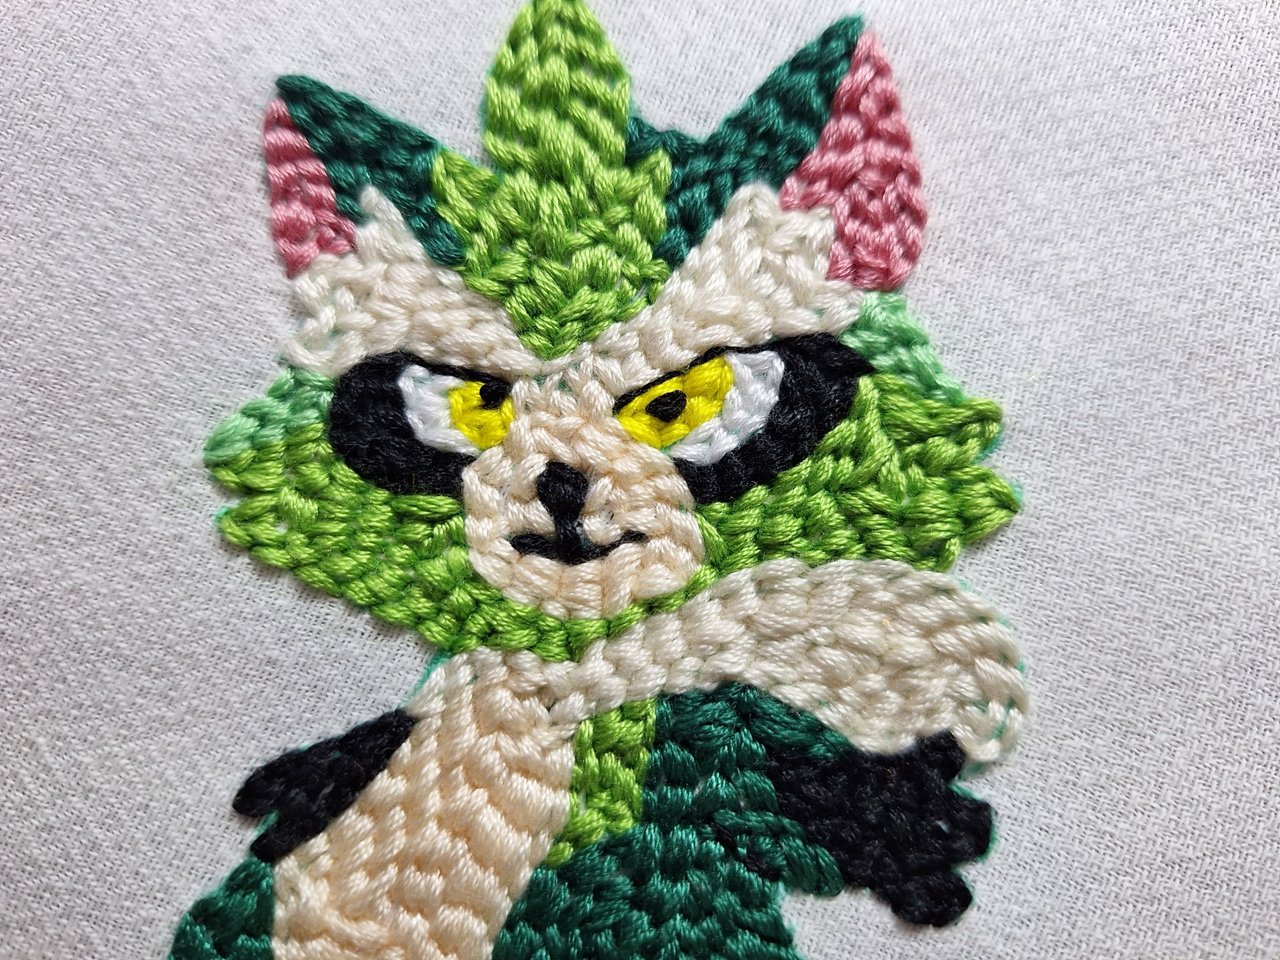
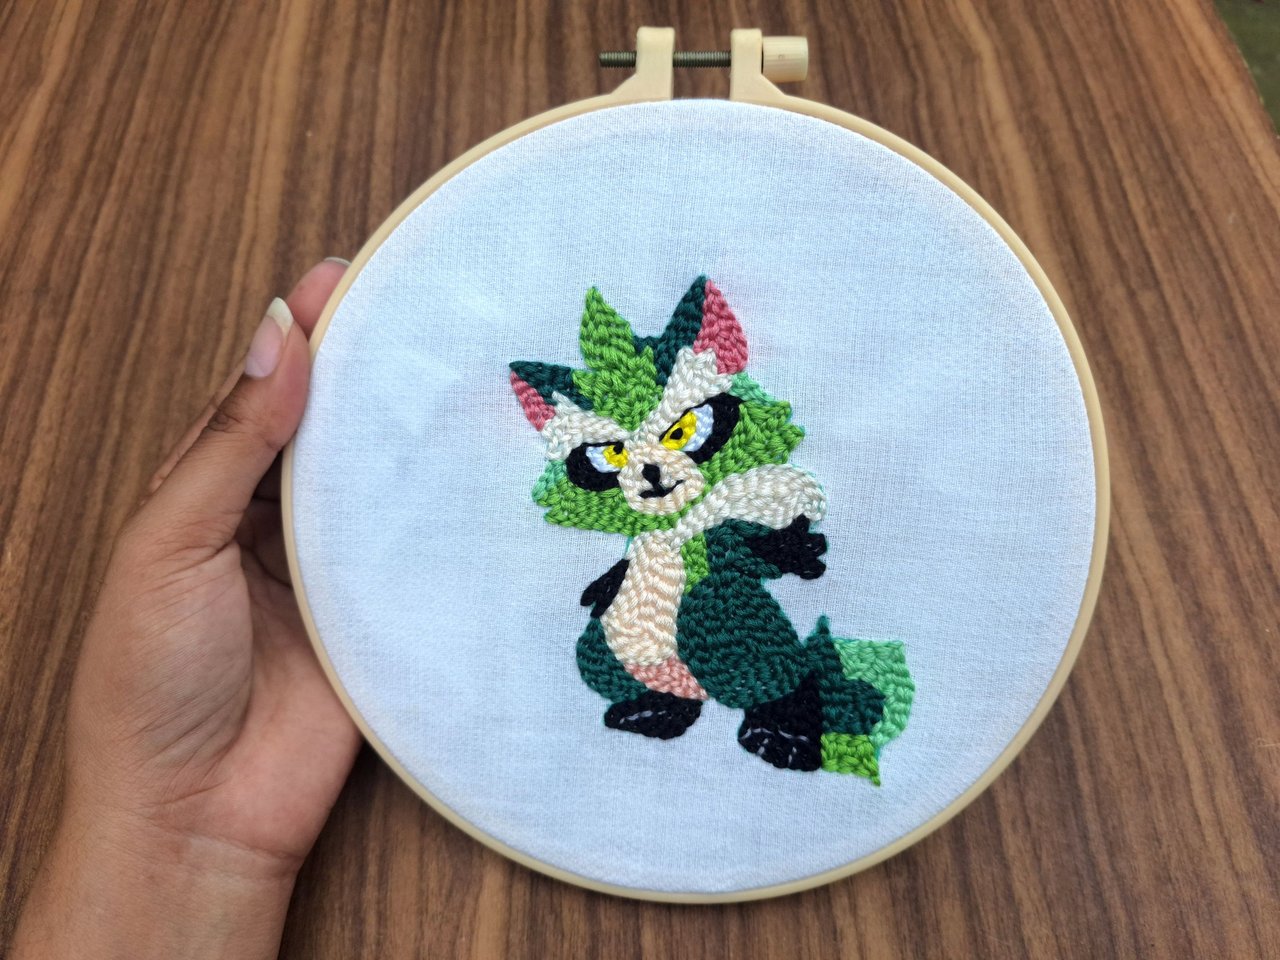
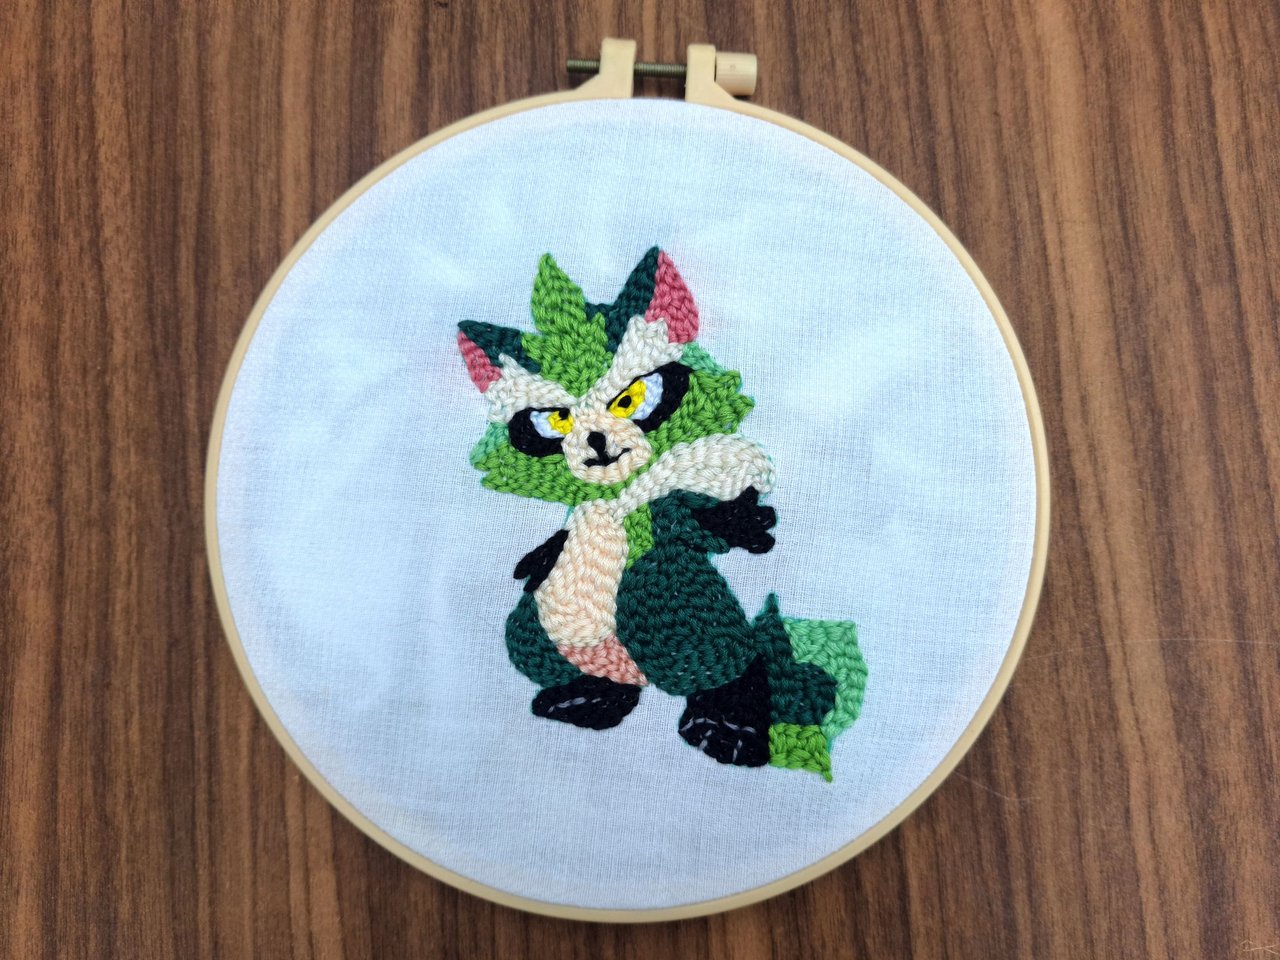
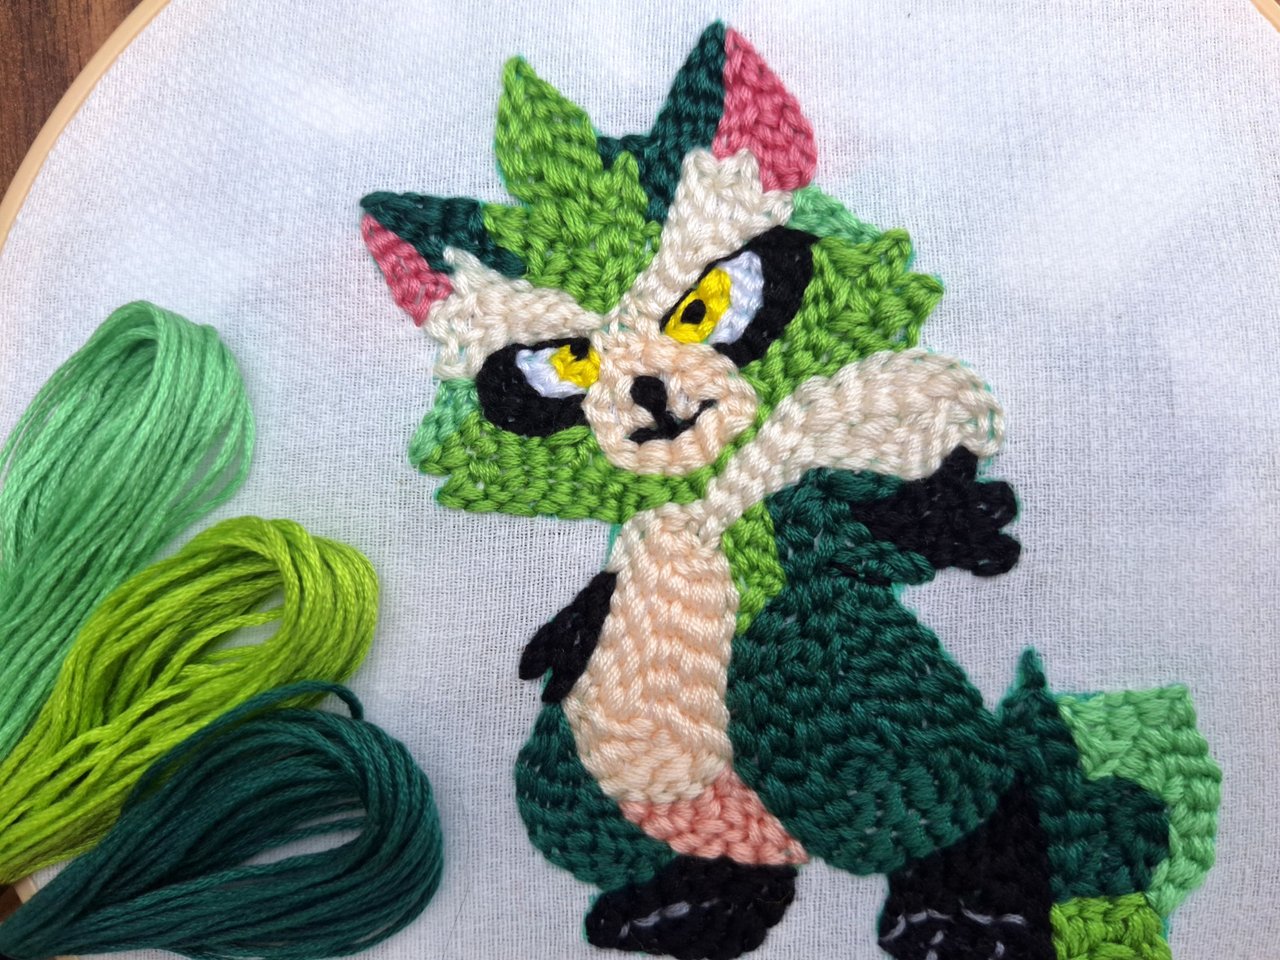
Hello Holozing community, today I bring you a new tutorial where I show you how to embroider Wrackoo, one of the first characters of the ecosystem. This character is a bit more complicated than the previous one I embroidered, since he has more colors and details on his body. I tried to make it as similar as possible in terms of colors, because the reference image has shadows and lines that, when I am more practiced embroidering, will come out better. Its realization takes a little time, it is not a piece of cake, although it seems easy, and even more when I was surprised by an electrical blackout without finishing. If there is something I don't like is to leave what I'm doing half done, then when you continue you don't do it with the same spirit with which you started. I had no choice but to leave it for the next day, because it was night and I didn't have enough light. I hope you like the result. Below, I show you the materials needed and the step by step of the creative process.
Hola, comunidad de Holozing, hoy les traigo un nuevo tutorial donde les muestro cómo bordar a Wrackoo, uno de los primeros personajes del ecosistema. Este personaje es un poco más complicado que el anterior que bordé, ya que tiene más colores y detalles en su cuerpo. Intenté que quedara lo más parecido posible en cuanto a colores, pues la imagen de referencia tiene sombras y líneas que, cuando esté más práctica bordando, me saldrán mejor. Su realización lleva un poco de tiempo, no es coser y cantar, aunque parezca fácil, y aún más cuando me sorprendió un apagón eléctrico sin terminar. Si hay algo que no me gusta es dejar a medias lo que estoy haciendo, después al continuar no lo haces con el mismo ánimo con el que empezaste. No tuve otra opción que dejarlo para el día siguiente, pues era de noche y no tenía la luz suficiente. Espero que les guste el resultado. A continuación, te muestro los materiales necesarios y el paso a paso del proceso creativo.
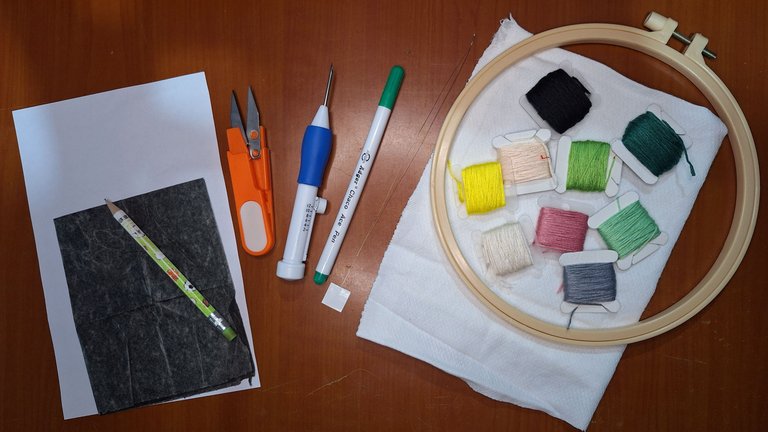
Materials // Materiales
- Cloth / Tela
- Embroidery hoop / Aro para bordar
- Embroidery thread / Hilo de bordar
- Paper sheet / Hoja de papel
- Carbon paper / Papel carbón
- Pencil / Lápiz
- Magic needle / Aguja mágica
- Water soluble marker / Marcador soluble en agua
- Scissors / Tijera
- Threader / Enhebrador
Step by step // Paso a paso
 |
 |
 |
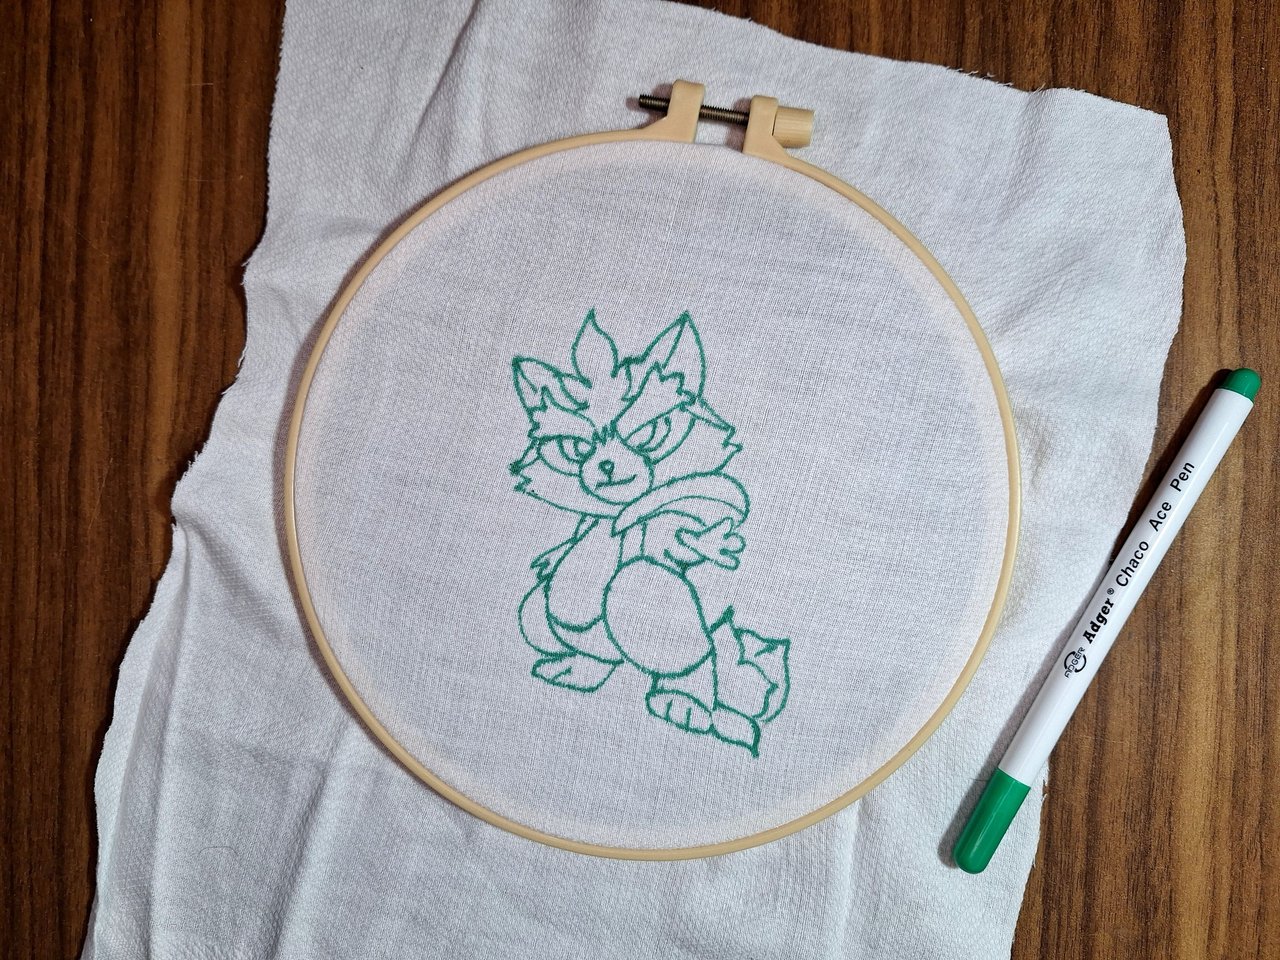 |
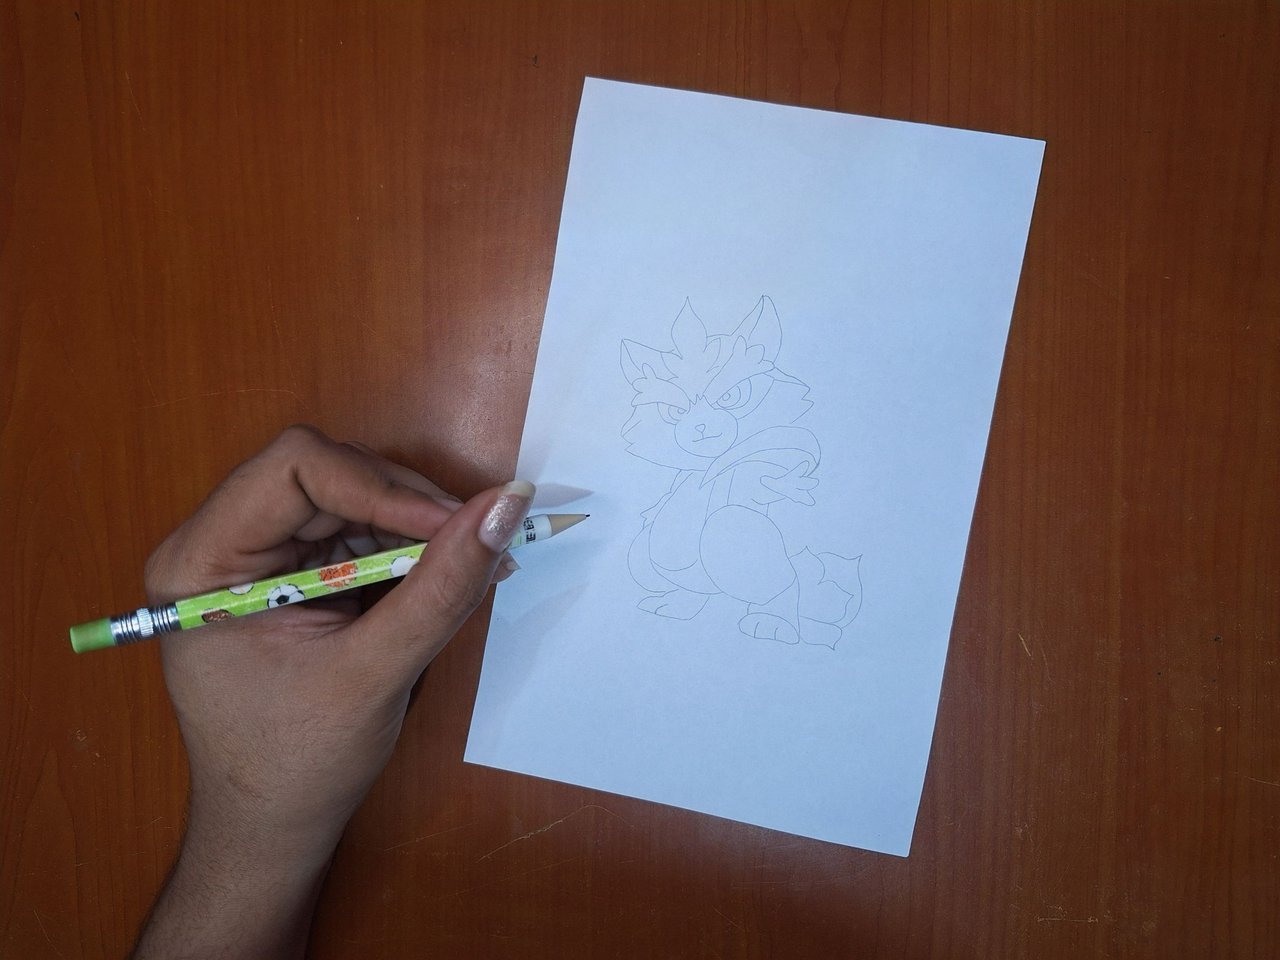
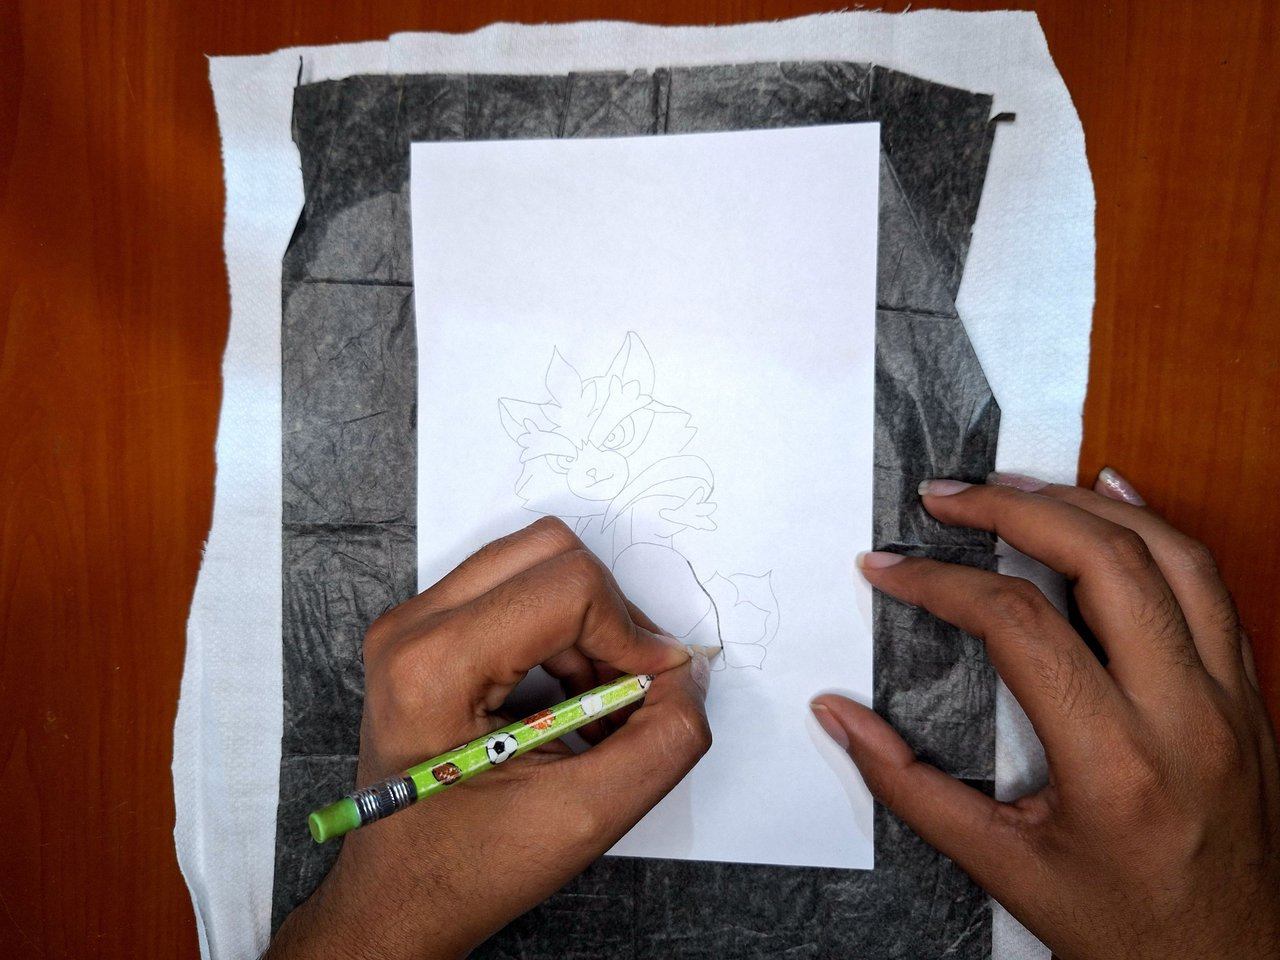
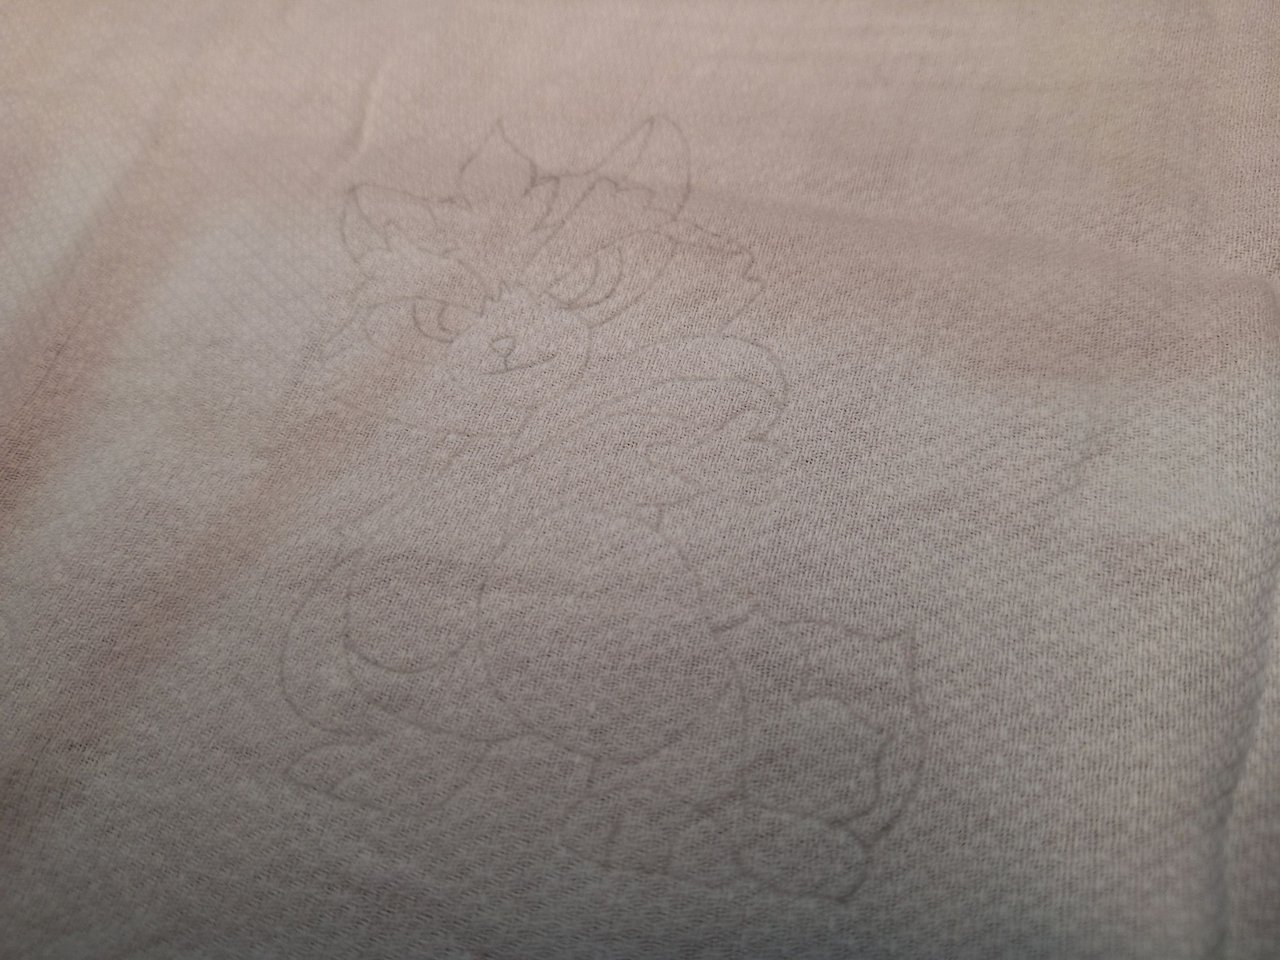
The first thing to do is to draw the silhouette of Wrackoo on a sheet of paper, then with the help of a carbon paper we transfer the image to the fabric. To do this, place the fabric on a flat surface, the carbon paper on top and the sheet of paper on top. With the pencil mark again all the lines being very careful not to move the fabric or the sheet of paper in this process. When finished with the marker, mark the silhouettes again with a water-soluble marker for better visibility, because only with the carbon paper you can't see much.
Lo primero es dibujar la silueta de Wrackoo en una hoja de papel, luego con la ayuda de un papel carbón transferimos la imagen a la tela. Para ello se coloca la tela en una superficie plana, encima el papel carbón y la hoja de papel arriba. Con el lápiz volver a marcar todas las líneas con mucho cuidado de no mover la tela ni la hoja de papel en este proceso. Al terminar con el marcador, volver a marcar las siluetas con un marcador soluble en agua para mejor visibilidad, pues solo con el papel carbón no se ve mucho.
 |
 |
 |
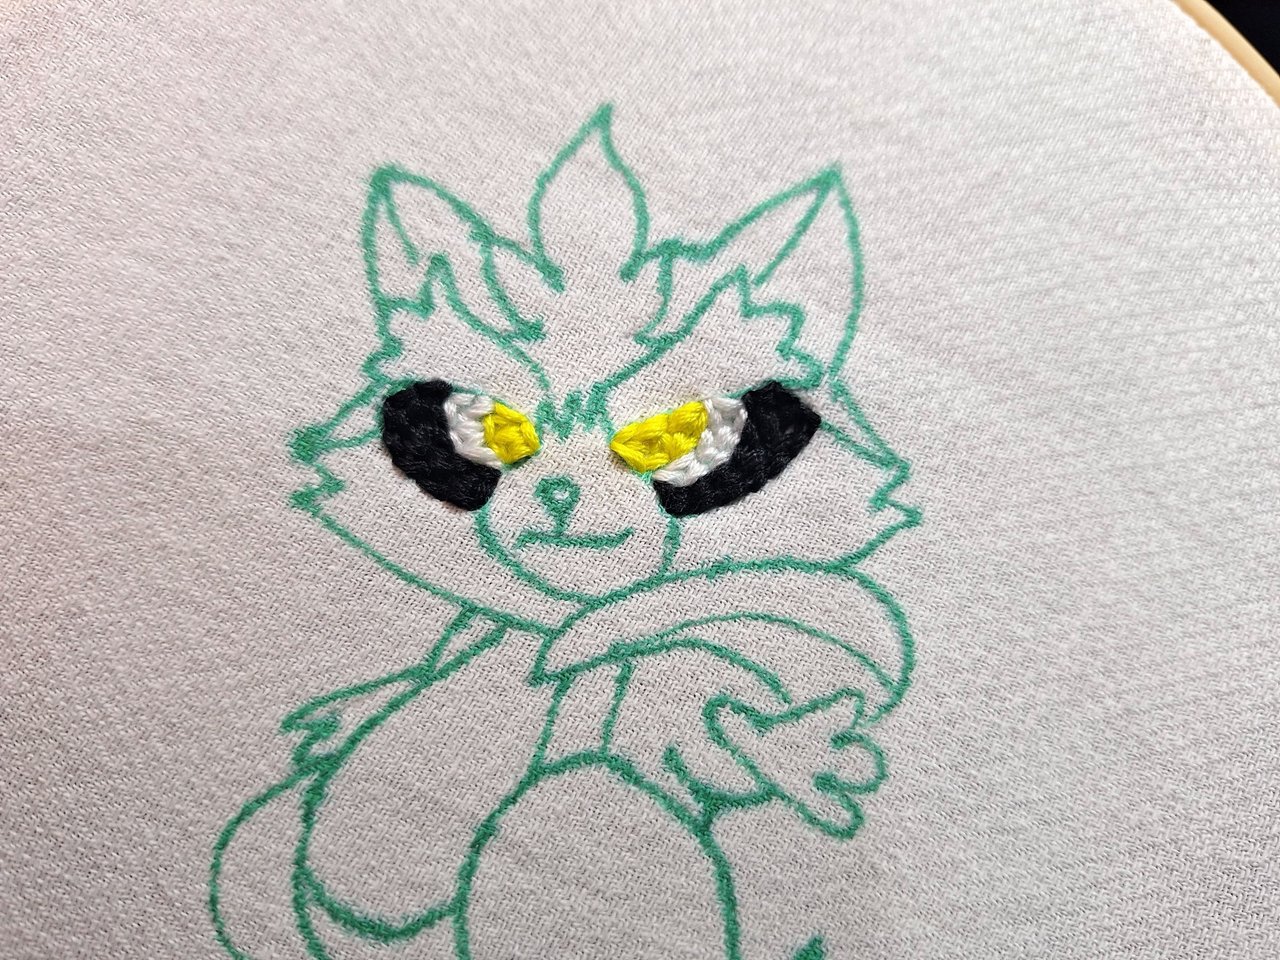 |
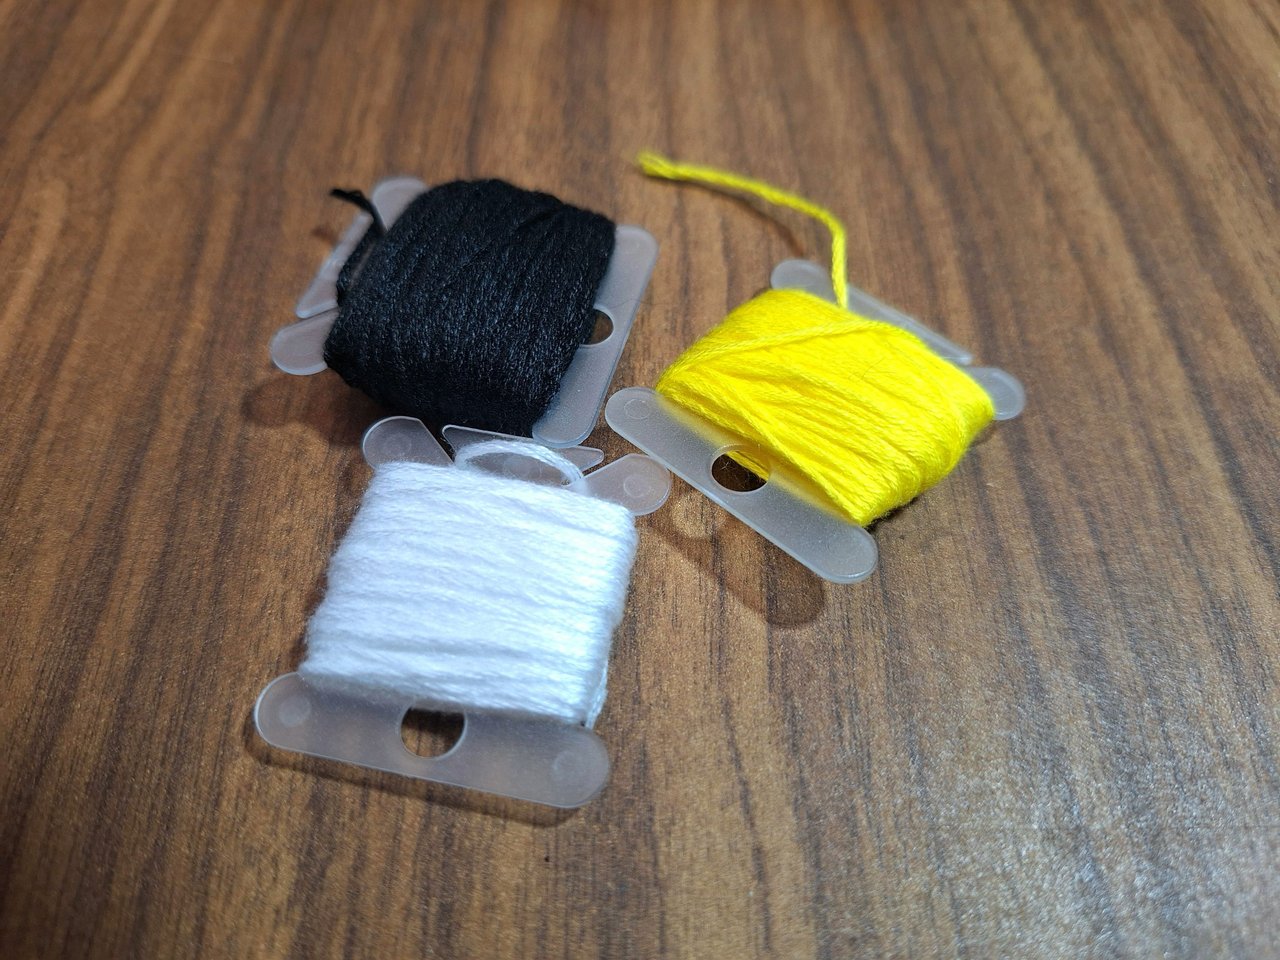
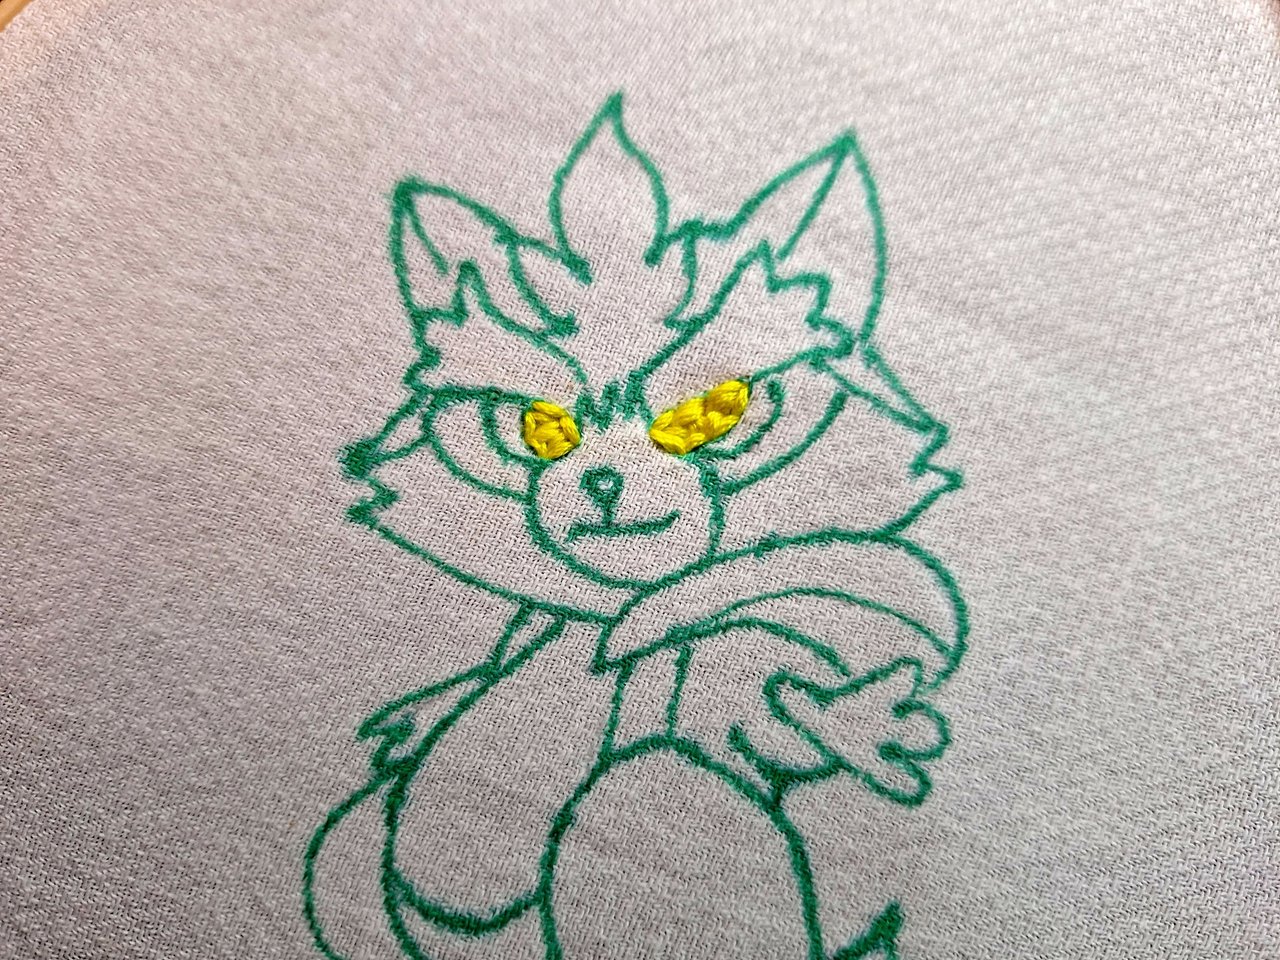
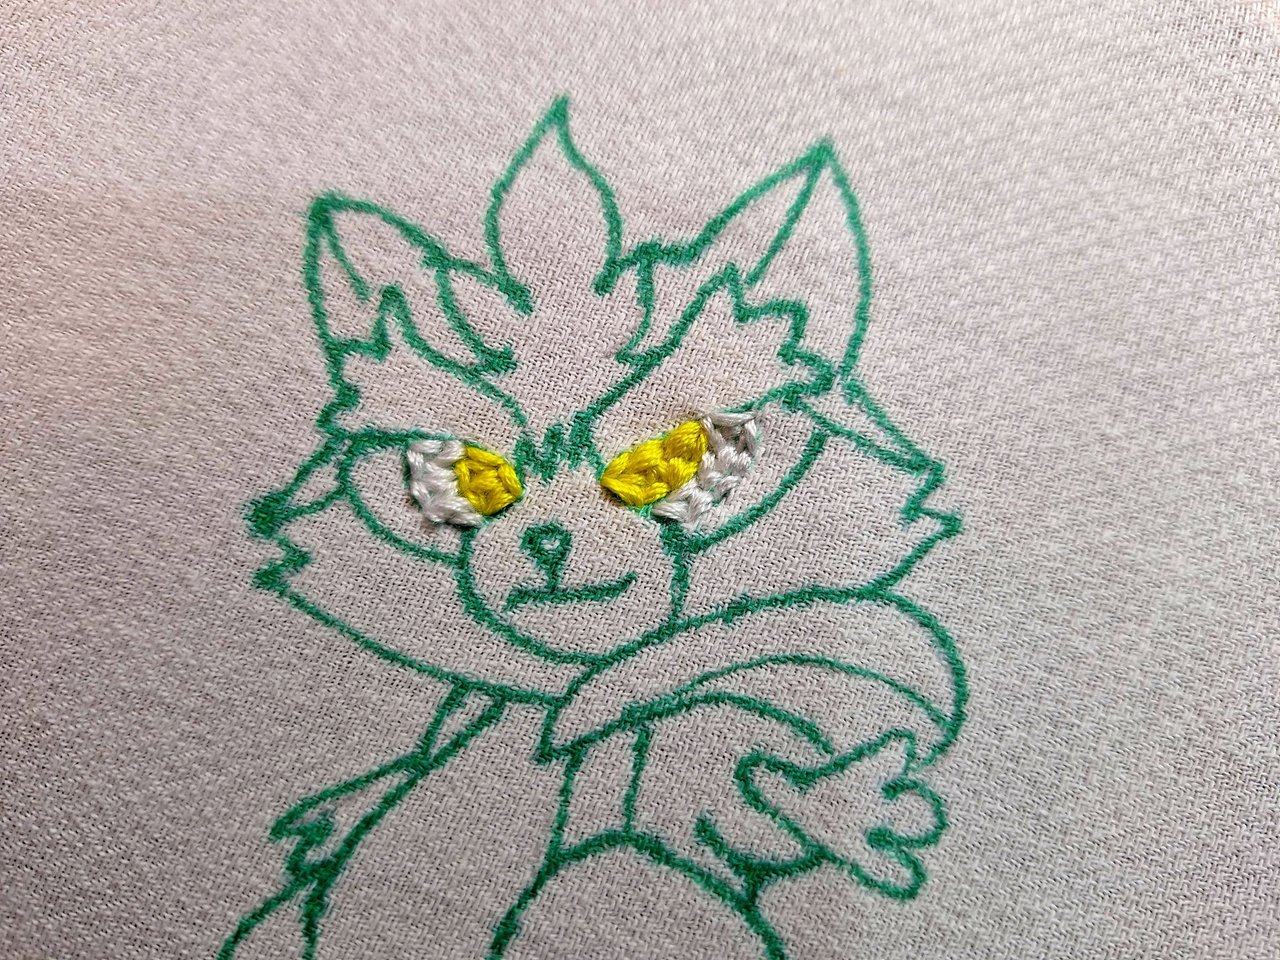
I started by embroidering the eyes from the inside out, I used white, black and yellow threads, which are the characteristic colors of Wrackoo's eyes.
Comencé bordando los ojos desde dentro hacia afuera, utilicé hilos de los colores blanco, negro y amarillo que son los colores característicos de los ojos de Wrackoo.
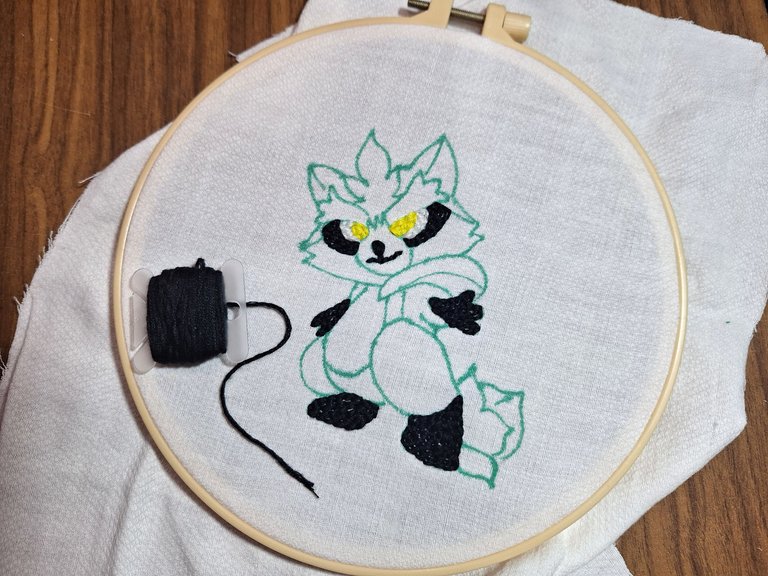
As I finished the eyes with the black thread, I continued with all the parts of this color: hands, feet, mouth and nose; this way I avoided threading the needle again.
Como terminé los ojos con el hilo negro, continué con todas las partes de este color: manos, pies, la boca y la nariz; así evitaba enhebrar la aguja otra vez.
 |
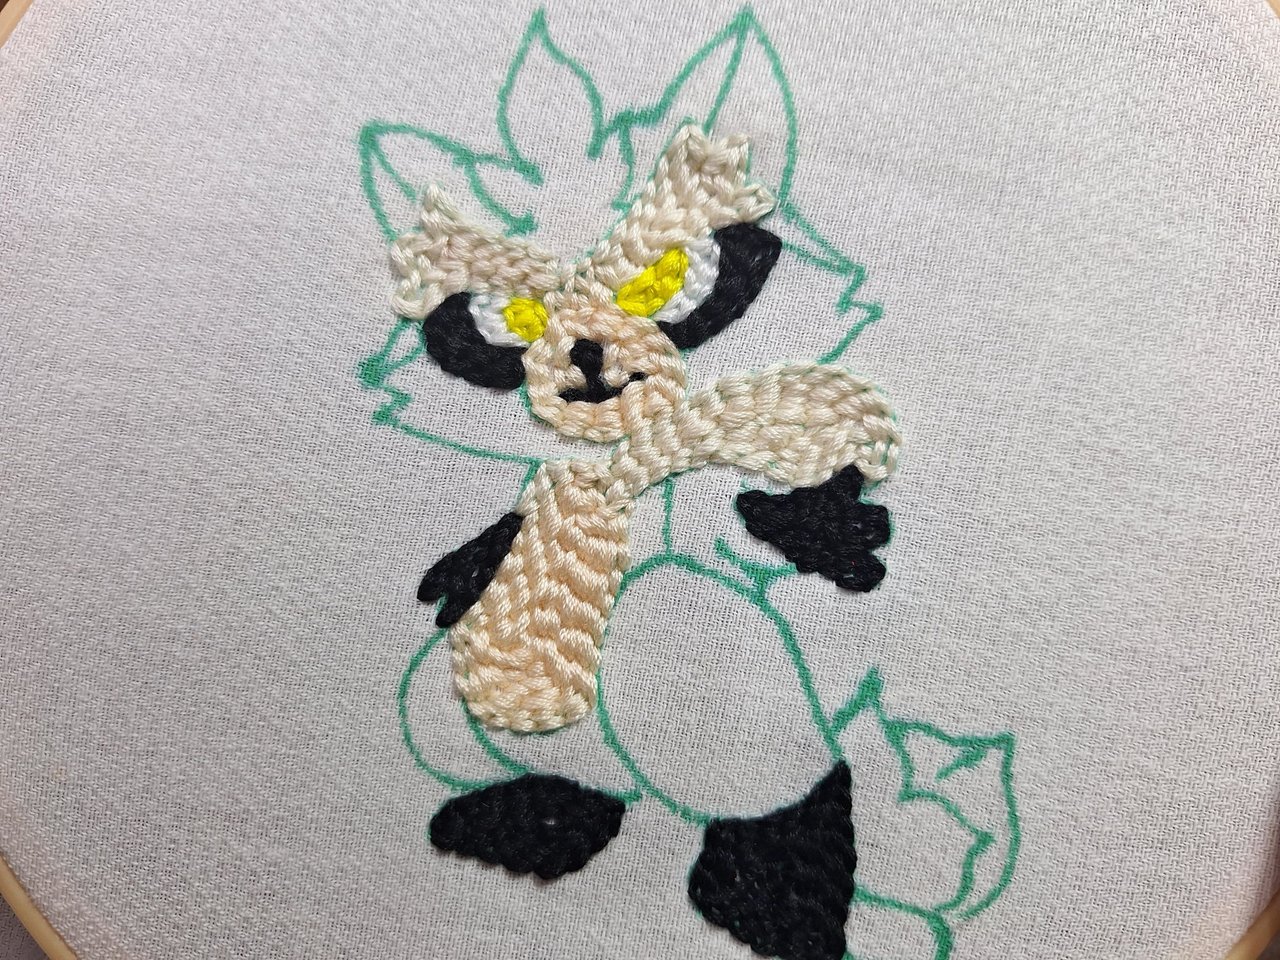 |
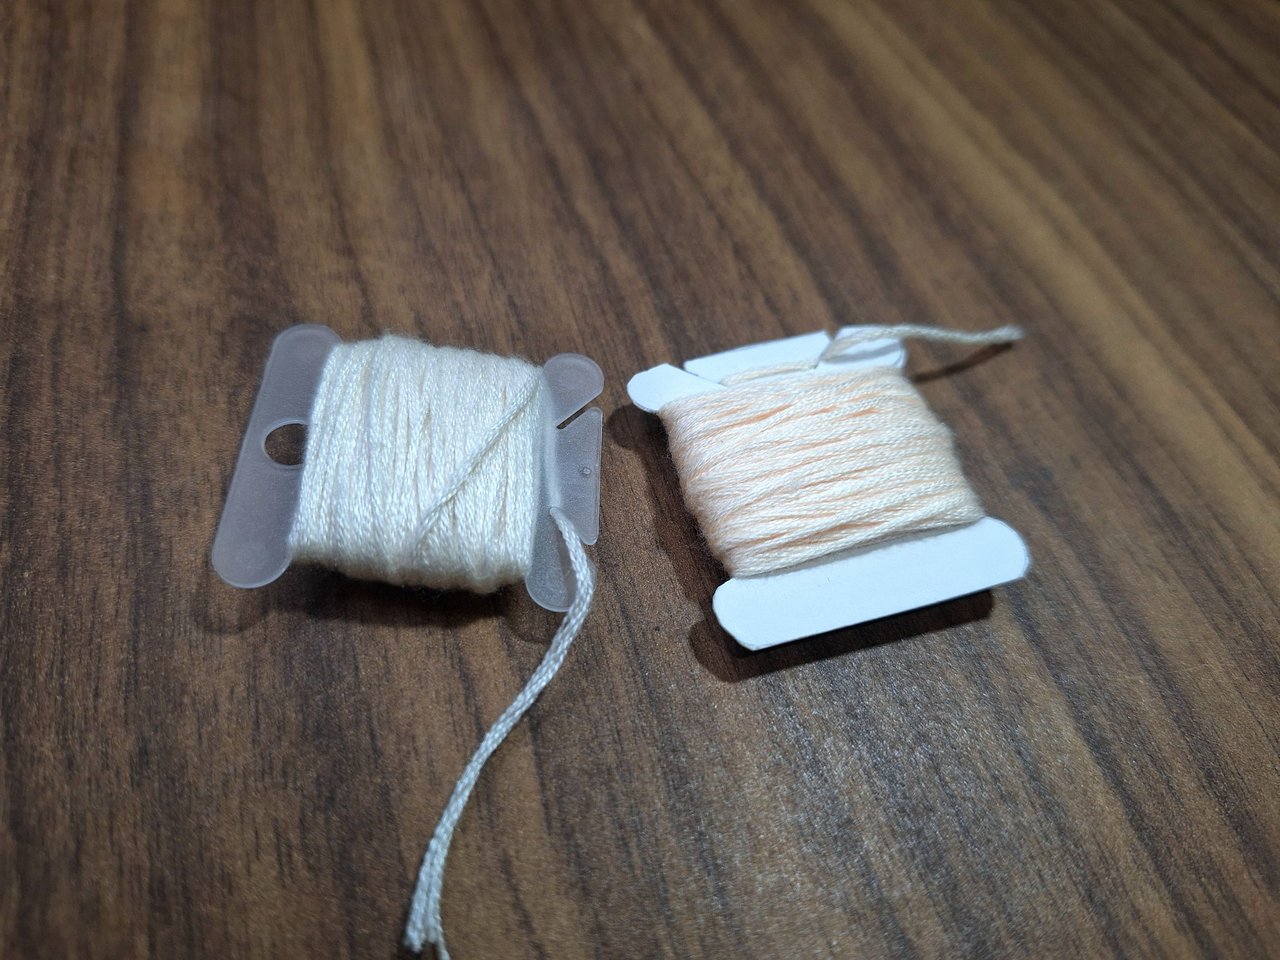
With light tones, bone and pale pink, I embroidered the belly and the part of the shoulders and eyebrows.
Con tonos claros, color hueso y rosa pálido, bordé la barriga y la parte de los hombros y las cejas.
 |
 |
 |
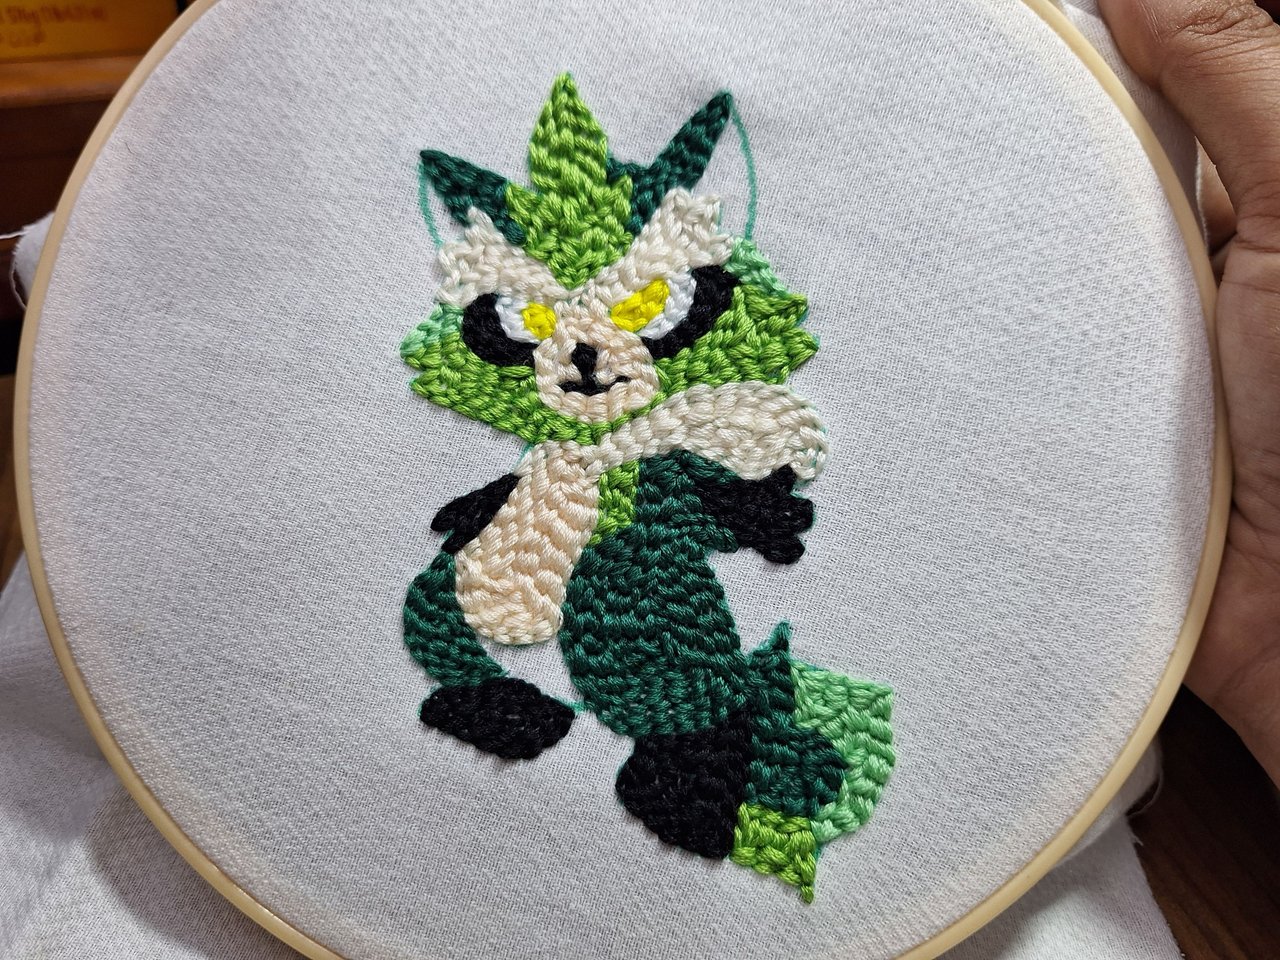 |
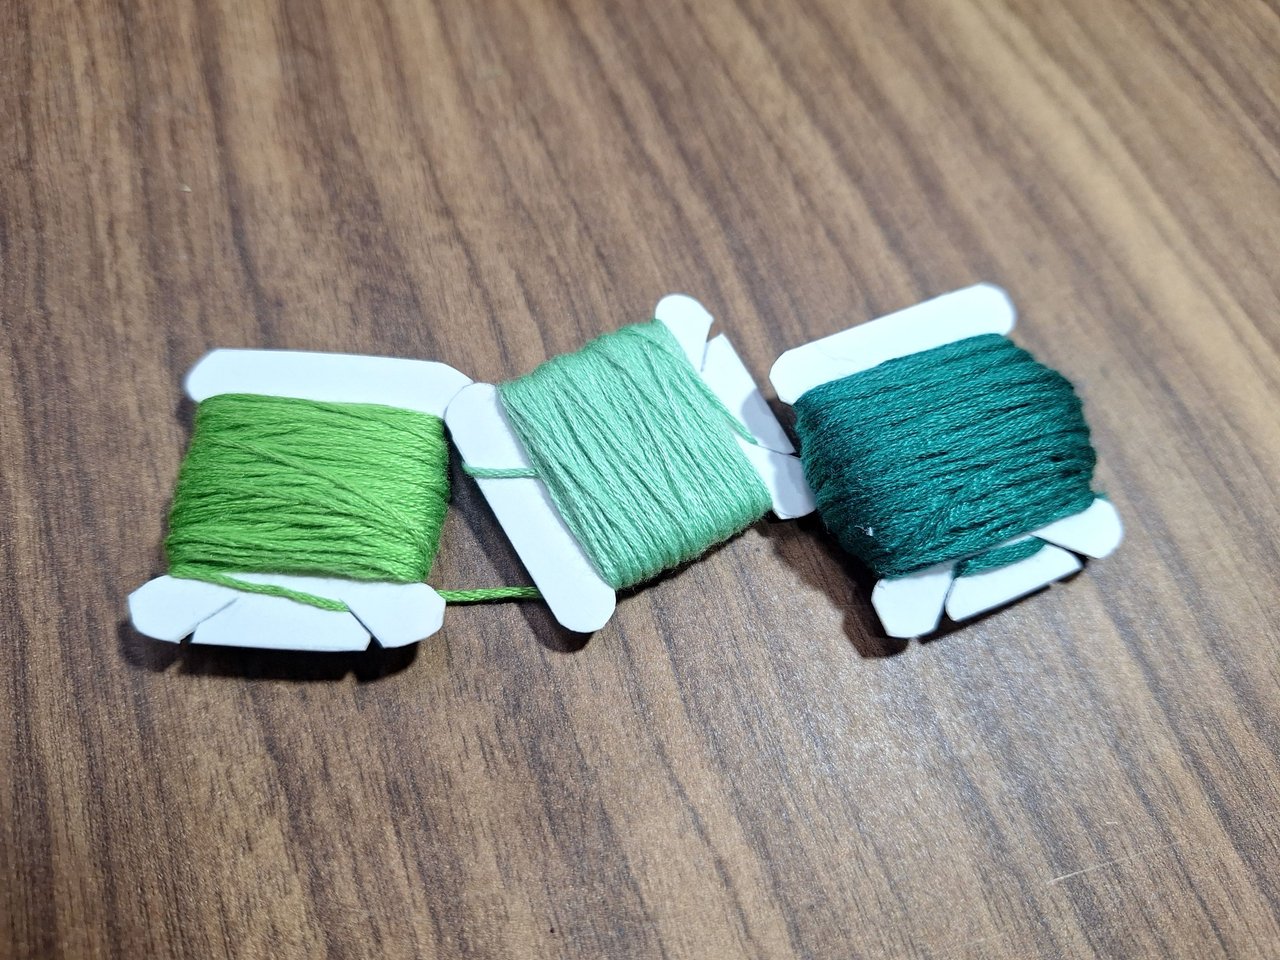
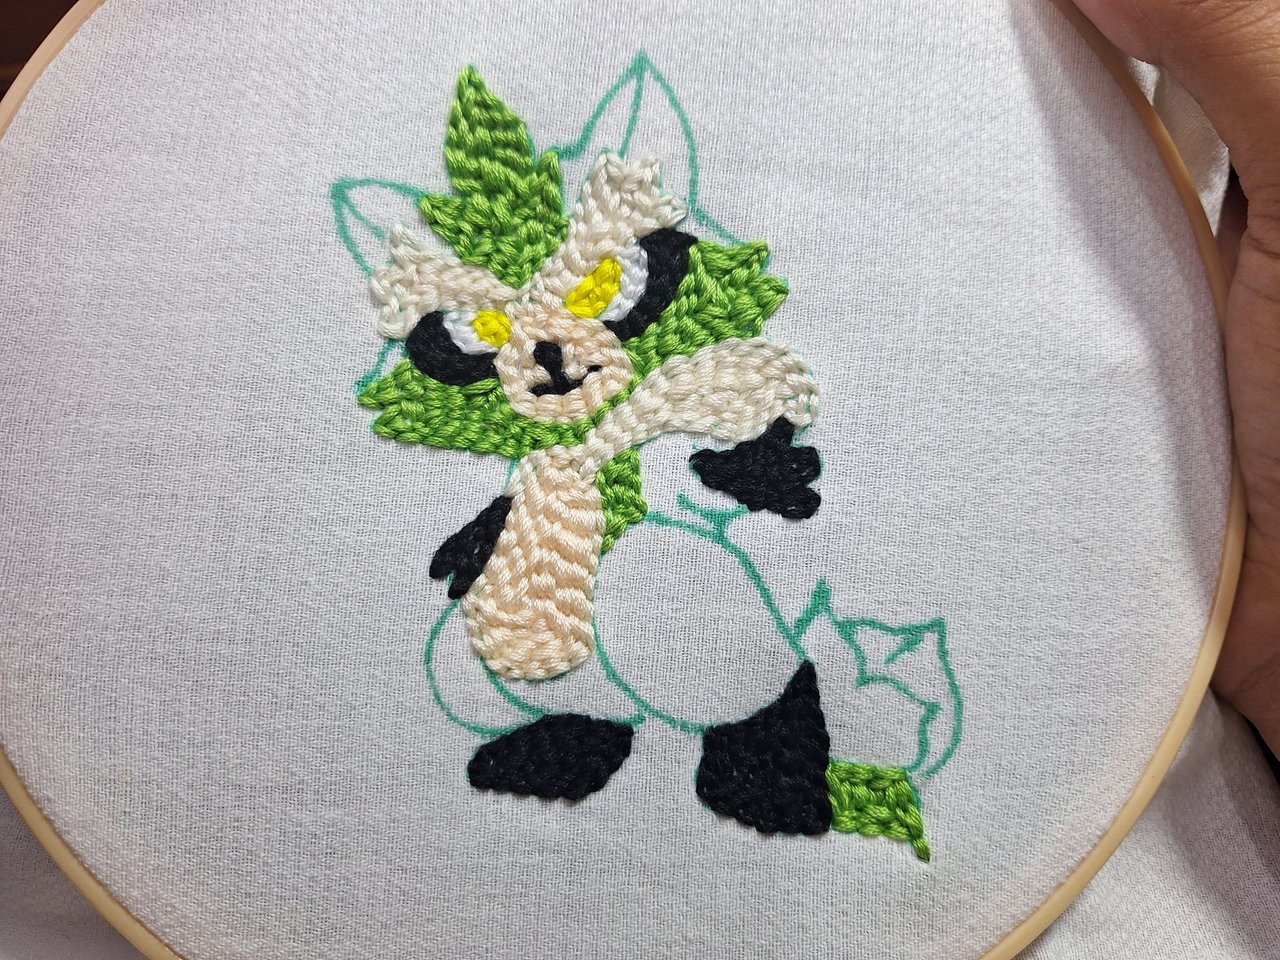
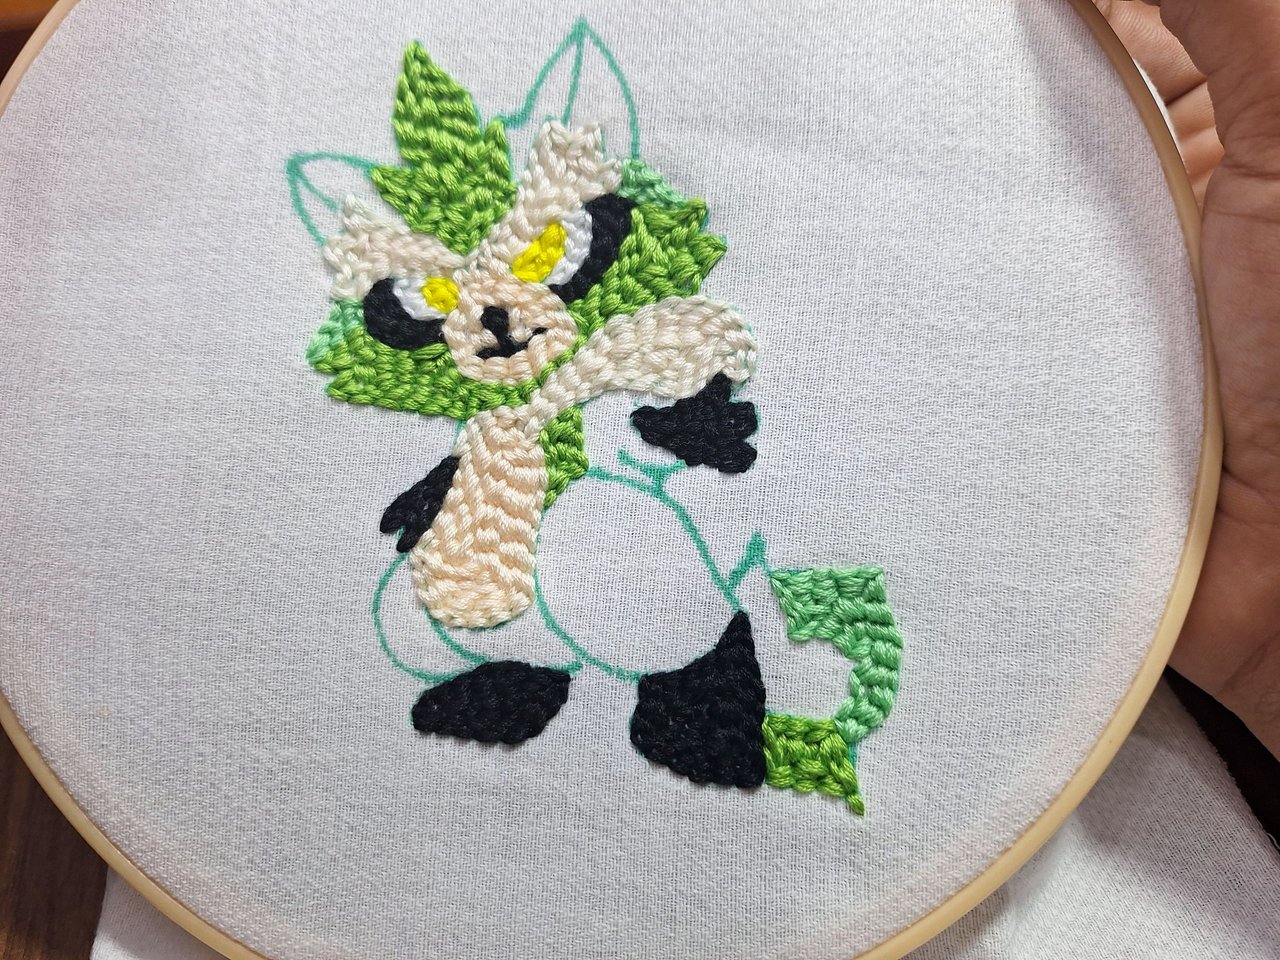
With various shades of green, looking for the colors that most resembled the original Wrackoo design, I embroidered the entire body, head and tail.
Con varios tonos de verde, buscando los colores que más semejanza tuvieran con el diseño original de Wrackoo, bordé toda la parte del cuerpo, la cabeza y la cola.
 |
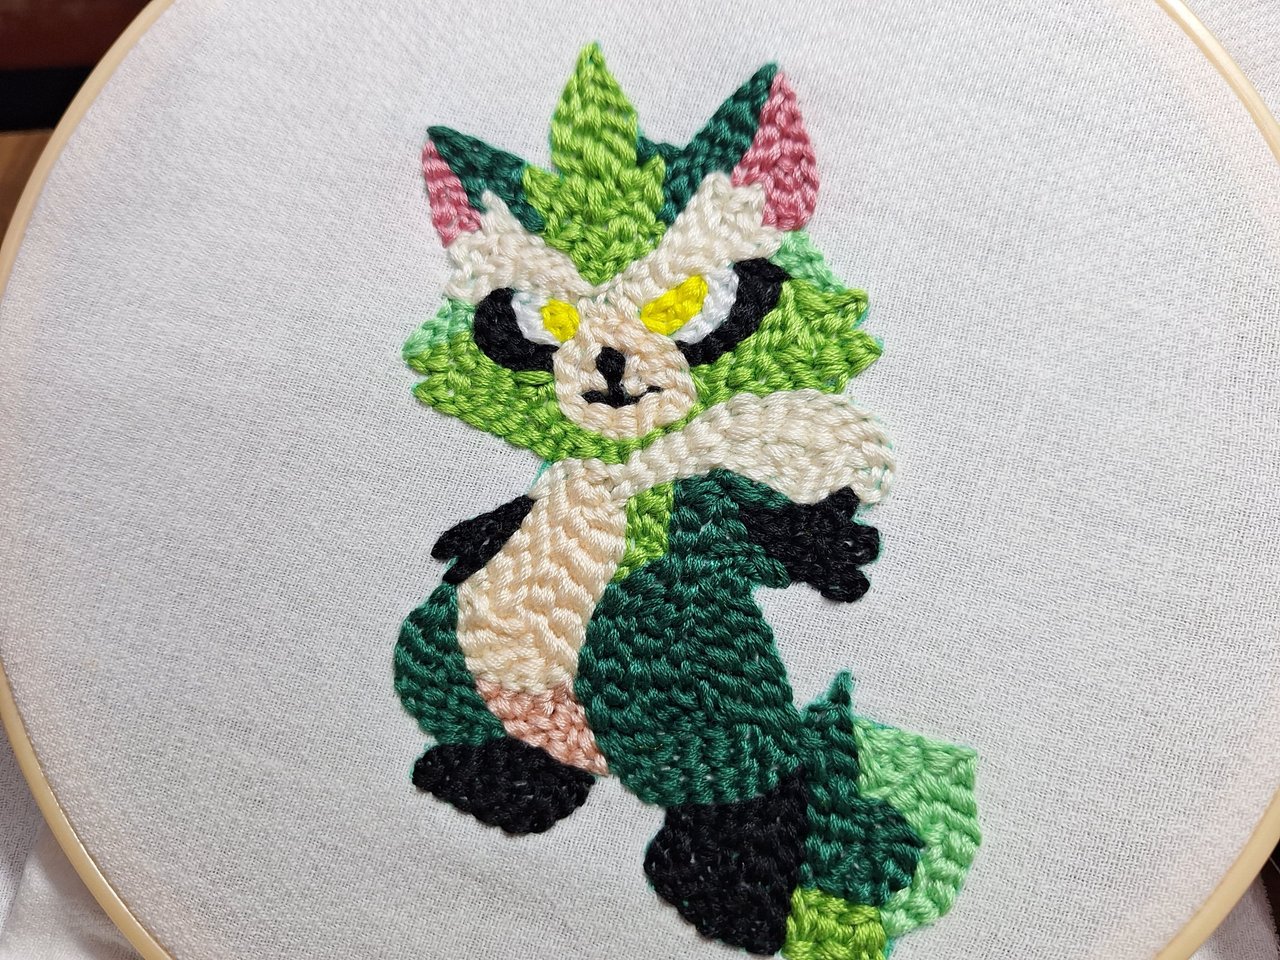 |
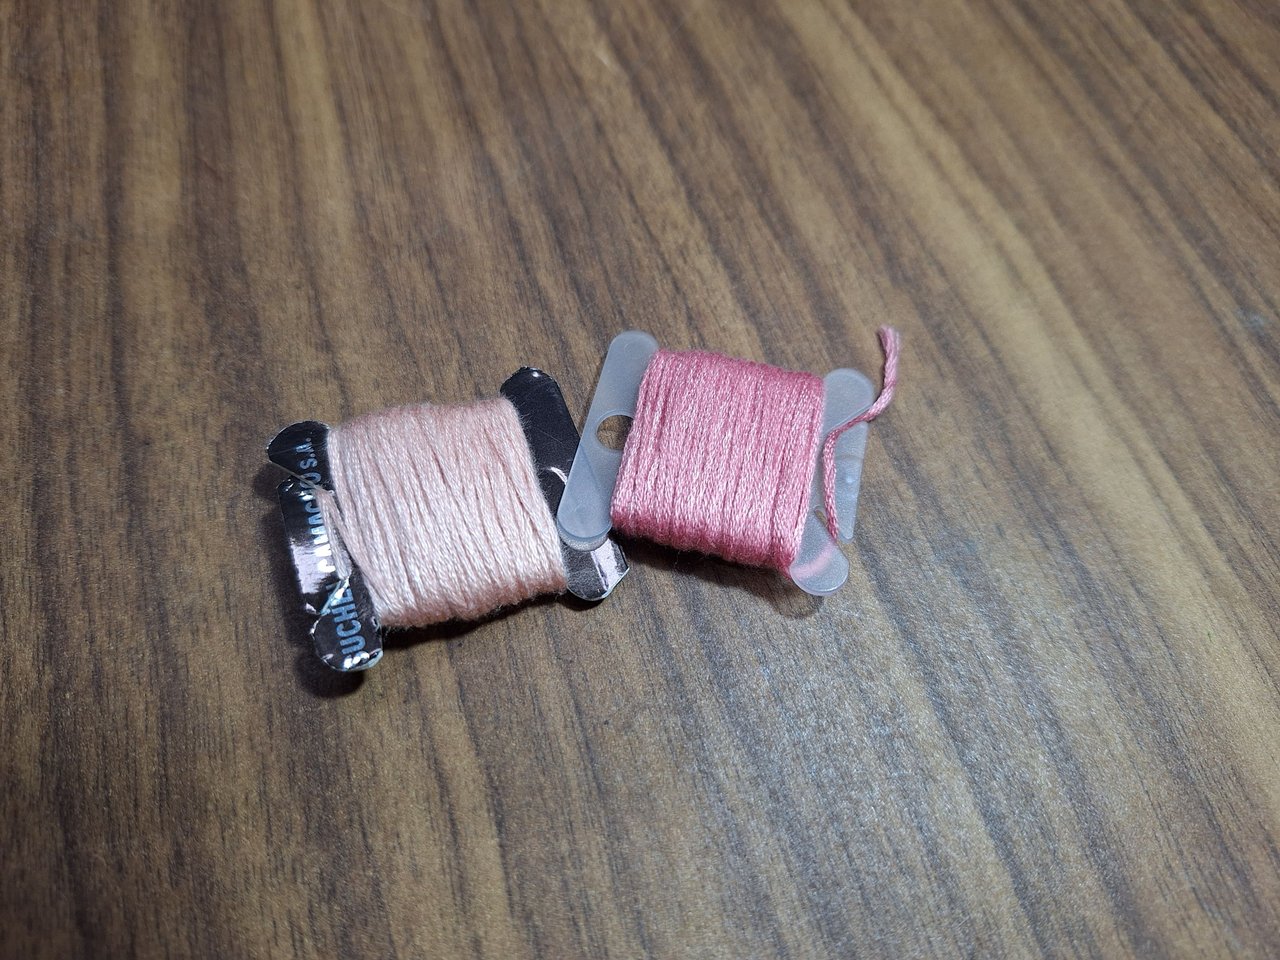
With pale pink thread in two different shades, one lighter than the other, I completed the inside of the ears and the lower part of the belly, which simulates the shadow.
Con hilo color rosa palo de dos tonos distintos, uno más claro que otro, completé la parte interior de las orejas y la parte inferior de la barriga, que simula la sombra.
 |
 |
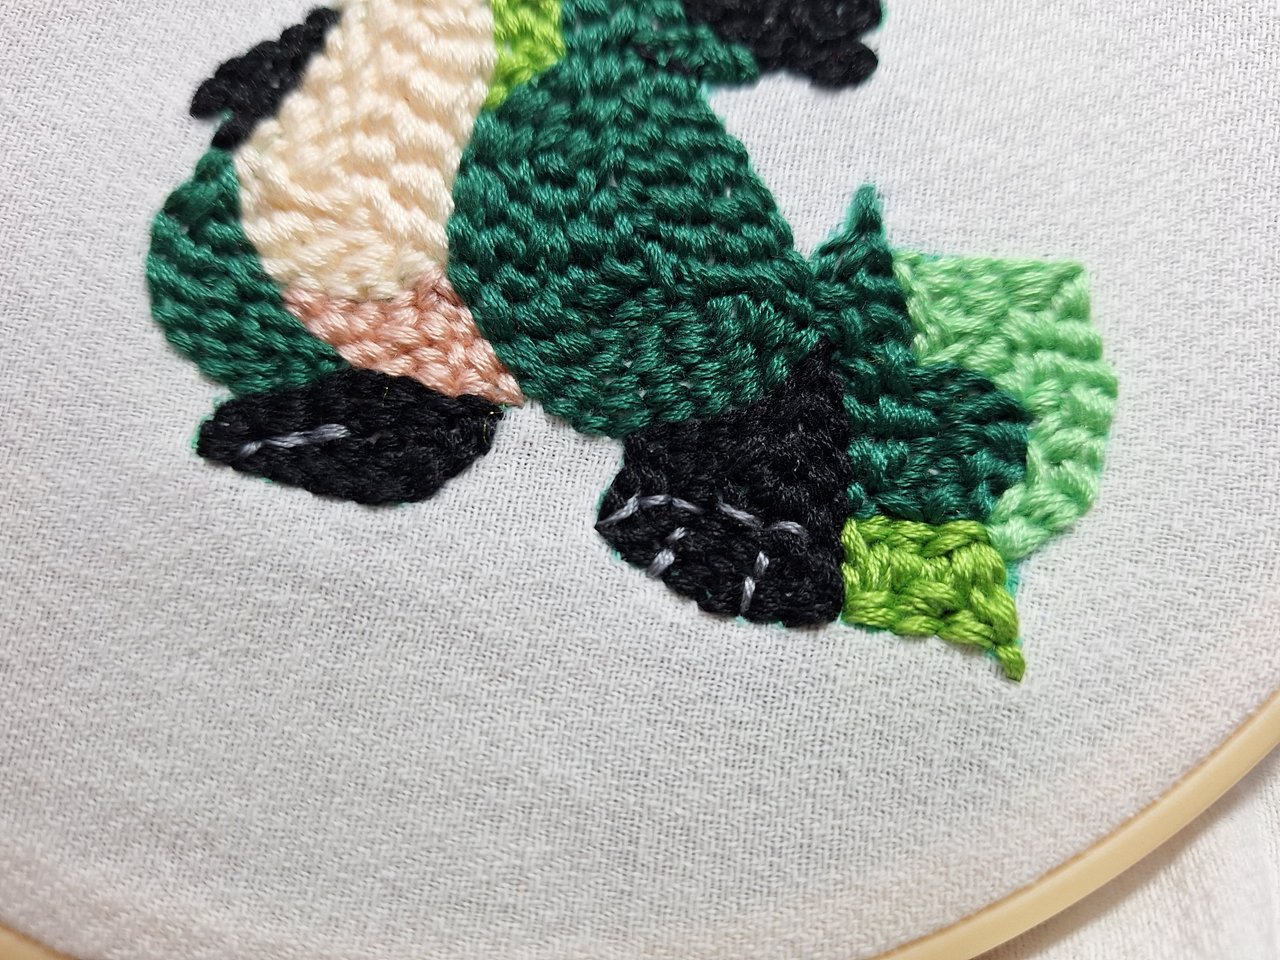 |
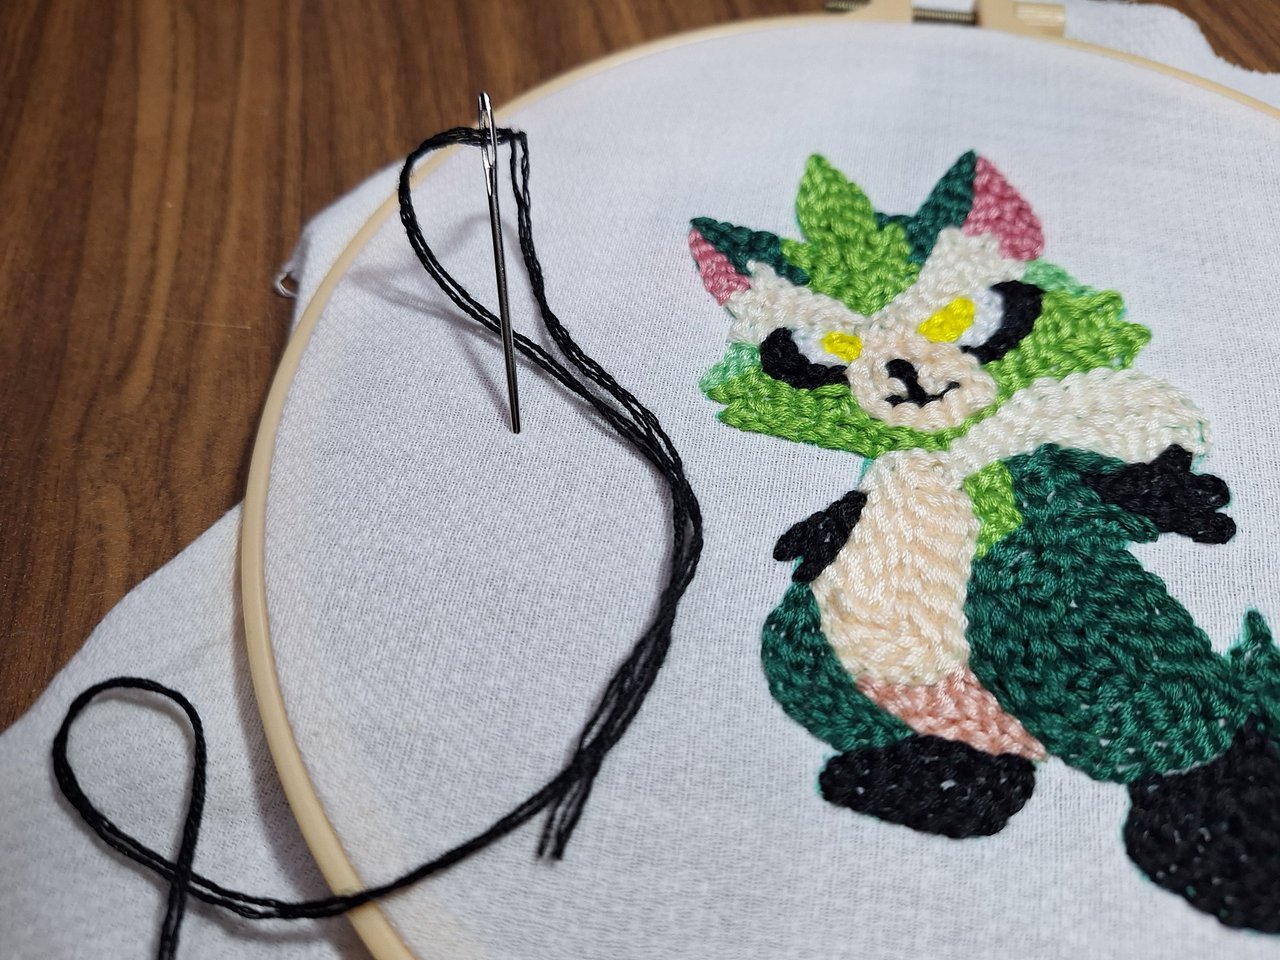
I took a hand needle and divided the black thread into three strands to make the eyes and make them smaller, because with the six strands of embroidery thread they were too big. The eyes are made with the French knot, you just have to place the needle in the right place. I took advantage of the hand needle and made some lines on the upper part of the eyes so that they would be more outlined. I did the same with gray thread, to outline the toes of the paws.
Tomé una aguja de mano y dividí el hilo negro en tres hebras para hacer los ojos y que quedaran más pequeños, pues con las seis hebras que trae el hilo de bordar quedaban muy grandes. Los ojos son hechos con el nudo francés, solo hay que ubicar la aguja en el lugar preciso. Aproveché la aguja de mano e hice unas líneas en la parte superior de los ojos para que quedaran más delineados. Lo mismo hice con hilo gris, para delinear los dedos de las patas.
 |
 |
 |
 |
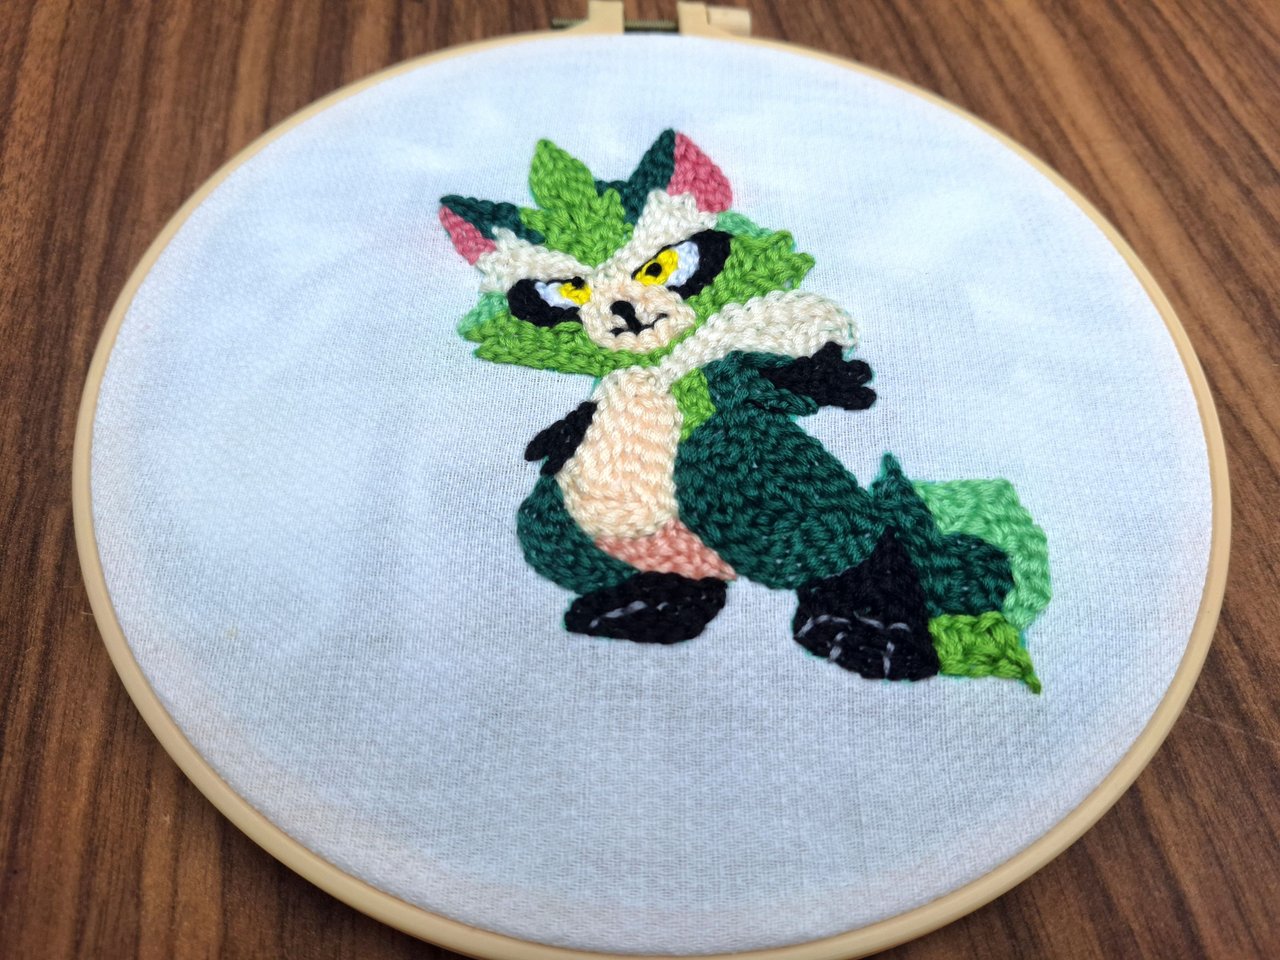
And so is finished this beautiful embroidery of the Wrackoo character, one more for my collection. I hope you liked it, leave me in the comments what you thought and new suggestions. Best regards.
Y así queda terminado este hermoso bordado del personaje de Wrackoo, uno más para mi colección. Espero que les haya gustado, déjame en los comentarios qué te pareció y nuevas sugerencias. Un saludo.
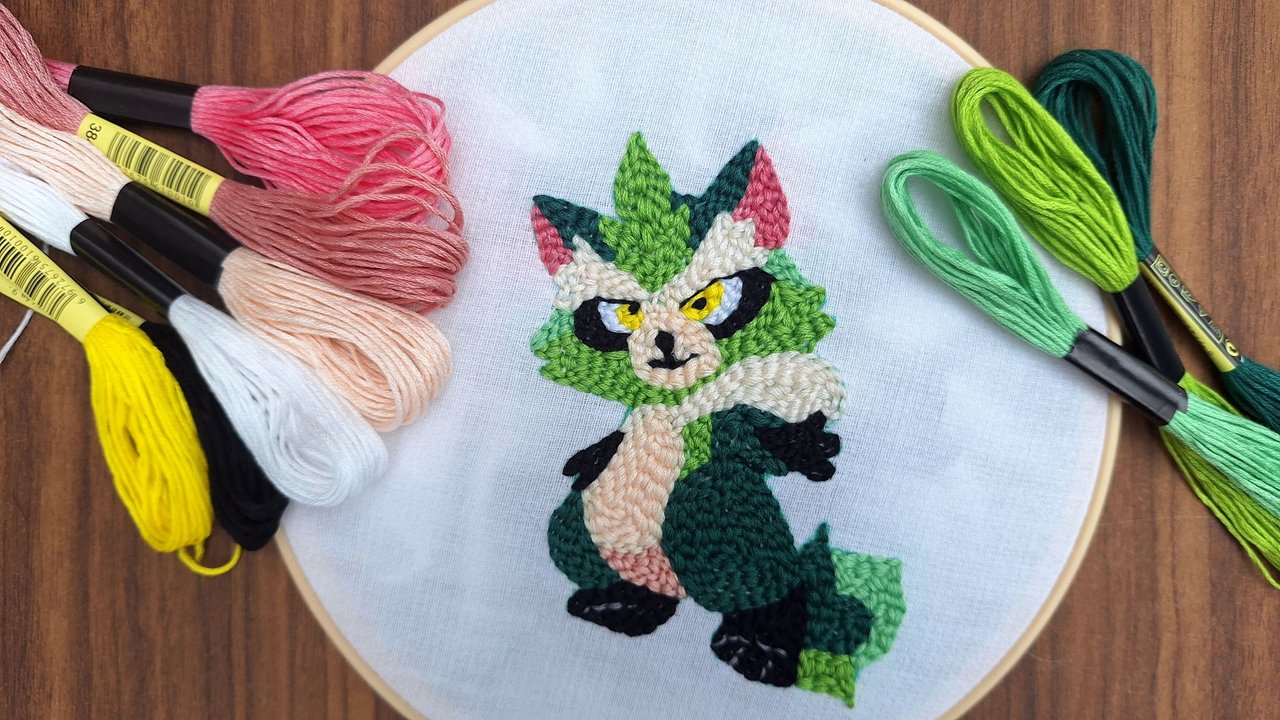
Cover made in Canva
English is not my native language, translated by DeepL
Amiga, tienes mucho talento, te quedan divinos. Me encantan
Muchas gracias 🥰, no es difícil lo que lleva su tiempo.
Que bonito quedó, me encantaría aprender,tienes mucho talento ☺️
Muchas gracias, es super fácil, lo que hay que tener paciencia, compré los materiales para aprovechar el tiempo de los apagones 😄 de día claro.
Le quedó super lindo 🤩
Muchas gracias, me alegro que te guste 🤗
Congratulations @yale95reyra! You have completed the following achievement on the Hive blockchain And have been rewarded with New badge(s)
Your next target is to reach 9000 upvotes.
You can view your badges on your board and compare yourself to others in the Ranking
If you no longer want to receive notifications, reply to this comment with the word
STOPCheck out our last posts: