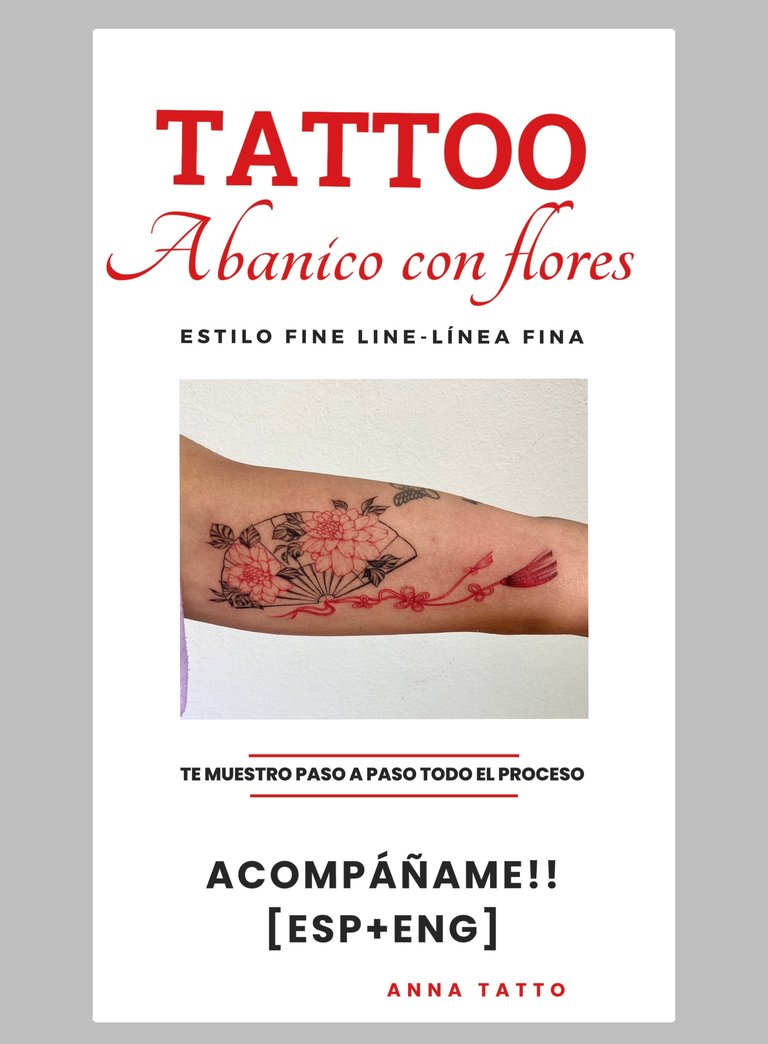
Hola a toda esta comunidad hermosa espero que se encuentren muy bien, hoy quiero mostrarles paso a paso este bonito tatuaje, acompáñenme!!☺️
Hello to all this beautiful community I hope you are very well, today I want to show you step by step this beautiful tattoo, join me!!!☺️
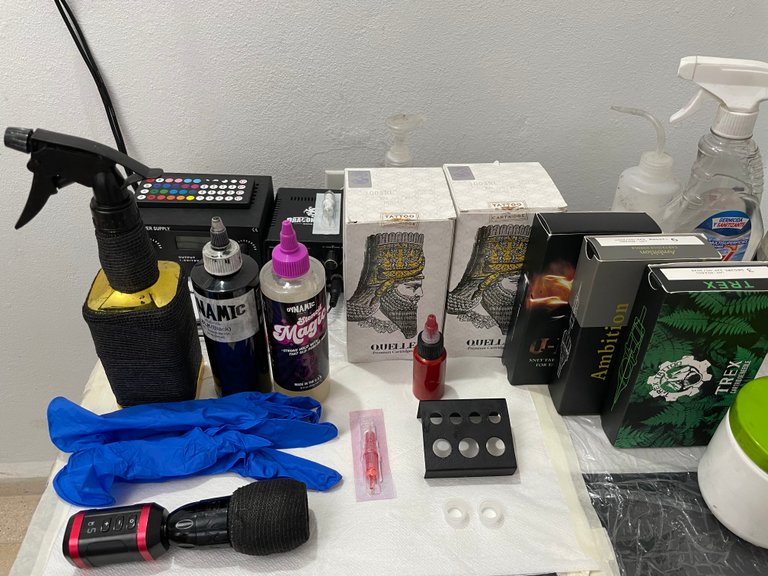
Antes que todo debemos tener nuestra mesa de trabajo limpia y organizada para mejor comodidad, eficiencia a la hora de trabajar y que nuestro trabajo sea de excelencia.
Materiales utilizados
-Máquina Pen de tatuaje
-Caps para echar la tinta
-Servilletas
-Tinta Negra Dinamic Black
-Tinta Roja Eternal
-Papel Stencil
-Stencil Dinamic
-Aguja de cartucho 0603RL
-Guantes
-Vaselina
First of all, we must have our work table clean and organized for better comfort, efficiency at the time of working and for our work to be of excellence.
Materials used
-Tattoo Pen machine
-Caps to pour the ink
-Napkins
-Black ink Dinamic Black
-Eternal Red Ink
-Stencil paper
-Dinamic Stencil
-Cartridge needle 0603RL
-Gloves
-Vaseline
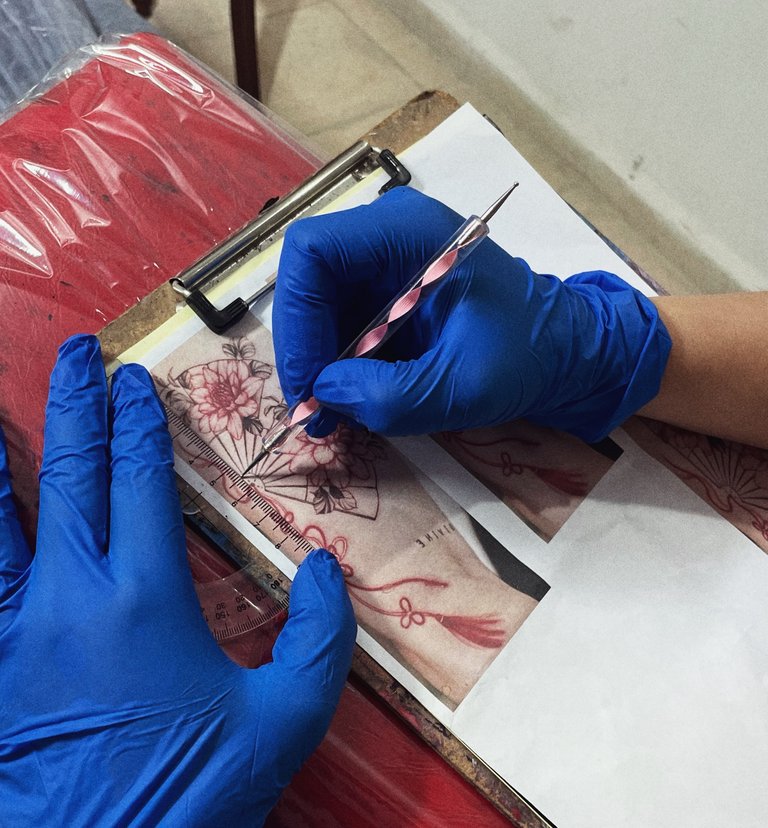
Paso 1
Marcamos con un lapiz el diseño escogido por nuestra cliente.
Step 1
We mark with a pencil the design chosen by our client.
Paso 2
Limpiamos la zona que vamos a tatuar con nuestro pomo atomizador, que se prepara con agua destilada y gel de baño.
Step 2
Clean the area to be tattooed with our spray knob, which is prepared with distilled water and bath gel.
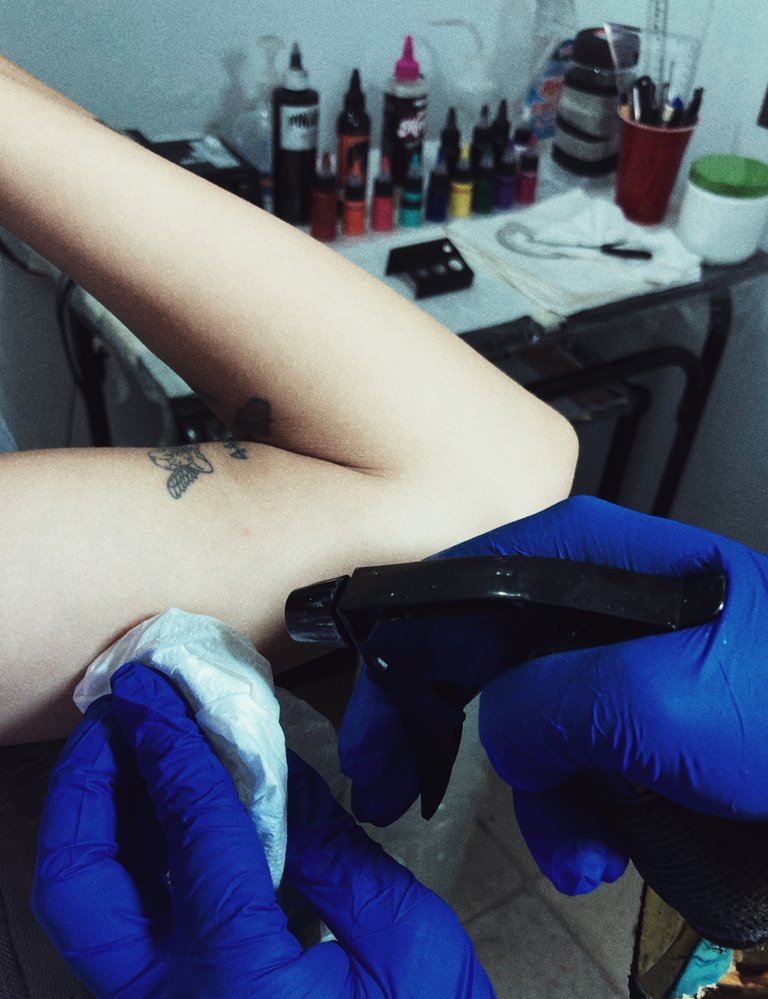
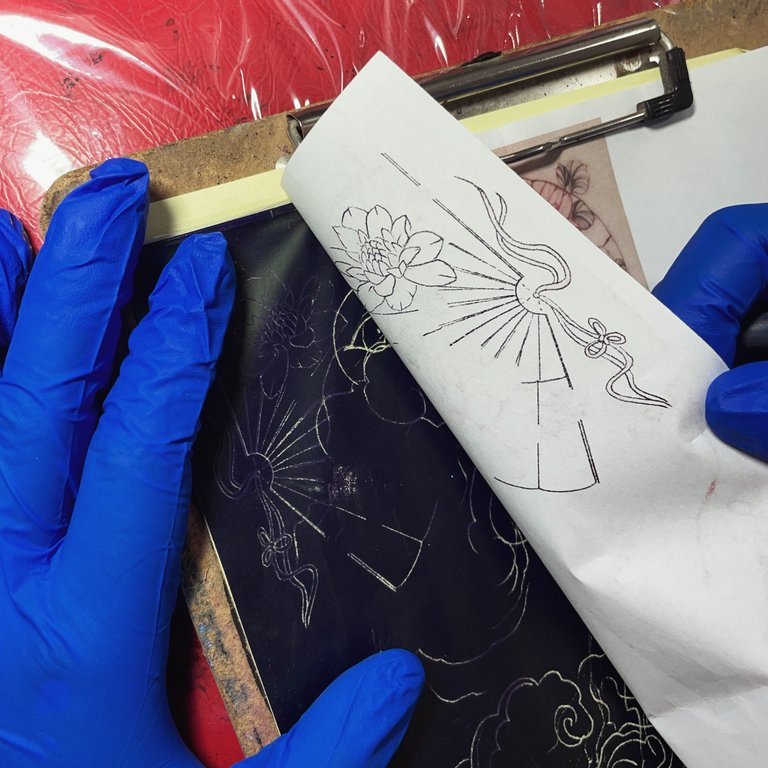
Paso 3
Marcamos la zona que vamos a tatuar con un plumón y aplicamos en ese rango marcado el Stencil Dinamic, que es quien se encargará de ayudarnos a pegar la plantilla escogida.
Step 3
Mark the area to be tattooed with a pen and apply the Stencil Dinamic, which will be in charge of helping us to paste the chosen stencil.
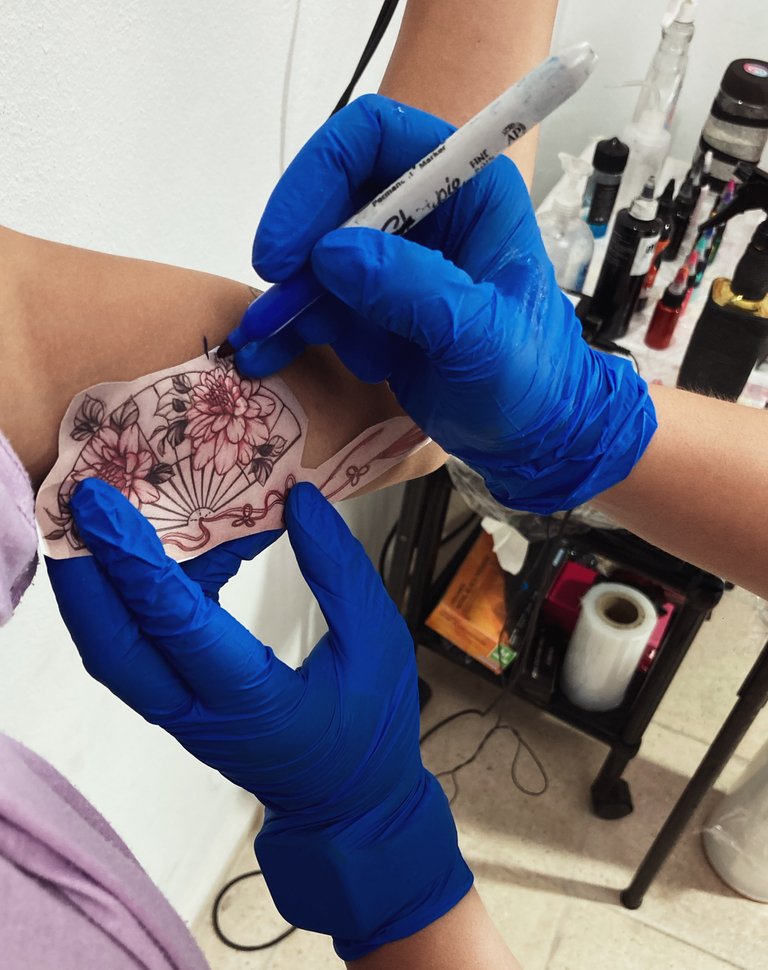
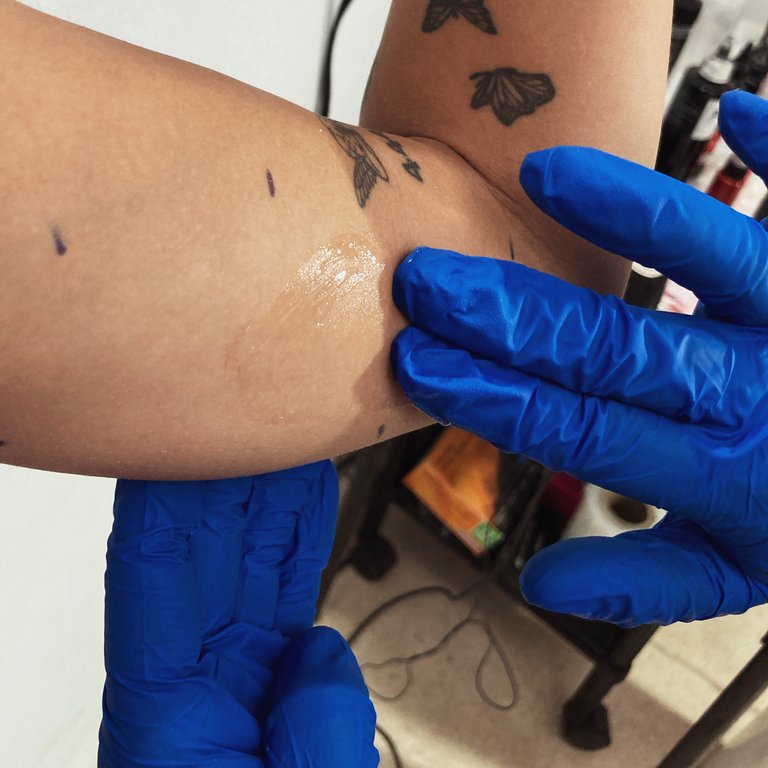
Paso 4
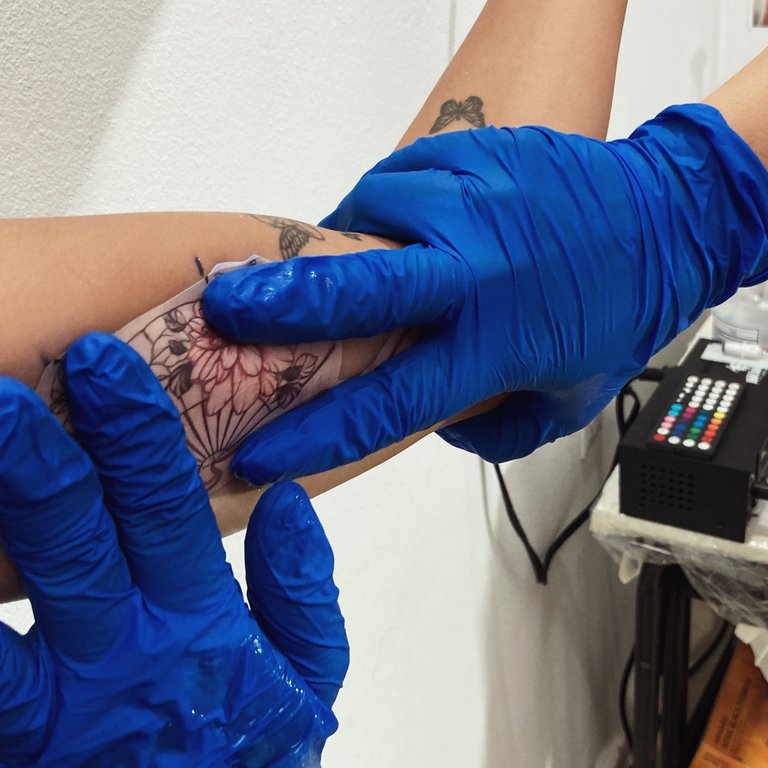
Pegamos la plantilla en la zona marcada, con las manos vamos pasando suavemente sin levantarla hasta asegurarnos que hemos presionado en todo el diseño.
Step 4
Glue the stencil in the marked area, with your hands we go over it gently without lifting it until we are sure that we have pressed in the entire design.
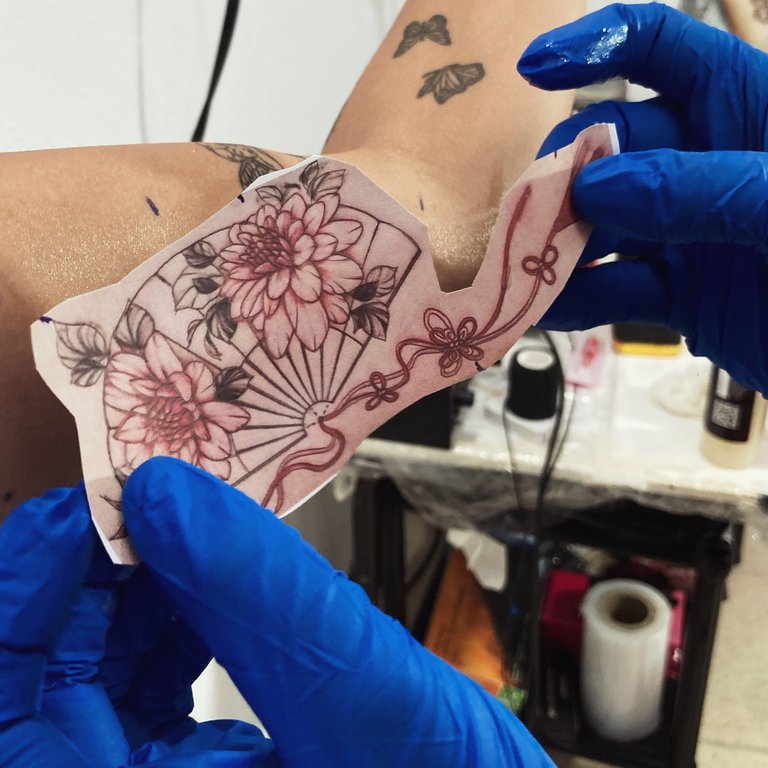
Paso 5
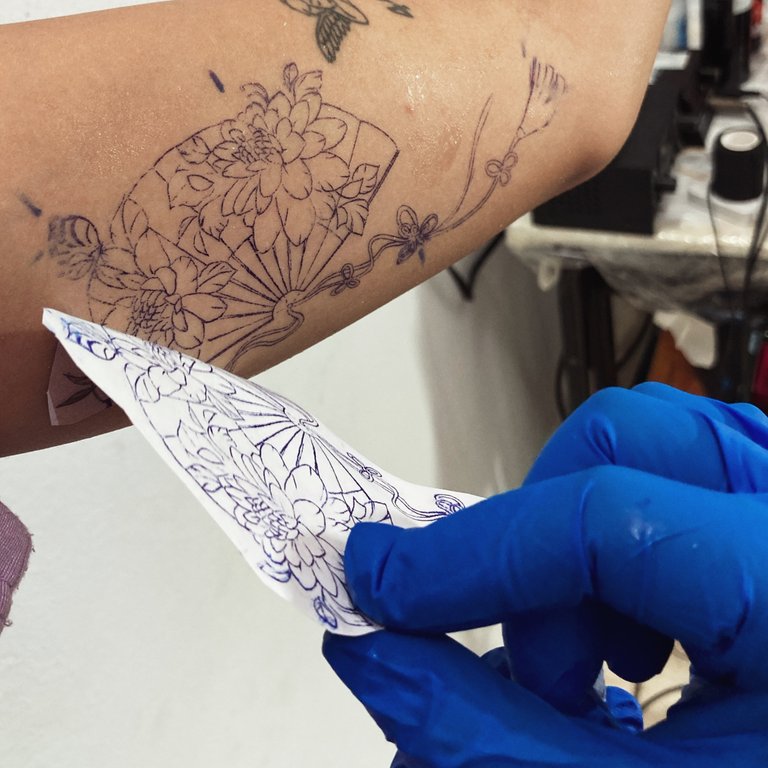
Retiramos lentamente la plantilla y esperamos a que seque de 10 a 20 minutos.
Step 5: Slowly remove the stencil and wait 10 to 20 minutes for it to dry.
Paso 6
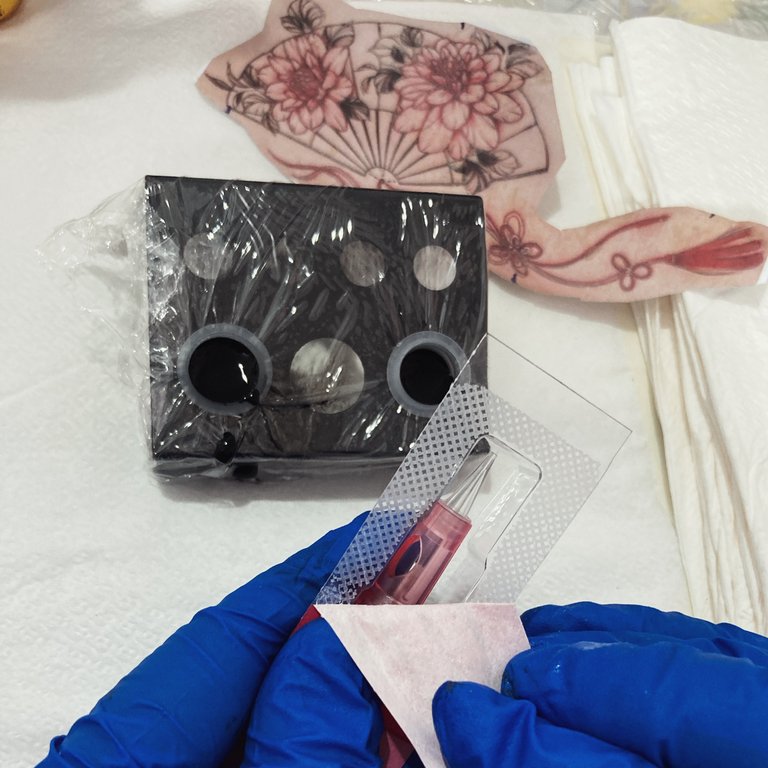
Echamos el negro puro de Dinamic Black en el primer caps, en el segundo caps echamos tres gotas de negro puro y rellenamos con agua destilada para que quede la tinta diluida en un medio tono de negro, para lograr trazos y sombras más claras.
Step 6
Pour the pure black of Dinamic Black in the first caps, in the second caps pour three drops of pure black and fill with distilled water so that the ink is diluted in a half tone of black, to achieve lighter strokes and shadows.
¡DATO MUY IMPORTANTE PARA TODO EL PROCEDIMIENTO!
Aplicar una capa fina de vaselina a medida que vayamos tatuando cada trazo y sombra, luego limpiamos con servilletas la zona para tener mejor visión y así sucesivamente hasta que terminemos.
VERY IMPORTANT FACT FOR THE WHOLE PROCEDURE!
Apply a thin layer of petroleum jelly as you tattoo each stroke and shadow, then clean the area with napkins to have a better view and so on until you finish.
Paso 7
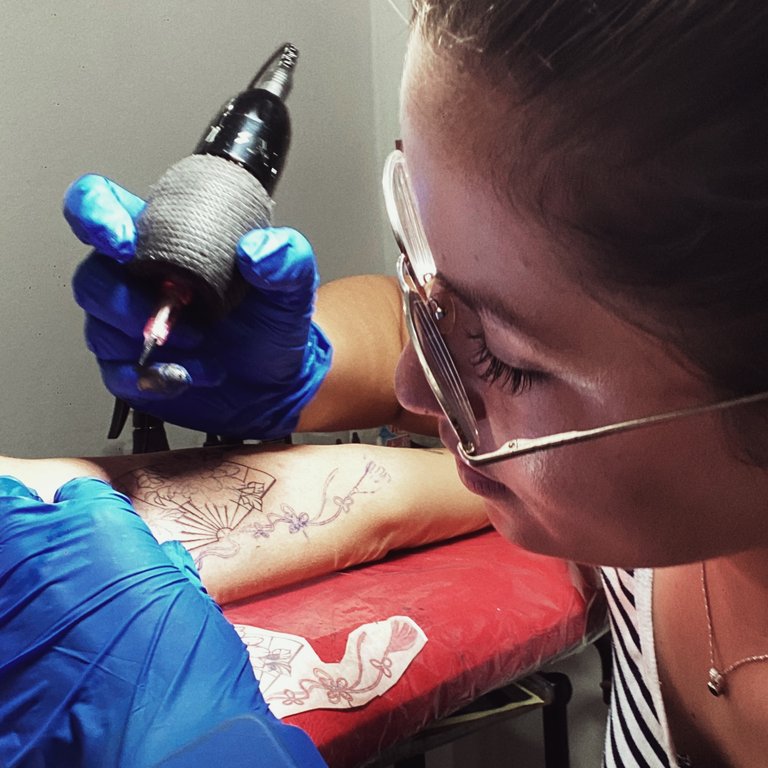
Empezamos delineando todo el tatuaje cogiendo tinta del primer caps y el segundo, e ir mezclando suavemente en todo el proceso para que las lineas no queden tan oscuras, sino que le de un toque más delicado.
Step 7
We start outlining the whole tattoo taking ink from the first caps and the second, and go mixing gently throughout the process so that the lines are not so darks, but to give a more delicate touch.
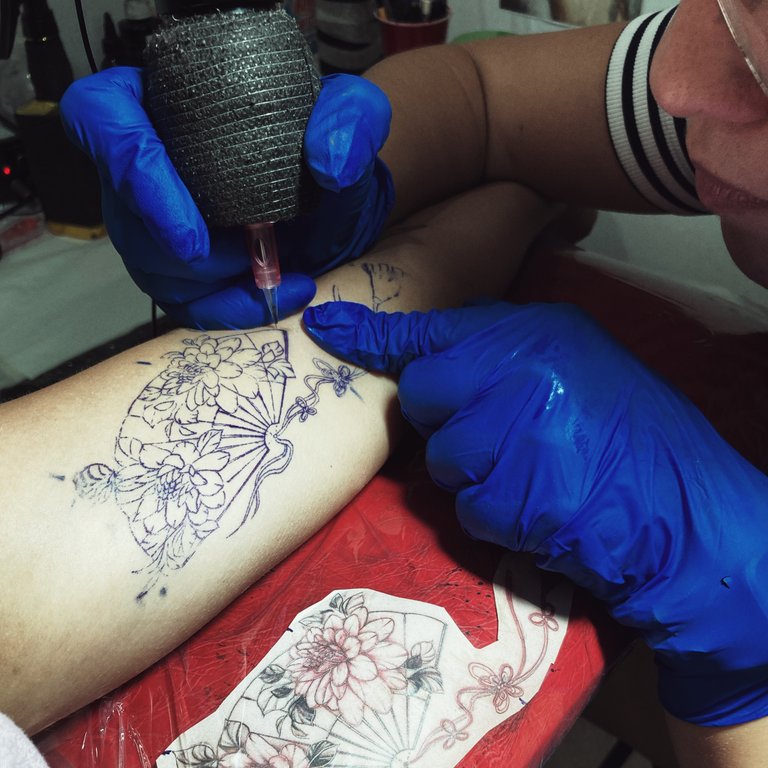
Paso 8
Sombreamos las hojas dando movimientos pendurares, donde estaremos usando la técnica del puntillismo de arrastre para dar un toque de sombrado con degradados.
Step 8
Shade the leaves giving pendurary movements, where we will be using the technique of drag pointillism to give a touch of shading with gradients.
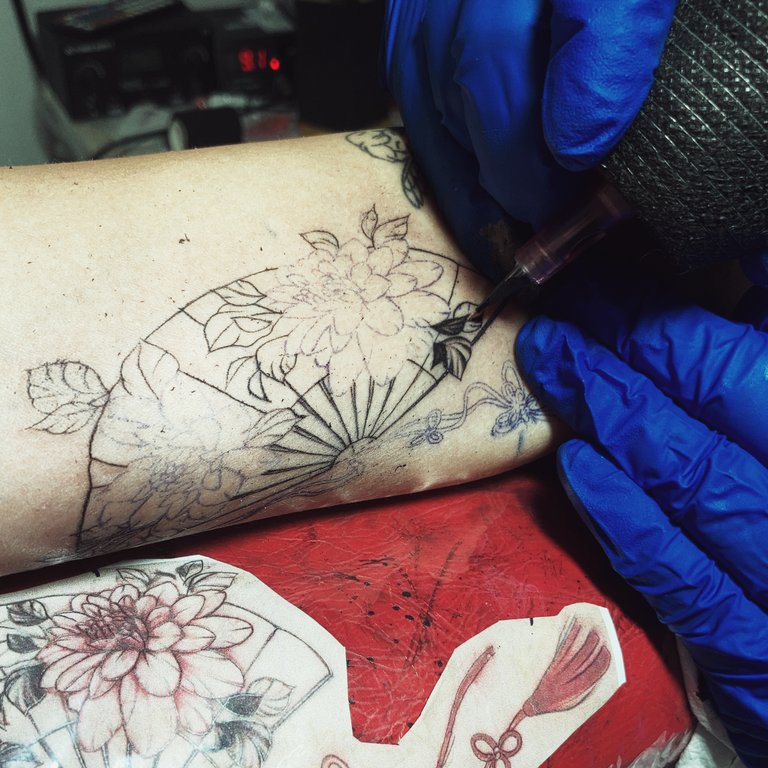
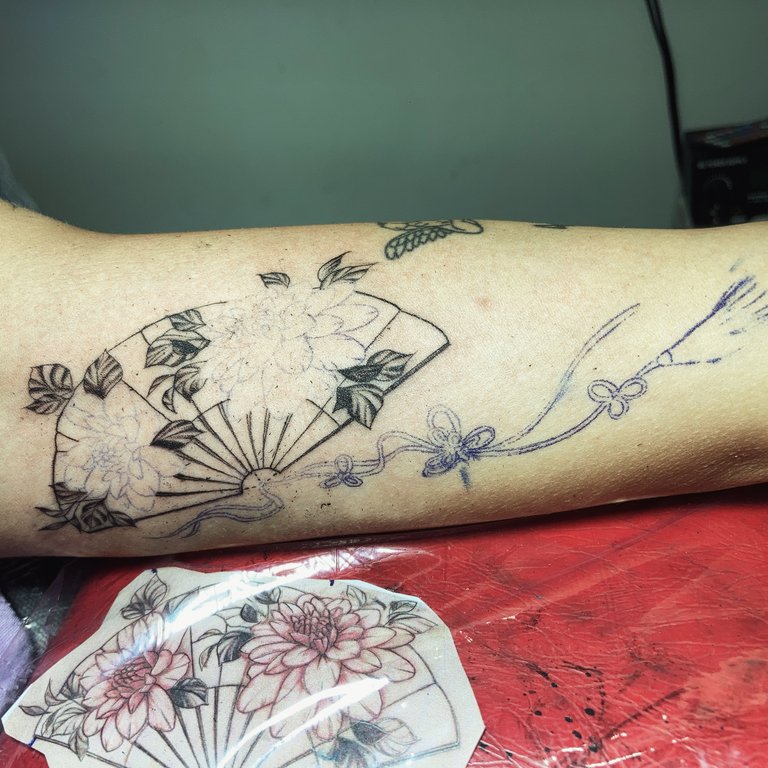
Paso 9
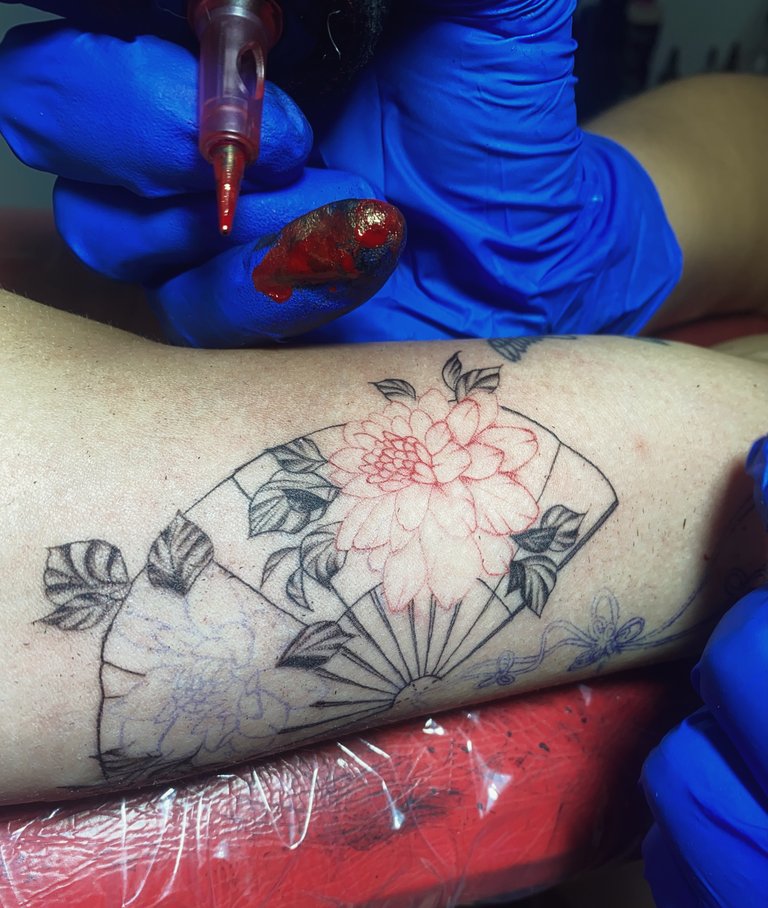
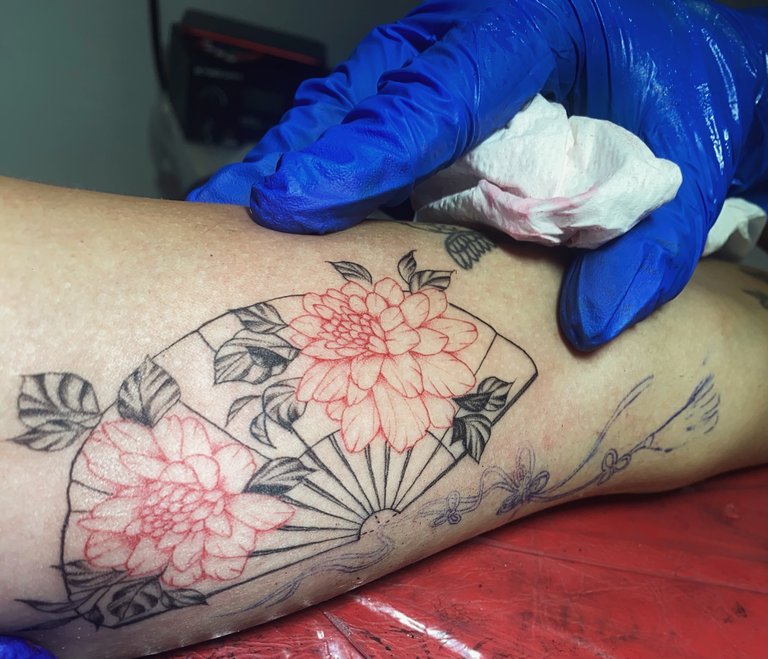
Hacemos el mismo procedimiento del paso 7, pero con la tinta roja de la marca Eternal. Esto hará que el rojo resalte los detalles del abanico con estas dos hermosas flores, dando un toque brillante y a la vez más llamativo.
Step 9
We do the same procedure of step 7, but with the red ink of the Eternal brand. This will make the red highlight the details of the fan with these two beautiful flowers, giving a bright touch and at the same time more striking.
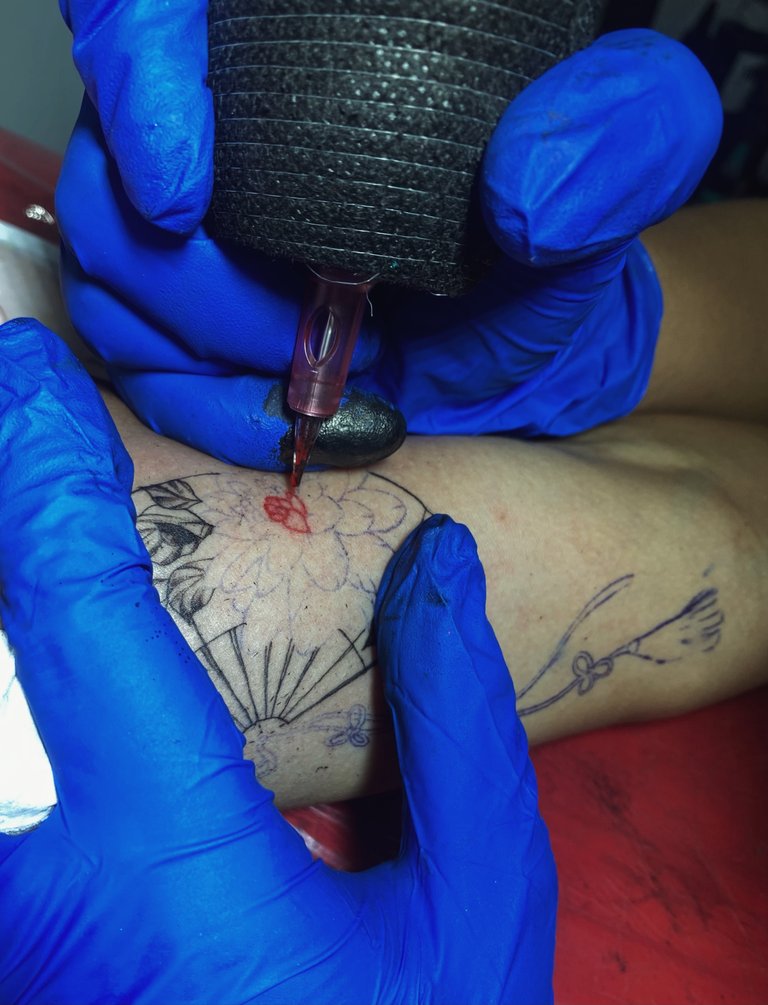
Paso 10
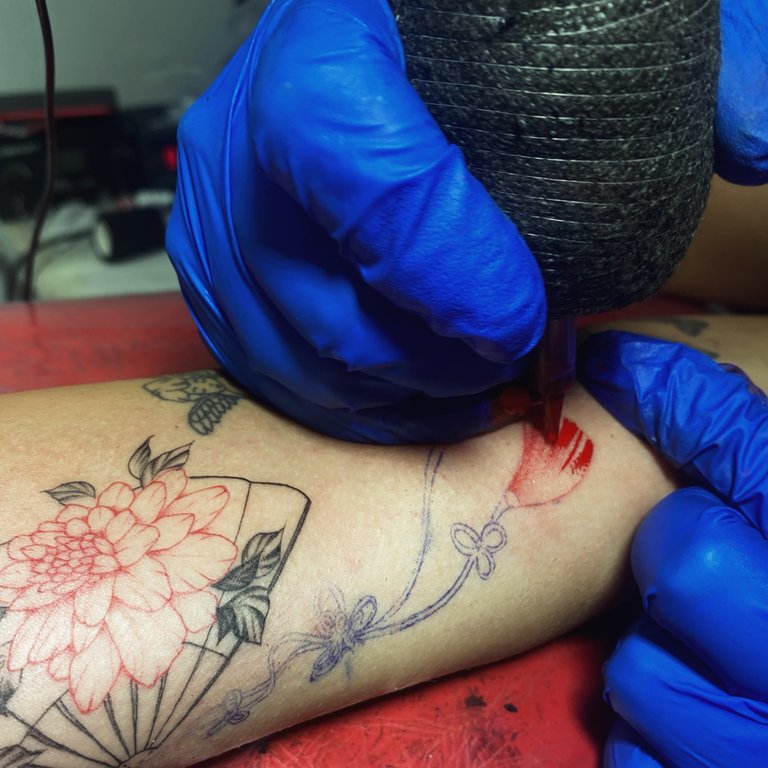
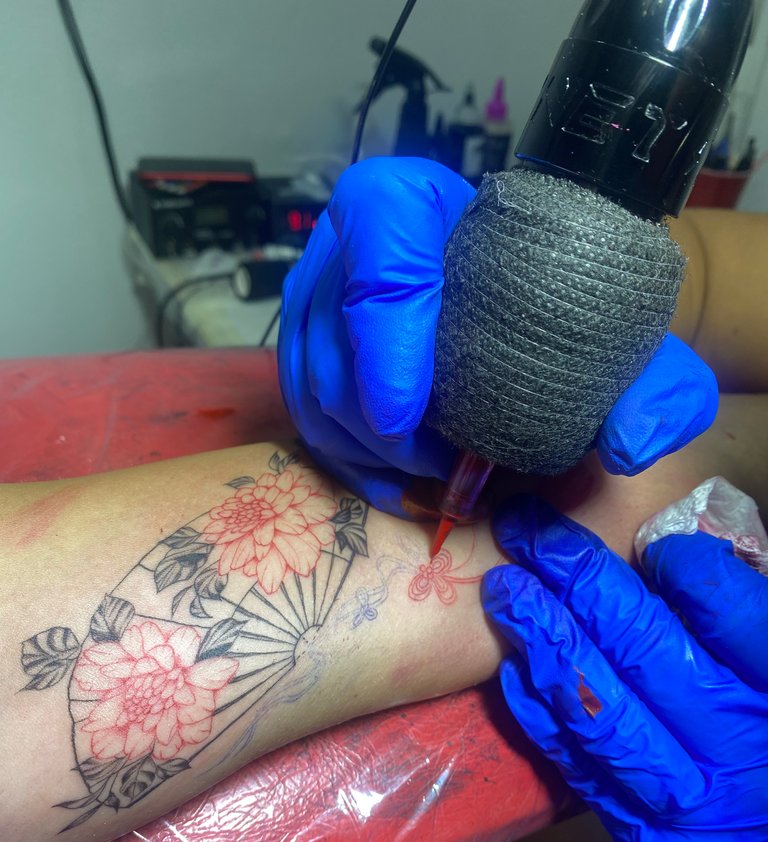
Hacemos el mismo procedimiento del paso 9 para los hilos colgantes del abanico y aplicamos unas pequeñas sombras con el tono medio del negro que preparamos en el segundo caps en las puntas y limpiamos bien el tatuaje con agua destilada y gel de baño.
Step 10
We do the same procedure of step 9 for the hanging threads of the fan and apply a few small shadows with the medium shade of black that we prepared in the second step on the tips and clean the tattoo well with distilled water and bath gel.
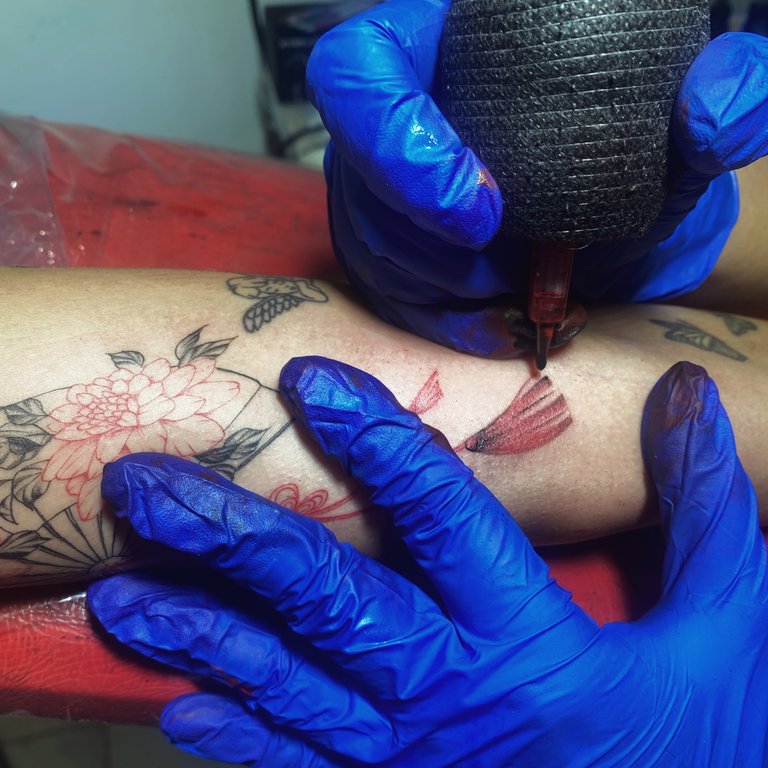
Nuestra cliente quedó encantada con el resultado fino y delicado.
Our client was delighted with the fine and delicate result.
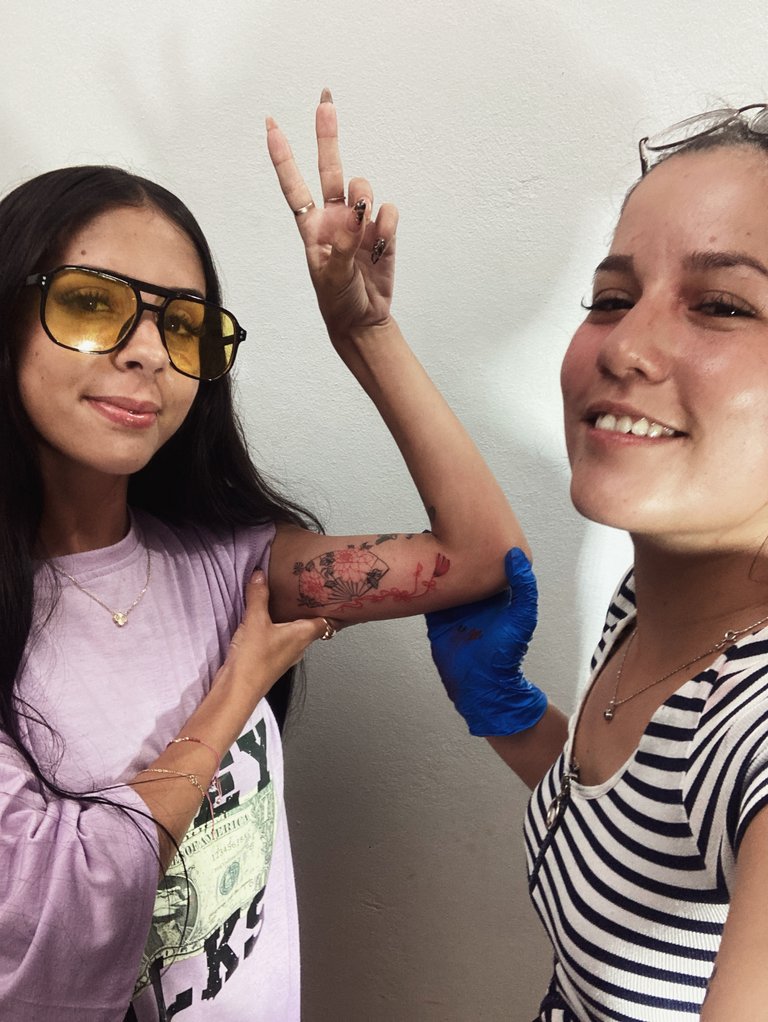
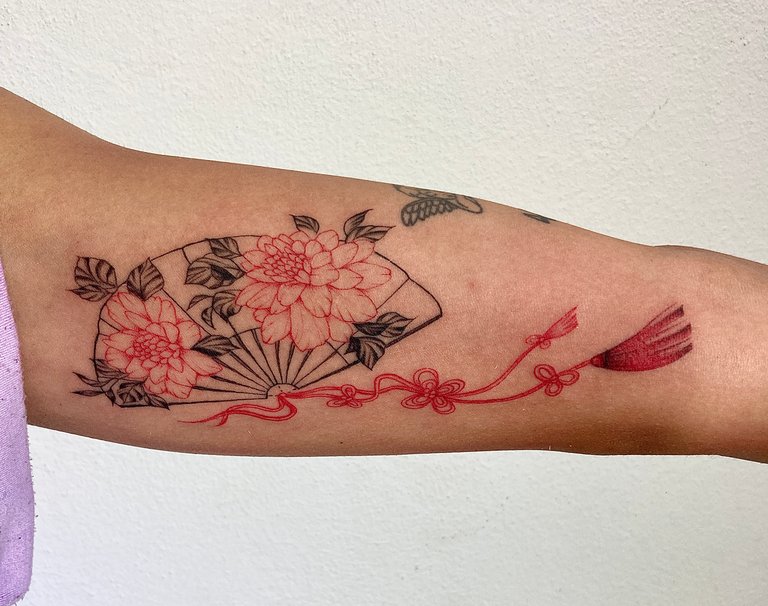
Espero que les haya gustado, no olvides dejar tu comentario y seguirme para próximas publicaciones. Me encantaría saber tu opinión e ideas para el siguiente. Nos vemos en la próxima un abrazo grande a todos!!🤗
I hope you liked it, don't forget to leave your comment and follow me for future posts. I would love to know your opinion and ideas for the next one. See you in the next one a big hug to everyone!!!🤗
Un paso a paso bastante completo. Nos gustó la presentación y por supuesto el resultado final.
Bienvenidos serán tus trabajos en nuestra comunidad.
Este post ha sido votado y curado por el equipo Hive Argentina | Participa en nuestro Trail de curación.
Nunca me hice un tatuaje, pero como lo conté en varias ocasiones, me gusta observar. Más aún si son minimalistas. Me pareció, un gran trabajo en que realizaste. Didáctico, simple, pulcro y sobre todo, denota pasión por lo que haces.
Genial
Feliz viernes.
Muchísimas gracias, que alegre estoy de leer este bonito comentario!!🙏🏻🙌🏻🤗
Congratulations @annamg98art! You have completed the following achievement on the Hive blockchain And have been rewarded with New badge(s)
Your next target is to reach 50 upvotes.
You can view your badges on your board and compare yourself to others in the Ranking
If you no longer want to receive notifications, reply to this comment with the word
STOPCheck out our last posts:
Es un buen trabajo, con todas las medidas de seguridad, gracias por compartir tu paso a paso, me sorprendió saber que se tiene que esperar tantos minutos para que la plantilla se seque y pegue.
Las técnicas son muchas, se debe estar bien concentrado y ser muy observador para no equivocarse, si yo fuera tatuadora haría desastres en tinta.
Muchas gracias por pasar, recuerda apoyar a otros en la comunidad, y comentarlos, así crecemos todos, es una regla que se sigue desde el inicio de hive, como mínimo 3 post, inténtalo y verás que te irá bien, ademáste invito a publicar desde la dapp de inleo.io tenemos convenio con ellos para postular dos post cada 24 horas 😉. Saludos @annamg98art
Muchísimas gracias!!! Es un gusto pertenecer a esta linda comunidad, gracias por tan bonito mensaje🙏🏻🙌🏻🤗
WUO felicidades por ese trabajo tan lindo .
muy buenas fotos para mostrar con nosotros...