Holaaaaaa, querido amigos! Como están? Bendiciones a todos!! Estaba súper desconectada por este medio, ya hace varios meses que no podía estar acá por motivos personales. Pero acá estoy! Jeje... Hoy, en vísperas de Navidad, quiero mostrarle cómo hacer un fácil copo de nieve con tan solo pocos materiales y muy fácil de hacer. Te llevará poco tiempo y quedará hermoso en tu arbolito de navidad. Veamos el tutorial!


Hellooooo dear friends! How are they? Blessings to all!! I was super disconnected by this means, it has been several months since I could be here for personal reasons. But here I am! Hehe ... Today, on Christmas Eve, I want to show you how to make an easy snowflake with just a few materials and very easy to do. It will take you a short time and it will be beautiful on your Christmas tree. Let's see the tutorial!

Herramientas // Tools
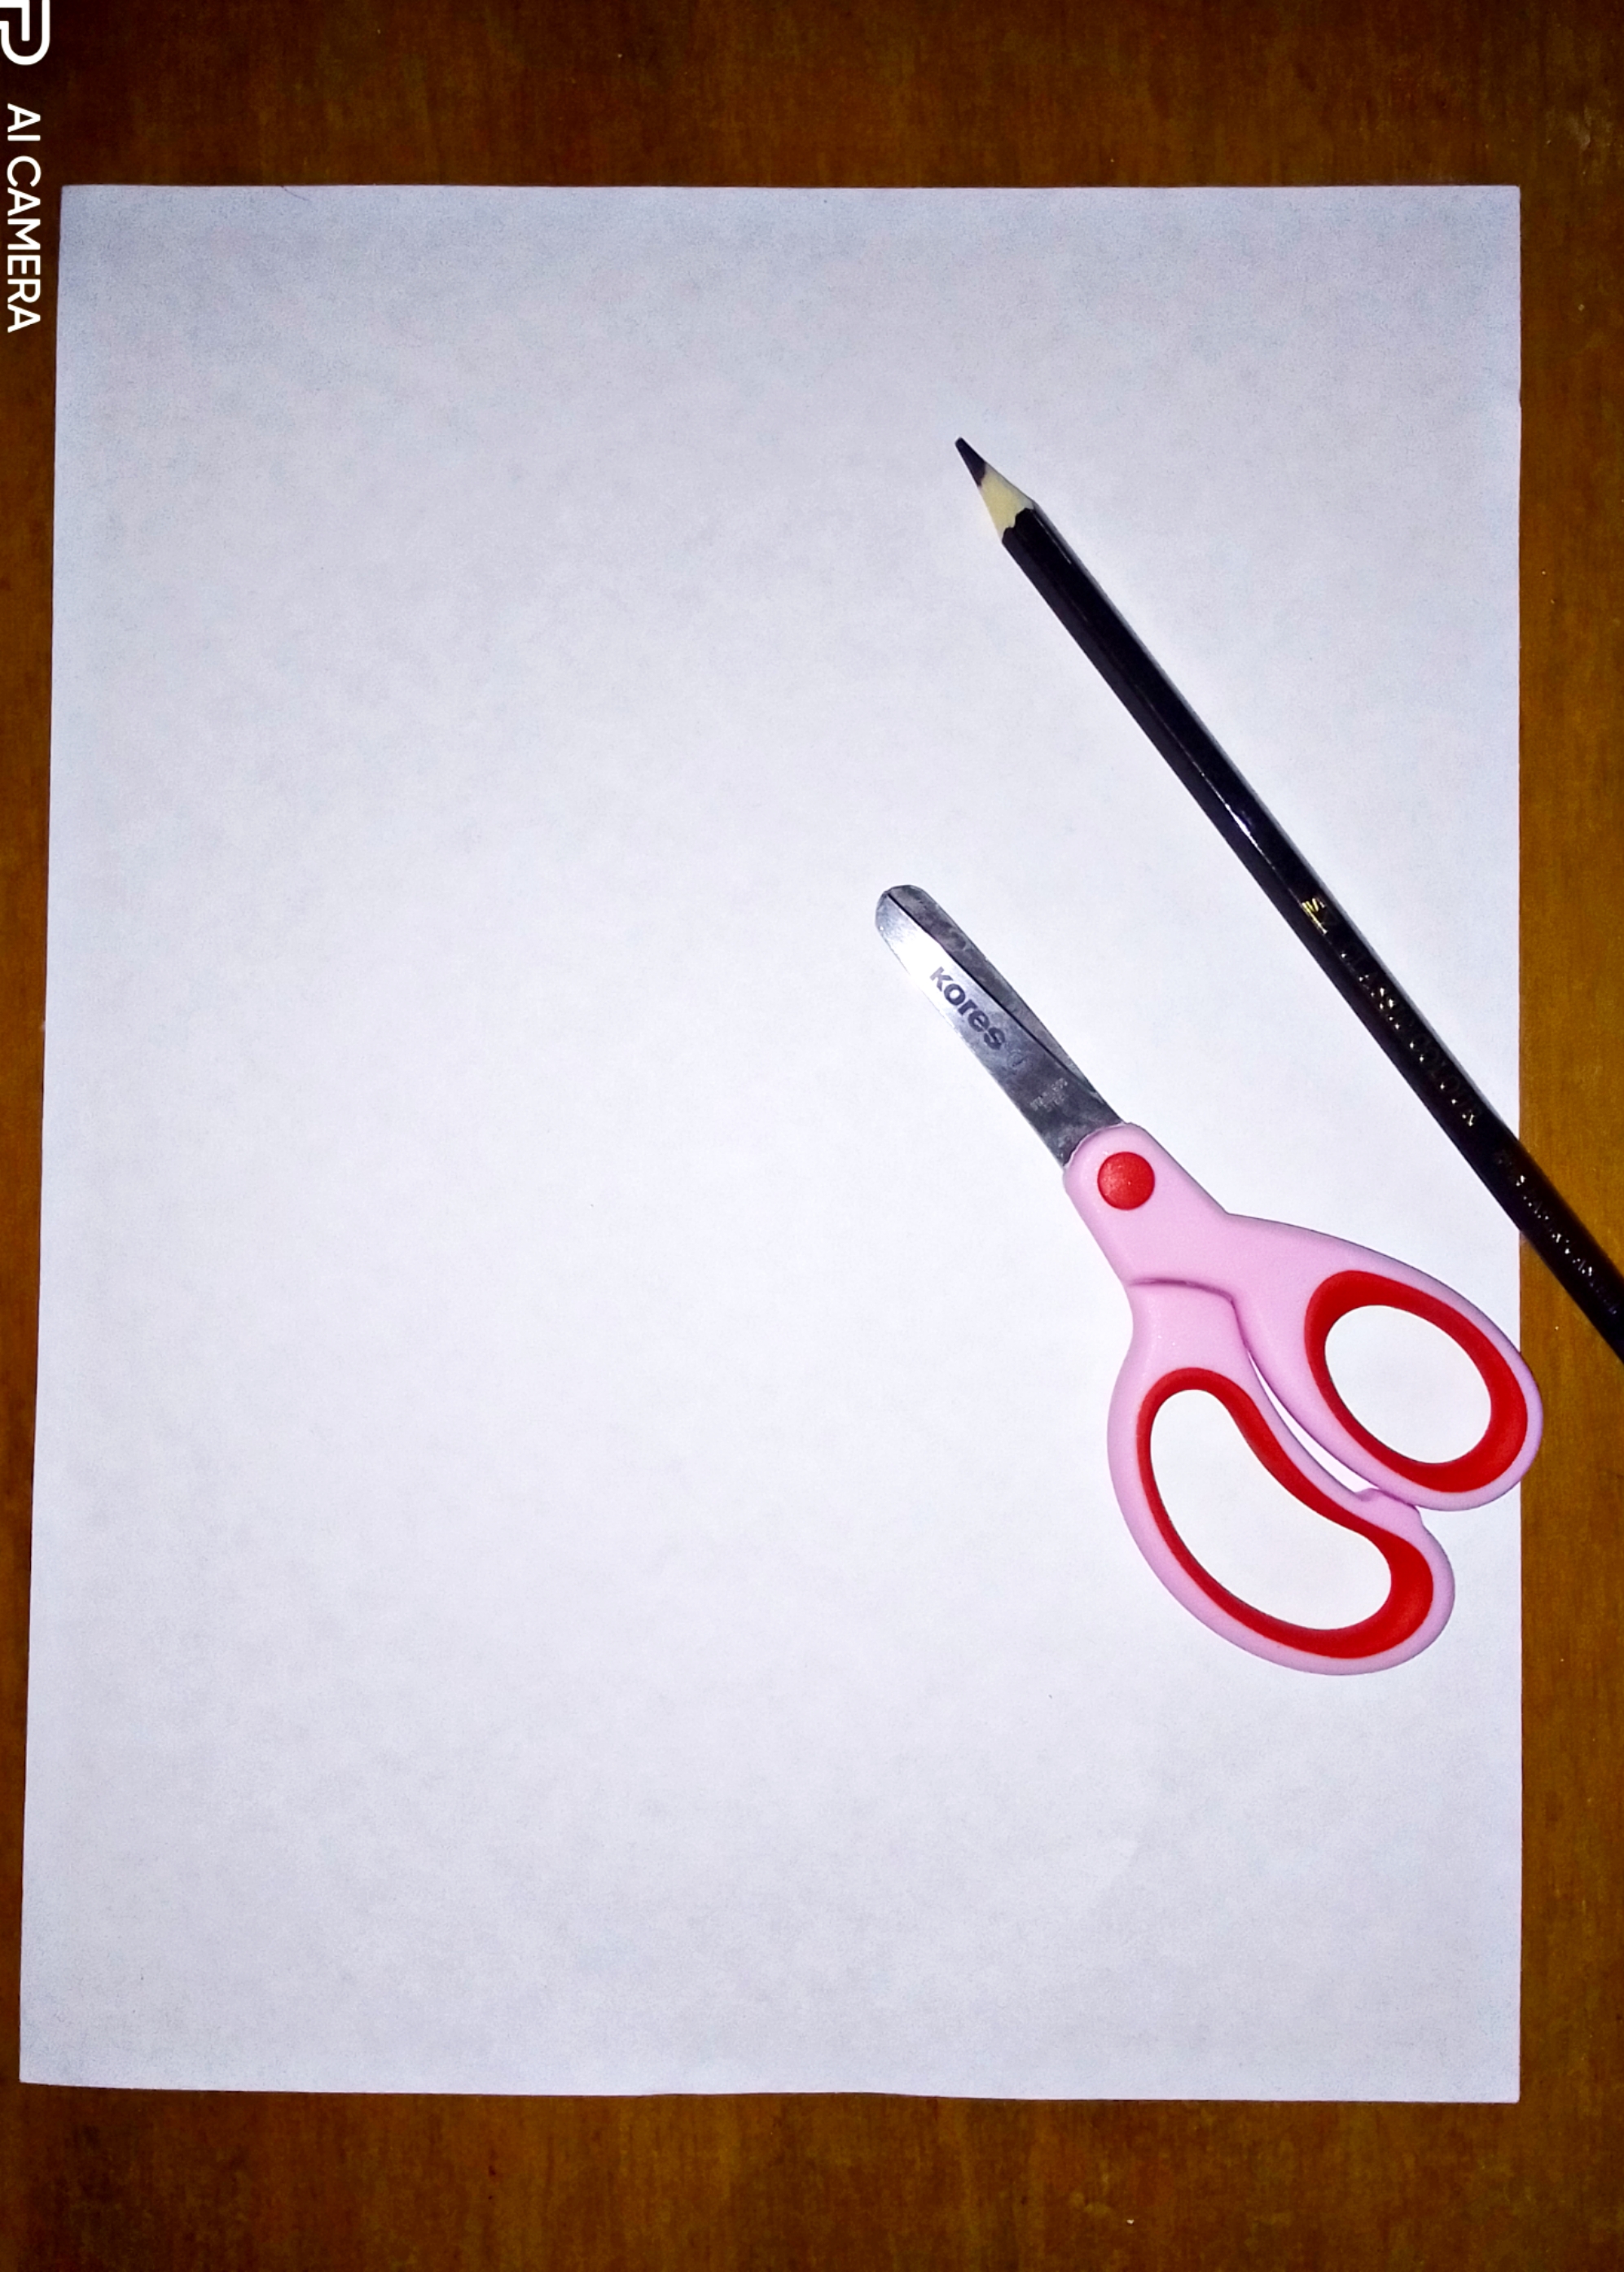
- Hoja de papel blanca
- Par de tijeras
- Lápiz o creyon
- White sheet of paper
- Pair of scissors
- Pencil or creyon

Pasos a seguir:
Paso 1: Tomamos el papel blanco y llevamos una punta y la llevamos a la orilla izquierda de la hoja. Luego el espacio de hoja restante lo recortamos para que nos quede un triángulo.
Steps to follow:
Step 1: We take the white paper and take a point and take it to the left edge of the sheet. Then we cut the remaining sheet space so that we have a triangle.

Paso 2: Volvemos a doblar una punta hacia uno de los extremos de la hoja, y así mismo lo repetimos 2 veces más y nos quedará como en la última foto.
Step 2: We fold a point back towards one of the ends of the sheet, and we repeat it 2 more times and it will be as in the last photo.

Paso 3: Pintamos en la orilla de nuestro triángulo la forma de copo que mejor prefieras, desde la parte de arriba hacia la punta. Y luego lo recortamos.
Step 3: We paint on the edge of our triangle the flake shape that you prefer best, from the top to the tip. And then we cut it out.

Último paso: Empezamos a abrir el copo con mucho cuidado, punta por punta para que no se rompa.
Last step: We begin to open the codend very carefully, end by end so that it does not break.

Y así nos quedará nuestro copo de nieve. Fácil de hacer, en poco tiempo y con tan solo 3 materiales! Espero les guste mucho al igual que a mí. Que pasen un feliz día, amigos. Nos vemos en el próximo post, bendiciones a todos!🌻💕
And so we will have our snowflake. Easy to do, in a short time and with only 3 materials! I hope you like it a lot like me. Have a happy day, friends. See you in the next post, blessings to all!🌻💕

Congratulations @dorihann14! You have completed the following achievement on the Hive blockchain and have been rewarded with new badge(s):
Your next target is to reach 1500 upvotes.
You can view your badges on your board and compare yourself to others in the Ranking
If you no longer want to receive notifications, reply to this comment with the word
STOPCheck out the last post from @hivebuzz: