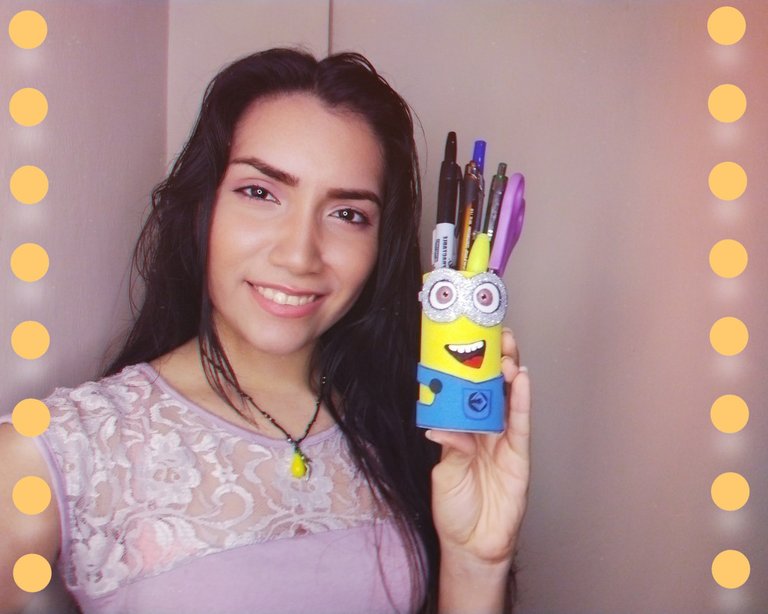
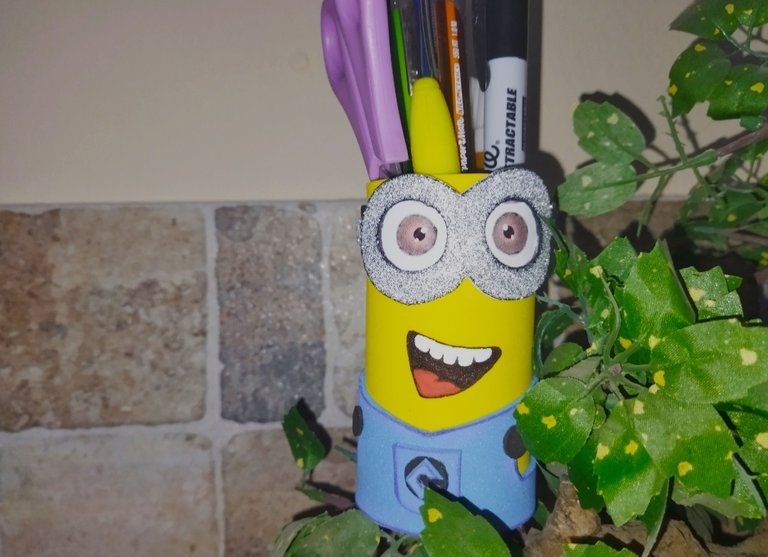
Hola comunidad ❤️ hoy les comparto una manualidad bastante útil y a la vez nos servirá como una hermosa decoración para la habitación de los más pequeños de la casa, les hablo de un organizador de lápices o marcadores para mantener en orden nuestros materiales de trabajo favoritos. Realizar manualidades de caricaturas, series y películas animadas es lo que más me encanta hacer y hoy me inspire en los Minions, las criaturas amarillas más divertidas que conozco y sé que tus niños los amaran. Ahora si no se diga más y manos a la obra!
Hello community ❤️ today I share with you a very useful craft and at the same time will serve as a beautiful decoration for the room of the smallest of the house, I'm talking about a pencil or marker organizer to keep in order our favorite work materials. Making crafts from cartoons, animated series and movies is what I love to do and today I was inspired by the Minions, the funniest yellow creatures I know and I know your kids will love them. Now let's get to work!


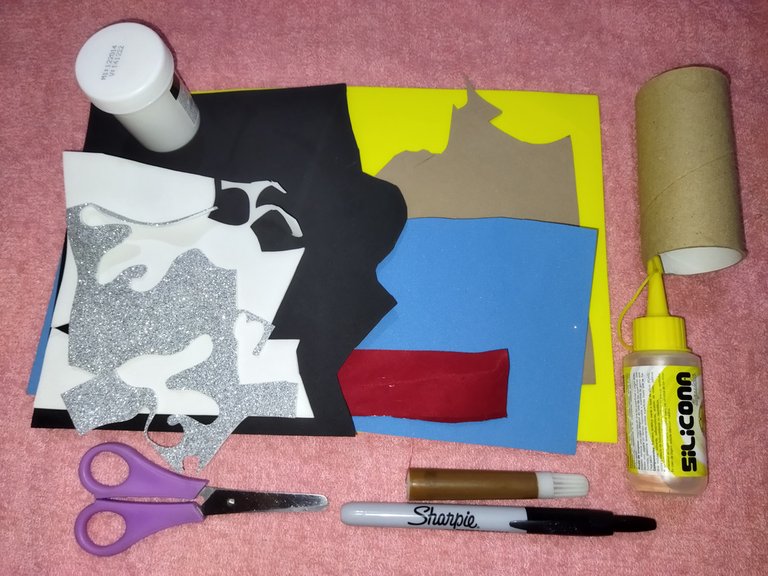
- Tubo de cartón
- cartulina
- Foami
- Foami escarchado
- pintura
- marcadores
- Silicona
- Tijera
- Cardboard tube
- cardboard
- Foami
- Frosted Foami
- paint
- markers
- Silicone
- Scissors


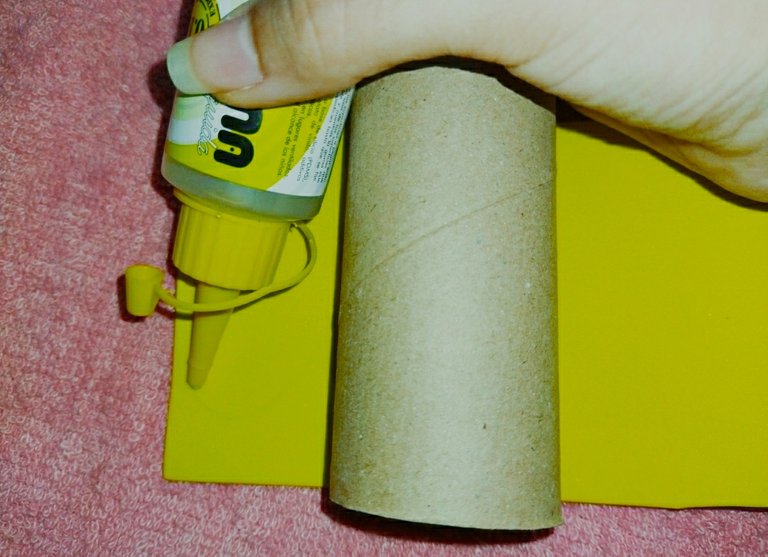
Primero forraremos nuestro rollo de cartón con el foami amarillo, medimos la altura del rollo, marcamos y recortamos.
First we will line our cardboard roll with the yellow foami, measure the height of the roll, mark and cut it out.
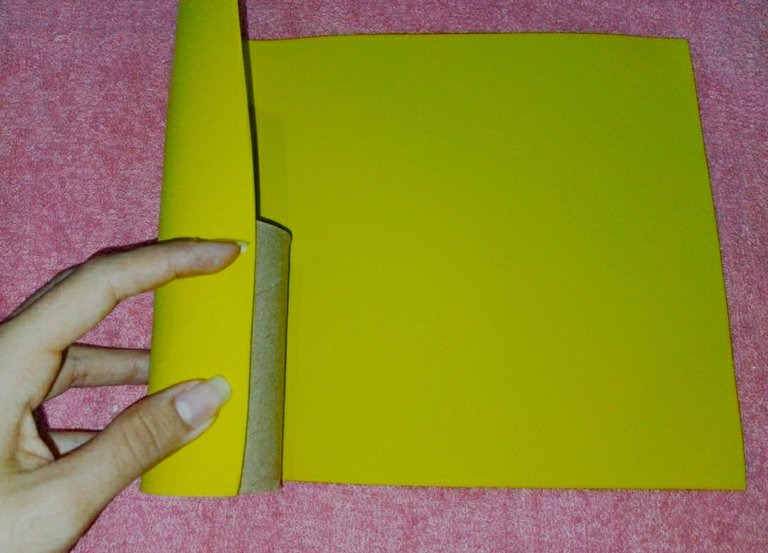
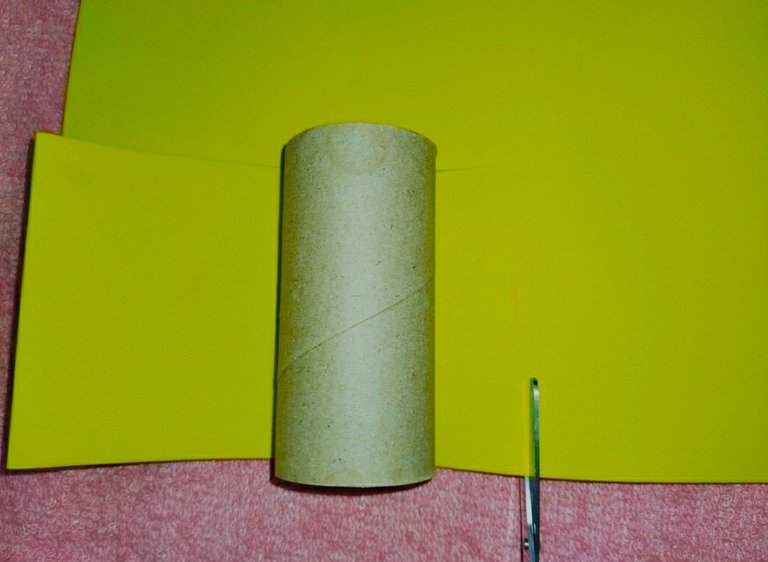

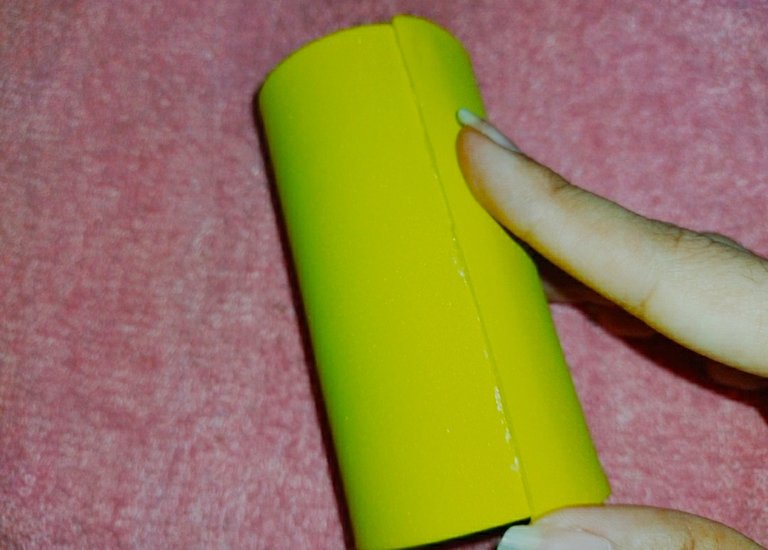
En uno de los dos extremos aplicamos silicona y hacemos presión con los dedos hasta que quede bien tenso el foami y pegado.
On one of the two ends we apply silicone and apply pressure with our fingers until the foami is well stretched and glued.

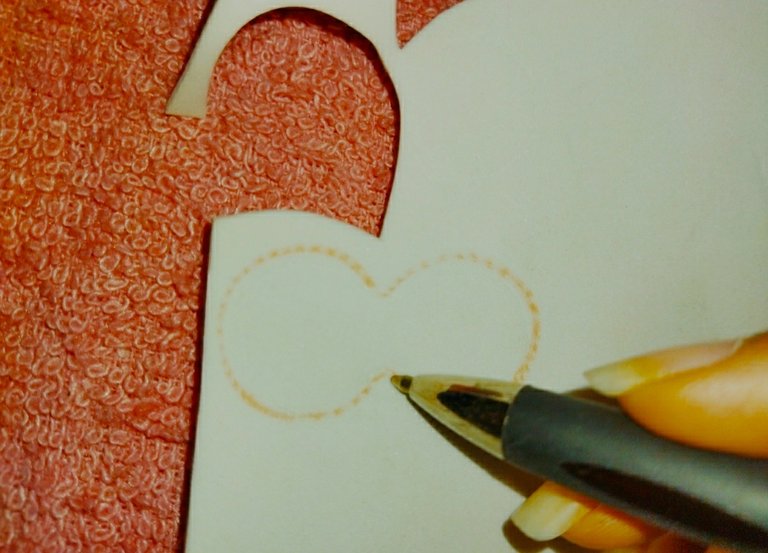
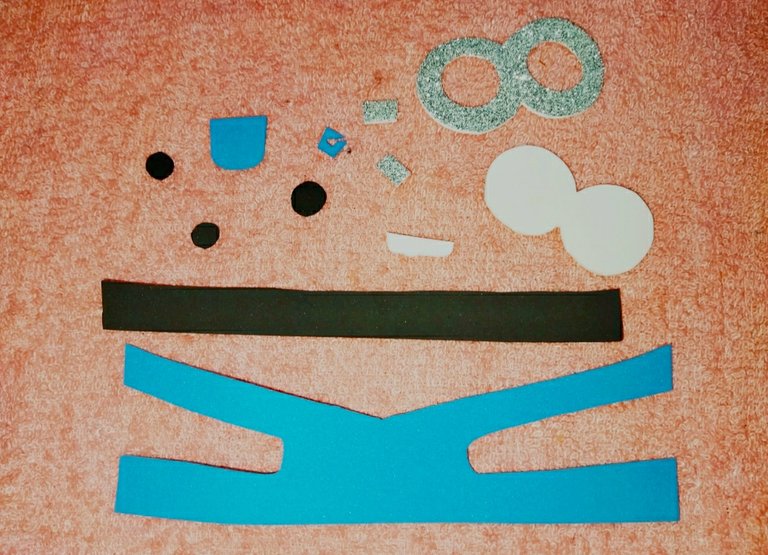
Ahora empezaremos a marcar las piezas, como los ojos, los lentes, su camisa, los botones y todos los detalles que confirma nuestra figura.
Now we will start marking the pieces, such as the eyes, the glasses, his shirt, the buttons and all the details that confirm our figure.
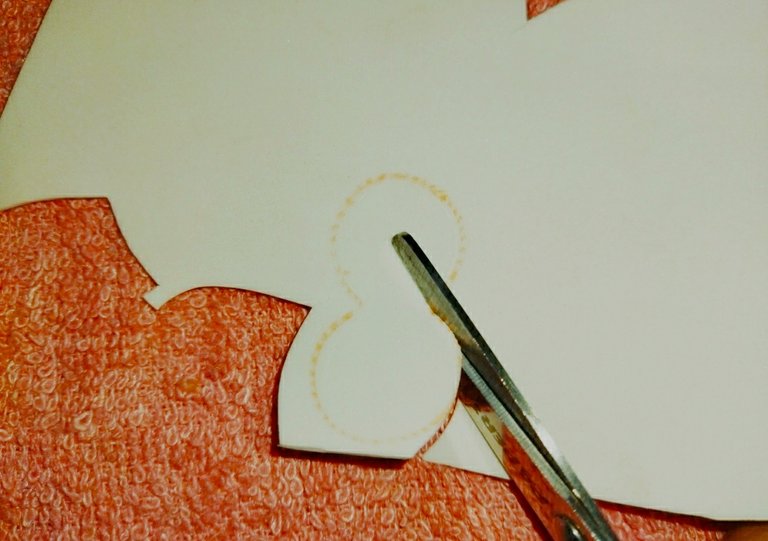

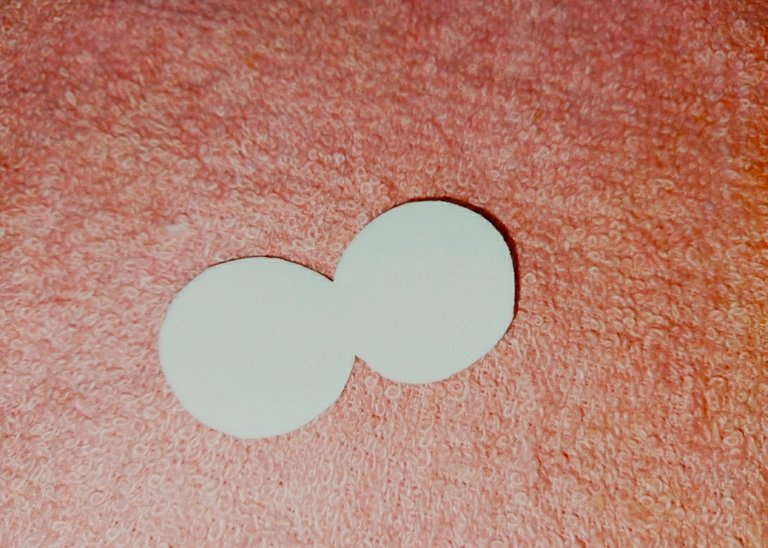
Una vez marcado recortamos con mucho cuidado todas las piezas, tomando en cuenta que algunas son pequeñas y necesitaremos mucha paciencia.
Once marked, we carefully cut out all the pieces, taking into account that some of them are small and we will need a lot of patience.

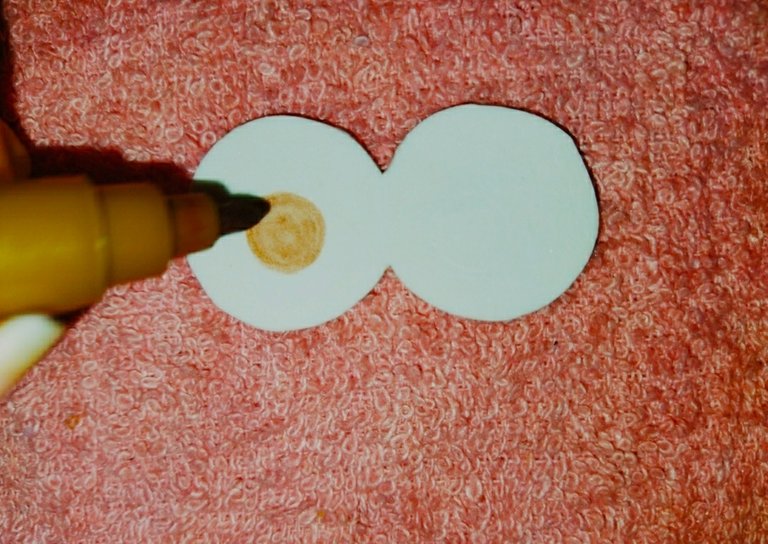
Luego lo que haremos será pintar cada una de las piezas agregándole todos los detalles posibles, especialmente dibujaremos sus ojos marrones con la ayuda del marcador, sin olvidar darle el punto de luz para que tenga un bonito acabado.
Then we will paint each of the pieces adding as many details as possible, especially we will draw his brown eyes with the help of the marker, without forgetting to give him the point of light to have a nice finish.
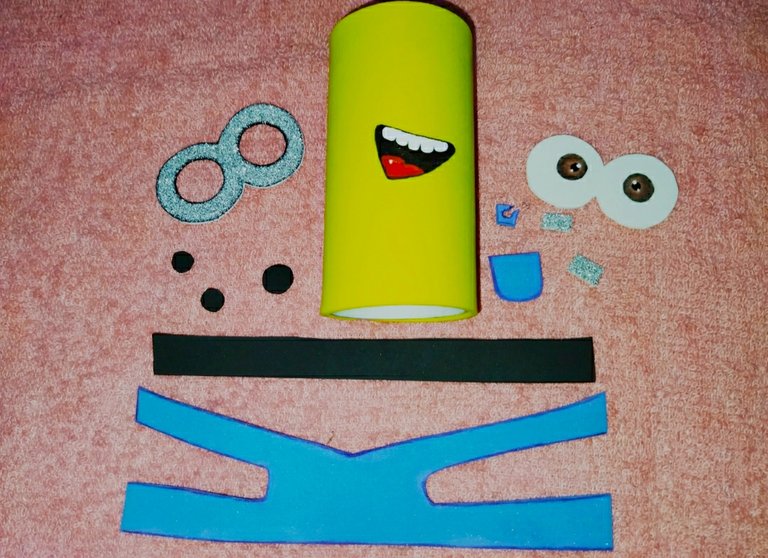

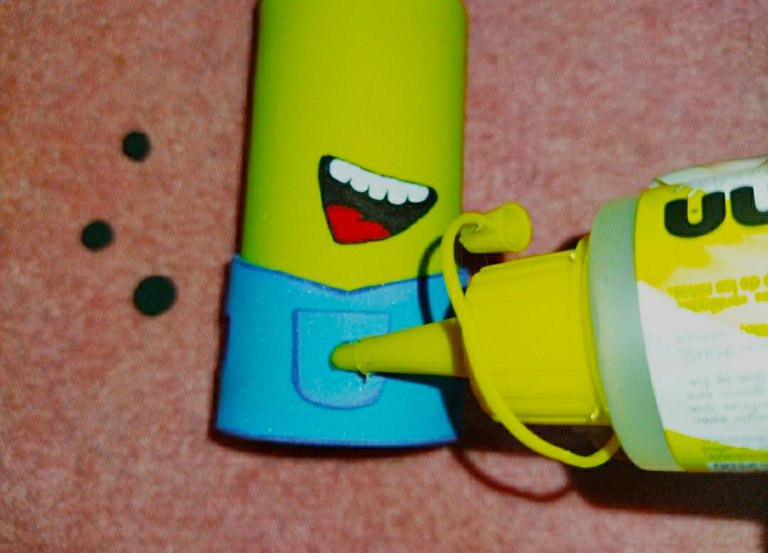
Finalmente pegaremos las piezas en el orden y lugar deseado, yo empecé con su camisa, bolsillo y botones, luego con sus lentes y ojos. Ya para terminar le agregué en la parte posterior un círculo de cartulina para tapar uno de los agujeros del rollo y así nos permita guardar cosas.
Finally we will glue the pieces in the desired order and place, I started with his shirt, pocket and buttons, then with his glasses and eyes. Finally, I added a circle of cardboard on the back to cover one of the holes in the roll to allow us to store things.
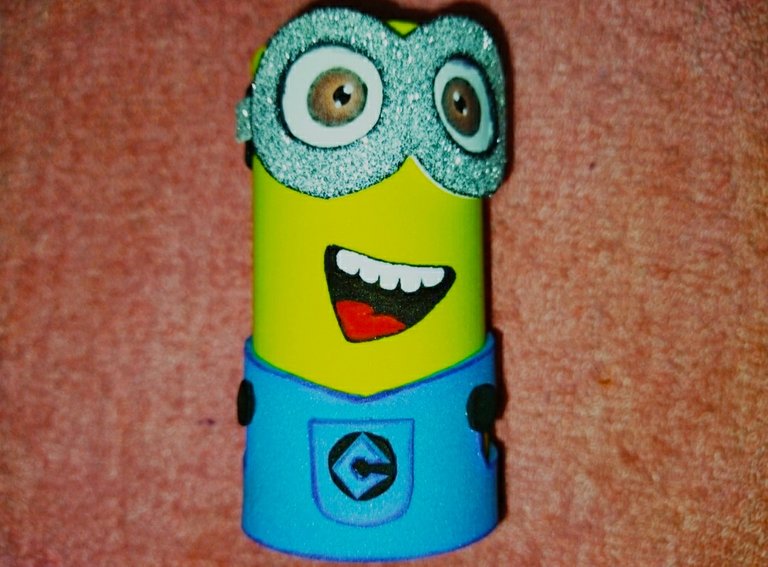

¡Listo! Hemos terminado nuestro divertido mini organizador de lápices, marcadores o tijera, aunque es pequeño podemos guardar lo esencial para trabajar nuestras manualidades, como les dije, no hay nada difícil que un poco de creatividad no logres hacer, super fácil y además muy útil, espero les haya gustado y se animen hacerlo con los más pequeñitos de la casa.
That's it! We have finished our fun mini organizer for pencils, markers or scissors, although it is small we can keep the essentials to work our crafts, as I said, there is nothing difficult that a little creativity you can't do, super easy and also very useful, I hope you liked it and encourage you to do it with the little ones in the house.
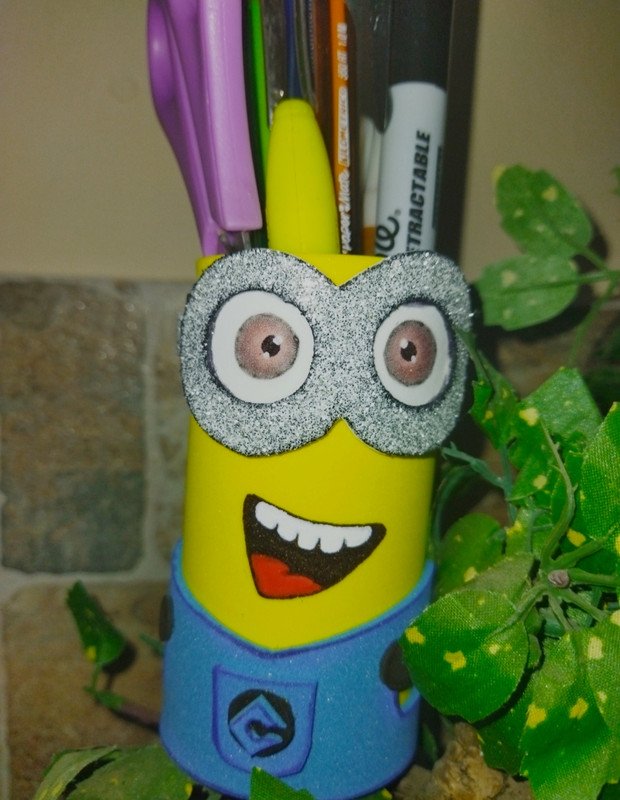
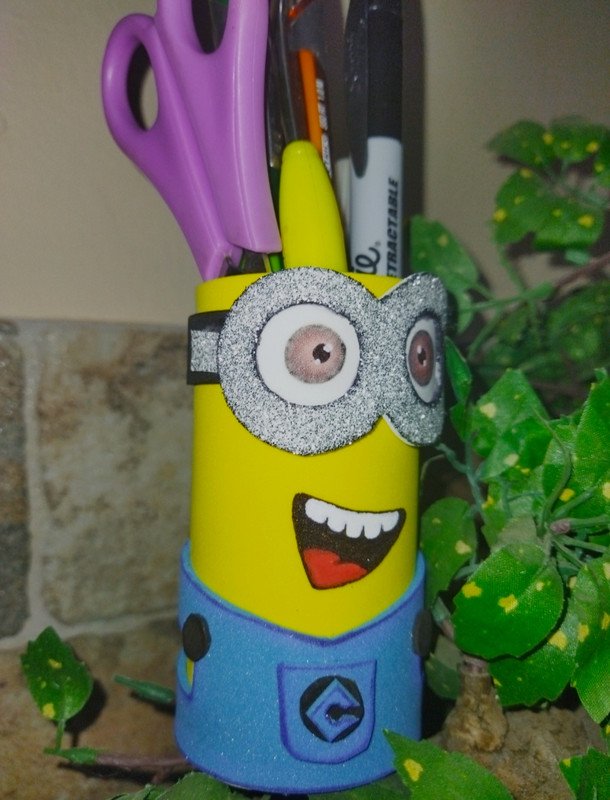

Lo mejor fue que parte de los materiales utilizados en ésta manualidad son materiales reciclados...verdes ante todo ✌🏻♻️
The best thing was that some of the materials used in this craft are recycled materials...green first and foremost.✌🏻♻️

- Todo el contenido es de mi autoría y las imágenes son de mi propiedad
- All content is my own and images are my property

Edición y Separador|Editing and Separator
App Picmonkey
Traductor|Translator
DeepL


Congratulations @edwarlyn11! You have completed the following achievement on the Hive blockchain and have been rewarded with new badge(s) :
You can view your badges on your board and compare yourself to others in the Ranking
If you no longer want to receive notifications, reply to this comment with the word
STOPTo support your work, I also upvoted your post!
Check out the last post from @hivebuzz:
Support the HiveBuzz project. Vote for our proposal!