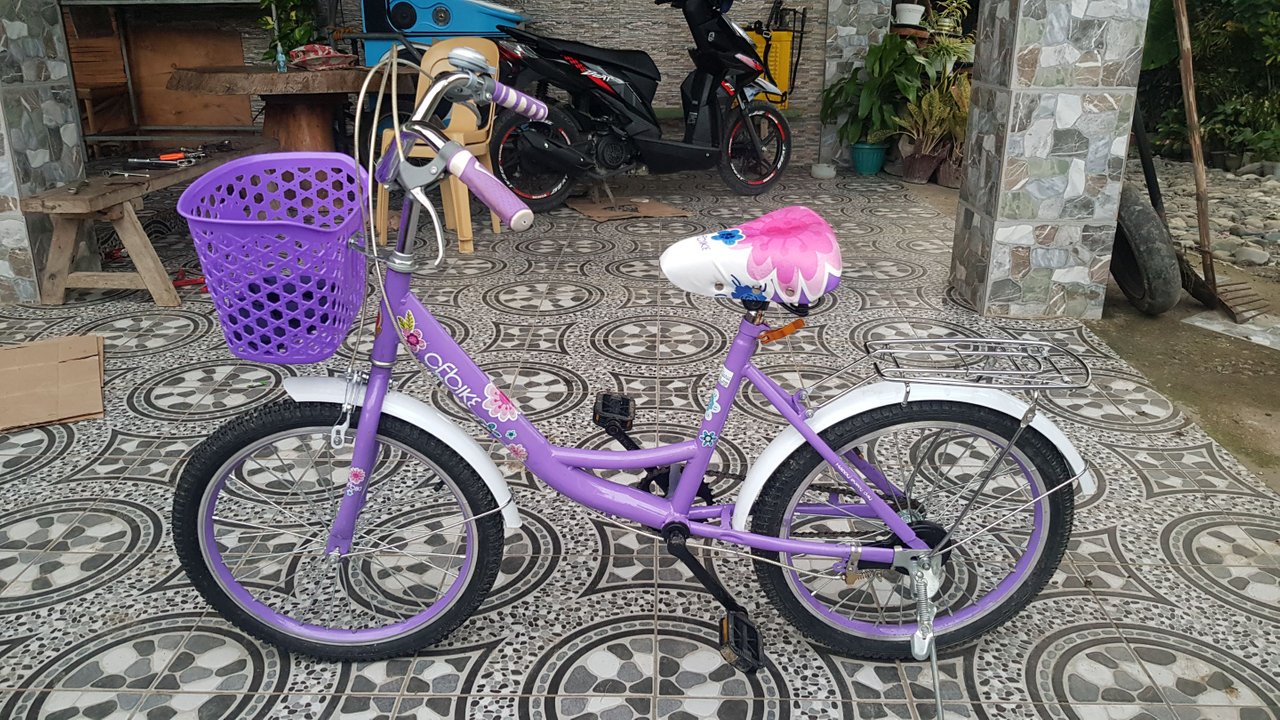
Greetings!
It was Saturday afternoon when my niece Athena came back from biking. She led her bike from a nearby basketball court to our house. I heard her saying, "my bike's chain is removed". Being the only person in the house that has little knowledge of bicycles I immediately took a look at her bicycle and indeed the chain is off the sprocket (photo below).
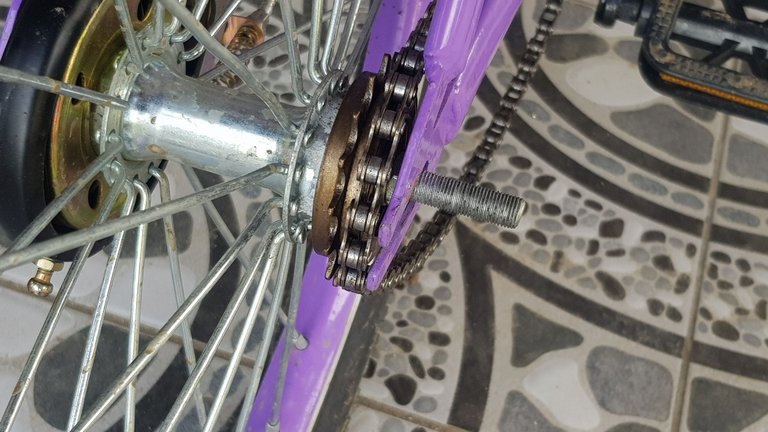
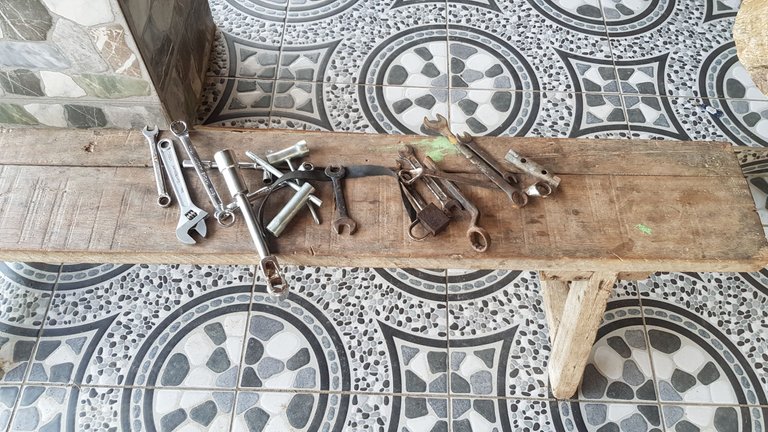
When I heard what she said I immediately knew that the rear wheel is out of alignment probably because of a loose nut. A loose nut will alter the alignment of the rear wheel which can cause the chain to get off the sprocket. Before I began fixing her bike I took first my tools (which can be seen in the photo below).
Since I already have an idea of what went wrong with the bicycle I first loosen up all the nuts of the rear wheel so that I can freely move it backward and forward. But then I realized that I also need to loosen up the two nuts that held the rear brake in place so that I can finally do the re-alignment.
After loosening up all the nuts I attempted to re-align the rear wheel. But I quite having a hard time so I decided to remove the read mudguard and the bike side stand together with the two outside nuts (photo below).
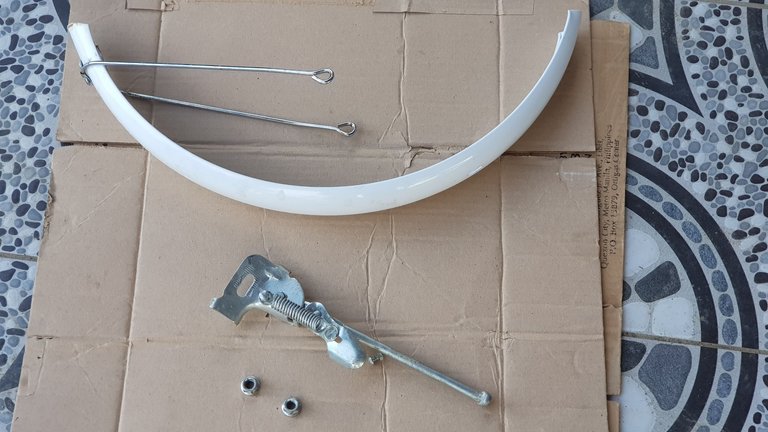
After a few attempts, I noticed that whenever I try to tighten up the nut when I finally achieved the desired alignment the wheel moves forward whenever I try to tighten up the nut, therefore, ruining the alignment.
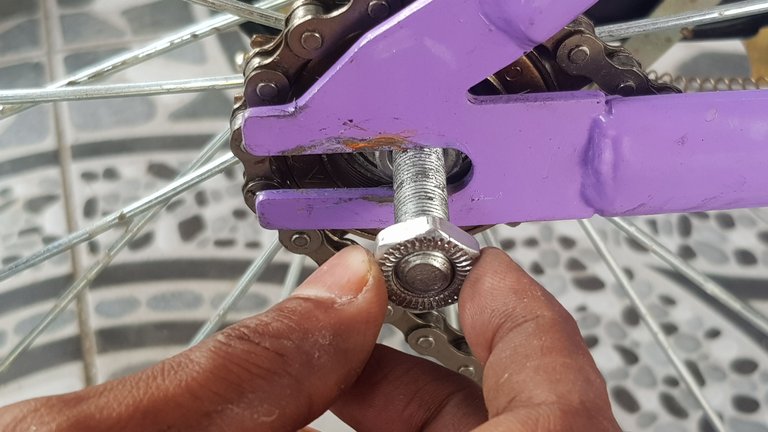
At that point in time, I now start to feel frustrated because I am not able to tighten up the nut. Out of my burgeoning frustration, I blankly stare at the sprocket and the chain (photo below). I realized that there is something missing. And then I remembered that a couple of days ago I detached all the parts attached to the rear wheel so that I can bring it to the repair shop to repair the crumpled spokes. It was one of my male nieces who assembled it back and he failed to attach all the necessary parts. With that being said, I rushed to the cabinet where I put all the parts that I detached. To my relief, I found the missing part.
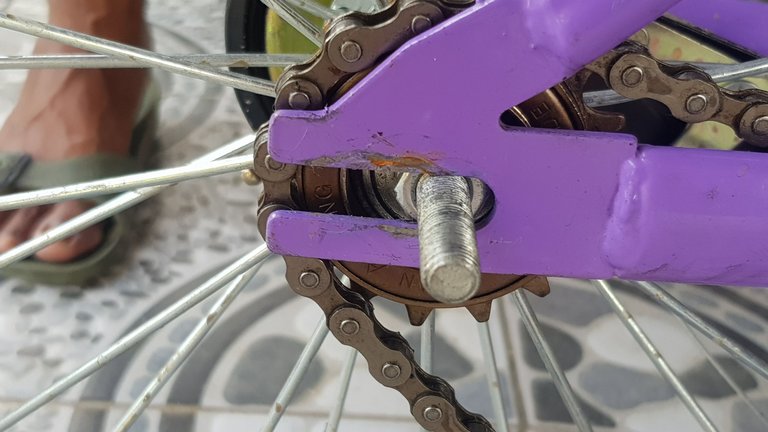
And here is the missing part of the bicycle, I do not know what it is called but I know quite a bit that it is used to hold in place the alignment of the rear wheel and is also responsible in tightening or loosening up the chain.
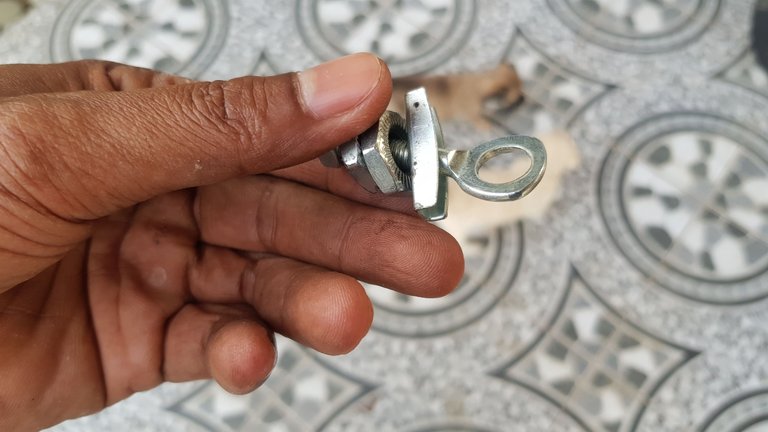
To be honest, I really don't remember where I exactly removed the part and I really don't know where to exactly install it. So I just assumed that I have to install it near the rear sprocket (photo below).
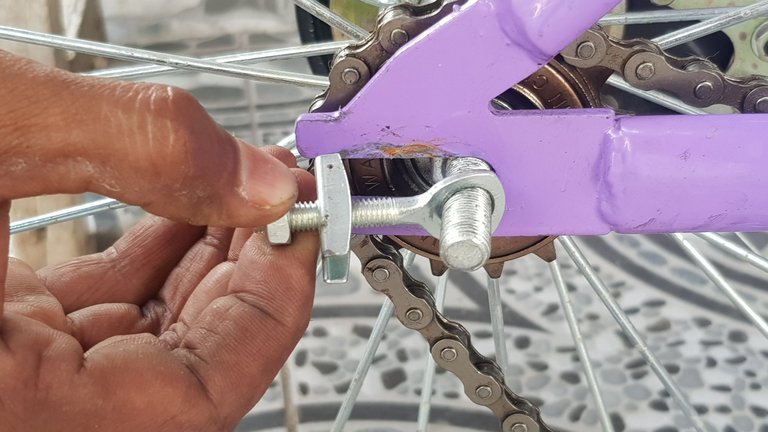
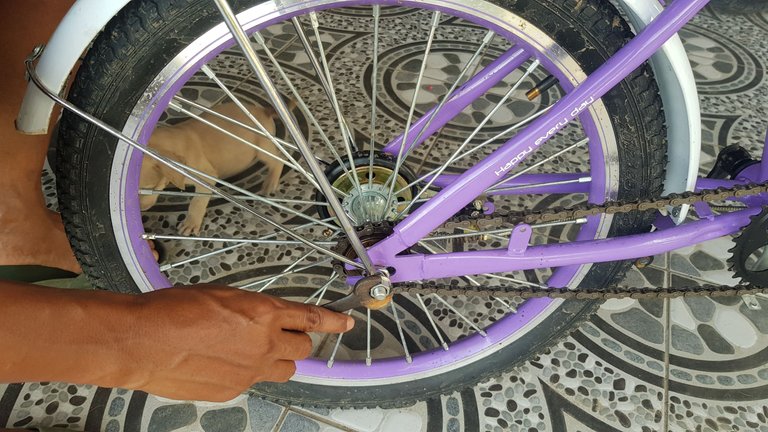
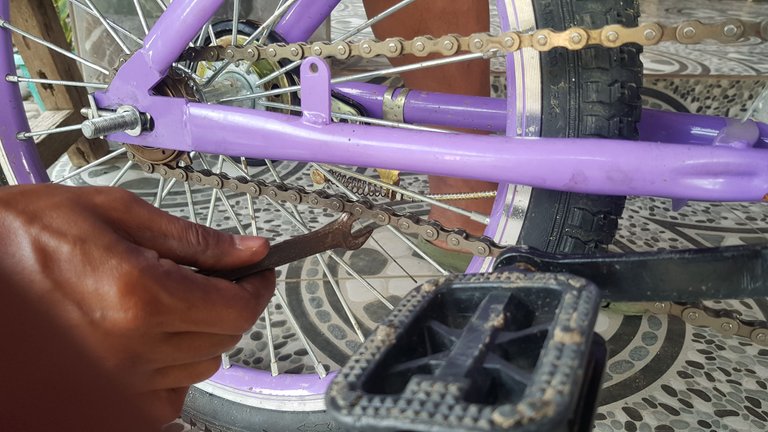
After I installed the missing part I checked the tightness of the chain by pushing upward the bottom part of the chain using a wrench (photo below).
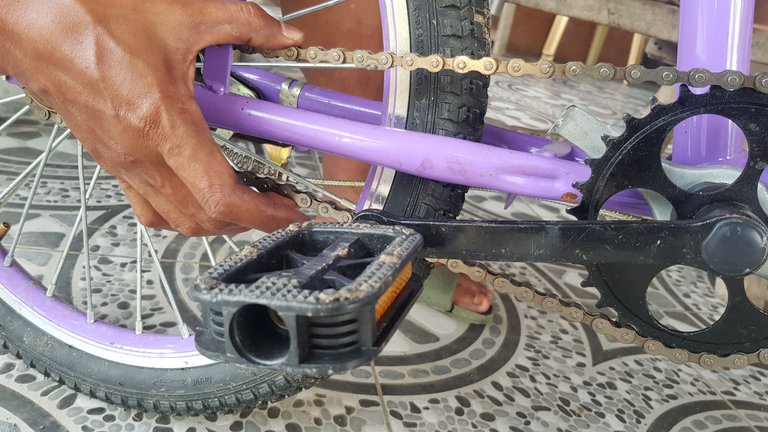
Another way to check the tightness of the chain is to squeeze them with your fingers (see photo below). After I achieved the ideal tightness of the chain I attempted to tighten up the nut of the rear wheel (near the rear sprocket).
And voila, the wheel did no go forward when I tigthen up the nut after I re-align the rear wheel.
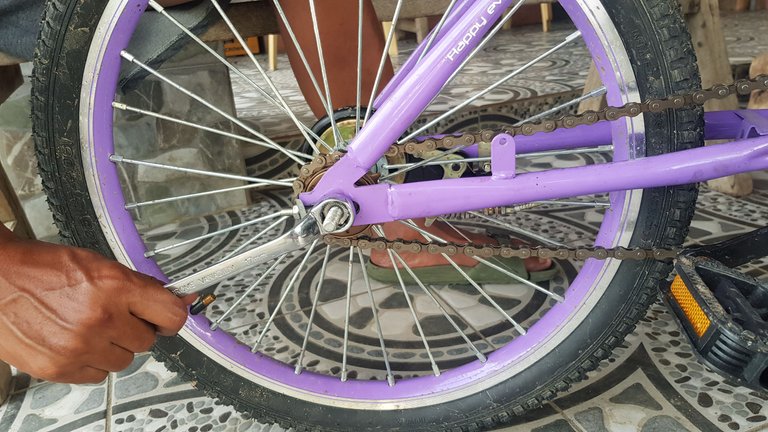
Then I next installed the rear mudguard, the side stand, and the outside nuts then I tightened them all up (photo below), I did tighten also the nuts that held the brake in place.
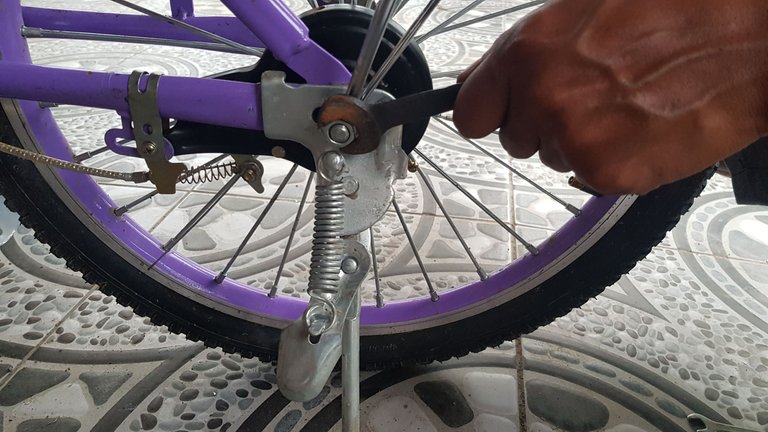
And here it is after I am done...

That is all for now guys, catch you up with the next one. Wishing you all safety, good health, and abundance.


Very good that uncle fixing his niece's bike, I love it ❣️. I recently decided to refurbish one but I still don't dare to remove a single screw, everything leads to them fixing it but it seems that you touch something and something else is out of calibration. But they are so comfortable, I'm used to getting everywhere fast.
I'm glad that you have identified what the problem was, when sometimes there are parts left over, it is for a reason. Glad you had it on hand.
Greetings, have a good day 😃.
Thank you (^_^)
Very comfortable indeed and not accident prone.
Have a nice day ahead.
ohh nice Bicycle, good uncle!!
Thank you (^_^)
I'm sure you made her very happy with the bike repair. Cool Tito and nice color for the bike too!
Yes, she was very happy, she used it immediately after I am done.