FULL ENGLISH VERSION
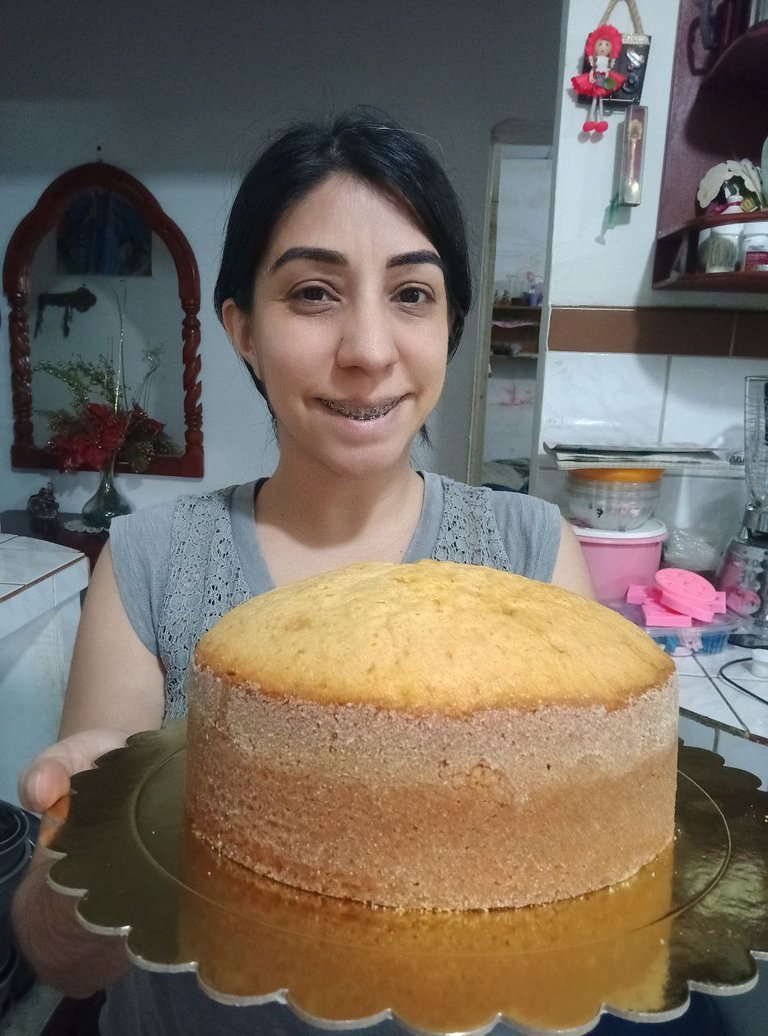
Learn how to make this delicious and spongy cake 🎂
Hello hello beautiful people of HIVE of this beautiful community of @creativecuisine in this opportunity I share with you a recipe for a delicious cake that I made for a client who asked me a little low sugar.
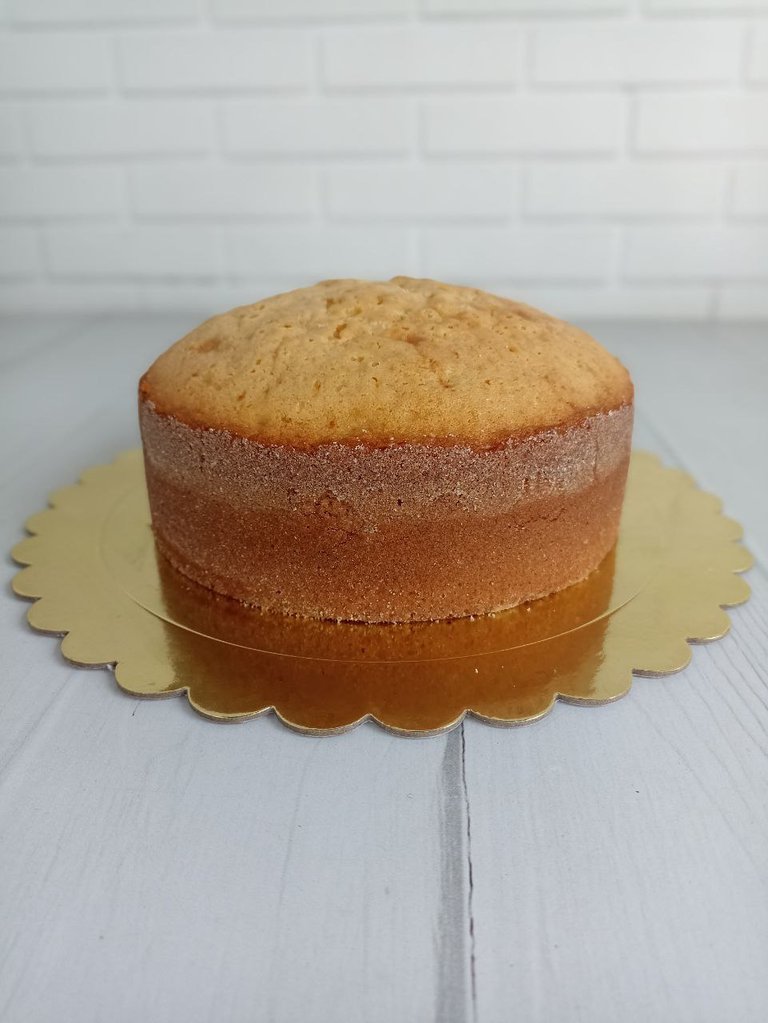
I confess that at first it took me a little out of my comfort zone because I have my usual recipe that I am used to working with and I was afraid to lower the sugar, so I got a little creative and not only lowered the sugar but also increased other things like the amount of flour and margarine so that it would be of a similar size and weight to what I usually make.
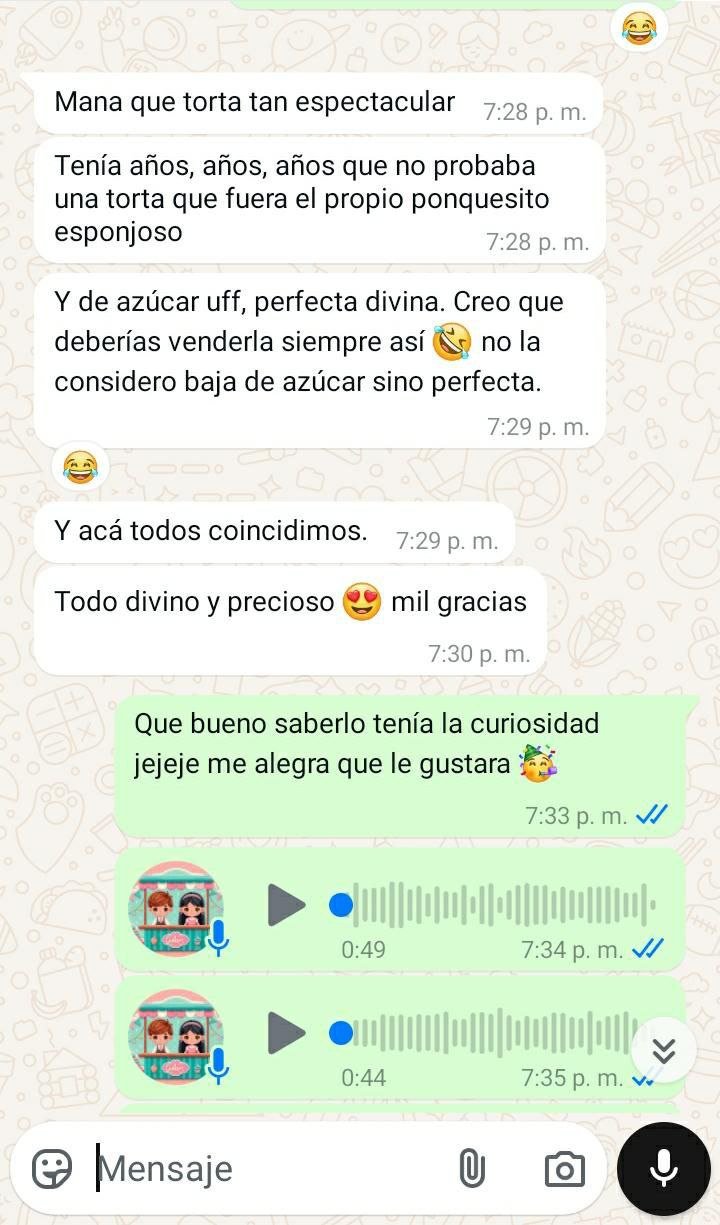
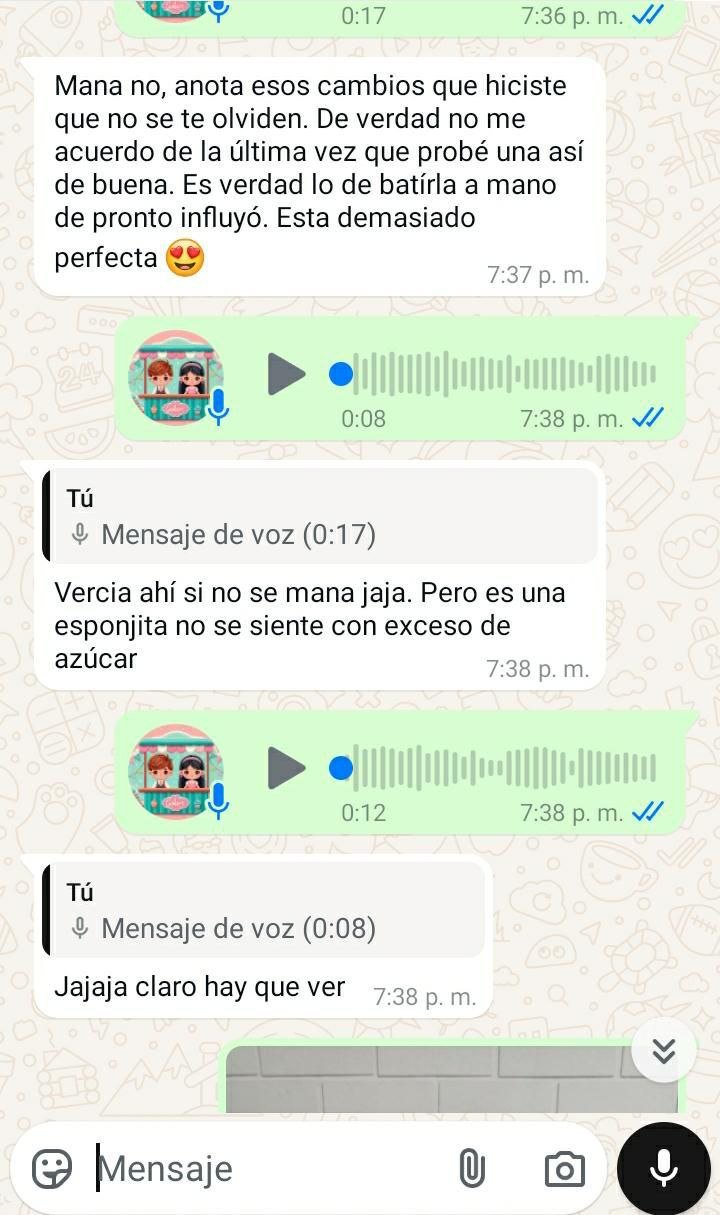
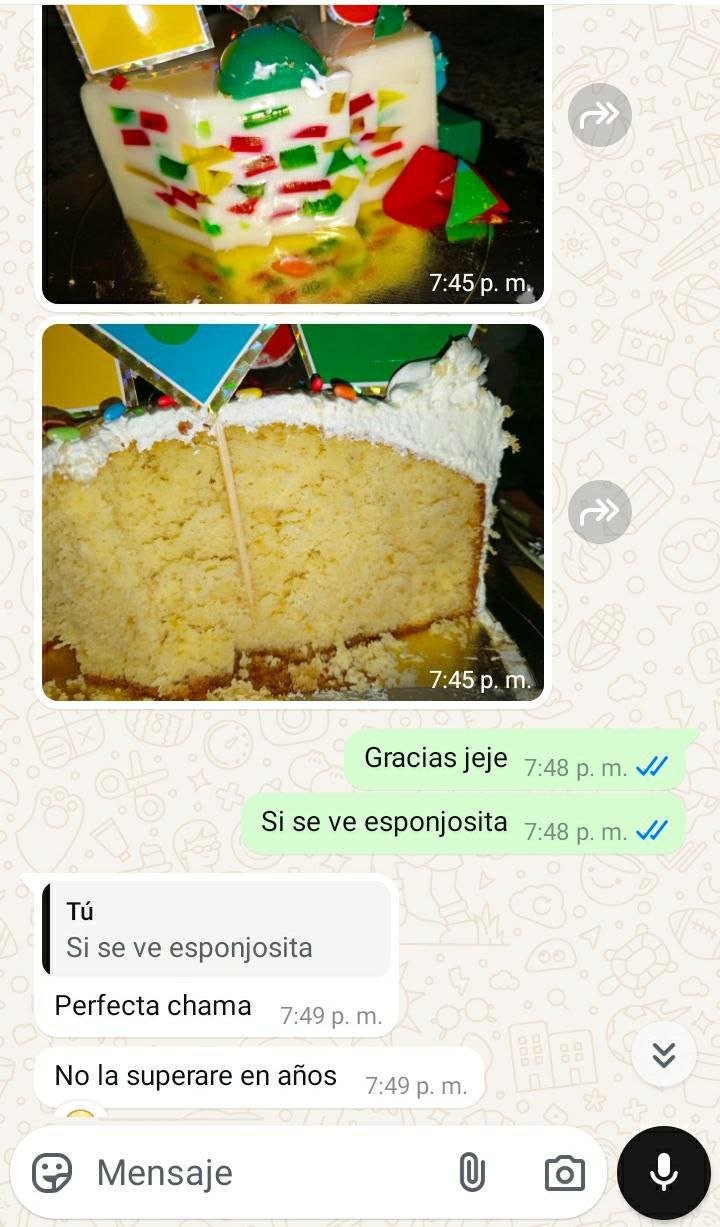
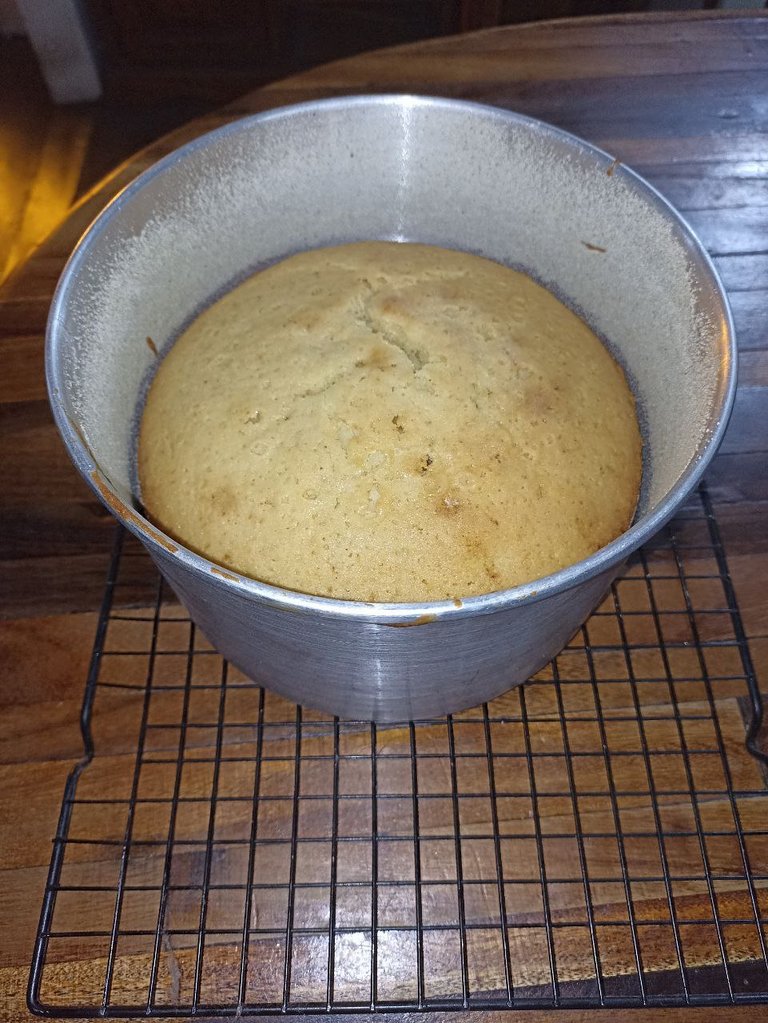
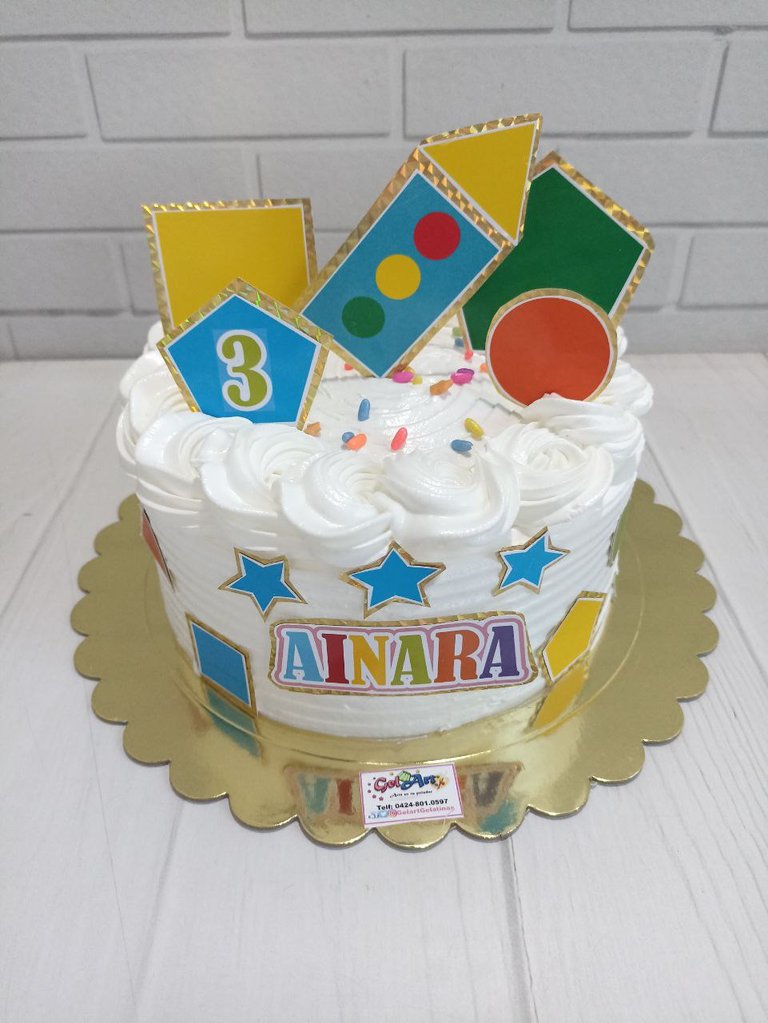
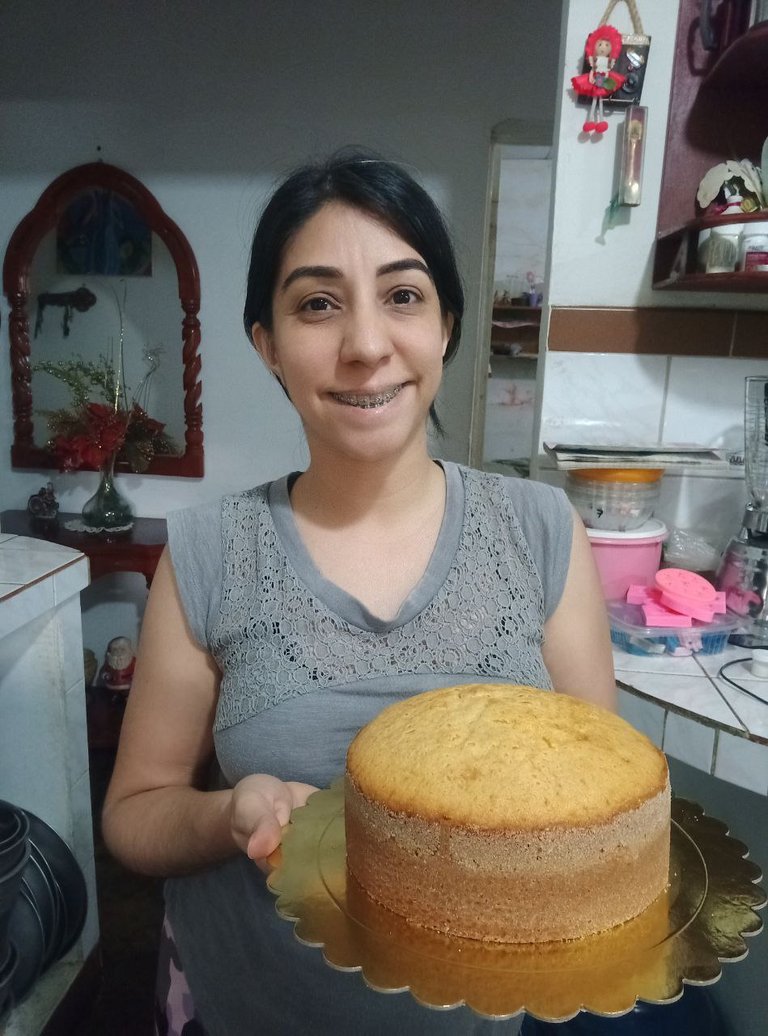
The visual result, as you can see in the photo, was beautiful 😍 but I was curious about how it tasted and I was still waiting for the client to write me and he told me that it was delicious, that he loved it 🙏.
So since this recipe passed the test of a client who is quite demanding, I share it with you below. Because she asked me to write it down so she wouldn't forget it, I leave it here in HIVE for posterity ❤️.
 |  |  |
|---|
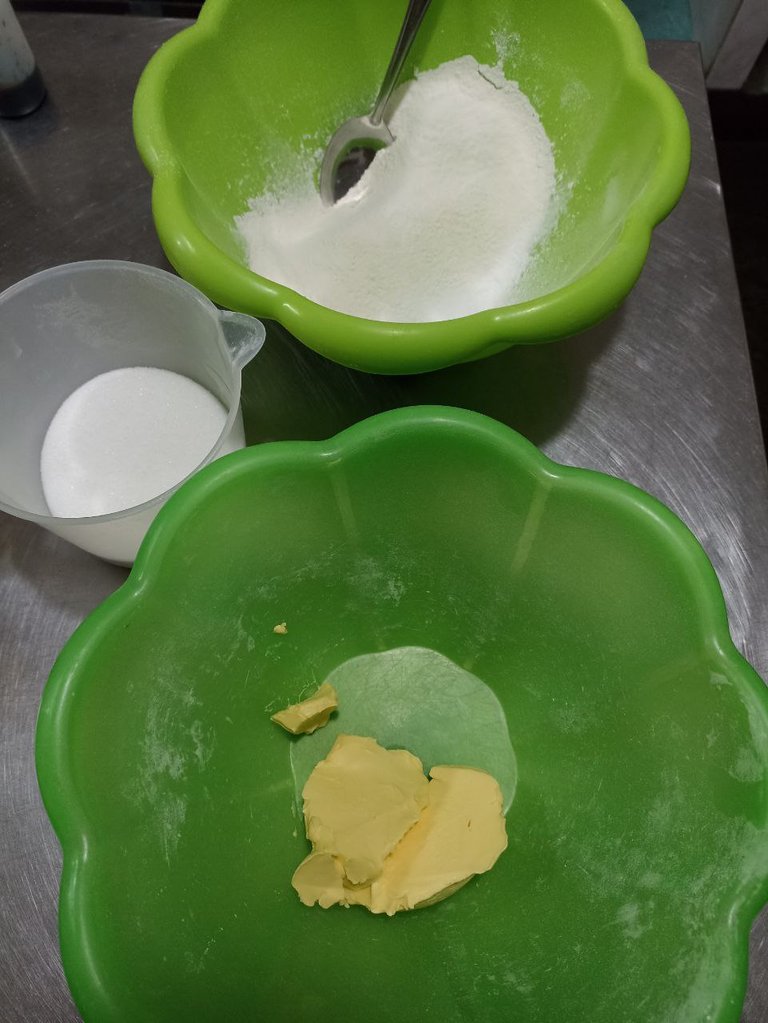
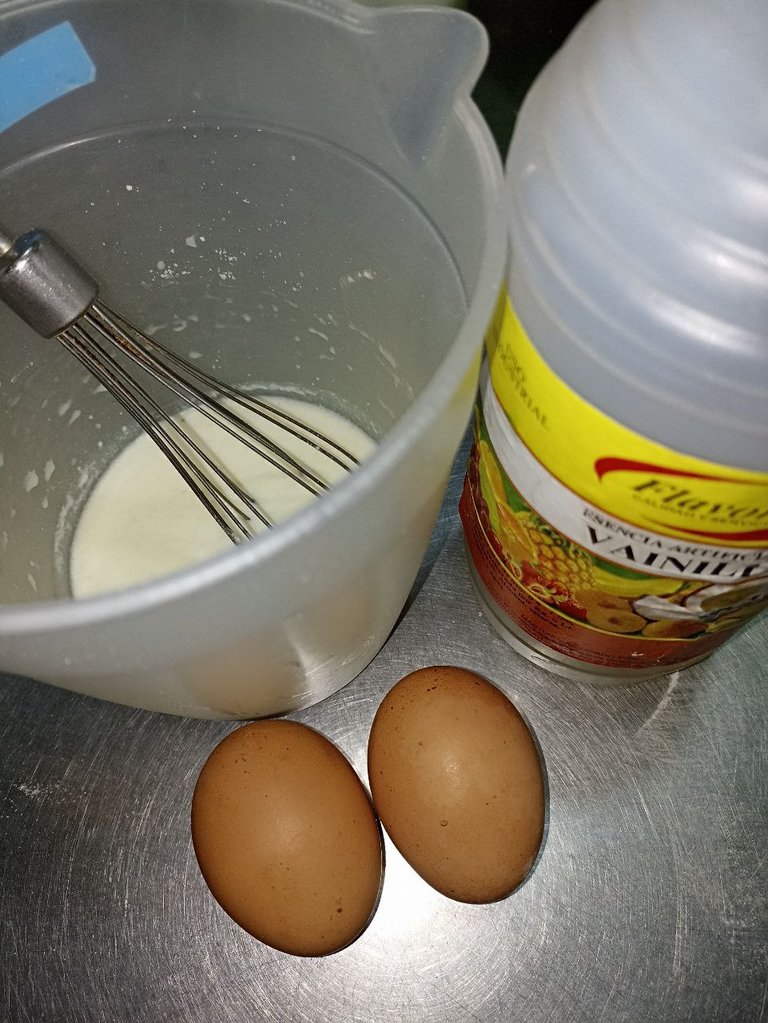
Ingredients:
- 280 grs. leavening wheat flour.
- 240 grs. sugar.
- 130 grs. margarine.
- 2 eggs.
- 1/2 tablespoon vanilla.
- 200 ml of milk.
 |  |
|---|
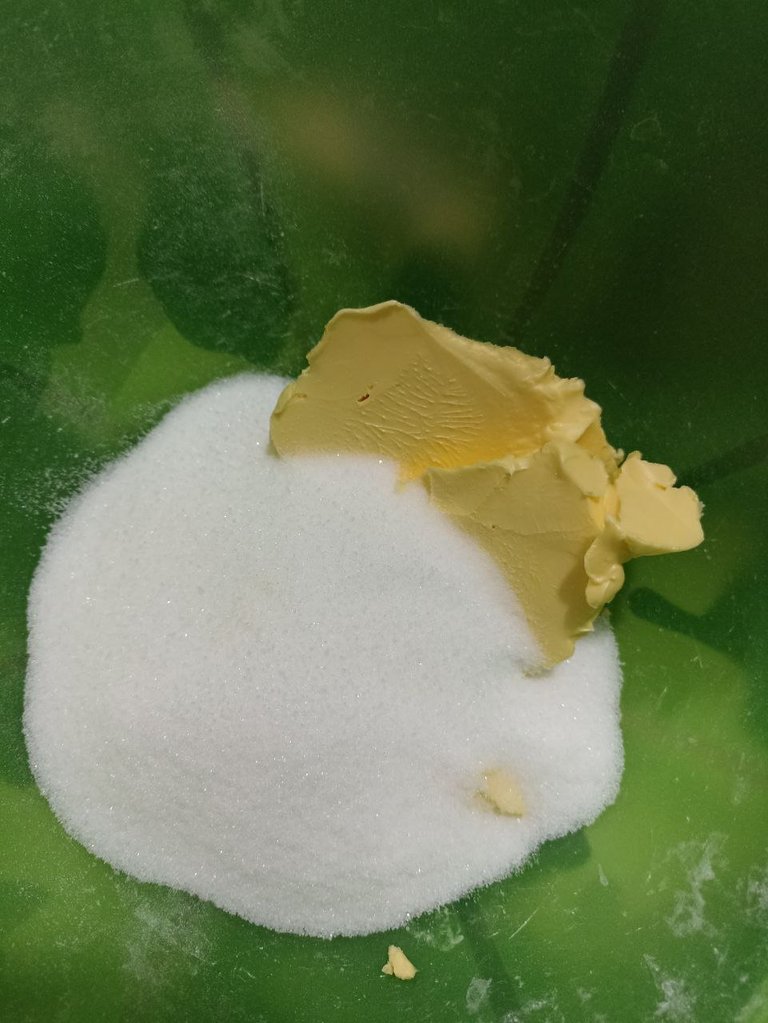
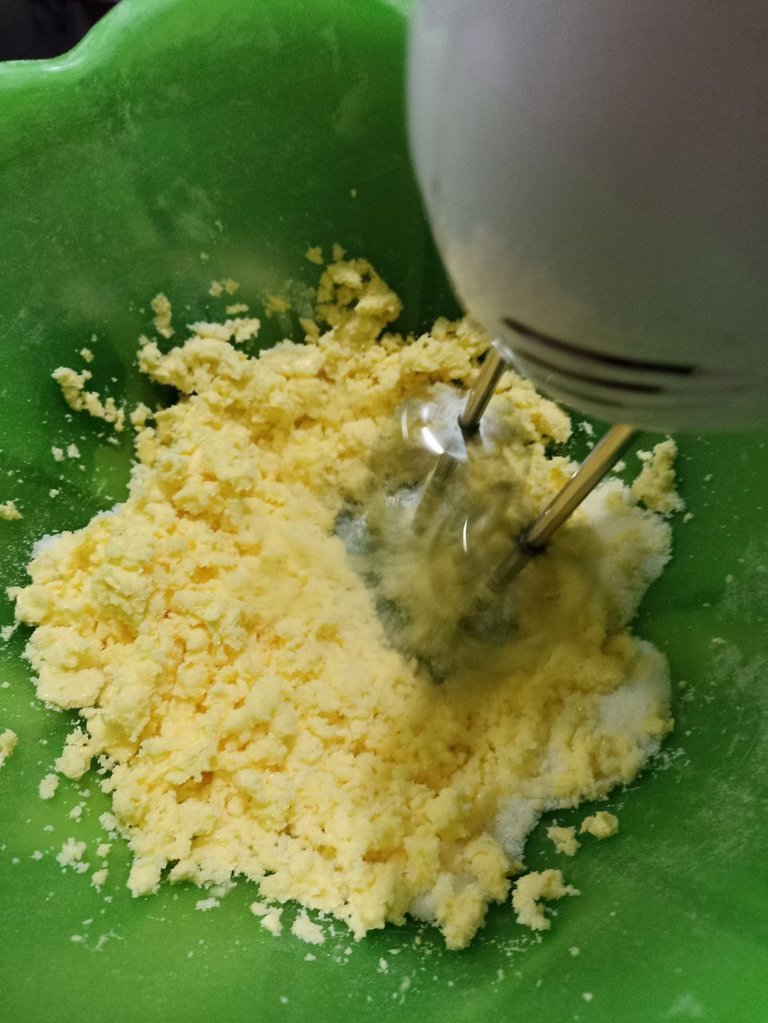
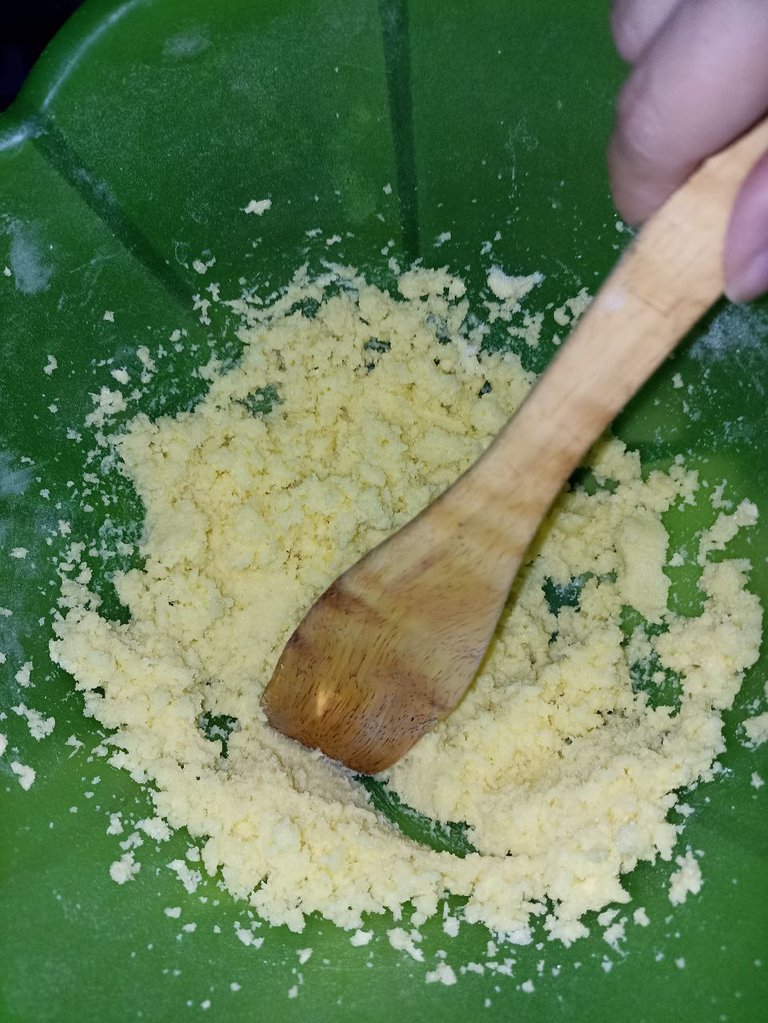
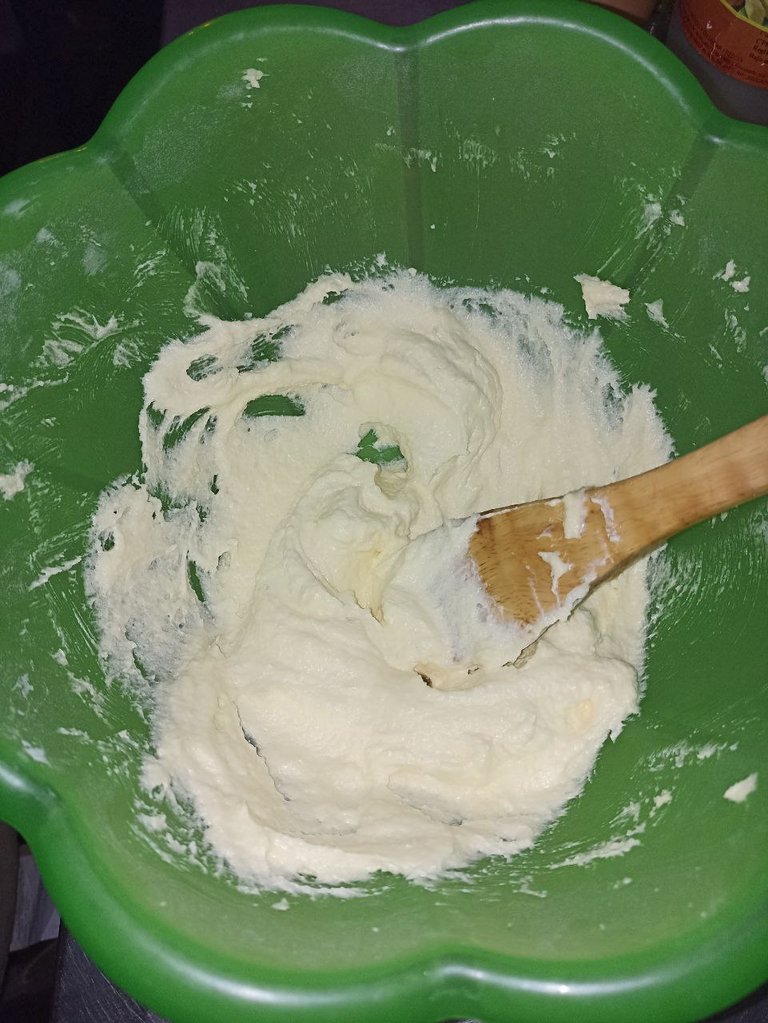
For the preparation the first thing we do is mix the butter with the sugar well until it has a smooth, creamy and super light yellow consistency. In this step I started with the electric mixer and I had to continue with a paddle like the people before because the power went out 😥.
 |  |  |  |
|---|
After the butter and sugar are well beaten, I added the egg yolks one at a time and continued beating vigorously with a paddle until fully integrated.
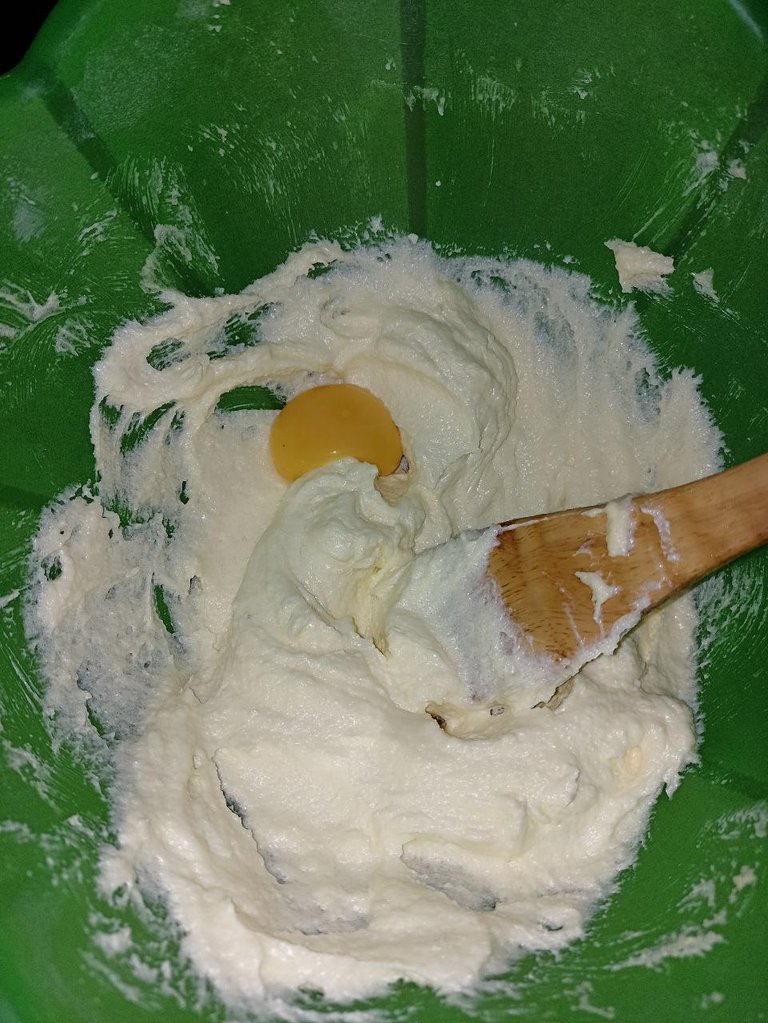 | 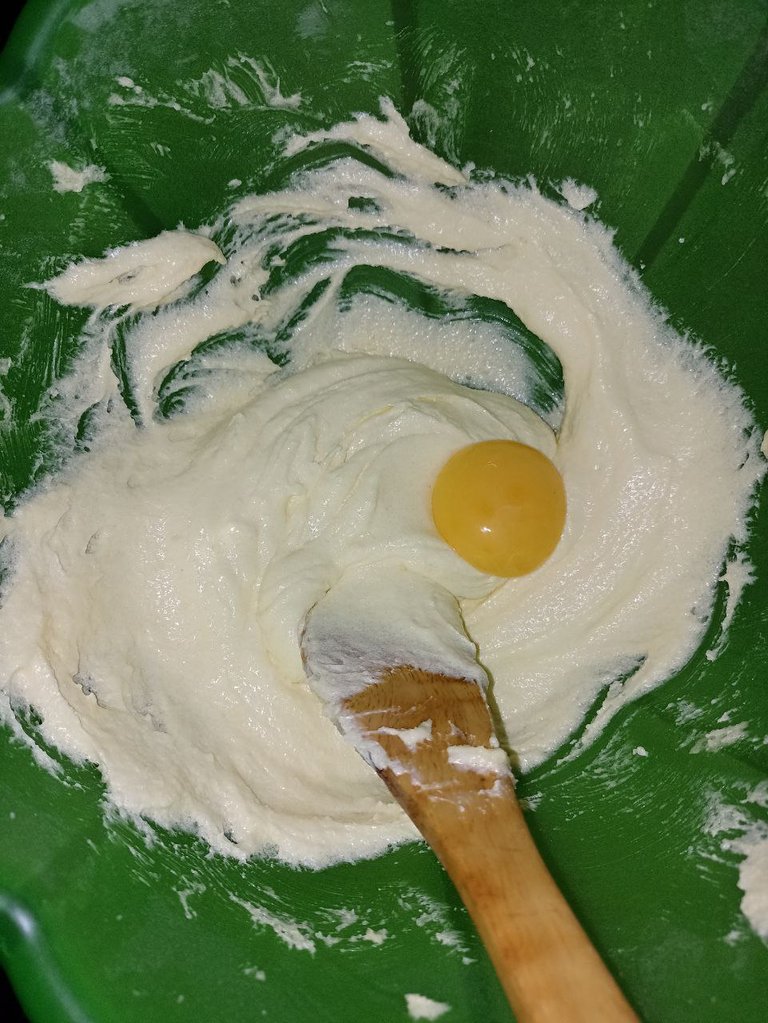 | 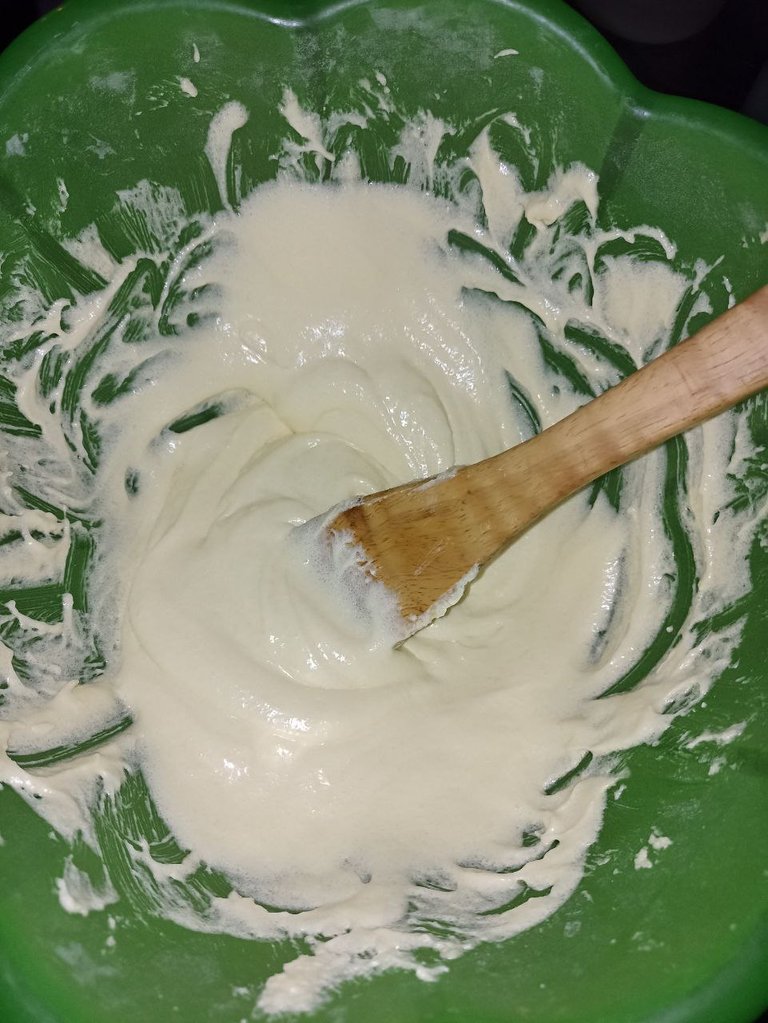 |
|---|
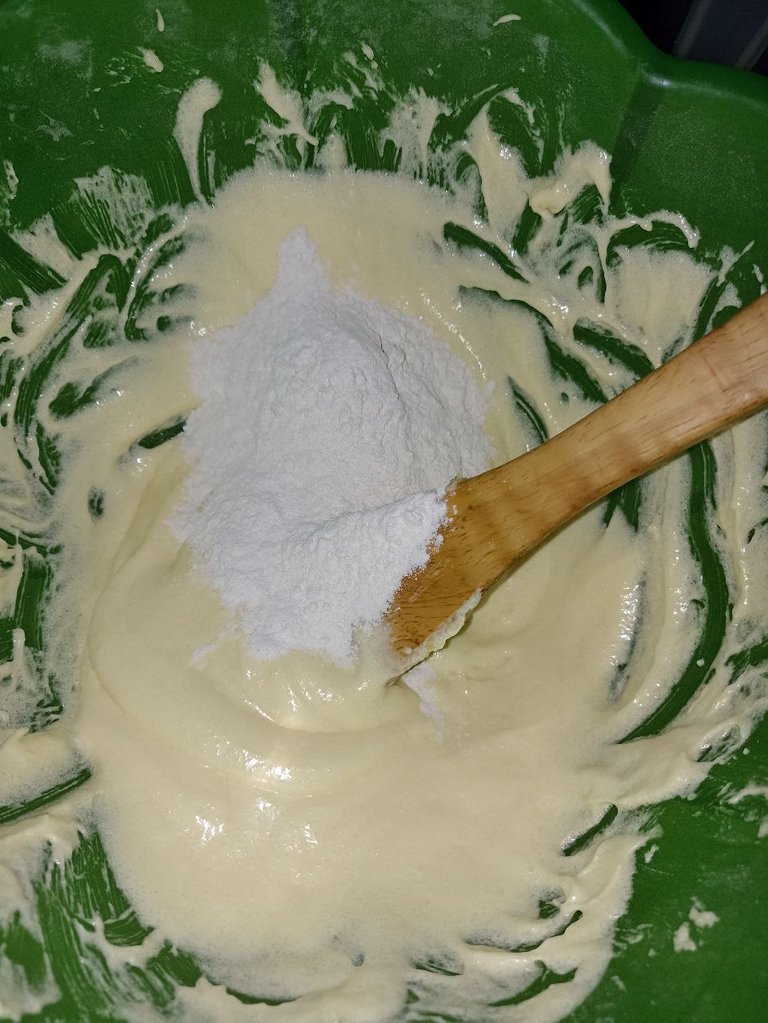
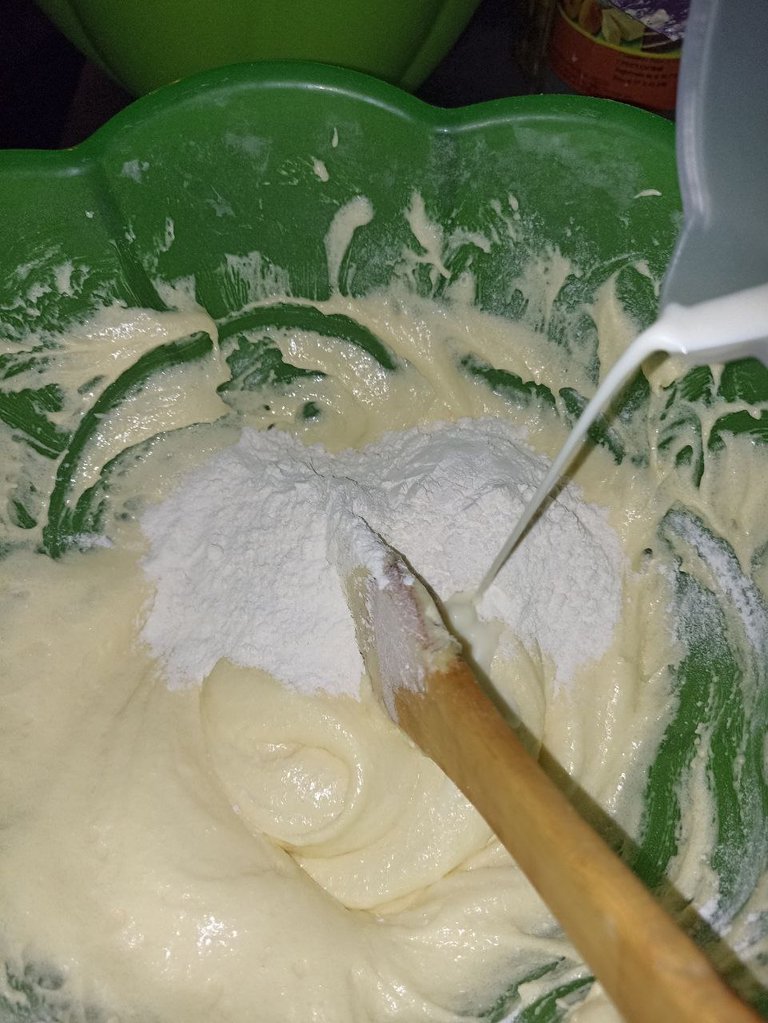
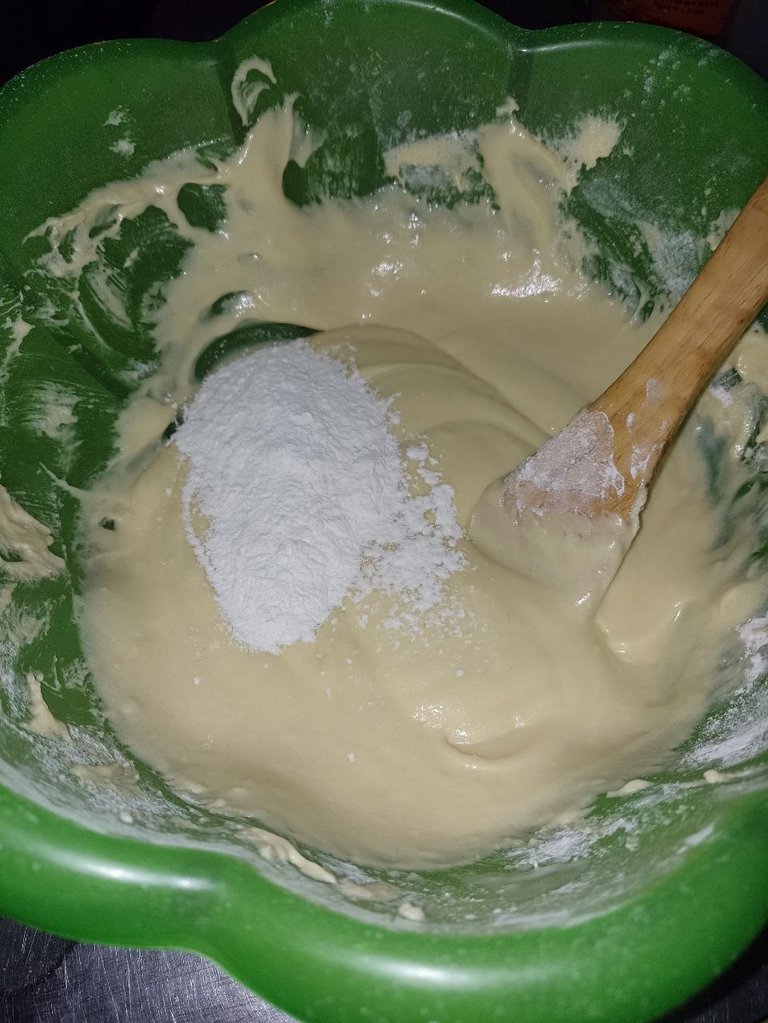
After adding the egg yolks, I proceeded to add the wheat flour and milk a little at a time, alternating first flour, then a little milk and so on until I finished adding all the flour and milk.
In this part it is not necessary to beat so much or with so much force, it is simply done until the materials are well integrated, beating more than necessary may cause the leavening agent to activate prematurely and this causes things like the hollow in the center of the cake and that they do not grow beautifully.
 |  |  |  |
|---|
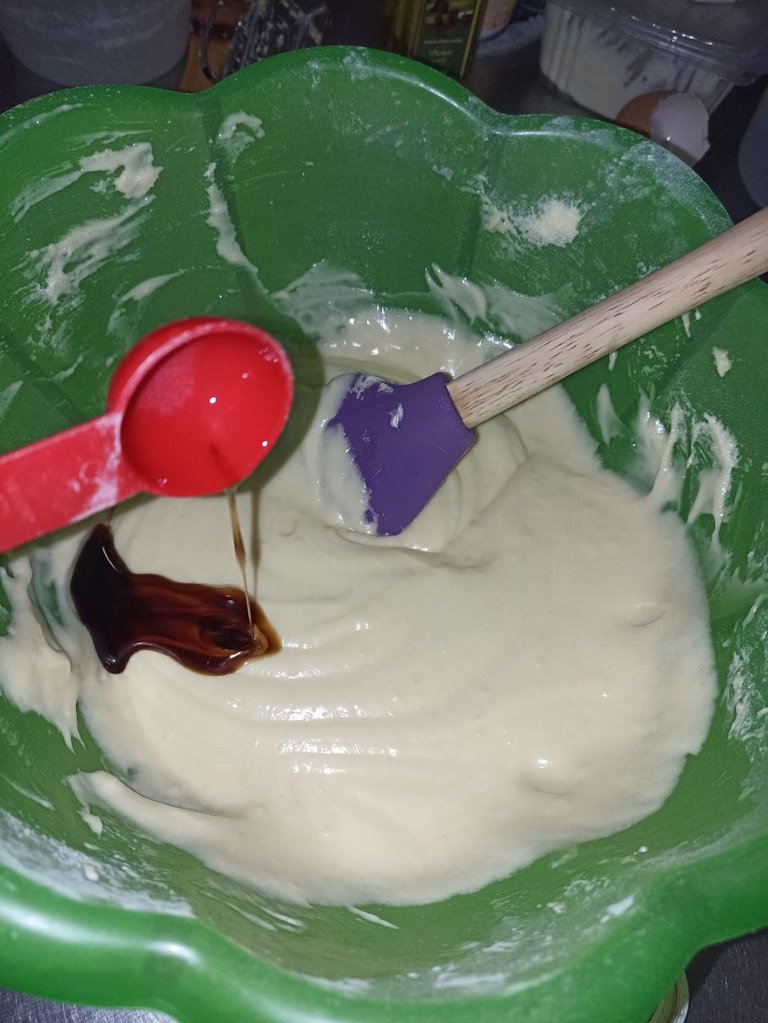
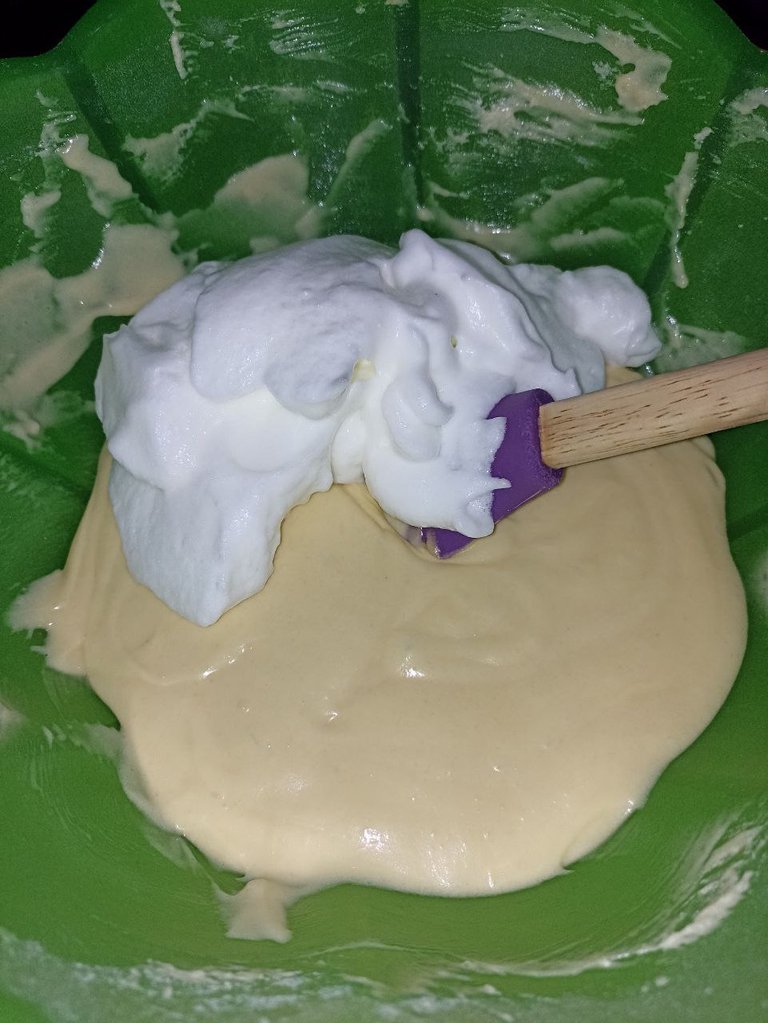
After I finished adding the milk and the wheat flour, I added the vanilla and put the mixture on hold to add the egg whites to stiff peaks to make it fluffier.
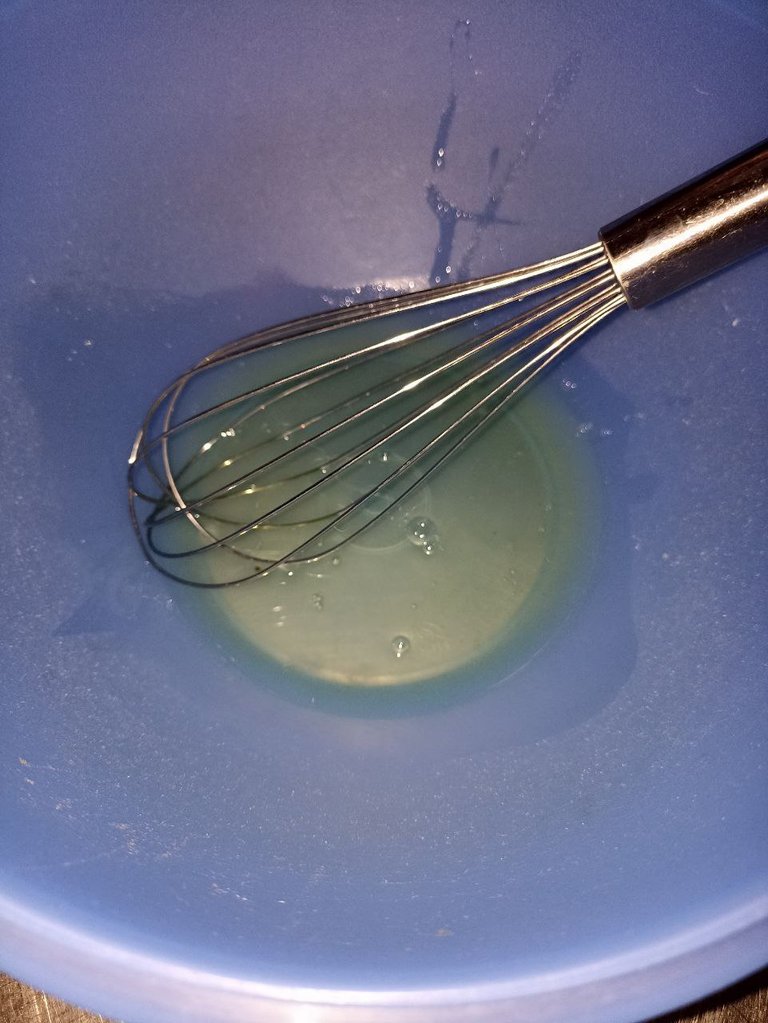
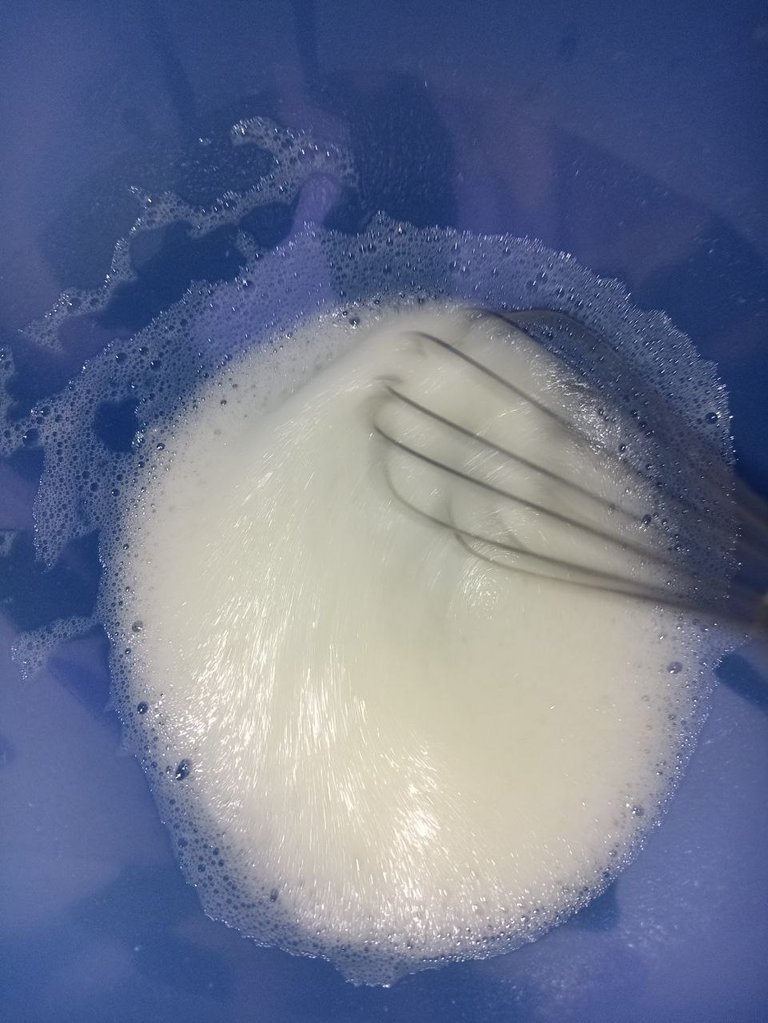
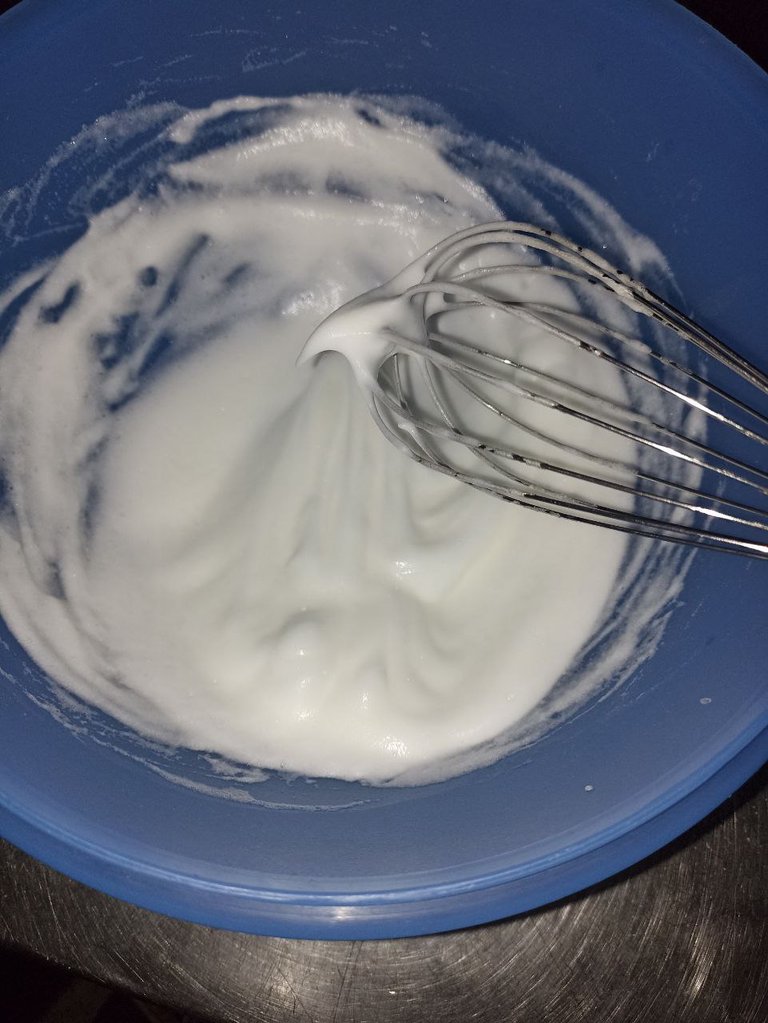
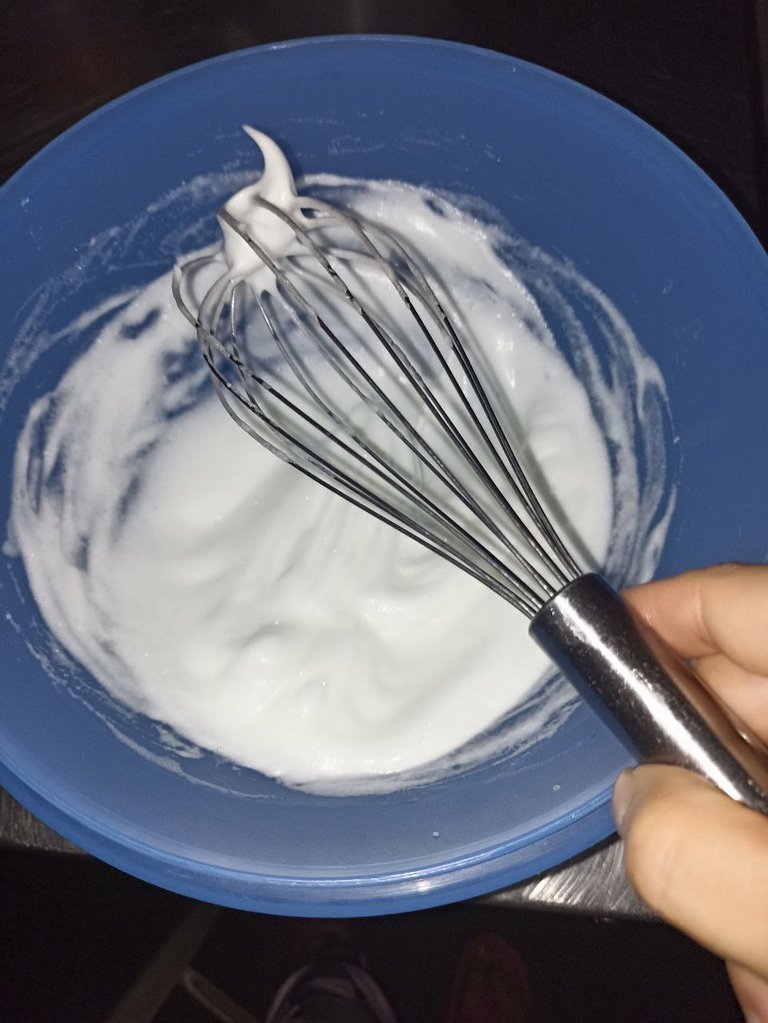
In another container I started to beat the egg whites until they were stiff, this was a super hard work to do it by hand, first time I do it this way, my respects to all the old school bakers who did these things by hand because it is not easy at all. It was a long and tiring process but I'm a little picky about doing things right and the light was not an excuse for not doing things as I usually do.
 |  |  |  |
|---|
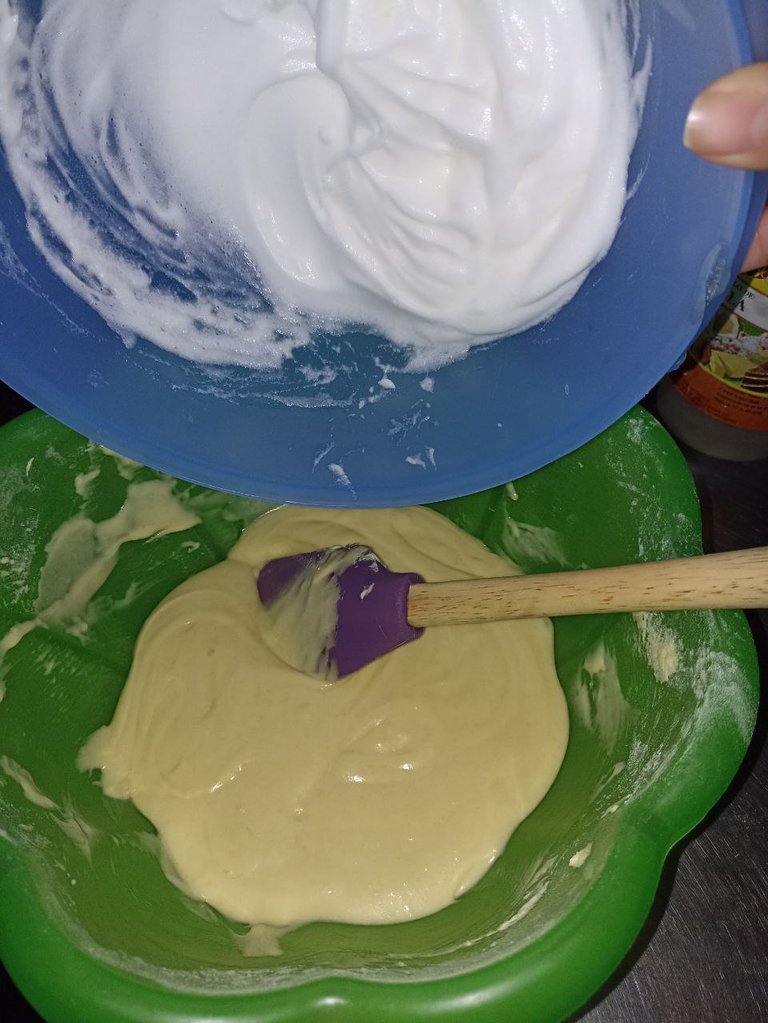
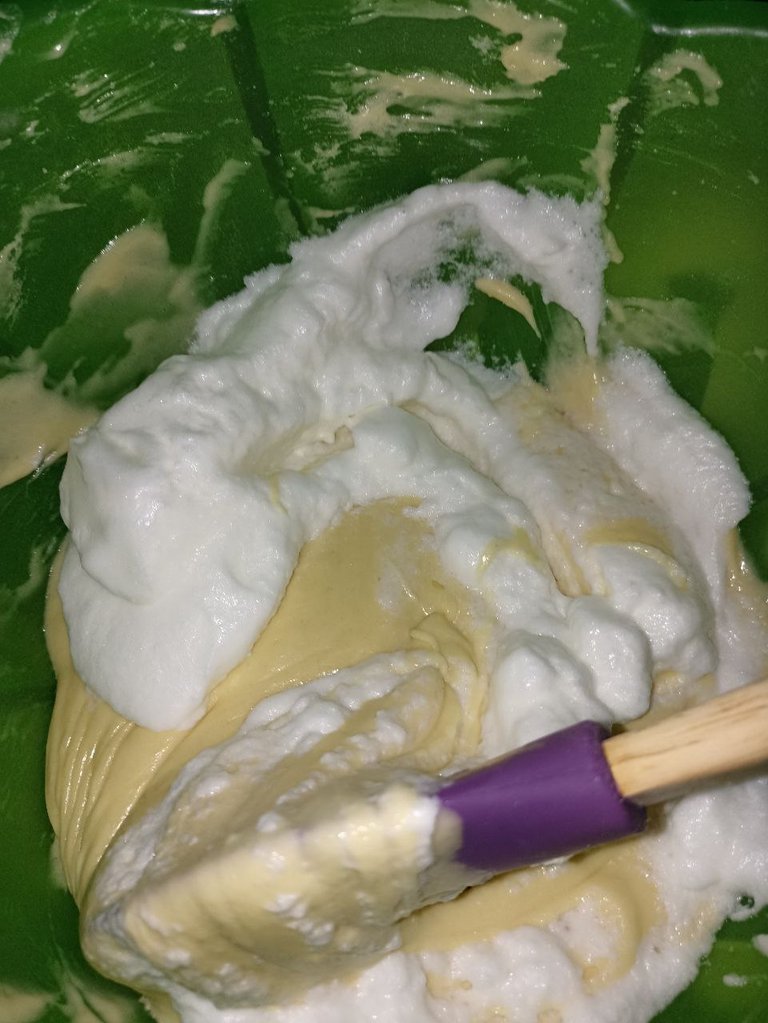
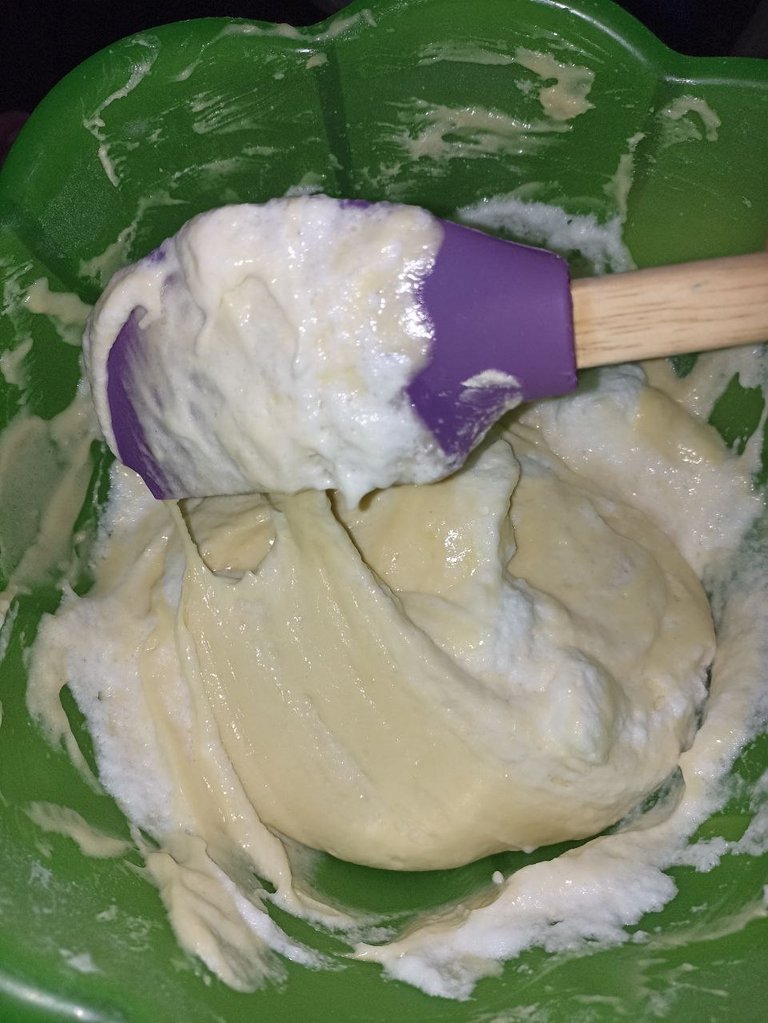
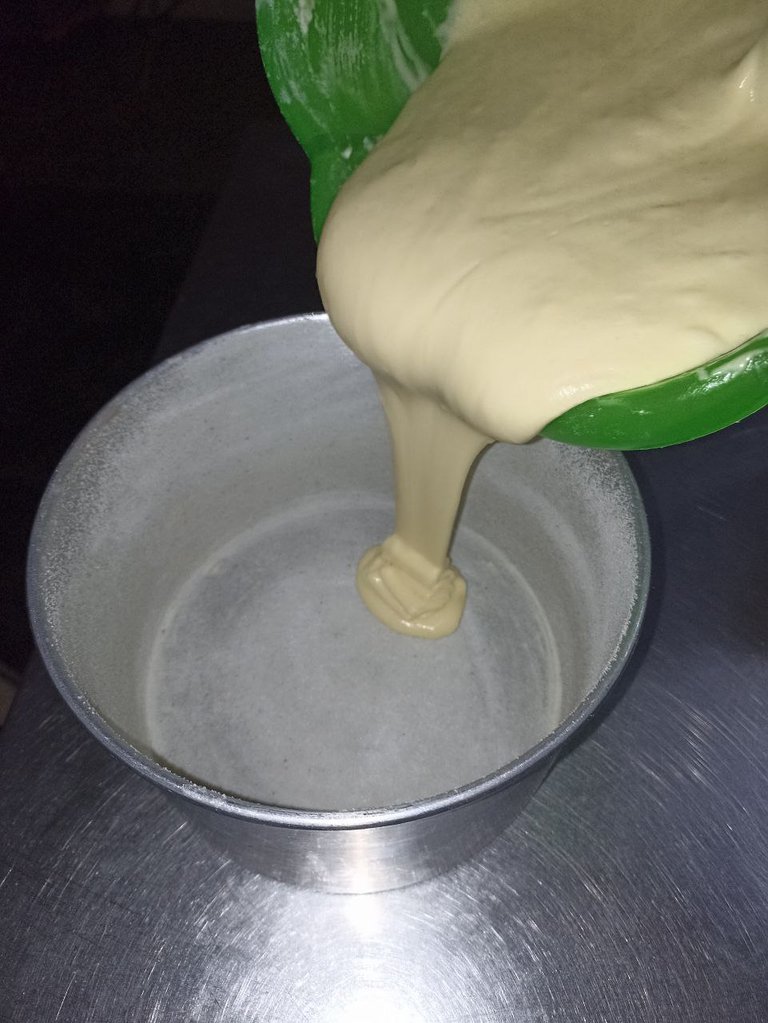
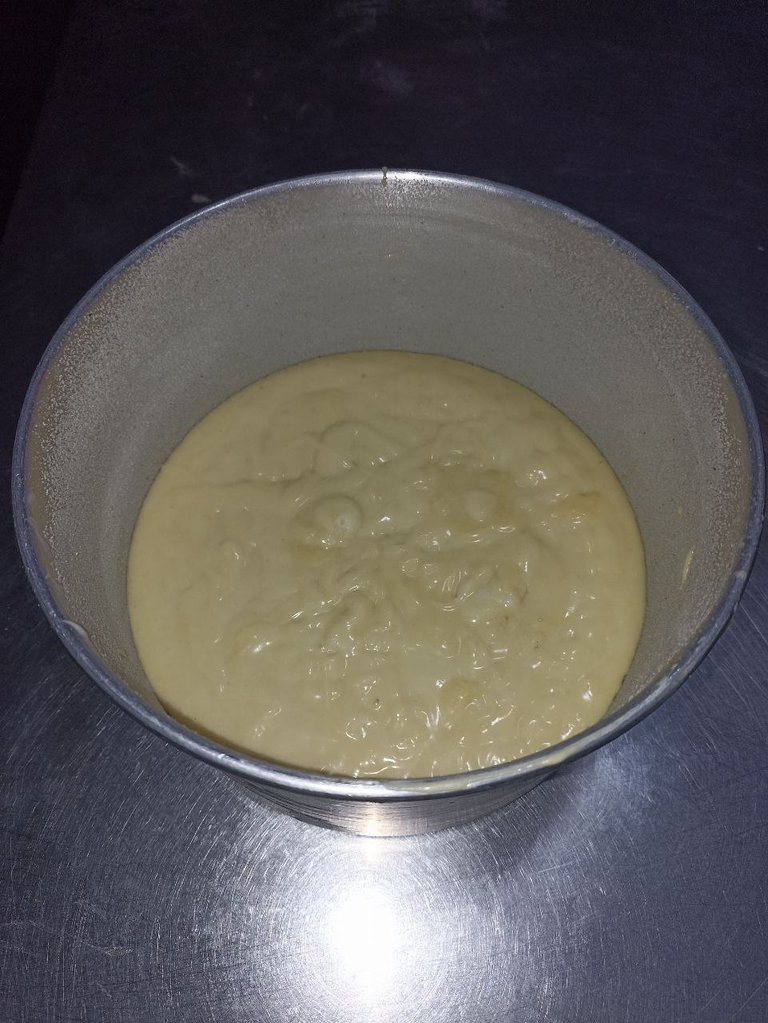
After I had the egg whites at the desired point, I proceeded to add them to the rest of the mixture and integrate them with wrapping movements. And after finishing this process I added the mixture in a 19 cm diameter pan previously floured and buttered.
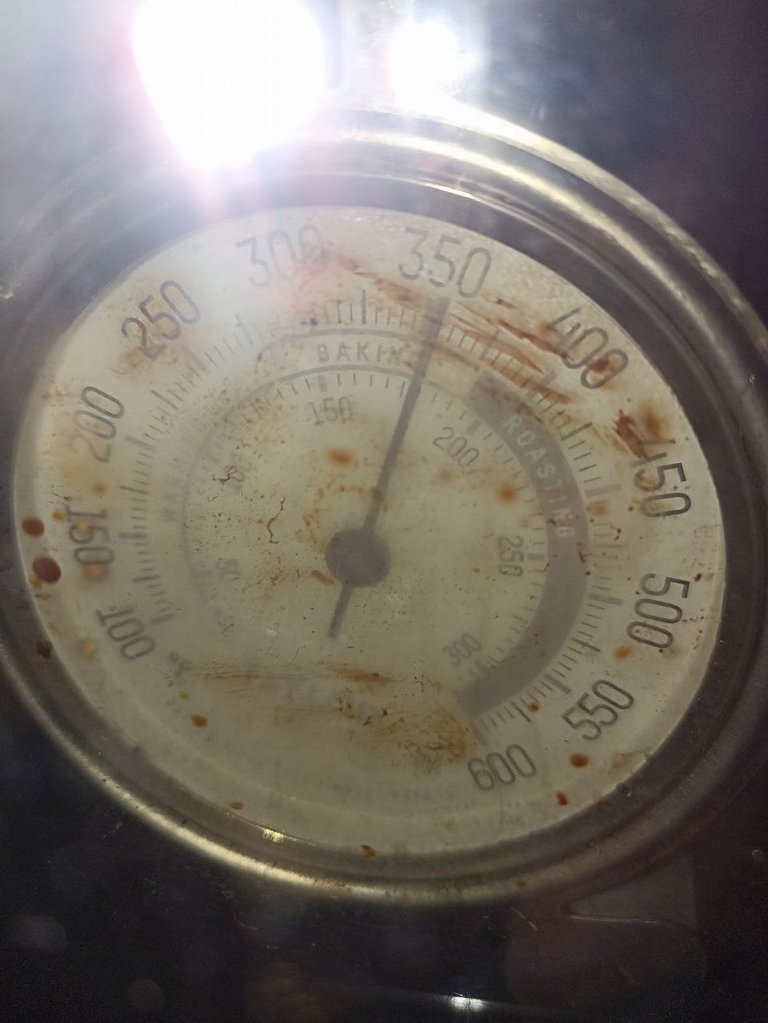
Take it to the oven at a temperature of approximately 175° C until it was ready, it was in the oven for approximately 1 hour. The time may vary from oven to oven, I check with a toothpick when it comes out dry is that it is ready.
 |  |  |  |
|---|---|---|---|
 |  |  | 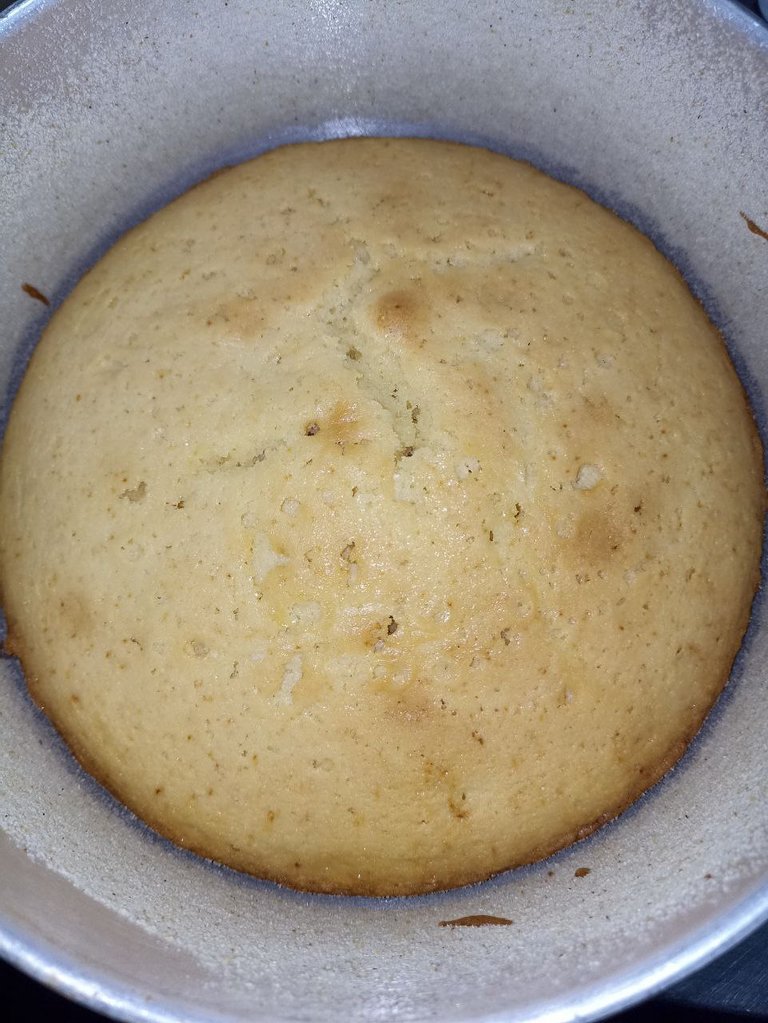 |
Once it was ready I let it cool and then decorated it with Italian meringue and Toppers, this was the cake that accompanied the jelly in my previous post.
 |  |
|---|
I hope you liked my contribution today for this beautiful community 🙏❤️ I tell you that I was stung with this cake and I'm about to repeat it to try it because it left me very curious. If someone makes it please let me know 🙏.
I say goodbye for the moment 🤗 will be until a next post thank you very much for reading me. Many blessings to all and a sweet fluffy hug 🤗❤️.
The photos used throughout the post were taken with my Redmi 10S phone.
Banners & Signatures Made in Corel Draw Photo-Paint
Translation to English with DeepL
My Social Media


Español

Aprende a hacer esta deliciosa y esponjosa torta 🎂
Hola hola gente linda de HIVE de esta bella comunidad de @creativecuisine en esta oportunidad paso a compartir con ustedes una receta de un delicioso bizcocho/torta que hice para una cliente que me la solicitó un poquito baja de azúcar.

Les confieso que al principio me saco un poco de mi zona de confort porque tengo mi receta habitual con la que estoy acostumbrada a trabajar y pues el bajarle al azúcar me daba miedo, entonces me puse un poquito creativa y no sólo le baje al azúcar sino por otro lado le subí a otras cositas como la cantidad de harina, de margarina para que quedara de un tamaño y peso similar al que habitualmente hago.
El resultado a nivel visual como podrán ver en la foto fue hermoso 😍 pero me quedé con la curiosidad de como había quedado de sabor y quedé a la espectativas hasta que me escribió el cliente y me manifestó que estaba deliciosa, que le había encantado 🙏
Entonces como está receta paso la prueba de una clienta que es bastante exigente se las comparto a continuación. Porque ella me pidió que la anotara que no la olvidara, entonces la dejo por acá en HIVE para la posteridad ❤️.
 |  |  |
|---|
Ingredientes:
- 280 grs. harina de trigo leudante.
- 240 grs de azúcar.
- 130 grs de margarina.
- 2 huevos.
- 1/2 cucharada de vainilla.
- 200 ML de leche.
 |  |
|---|
Para la preparación lo primero que hacemos es mezclar la mantequilla con el azúcar bien hasta que tenga una consistencia suave, cremosa y de tono amarillo super clarito. En este paso comencé con la batidora eléctrica y me tocó continuar a paleta como la gente de antes porque se me fue la luz 😥.
 |  |  |  |
|---|
Luego que la mantequilla con el azúcar está bien batida, le agregué de una en una las yemas del huevo y continué batiendo enérgicamente a paleta hasta integrar por completo.
 |  |  |
|---|
Luego de agregadas las yemas procedí a agregar el harina de trigo y la leche de a poquito en poquito alternando, primero harina, luego un poquito de leche y así hasta finalizar de agregarle toda el harina y la leche.
En esta parte no hace falta batir tanto ni con tanta fuerza, simplemente se hace hasta que se integren bien los materiales, el batir más de la cuenta puede ocasionar que se active antes de tiempo el leudante y esto ocasiona cosas como el huequito en el centro de la torta y que no crezcan bonitas.
 |  |  |  |
|---|
Luego de terminar de agregar la leche y la harina de trigo le agregué la vainilla y dejé la mezcla en espera para agregarle las claras a punta de nieve para que quedara más esponjosa.
En otro envase me puse a batir las claras hasta que estaban a punto de suspiro, esto fue un trabajo super duro hacerlo a mano, primera vez que lo hago así, mis respetos a todas las reposteras de la vieja escuela que hacían estás cosas a mano porque no es nada fácil. Fue un proceso largo y agotador pero soy un poco quisquillosa de hacer las cosas bien y pues la luz no era una excusa para no hacer las cosas como acostumbro.
 |  |  |  |
|---|
Luego que tuve las claras en el punto deseado procedí a agregarlas al resto de la mezcla e integrarlas con movimientos envolventes. Y luego de terminar con este proceso agregué la mezcla en una tortera de 19 cm de diámetro previamente enharinada y enmantecada.
Lleve al horno a una temperatura de aproximadamente 175° C hasta que estuvo lista, estuvo aproximadamente por 1 hora en el horno. El tiempo puede variar de horno en horno, yo verifico con un palillo al salir seco es que está lista.
 |  |  |  |
|---|---|---|---|
 |  |  |  |
Una vez lista la dejé enfriar y luego la decore con merengue italiano y Toppers, está fue la torta que acompañó a la gelatina de mi post anterior.
 |  |
|---|
Espero que les haya gustado mi aporte de hoy para esta bella comunidad 🙏❤️ les cuento que quedé picada con esta torta y estoy por repetirla para probarla porque me dejó con mucha curiosidad. Si alguien la hace por favor me cuenta 🙏
Me despido por el momento 🤗 será hasta un próximo post muchas gracias por leerme. Muchas bendiciones para todos y un dulce y esponjoso abrazo 🤗❤️.

Las fotos usadas a lo largo del post fueron tomadas con mi teléfono Redmi 10S.
Banners y Firma Hechos en Corel Draw Photo-Paint
Traducción al Inglés con DeepL
Mis Redes Sociales


Thanks 🤗🙏
Habrá que probarla, perfecta para mí con poca azúcar jajaja pero que bueno que a tu clienta le gustó, eso es lo importante, todo lo que se hace con amor y empeño queda bien, gracias por compartir esta receta😁🤗
Uyyy si yo estaba preocupada, con la curiosidad, pero gracias a Dios si le gustó, si le puse bastante empeño y amor, batir a mano a máxima potencia fue un reto jejeje
Cuando la haga te invito 🥰 probablemente será pronto 🤤 ando con una ansiedad de comer dulce ahorita un poco fuerte jejeje
Holaaaa venía camino a casa y me imaginaba está ricura jajaja, te quedó perfecta amiga, siempre que variamos algo nos da ese pequeño sustico 🤣 hasta que el cliente nos escribe diciendo quedó ricoooo!
Yo tengo pendiente un par de experimentos jajaja, creo que mañana haré uno de ellos, hay que tener alternativas, para cuando nos piden cositas así jajaja
Ahora quedé antojado con tu preparación 🥺😜
Bueno yo hoy montando el post me entró un antojo y una ansiedad que no la preparé porque no tenía suficiente margarina jejeje pero pronto la voy a hacer 🤤🤤
Y pues si tal cual, tenía una incertidumbre, hasta que la cliente no me escribió no salí de la duda jejeje
Jajaja se lo que es eso, hace unos años me tocó hacer una tartaleta de fresas gigante en cuestión de horas, salí a llevarla en camionetica de pasajero jajaja, fueron horas de pánico y bueno a los 30 minutos me escribieron
"Que cosa mas rica, de ahora en adelante me harás todas mis tortas de cumpleaños" y así ha sido desde entonces 🤣
Más fino, esos clientes fieles que se enamoran de tu trabajo y sabor valen oro 🙏 es algo que te entusiasma mucho 🥳🥳
Esa tartaleta me provocó, deberías compartir esa receta 🤤
Esa la compartí hace uuuuuuf jajaja, estoy revisando mis insumos, mañana haré una torta o un ponqué para matar antojos, porque luego de estas fotos, solo me imagino una porción enorme y un vaso de leche fría jajaja
O con café 🤤🤤😉 bueno voy a chismear todos tus post hasta encontrarla jejeje la tengo que hacer amo todo lo que lleve fresas jejeje si la hago por supuesto te etiqueto
Jajaja vas encontrar de todo un poco, se que te gustará mis creaciones locas 🤣😂
Omg looks extremely fluffy 😋😋😍 what a yumminess a cake that it's very versatile we can eat it with tea or milk too 💕💕💕💕
Congratulations @gelart! You have completed the following achievement on the Hive blockchain And have been rewarded with New badge(s)
Your next target is to reach 700 upvotes.
You can view your badges on your board and compare yourself to others in the Ranking
If you no longer want to receive notifications, reply to this comment with the word
STOP!CURATE BY
@biologistbrito
Thank you for your contribution to the community🌍🐏
!CURATE BY
@biologistbrito
Thank you for your contribution to the community🌍🐏
Luce espectacular esta torta, esponjosa, esas son de mis preferidas para merendar 🤤