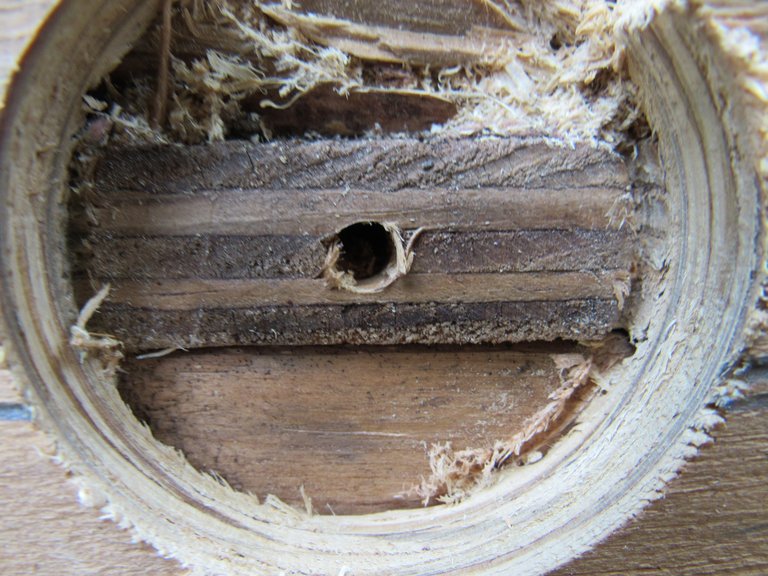
I know you are probably wondering what the heck is this a picture of and why did I use it for the cover image.
I don't know how many of you guys have ever played darts and have put that feathery flying spear smack in the middle of the dart board. If you did, I know that you jumped for joy, yelling Bull's Eye. That was exactly my reaction after drilling this hole in the side of our house.
Once I take down the wall that separates the two rooms, having the transition from the old room to the new room, being right on the money, will guarantee a perfectly flush floor throughout the entire living space.The next step in the construction of @farm-mom's sunroom was to locate the subflooring in the existing room. Locating the exact location of the existing floor would ensure that when I framed the flooring system in the new room, it would be at the same elevation as the existing floor.
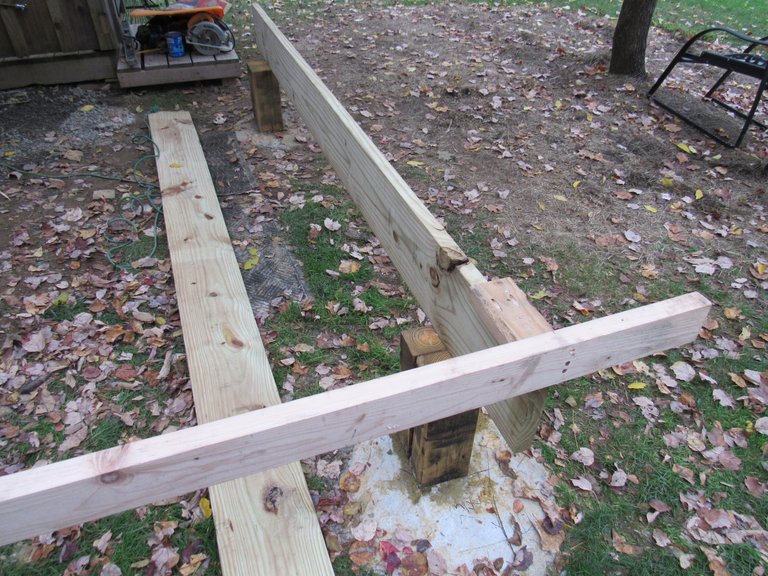
The 2 x 8 x 10 that you see fastened to the existing wall of the house can now be installed at just the right elevation. Once this point was established, the columns that support the floor girder were cut to the correct height.

With one of the girders in place and a temporary piece of lumber secured, simulating the placement of the first-floor joist, while connecting the ledger to the girder, it's almost time to install the floor joists. At this point, the setup has to be perfectly square and level.
Any mistakes made here will show up in both the wall framing and the roof framing. Any miscalculation only gets compounded as you make your way to the roof.
For the entire floor system, I did use Pressure-Treated lumber that I purchased at Lowes. Using PTL, I knew that any possible moisture that was to encroach on the floor system would not affect the integrity of the floor.
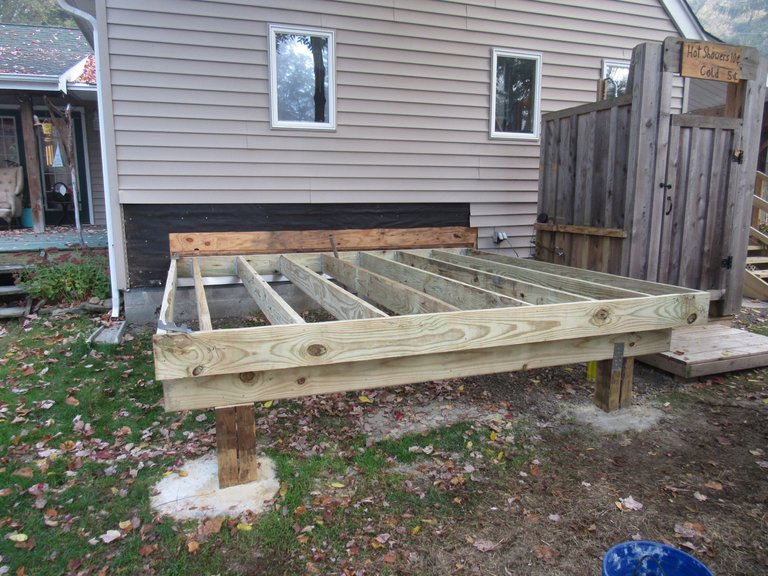
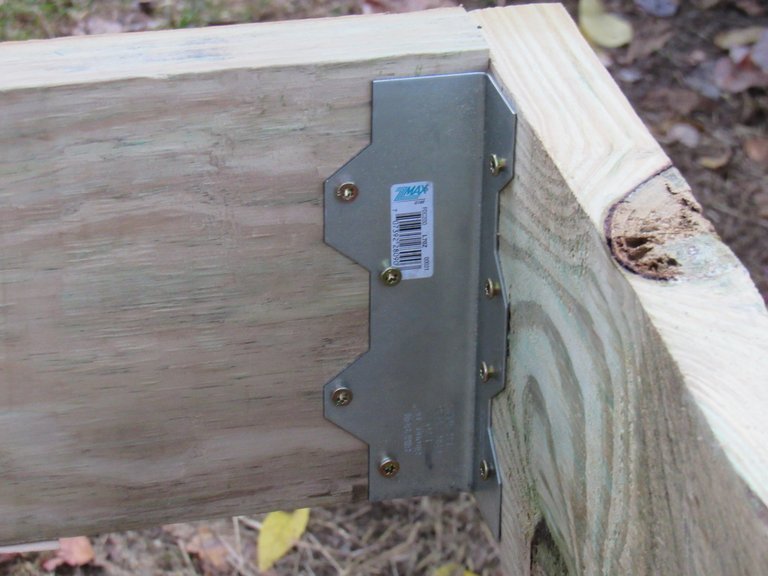
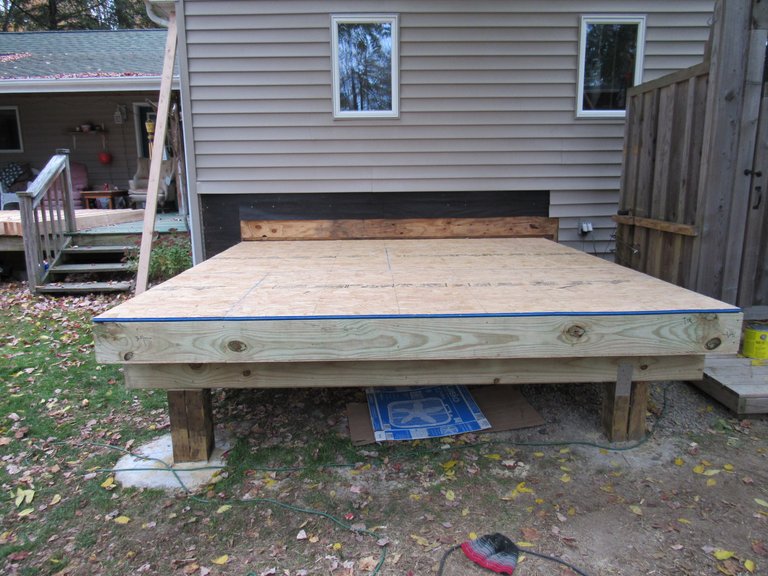
After installing all of the floor joists, 2 x 8 joists hangers are used to further ensure that the structure is sound. 1/2-inch lag bolts are used to securely fasten the ledger to the house.
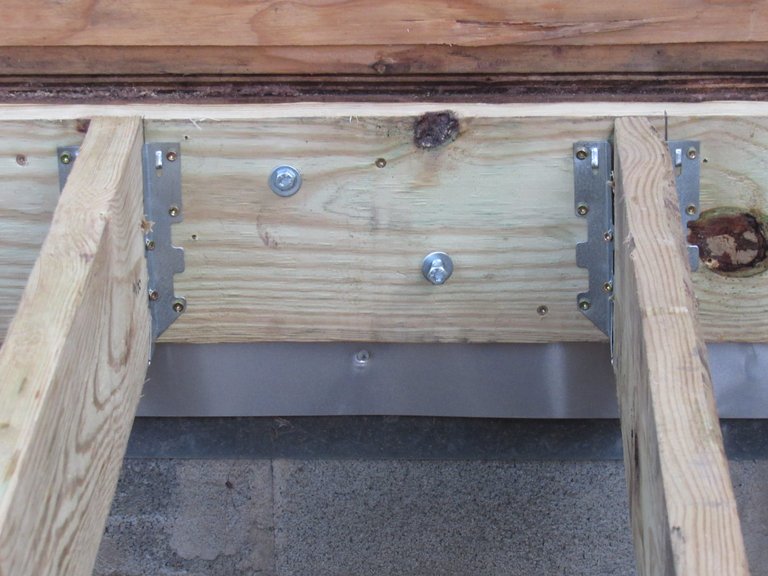
Corner brackets are used where joist hangers will not work.
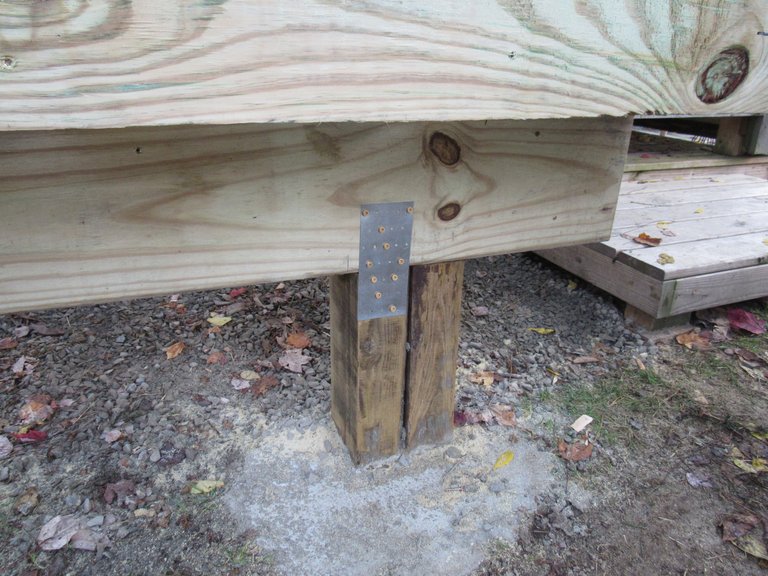
The floor girder is also strapped to the columns.
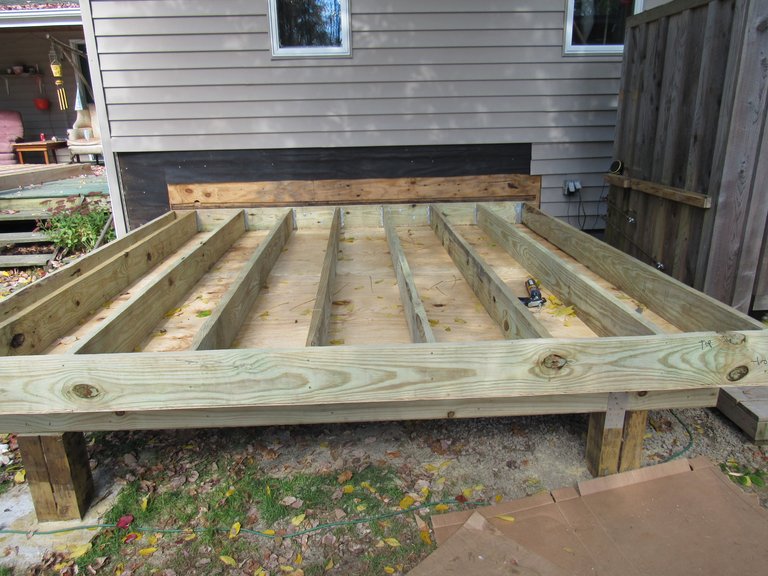
Being pleased with everything up to this point, it was time to move to the next step.

This part of the job, I was not looking forward to.
Closing off the bottom of the structure would require some wiggling around. The underside of the floor system is only 16 inches off the ground, and I knew I would be spending a few hours working in a very confined area. It's times like this that another set of hands would have been very helpful. Holding 4-foot x 8-foot pieces of plywood in place required some ingenuity, but after getting a few screws in each piece, screwing off the remainder of the plywood was a cinch.
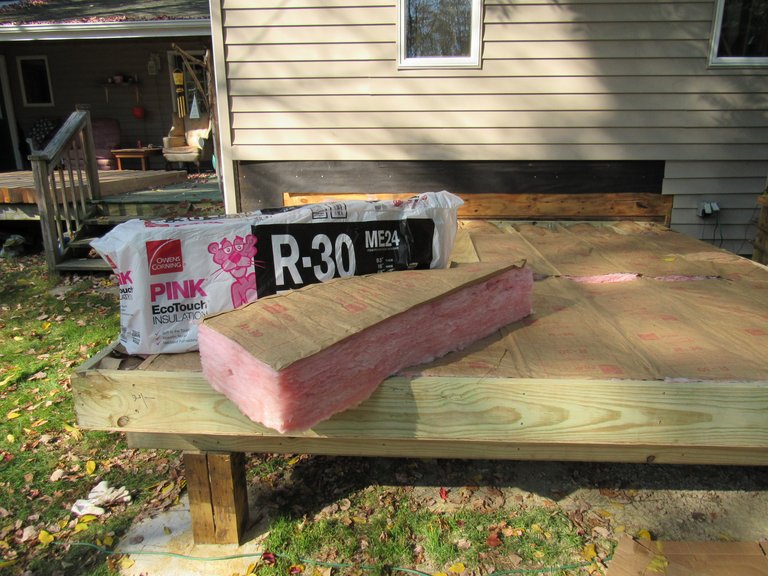
With this phase completed it was time to insulate the floor. Using R-30 insulation should keep winter's frigid air from making its way inside.
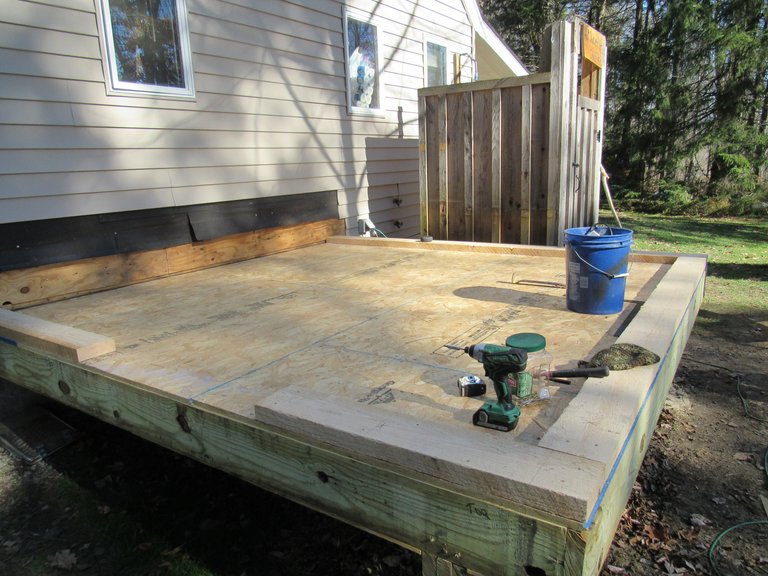
Now it was time to install the interior subflooring, which matched up perfectly with the subflooring of the existing room. 😁
With all of the insulation and the subflooring laid, all that was left to do was to tarp the floor.
Keeping the insulation dry until our son arrived to give me a hand, was something that needed to be done with the greatest of care. If the insulation were to get wet, soaking up any moisture like a big sponge, that would be a disaster.
That was as far as I thought I would be able to take this project until our son arrived.

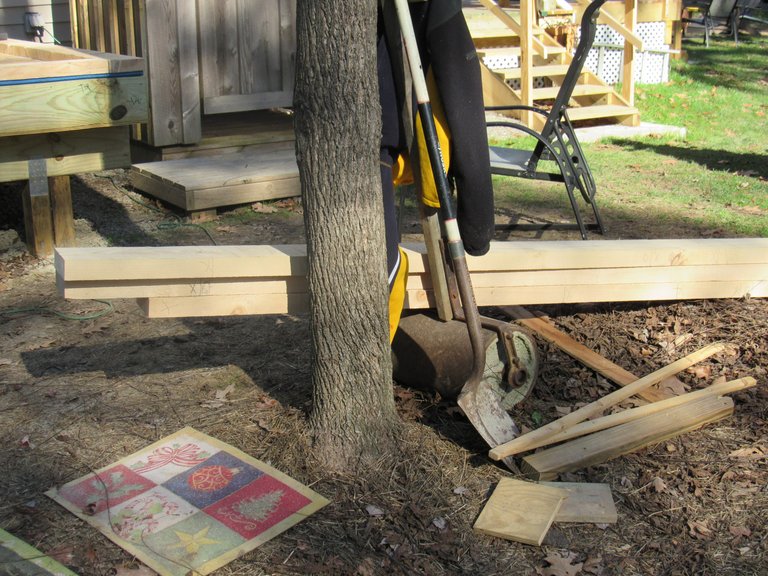
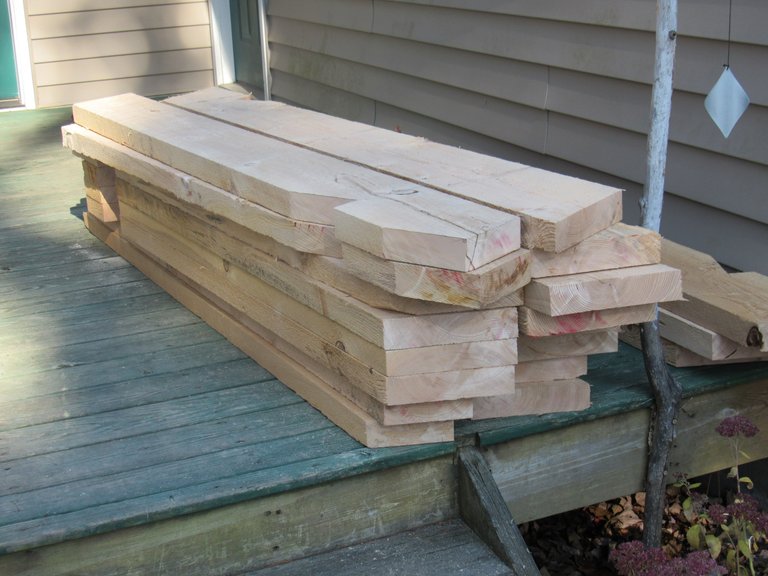
Cutting, installing, and laying out the bottom plates, with the location of the windows and door being established beforehand, I knew would save me hours, and it was a one-man job.The following morning, I decided to precut as many pieces of the project as possible. My intention was to get a jump start on framing the sunroom. Doing as much as I could before his arrival may allow us to have the structure completely framed in two days, before @ryan313 would have to return home.
With the top plates marked and ready to go I was getting a real jump on doing as much as possible before his arrival
This is a picture of the header for the large set of windows that were going in the gable end.
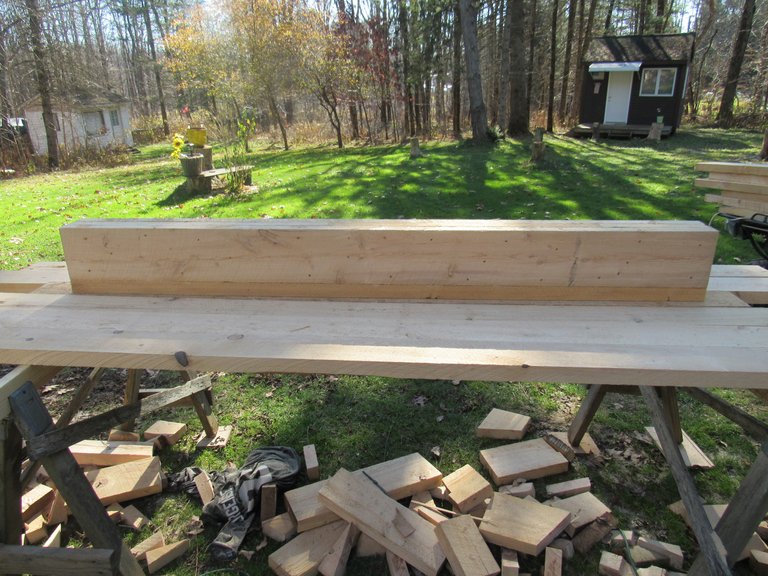
The smaller headers in this photo are for the door and another single window.
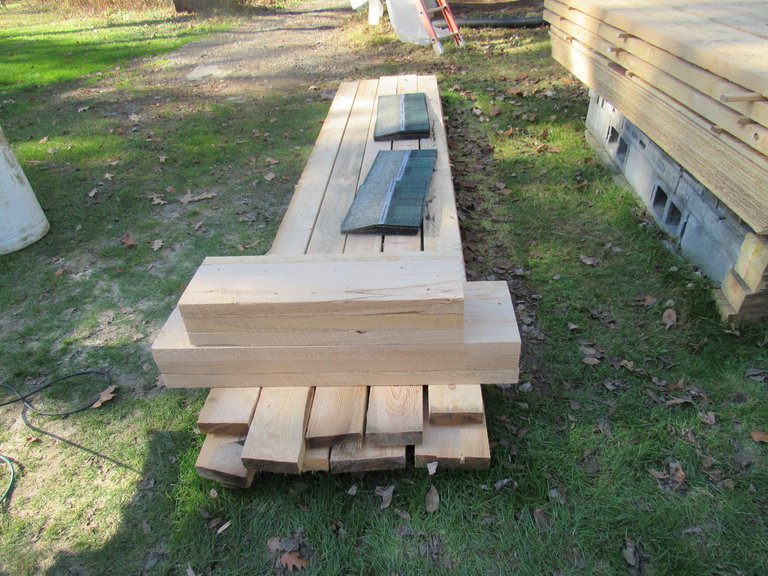
I decided to go with a 5 on 12 roof pitch. After determining the roof pitch, laying out the plumb cuts and the bird-mouth cut on the rafters was followed by precutting all of the rafters needed for framing the roof system.
Completing this step before his arrival, I knew was a big time saver.
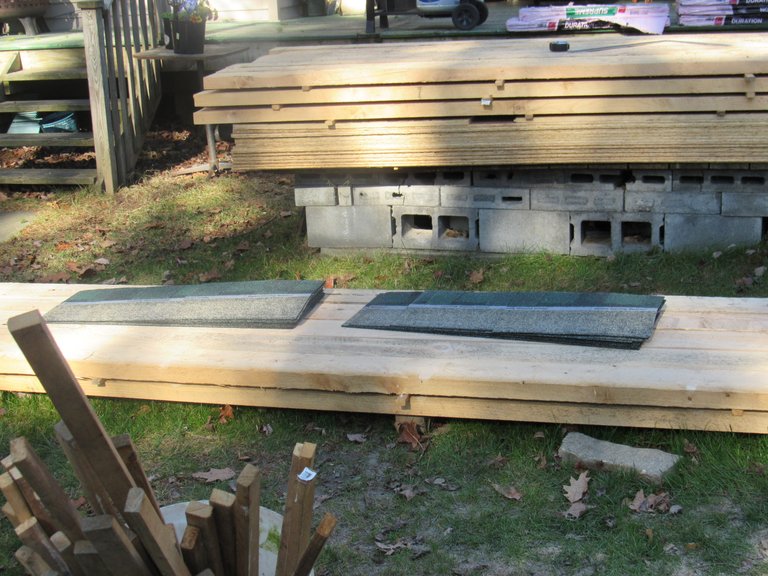
I also cut all of the starter packs of shingles. Now, if we get as far as laying down shingles while he's still here, all of my prep will have paid off.
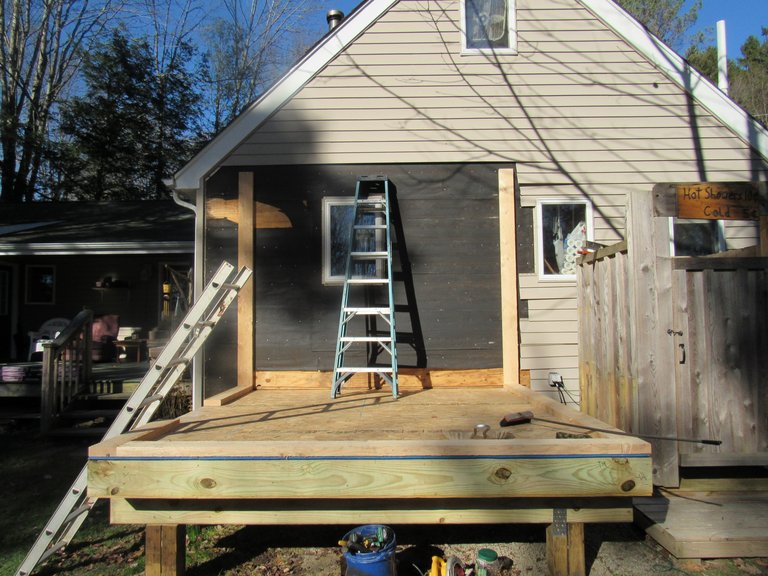
The final thing I did in advance of his arrival, was to strip a good part of the siding from the existing gable wall and install the first two wall studs of the new addition.
With as much as I had gotten ready before our son arrived, I felt that we had a good chance of framing and shingling the roof before he had to return to New Jersey.
Stay tuned, if you are interested to see how we made out.