I had been wanting to try this cyanotype technique on surfaces other than paper for a while. I've been playing around with cyanotype for a few years now, but I had never had the chance to test it on other surfaces until recently. So I decided to experiment using stones I brought back as souvenirs from some of my trips.
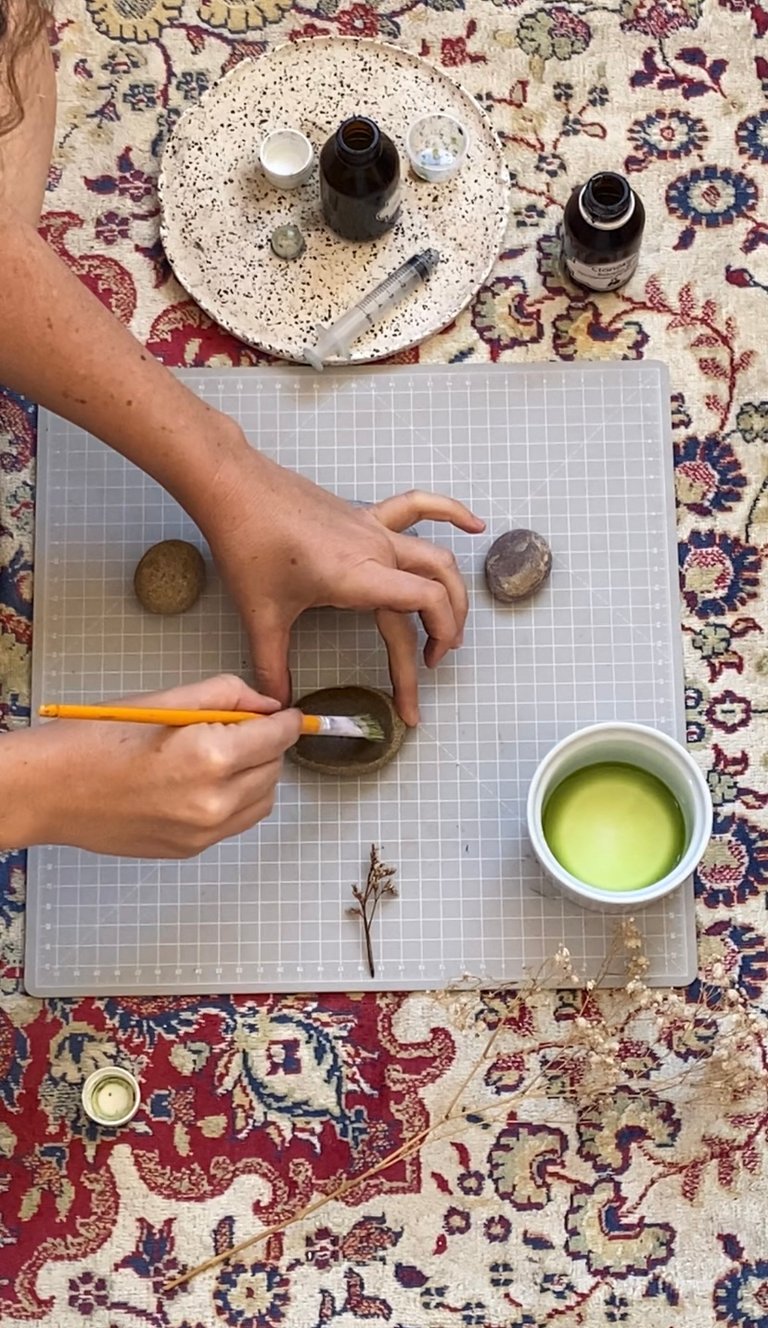
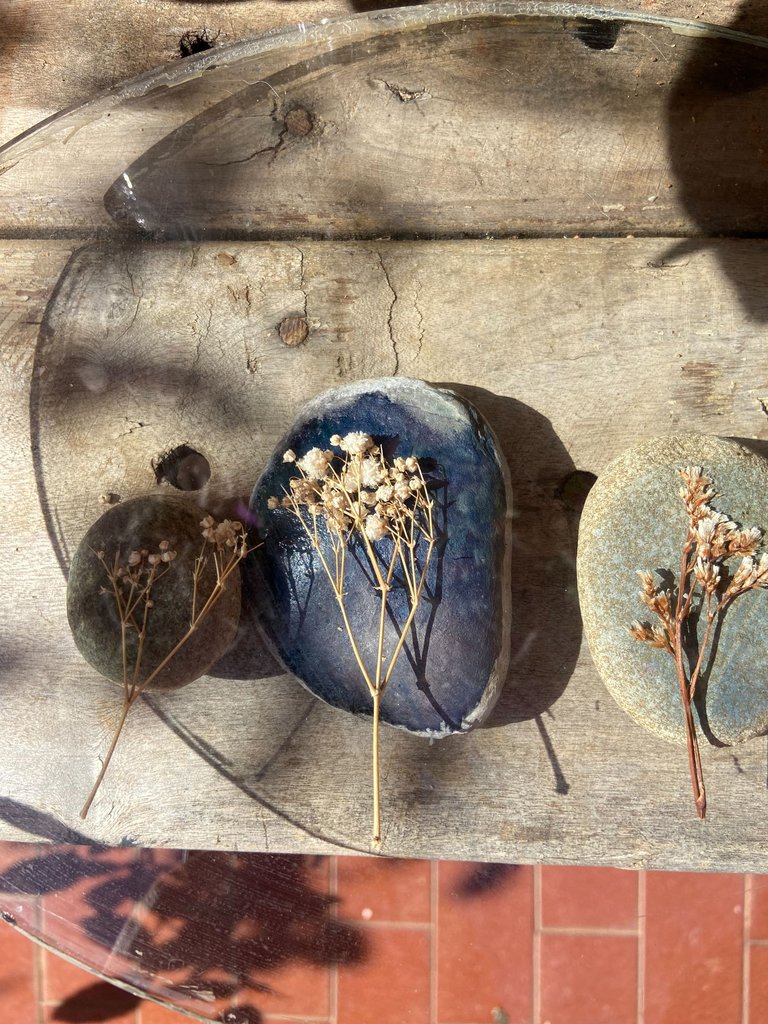
The first step was to get my specific cyanotype chemicals, Cyanotype A and B, and apply them to the stones. Then I took some dried flower stems I already had at home, carefully arranged them on top, and placed the stones with the flowers under the sun, using a piece of glass on top to press the flowers against the stones.
Later, I realized I should have chosen a different type of plant—one that would adhere better to the surface of the stone. But it’s all part of the process, a learning experience for future experiments.
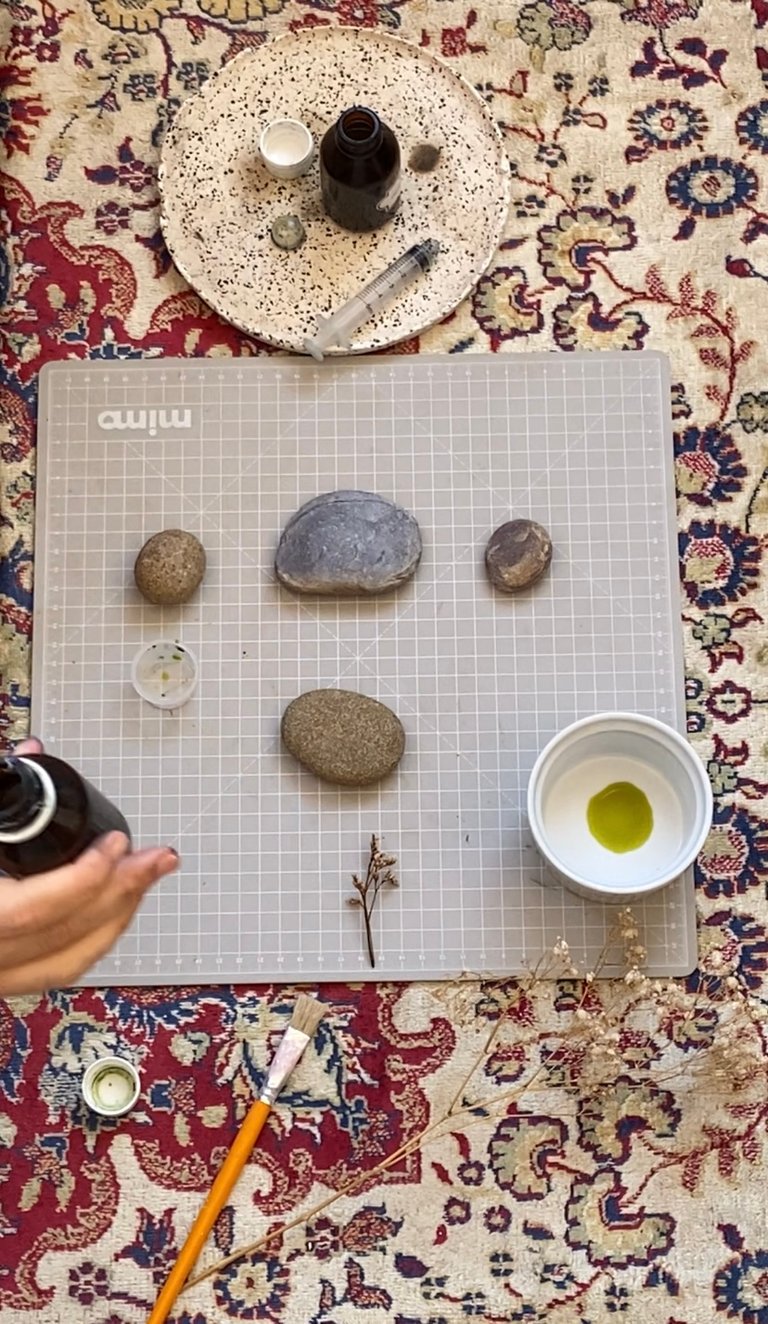
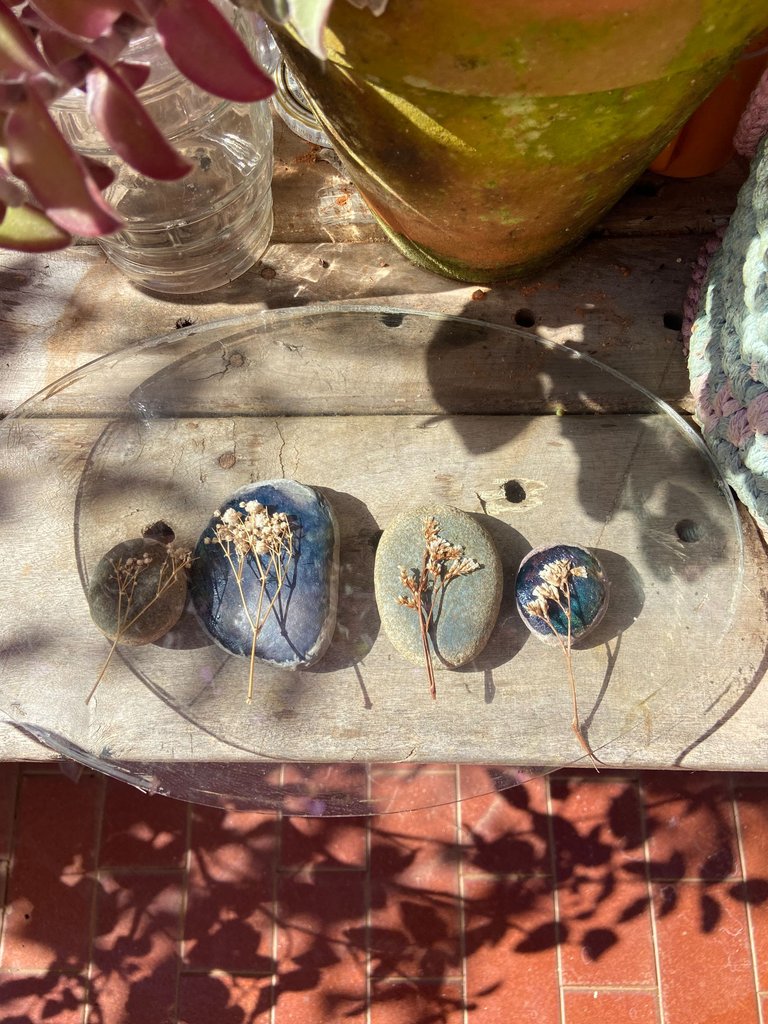
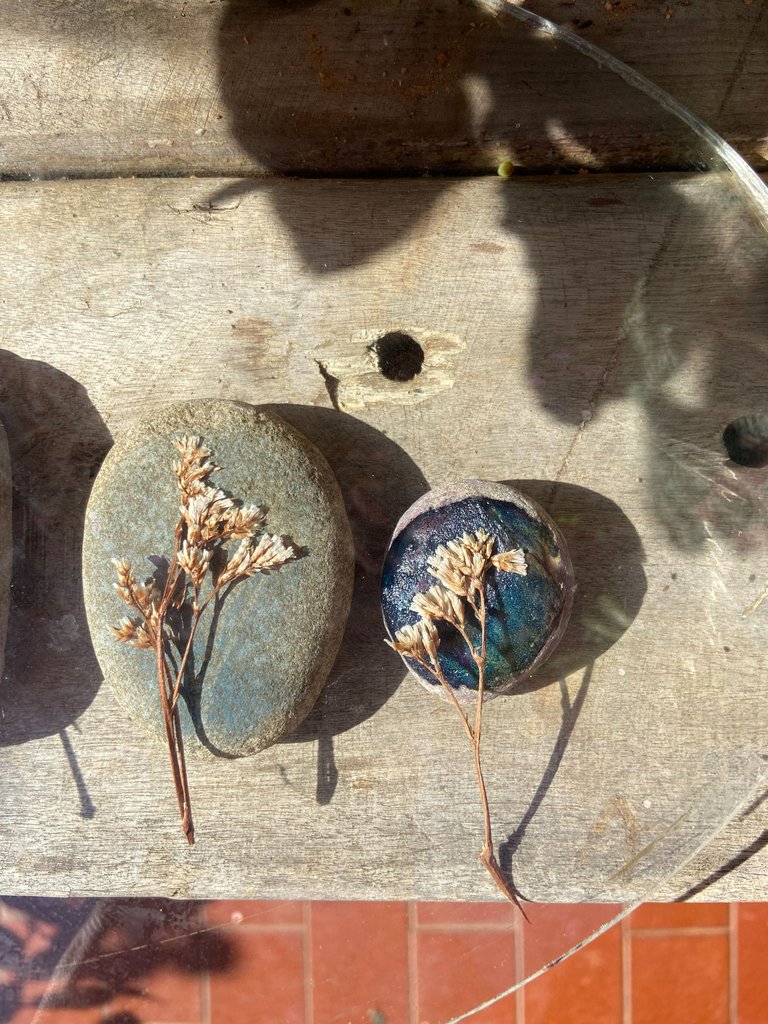
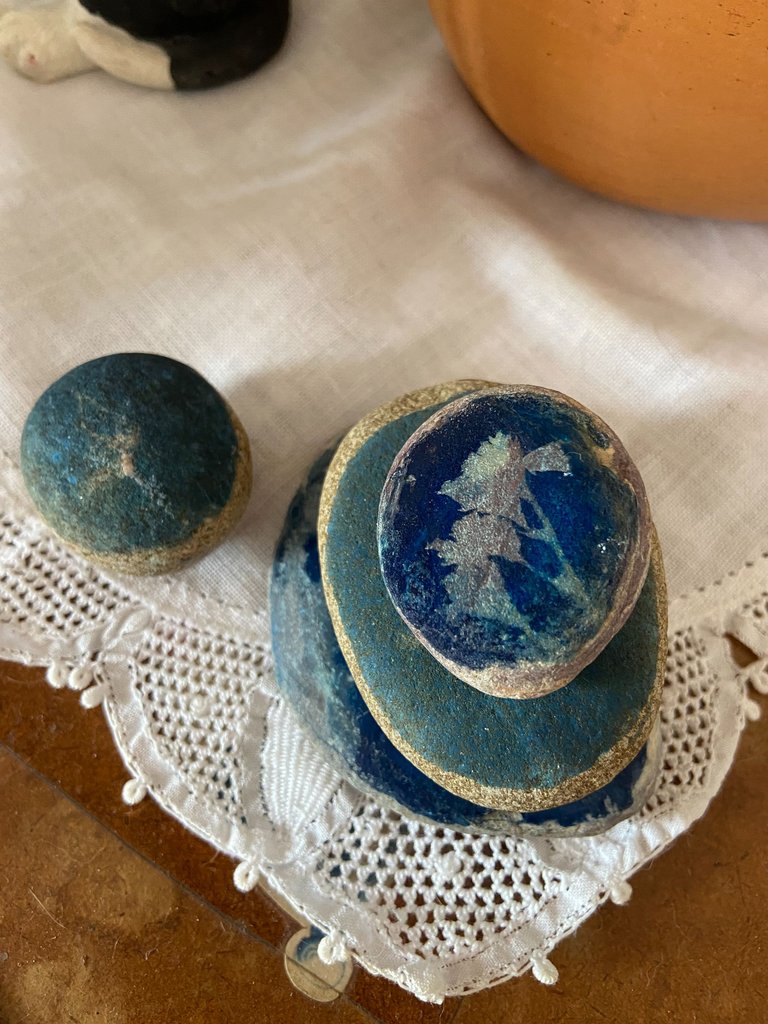
After leaving the stones in the sun for 20 minutes, which is the recommended time for days when the sunlight isn’t too strong, it was time to rinse them and see the results. Since this was all just experimentation, I used two different types of stones, some with a smoother surface and others more porous, just to see how the cyanotype would react on each type of texture.
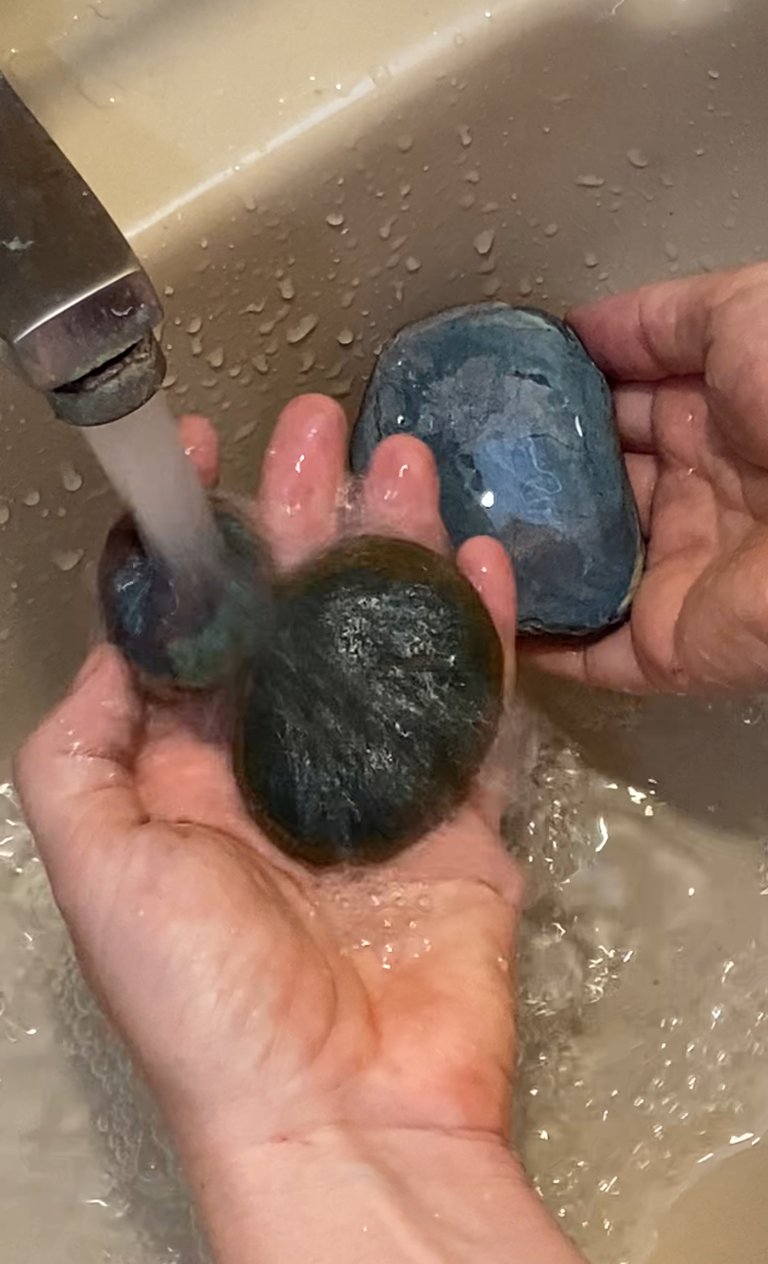
Then came the moment of truth, which was rinsing the pieces under running water to remove the excess product that hadn’t reacted to the sunlight. After doing that and waiting a little longer, I let the piece dry, let the stone dry completely, and that’s when I could finally see the result — and I’m still trying to figure out how I feel about it.
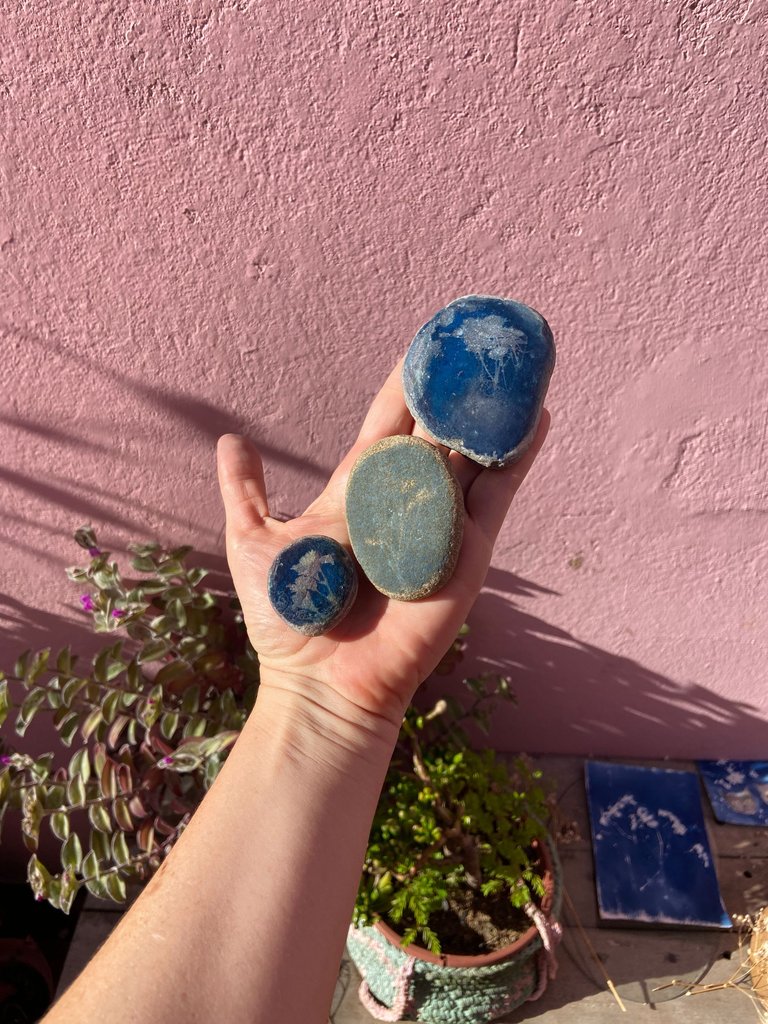
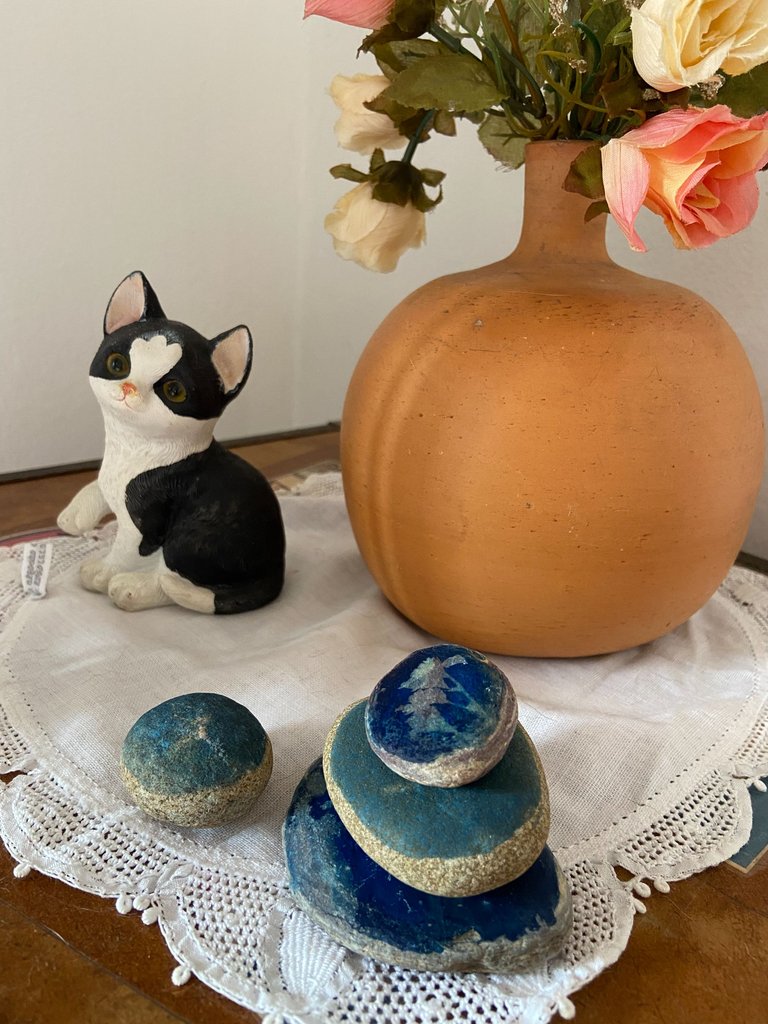
I think the color turned out more vibrant and the shapes more defined on the stones with smoother, less porous surfaces. That’s something to keep in mind for future tests and applications, because in the end, I found the experience worthwhile and fun, and I think the result turned out beautiful — it made for an interesting addition to my home decor.
I hope you enjoyed this technique, and see you in the next post.