G'Day friends of Music Schoool! it's my first time posting in this great and interesting community, today I want to share with you a fun and fascinating experience: Changing the pegs of my guitar, and until a few months ago I didn't even have the slightest idea how easy it was, so without further ado, I invite you to read briefly about this experience.
Buenas y Mejores amigos de Music Schoool! es mi primera vez posteando por esta comunidad tan interesante y genial, el dia de hoy quiero compartir con ustedes una experiencia divertida y enriquecedora: El Cambio de Clavijas de mi guitarra, y es que hasta hace unos meses no tenia ni la mas peregrina idea que fuera tan fácil, asi que sin mas que puntualizar antes, los invito a leer brevemente esta experiencia.
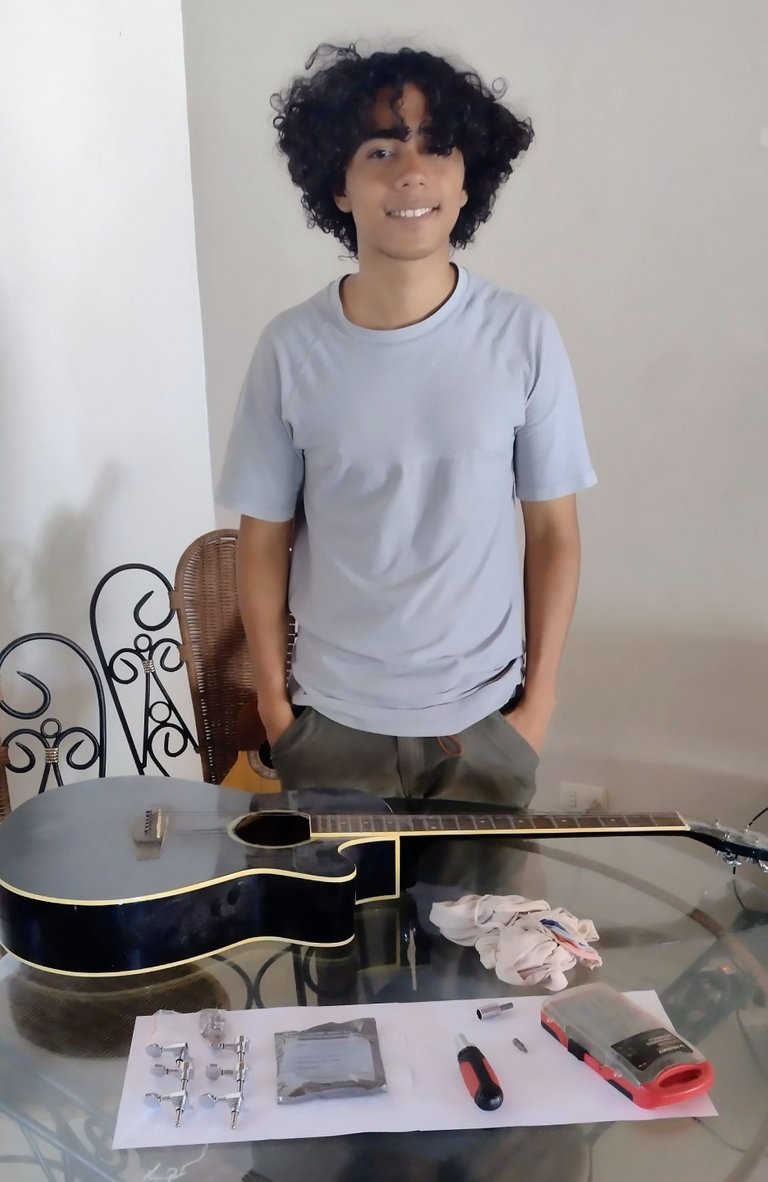
TOOLS AND ELEMENTS NEEDED
- Pre-purchased peg package comprising the 6 pegs, 6 M6 screws (5.12 x 2.56 x 0.79 inches), 6 bushings (hollow screws that come with each peg) and 6 ferrules to protect the wood from being pinched by the bushing (should also come with the peg set).
- Screwdriver for the M6 screws
- Wrench for the size of the bushing, which is inserted and removed as a nut.
HERRAMIENTAS Y ELEMENTOS NECESARIOS
- Paquete de Clavijas Previamente comprado que comprende las 6 clavijas, 6 tornillos M6 (5.12 x 2.56 x 0.79 pulgadas), 6 bujes (tornillos huecos que tienen con cada clavija) y 6 casquillos para proteger la madera de la prensión del buje (también deberían venir con el juego de clavijas)
- Destornillador para los tornillos M6
- Llave para el tamaño del buje, que se coloca y retira como tuerca.
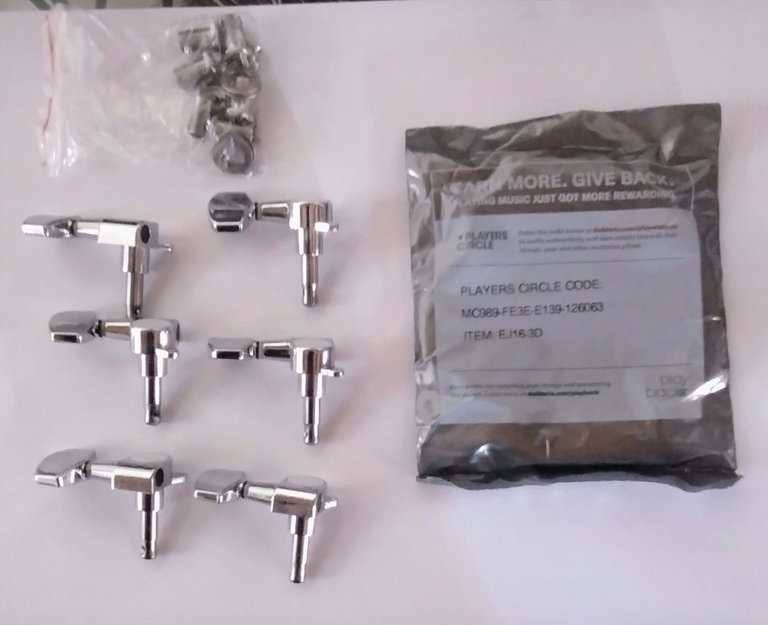
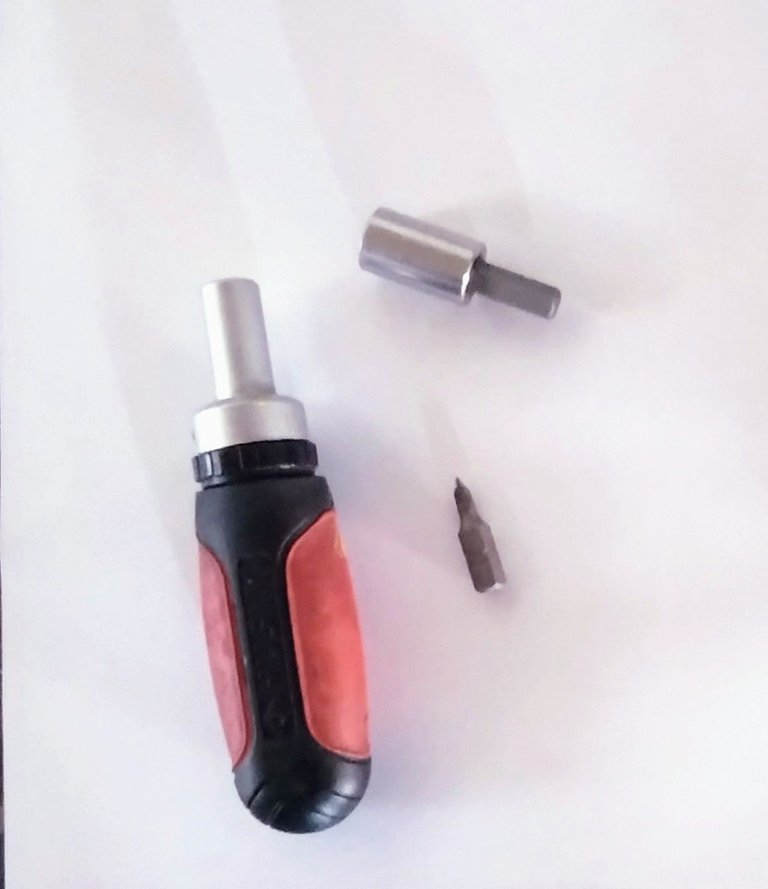
Removing Pins | Retirar Clavijas
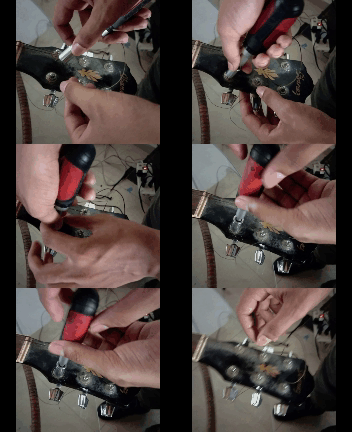
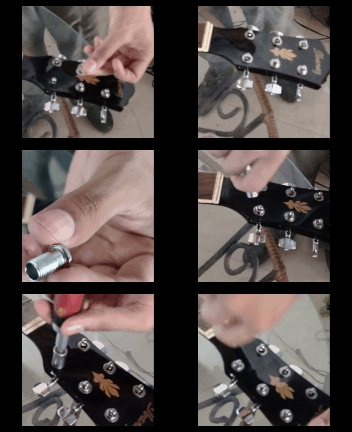
The first thing is to remove all the strings, which I did backstage, if you don't know how to remove the strings from your guitar, another time I'll explain jasj, but for now, ask St. Google. So after having the guitar without strings, use the tool to loosen or tighten the nuts to remove the bushing, you will notice that it is not very tight, something to consider when placing the new one.
Lo primero es retirar todas las cuerdas, cosa que hice tras bastidores, si no saben como retirar las cuerdas de su guitarra, en otro momento les explico jasj, pero por ahora, pregunten a san Google. Así que luego de tener la guitarra ya sin cuerdas, utilizaran la herramienta para aflojar o apretar tuercas para quitar el buje, notaran que no esta muy apretado, cosa a tener en consideración al colocar el nuevo.
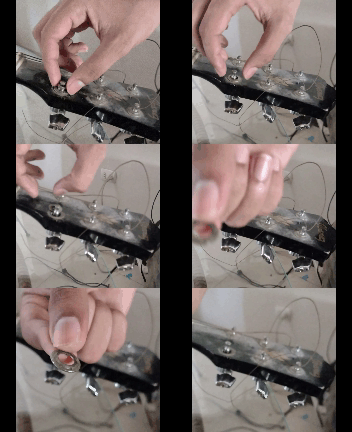
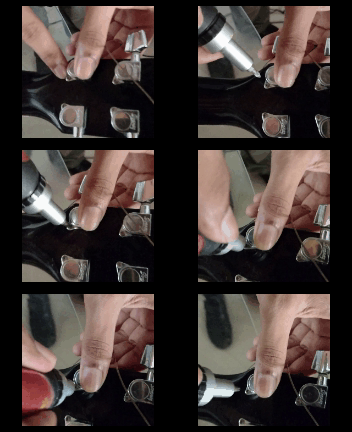
After removing the bushing, the ferrule is easily removed from the place where it is and only the pin remains fixed by a small M6 screw on the other side of the head or peg, unscrew the screw screwed screw (you will notice that it is not very tight either) and remove the peg, then repeat the process with the other pins and voila!
Luego de retirar el buje, con facilidad el casquillo se quita de donde esta y queda solo la clavija fijada por un pequeño tornillo M6 al otro lado de la cabeza o clavijero, desatornillamos el tornillo atornillado atornilladamente (notaremos que tampoco esta muy apretado) y retiramos la clavija, luego repetimos el proceso con las demás clavijas y voila!
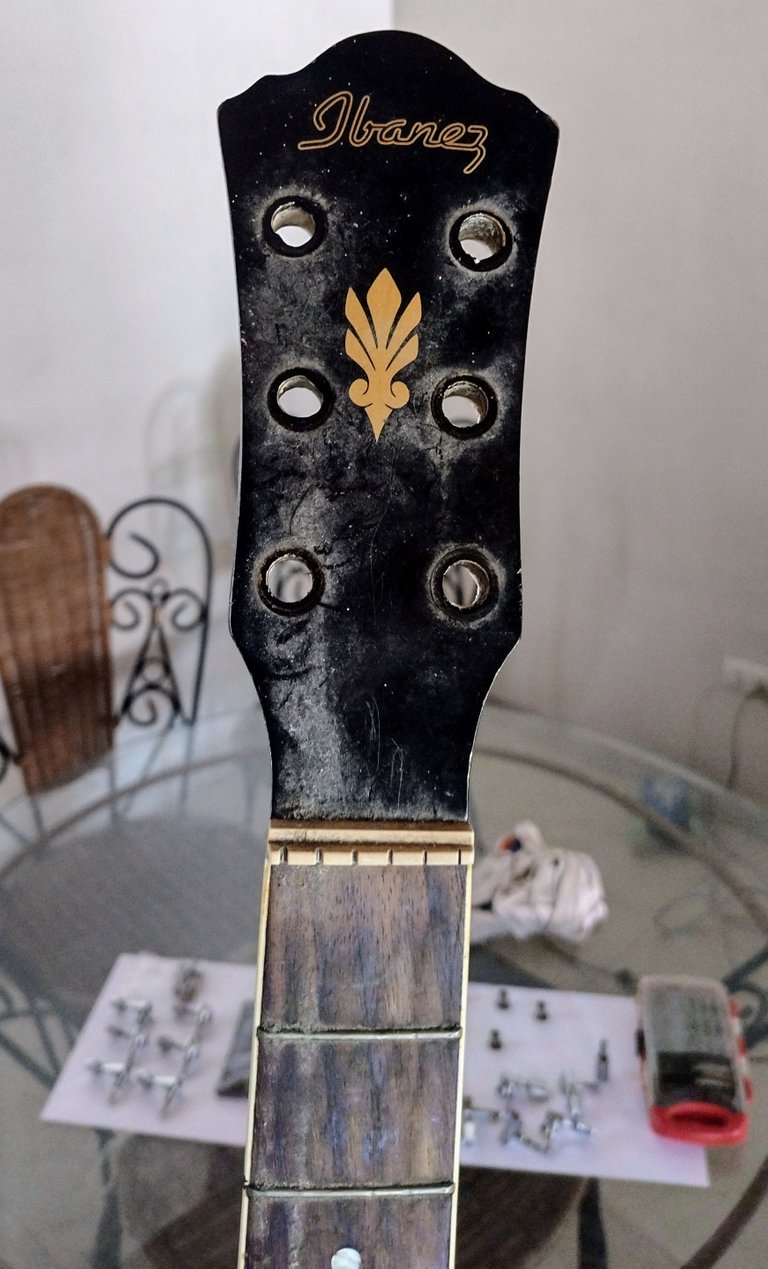
Putting in new pegs
It will probably be surprising, and no one will see it coming, but the pegs are placed following the same steps in reverse :O! Ok, I leave the sarcasm aside and move on. After cleaning your guitar with the right chemicals, in my case I use a solvent and wood cleaner whose name I won't say because they don't pay me for it hehe, and then, we proceed to place the pegs (maybe in the future I will make a post about cleaning the stringed instruments I use, important thing).
Check that you have the 3 left pegs and the other 3 pegs of the other left and start to place them, screwing the screw that is screwed (lmao) and checking that the hole of the peg fits correctly (or I think it's the other way around) and is not isolated (which happened with my guitar). Then turn the guitar over and put the ferrule in, and then tighten the ferrule with the wrench or tool you have, just a little bit, until it is not very easy to tighten it. And finally you will have your new pegs correctly positioned.
Colocar Clavijas nuevas
Probablemente será sorprendente, y nadie lo vera venir, pero las clavijas se colocan siguiendo los mismos pasos de forma inversa :O! Ok, dejo el sarcasmo a un lado y prosigo. Luego de aprovechar y limpiar su guitarra con químicos adecuados, en mi caso utilice un solvente y limpiador de maderas cuyo nombre no diré ya que no me pagan por ello jeje, y tonces, proceden a colocar sus clavijas (quizás en un futuro haga un post acerca de la limpieza de los instrumentos de cuerda que utilizo, importante cuestión).
Revisan que tengan las 3 clavijas izquierdas y las otras 3 clavijas de la otra izquierda y empiezan a colocarlas, atornillando el tornillo que se atornilla y revisando que el hueco de la clavija calce correctamente (o creo que es al revés) y no este aislado (cosa que ocurrió con mi guitarra). Luego voltean la guitarra y colocan el casquillo, y luego aprietan con la llave o herramienta que tengan el buje, tan solo un poco, hasta que ya no sea muy fácil apretarlo. Y finalmente tendrán sus clavijas nuevas correctamente colocadas
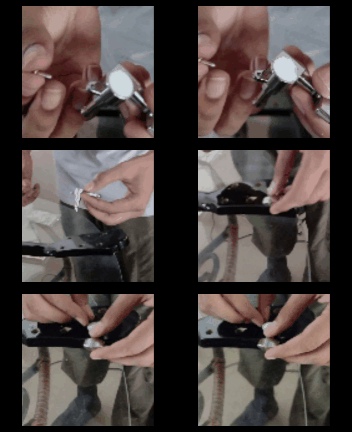
Note: In my particular case, the peg hole of the last string was isolated, apparently a supernatural entity managed to widen it, what a bummer!.... Ok, I really can't explain how it happened and if the 15 years of storage had something to do with it (I don't think so 🤔) but the solution came as holistically as the problem: My father put in an old peg and it fit perfectly!
Nota: En mi caso particular, el hueco de la clavija de la ultima cuerda estaba aislado, al parecer una entidad supernatural se las arreglo para ensancharlo, que fastidio!... Ok, realmente no me explico como paso y si los 15 años de guardado tendrán que ver (Nocreo jajsjas 🤔) pero la solución llego tan holísticamente como el problema: Mi padre coloco una clavija vieja y calzo a la perfección!
I hope you find the information useful and I send my best regards to all the hivers of this great community! without further ado, I dissipate, I mean, I say goodbye, FAREWELL! -dissolves in space and time-.
Espero les sirva la información y les mando un gran saludos a todos los hivers de esta genial comunidad! sin mas nada que añadir, me disipo, digo, despido, ADIOS! -se disuelve en el espacio y tiempo-
Todas las imágenes y gifs fueron hechas con mi celular
All Pictures and Gifs were made with my cellphone
Épale cómo estás? @jkalthor oye que genial que este reparando y cambiando las clavija de tu guitarra no se ve nada fácil pero tampoco imposible pero me gusta ese modelo de guitarra que tienes y el color, ahora falta es verte tocarla.
Yo nunca he cambiado el clavijero de mi guitarra y espero no cambiarla jajajaja pero gracias a ti se ve fácil cuando me toque a mi hacerlo jeje gracias por compartir esto en la comunidad un fuerte abrazo.
jepale @wbrandt todo fino y tu? Siii, la guitarra es muy bonita, la tenia guardada llevando polvo y mi papa y yo nos animamos a restaurarla, pronto la tocaremos claro que si. Ojala no te toque, en mi caso una estaba aislada y decidimos cambiar todo jajaja
jajajaja espero que no pero, cuando me toque creo que sera cambiar todo eso jajaja espero verte pronto tocando es guitarra