Growing Organic Cannabis: Part 13
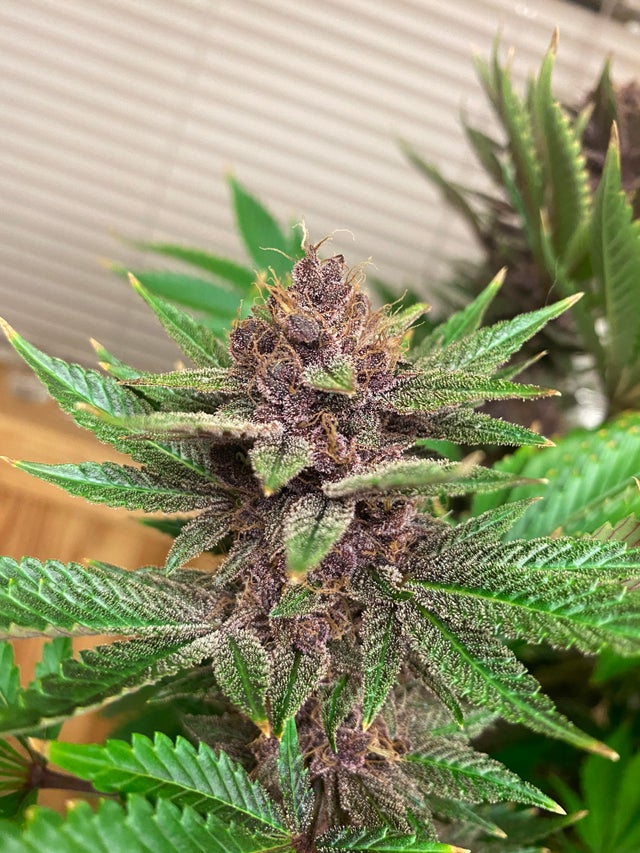
( Photo Credit: u/jayuhl14, Purple Kush )
Growing Techniques
Hey hey everybody, welcome back for another installment of growing organic cannabis!
In this article we'll discuss general growing techniques, discuss the lifecycle of cannabis, and what you can generally expect from your plants! This will be a fairly simple linear path, assuming that you are growing from seed to harvest, with no additional processes to complicate the explanation.
We'll discuss seed germination, low & high stress training techniques, sexing, and preventing/handling of pests.
Seed Germination

( Photo Credit: maximumyield.com )
There are a few different ways to successfully germinate viable seeds. I say viable, because some seeds just are duds, it happens.
- Natural method: make an indent no deeper than the width of your fingernail, plop the seed in and gently cover the dirt back over, no need to tamp it down. Then give it just a little sip of water to moisten the soil around the seed and allow the soil to make full contact. Seeds can germinate in as fast as 24 hours or as slow as 14 days.
- Moist Paper Towel method: As the name implies, take a paper towel and fold it down twice and moisten it. Place the seed in the center and fold the paper towel like a taco around it so the moist towel is making contact with the seed. Then put the folded towel into a little plastic container. Set it some spot where it will remain warm. Check it every 12-24 hours. The seed will split open and send out a single white embryonic root. As soon as it cracks open it needs to be transplanted as soon as possible! The germinated seed is an embryo that has been awakened from indefinite hibernation, that contains a finite amount of energy to power the acquisition of more resources. It needs to find nutrient rich soil and burrow in to find those resources in order to power growth. Just use the natural method listed above to plant the germinated seed, you should see it pop out of the soil within 24-36 hours.
- Rockwool cubes: these little cubes look like they are made out of plastic or foam, but are in fact spun volcanic glass, so they are 100% organic. The material is the perfect density to germinate seeds, or to root clones, as roots can easily push through the material. They are minerally inert, but porous, so you can float them in a mild starter nutrient solution to help the seeds along.
- Perlite / Vermiculite: like the rockwool cubes, these growing mediums work well to get vulnerable plants up and running. You will also need to provide nutrients if using these mediums as they are inert. Unlike rockwool, they don't hold their shape, they are loose and crumbly, so you'll have to fill a small container with the medium, and then transplant your plant once its fully rooted. ( Note: this method might not work well with autoflowers due to their shortened lifespan, you might end up giving your autoflower transplant shock, as they might not have enough time to bind the medium in their container into a small root ball, given the shortened lifespan of autoflowers, transplant shock would greatly reduce yield)
Low & High Stress Training
Once you have your seedling started and they are happily growing by the day, it is time to consider what kind of training regimen you are going to put your plants through.
When left to its own devices cannabis will grow from 4-12 tall, with a strong mainline trunk that will end with a massive main cola. sprouting off the sides of the main trunk will be an array of lesser branches, that will be most wispy and "larfy" at the bottom of the plant.
As growers, we can modify this growth a bit to enhance the plants ability to output superb quality flowers and reduce our labor in the process.
Low Stress Training (LST)

( Photo Credit: zamnesia.com )
Low stress training is accomplished by bending the plant or pulling the plant downwards or outwards. The plant will adapt to this position by trying to grow out of it. By bending the top of the plant over the plant will respond by sending out lateral shoots increasing the number of main budding sites and more completely filling out your canopy space. If growing outdoors, this technique can be used to keep otherwise lanky, enormous plants hidden from nosey neighbors who would otherwise see it towering over the backyard fence. Gardeners wire is great for this purpose, it is a very thin wire that is coated in soft plastic sheathing, you can use it to tie branches back and pull them in various directions.
High Stress Training (HST)
High stress training tends to involve a pair of snips for cutting back parts of the plant. This can include "topping", where you snip the newly emerging growing tip from the main stem to force it to fork into two main branches, and it can also involve techniques like Kyle Kushman's super cropping method "video link". Super cropping is the act of snipping away the lower budding sites and small lower branches where wispy, poor quality buds would grow, redirecting the plants limited resources into the main buds -- meaning better quality nugs and no trimming of larf!
Sexing
Sexing is not difficult, but plants can only be accurately sexed when they begin to flower. They will develop little preflowers from the top down at the internodes, or the junction of where stem meets branch.
These little preflowers will look like a distinct little bump. The primary way to tell male from female preflowers is, the female preflowers always have "pistils" or these little pollen collecting hairs protruding from the tips. The male pre flowers may come in several different shapes, but they never, ever, have pistils. So if the preflower has little creamy white hairs poking out the top, its a female, if not its a male.
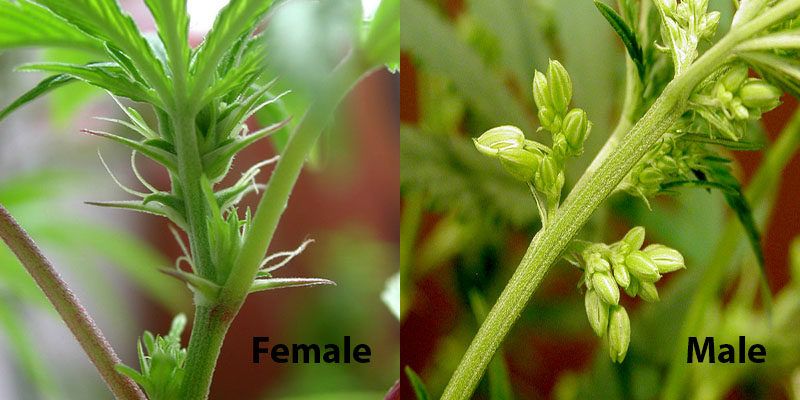
( Photo Credit: marijuana-seeds.nl )
Pest Prevention / Eradication
Ughh, pests. I hate those little f*ckers so much!
A short list of pests that you might have to battle:
Soil Fungus Gnats
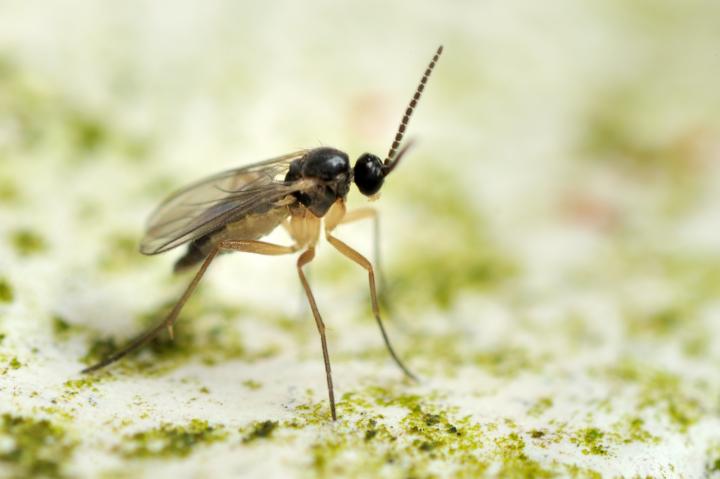
( Photo Credit: almanac.com )
Aphids
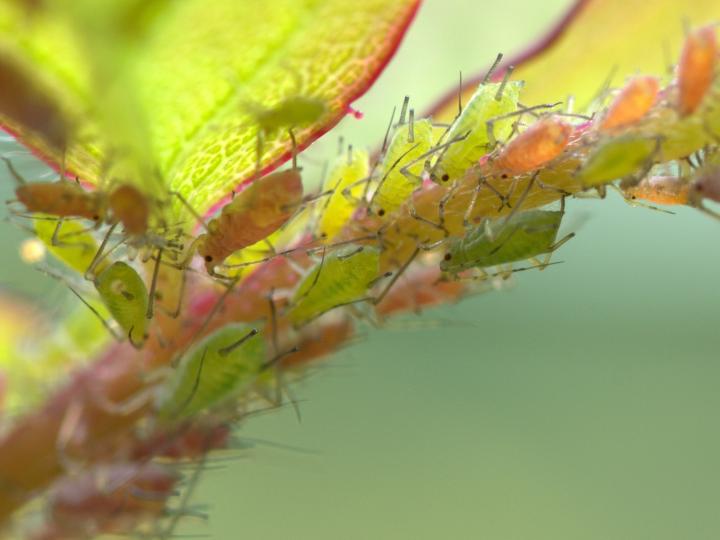
( Photo Credit: almanac.com )
Thrips
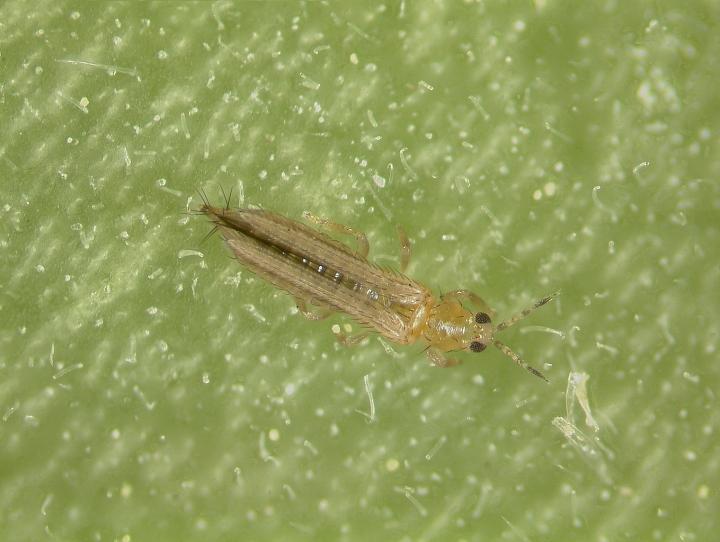
( Photo Credit: almanac.com )
White Flies
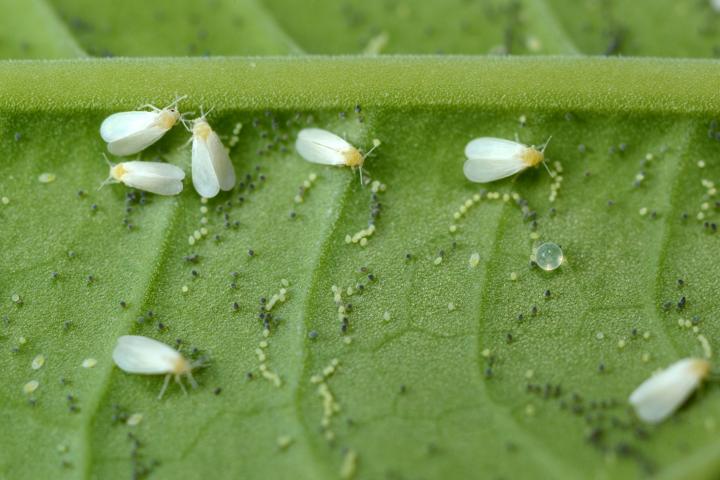
( Photo Credit: almanac.com )
Root Aphids
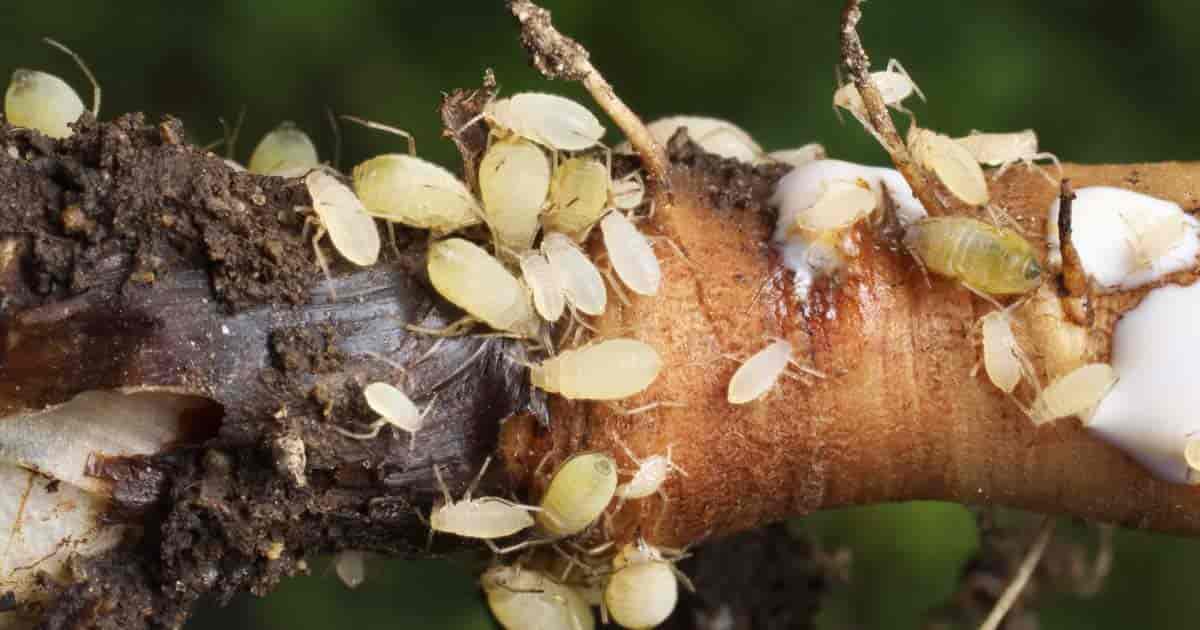
( Photo Credit: plantcaretoday.com )
Caterpillars
( Photo Credit: entoweb.okstate.edu )
Russet Mites
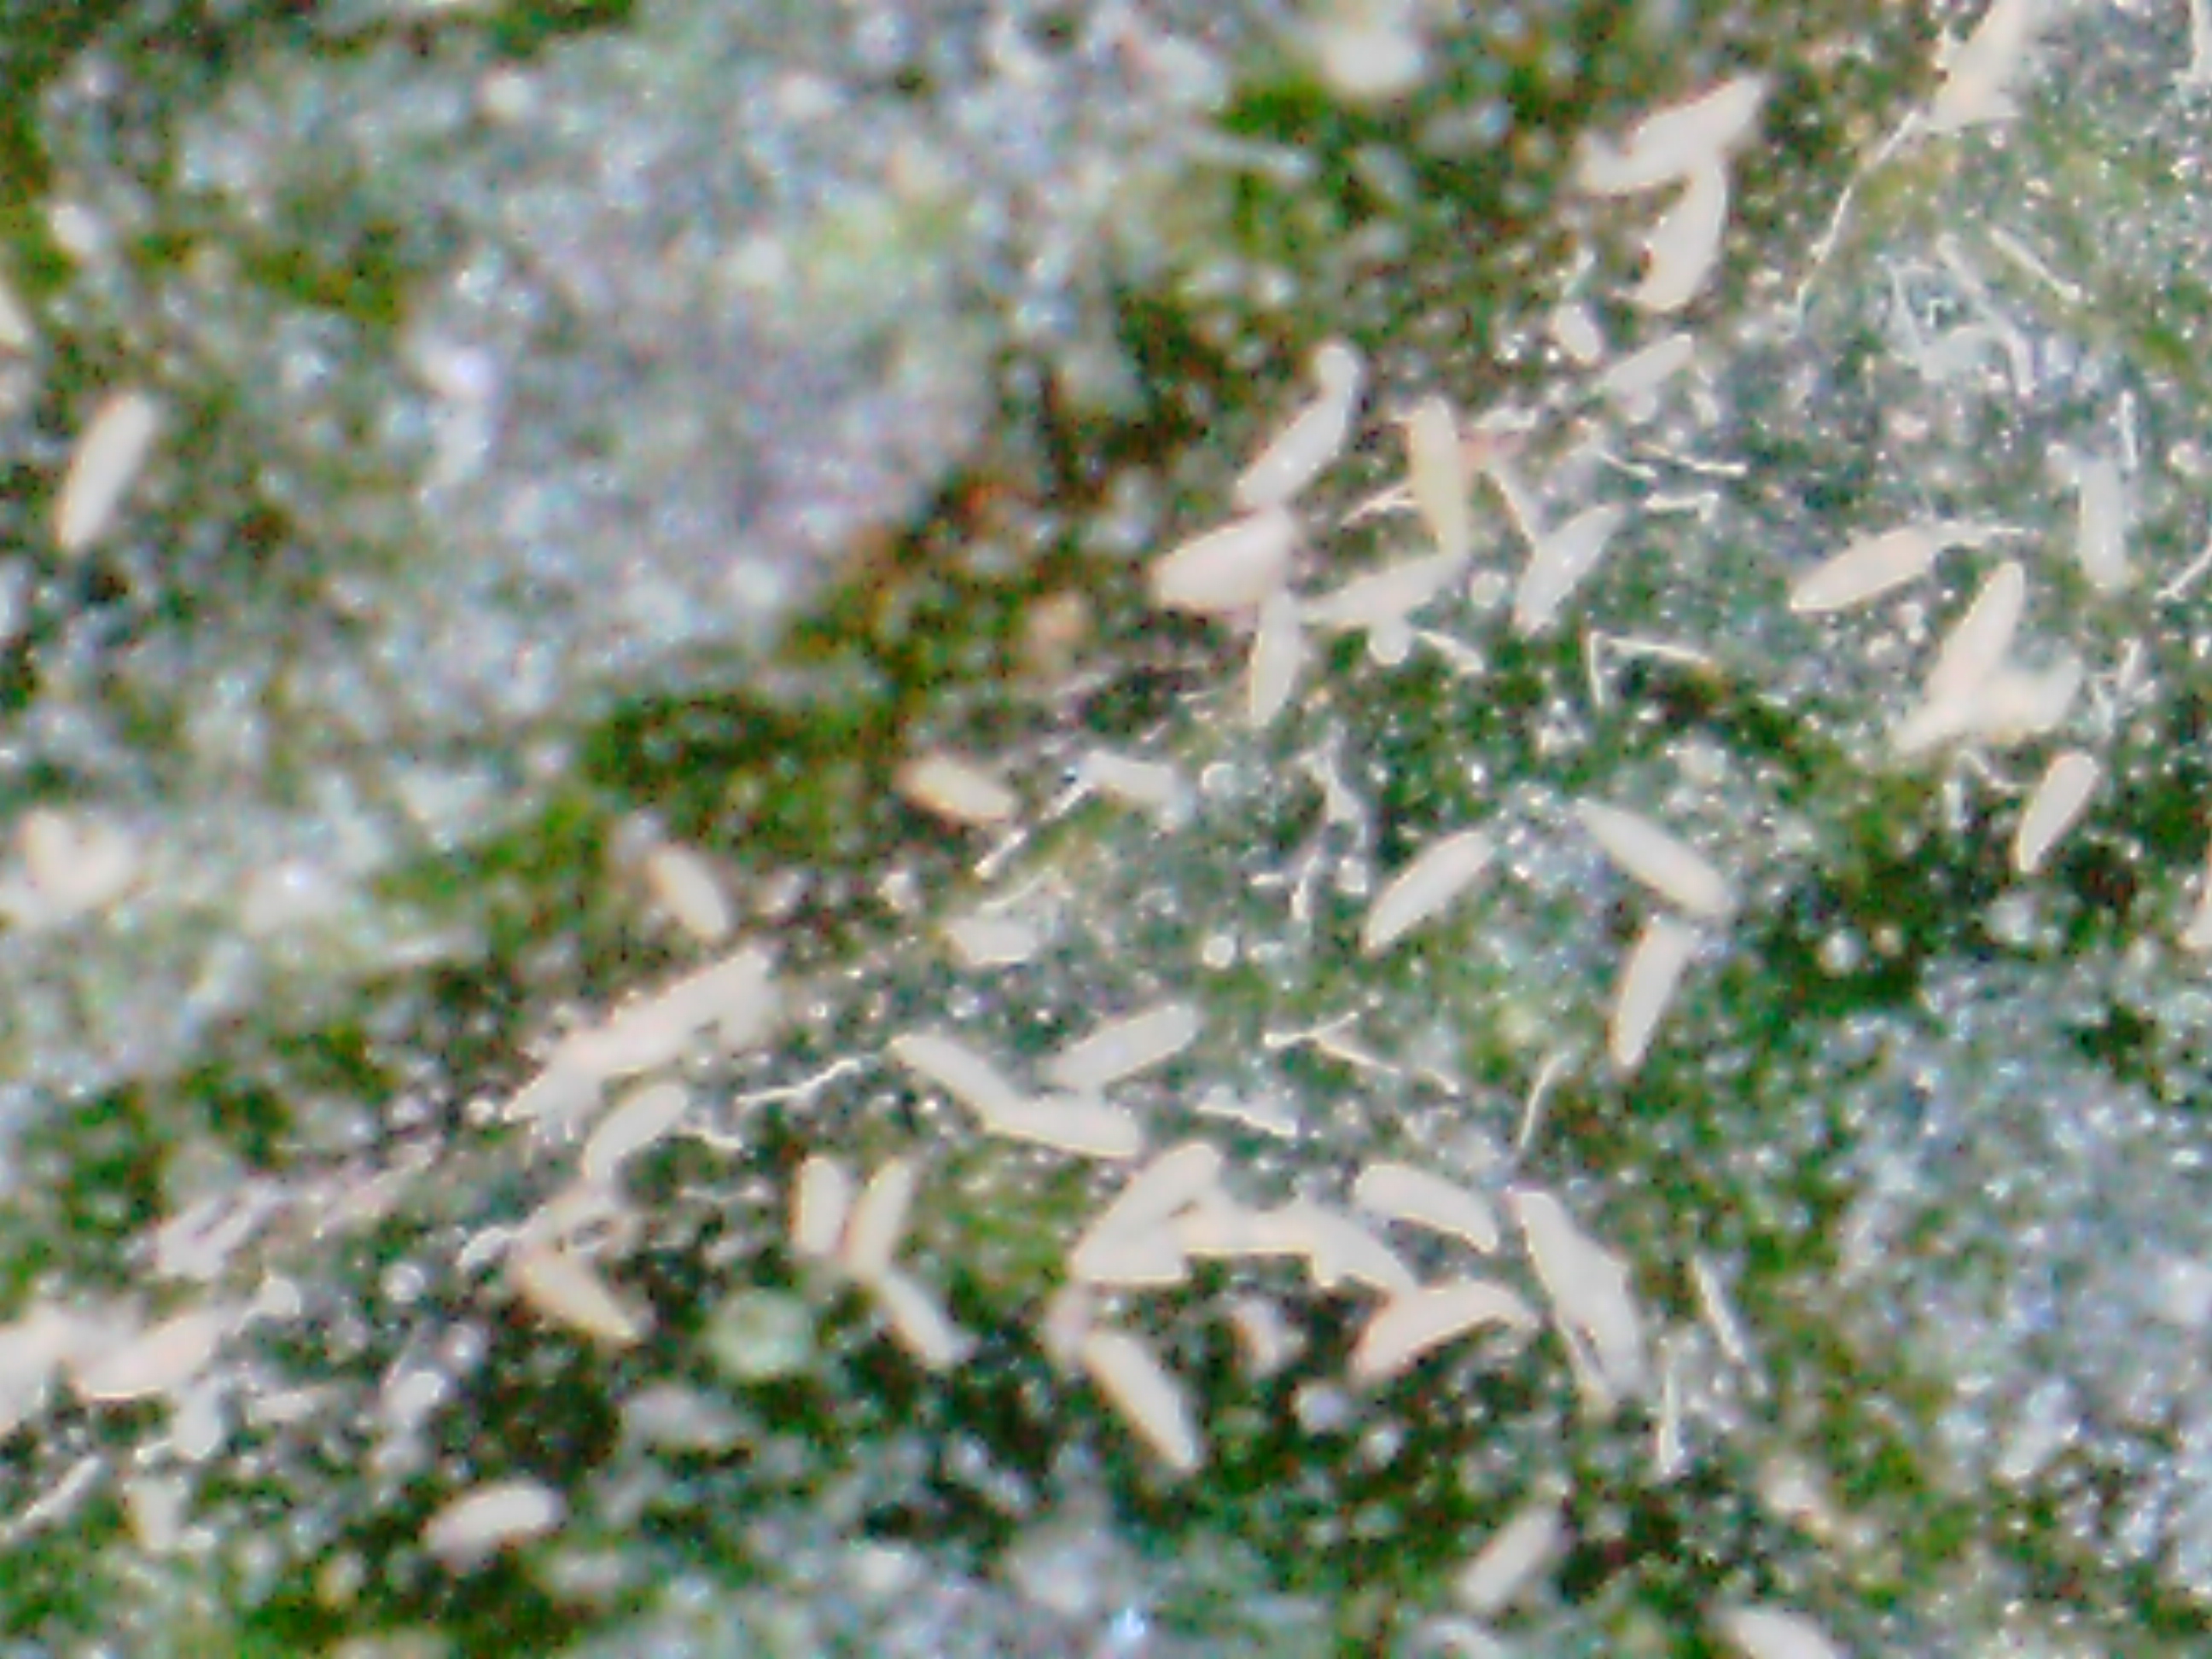
( Photo Credit: medicinalgenomics.com )
Cyclamen Mites
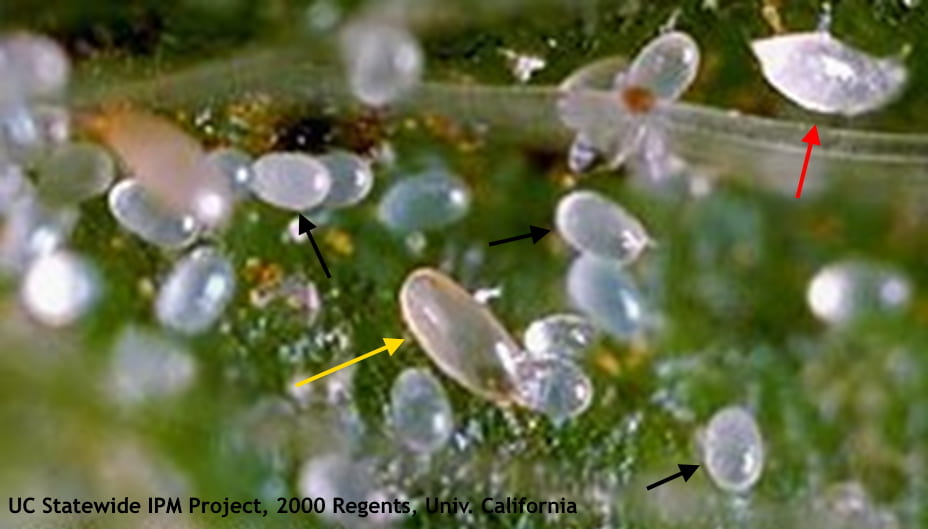
( Photo Credit: vegetablegrowersnews.com )
Spider Mites
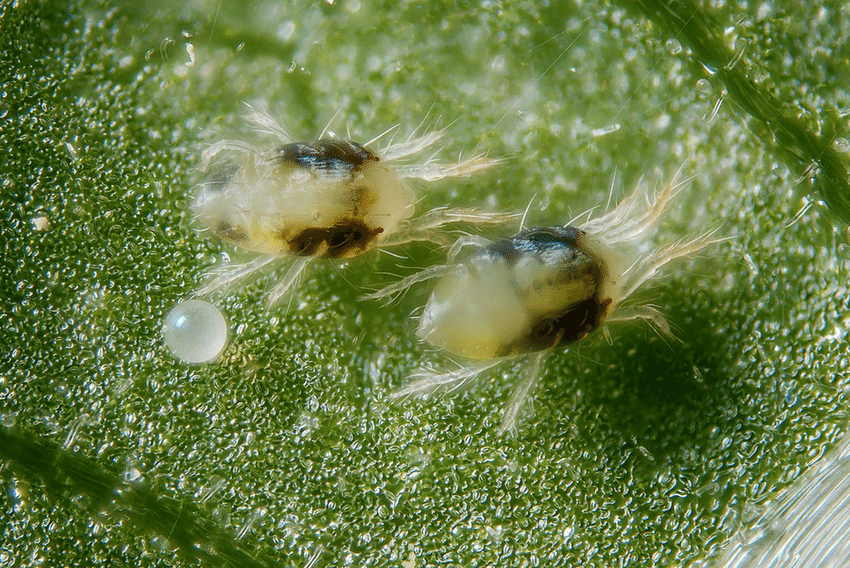
( Photo Credit: researchgate.com, pictured -- Tetranychus Urticae, the dreaded "Two-Spotted Spider Mite" )
So how does an organic grower deal with pest infestations?
Two main methods:
Method 1: Diplomacy
Proper preventative measures are important!
This starts with solid hygienic practices if you are growing indoors. Mites and mite eggs can easily hitch a ride on your skin, clothing, shoes, pets, etc. You should have a dedicated set of clothes, or a lab coat or something that you wear when tending your indoor garden. Sterile gloves are not a bad idea.
Whoa! I get it, calm down, I love fondling my plants too!
But once you get overrun by spider mites, or another hard to eradicate pest, once, you dream about those carefree days when there wasn't a pest in sight.
Don't forget good hygenic practices for tools: have a dedicated set of snips that you use only in a given tent, don't walk around with the same set of scissors to multiple tents, you could be unintentionally transferring pests or their microscopic eggs from one place to another, so, sterilize those tools often with isopropyl alcohol.
Neem oil, essential oils, and peppermint castille hemp soap are your friends!
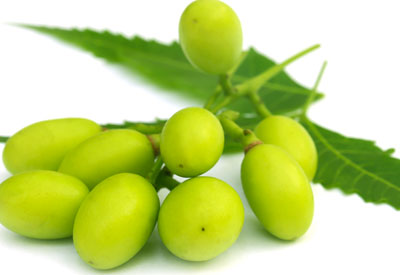
( Photo Credit: planetnatural.com, pictured -- Neem seeds )
Learn to mix up a batch of Neem oil to spray down your plants with. Neem is oil so it doesn't mix with water, use Peppermint Castile Hemp Soap (just a drop or two) to emulsify the Neem so it will mix -- it will still require thorough shaking to mix it, even with the soap emulsifying the solution!
You can also add a few drops of essential oils to the mix too, insects do not like plants that produce intense smelling oils, like lavender, rosemary, eucalyptus, etc., the soap will also emulsify these few drops of essential oils too. Give your plants a regular spraying with this mixture to coat them in diluted, but protective, layers of oils.
You can also liberally sprinkle Diatomaceous Earth (DE) in your plant containers. DE is basically really small fossilized skeletons. We perceive it as a fine powder, and it is completely harmless for plants, pets, children and you (although I don't recommend adding it to your cereal). But at the small insect level, DE is like a field of razor wire that will shred their exoskeleton if they move across it.
Warning: try and avoid using Neem during flowering, it smells kinda gross in its concentrate form and will leave a foul tasting residue on your buds, so only use Neem during vegetative growth.
Note: for dealing with soft bodied arthropods, like aphids or thrips, a soapy solution may be enough to deal with them. The soap does something to their soft shell that makes them basically dissolve.
Method 2: Peace Through Superior [Organic] Firepower
In the event that diplomacy fails, it's time to bring out the big guns!
Your armory? Predatory species! They are like little self-guided missiles that will absolutely wreak havoc on any pest infestation that has managed to gain a foothold on your garden!
You probably know about the popular guys:
- Preying mantis
- Small jumping spiders
- Lady bugs, and lady bug larvae
- Lacewings, lacewing larvae
These are excellent for dealing with the larger scale invaders to your garden space, like aphids and caterpillars. But there are other predatory species that specialize in hunting and killing the small microscopic species that infest your plants?!?!? Holy shnozzberries! You mean I can use friendly mites to f*ck up unfriendly mites? Show me where I sign up!!
That's right, we're about to enter the era of biological warfare on these little f*ckers who like to steal your frosty nugs out from under your nose! There are quite a few species of predatory mites and insects that can help you regulate the pests in your garden without a single drop of pesticide sprayed! It would be quite difficult to list out all the species of mites, so I'll try and focus on the known species of predatory mite that are currently used in large scale agricultural operations to control pest populations organically.
Predatory mites have been known about for decades in the world of organic growing, Dave Peck, a strawberry farmer from California reports that two specific species have dramatically helped him control mite infestations without the use of pesticides, Persimilis and Fallacis, have proved effective allies for his fields:
Predator mites have been used in traditional farming for a long time and have proven especially useful for berry and grape farmers.
To help answer the question of effectiveness, I talked to Dave Peck, a berry farmer in Central California. He has been using predatory mites to control pests on his strawberry fields for over 30 years. Strawberry farmers and cannabis farmers have two common enemies: powdery mildew and spider mites, unfortunately predator mites do not eat mildew.
But back in the 1980s, Peck was having issues with spider mites on his strawberry farms because they had become resistant to many of the available chemical pesticides. Because of the potential for resistance, he found that the predatory mites persimilis and fallacis, “can be more effective than chemicals.”
In a testament to their potency, Dave said he has used, “predatory mites on the conventional and organic strawberries since I’ve been farming.” He has been farming since 1984 and currently has 300 acres of conventional strawberry fields and 120 acres of organic strawberries. The fact that he chooses mites over chemicals on his non-organic fields should hint at something.
Source: hightimes.com
From start to finish your plants can be treated with the beneficial mites, Stratiolaelaps. As these are applied directly to the soil in your containers in a vermiculite mix. The Strats live 18 days, so every 2 weeks, for the entire lifecycle, you'll probably want to do a fresh application to combat nasty soil bugs (without harming the beneficial ones).
Early through vegetative stages of your plants you treat them with neem to prevent bugs and fungus from establishing a beach head. (Protect the soil from neem overspray to keep the Stratiolaelaps and other benefical microbes alive in your soil)
Then as your plants start to preflower you phase out the neem oil, and go full biowarfare: you continue the Stratiolaelaps applications, and add the Dalotia Coriaria, Amblyseius Andersoni, and/or the Persimilis and the Fallacis applications to your routine. By innoculating your plant's micro environment with these beneficial predators you ensure you don't have to deal with the devastating and frustrating effects of pest infestations.
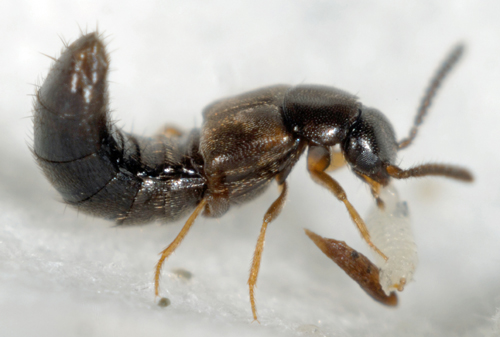
Dalotia coriaria (aka "Greenhouse Rove Beetle")
( Photo Credit: {buglogical.com}(https://www.buglogical.com/beetles/rove-beetle-dalotia-coriaria/) )
Common prey: Fungus gnats, pupating thrips, and root aphids
Better known as a rove beetle, Dalotia coriaria are released in your garden by opening the container in multiple locations. Rove beetles fly and independently make their way around your garden looking for their food source. Dalotia coriaria feed primarily on fungus gnats, pupating thrips, and root aphids. Their lifespan tends to be around 21 days, and they are commonly paired with Stratiolaelaps.
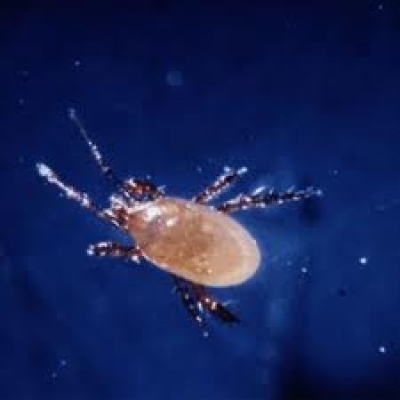
Stratiolaelaps Scimitus
( Photo Credit: buglogical.com )
Common prey: Fungus gnats, Western flower thrips, root aphids, mites
Stratiolaelaps make a great companion to Dalotia coriaria as they attack the larvae of fungus gnats, pupating thrips, and immature root aphids. They are applied by dispersing the vermiculite/Stratiolaelaps mixture in individual pots and go to work immediately. Their lifespan is 18 days, and can survive without direct food sources by consuming algae and plant debris.
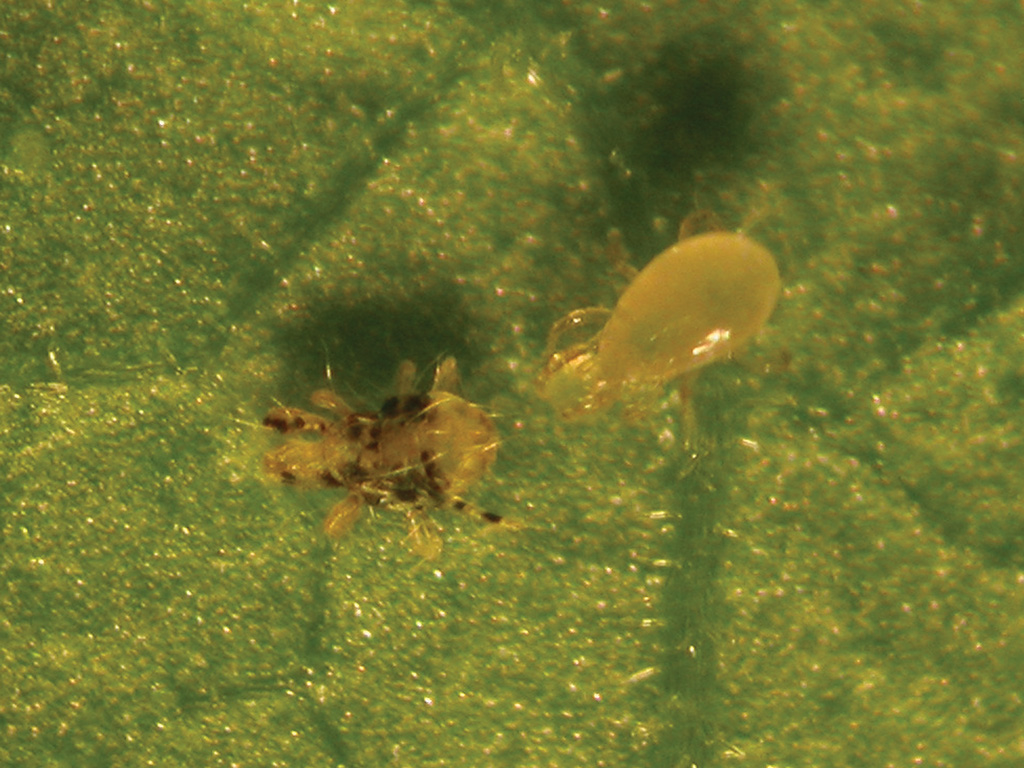
Amblyseius andersoni
( Photo Credit: buglogical.com, pictured on the right -- Amblyseius Andersoni )
Common prey: Broad, cyclamen, russet, and spider mites
Used to combat an array of mites, the Amblyseius andersoni goes after broad, cyclamen, russet, and spider mites. Best dispersed with hanging sachets, Amblyseius andersoni will continually breed for 4 to 6 weeks from the sachets.
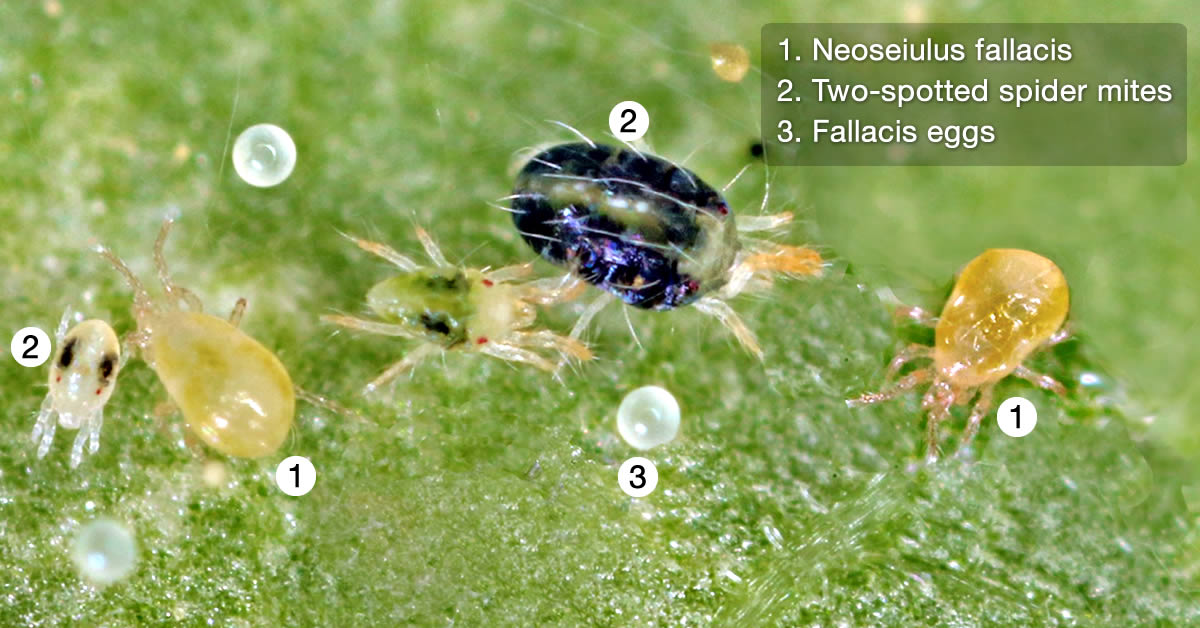
Neoseiulus Fallacis
( Photo Credit: anatisbioprotection.com )
Common prey: harmful mites.
Neoseiulus fallacis adult Neoseiulus ( equivalent to Amblyseius) fallacis, the All-Purpose predatory mite, is used for the prevention, control, and management of various spider mites. These mites are voracious predators of several pestiferous spider mite species. N. fallacis can prevent and control a number pest mites in a multitude of conditions. Some of the species they can impact include: the two-spotted mite (Tetranychus urticae); the carmine red mite (T. cinnabarinus); a two-spotted mite relative (T. evansi); the European red mite (Panonychus ulmi); the citrus red mite (P. citri); the southern red mite (Oligonychus ilicis); the six-spotted mite (Eotetranychus sexmaculatus); the Pacific mite (T. pacificus). Moreover, these predators may offer some control of the privet mite (B. obovatus), cyclamen mites (Phtyodromus pallidus), broad mites (Polyphagotarsenomus latus) and tomato russet mites (Aculops lycopersici), and other species. This predaceous mite has a strong preference for pest mite species and will travel from plant to plant searching for them. Environment: Does best in warm humid conditions, but will also tolerate low humidity (40% - 80% at 50° - 105°F).
The tiny 0.5 mm. clear-white to clear-pink adult female N. fallacis mites lay eggs amongst spider mite concentrations and their webbing (which is produced by the two-spotted mite), if present. They can lay up to 100 of them! The eggs hatch into super small larvae which develop into nymphal forms before reaching adulthood. These, too, are fierce predators, consuming many spider mites eggs and young. The life-span of these predators is roughly 8 days in their immature stages, then around 1 month as adults. The conditions for optimum performance will be between 70-100°F with a relative humidity of between 40-90%. But these are optimum conditions, and not necessarily a prerequisite of successful implementation. Please note, however, considerably cooler and warmer temperatures will hamper reproduction and development a certain degree. These mites will feed at temperatures as low as 35°F and as high as 100°F. However, at the low-end of the scale (less than 50°F), they won’t reproduce, and at the high-end they need very humid conditions to work with any efficiency. Preventive releases are very cost-effective and useful, especially when pollen and sheltering groundcover are present. Spring release are the obvious time that preventive releases can be made. However, under many circumstances, fall releases will also work well with this mite in the name of prevention. This is especially true on strawberries. These predators can live off of pollen alone. (See Advisories) This makes them an excellent preventive agent as well as a curative one. Lastly, one more benefit: these mites can easily overwinter and establish themselves just about everywhere, in minor numbers that is until some pests show up.
Phytoseiulus Persimilis
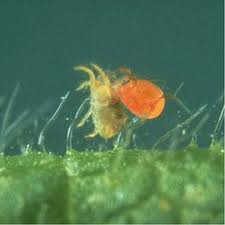
( Photo Credit: buglogical.com, pictured -- persimilis "ridin rodeo" on a Tetranychus Urticae spider mite )
Common Prey: harmful mites.
This bright orange predator is native to the tropics of South America. It does best in a humid environment of 60 to 90% relative humidity. Does best where tempertures remain below 90 degrees F. Persimilis is sensitive to high tempertures and low relative humidity. A humidity of 60% or lower has a negative effet on the hatching of the eggs and the development of Persimilis. If spider mite problems occur in a hot and dry environment, Longipes or Californicus will provide better control than Persimilis. Persimilis can reduce spider mite population to very low numbers in two to three weeks. Since Persimilis are faster and stronger than their prey they easily catch and eat them. When released they smell their prey, then move quickly throughout the plant. Persimilis work best from tempertures of 50 t0 90 degrees F. They then die from lack of food. In situations where the pest reinfest the plants, we suggest introducing persimilis every 3 to 5 weeks or introducing either Occidentalis or Californicus in combination with Persimilis
Neoseiulus Californicus
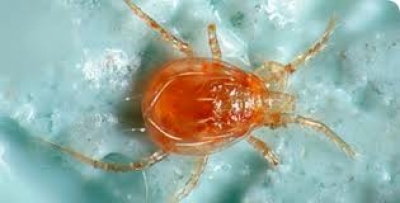
( Photo Credit: buglogical.com )
Common prey: Spider mites, russet mites, cyclamen mites.
The Neoseiulus californicus predatory mite is good resistance to drought and is more resistant to chemical pesticide. It’s effective against various spider mites, and two spotted spider mite (Tetranychus urticae), fruit spider mite (Panonychus ulmi ), citrus red mite (Panonynchus citri), begonia mite (Tarsonemus pallidus), broad mite (Polyphagotarsonemus latus)
This mite is better adapted to hot/dry climates than Persimilis, and is often used in conjuction with Persimilis to get better overlapping coverage with your predator mites!
Where to Buy?
If you need to combat an invasion of pests, you can check out these friendly sources of predatory mites:
- benemite.com <-- good prices here, good selection, good succinct info about each species, and also gorgeous photos of our microscopic heroes!
- naturalenemies.com
- buglogical.com
Conclusion
In part 14 (coming soon!) we'll discuss how to identify and handle nutrient deficiencies and toxicities!
If you enjoyed this article, hit that upvote button, subscribe to follow, and if you're feeling chatty, drop me a line down below in the comments section!
Till then, happy smokin ya bunch of stoners!
The organisms living in and on healthy marijuana would shock most people, Great write up. One reason I want to start growing Kratom is the way the plant combats predation factoring in to potency. While living much loner than cannabis leading to drastic changes within a living subject affecting the plant and subsequent generations. This is what makes a red vein or a white vein is stress level and atmospheric conditions of the area where it is grown, A red vein coloration presents when resisting predation Green would be the original color or default and stress of its ancestors and current stress levels produce variety of Alkaloids at varying concentrations easily identified by corresponding color changes recorded previously but the research is limited.
Bruv, for real, this is the most interesting thing I've read today, and I've just read a ton about predatory mites and I'm super stoked about it! This makes total sense what you're talking about -- micro differences in stress levels of a plant with the same genetic material influenced the creation of different levels of alkaloids, and as a result there is a microdivergence amongst the total population based upon this... Thanks for sharing!! Tag me if you ever do a write up on the topic, I'd love to read it!