Learning a programming language can be a daunting task at first, and to make matters more challenging, there is usually a decent amount of software installation required before an anxious new programmer can even start to think about compiling and running code on a computer system. Don't get me wrong, while installing a development environment is a skill that every coder should have, I feel like it is a bit distracting when first learning how to code. In this tutorial, I will show you how you can bypass the process of setting up a development environment and start writing, compiling and running code right away! Ready? Let's do it!
In your web browser, go to codepicnic.com and sign up for a free account.
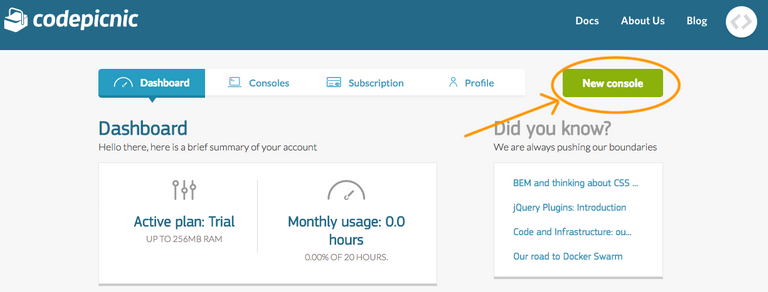
Once you are logged into your account, select the "New console" button at the top.
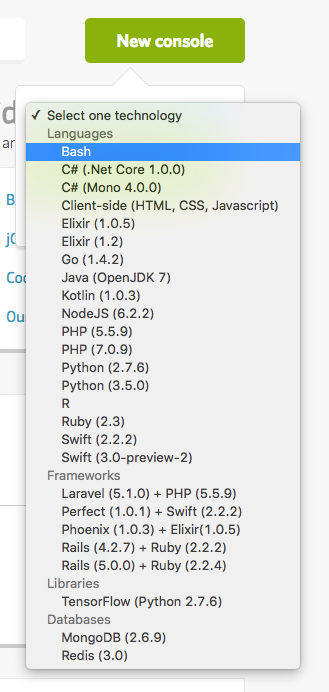
Then on the "Select one technology" drop-down list, choose "Bash"
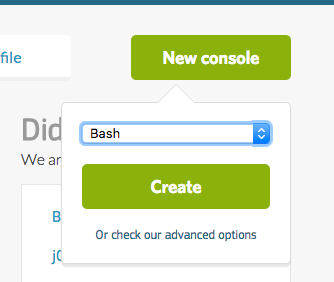
Next, we will click "Create"
This will bring you to a Console page. On the Console page, click on the tab labeled "Terminal".
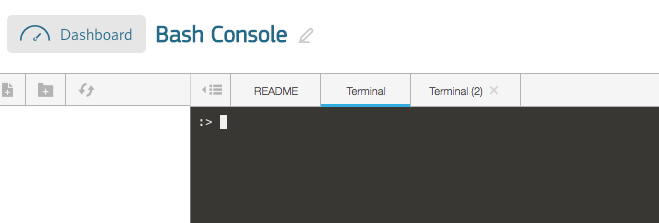
A terminal will allow us to create code files, compile our code files, and run the programs that are generated when we compile our code. (Note: I have done a little work behind the scenes and customized my prompt here to be :> but you will have something like root@youremail-youremailserver-com: and that will be just fine, you can safely ignore the difference in appearance of the prompt here).
First let's enter the ls command.
The ls command tells the Bash terminal to list all of the files that are in our working directory. We haven't added any files to our working directory, so for now, we should see no output. After entering the ls command, the prompt should move down to the next line without any additional information, which verifies there are no files in our working directory.
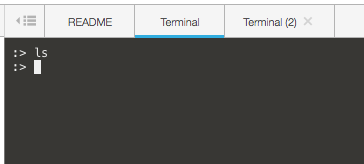
(Note: You can clear the commands off of the terminal screen at any time by entering the clear command. If you enter the clear command now, the ls command we just entered will no longer appear on our terminal as I have pictured below. The clear command can be entered any time you want to "clear" the terminal).
Now let's go ahead and add our first file, by clicking on the "Add file" icon pictured below.
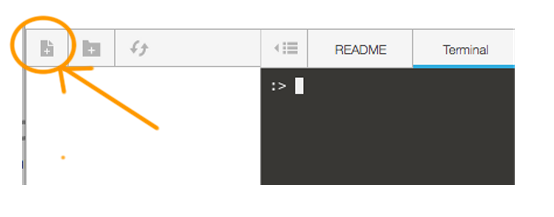
We will then be prompted with a dialog box where we can name our file. Let's go ahead and enter the name, HelloSteemit.cpp
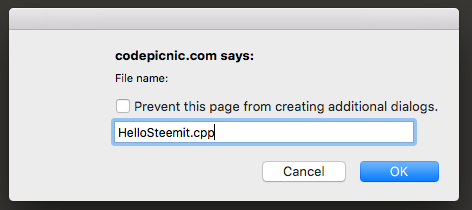
Now our new file, "Steemit.cpp" appears in the left hand menu.

(Note: It is common and also good practice to end a C++ file name with a .cpp suffix. cpp is an acronym for c-plus-plus).
Let's double click our HelloSteemit.cpp file to open it up, then let's paste in the following code:
#include <iostream>
#include <cstdlib>
#include <string>

using namespace std;

int main()
{
    string name;

    cout << "What is your name?: ";
    cin >> name;
    cout << "Hello, " << name << "! Welcome to Steemit!\n";

    return 0;
}
Now our file should look like this.
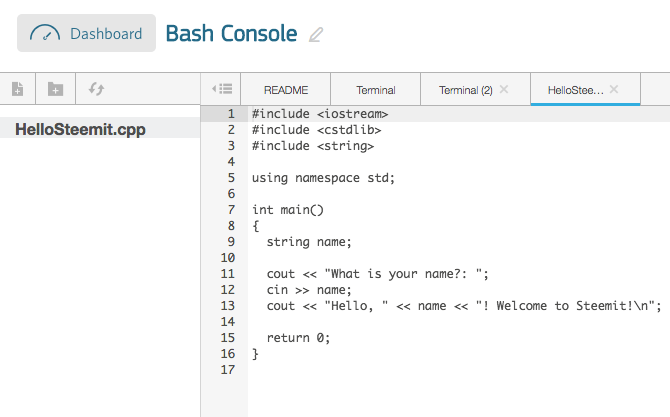
Next, let's take a quick look at our code piece by piece. Since this is intended to be a beginner lesson, I will give a high level view of the code here.
The first section has three lines starting with#include. These three #include's tells our program to include more code that has already been written for us. It is kind of like telling our compiler that if it can't find what it looking for in our code, then go look for it in one of these three files"
#include <iostream>
#include <cstdlib>
#include <string>
The next section includes a namespace, which is essentially telling our compiler that if you have some sort of naming conflict with some of our code, then use the definition that is in the std (standard) namespace.
using namespace std;
Next, we begin the main function block. In C++, the main function is essentially the starting point for our instruction set.
int main()
{
Then we declare a string variable. The variable is named "name". You can think of this variable as a box that can hold a word, like your name for example.
string name;
The following part instructs the program to print the message "What is your name?:" to the bash terminal.
cout << "What is your name?: ";
Then, assuming we enter our name into the terminal, our code instructs for our name to be placed into the variable which we named "name".
cin >> name;
Next, we instruct our program to print us back a custom message with our name in the response.
cout << "Hello, " << name << "! Welcome to Steemit!\n";
Finally, we return a value of "0" back to the operating system (Note: 0 indicates that our program finished successfully). Then we add a closing curly brace } which indicates the end of the main function.
    return 0;
}
Now that we have created our C++ file, let's enter the ls command into the terminal one more time.
Perfect! We can now see the file we just created.

Awesome! Now let's compile our code. Compiling our code takes the human readable language (C++) in our code and translates it into machine code so that our computer (technically, in this case, CodePicnic's computer) has a way to interpret and run our instructions.
To compile our code, let's enter the following command:
g++ HelloSteemit.cpp
g++ compiles successfully, and we now see a prompt appear below our command as pictured below. (Note: If for some reason our code did not compile successfully, the g++ HelloSteemit.cpp command would print error messages to the terminal at this point.)

Now let's see what has happened to our working directory once again by entering ls into our terminal.

Super! We have compiled our program into that green executable named "a.out". An executable is compiled code that is ready to run.
Now let's run it by entering ./a.out

Once we run the program, the terminal follows our instructions and asks for our name.
Now I will type in my name, Paul into the prompt and press "Enter".

Success! The program runs, and the terminal prints back a custom message that includes the name we just entered!

If you have enjoyed this lesson, please follow my Blog here on Steemit and check back soon for more math, science, and programming content content!
Please comment below to share your thoughts, and feel free to put in tutorial requests. Till next time, stay classy out there!
I would like to see more content for programmers like this! Great article!
Very valuable! Thanks for sharing.
I will share this with my students at Rock 'n Renew Foundation's Code America challenge. Your upvote for this comment will help fund #nonprofit #codingeducation for inner city youth. Thanks @veryscience for the great tutorial!
Do not edit your post!!! Atm you will gain 20.61%This Comment! of whatever this post earns! Editing is the same as making a New Post, See the post @winstonwolfe Made and
i want to turn coding into one of my hobbies, but it find it so hard, i even dowloaded the code java app from the appstore, to eventually learn all the code languages that i can, but i find it so hard, can you give me any tip to improve, this is really one of my life desires
One of the things I will certainly teach my children later. Coding! :)
Thank you for the informative post.
thanks @veryscience for posting the code tutorial. can you suggest a youtube tutorial system I could learn off? I learn better visually
Nice sharing, thanks.
Damn. I remember trying to learn java way back... maybe give another try. Thanks!
Very good Tutorial! Thank You.
bookmark c++ thanks
Thank you for tutorial. I didn't know that you can do C++ in the browser.
This is awesome! Following for sure :) I have always wanted to learn this.
Thank you
Thanks for this post, it will help much people
Thanks keep it up. I will be looking for your next post.