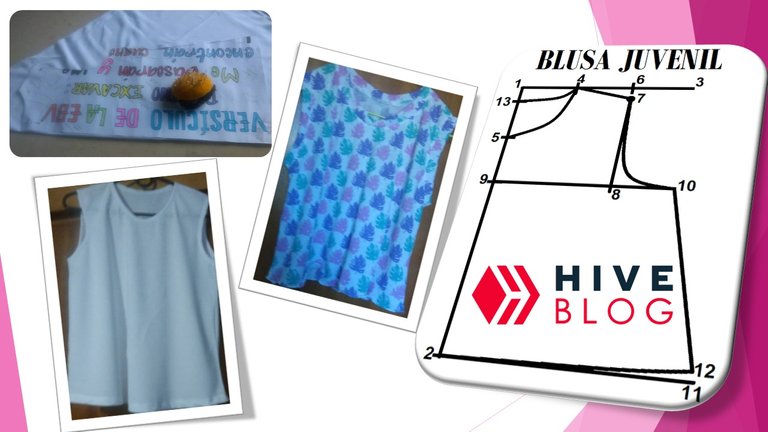
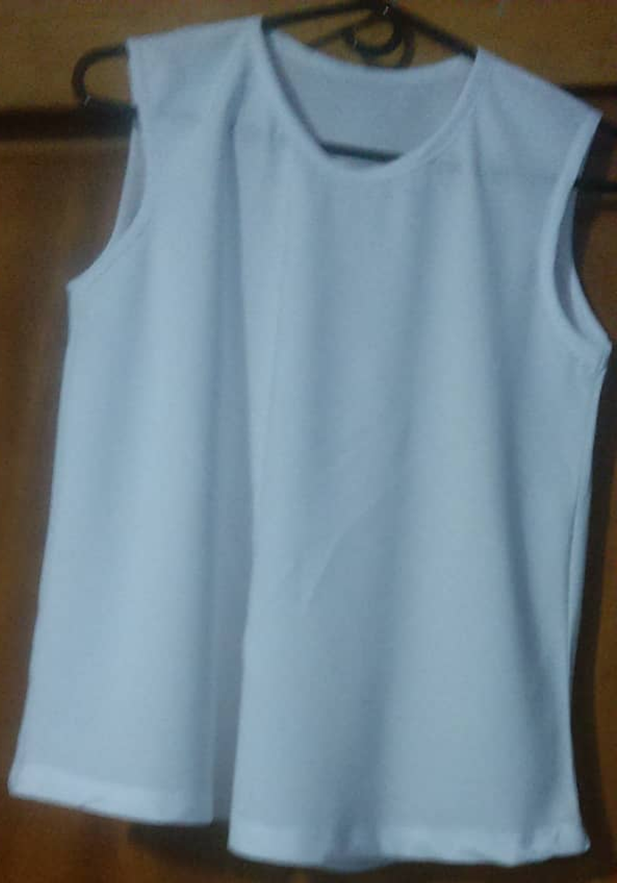
En esta ocasión les traigo un nuevo proyecto,muy sencillo y fácil de realizar, se trata de una blusa cómoda, elegante y coqueta que, según sus medidas, puede ser para dama o niña.
¡Manos a las tijeras!
Hello, #NeedleWorkMonday family, here is your grandmother seamstress again with another tutorial so you can make your own garments.
This time I bring you a new project, very simple and easy to make, it is a comfortable, elegant and flirty blouse that, depending on your measurements, can be for lady or girl.
Hands on the scissors!
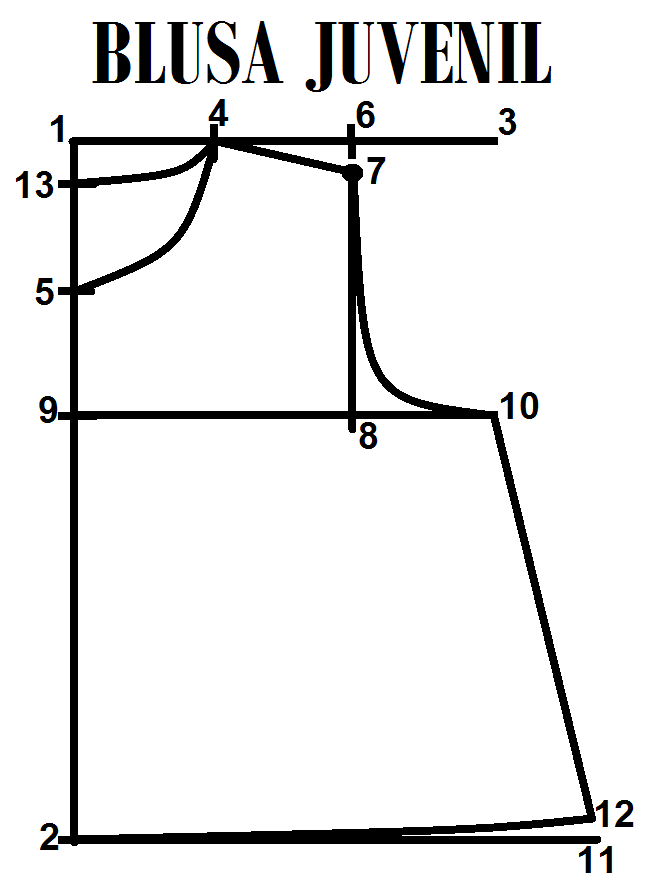
1) Del punto 1 al 2 largo de la blusa, del 1 al 3 cuarta parte del contorno del busto.
From 1 to 2 length of the blouse, from 1 to 3 quarter of the bust contour.
2) Del 1 al 4 ancho del escote, 9 cm, del 1 al 5 largo de escote 11cm.
From 1 to 4, neckline width, 9 cm, from 1 to 5, neckline length 11 cm.
3-Del 4 al 6 largo del hombro.
From 4 to 6 shoulder length.
4- Del 6 al 7 caída del hombro 2,5 cm, del 7 al 8 largo de sisa 18 cms.
From 6 to 7 shoulder drop 2.5 cm, from 7 to 8 armhole length 18 cm.** **5-From 1 to 9 shoulder drop 2.5 cm.
5-Del 1 al 9 bajamos 20,5cms,unimos con línea recta 9 y 8 , esta recta debe medir la cuarta parte del contorno del busto, punto 10.
From 1 to 9 we go down 20.5cms, we join with straight line 9 and 8, this straight line must measure the fourth part of the bust contour, stitch 10.**
6-Unimos con línea recta 7 y 8, y con línea crurva 7 y 10.
We join with straight line 7 and 8 and with crurve line 7 and 10.
7-Del 2 al 11 colocamos ancho de caderas, éste varía dependiendo del vuelo que queramos darle al ruedo,del 11 hacia arriba subimos 3 cm, marcando el punto 12, unimos 2 y 12 con línea curva, y 10 y 12 con línea recta,
8- Unimos 4 y 5 con línea curva, y 4 y 13 con línea curva.
We join 4 and 5 with curved line for front pattern collar, and 4 and 13 with curved line for back pattern collar.
9- Unimos 4 y 7 con línea recta.
We join 4 and 7 with a straight line.
Para la parte trasera utilizamos el mismo molde, con una variante para el largo de escote, que es del 1 al 13, 3 cm.
For the back we use the same mold, with a variant for the length of the neckline, which is from 1 to 13, 3 cm.
Corte de la tela / Cutting the fabric.
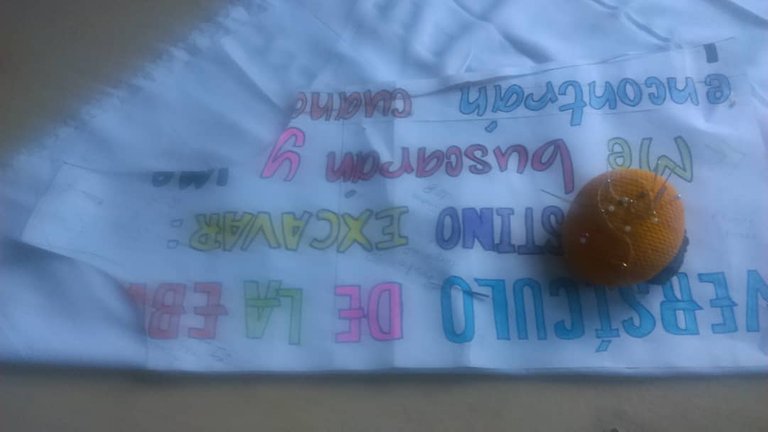
1-Colocamos la tela al sesgo, doblada por la mitad y cortamos la parte delantera, igual hacemos con la parte trasera.
Place the fabric on the bias, folded in half and cut the front part, the same we do with the back.
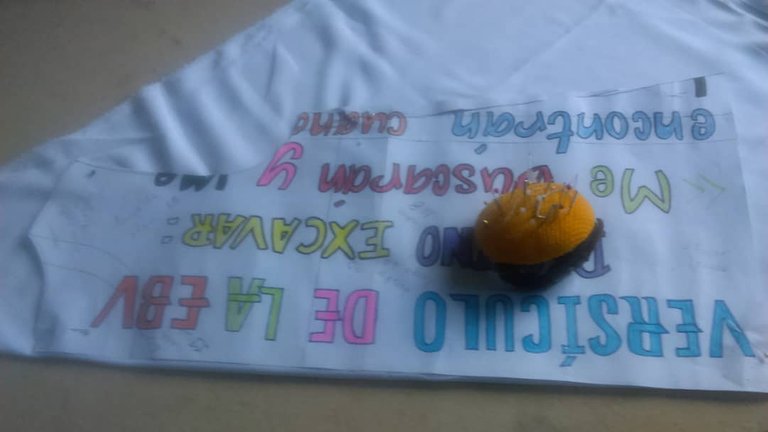
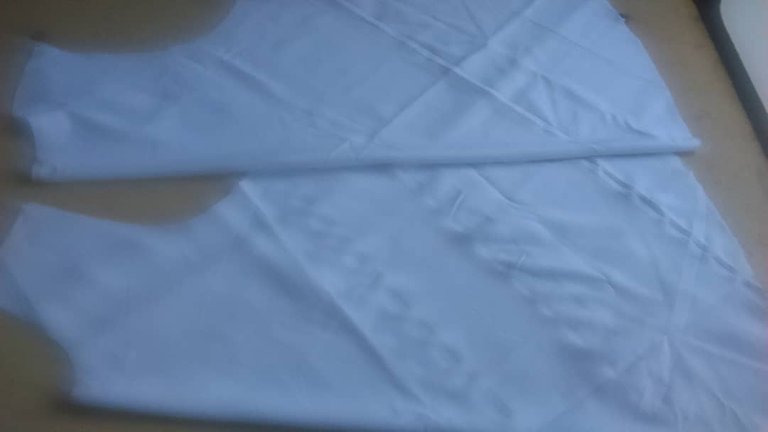
2-Cortamos 3 cintas de la tela de 4 cms de ancho,para colocarlas en el cuello y sisa.
Cut 3 ribbons of fabric 4 cm wide, to place them in the neck and armhole.
Confección / Making up
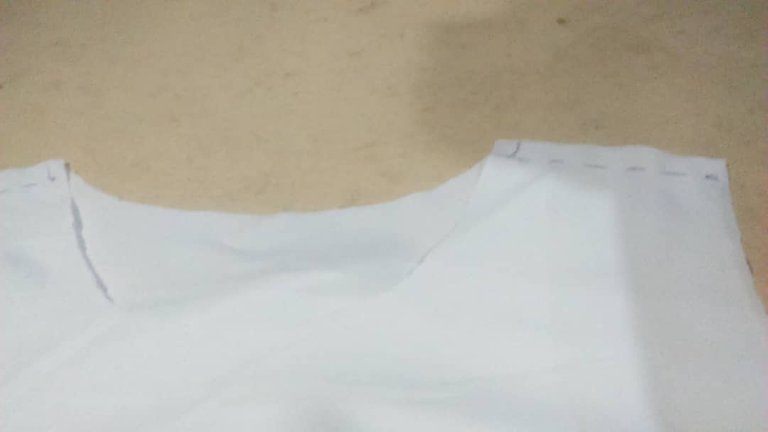
Para mayor comodidad recomiendo unir primero las piezas con alfileres o hilvanar con puntada larga, para luego pasarlas por la máquna.
For more comfort I recommend first join the pieces with pins or baste them with a long stitch, and then pass them through the machine.
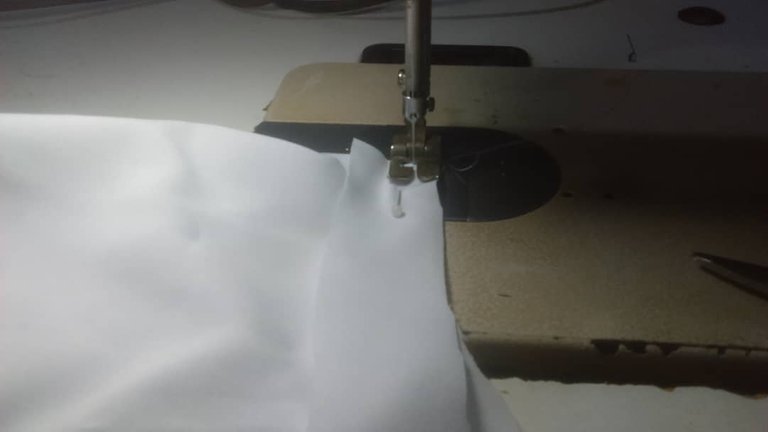
1-Unimos por el hombro,en este caso coloque una franja de entretela ya que la tela tiene elasticidad,así evitamos que se estire.
We join by the shoulder,in this case place a strip of interlining since the fabric has elasticity,this way we avoid stretching it.
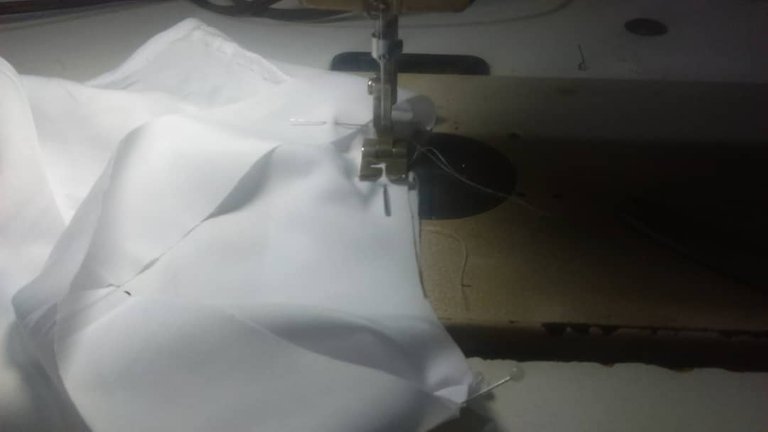
2-Colocamos la cinta en las sisas antes de cerrar por el costado.
Place the tape on the armholes before closing on the side.
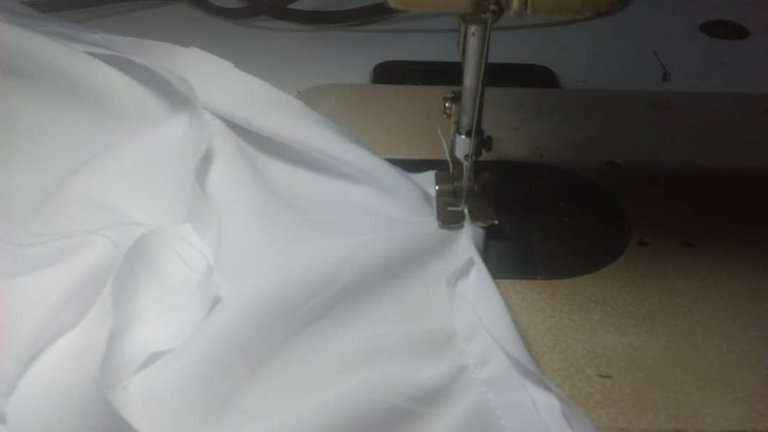
Volteamos la cinta y repisamos hacia el lado derecho.
We turn the tape over and repeat to the right side.
3-Separamos el escote de cuello en 4 partes iguales, la cinta a colocar debe medir 3/4 partes del cuello, la unimos, la separamos igualmente en 4 partes iguales, estiramos un poco para hacer coincidir los puntos.
Separate the neck neckline in 4 equal parts, the tape to be placed should measure 3/4 of the neck, we join it, we also separate it into 4 equal parts, stretch a little to match the points.
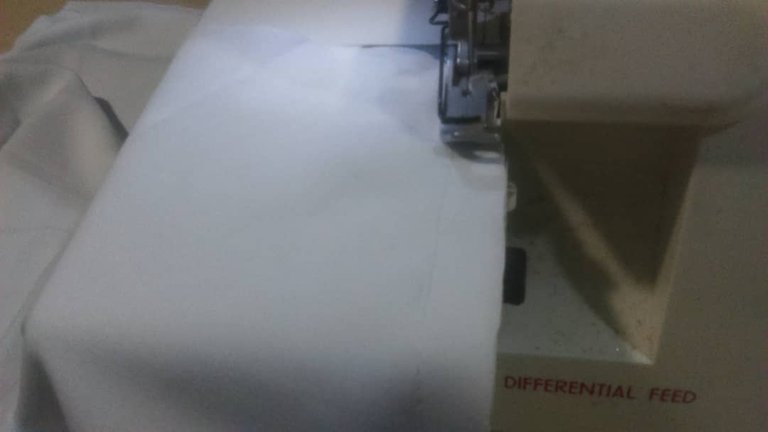
4-Unimos por los costados.
We join the sides.
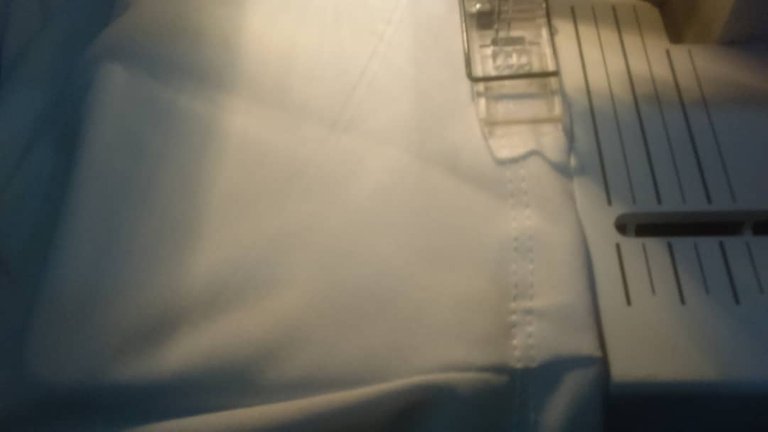
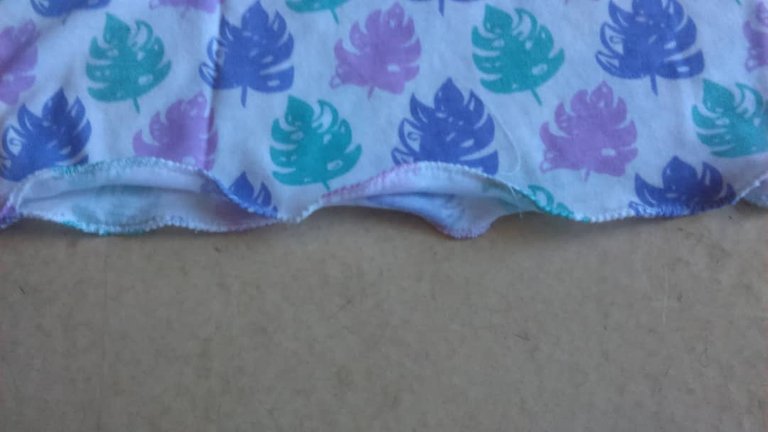
5-Cosemos el ruedo.
Stitch the hem
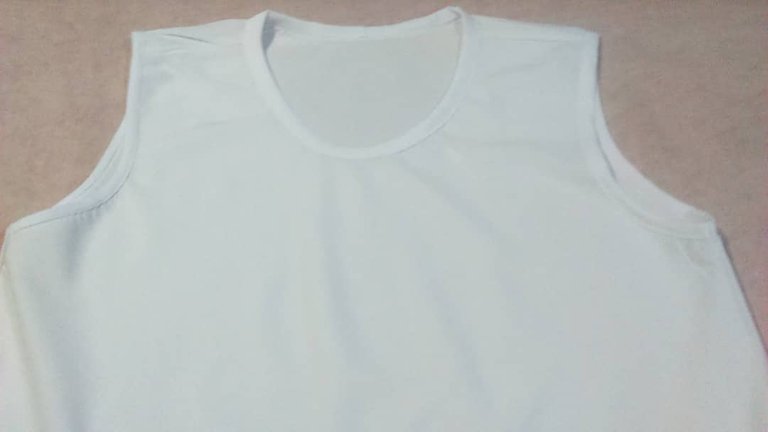
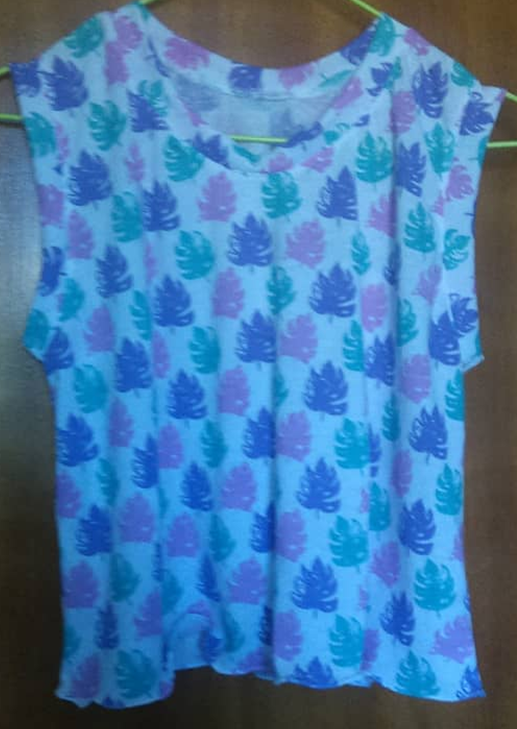
Aquí se puede ver otra variante con la cisa y el cuello más anchos y el ruedo arruchado con zigzag.
Here you can see another variant with a wider neckline and collar and a ruffled hem with zigzagging.
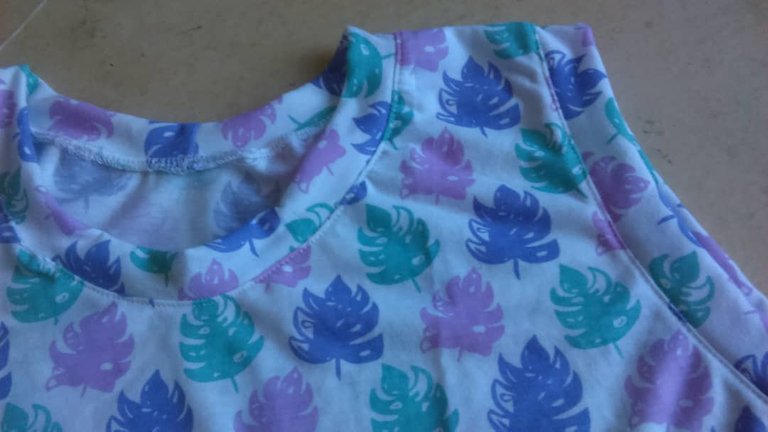
Como pueden ver, el proceso es sencillo y los resultados son bastante buenos, así que espero que puedan sacarle provecho (¡también sería un buen regalo para navidad!).
Sin más que decirles, me despido,
¡Hasta una próxima puntada!
As you can see, the process is simple and the results are quite good, so I hope you can take advantage of it (it would also be a good gift for Christmas!).
Without further ado, I bid you farewell,
Wow great job thanks for sharing
Congratulations @abuelacosturas! You have completed the following achievement on the Hive blockchain and have been rewarded with new badge(s):
Your next target is to reach 1250 upvotes.
You can view your badges on your board and compare yourself to others in the Ranking
If you no longer want to receive notifications, reply to this comment with the word
STOPCheck out the last post from @hivebuzz:
¡Hola Celia! Gracias por compartirnos el desarrollo del molde y la confección de esta linda blusa. Siempre es bueno dibujar nuestros propios moldes para no llevarnos una sorpresa con moldes comprados jajaja. Te felicito, quedó genial ❤️.
Exactamente, siempre es mejor construir nuestros moldes, eso nos da más libertad para elaborar prendas y más satisfacción al verlas completadas.