What you’ll need:
- A Camera (preferably a DSLR)
- A tripod (or something to rest your camera on for 20-30 seconds)
Camera Settings:
- First, put your camera in manual mode
- Second, ensure your aperture is as wide open as it can go
- Third, consider shooting in RAW as it will make your post production efforts much easier
- Fourth, opt for manual focus as it is unlikely your camera will be able to focus itself in the dark
- Fifth, control the amount of light by setting the ISO rating and the shutter speed
How to choose your shutter speed:
- Follow the rule of 600
- Experiment with shutter speed and ISO settings to get the best possible shot
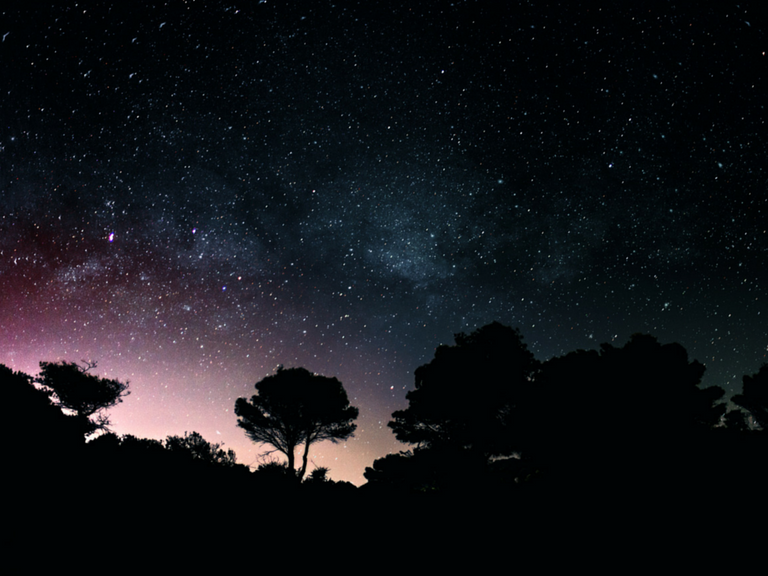
By following the rule of 600 you will be able to figure out how long you can expose the image before the stars start to move across the sky. To follow the rule, divide the number 600 by the focal length of your lens (the number of mm). This number will be the maximum number of seconds the shutter can be open for.Then you need to pick an ISO rating that will allow you to capture the shots you want. This will depend on the speed (maximum aperture) of your lens.As all cameras are different and unsurprisingly the more expensive the camera, the higher the quality, you will need to play around with these settings until you achieve the shot you want.Also don’t forget to consider the composition of your photo as often the best star photos have something interesting in the foreground like a lit tent silhouette or a light trail.
Thank you for the Guide to photografy.
your welcome....
useful guide... thank you!
Nice tutorial ! I'd add a shutter trigger which and a there are special tripod heads that move automatically allowing for longer exposures ...